Deep-Sky Astrophotography
Images • Gear • Tips & Techniques
Comprehensive project reports with annotated images, finder charts, gear setups, capture specs, and step-by-step processing
- Annotated images
- Finder charts
- Complete capture specs
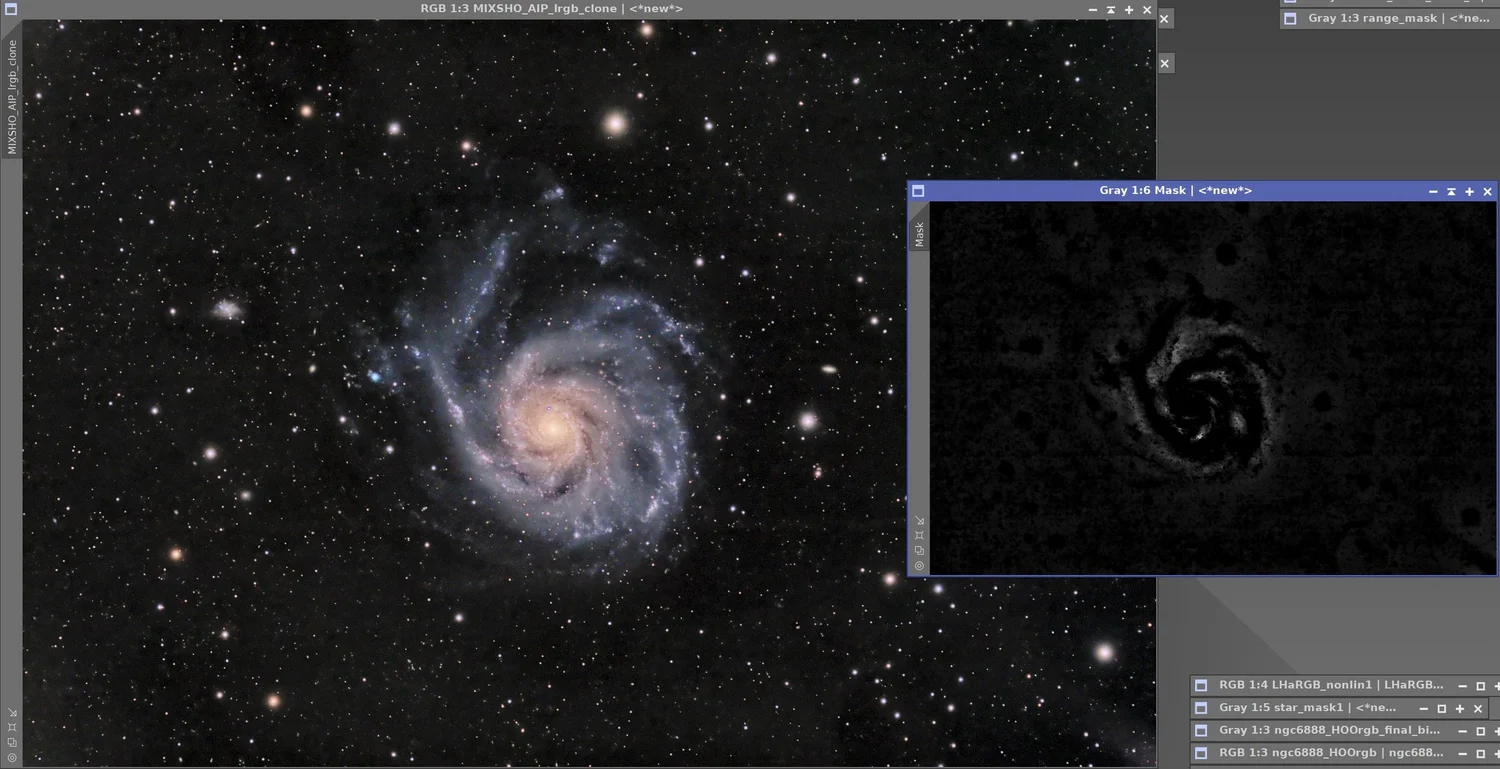
- Step-by-step processing
- No paywall
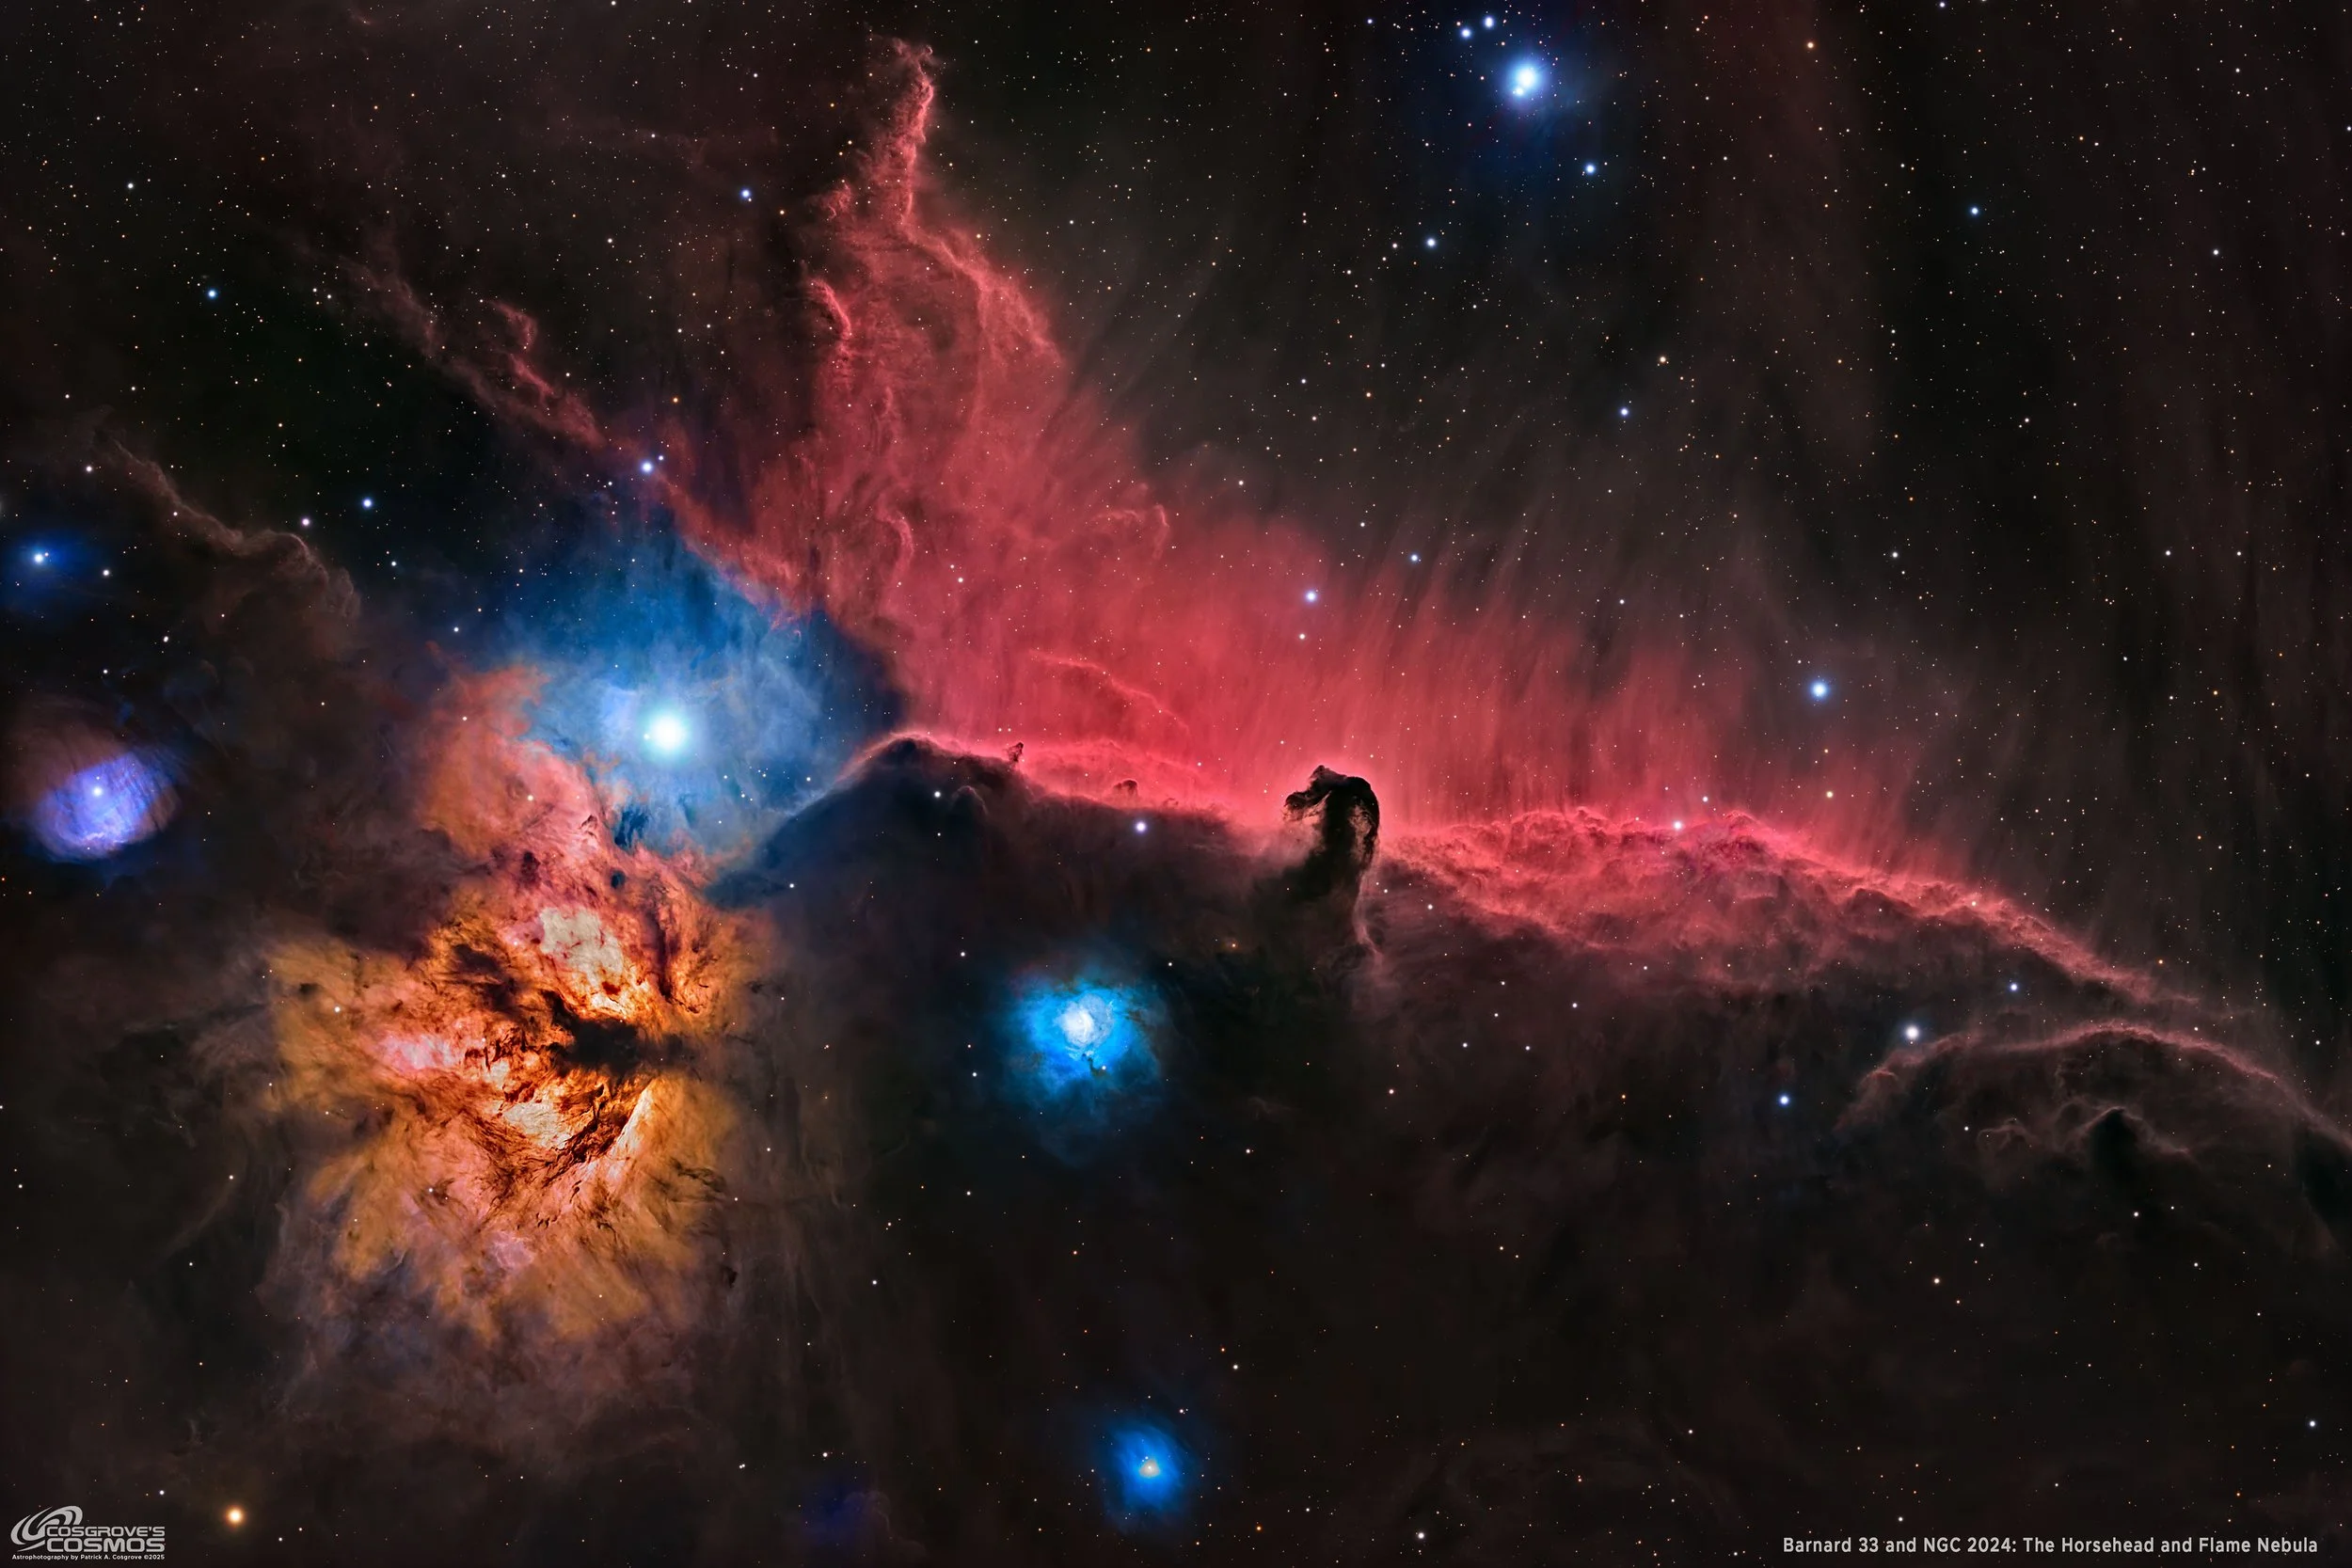
Barnard 33 & NGC 2024 - The Horsehead and Flame Nebula - 6 hours in HaLRGB (click for view)

NGC 7380 – The Wizard Nebula - 25 Hours of SHOrgb! (click to view)

SH2-157 – The Lobster Claw Nebula - 34.5 Hours of SHOrgb! (click to view)

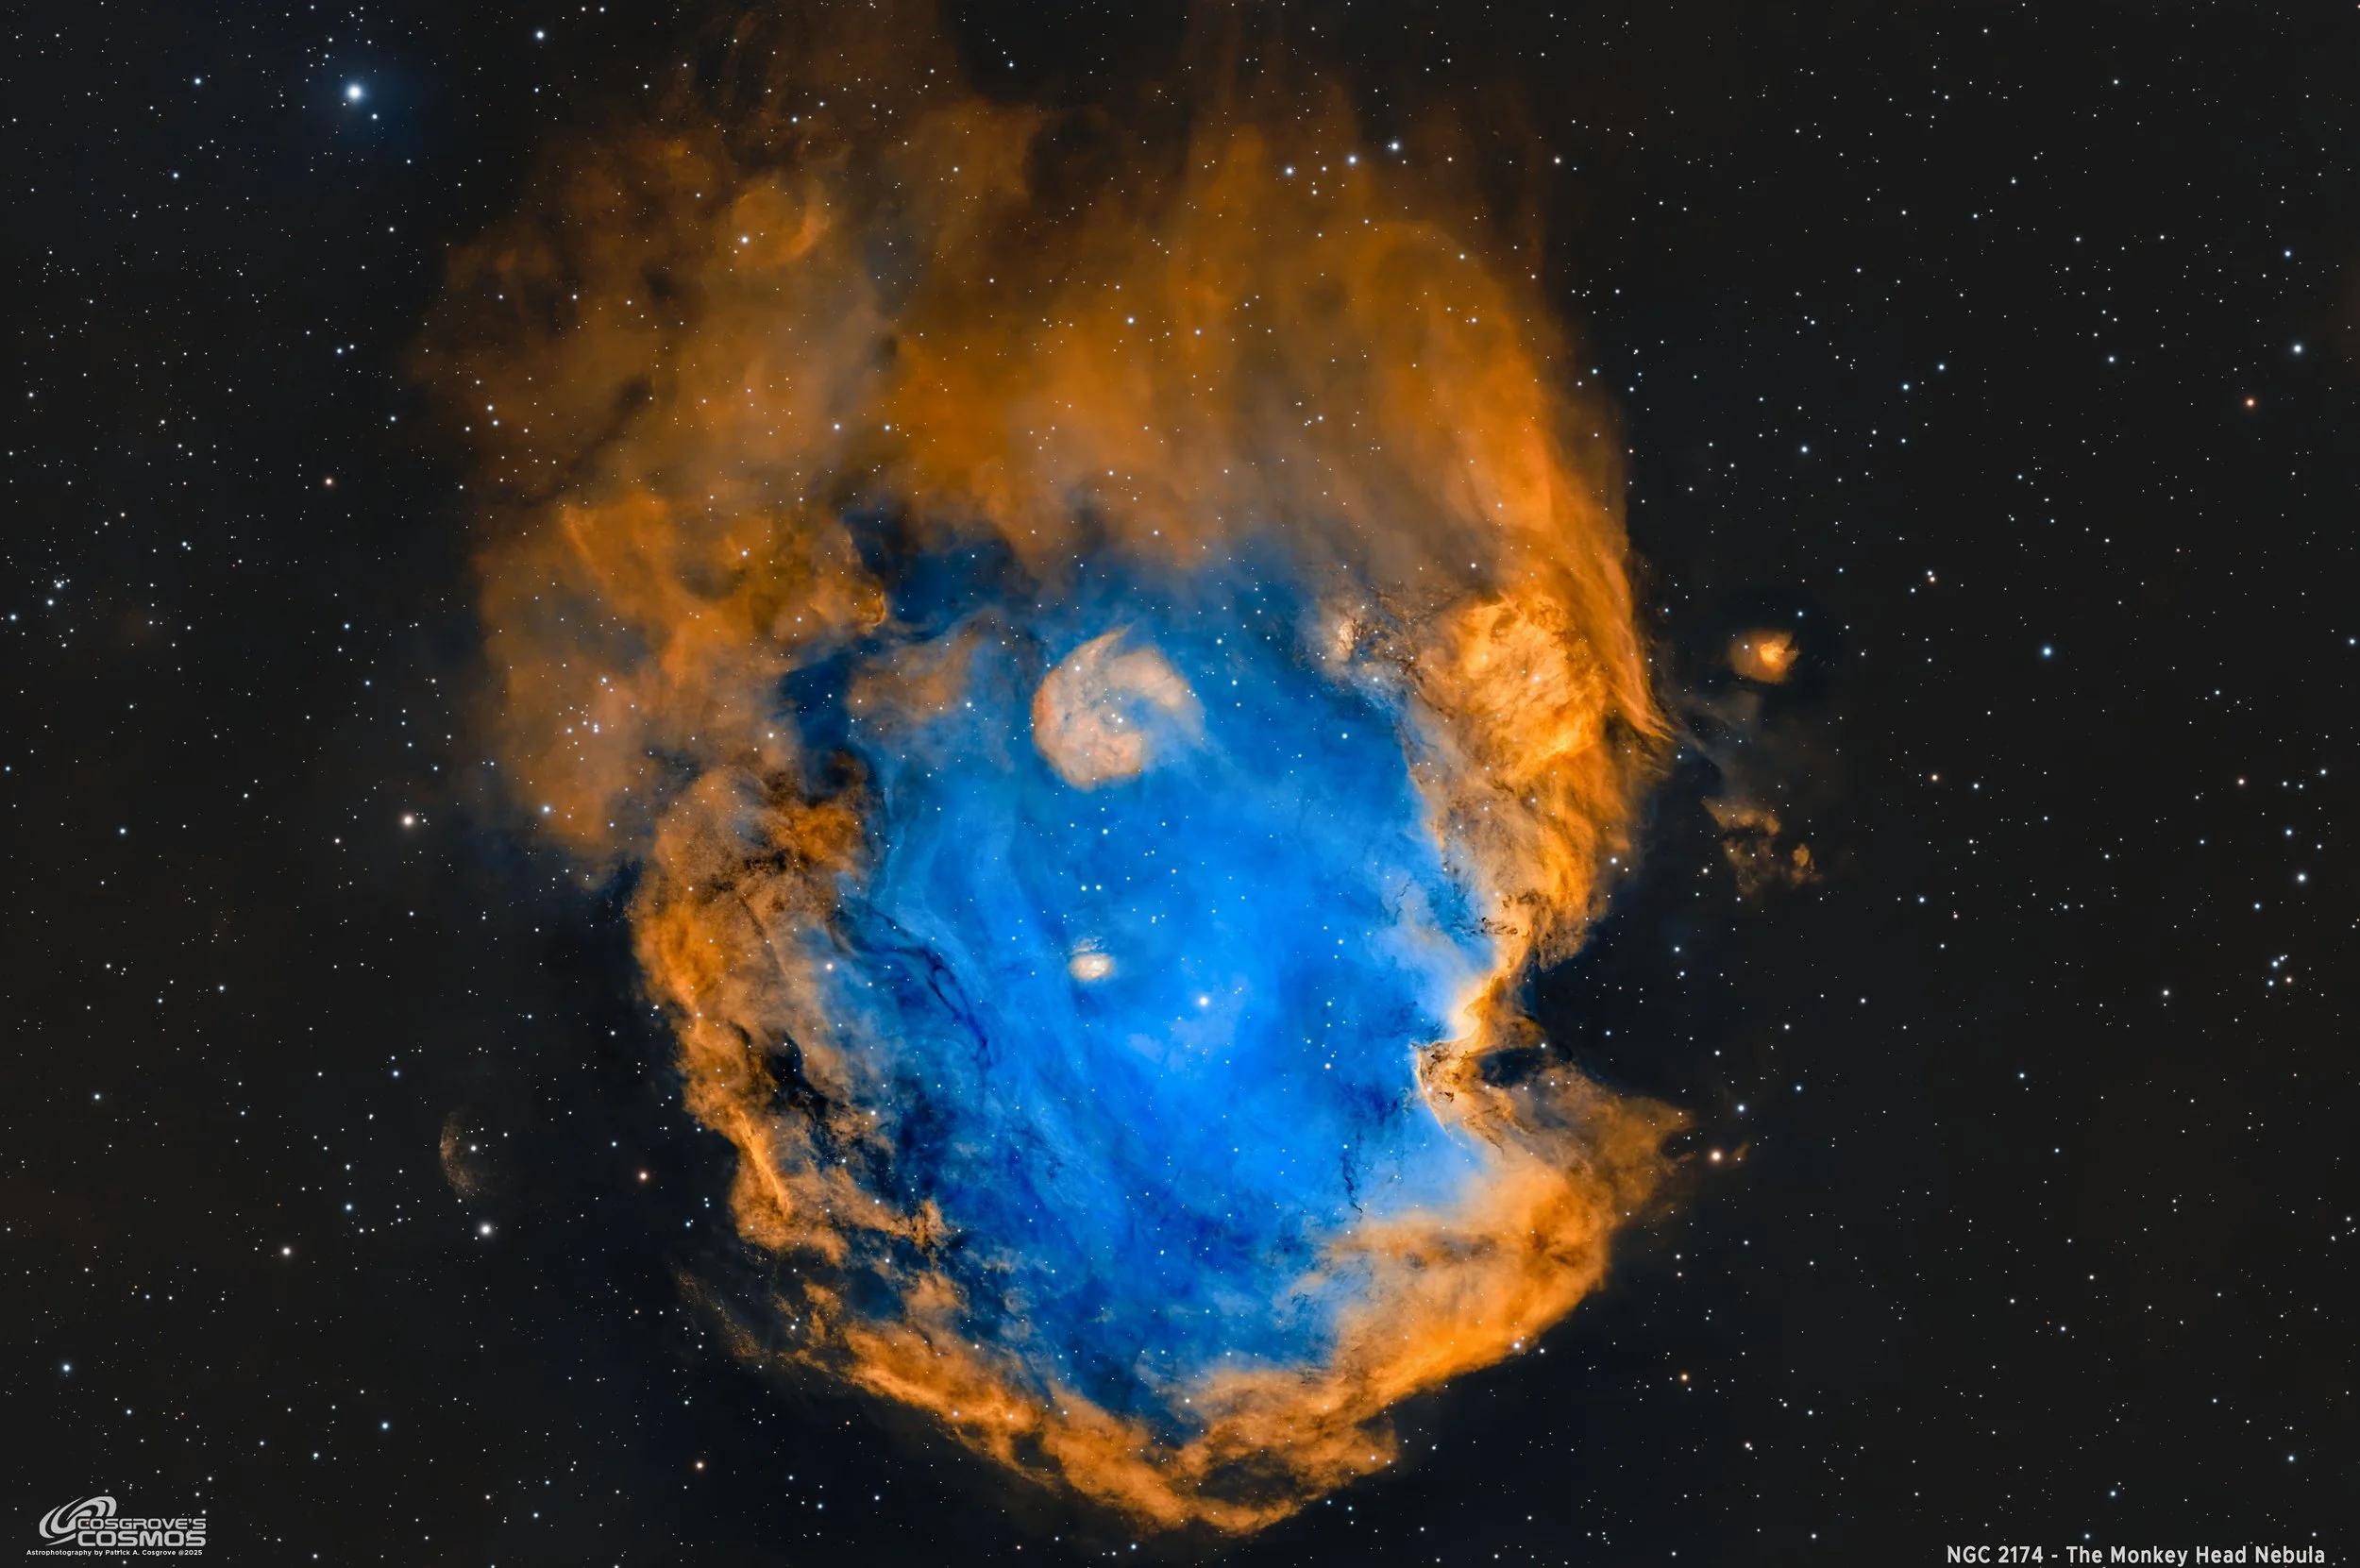
NGC 2174 - The Monkey Head Nebula - 5.1 hours SHO (click to view)
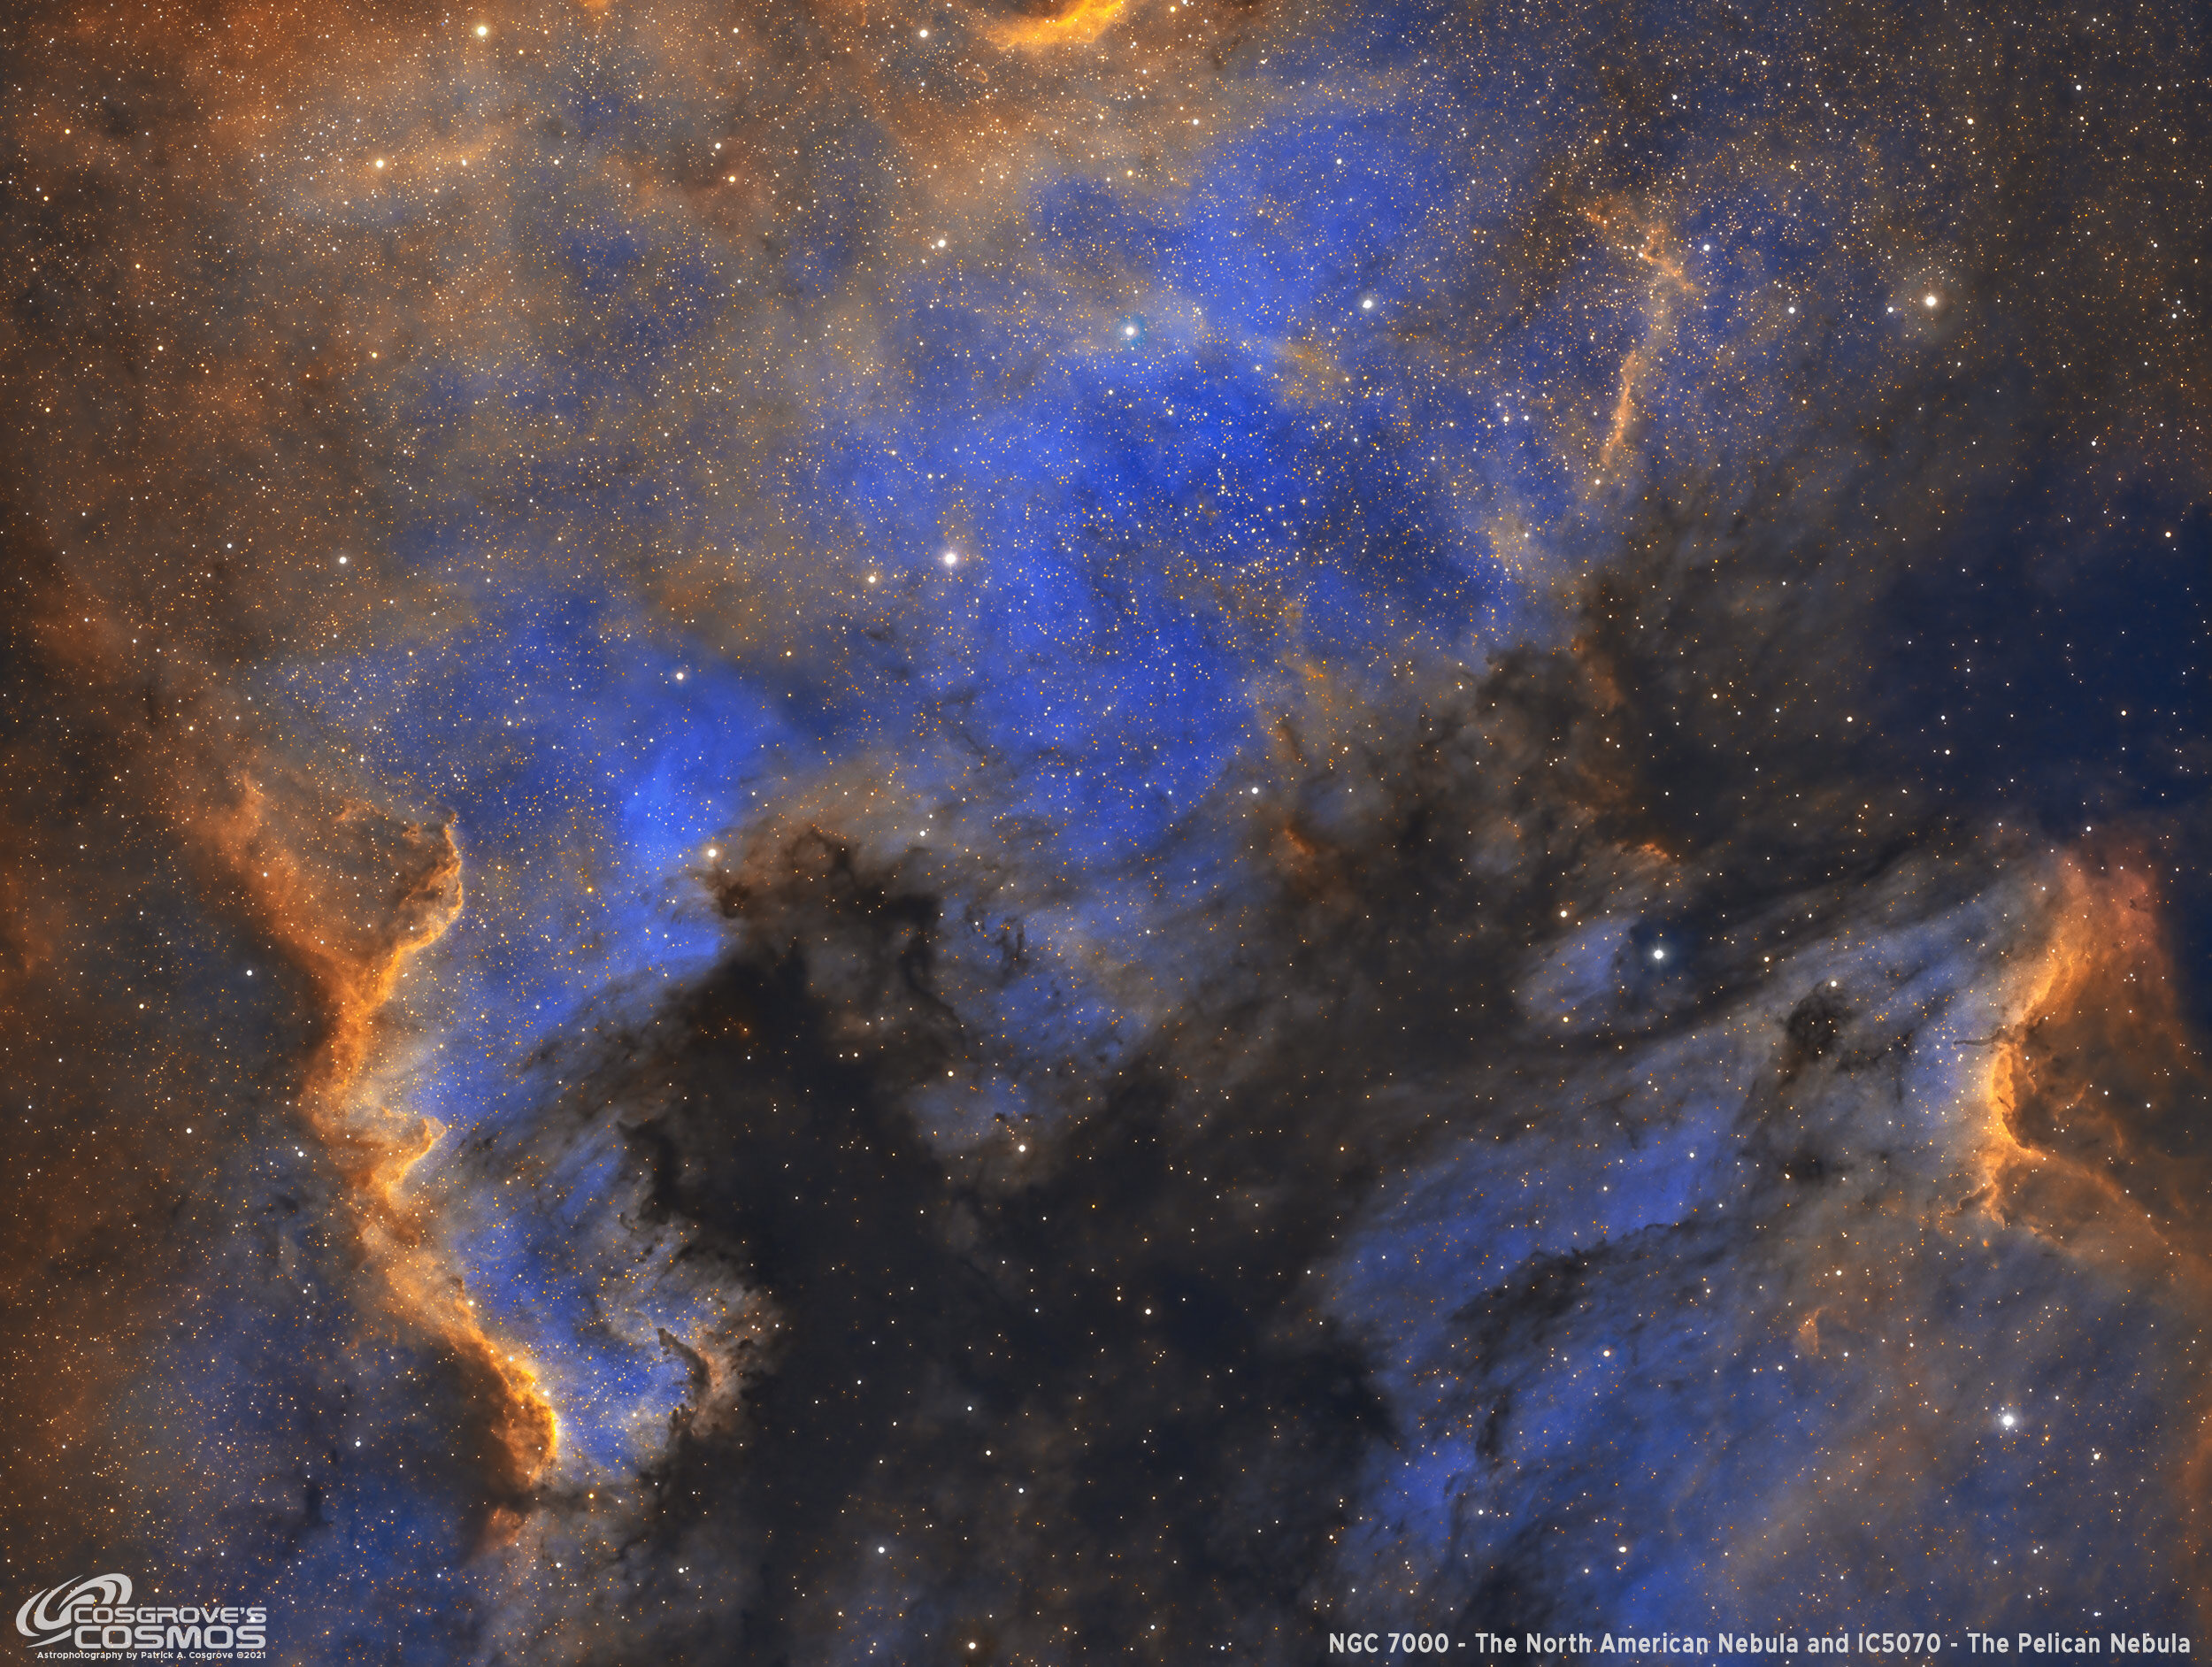
NGC 7000 - North American Nebula - with IC5070 - Pelican Nebula in 9.33 hours SHO (click to view)
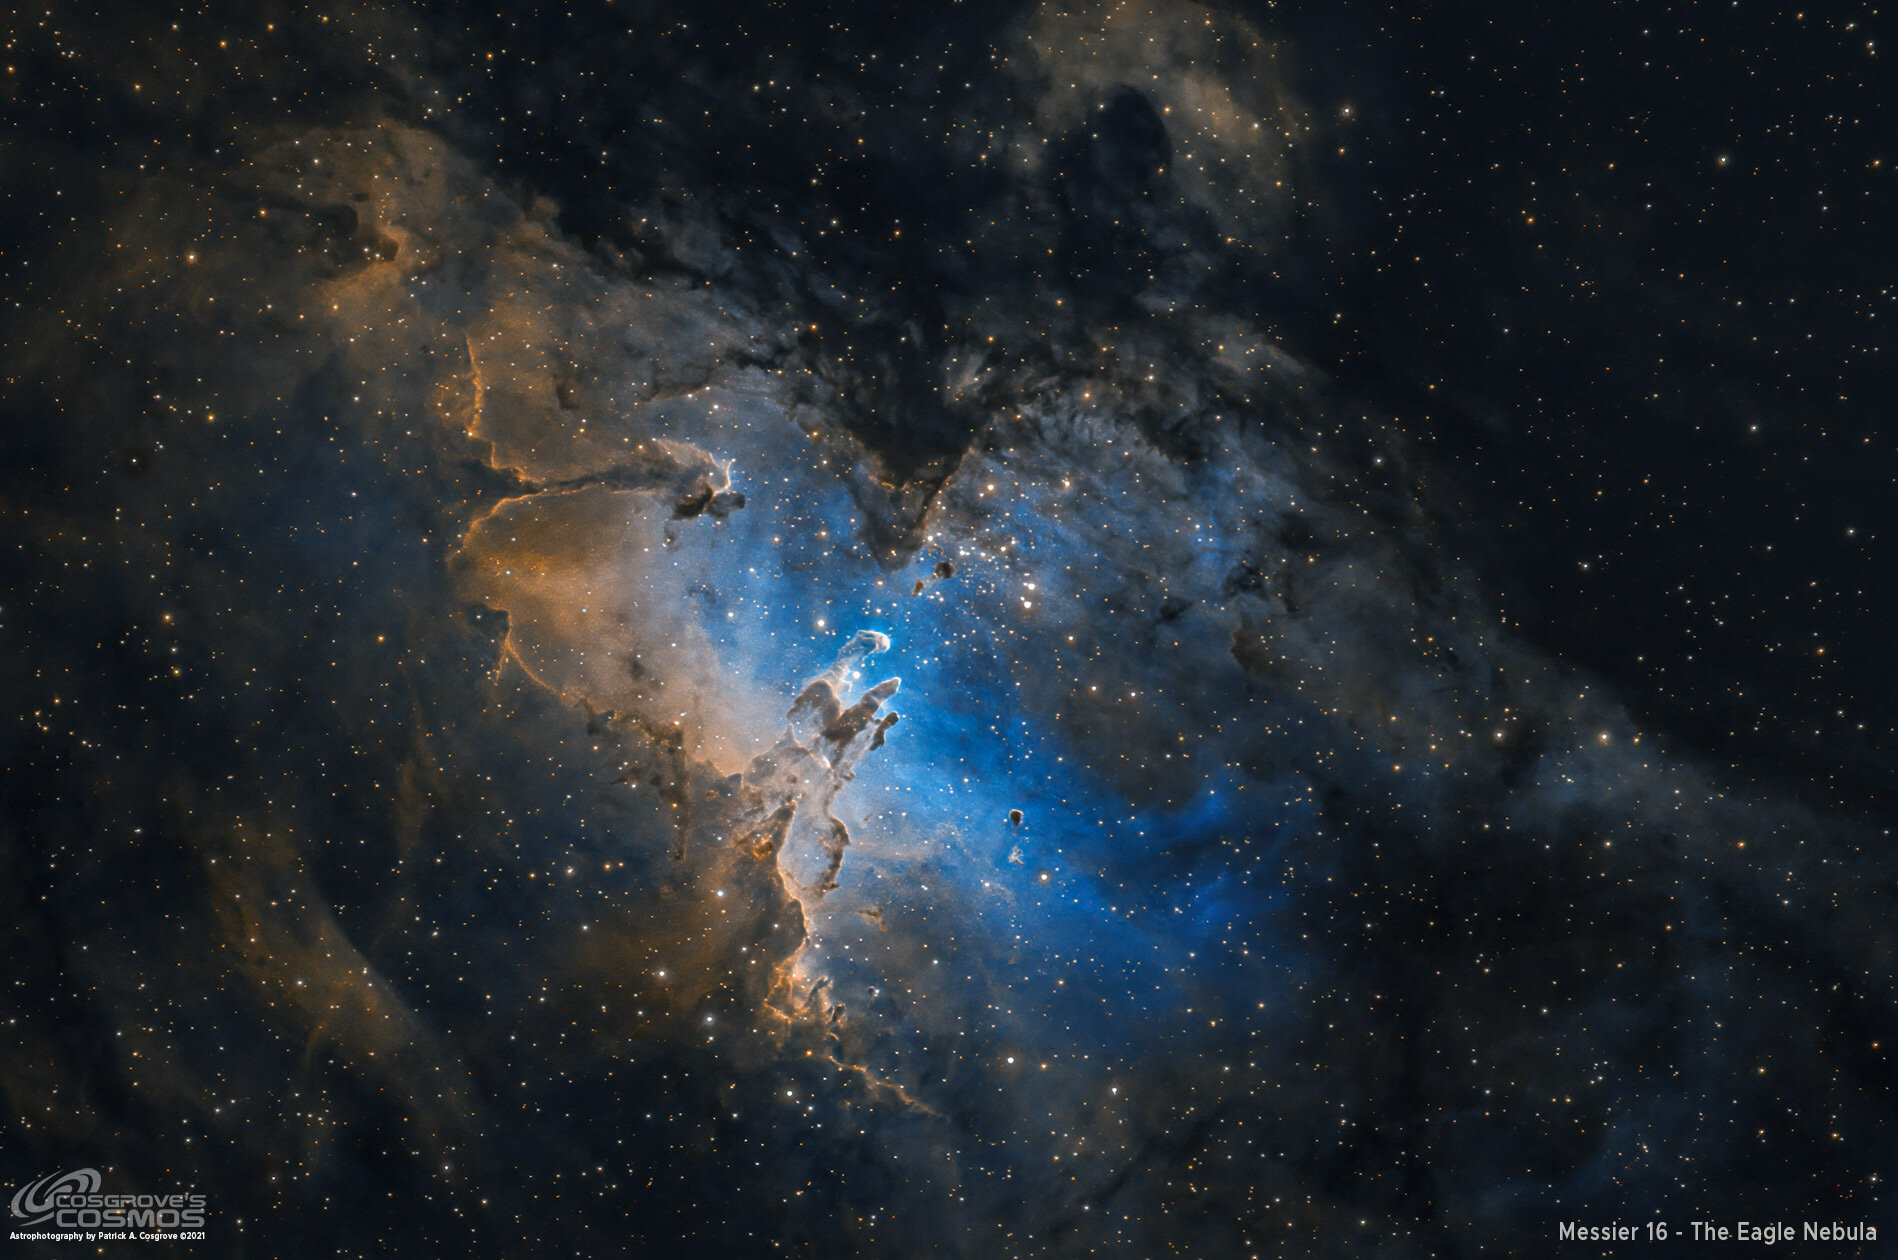
Messier 16 - The Eagle Nebula / Pillars of Creation in SHO (click to view)
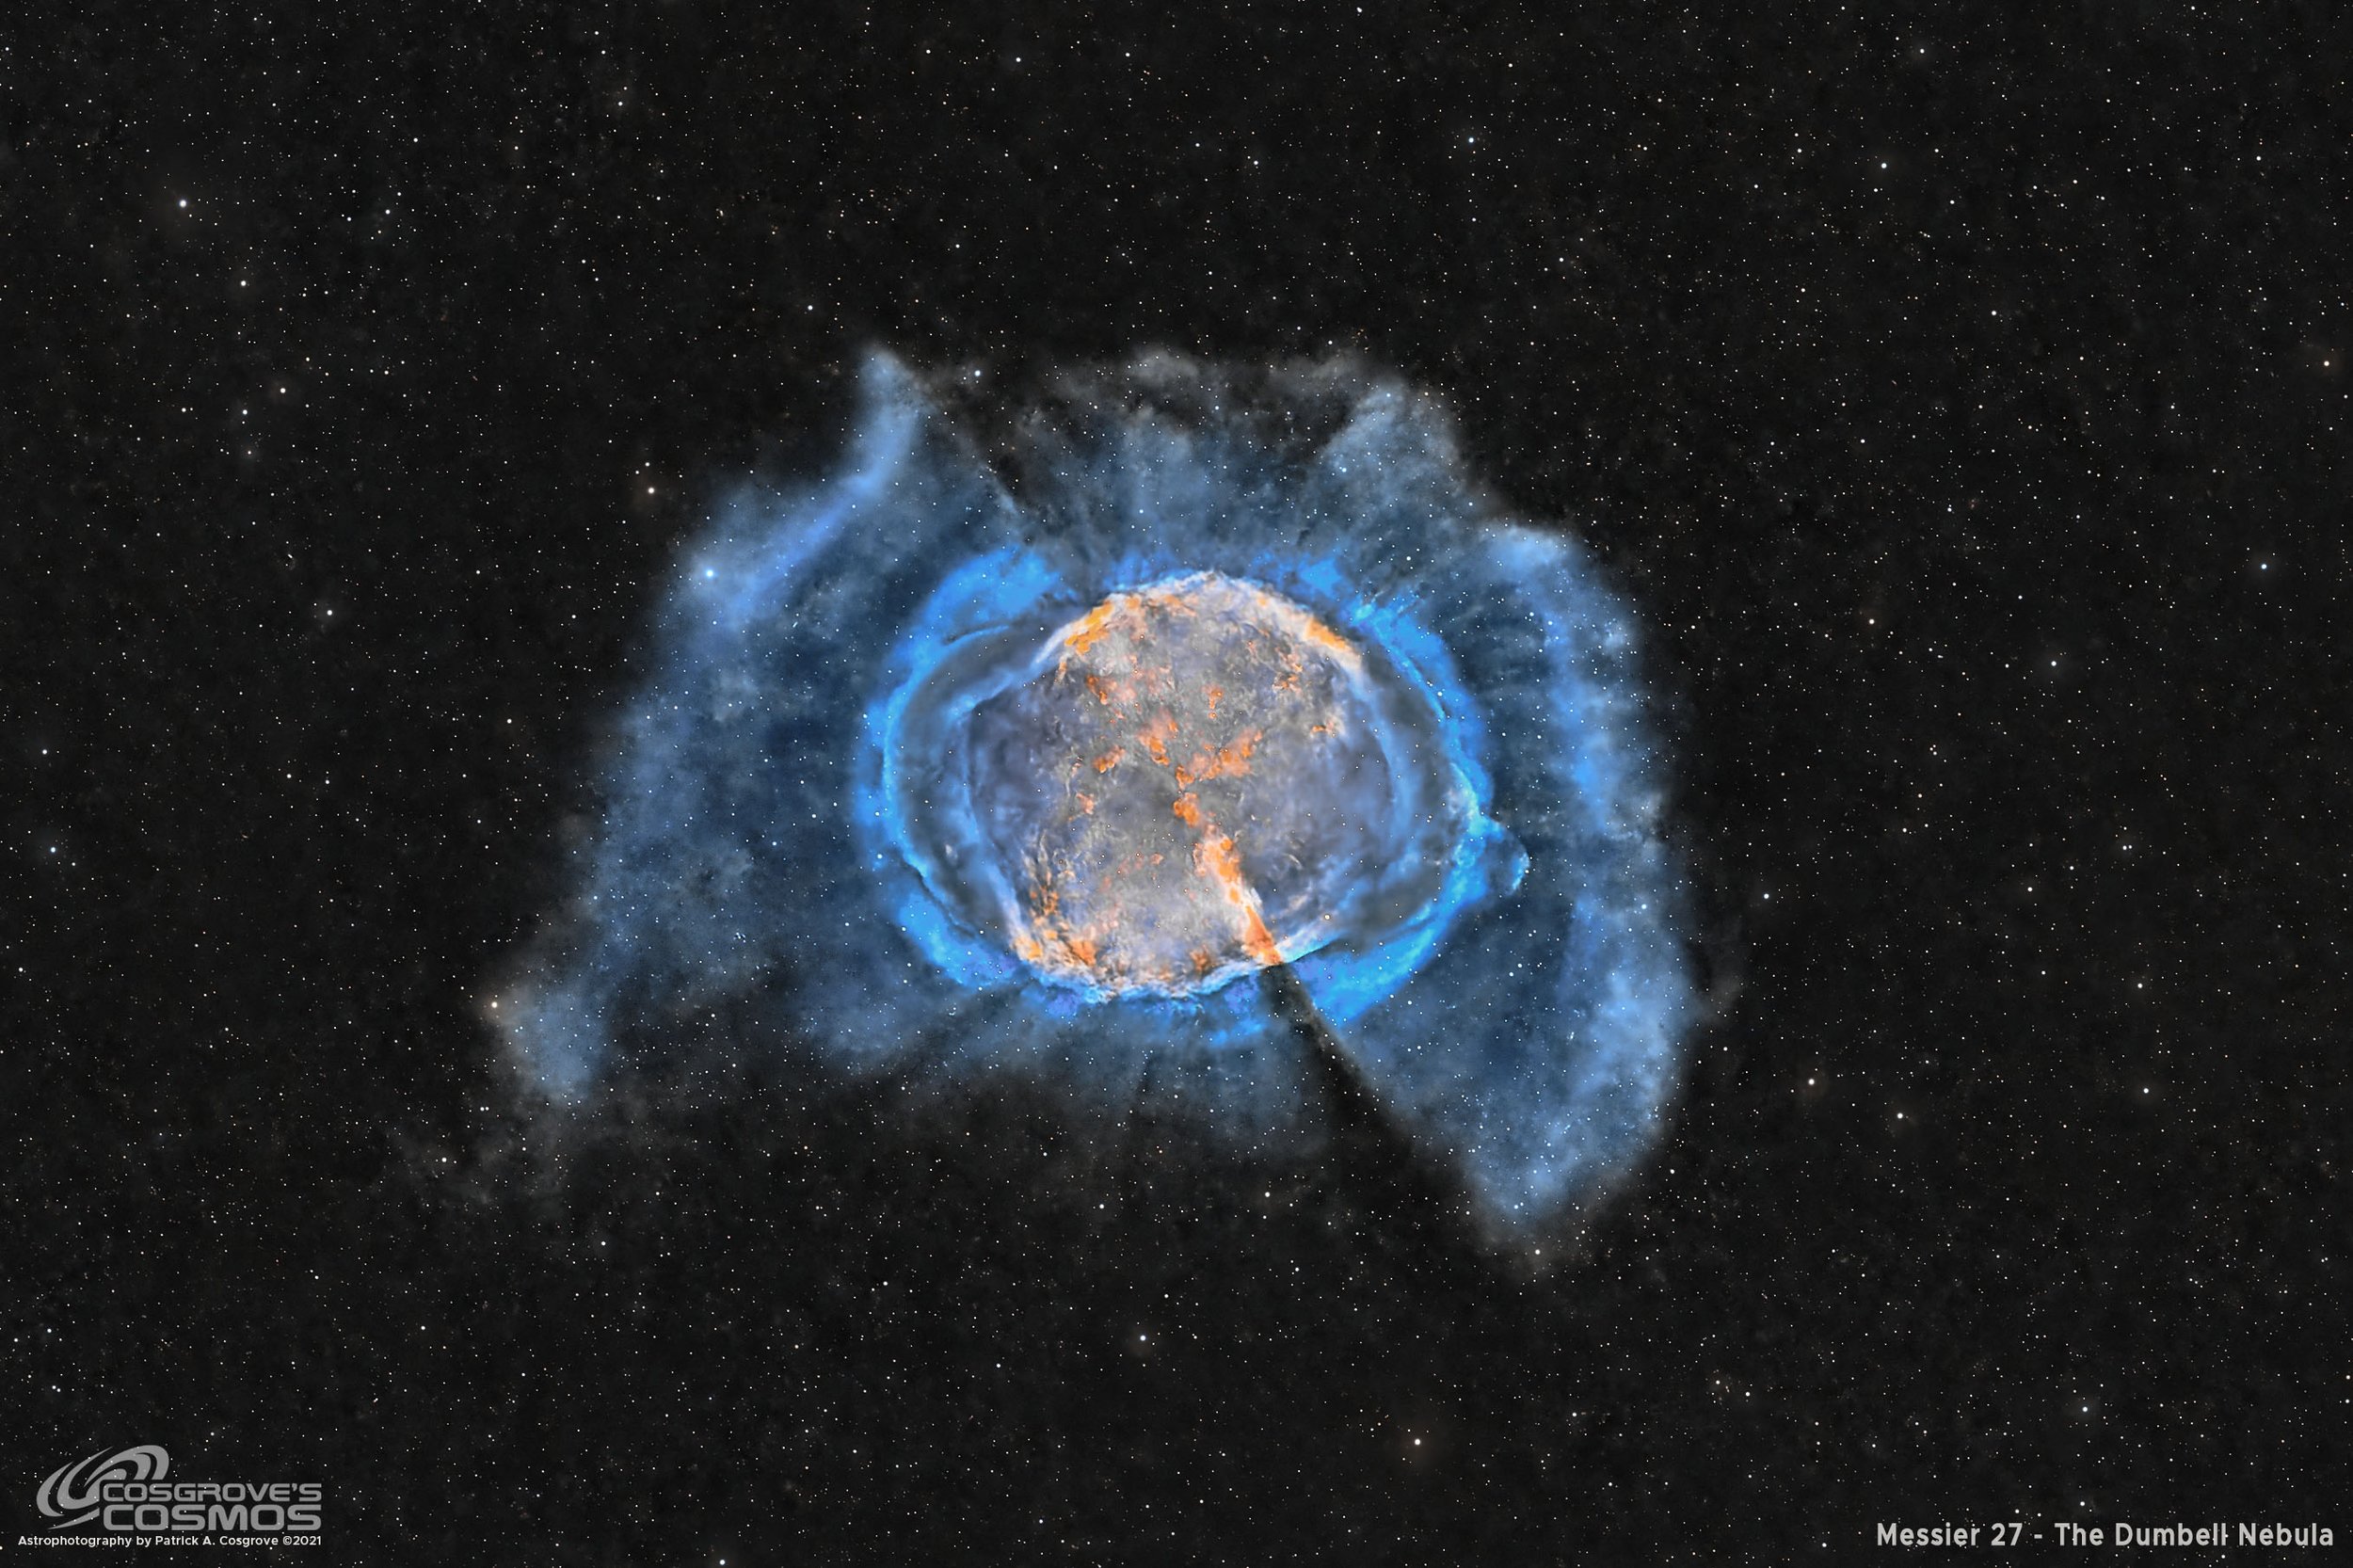
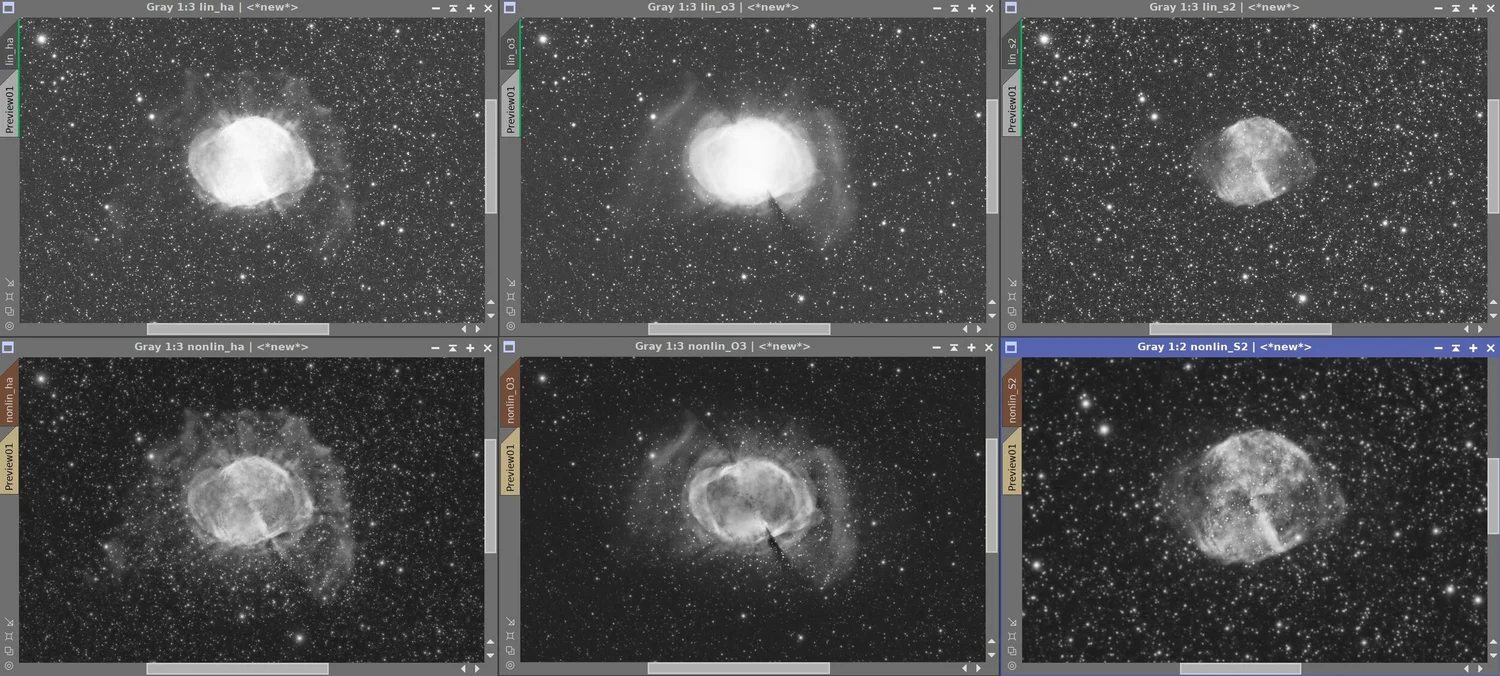
Messier 27 - The Dumbbell Nebula Data in SHO 10.25 hours (click to view)

AMessier 42/43 – The Great Orion Nebula - 6.35 hours in HaLRGB (click to view)
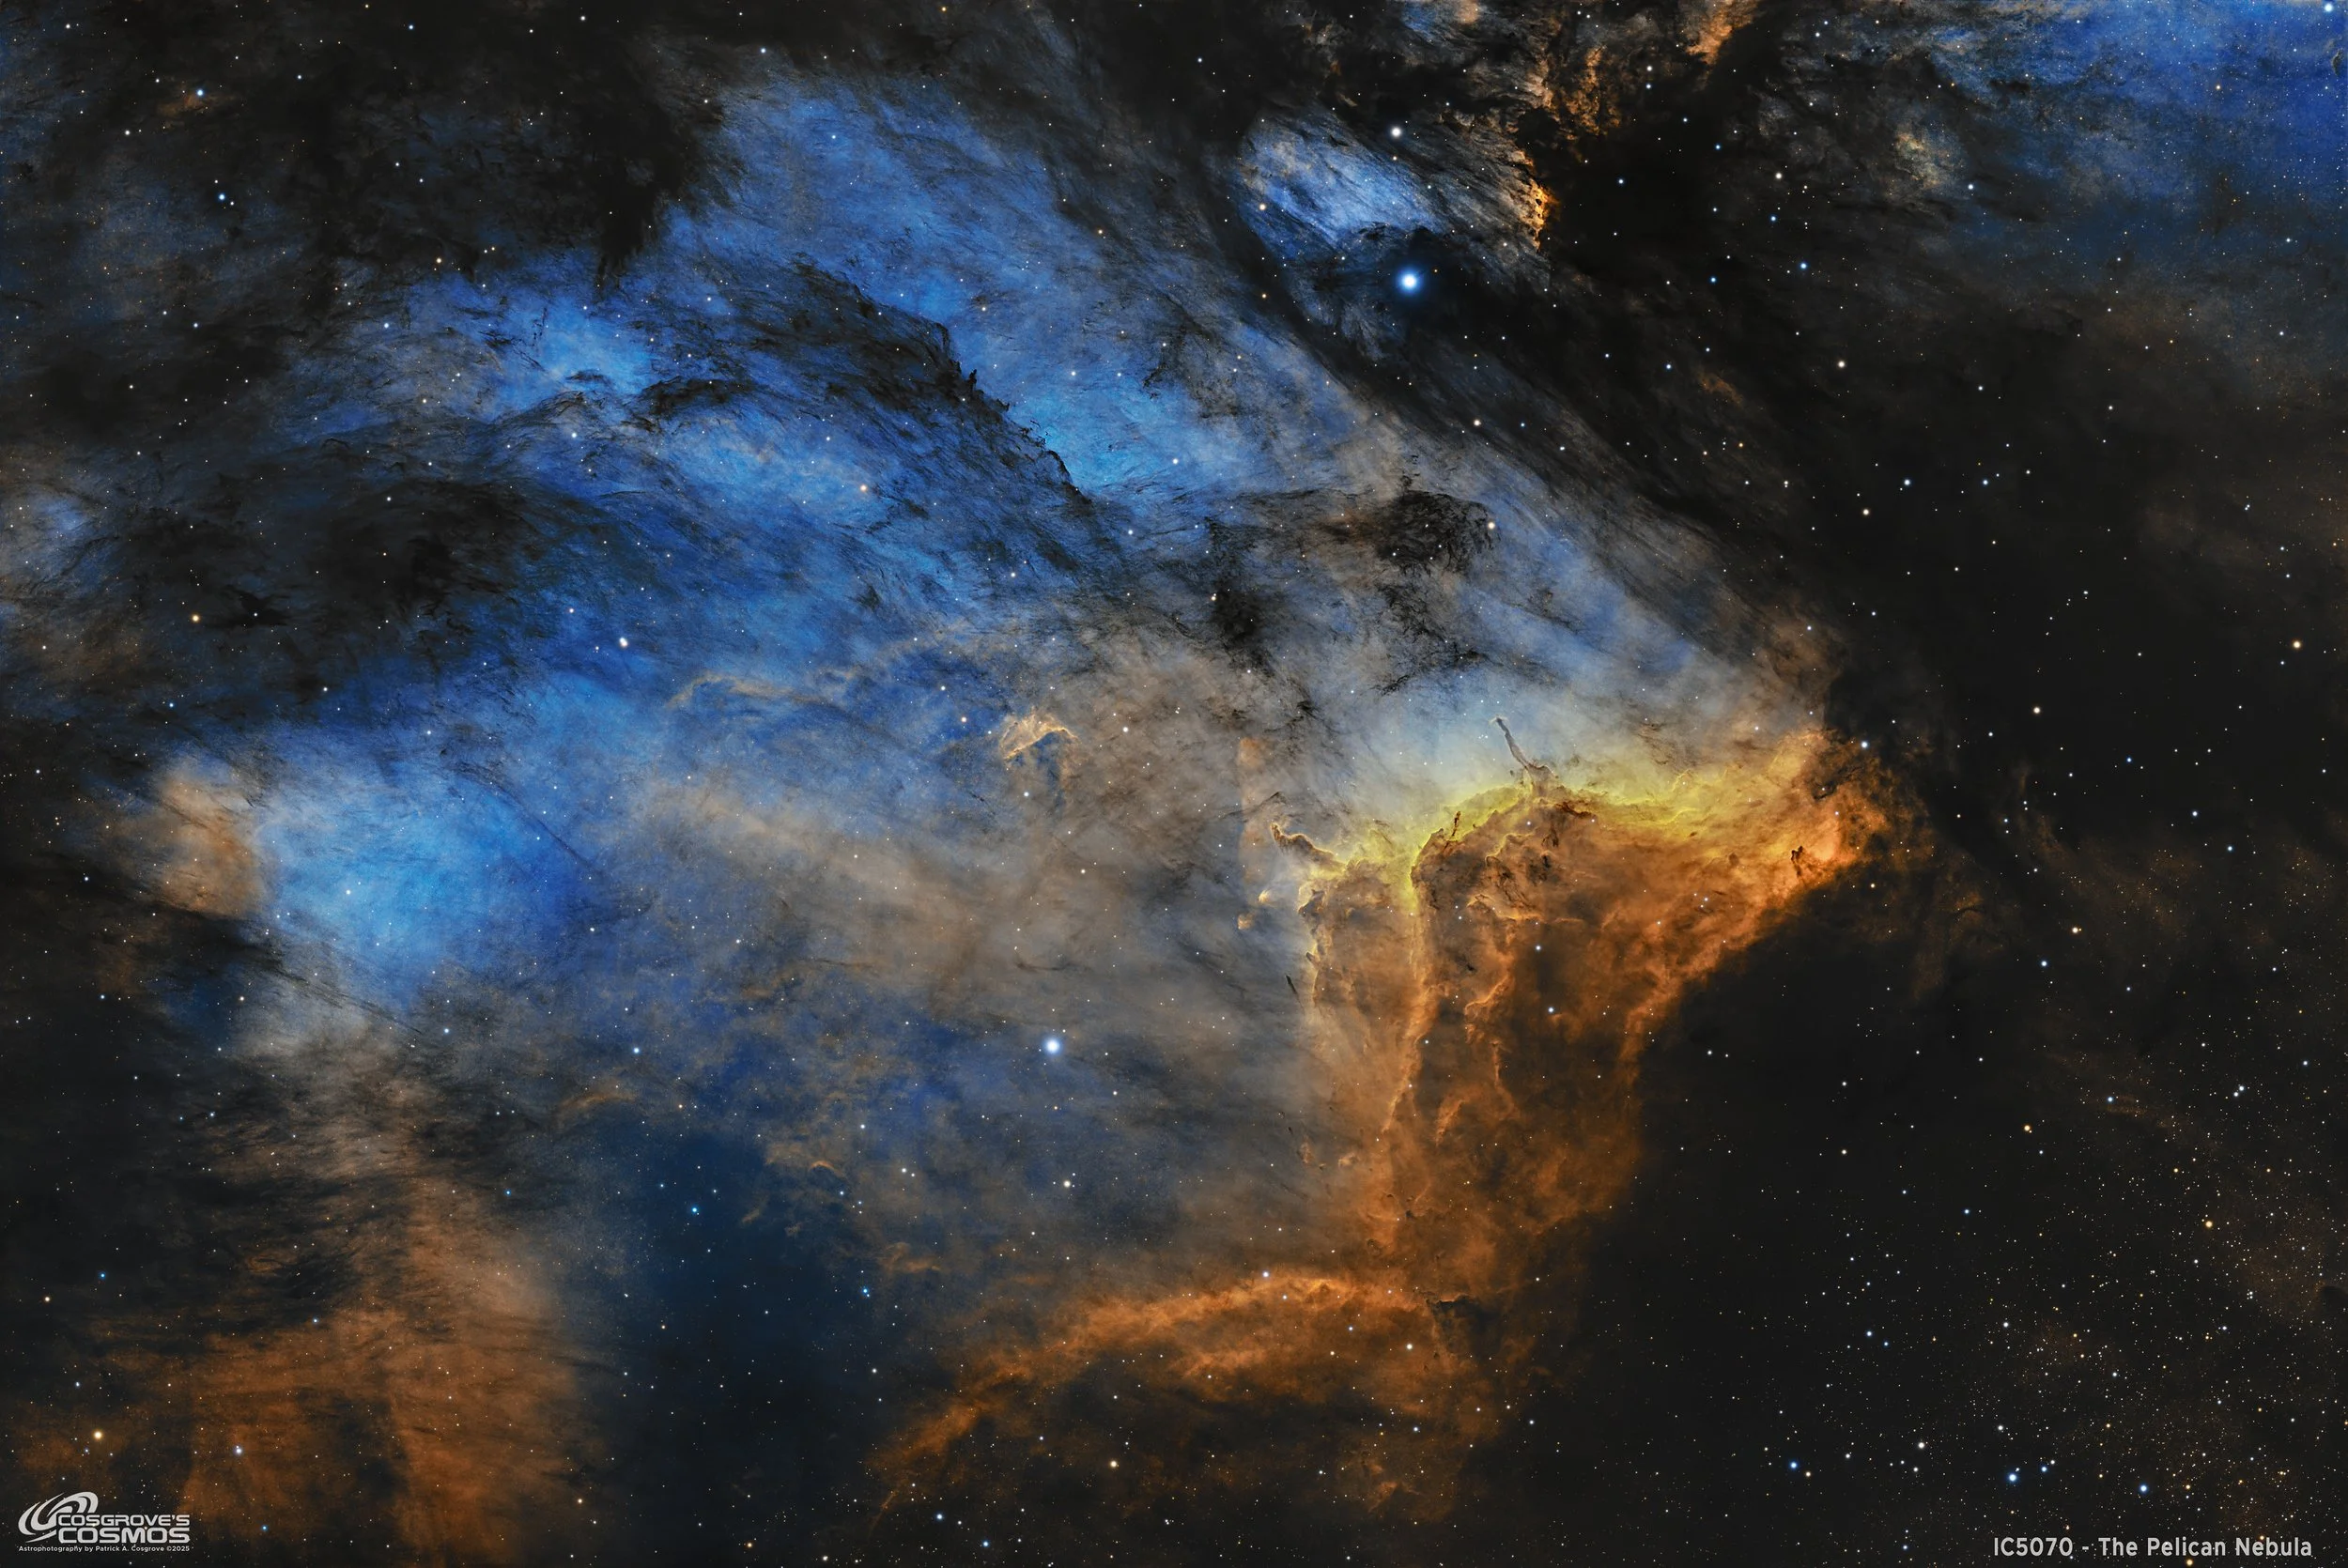
IIC 5070 - The Pelican Nebula! 18.75 hours of SHO (click to view)

IC 5068 - The Forsaken Nebula and the “Black Waterfall”- 11.9 hours SHOrgb (click to view)
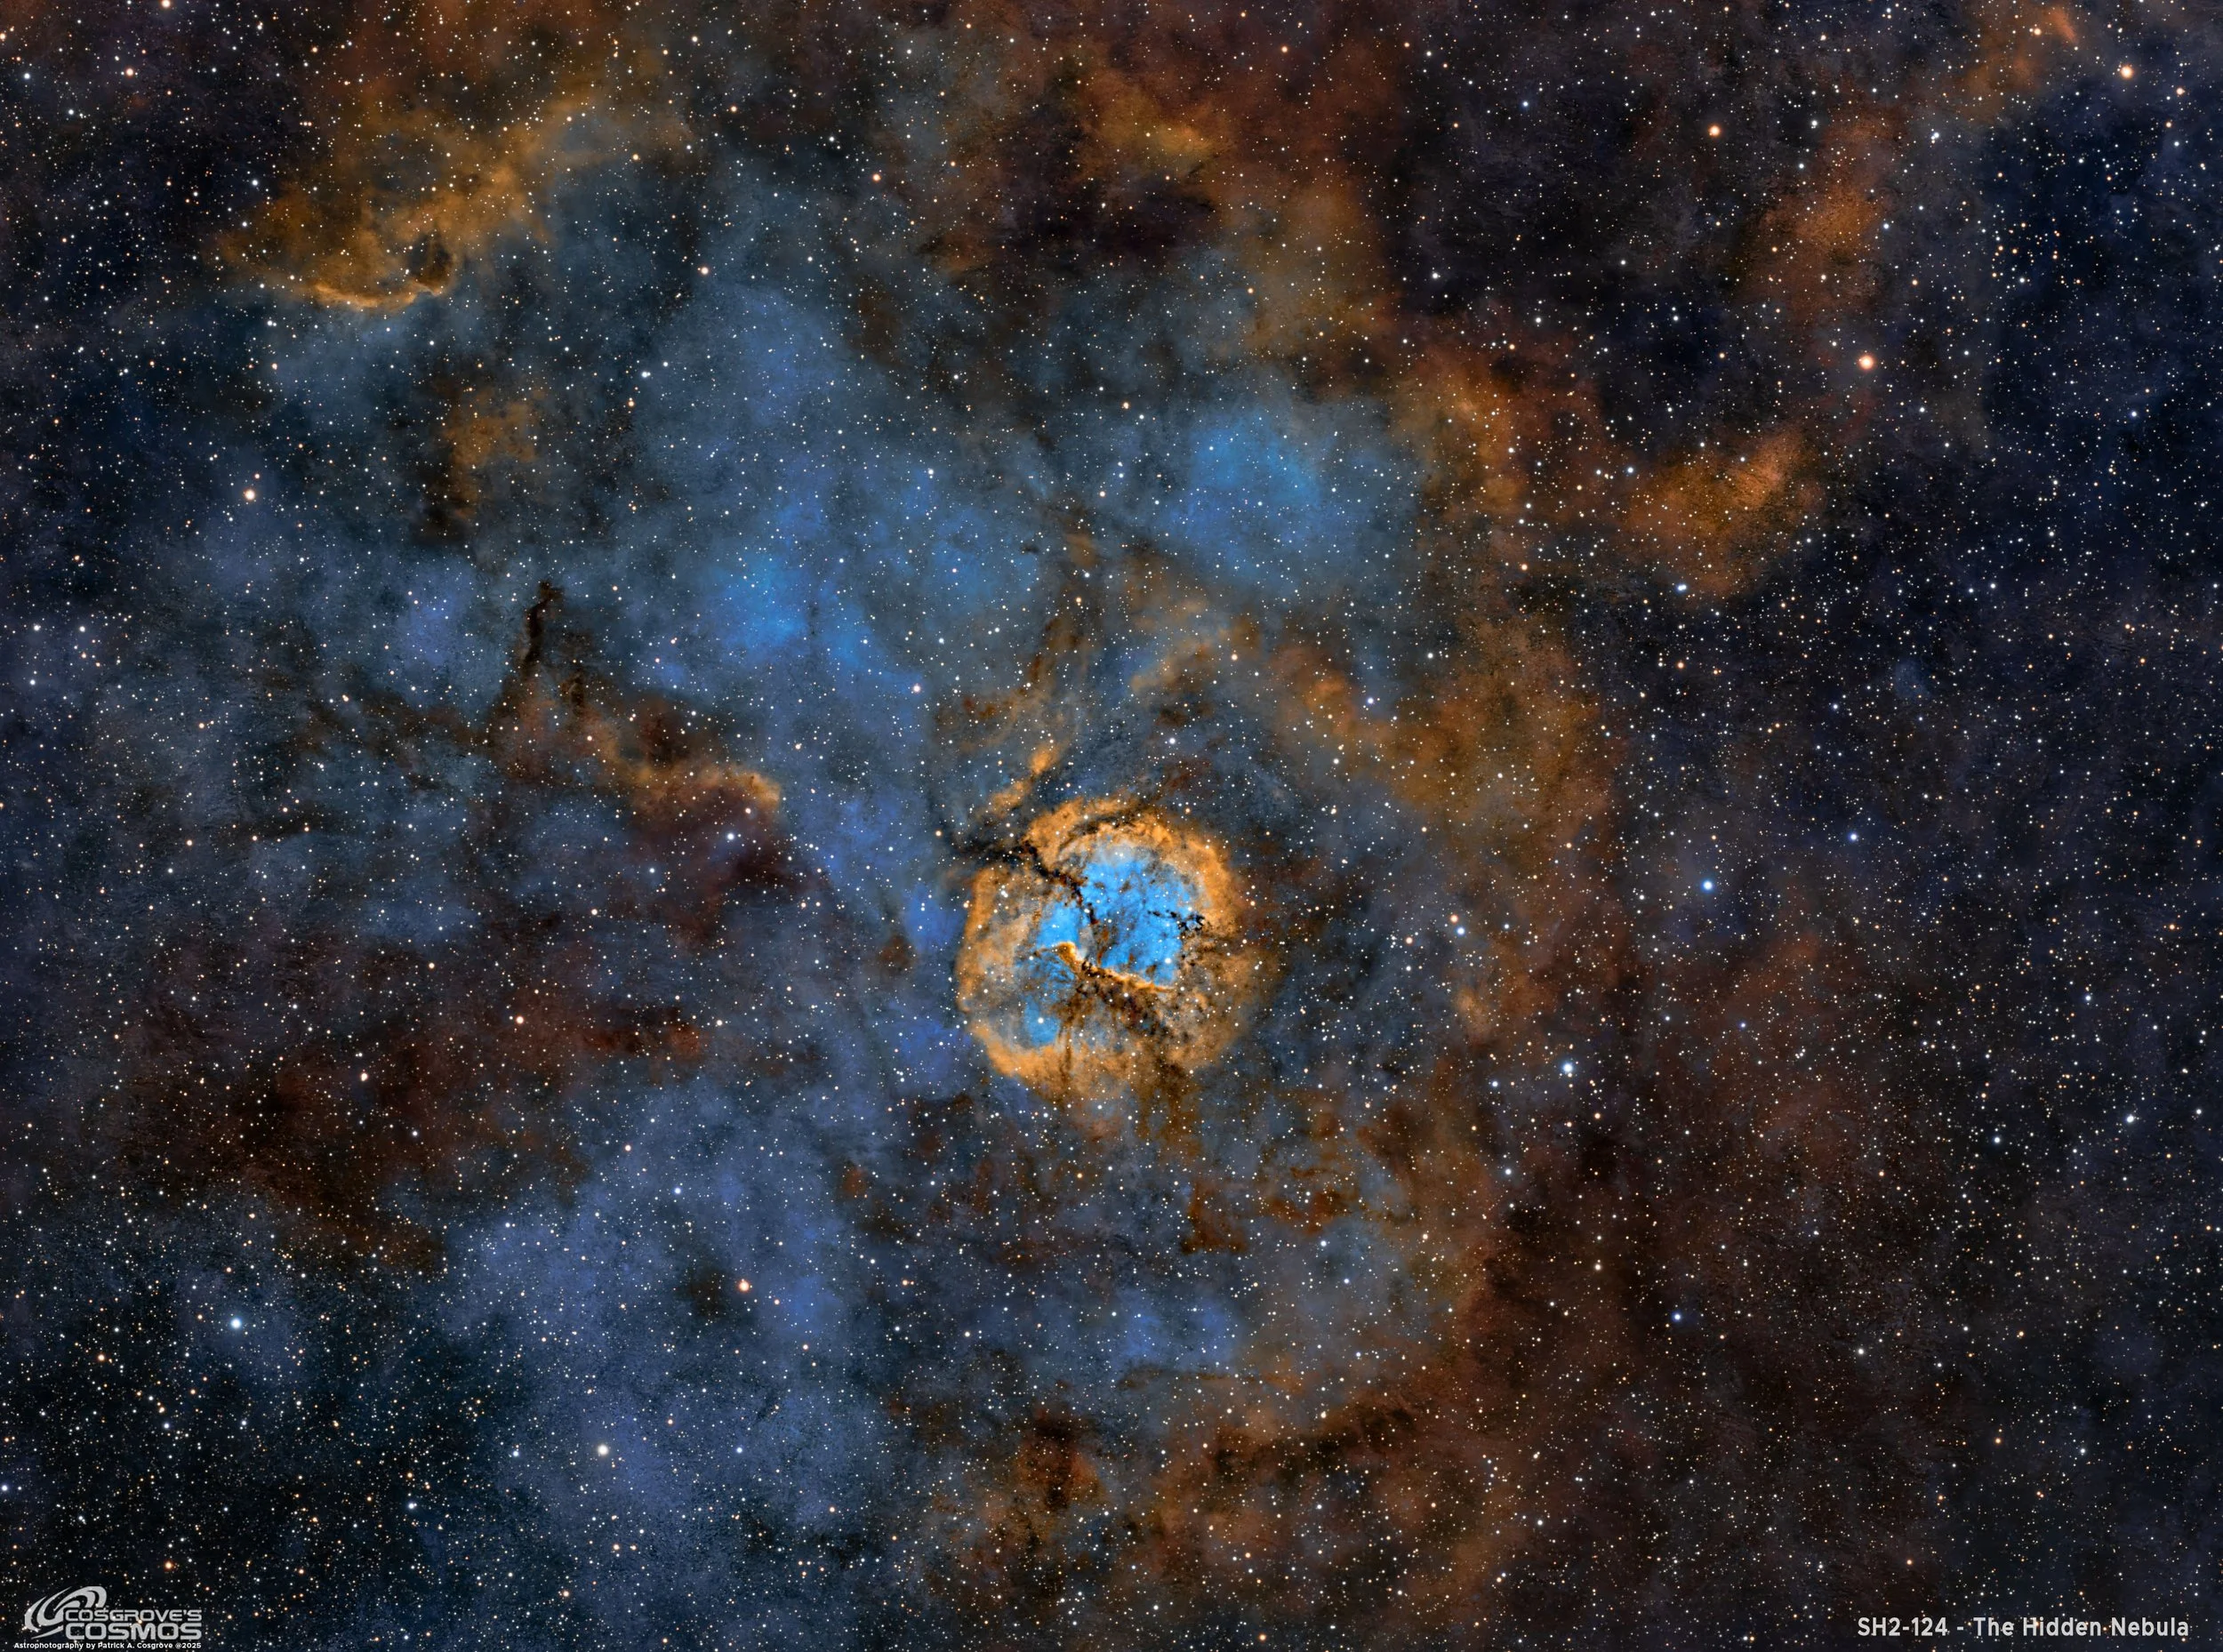
SH2-124 - The Hidden Nebula ~14.2 hours in SHOrgb (click to view)

NGC 7331 and the Deer Lick Group with Supernova SN2025rbs (click to view)
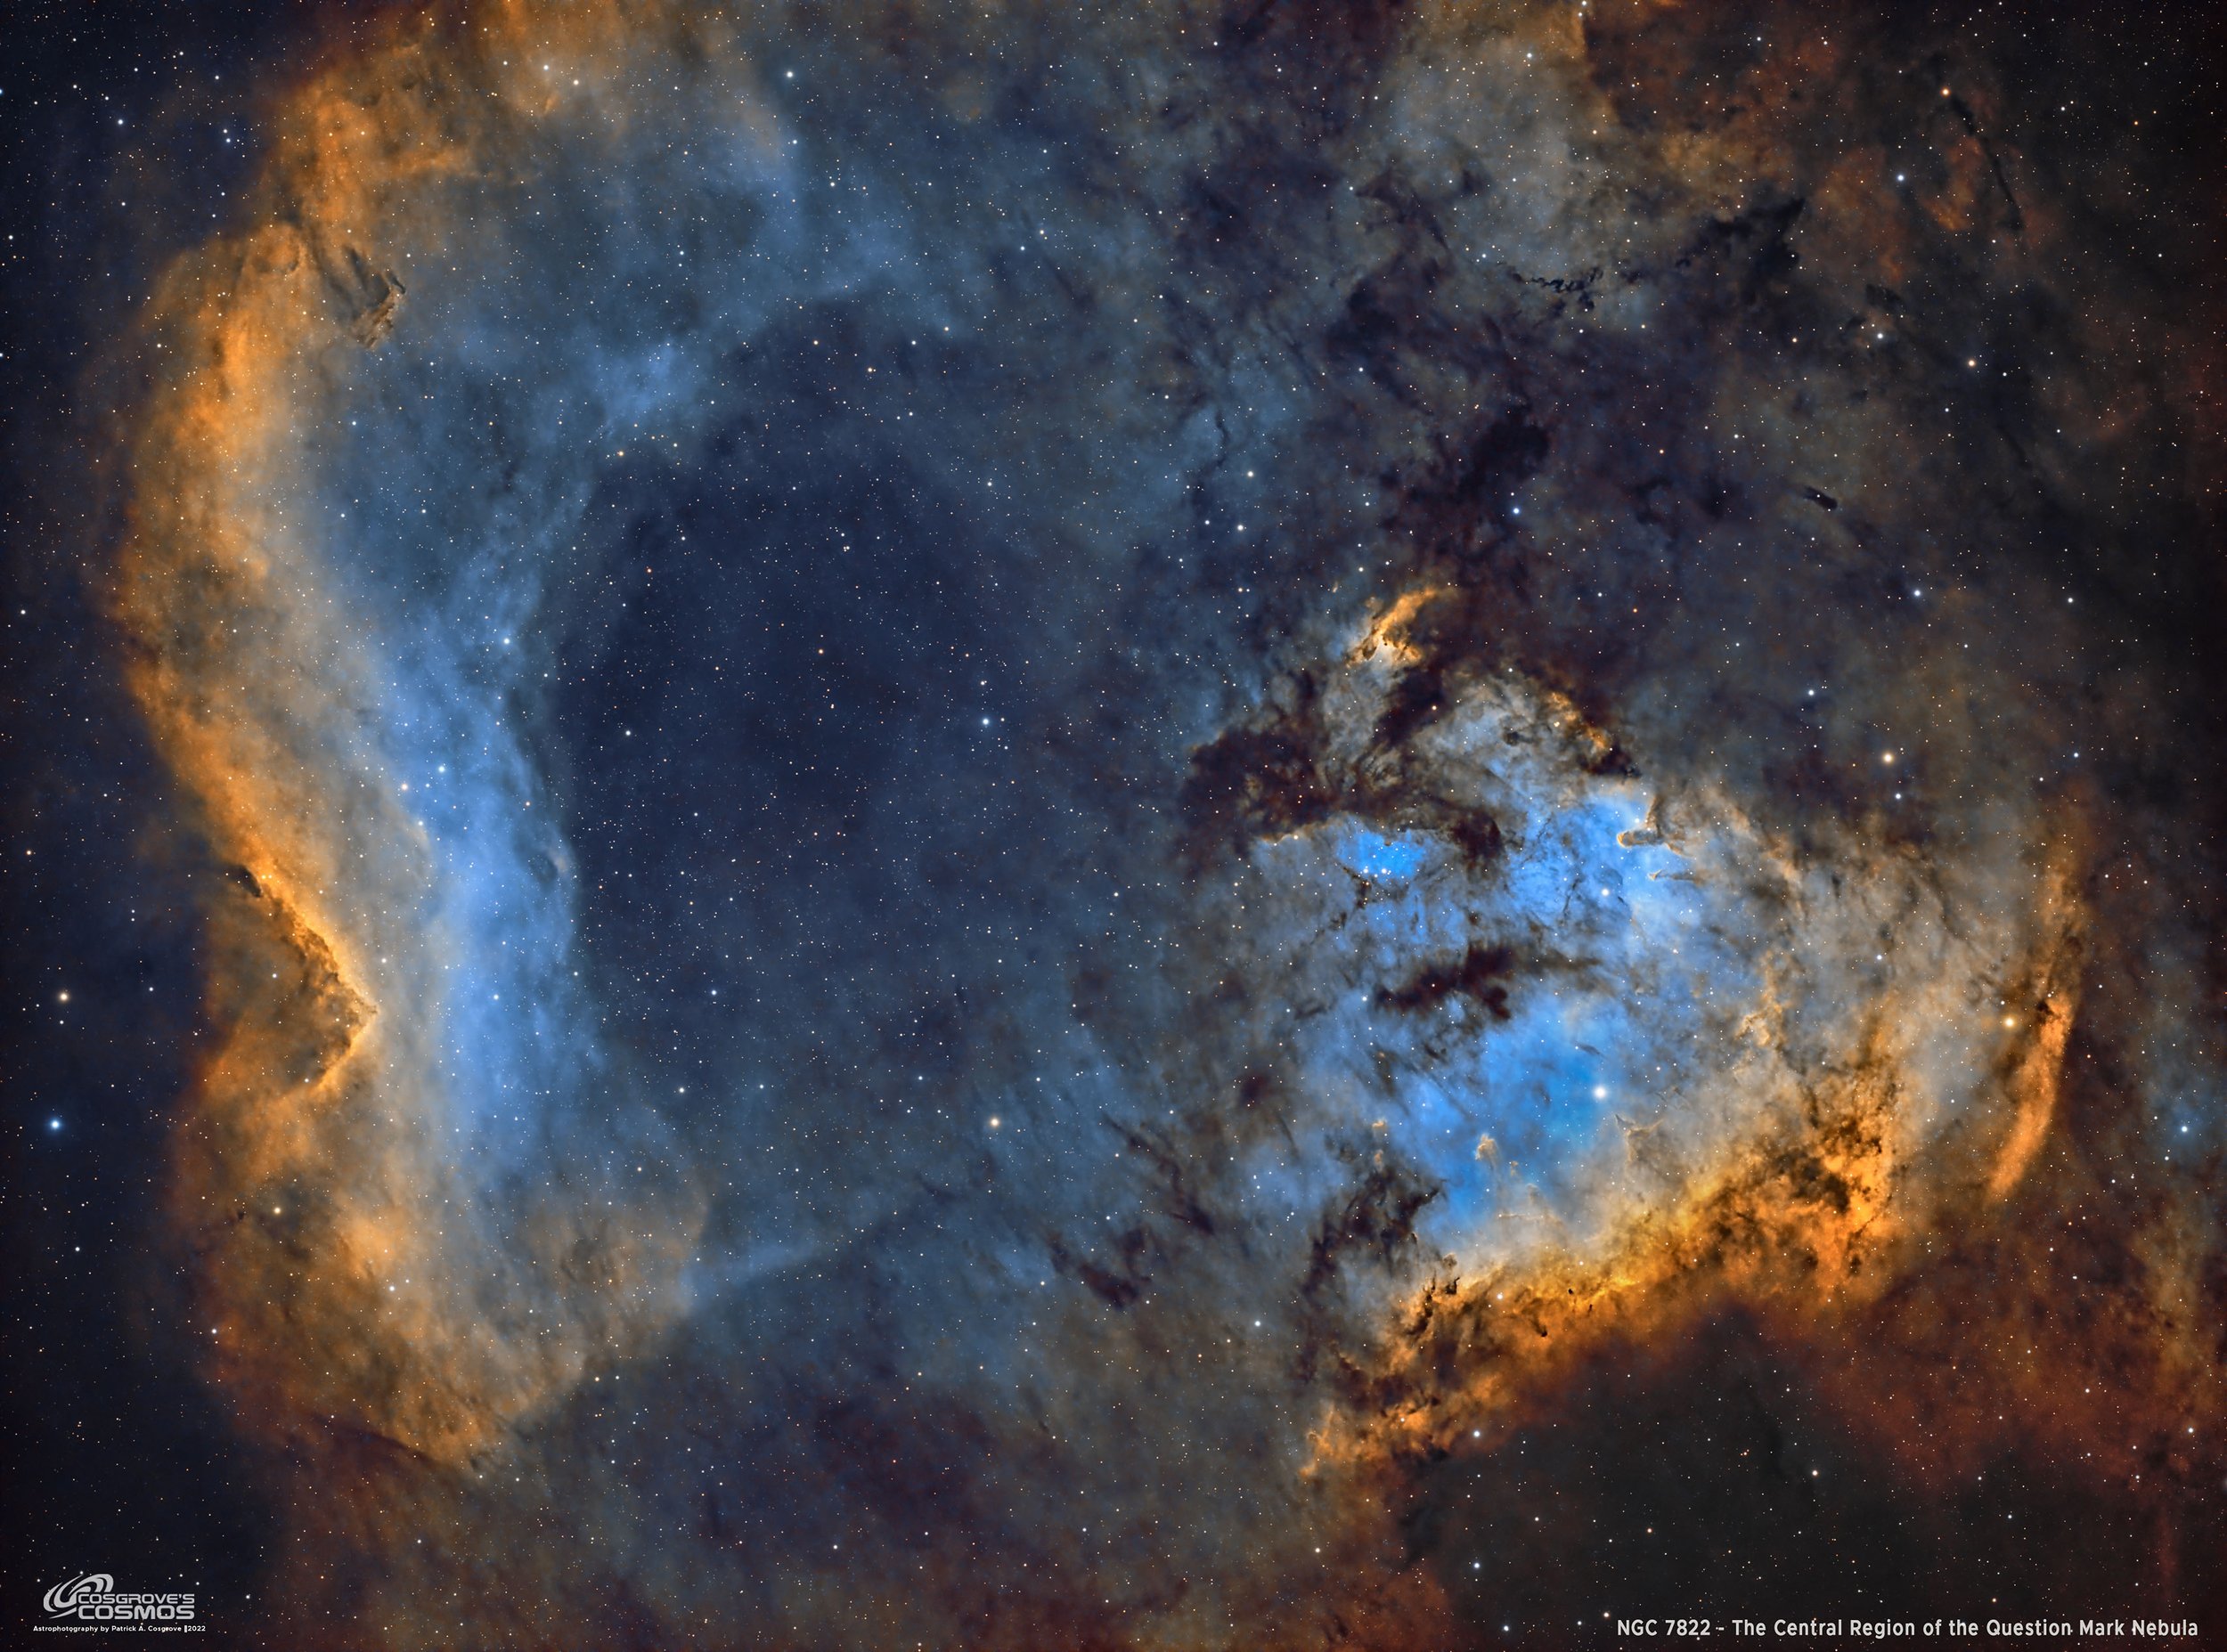
NGC 7822 - The Central Portion of the Question Mark Nebula ~14 hours in SHOrgb (click to view)
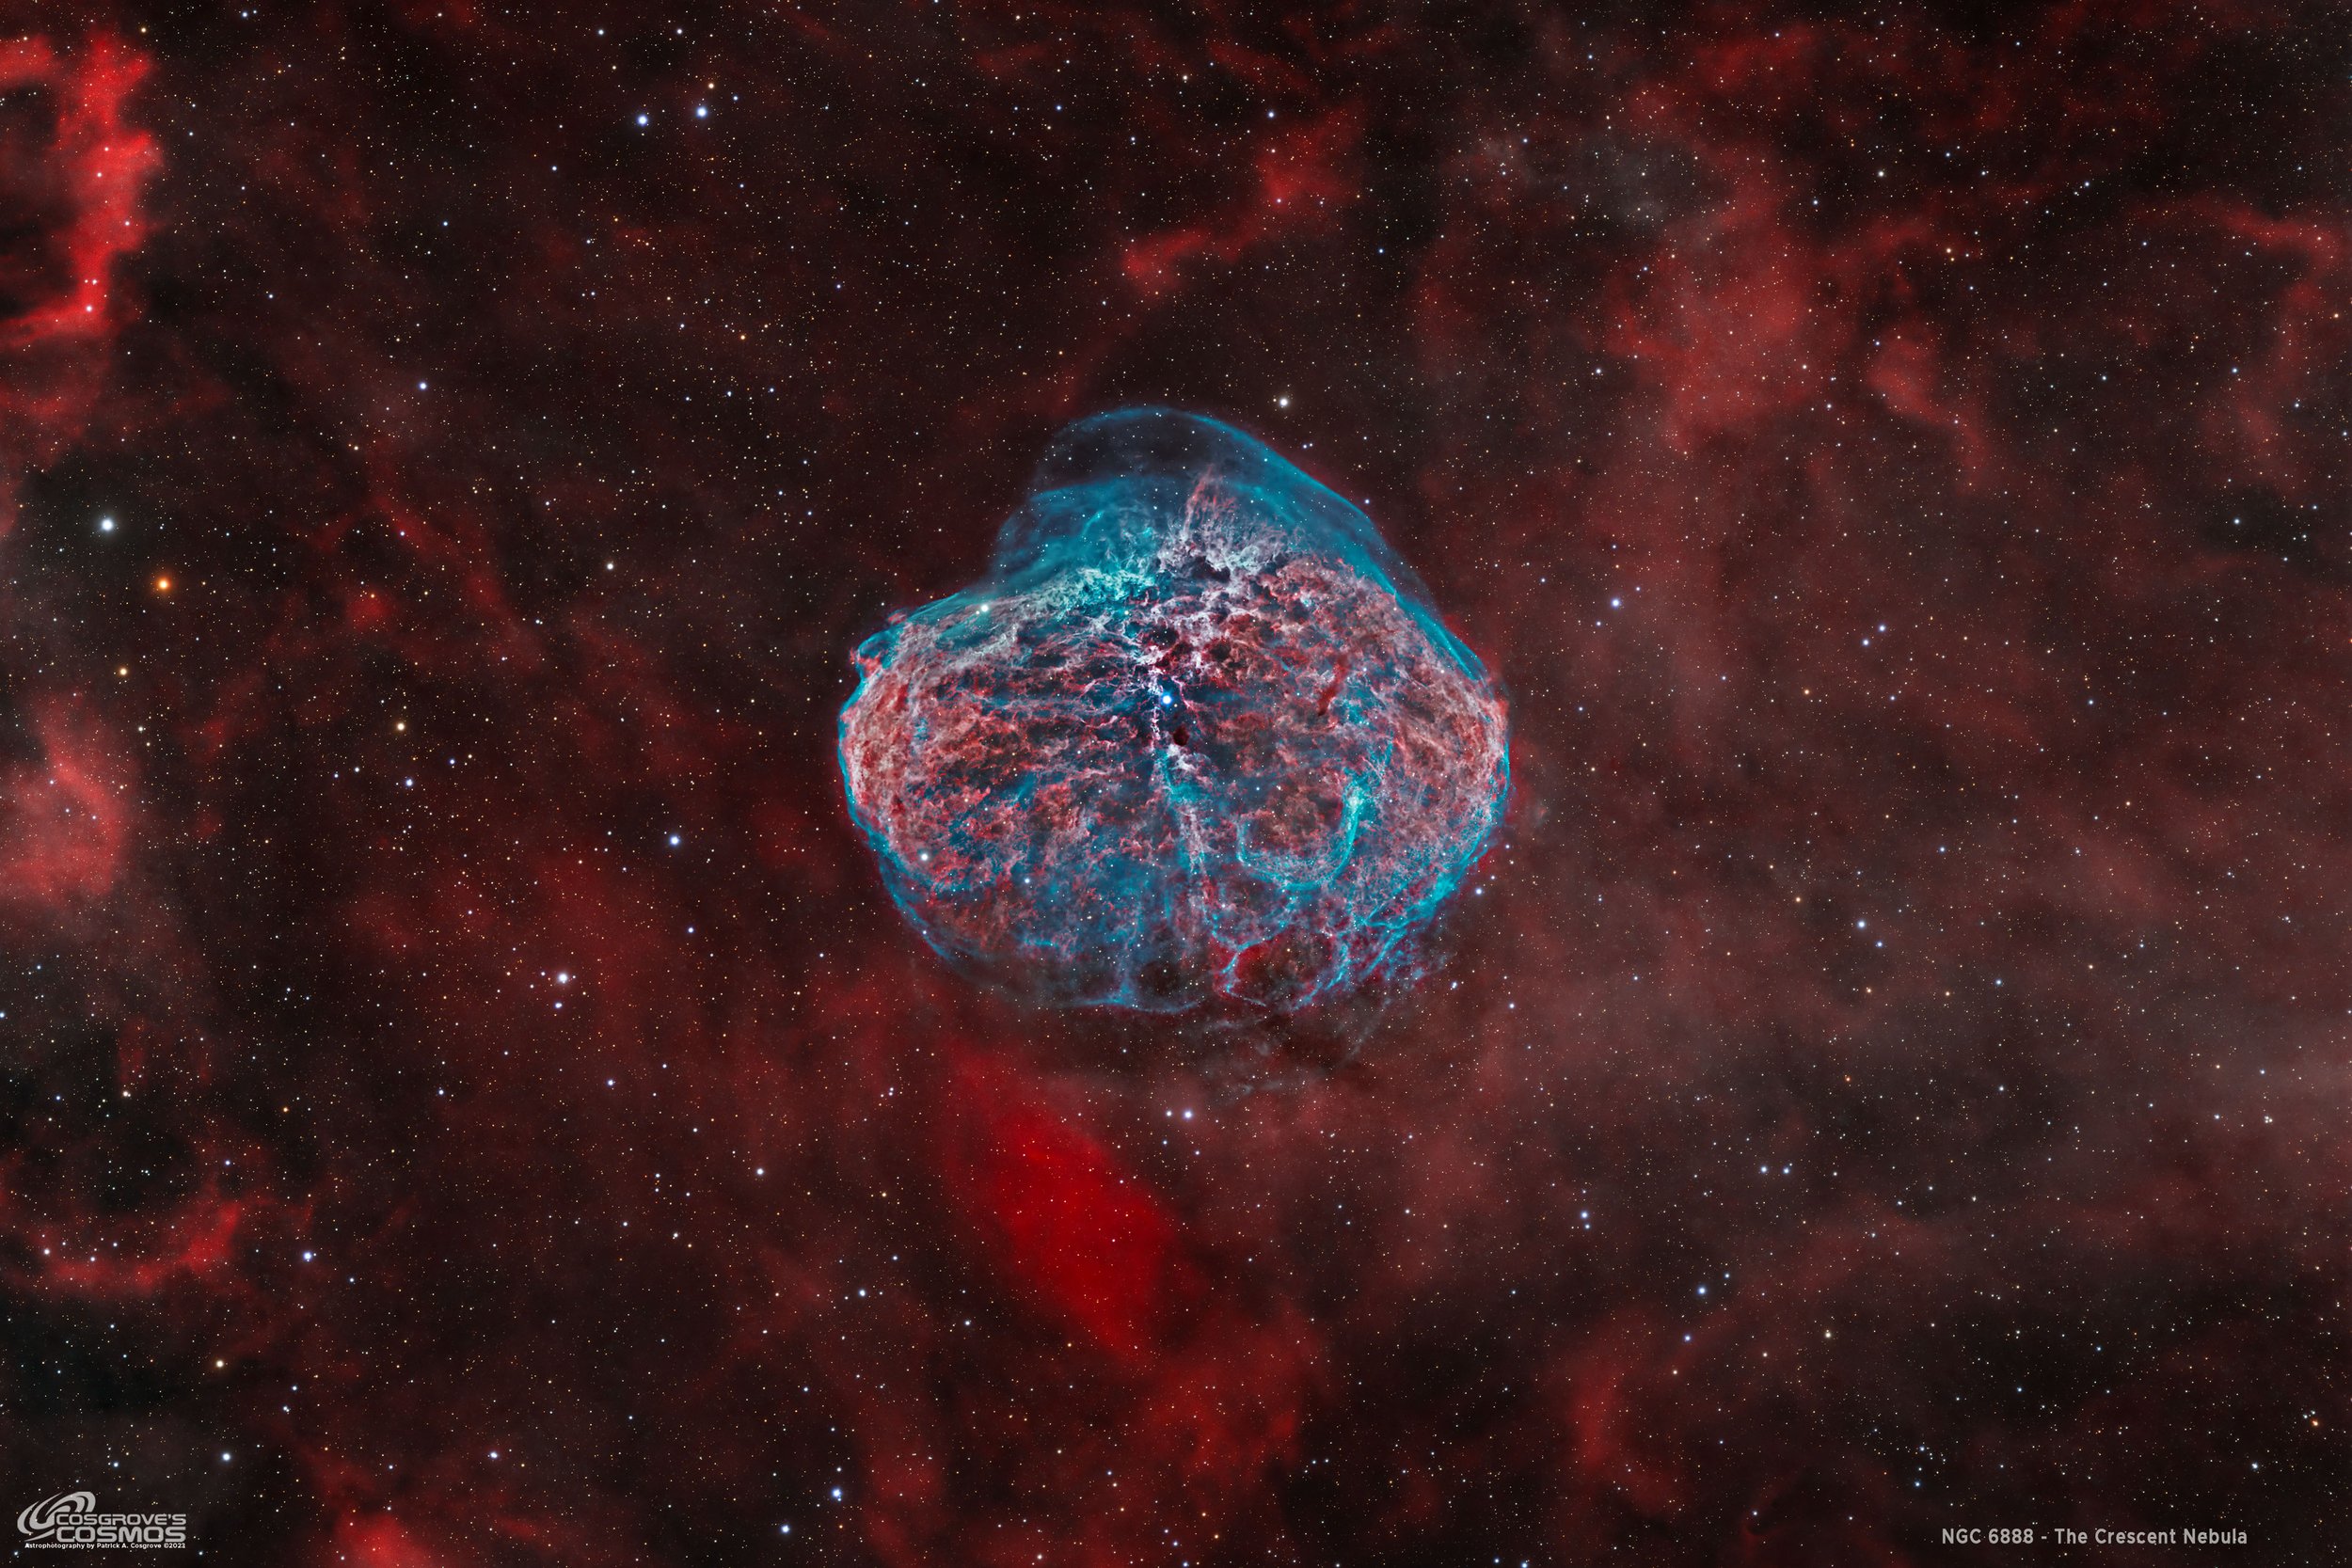
NGC 6888 - The Crescent Nebula ~11 hours in HOOrgb (click to view)

Whispering Skies Observatory - Drone View (click to view)
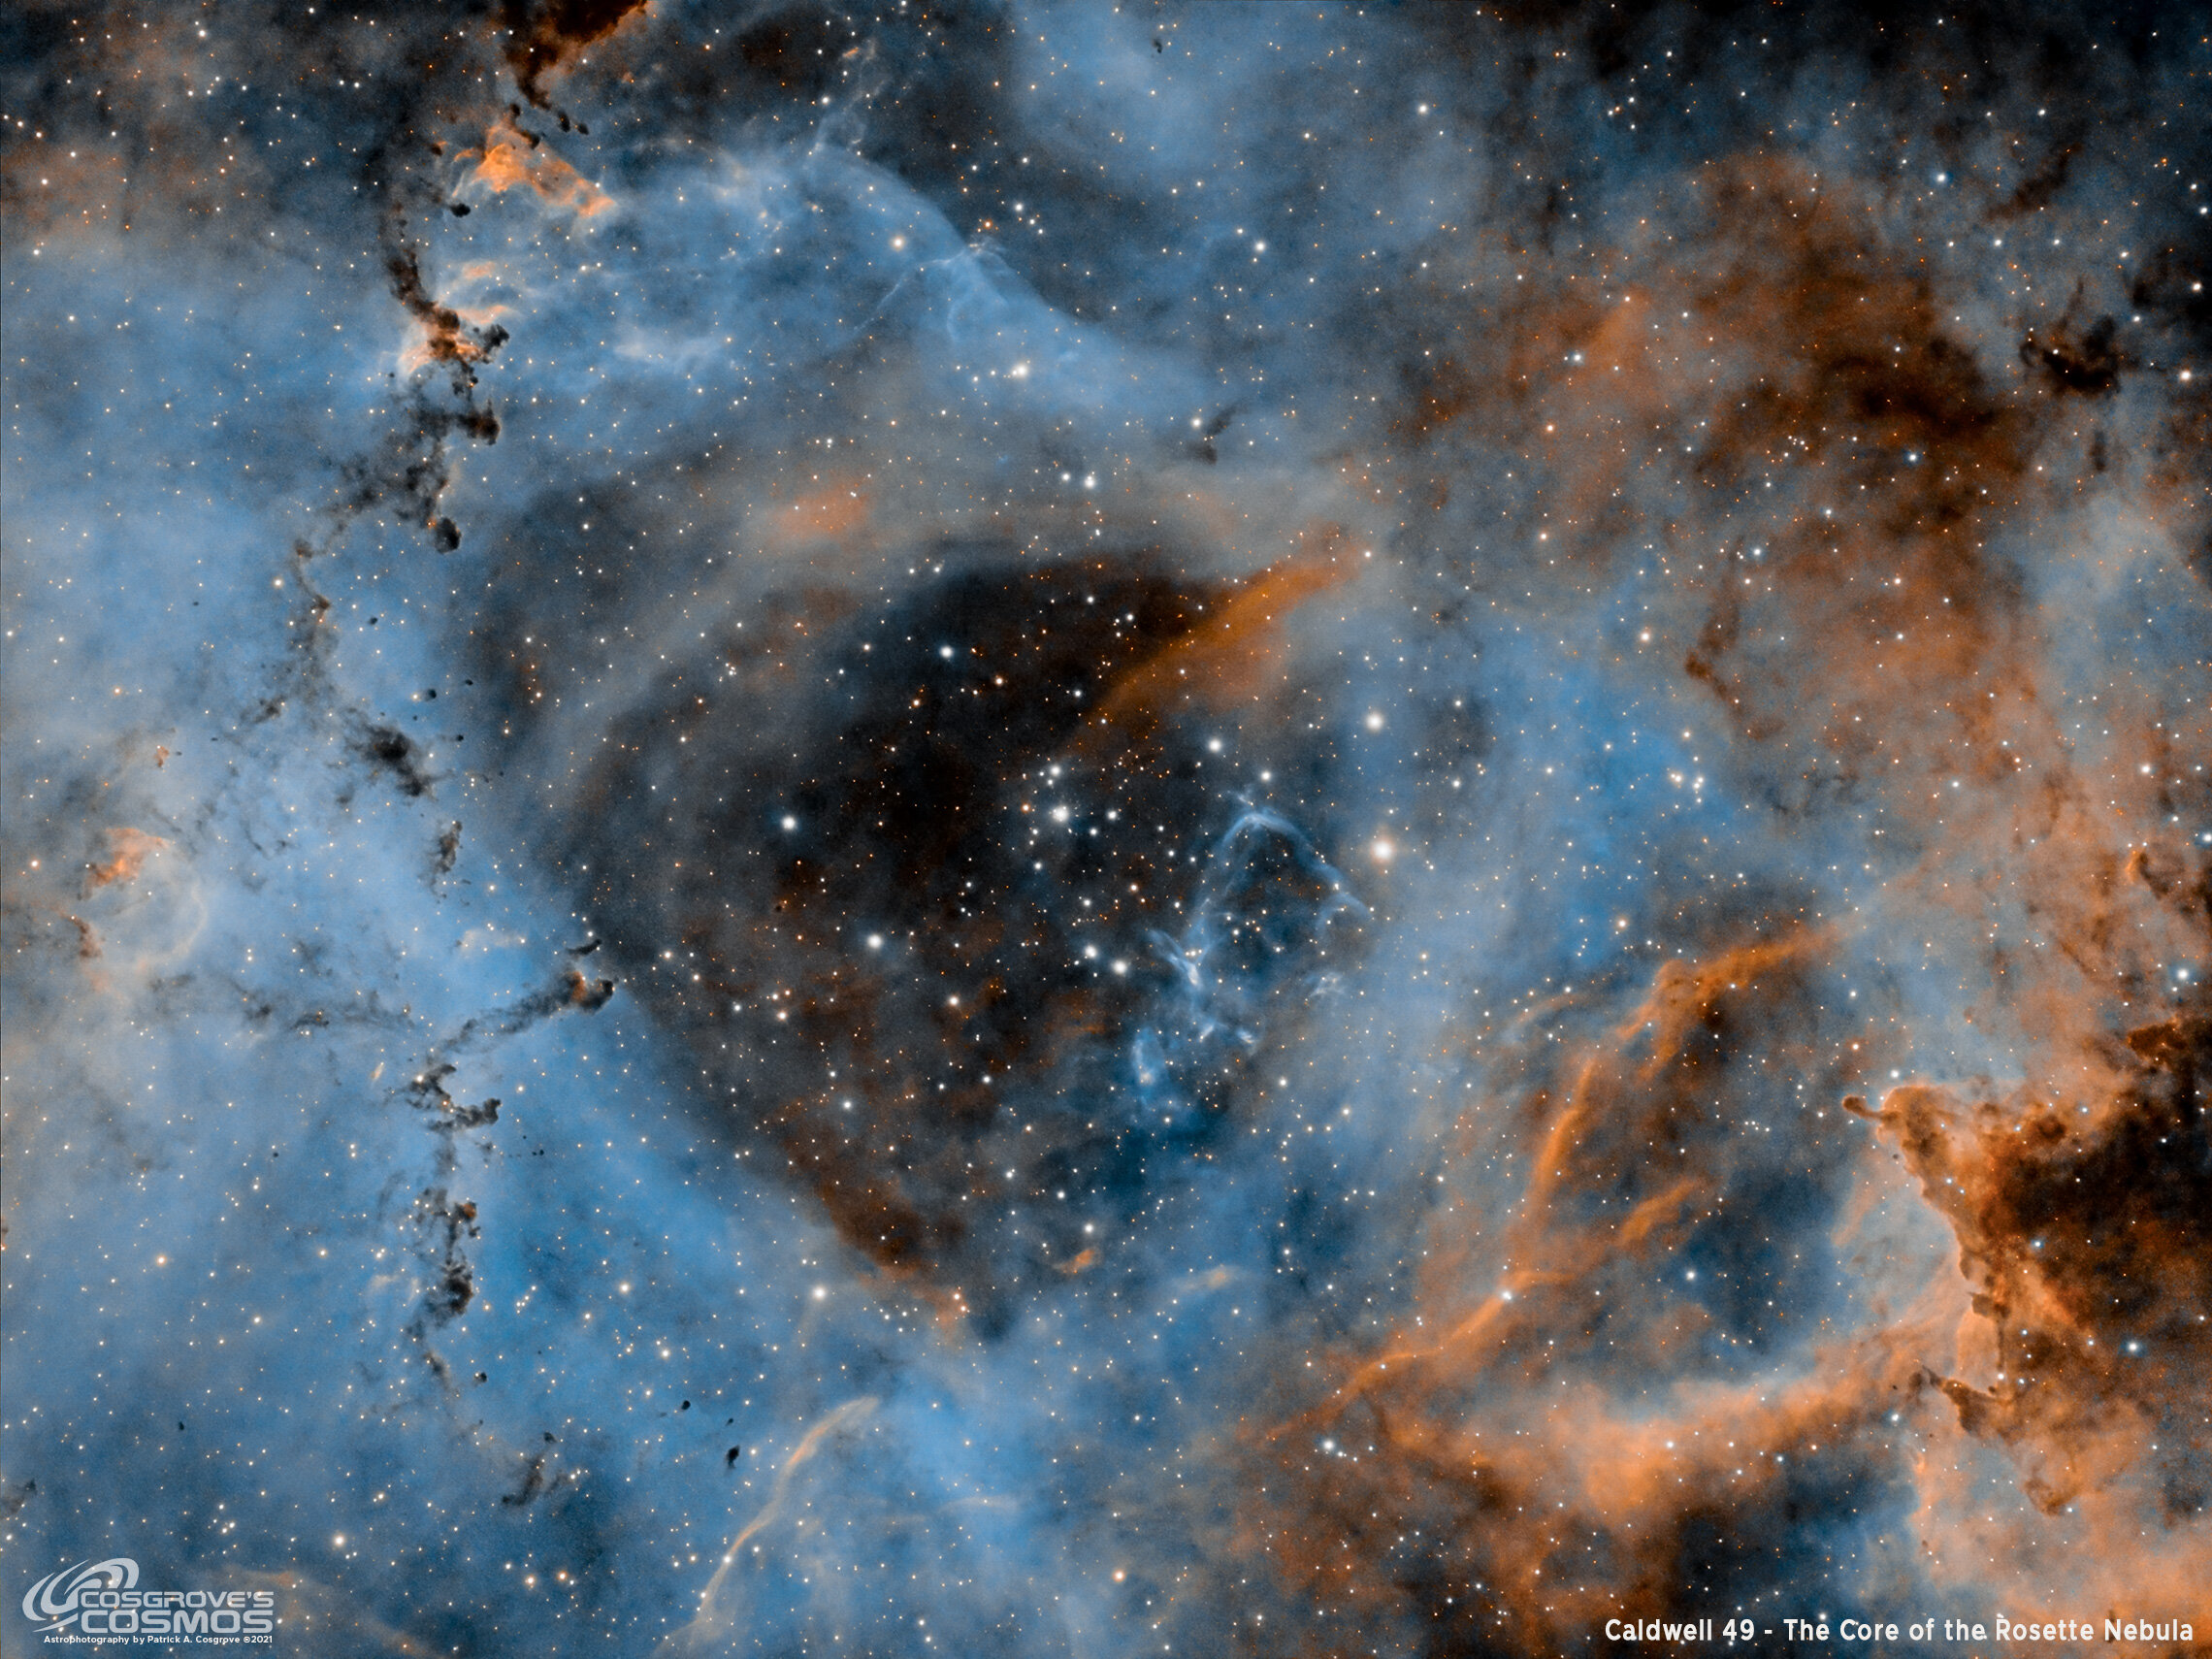
C49: The Rosette Nebula in SHO (click to view)
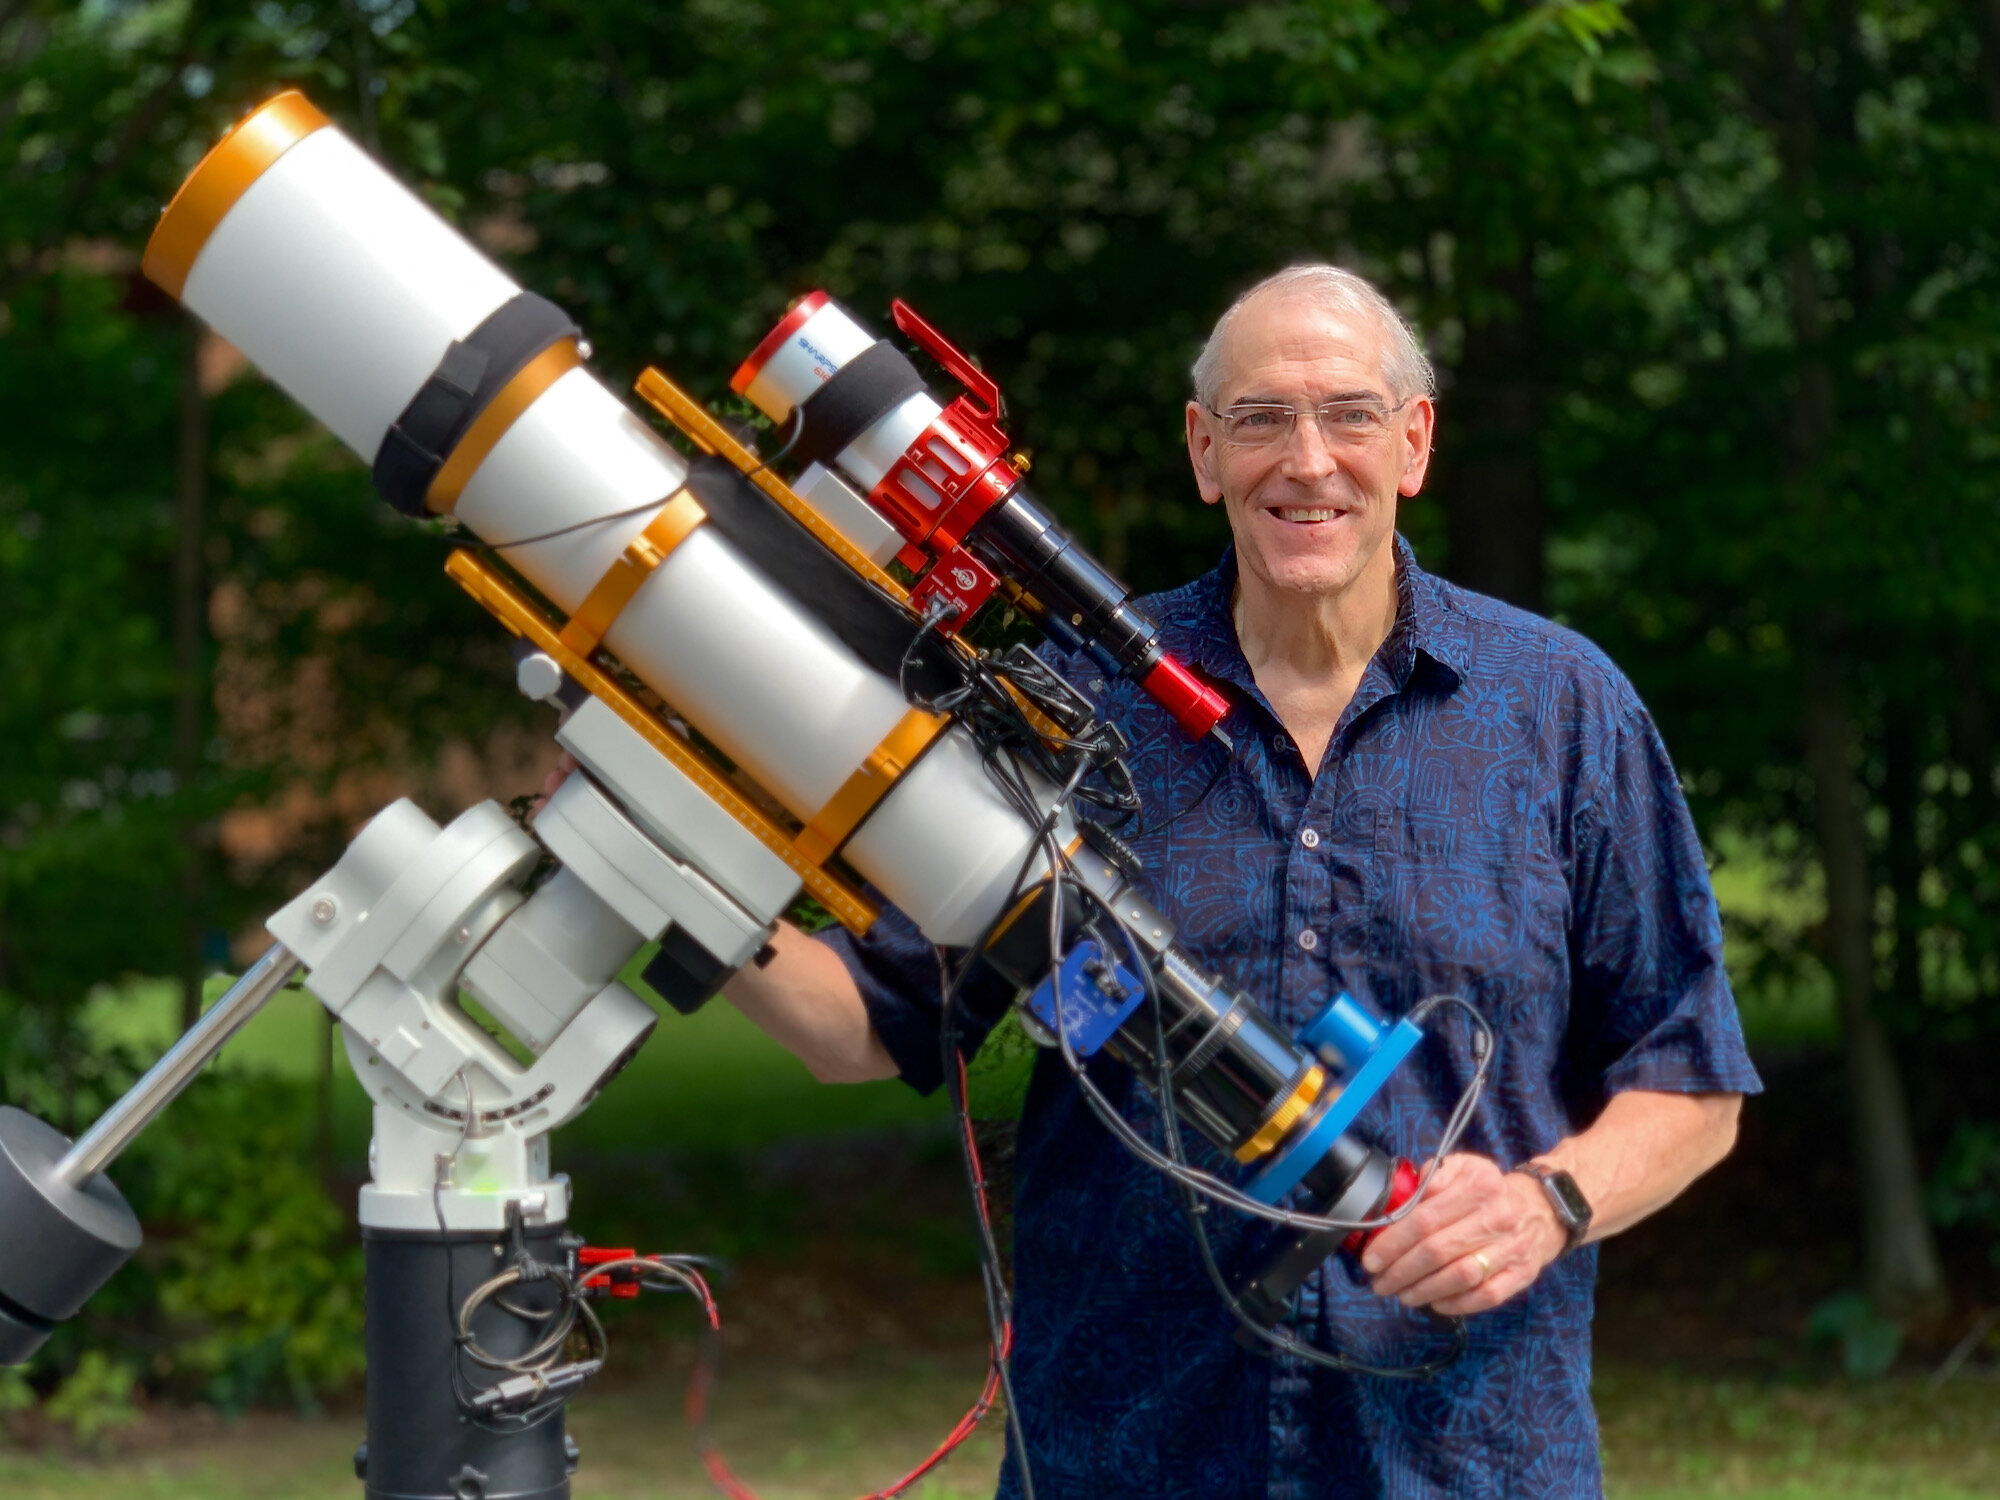
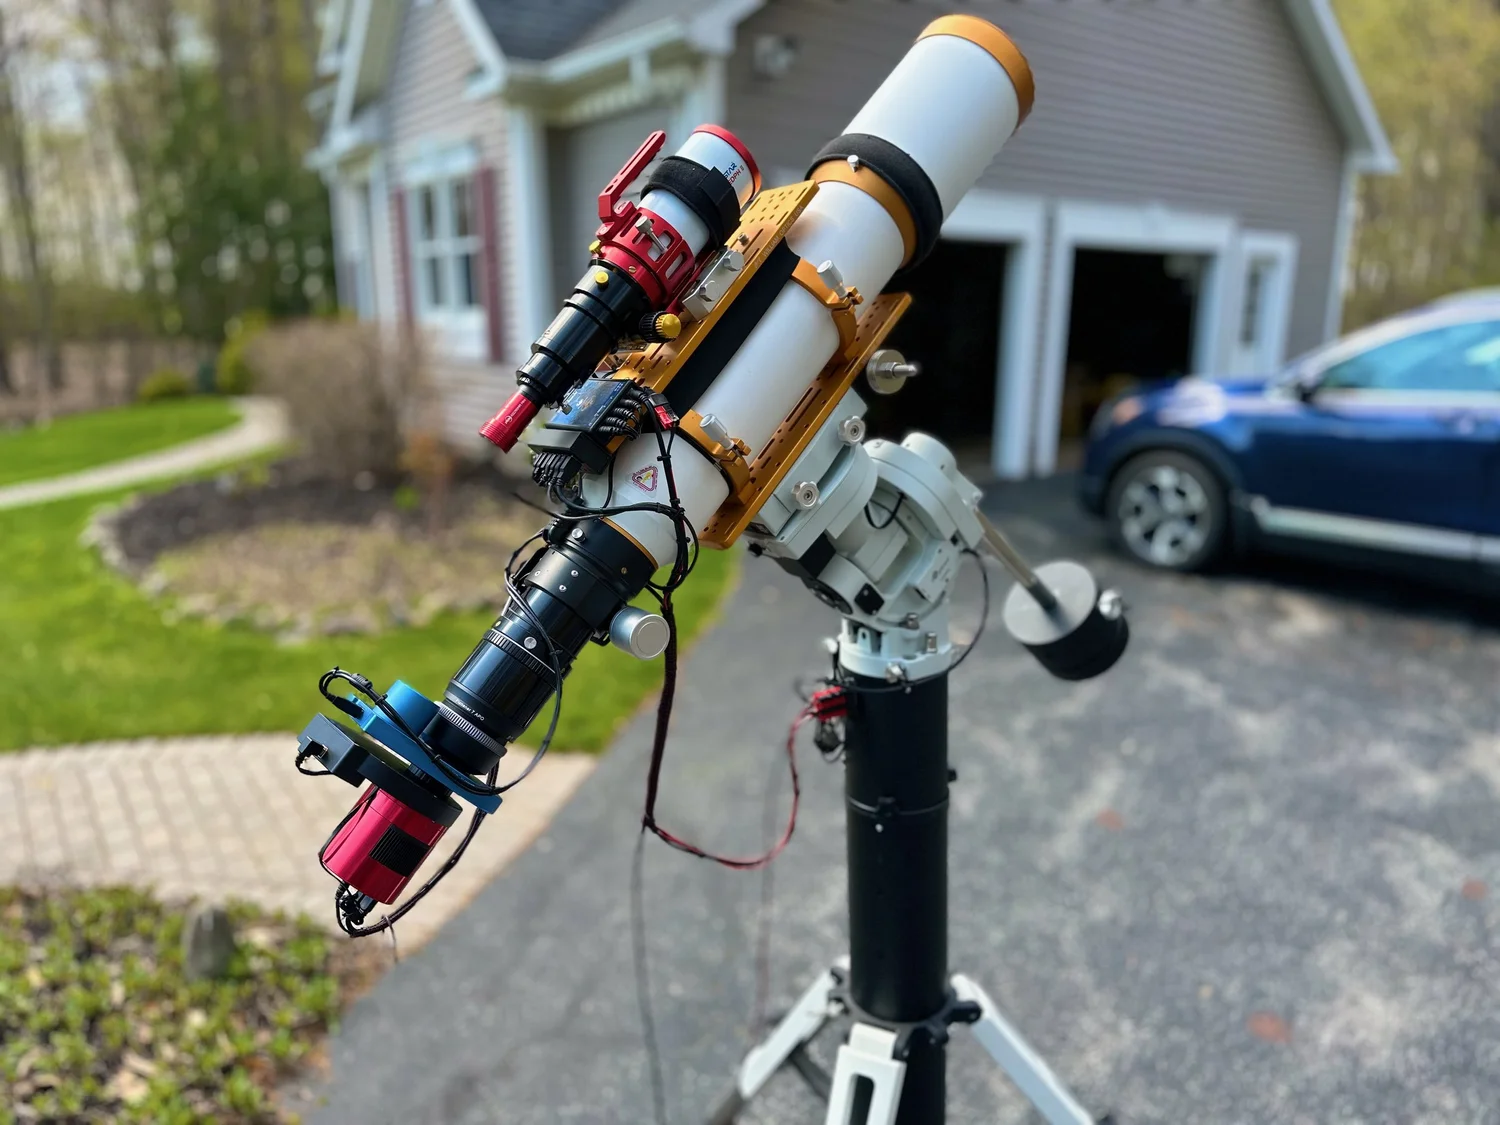
Me - Standing next to my William Optics 132mm FLT Platform (click to view)
Whispering Skies Observatory with Roof Open
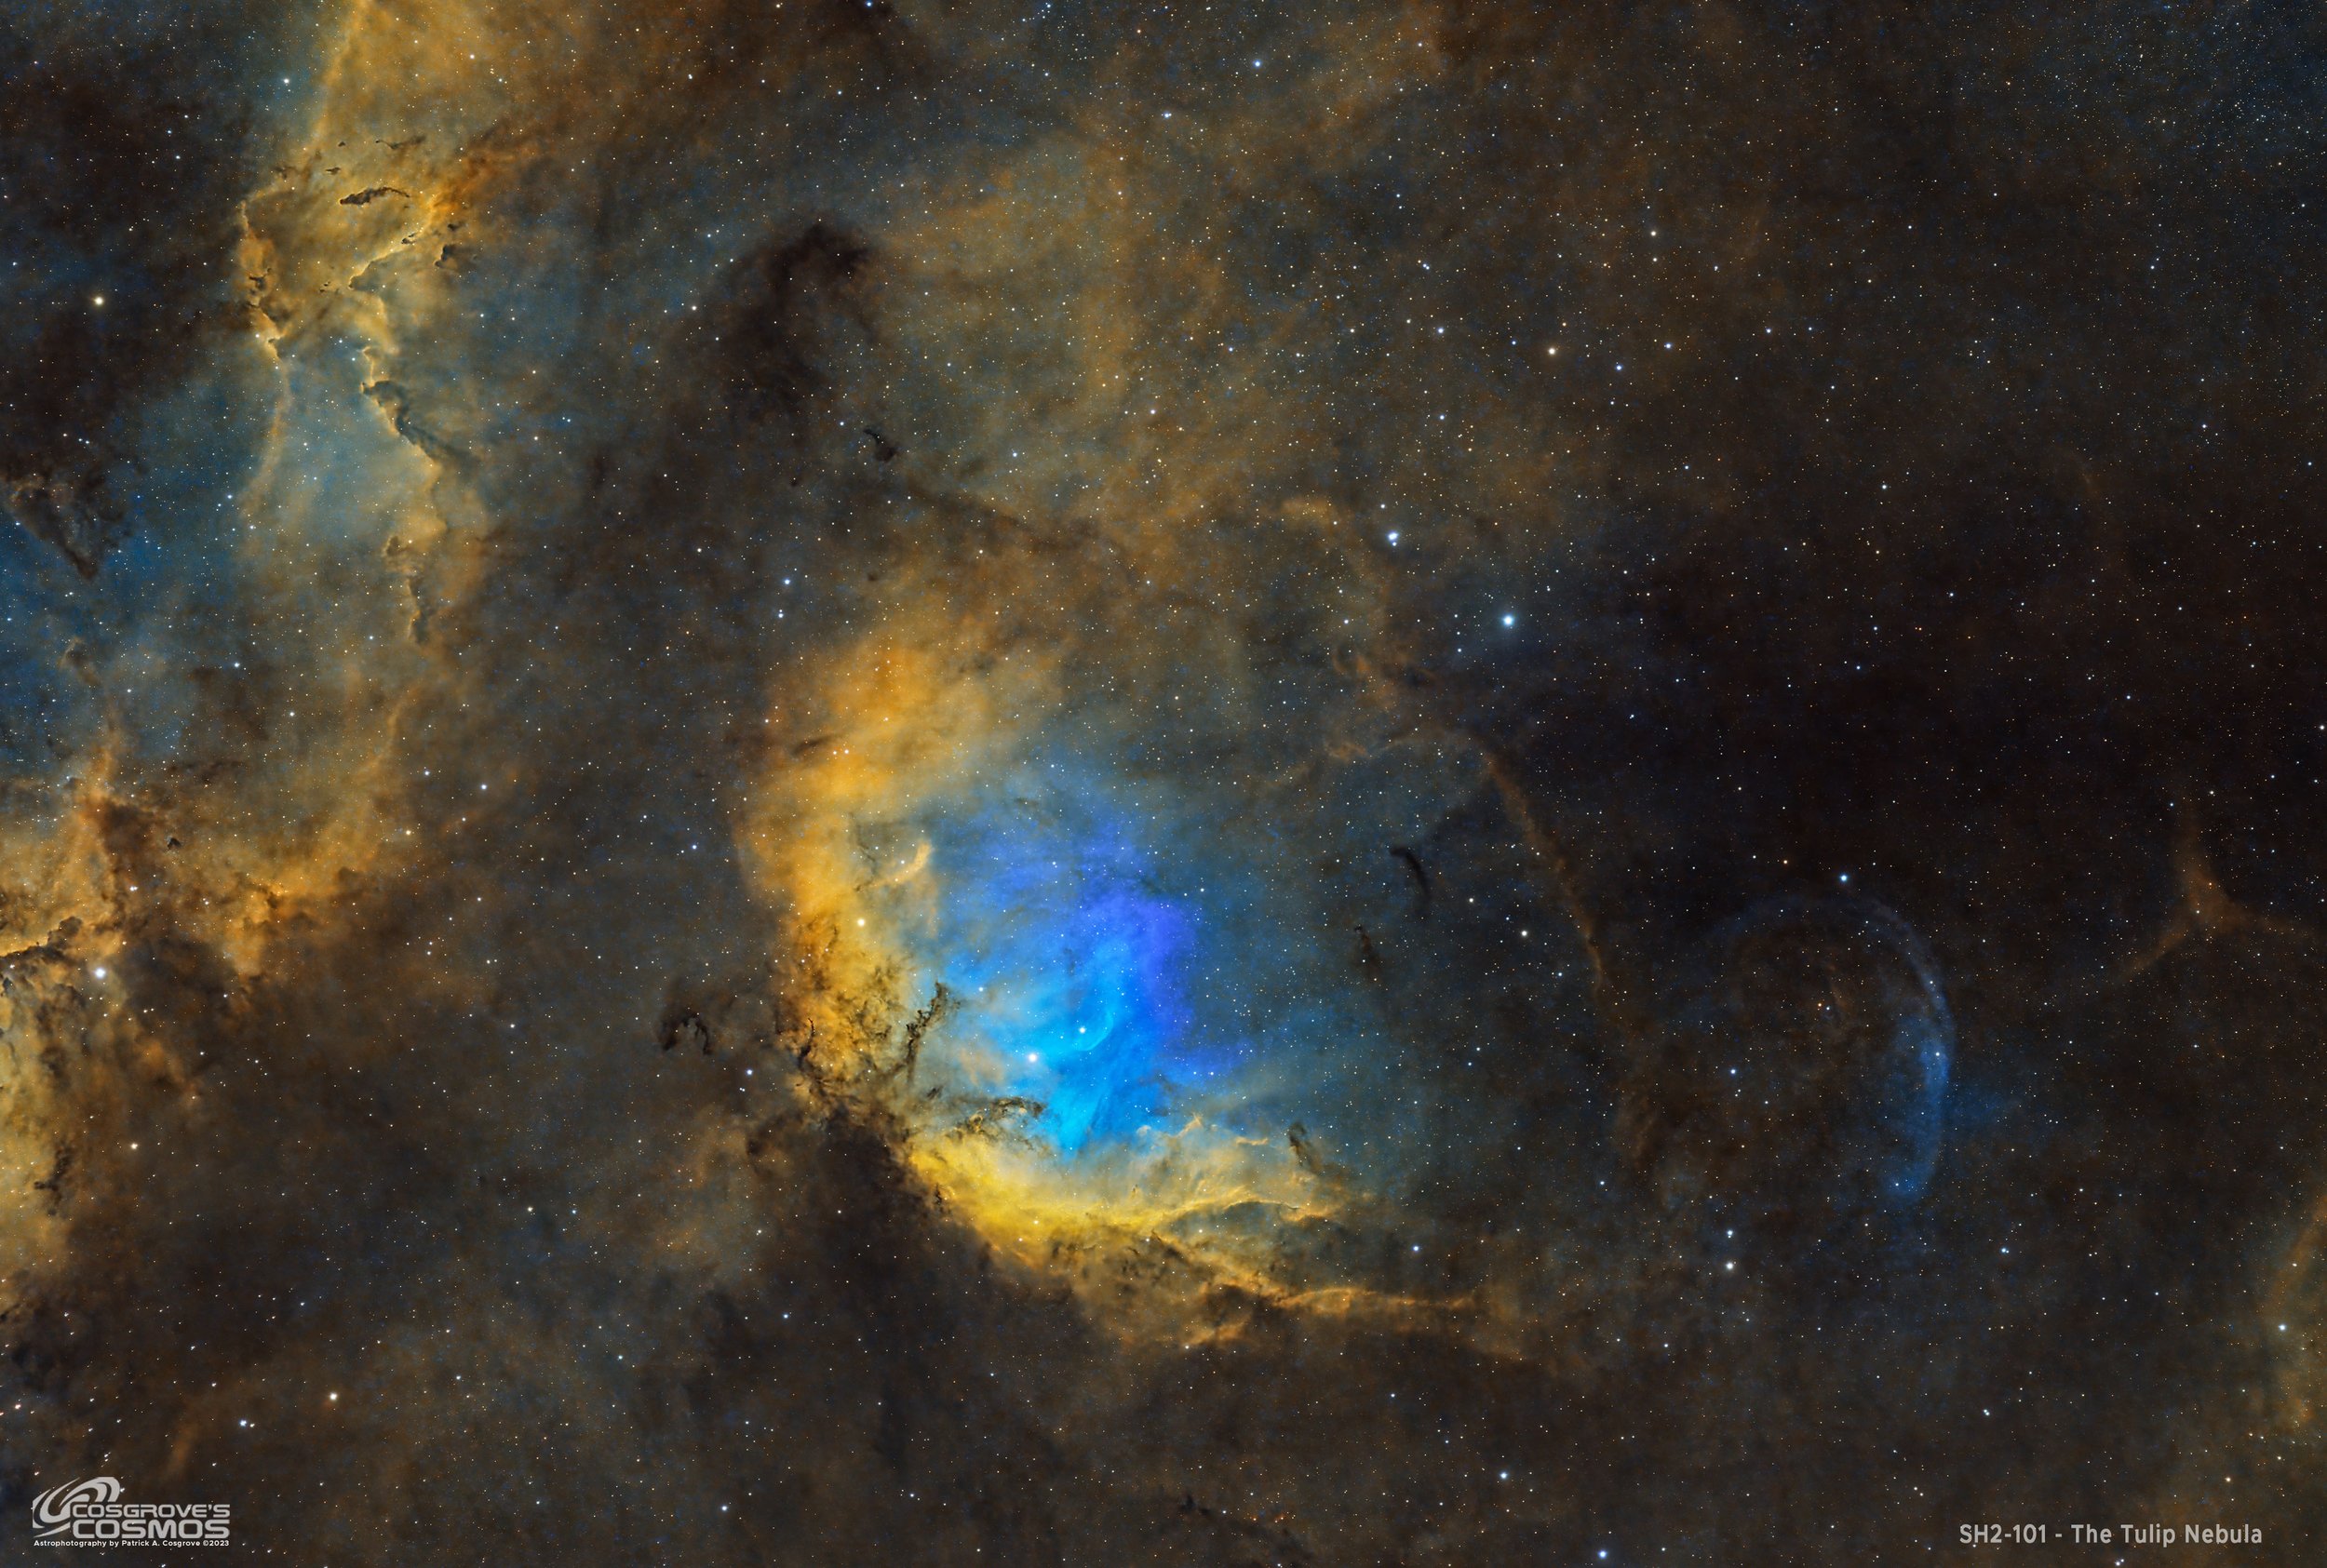
SSH2-101 - The Tulip Nebula - 12.8 Hours in SHOrgb (click to view)
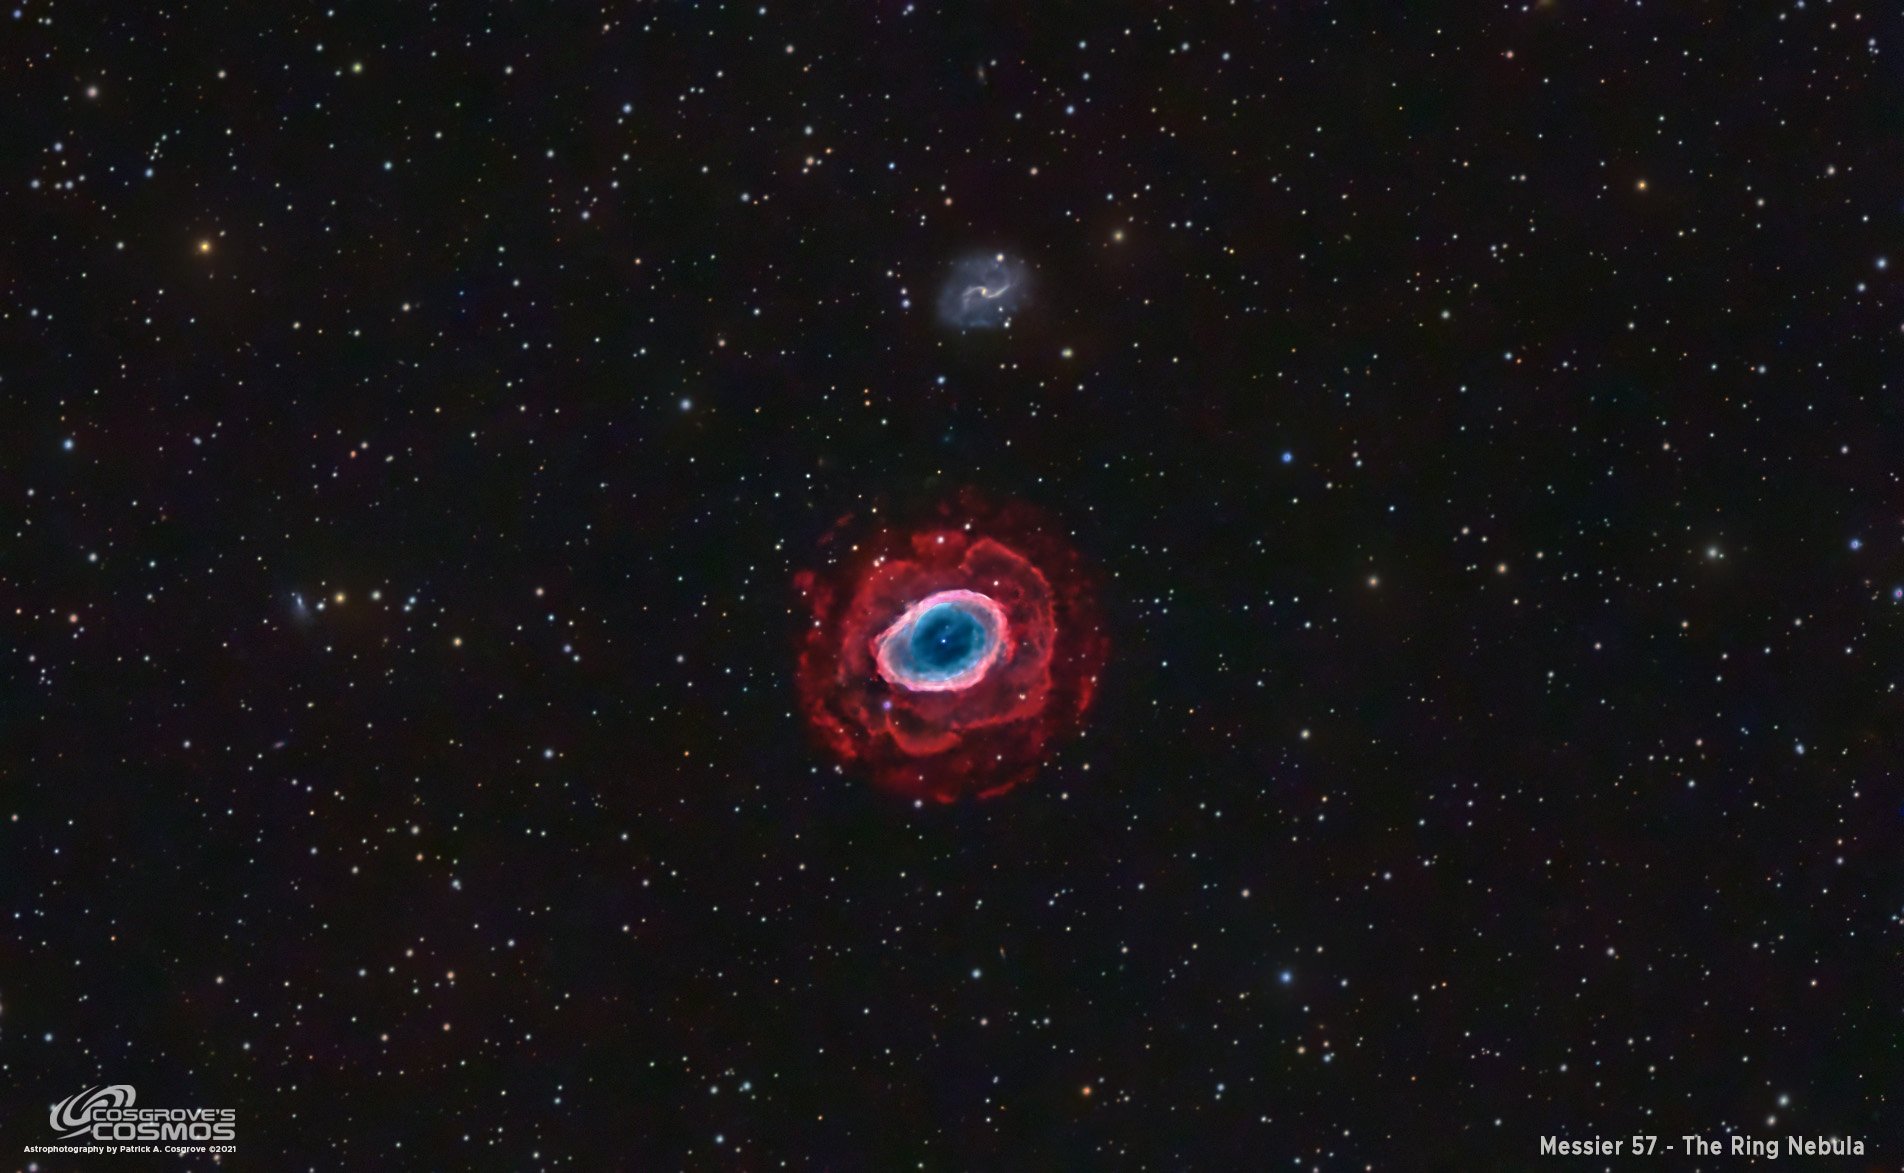
Messier 57 - The Ring Nebula - 14.7 hours in LHaRGB (click to view)
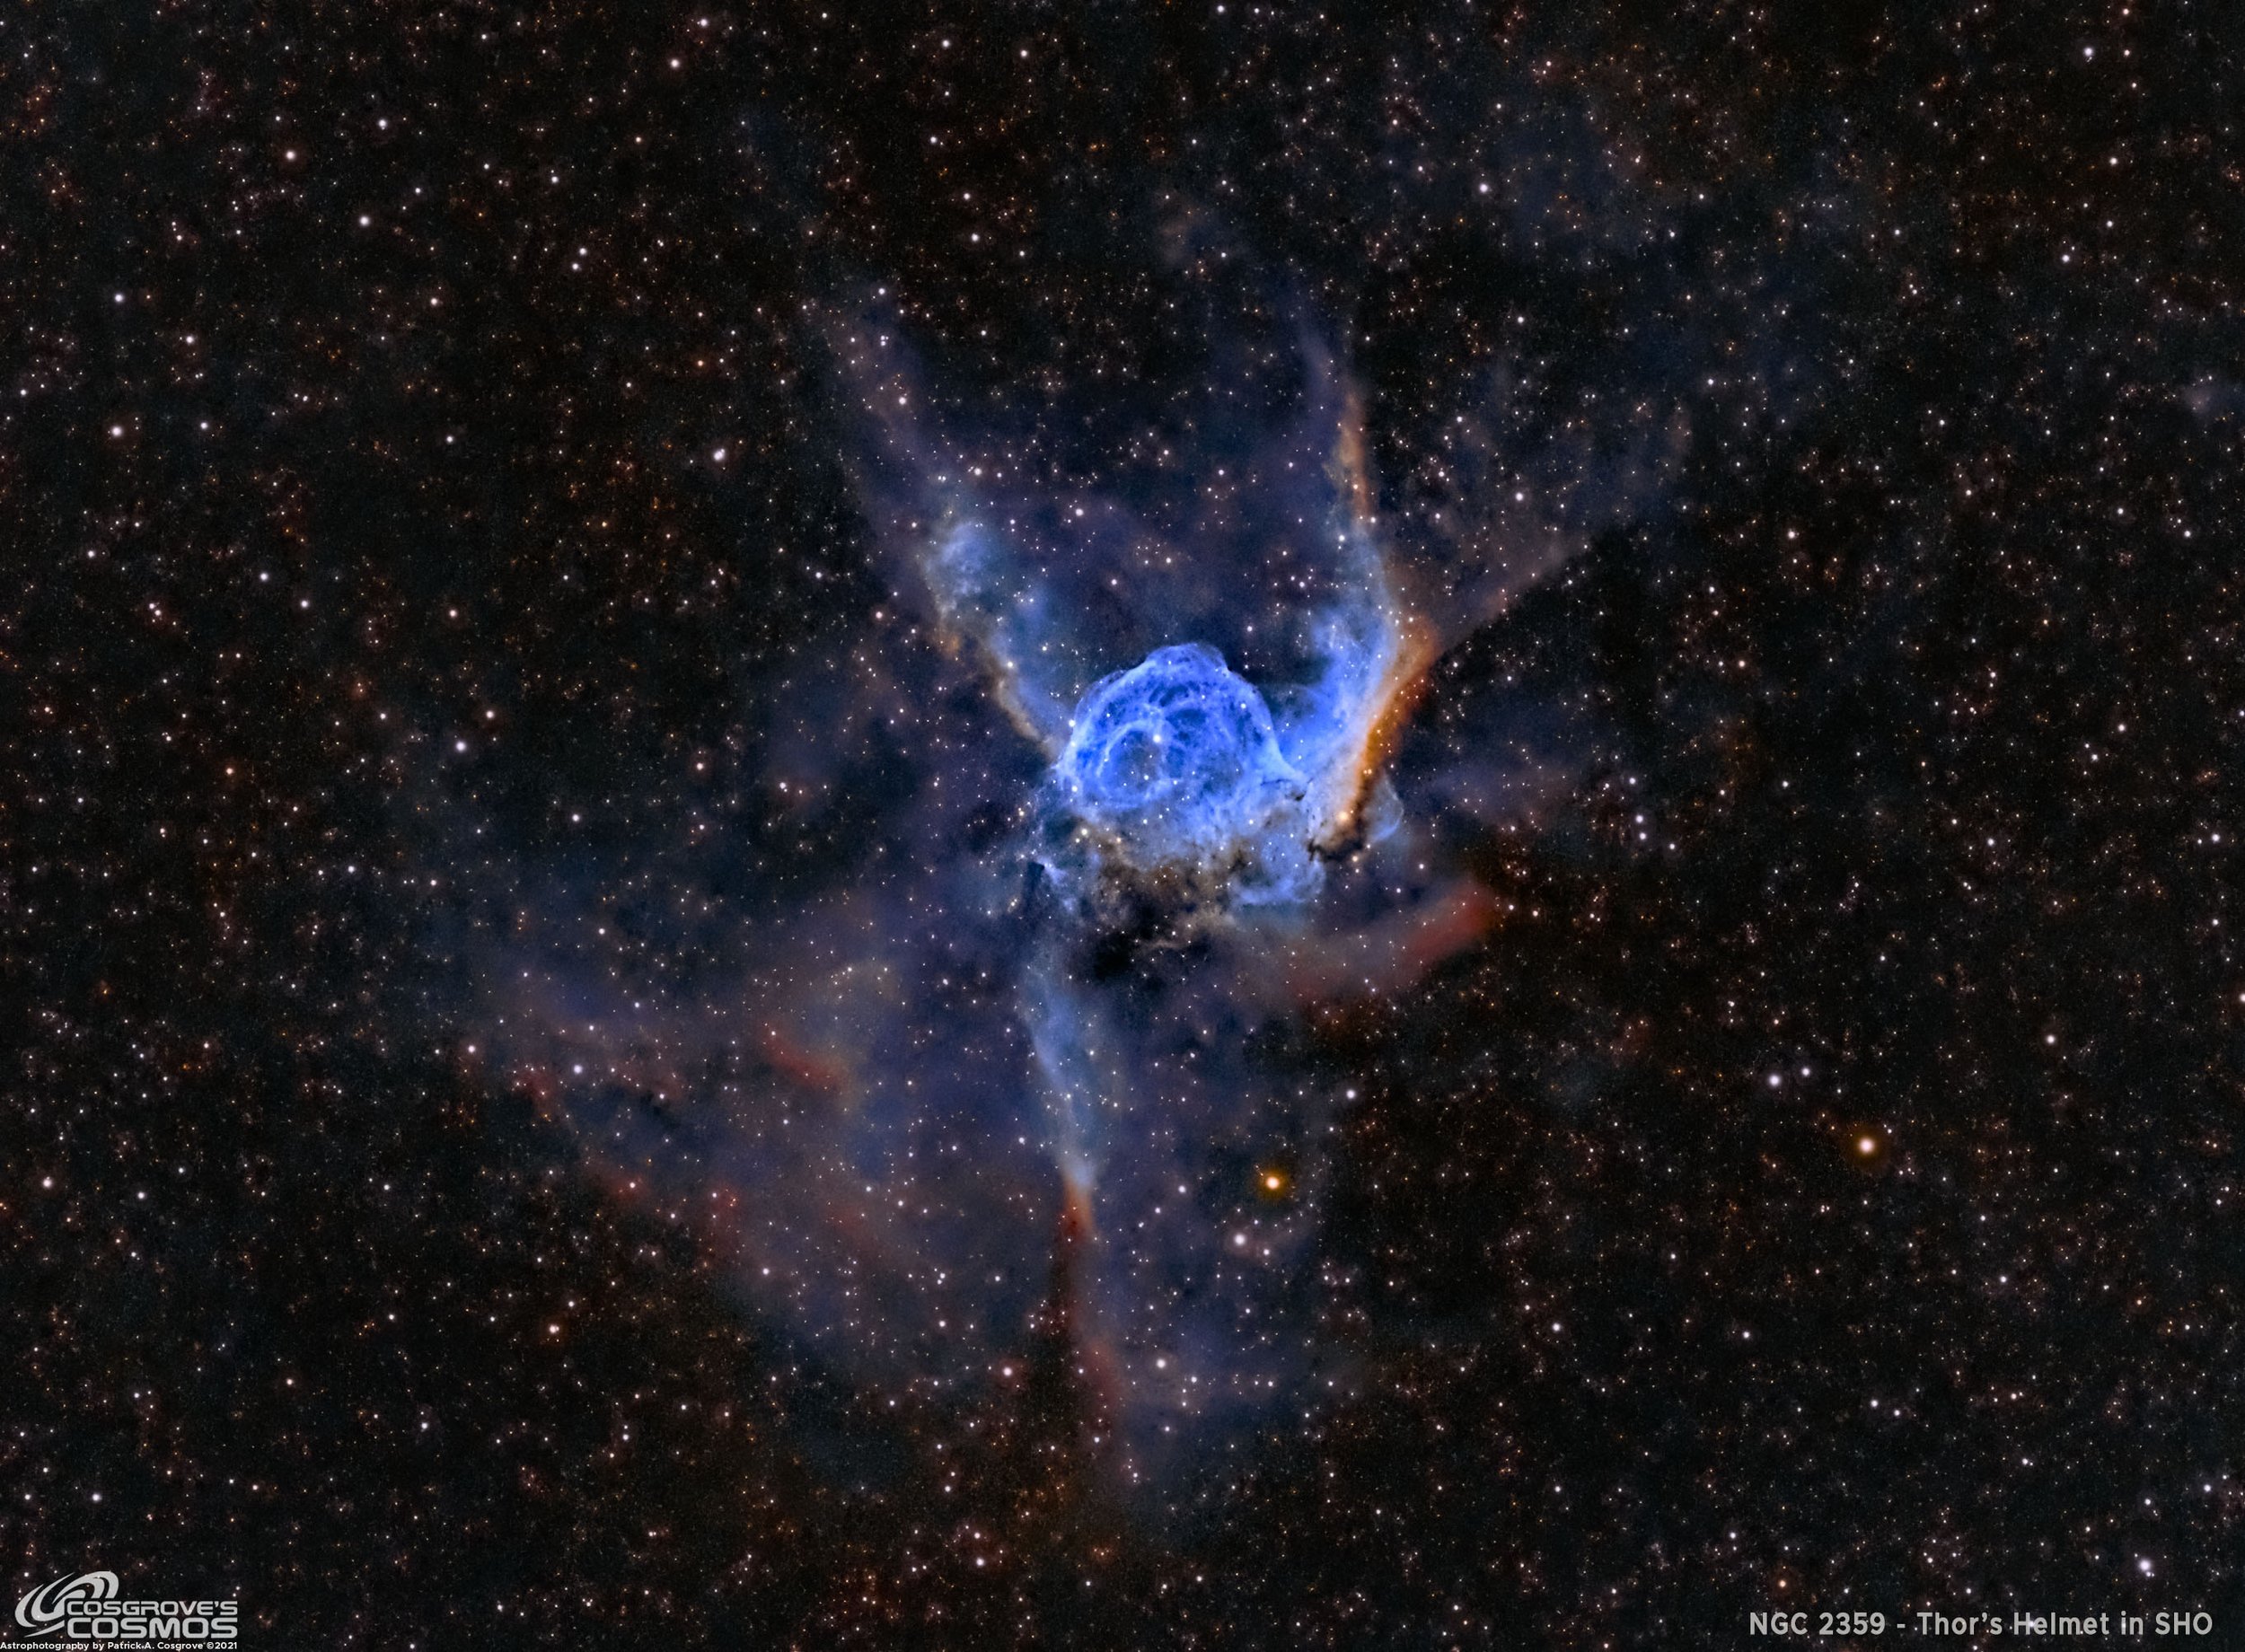
NGC 2359 - Thor’s Helmet in SHO ~only 2.5 hours! (click to view)
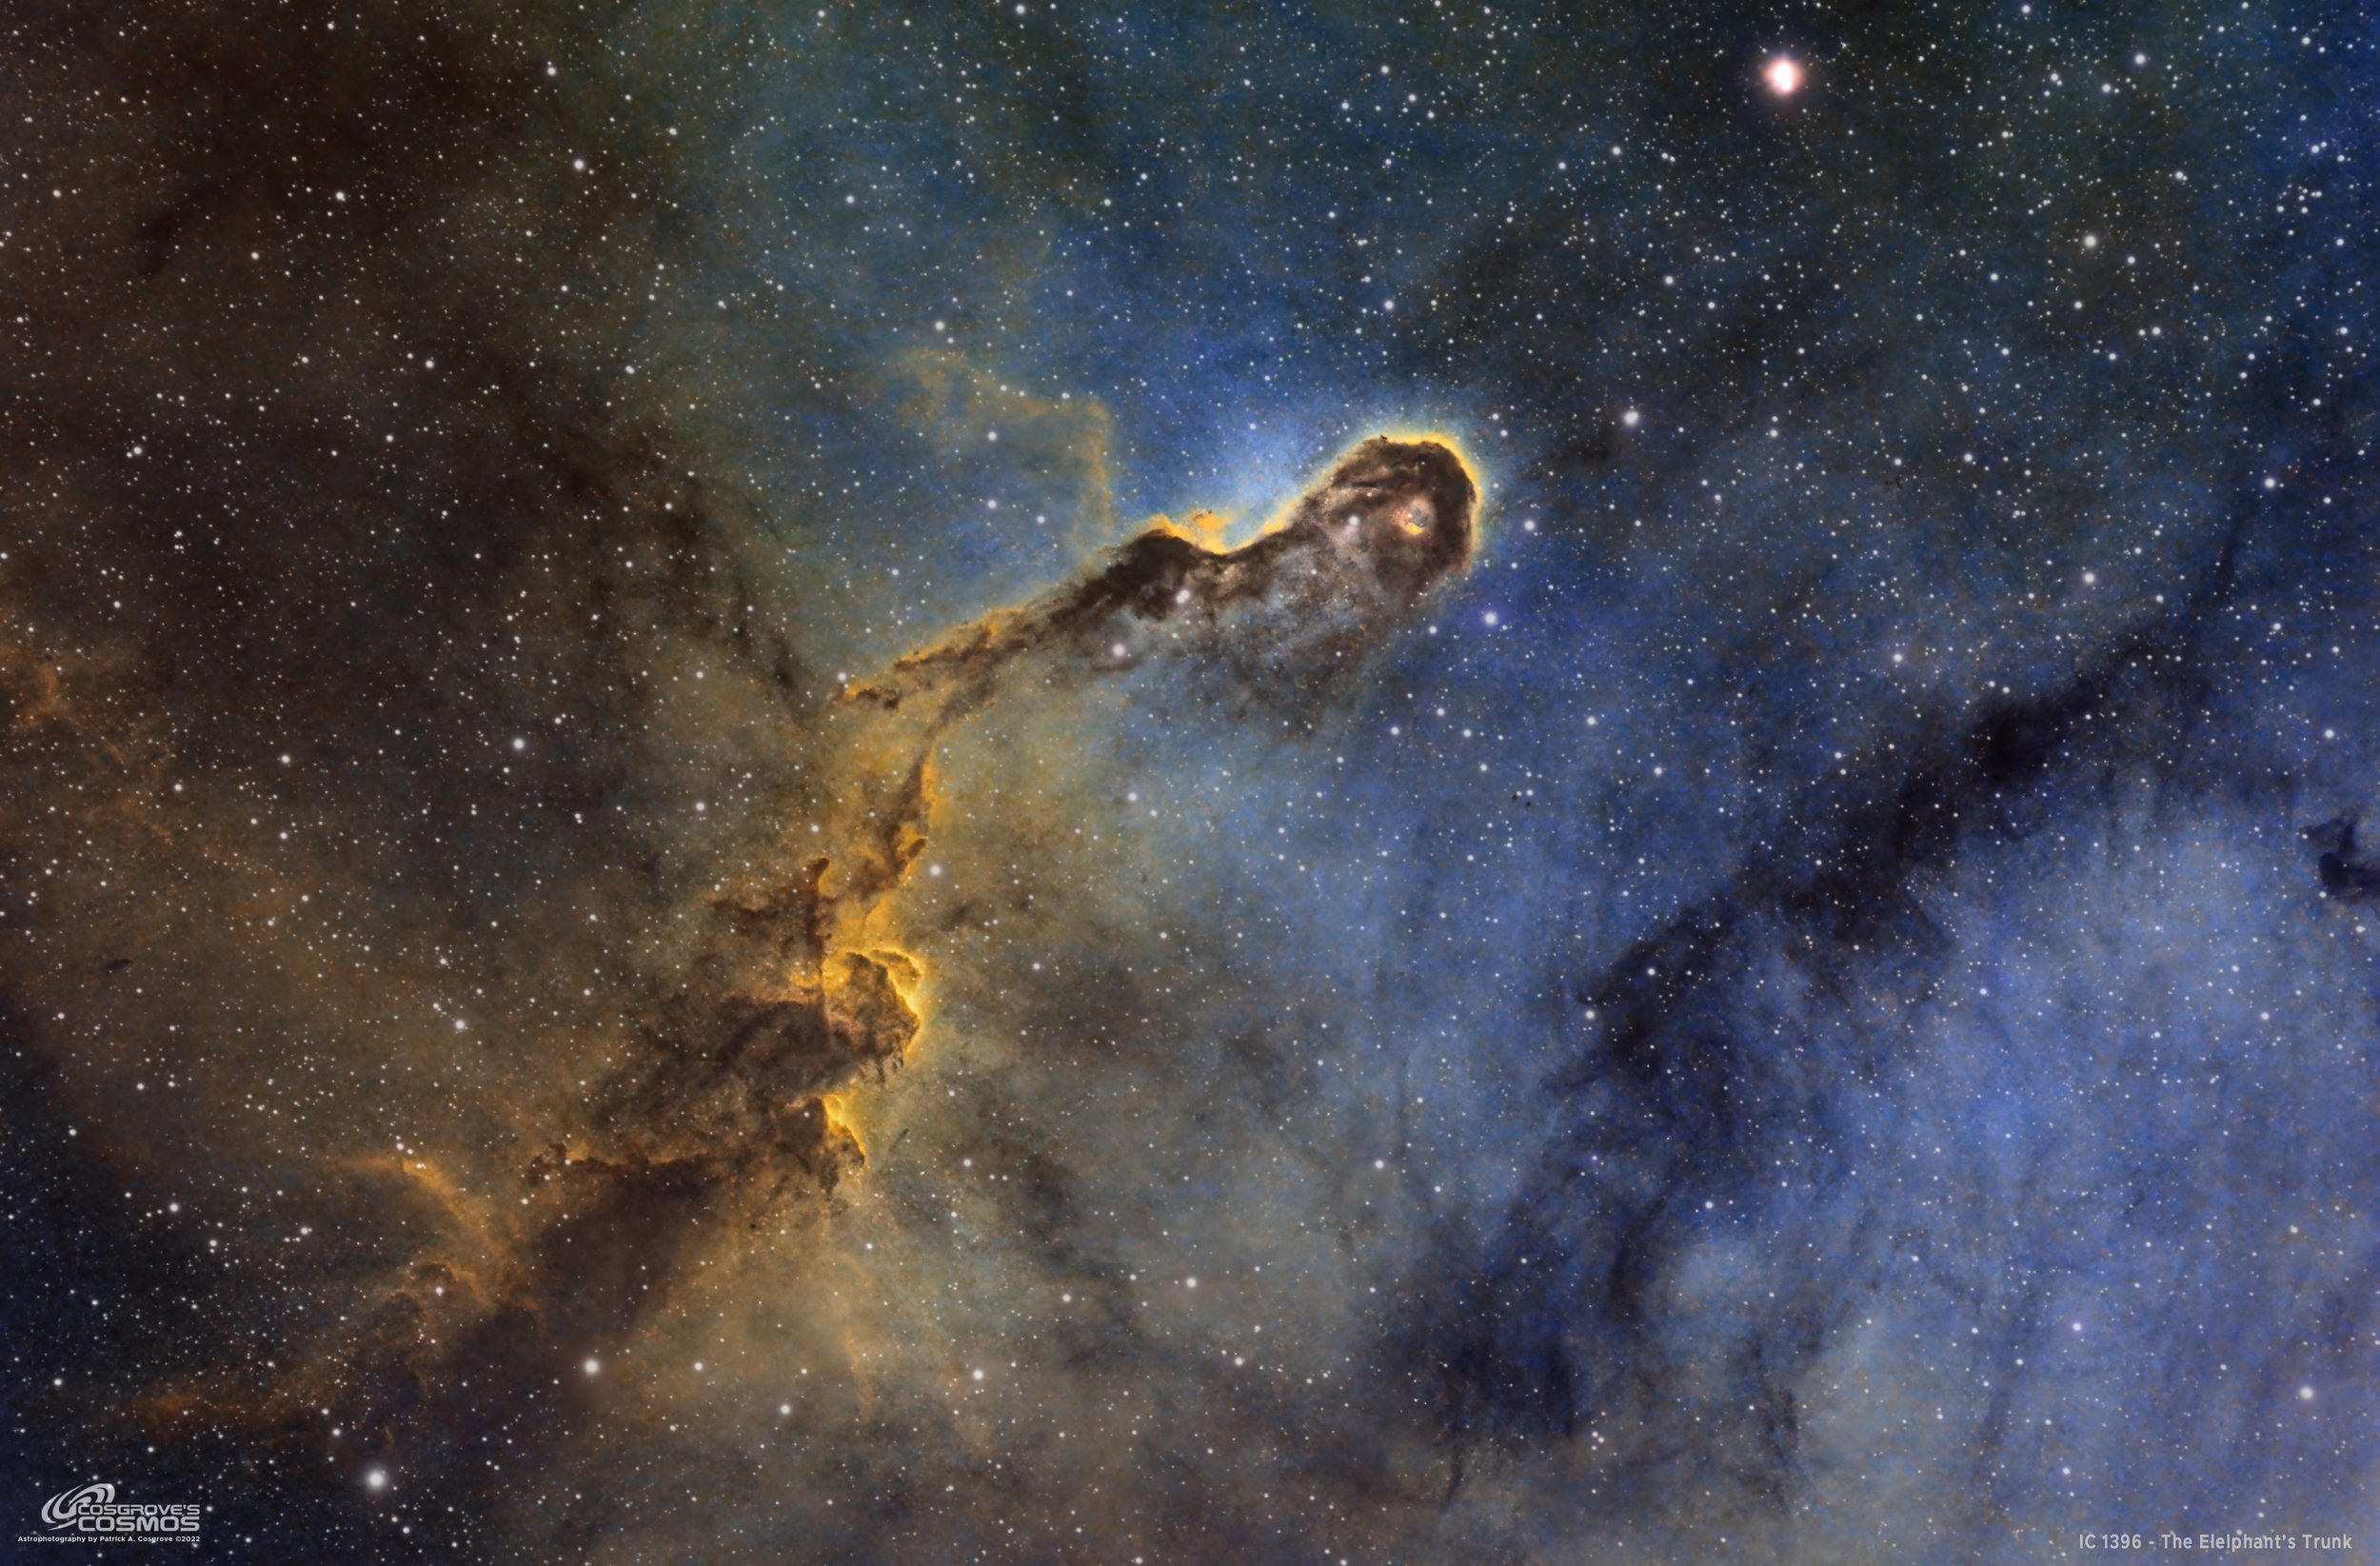
IC 1396A - The Elephant’s Trunk - 7.3 hrs in SHO (click to view)
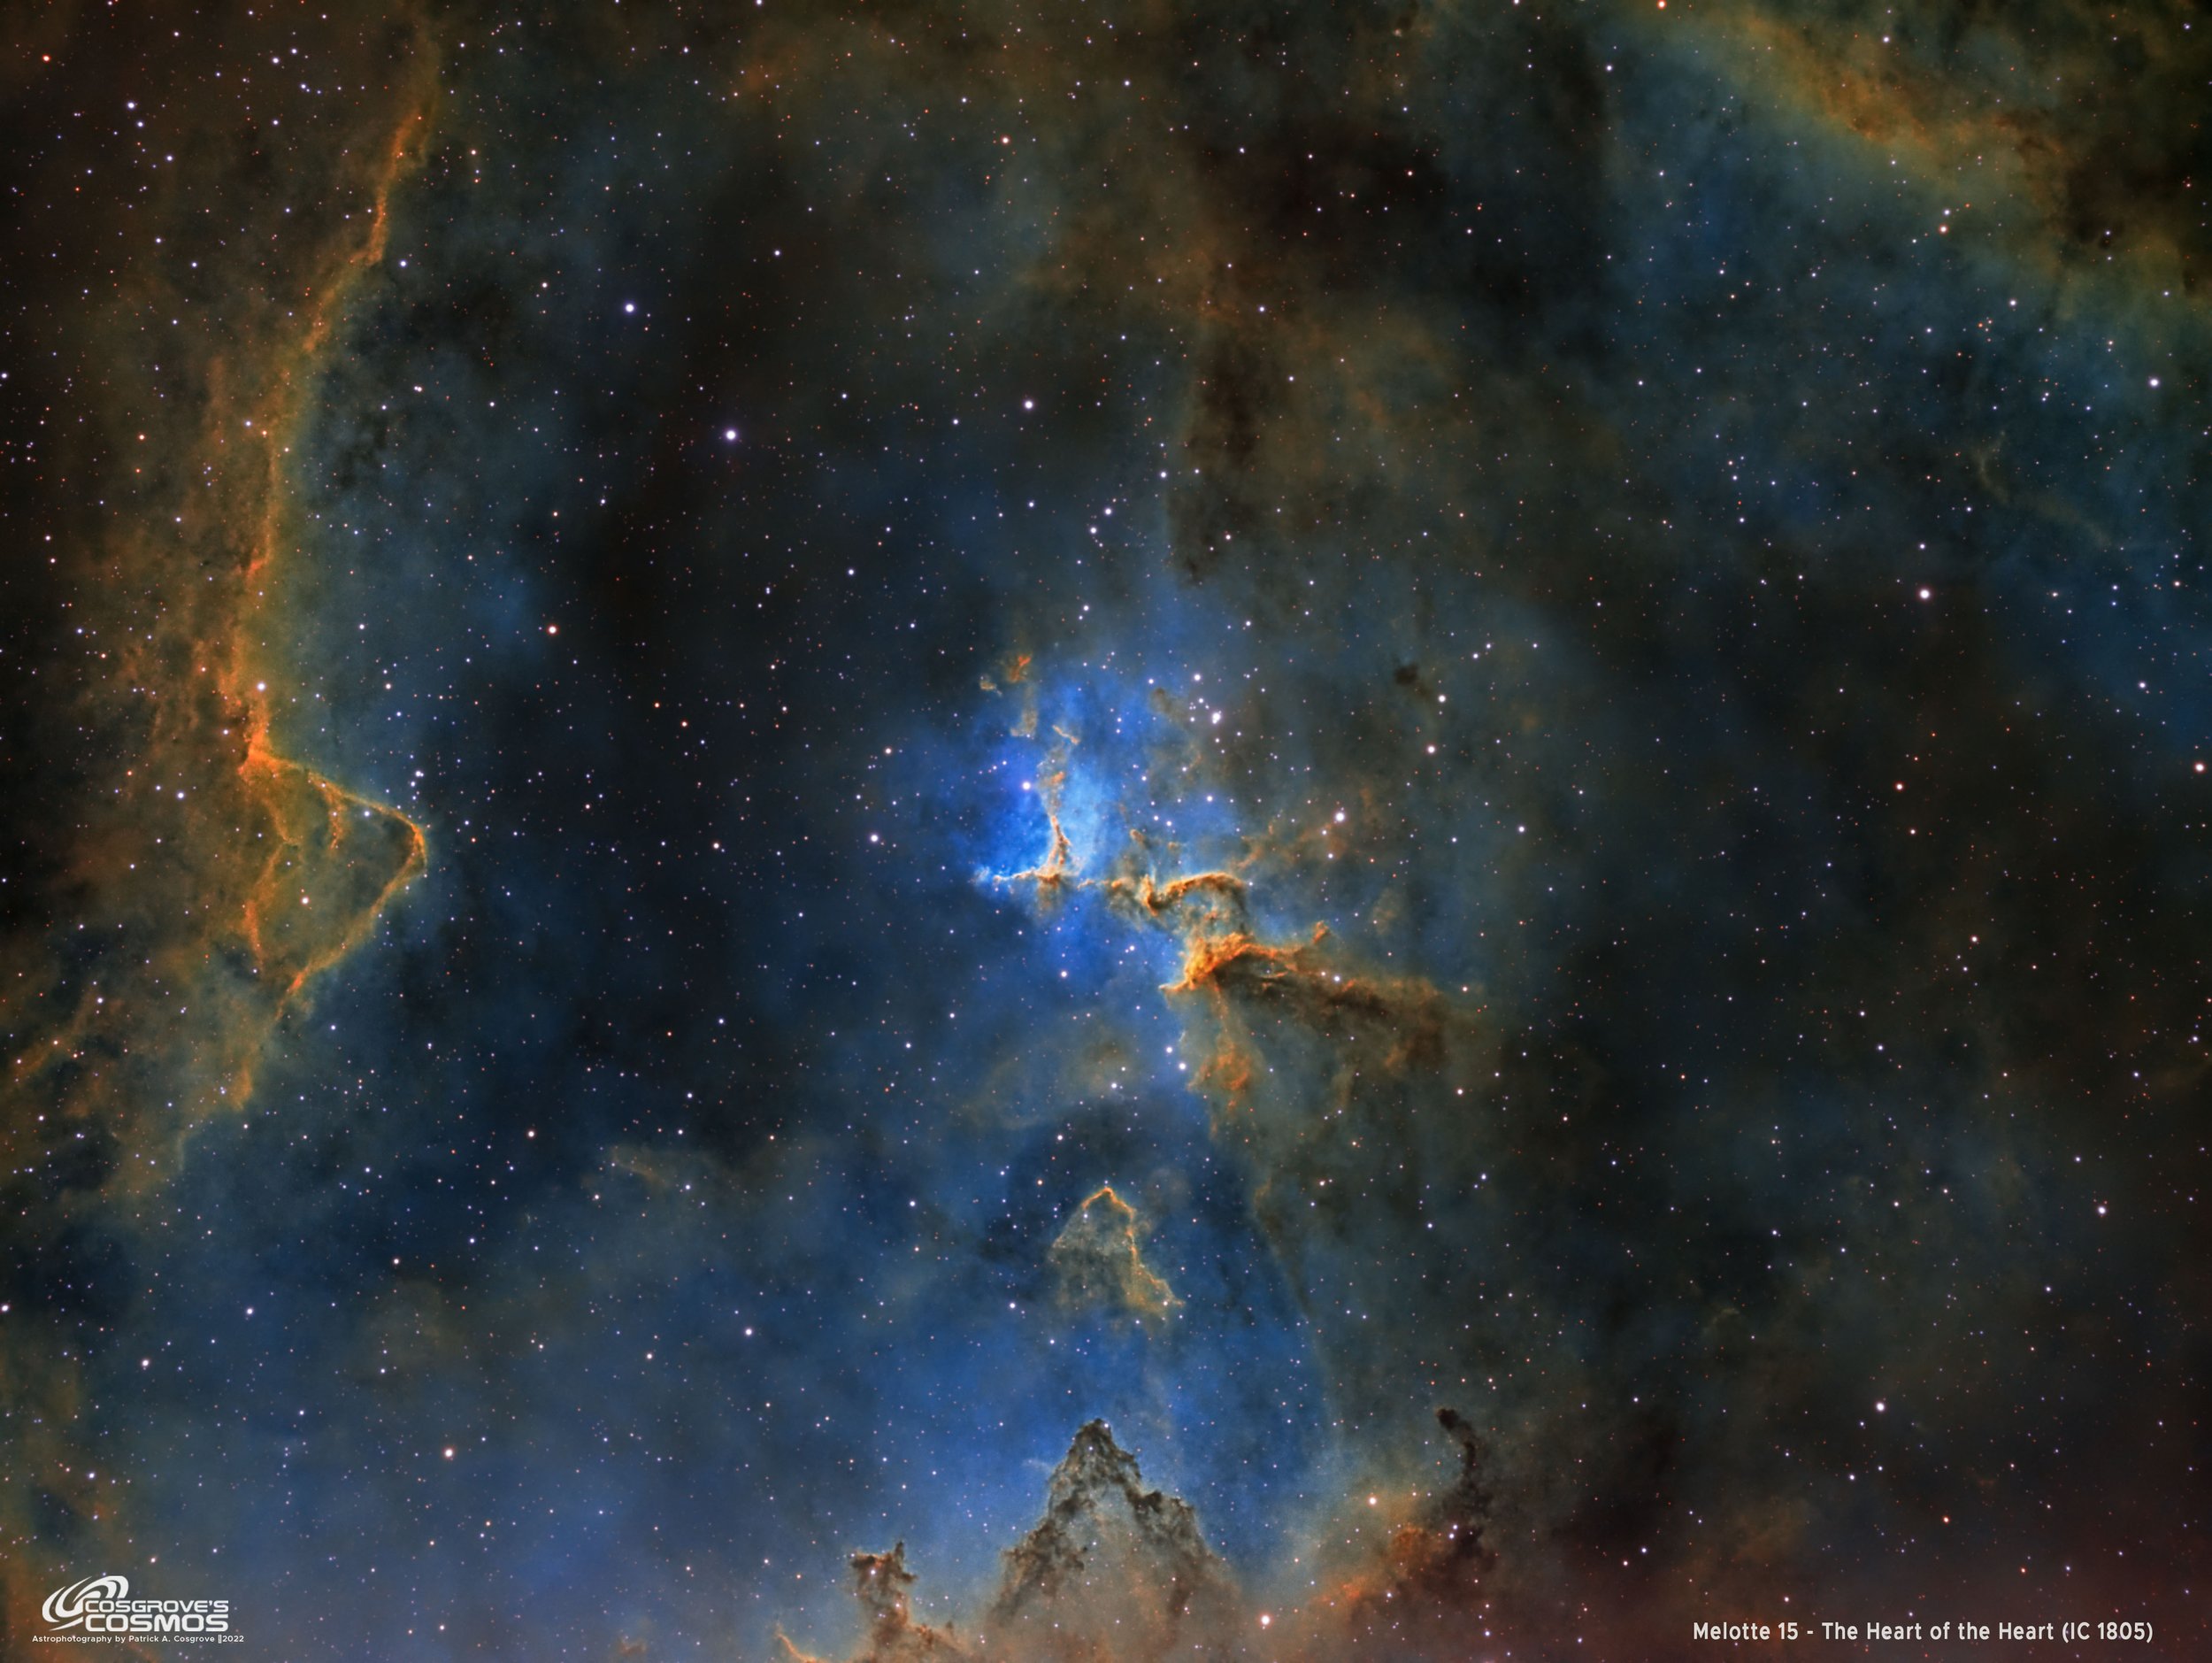
Melotte 15 - The Heart of the Heart Nebula (IC 1805) - (click to view)

Whispering Skies Observatory - looking North (click to view)
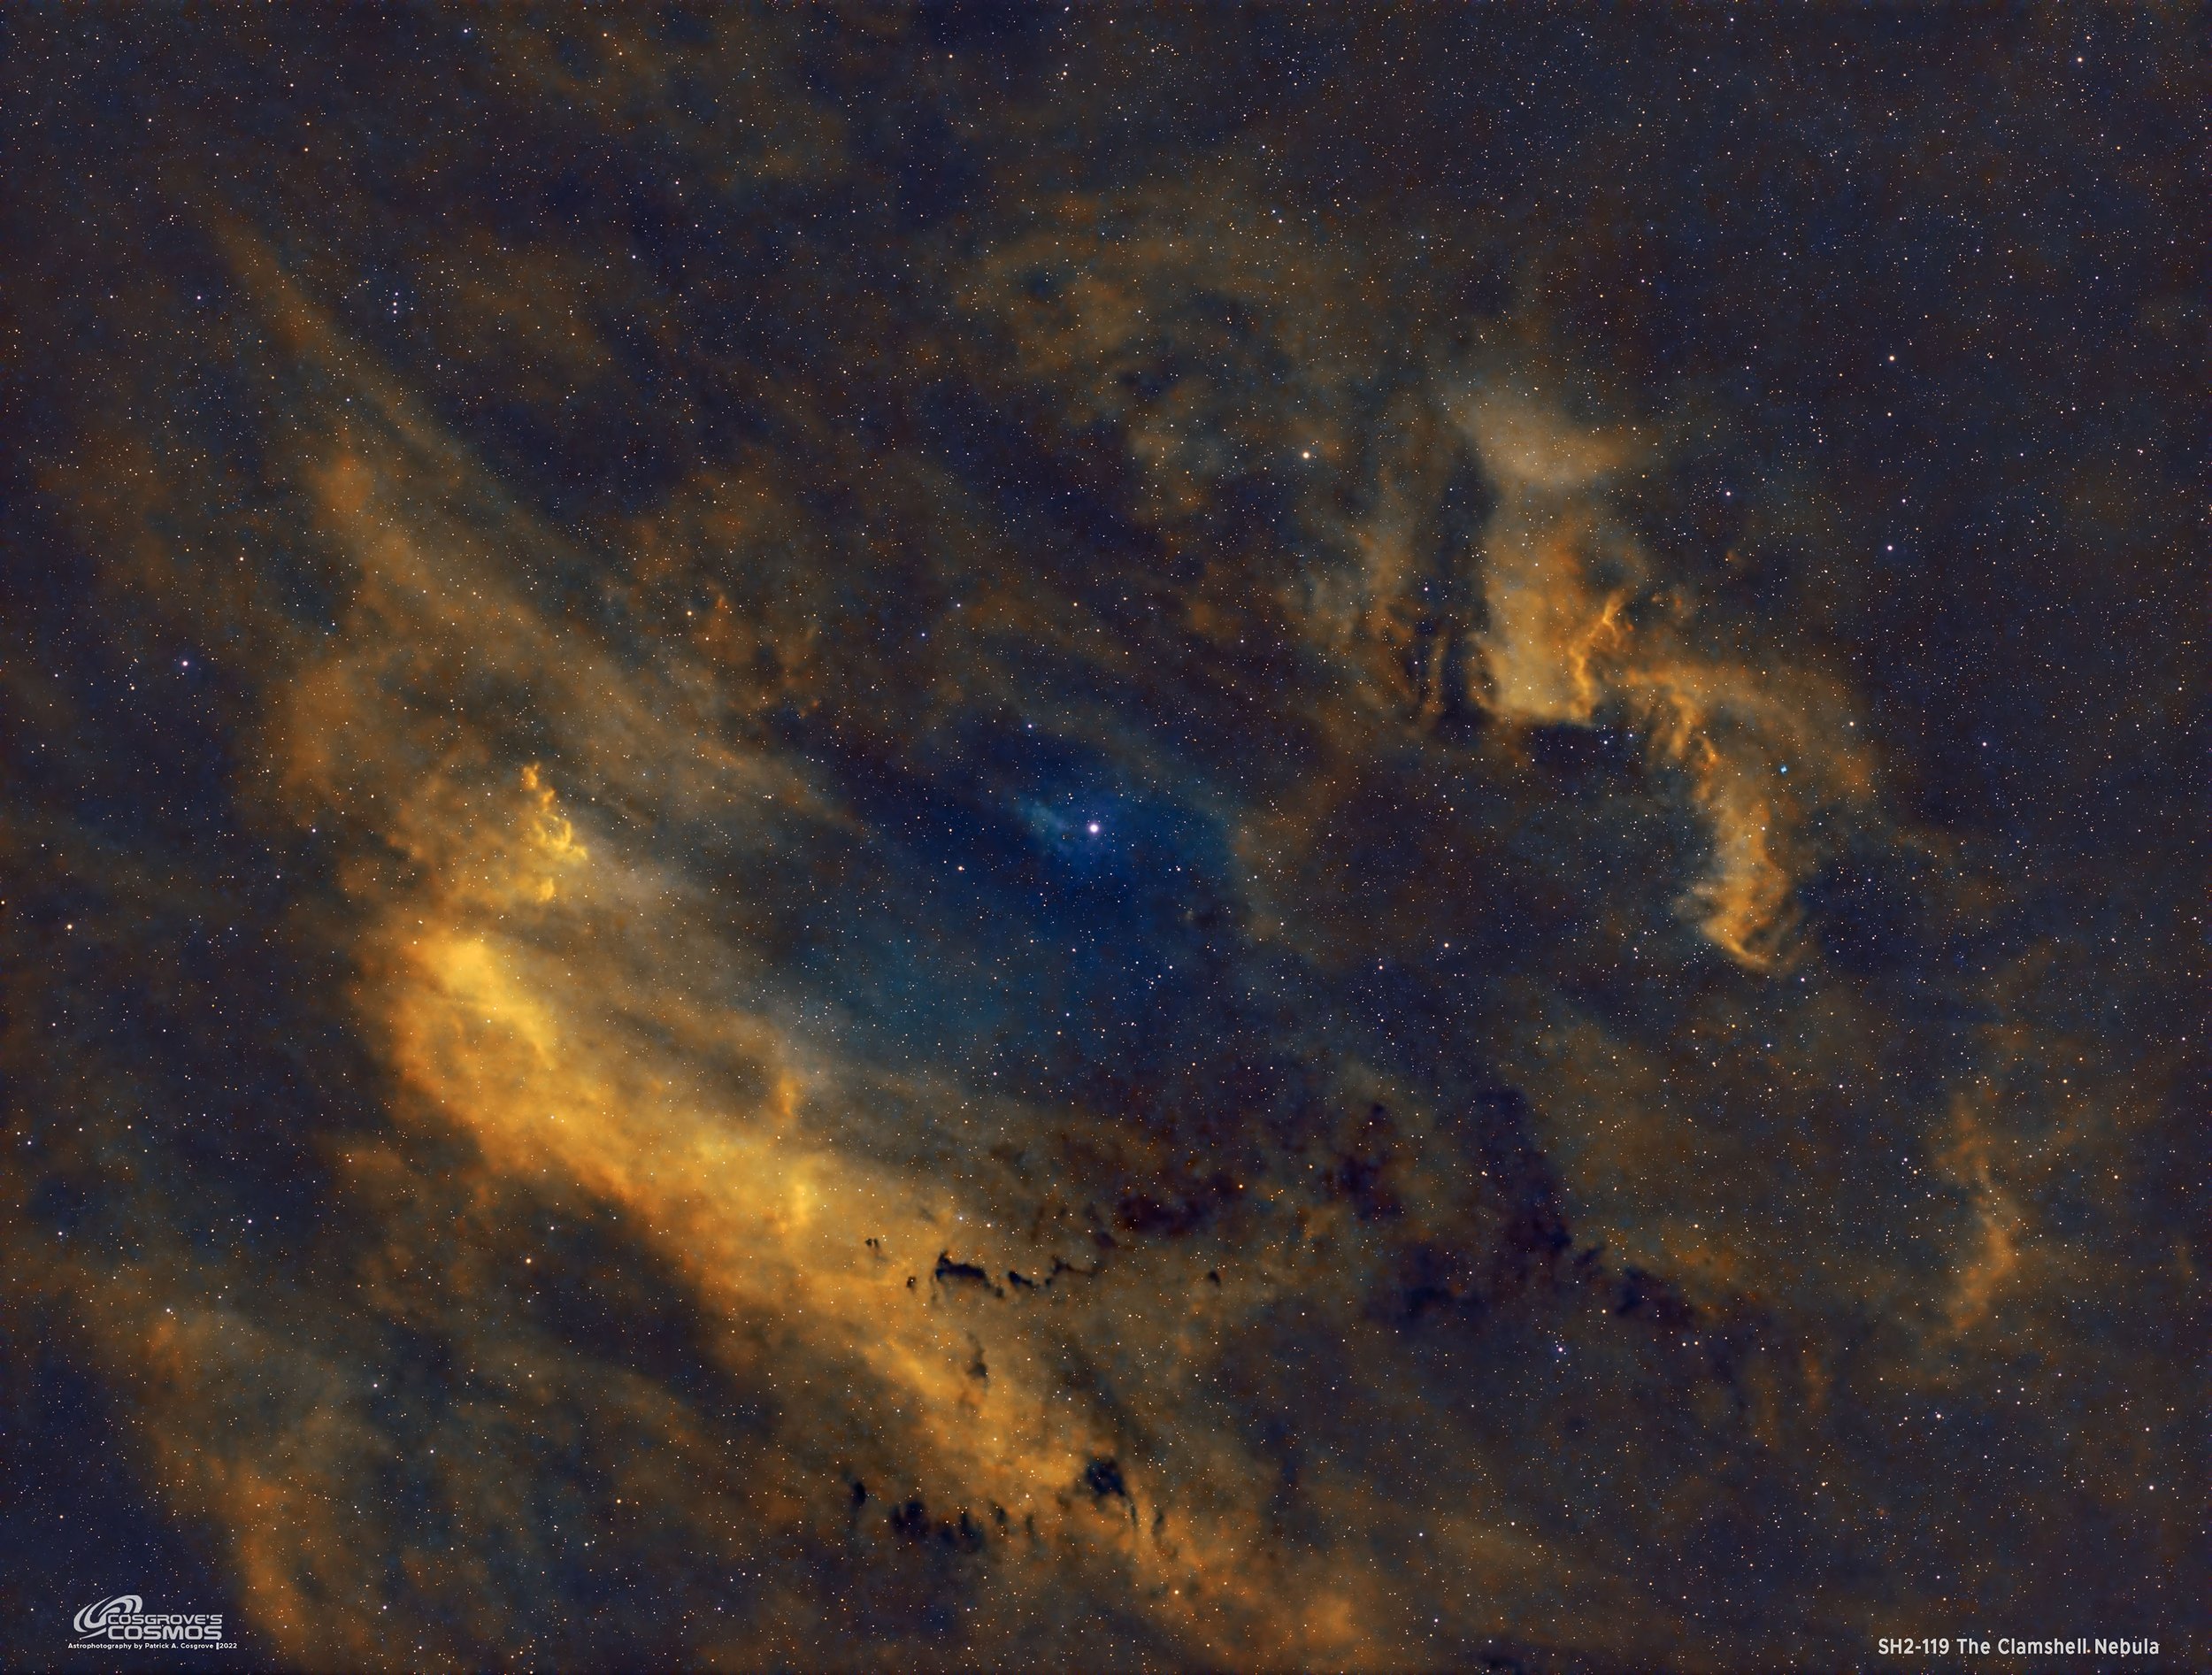
SH2-119 The Clamshell Nebula - 3.5 Hours in SHO - (vlick to view)
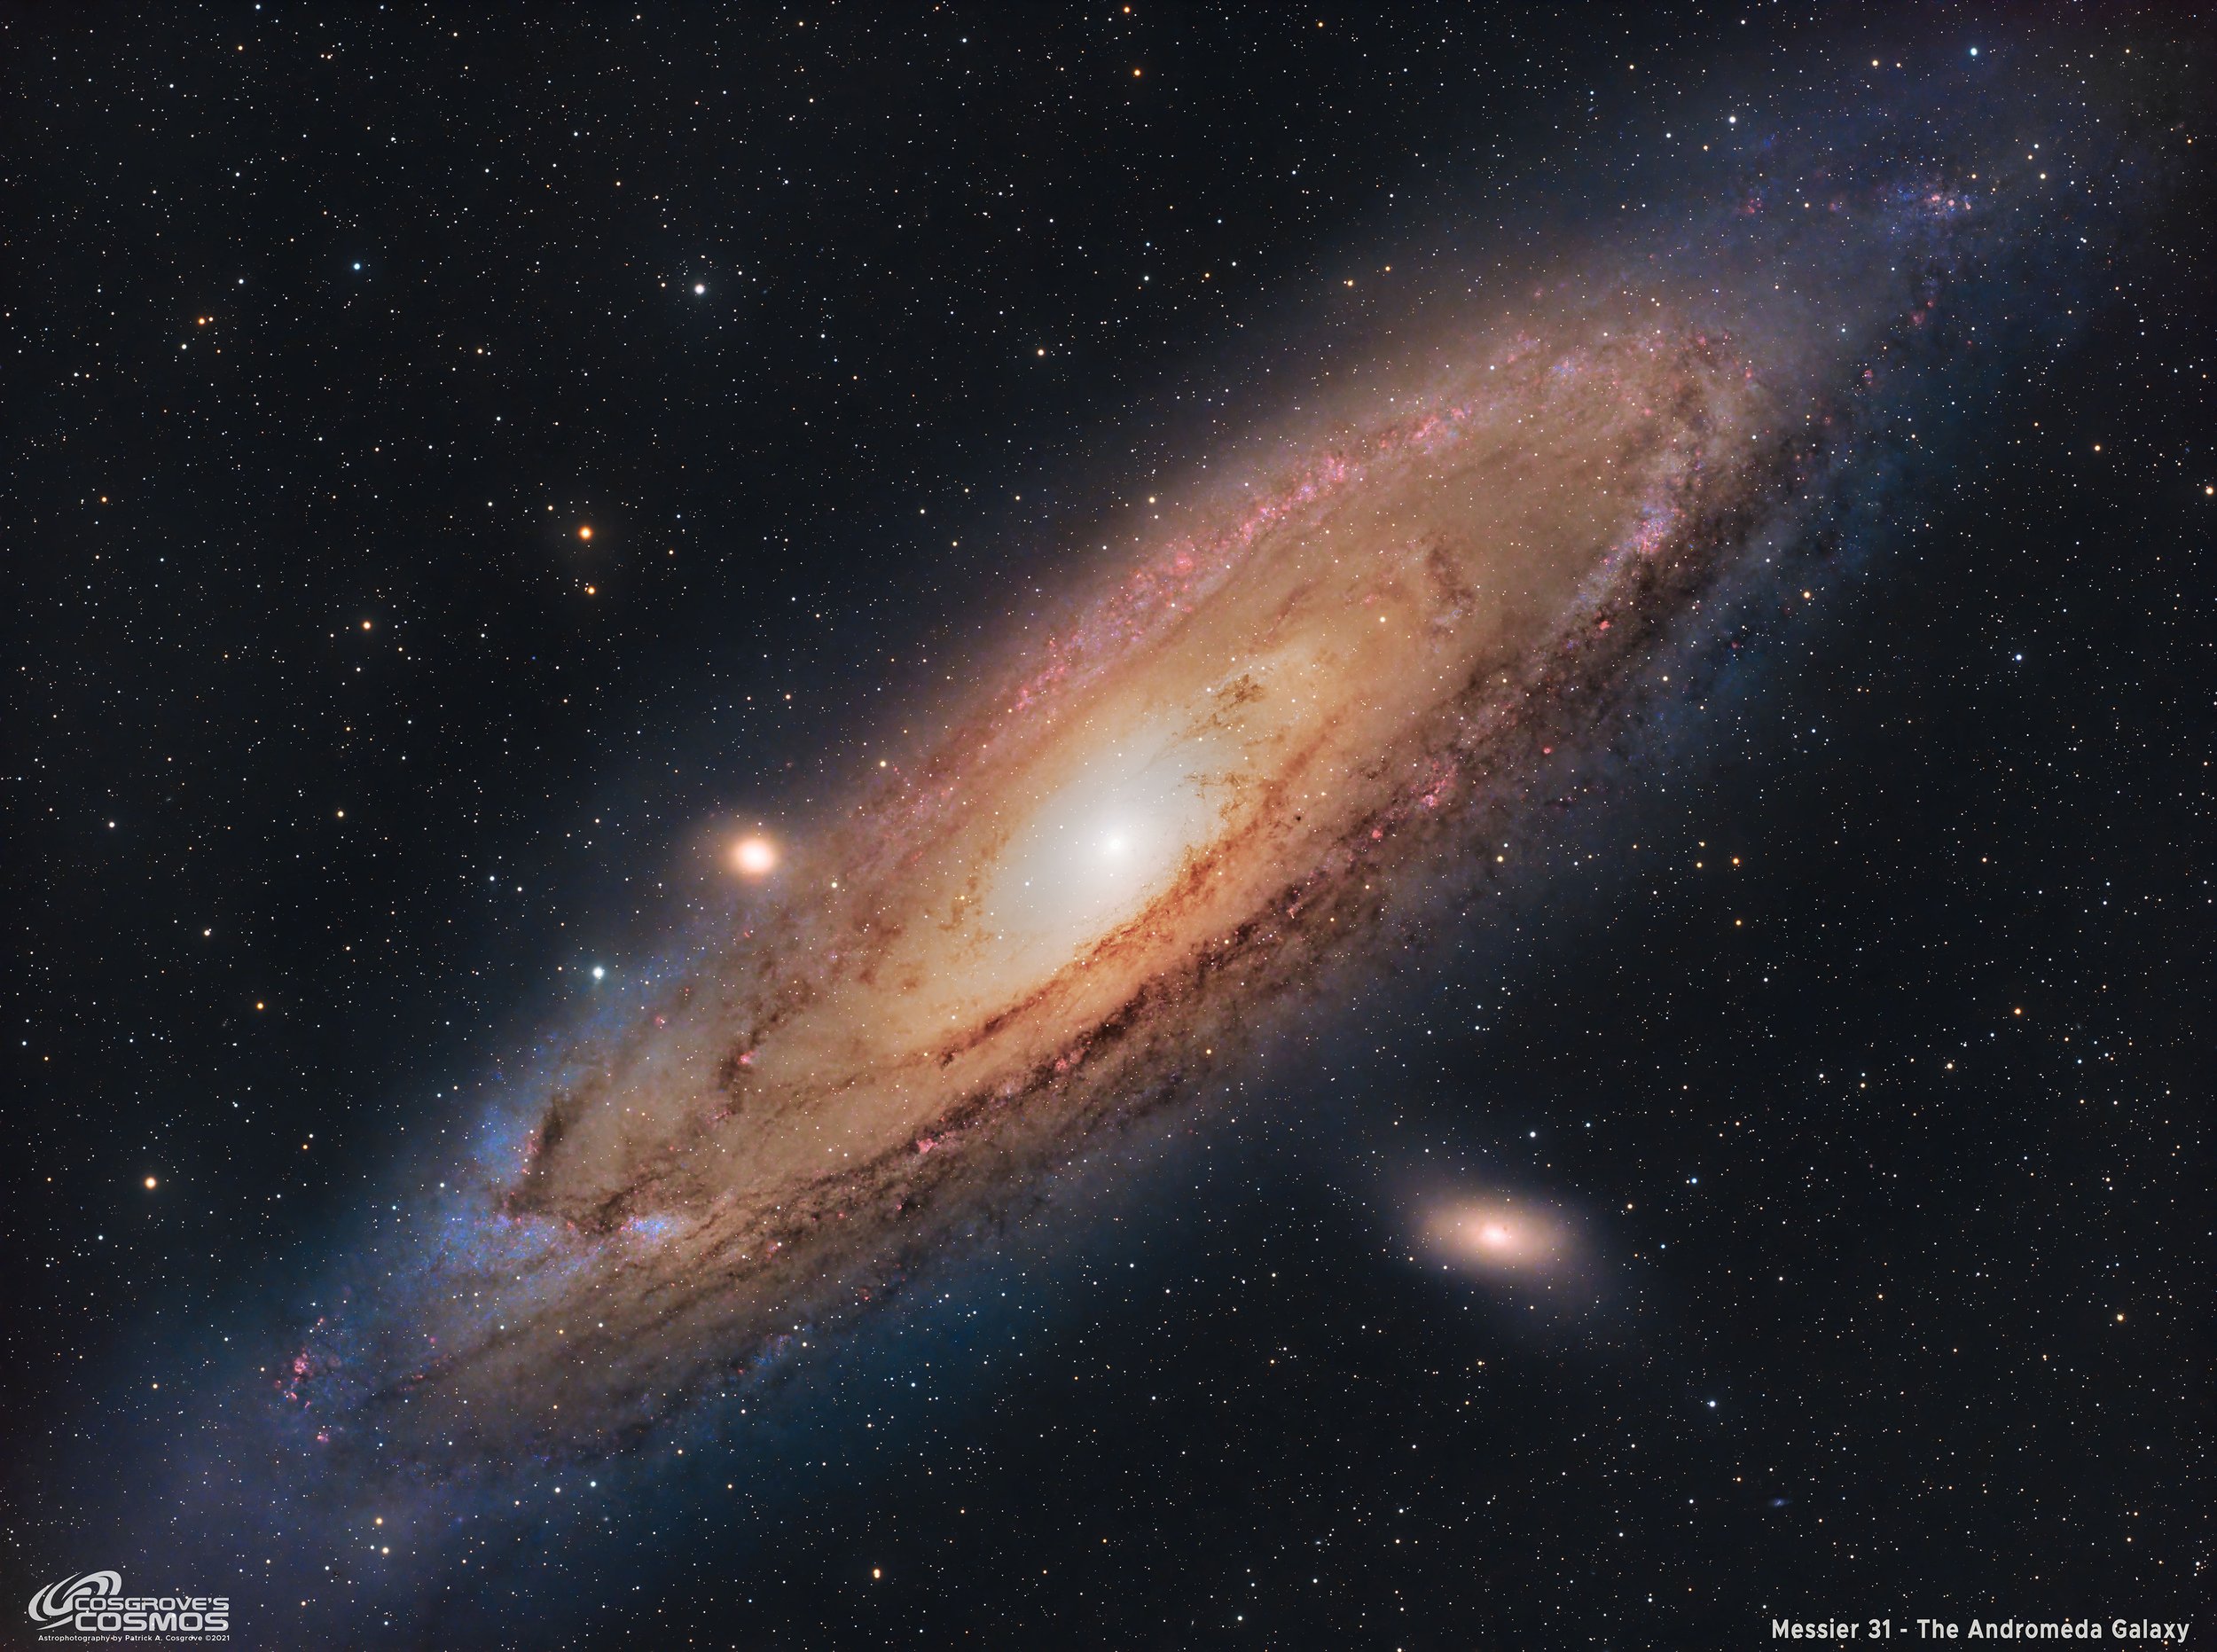
Messier 31 - The Andromeda Galaxy - 6 hours in LHaRGB (click to view)

Aerial view of Whispering Skies Observatory (click to view)
Welcome to Cosgrove’s Cosmos
I created this site to share my deep-sky astrophotography and the practical lessons I’ve learned—what worked, what didn’t, and why. I’m still learning every day, and my goal is to make that learning useful to others who want to improve their own results.
Here you’ll find
- Full imaging project reports — target selection, capture details, and annotated, step-by-step processing walkthroughs
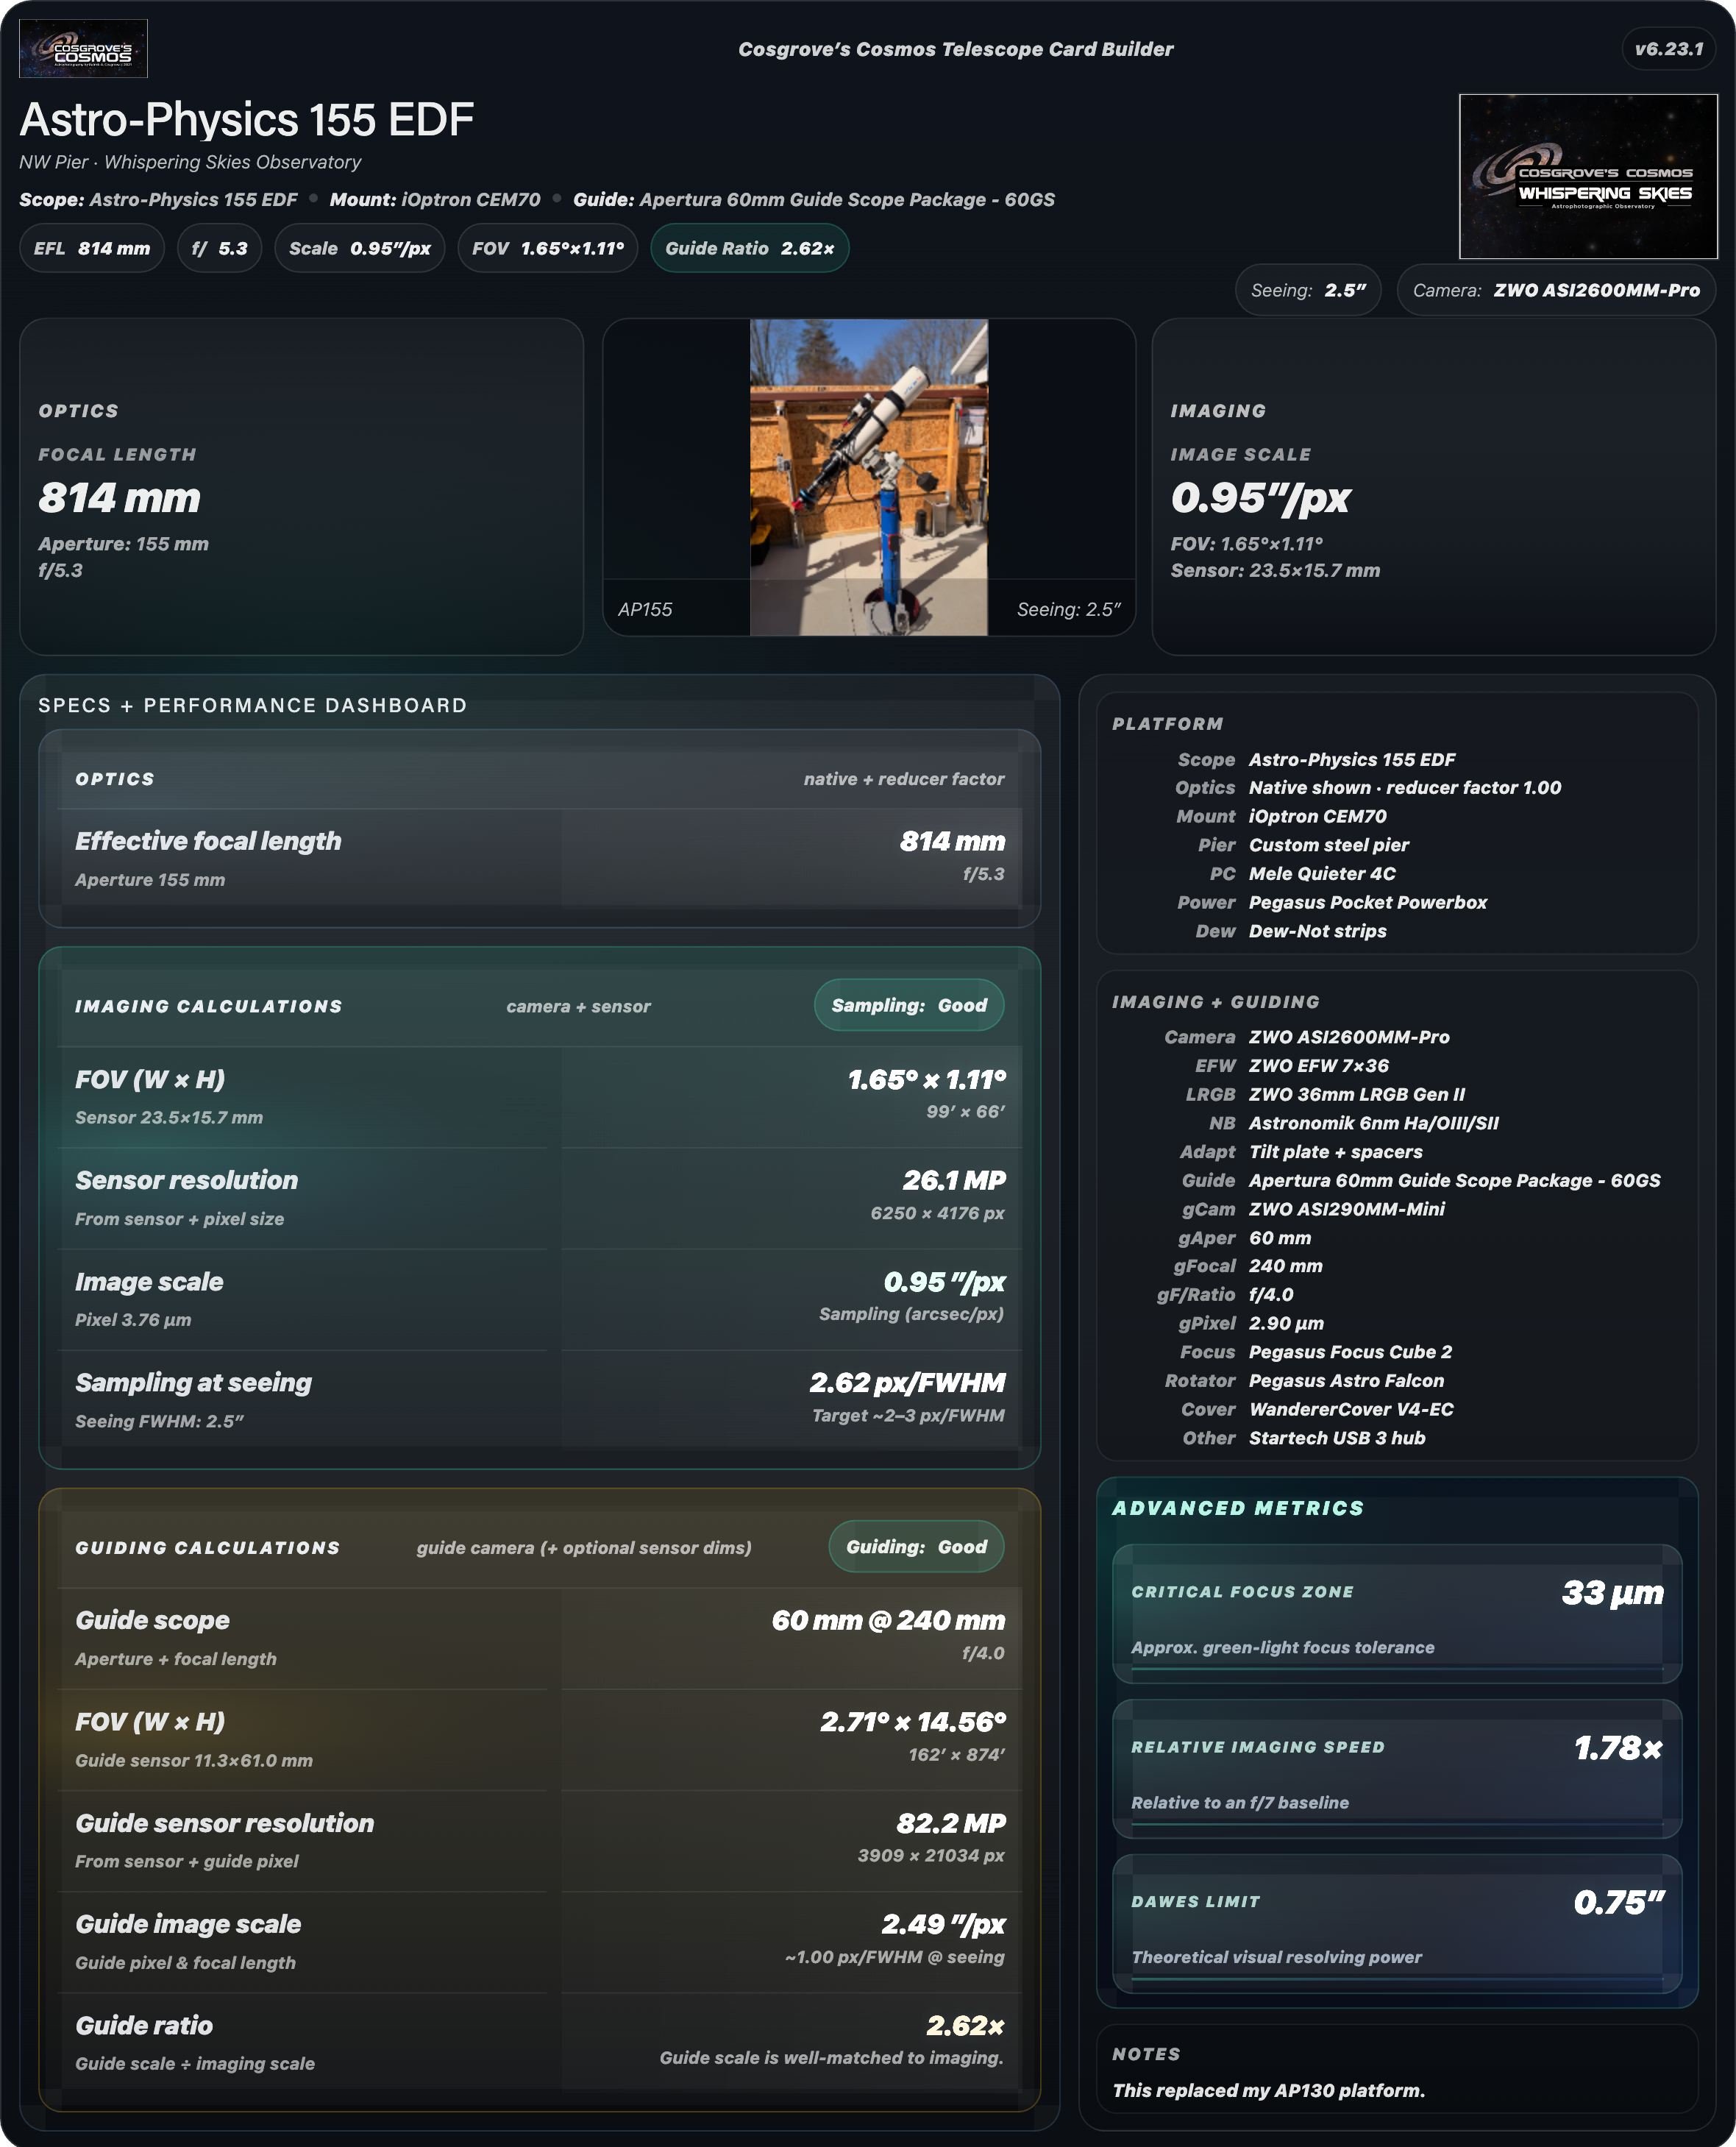
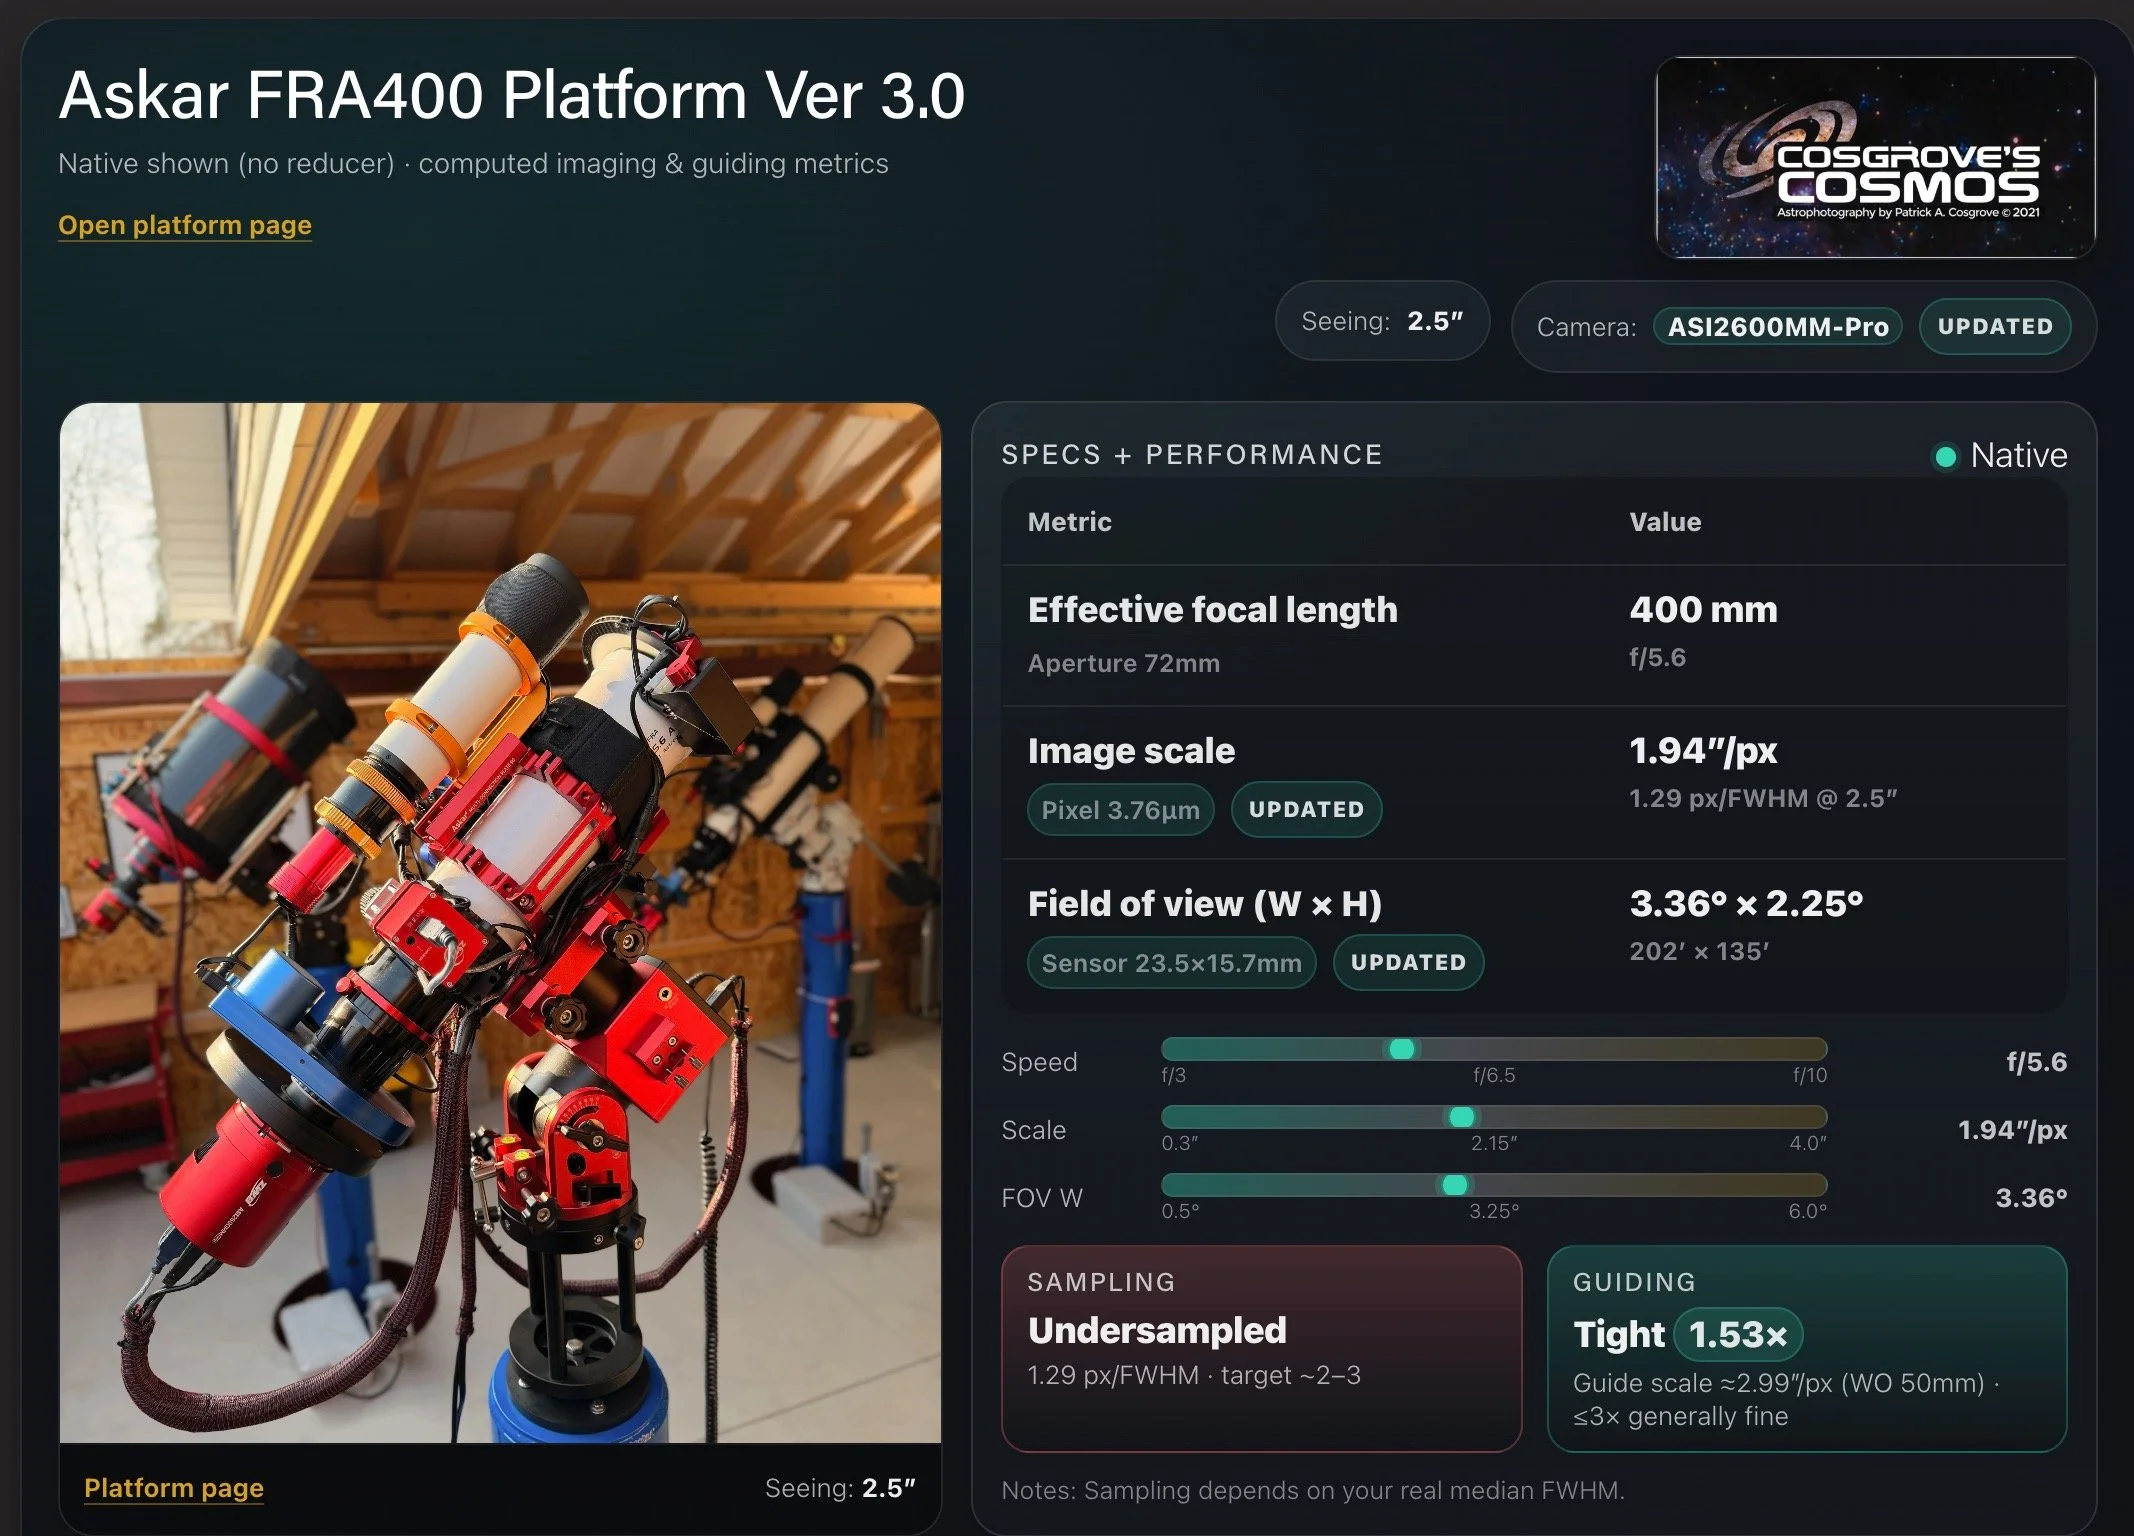
- Telescope & imaging-train setup details
- Gear notes and field-proven configurations
- Tips & techniques for capture and processing
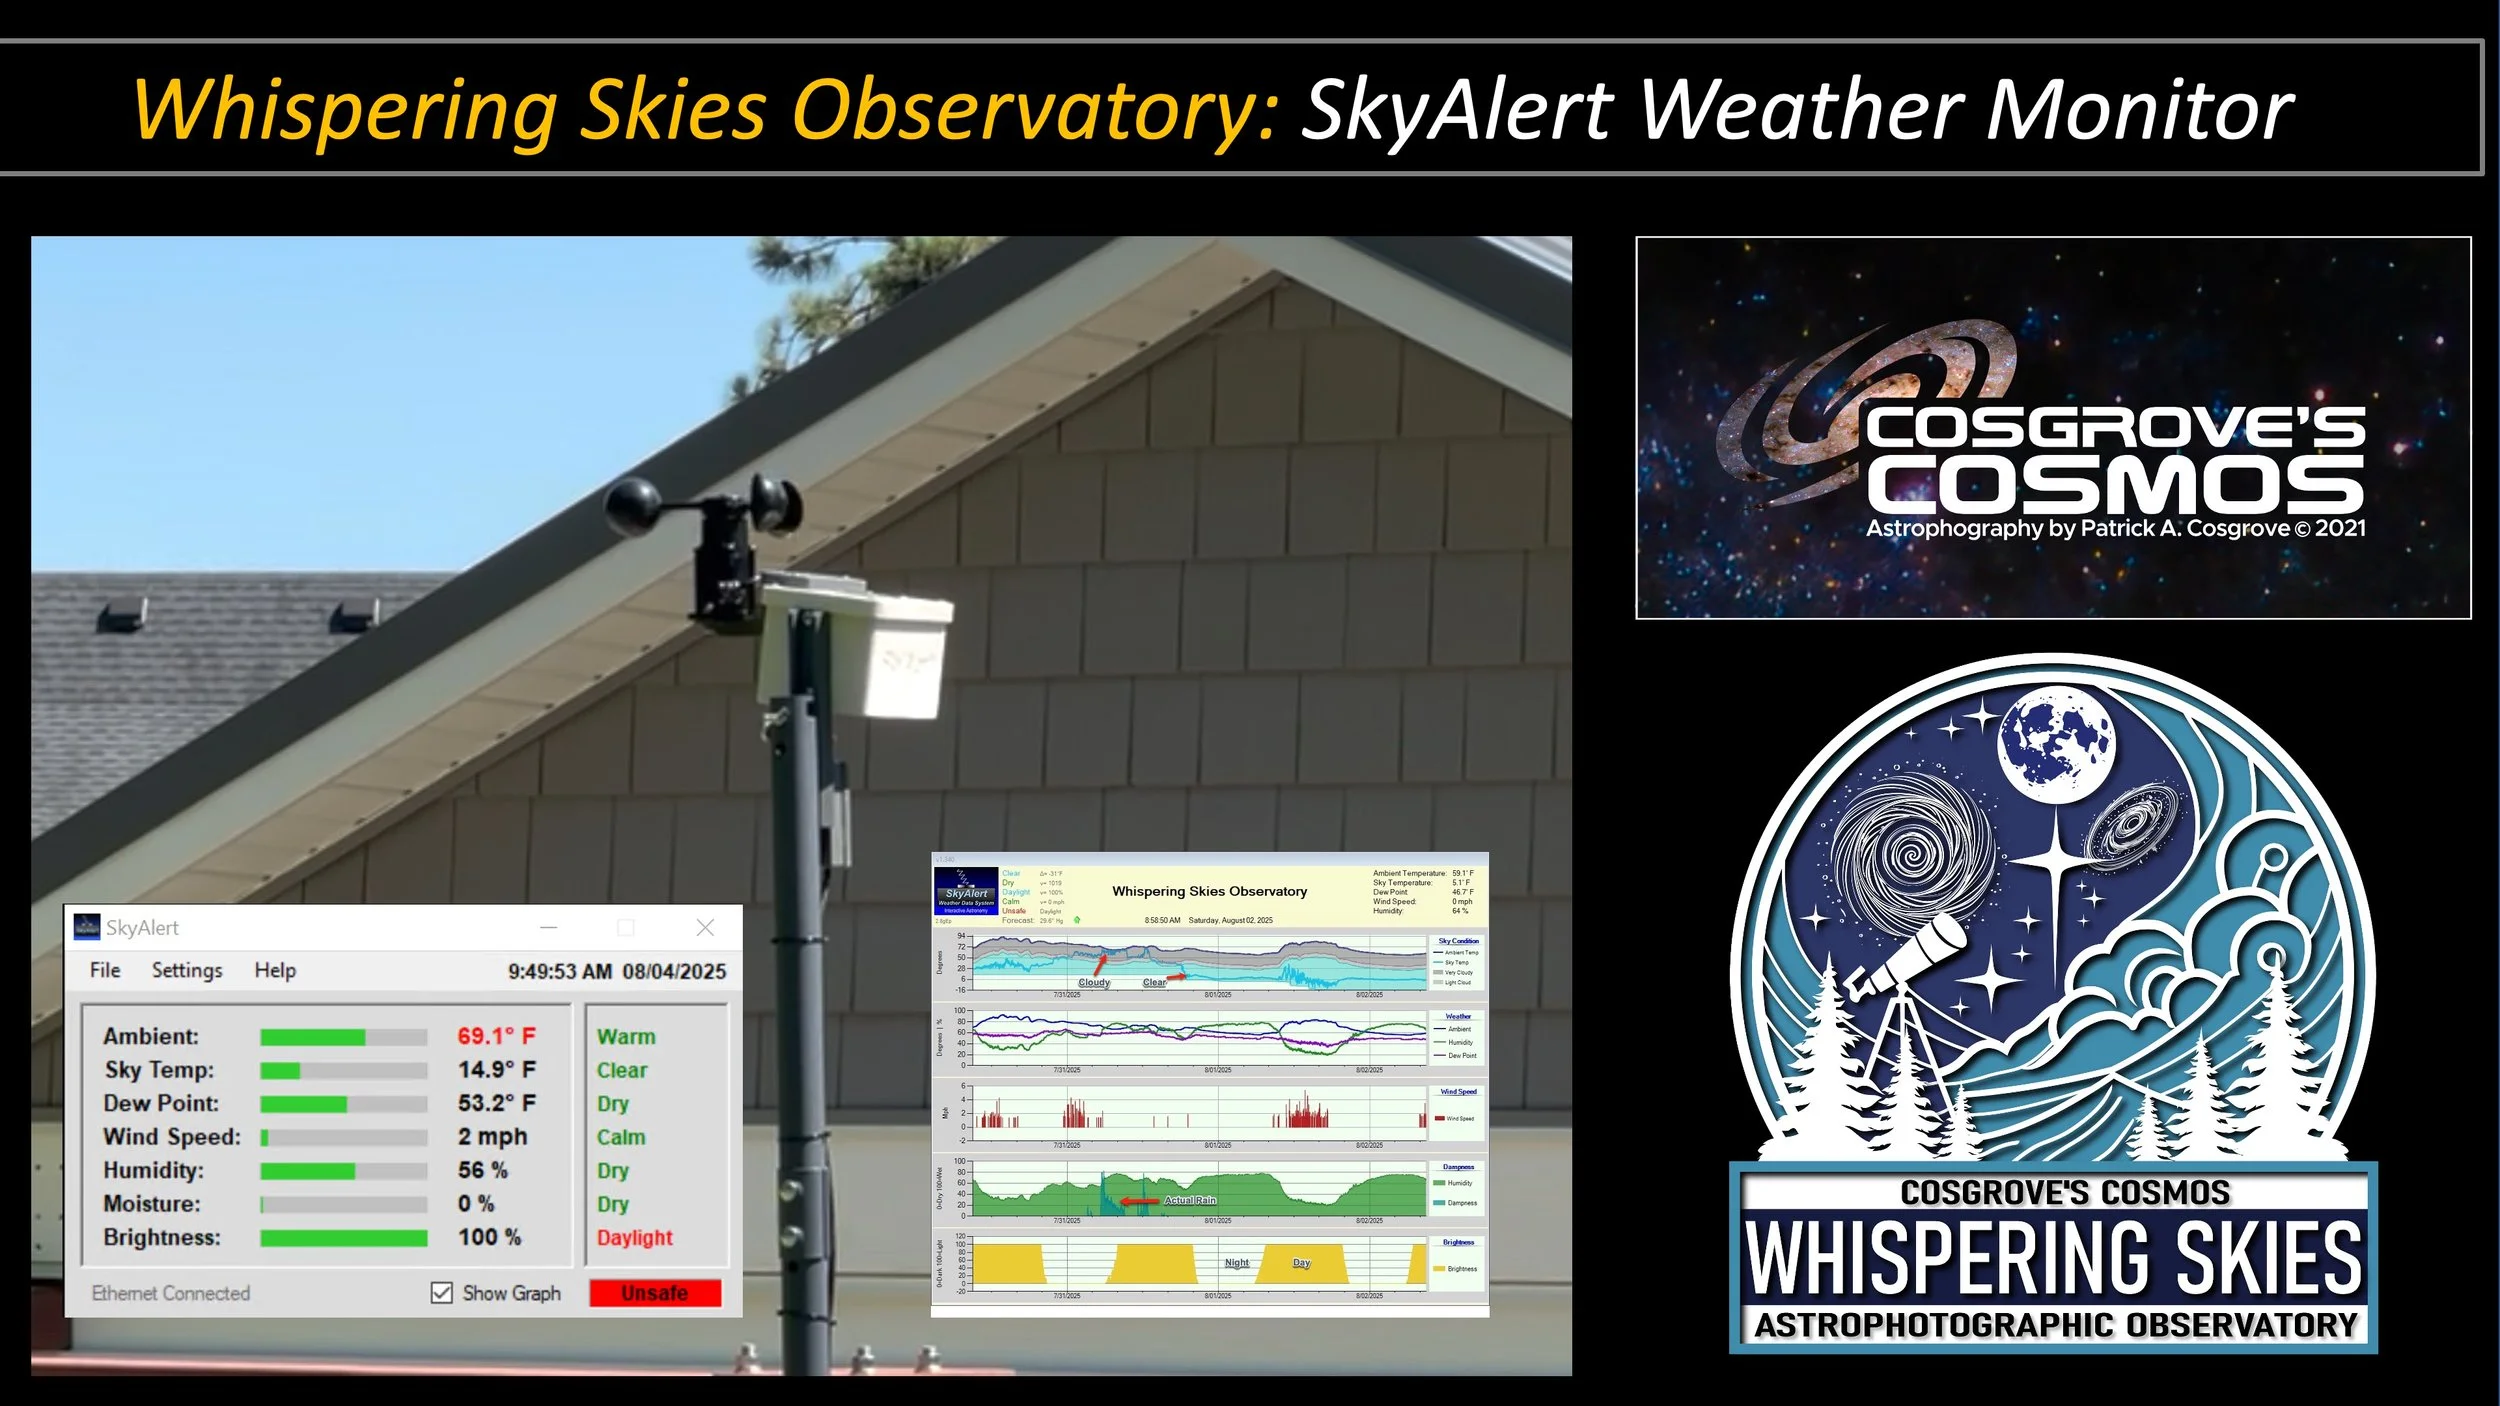
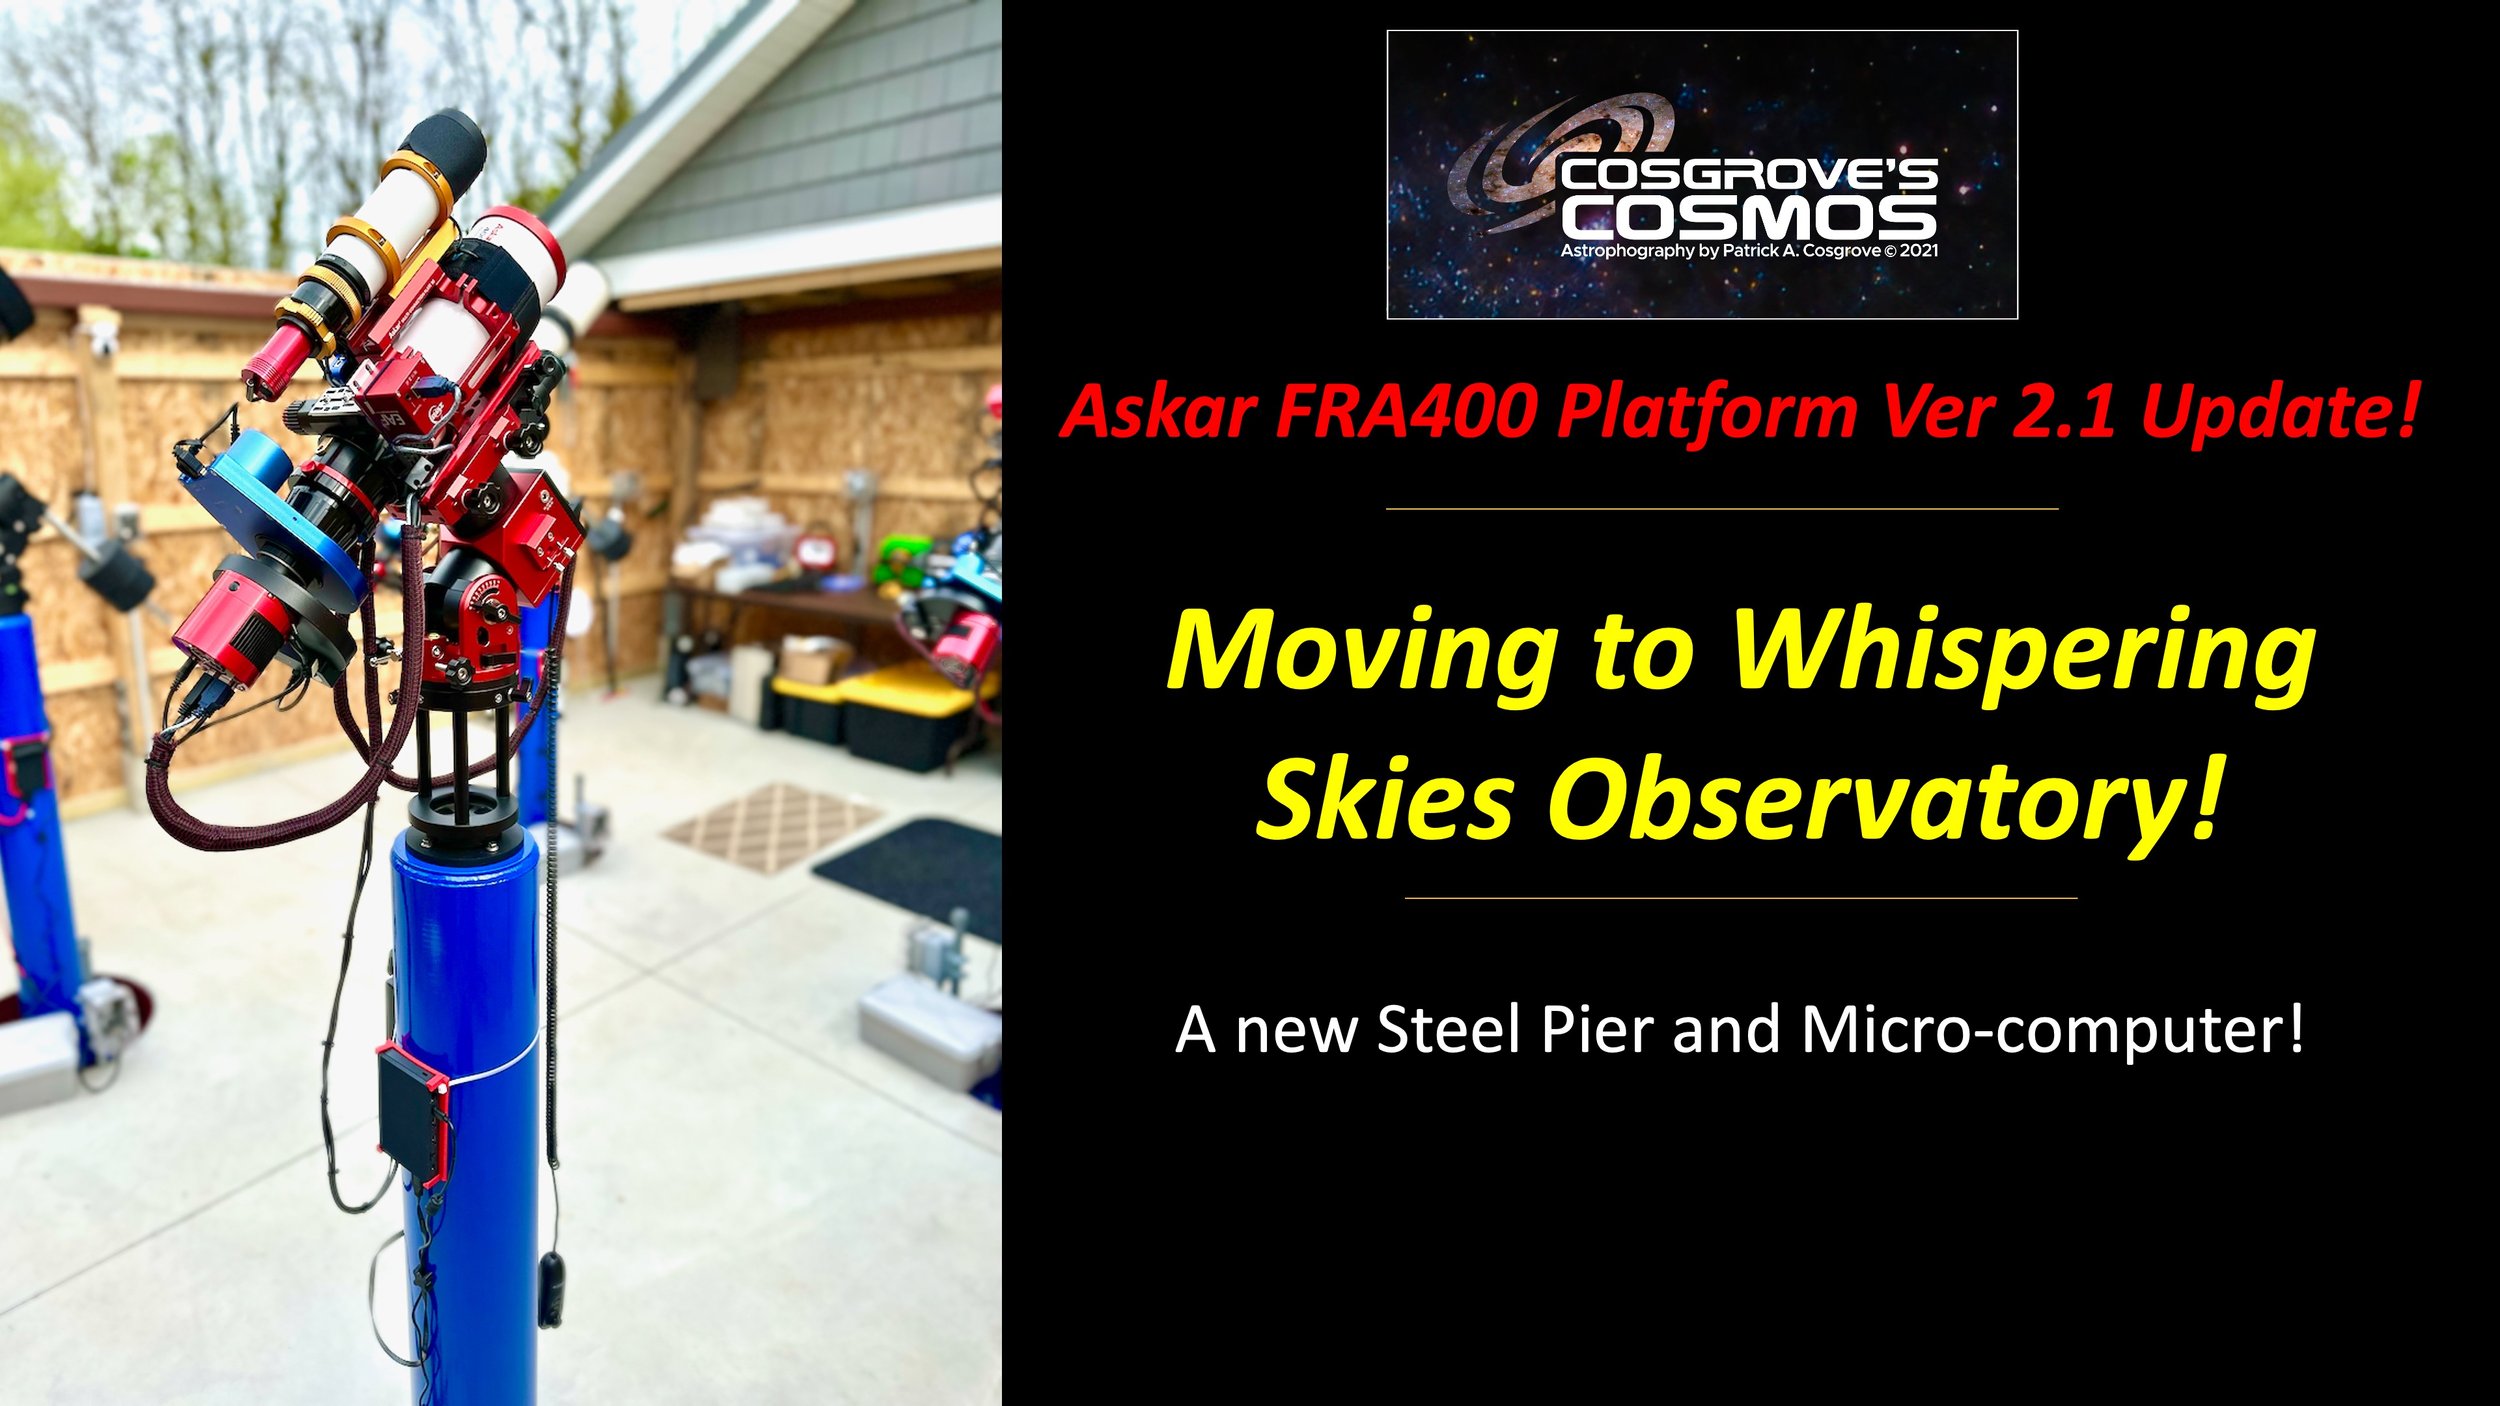
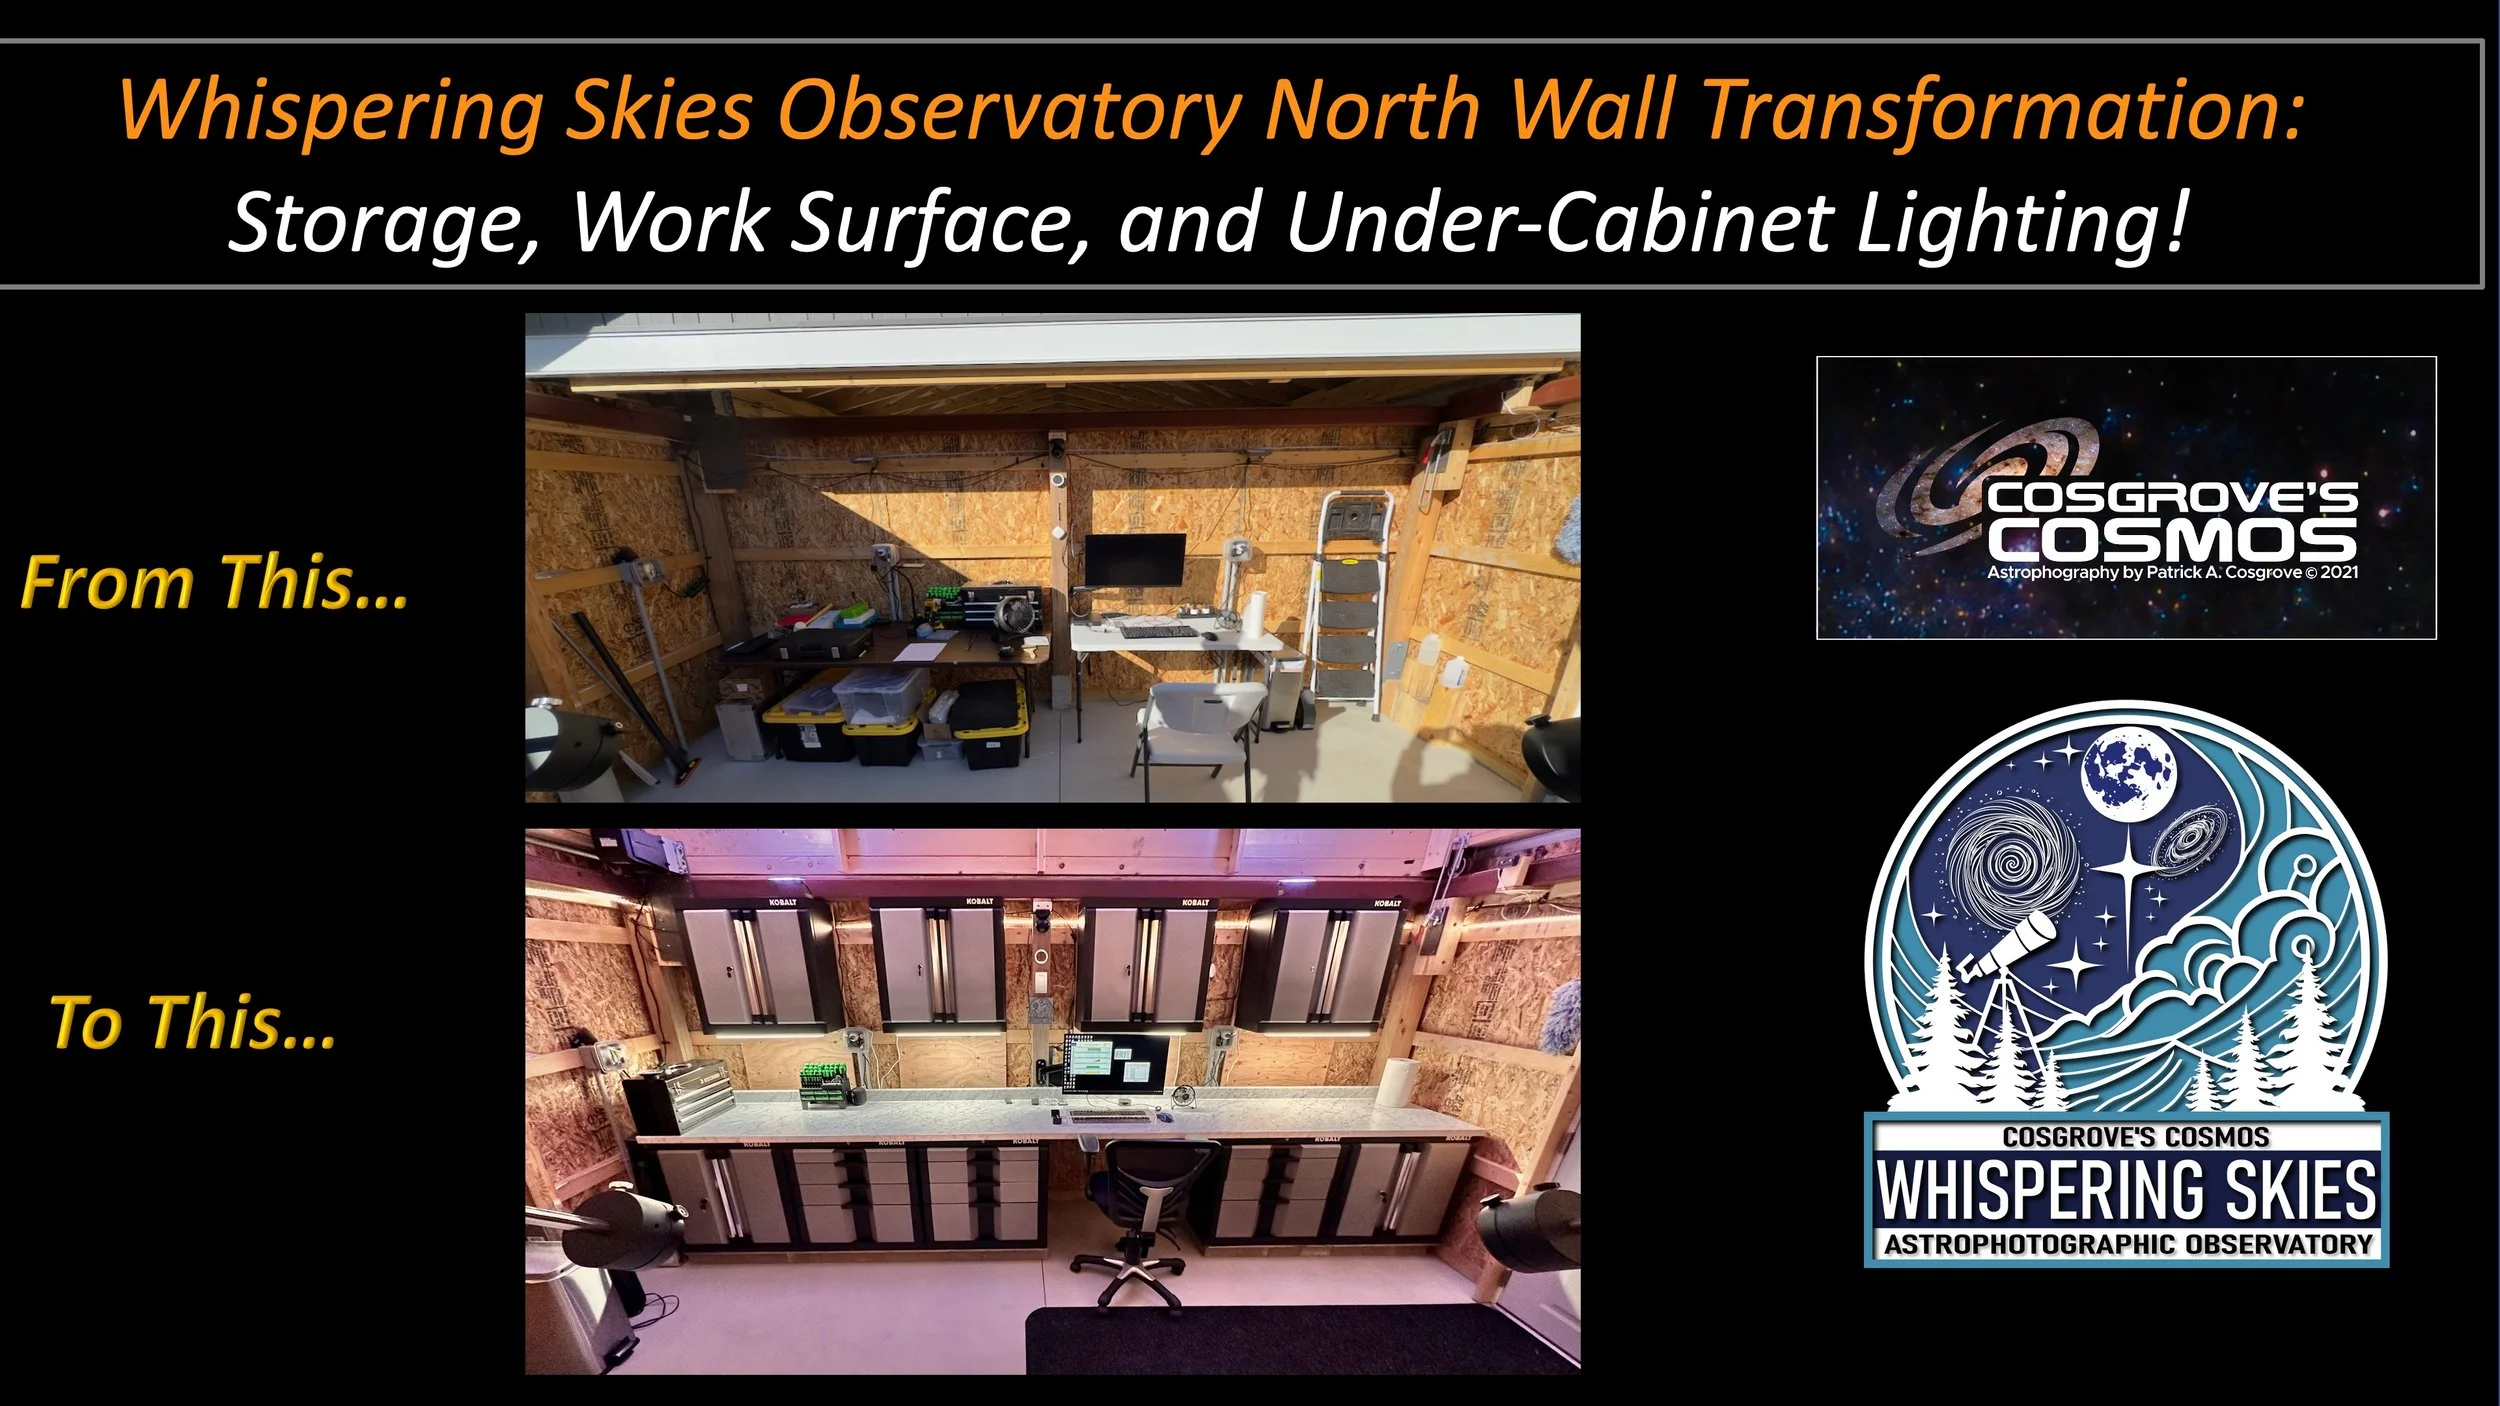
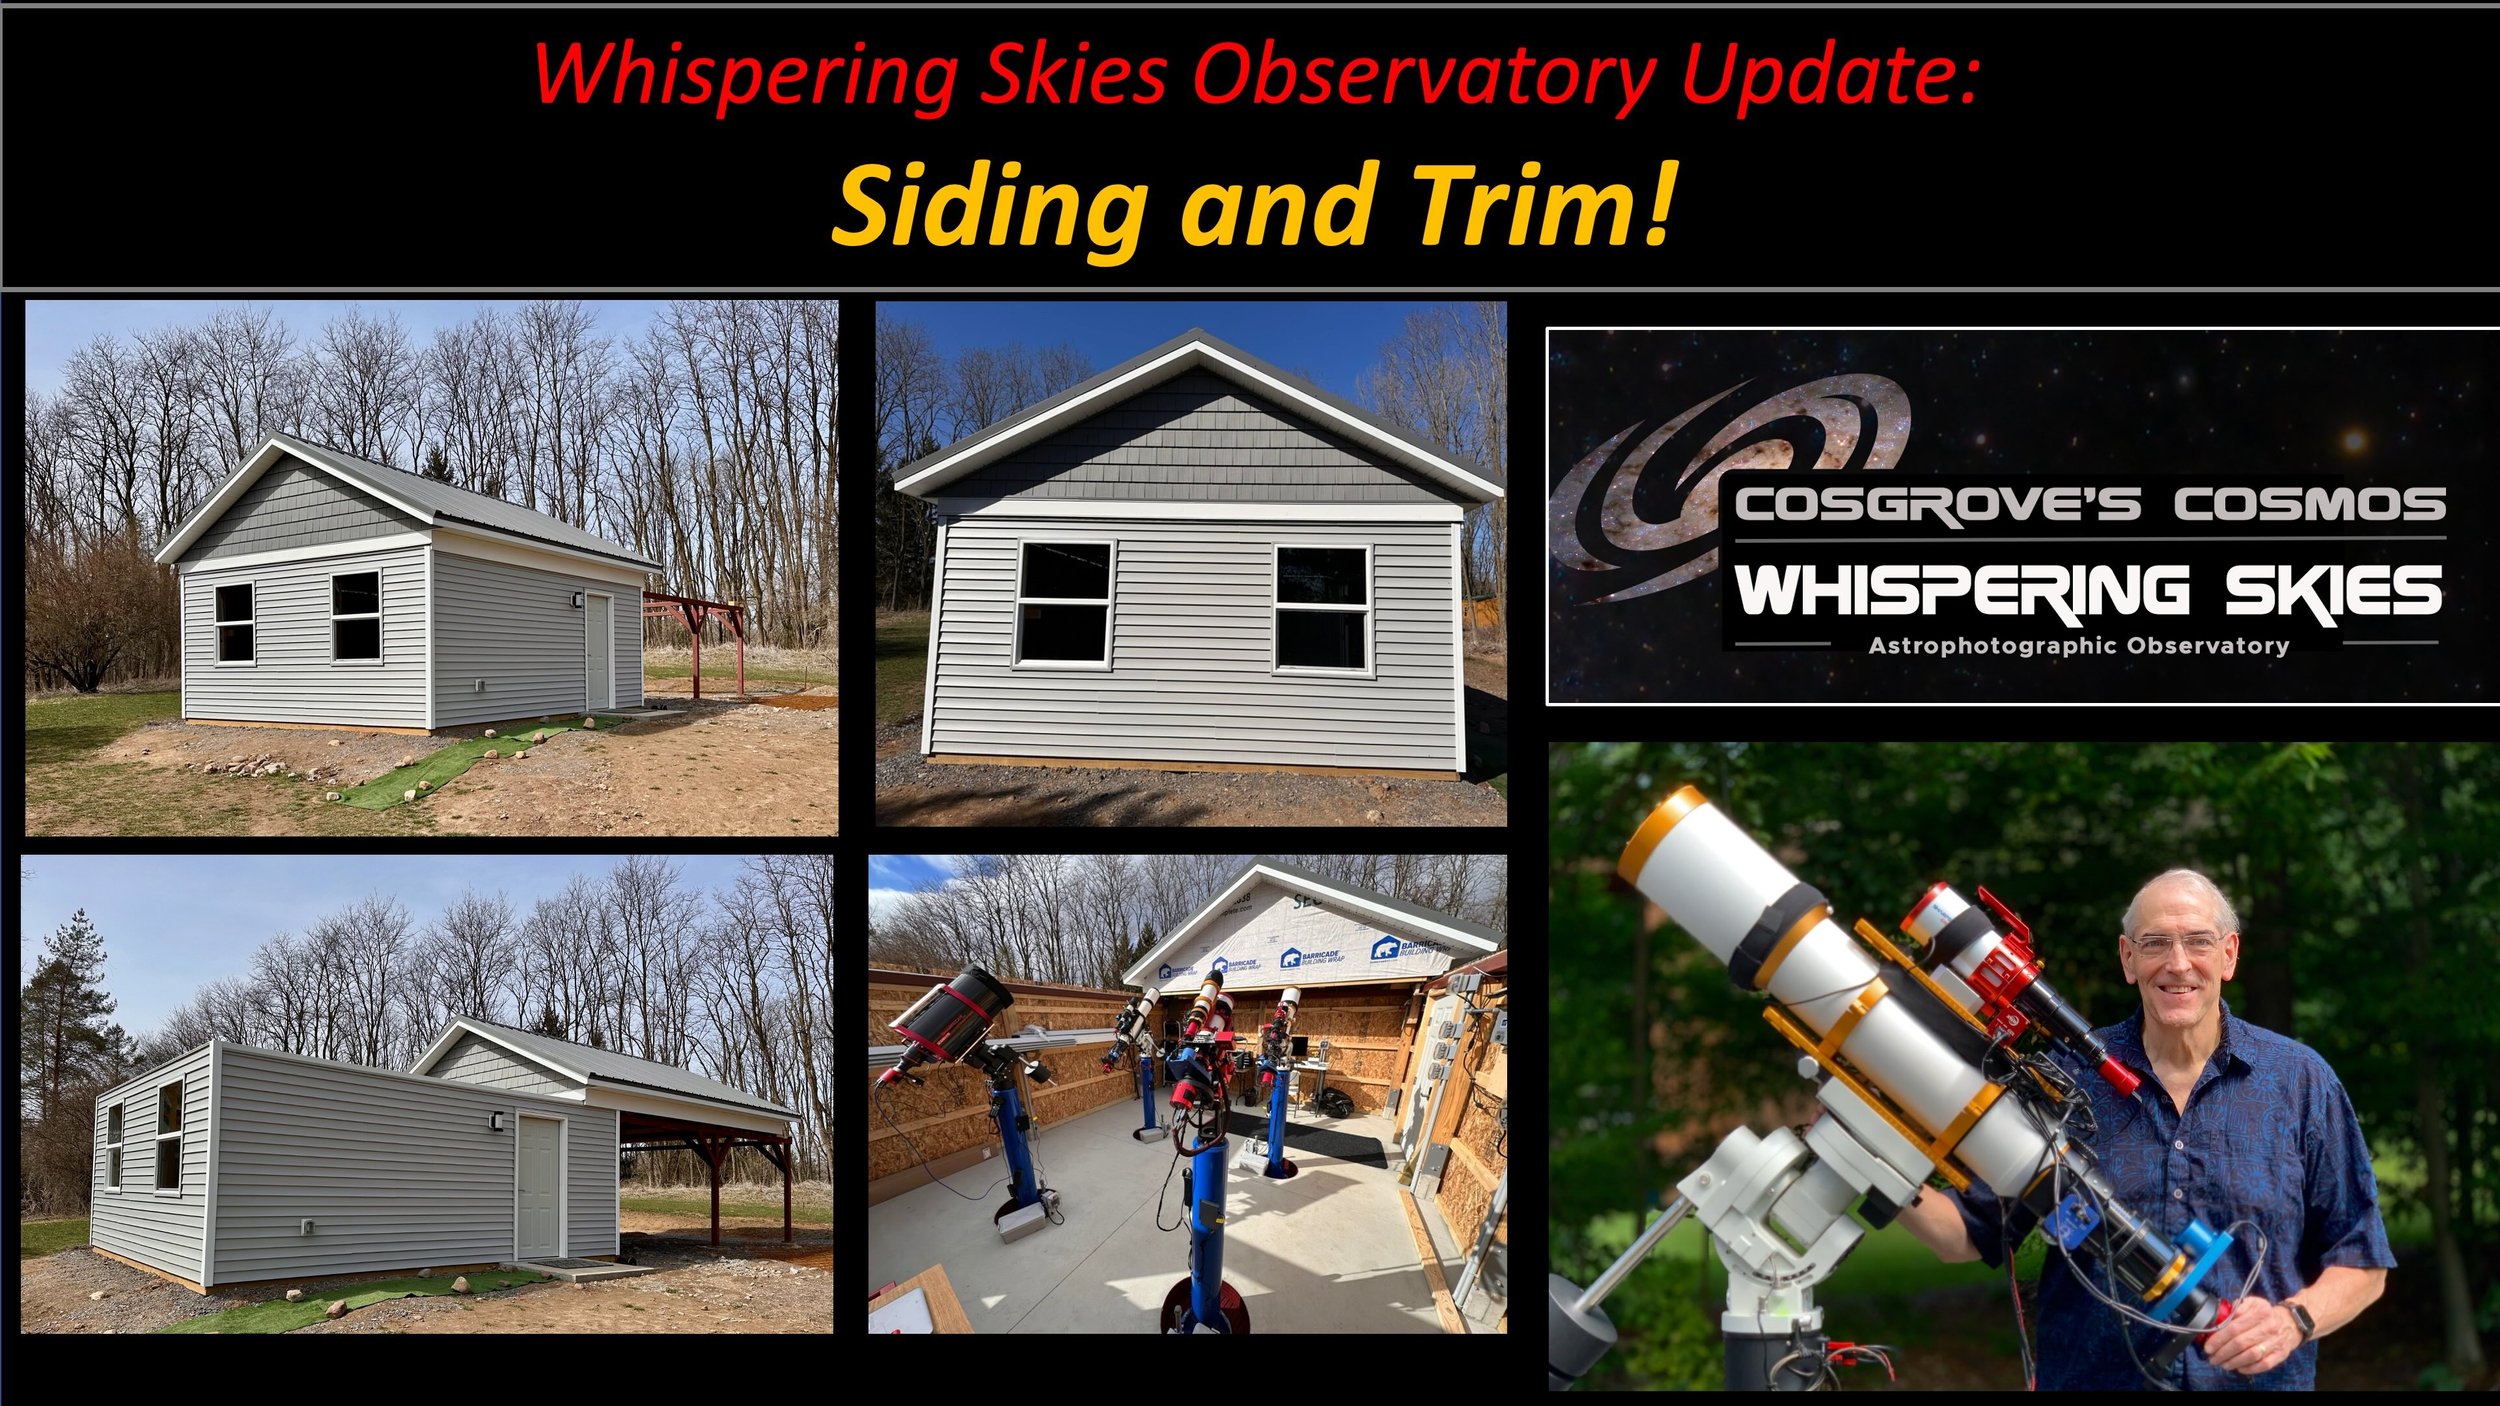
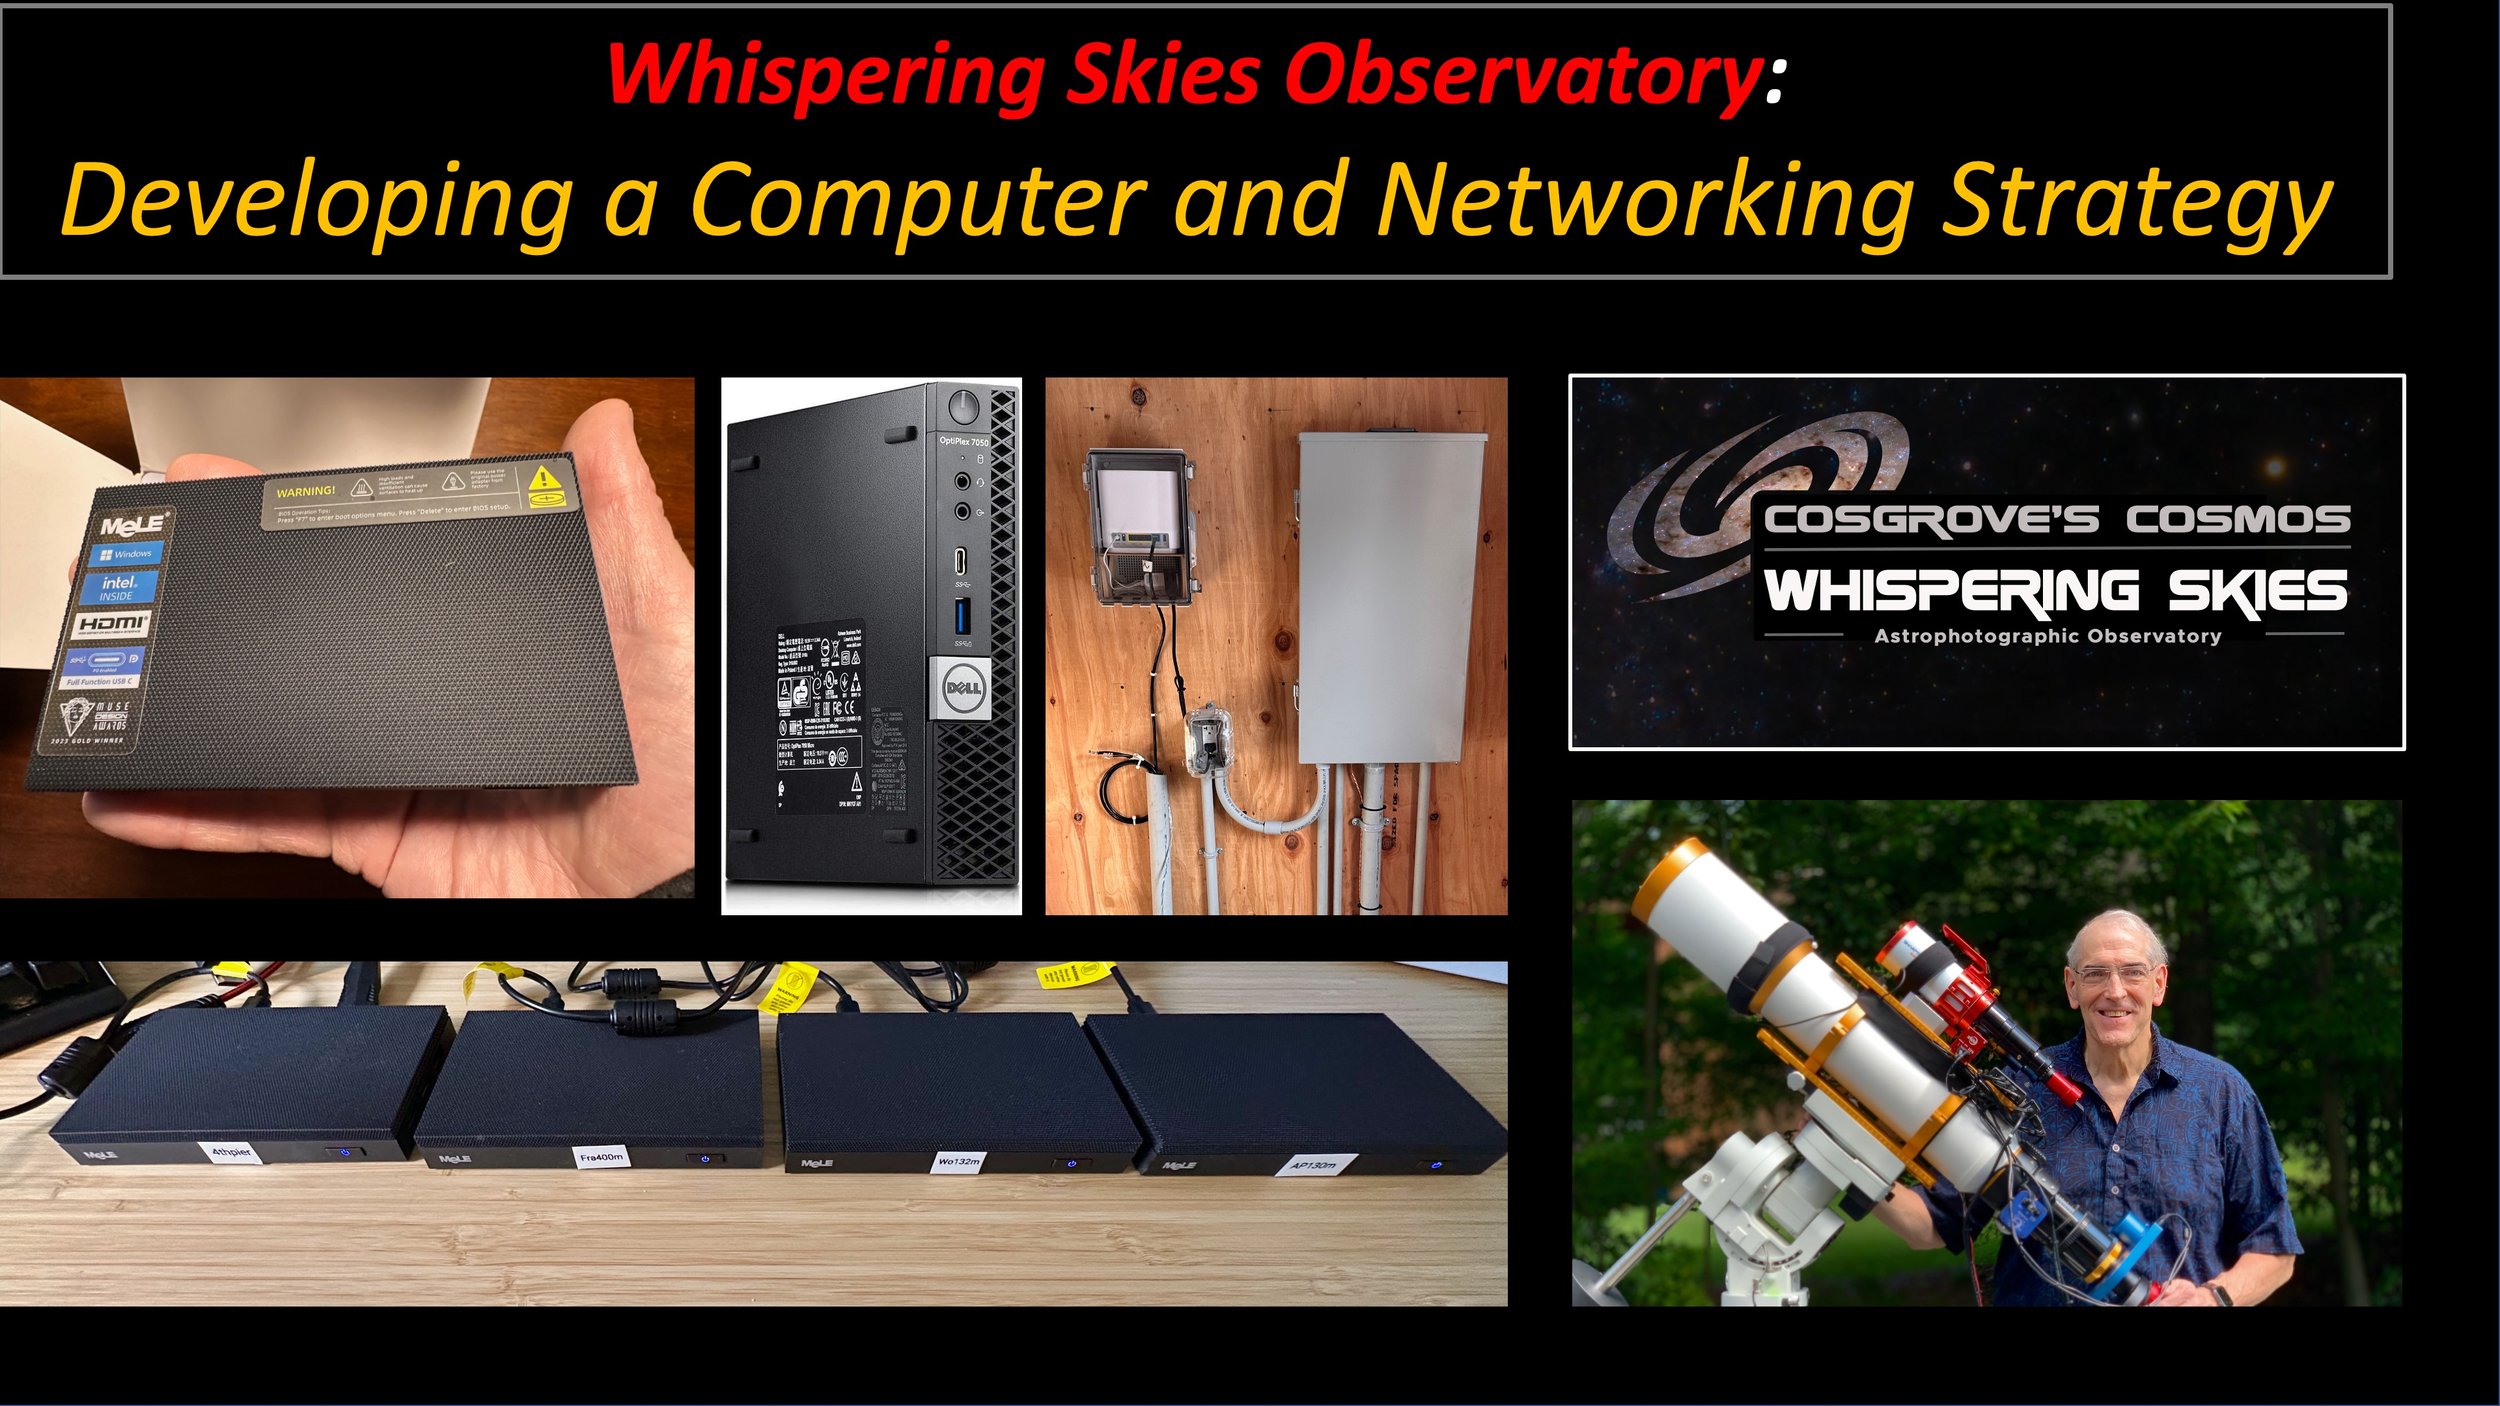
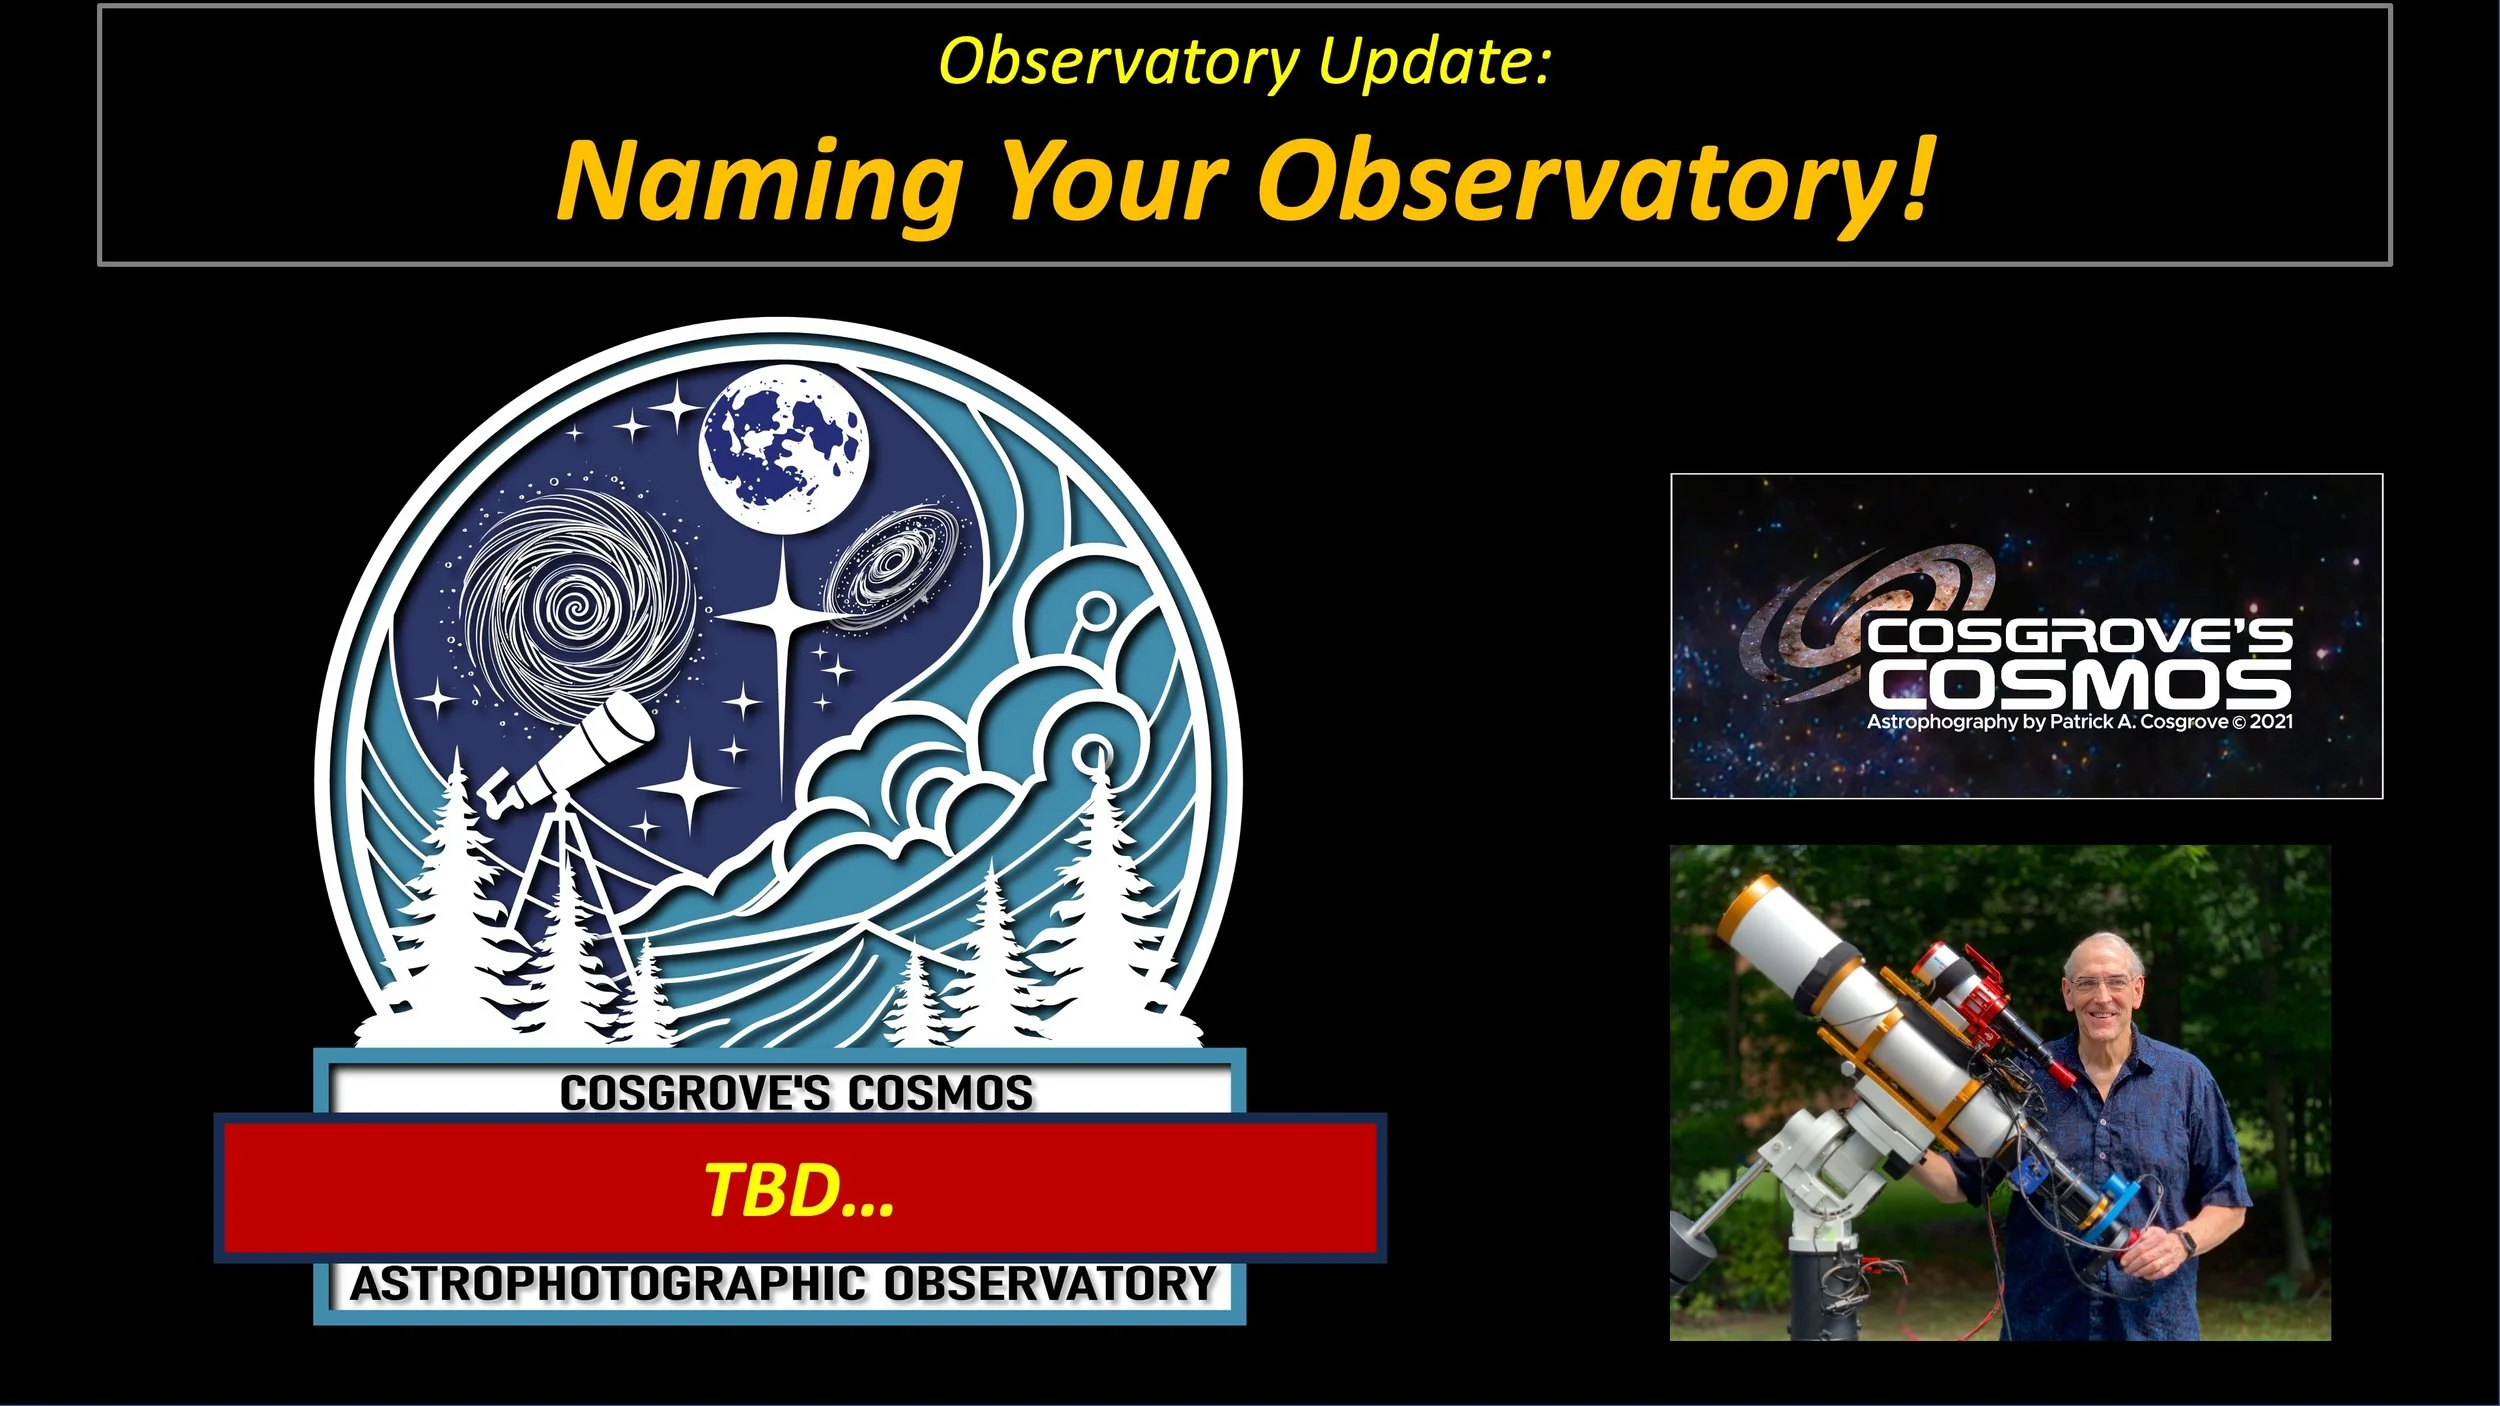
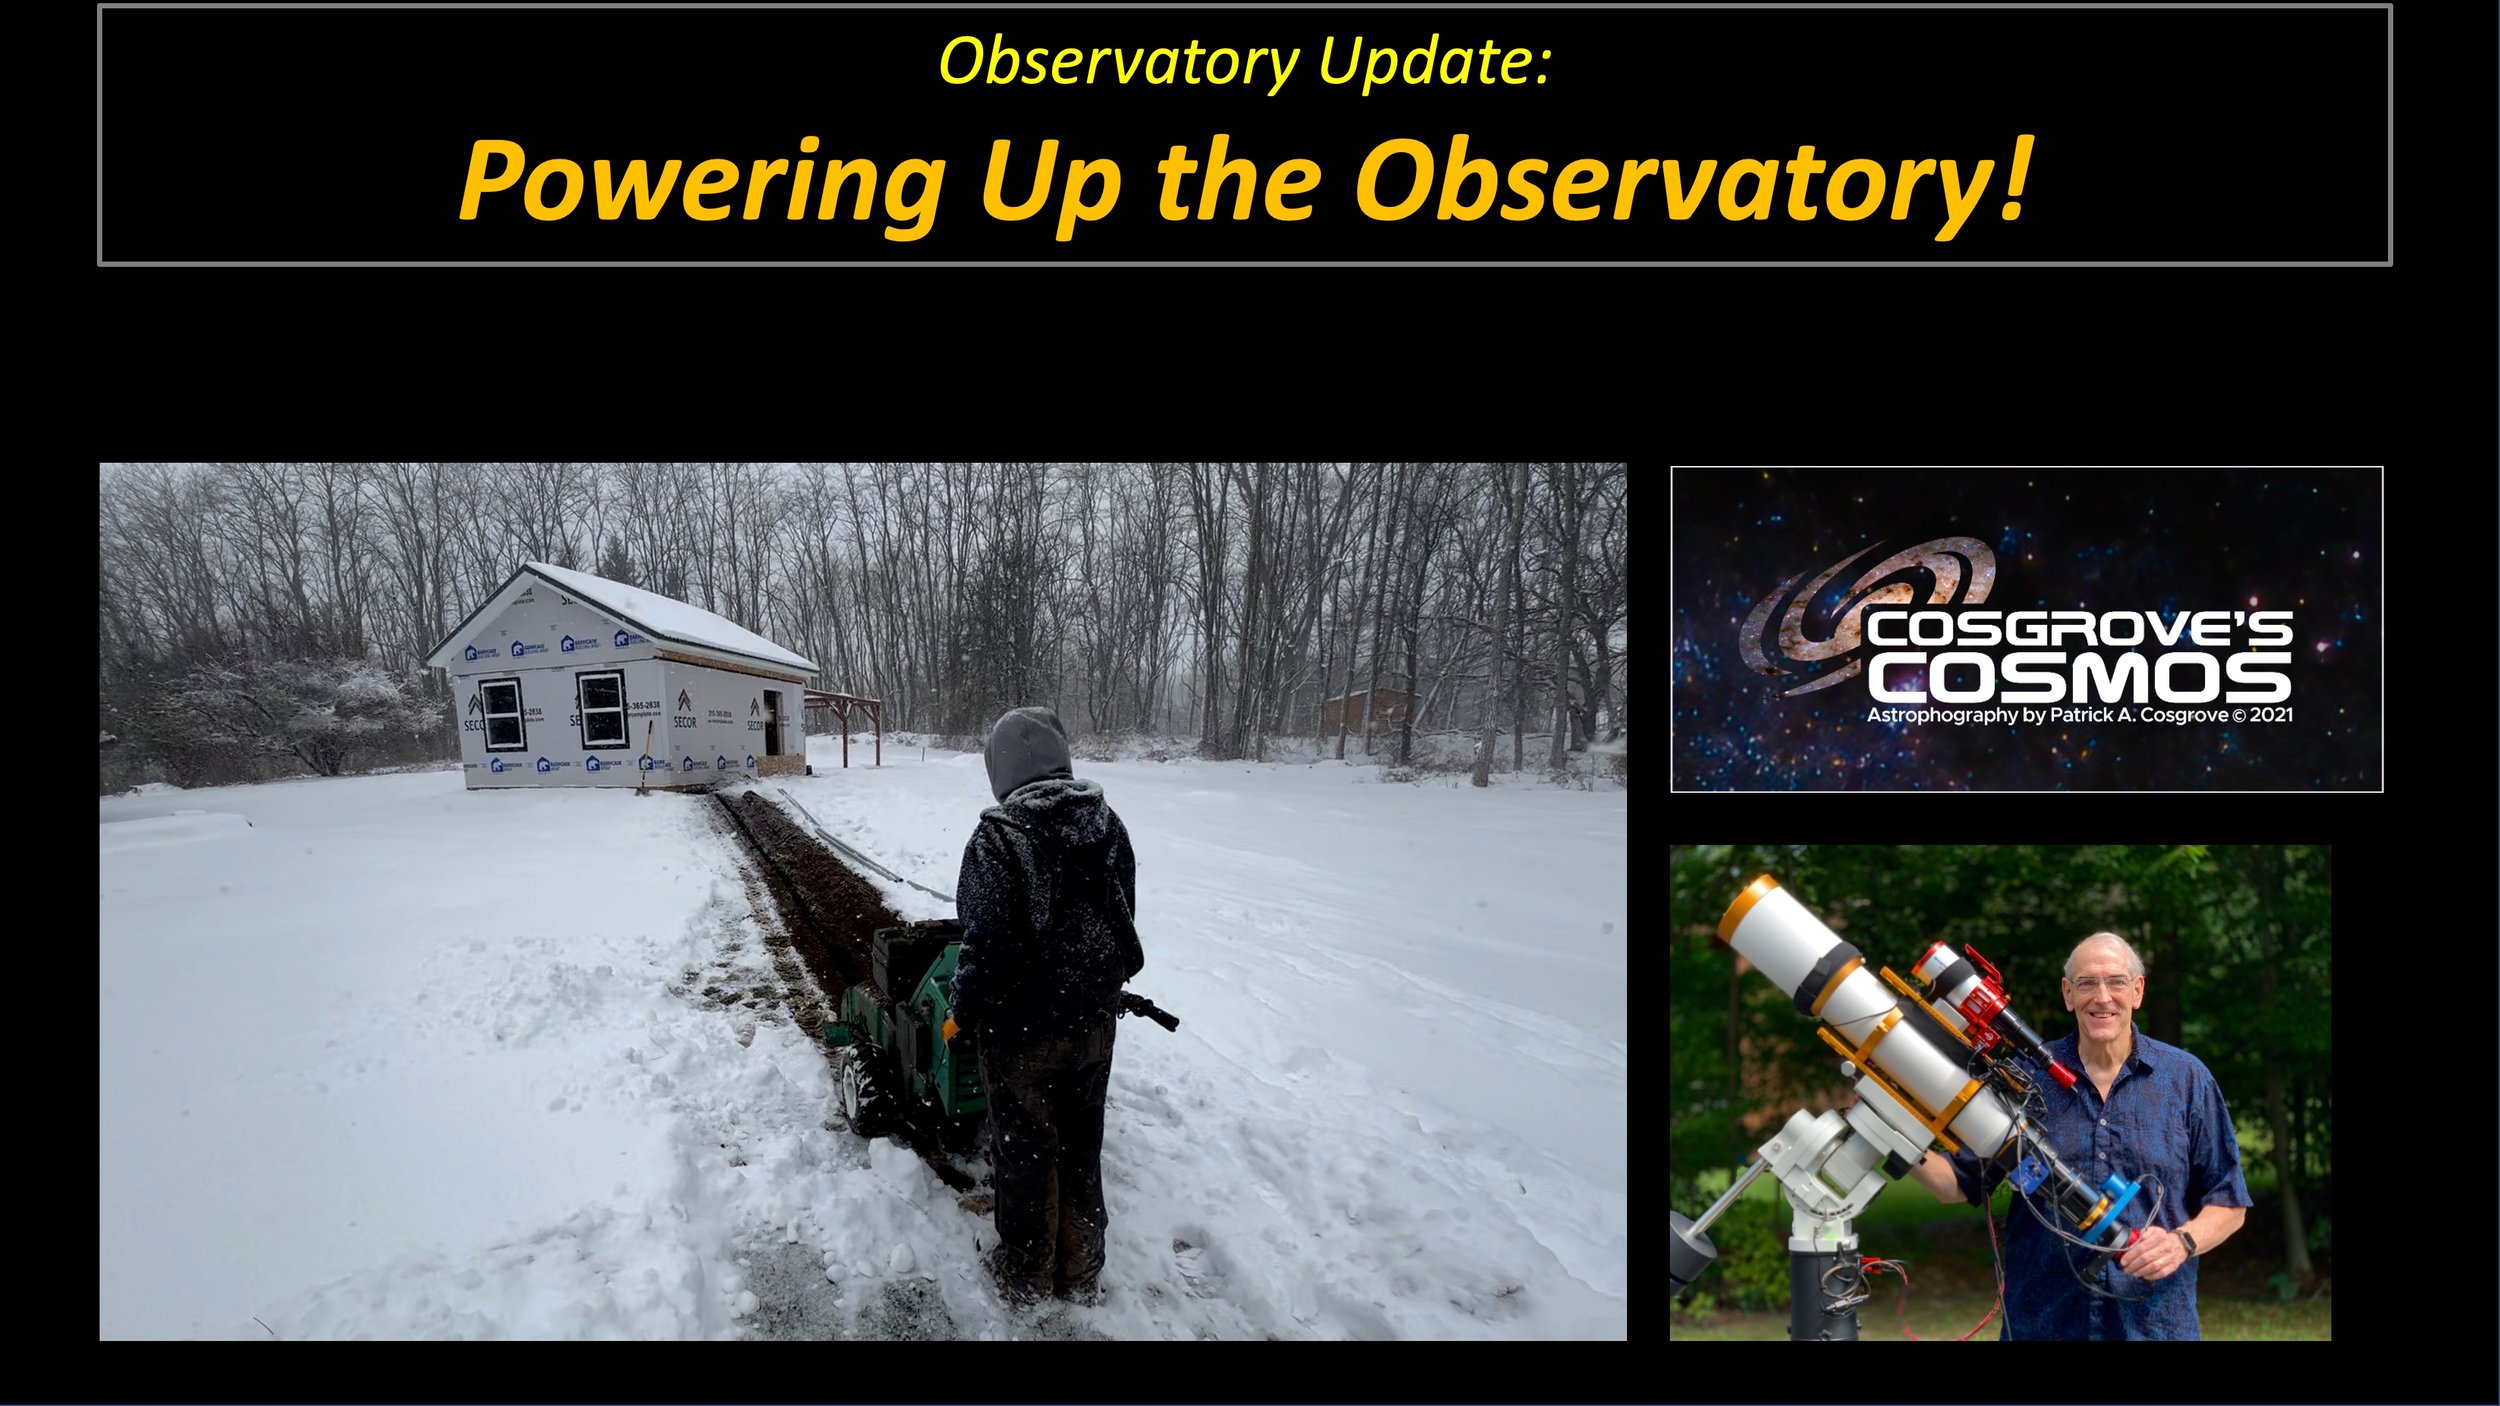
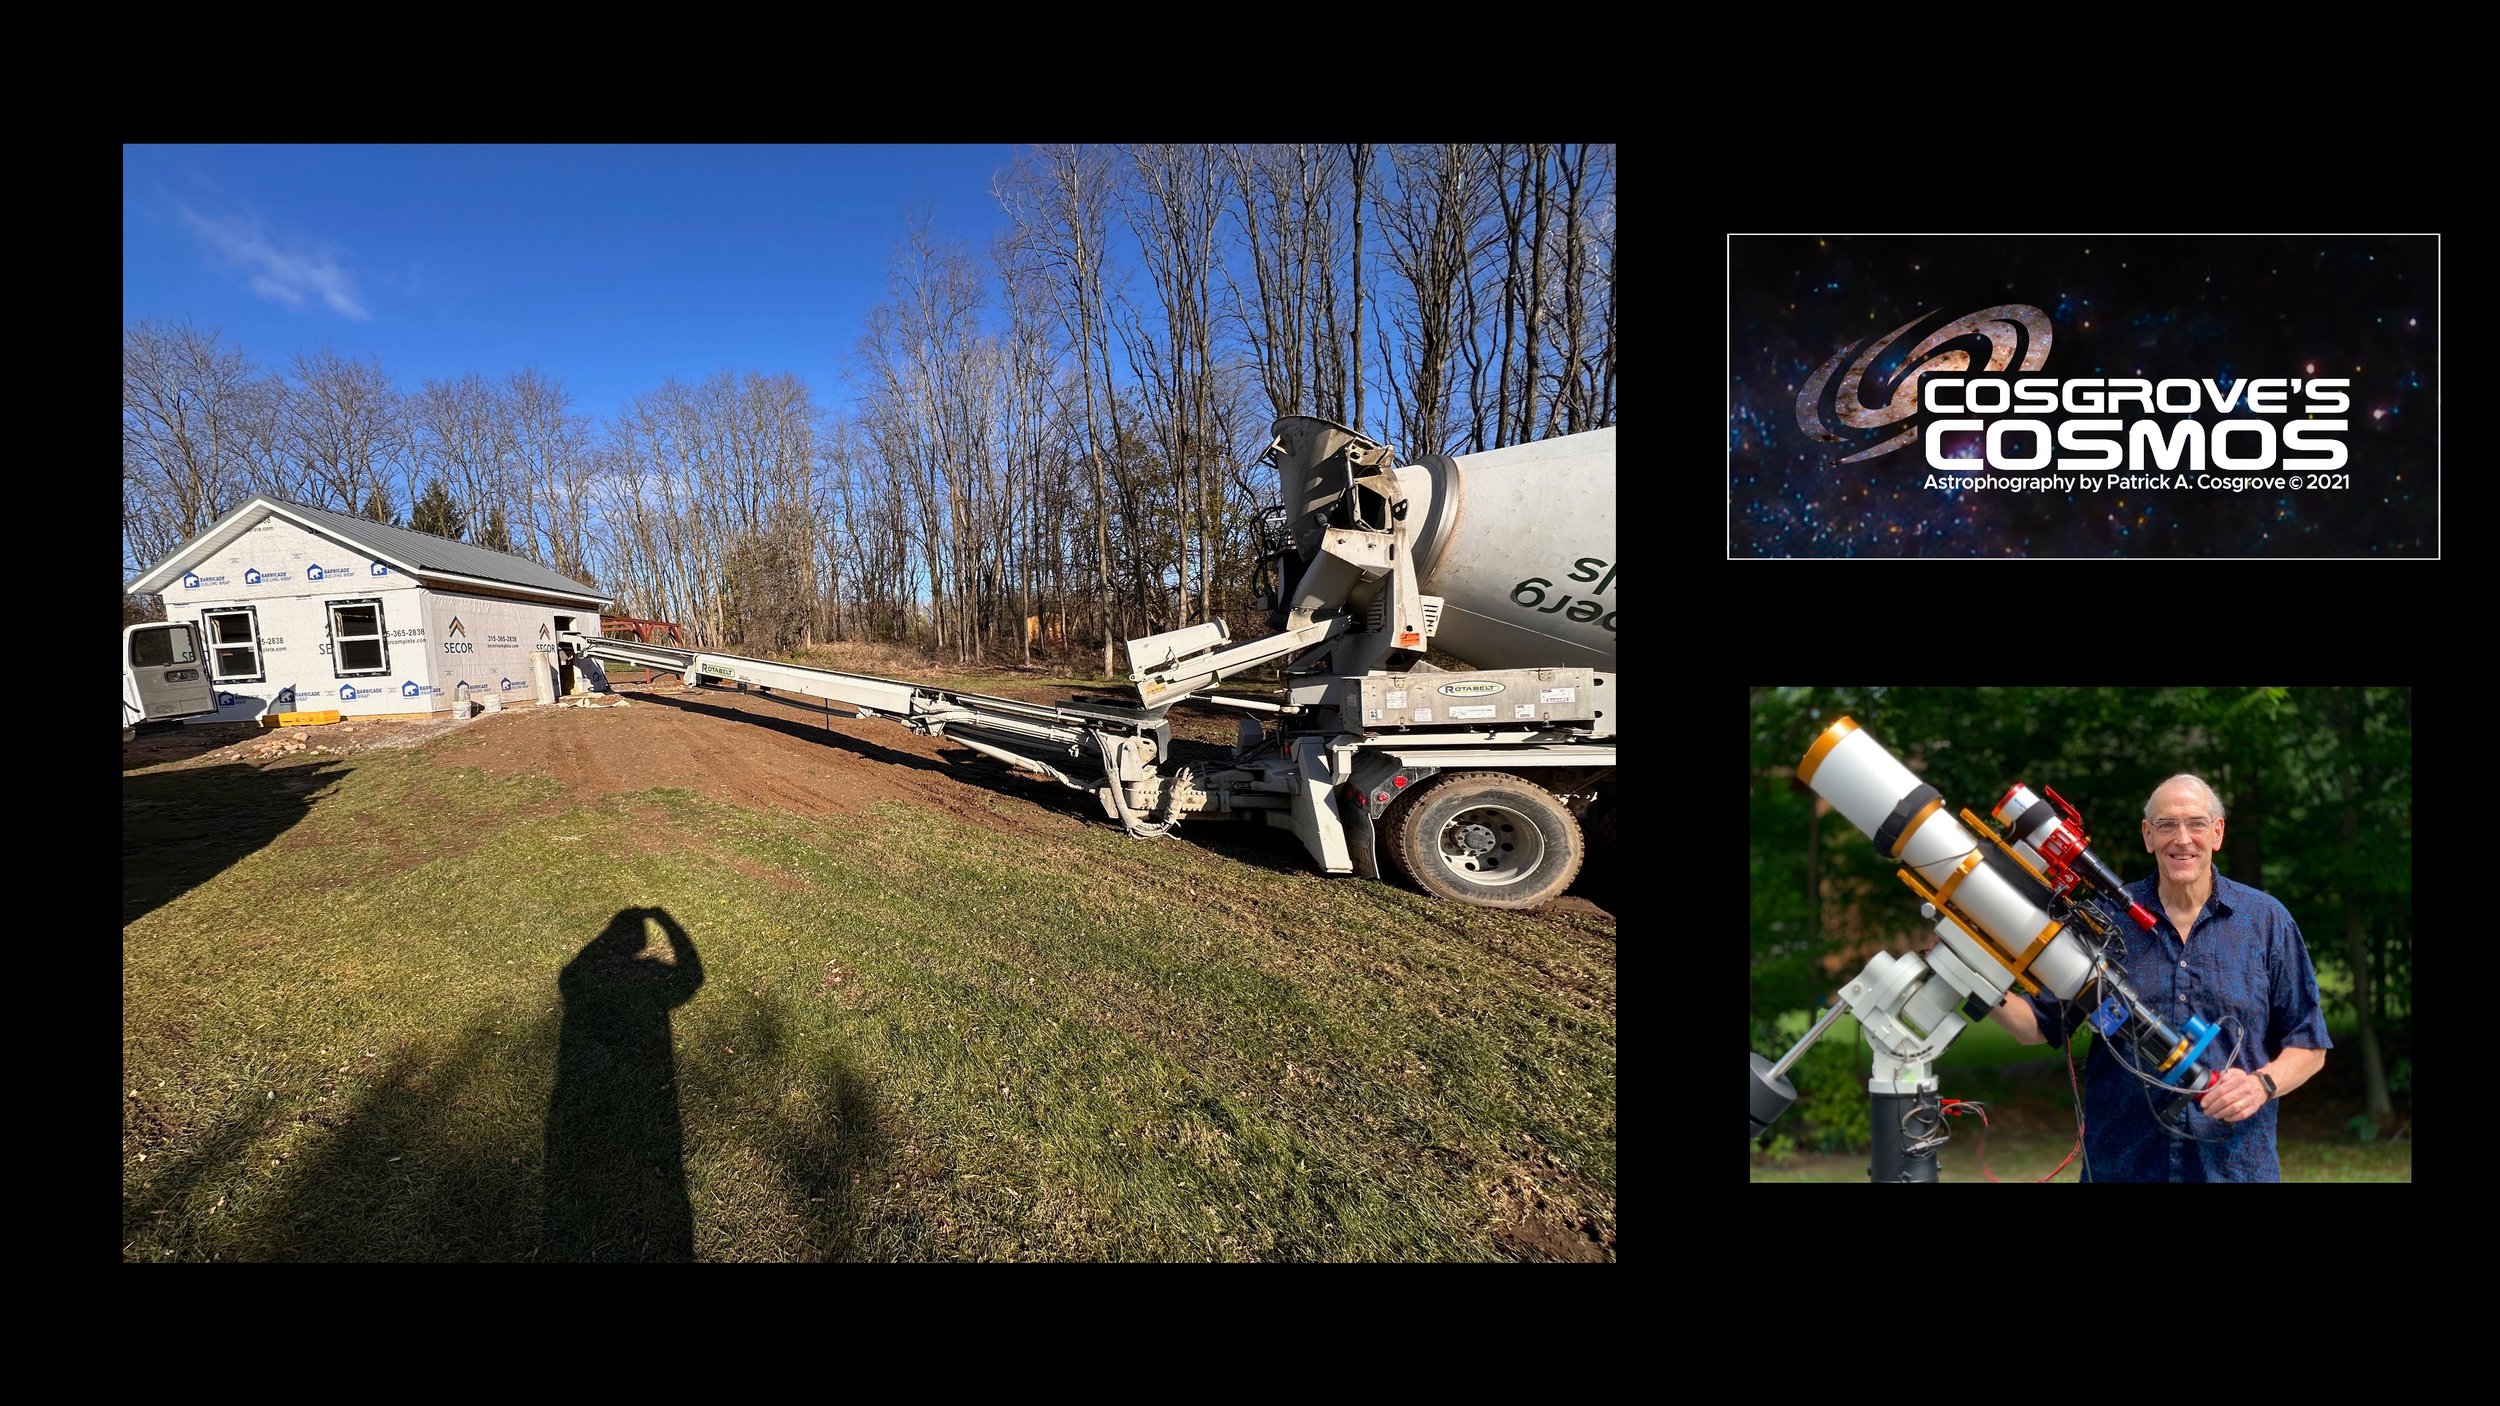
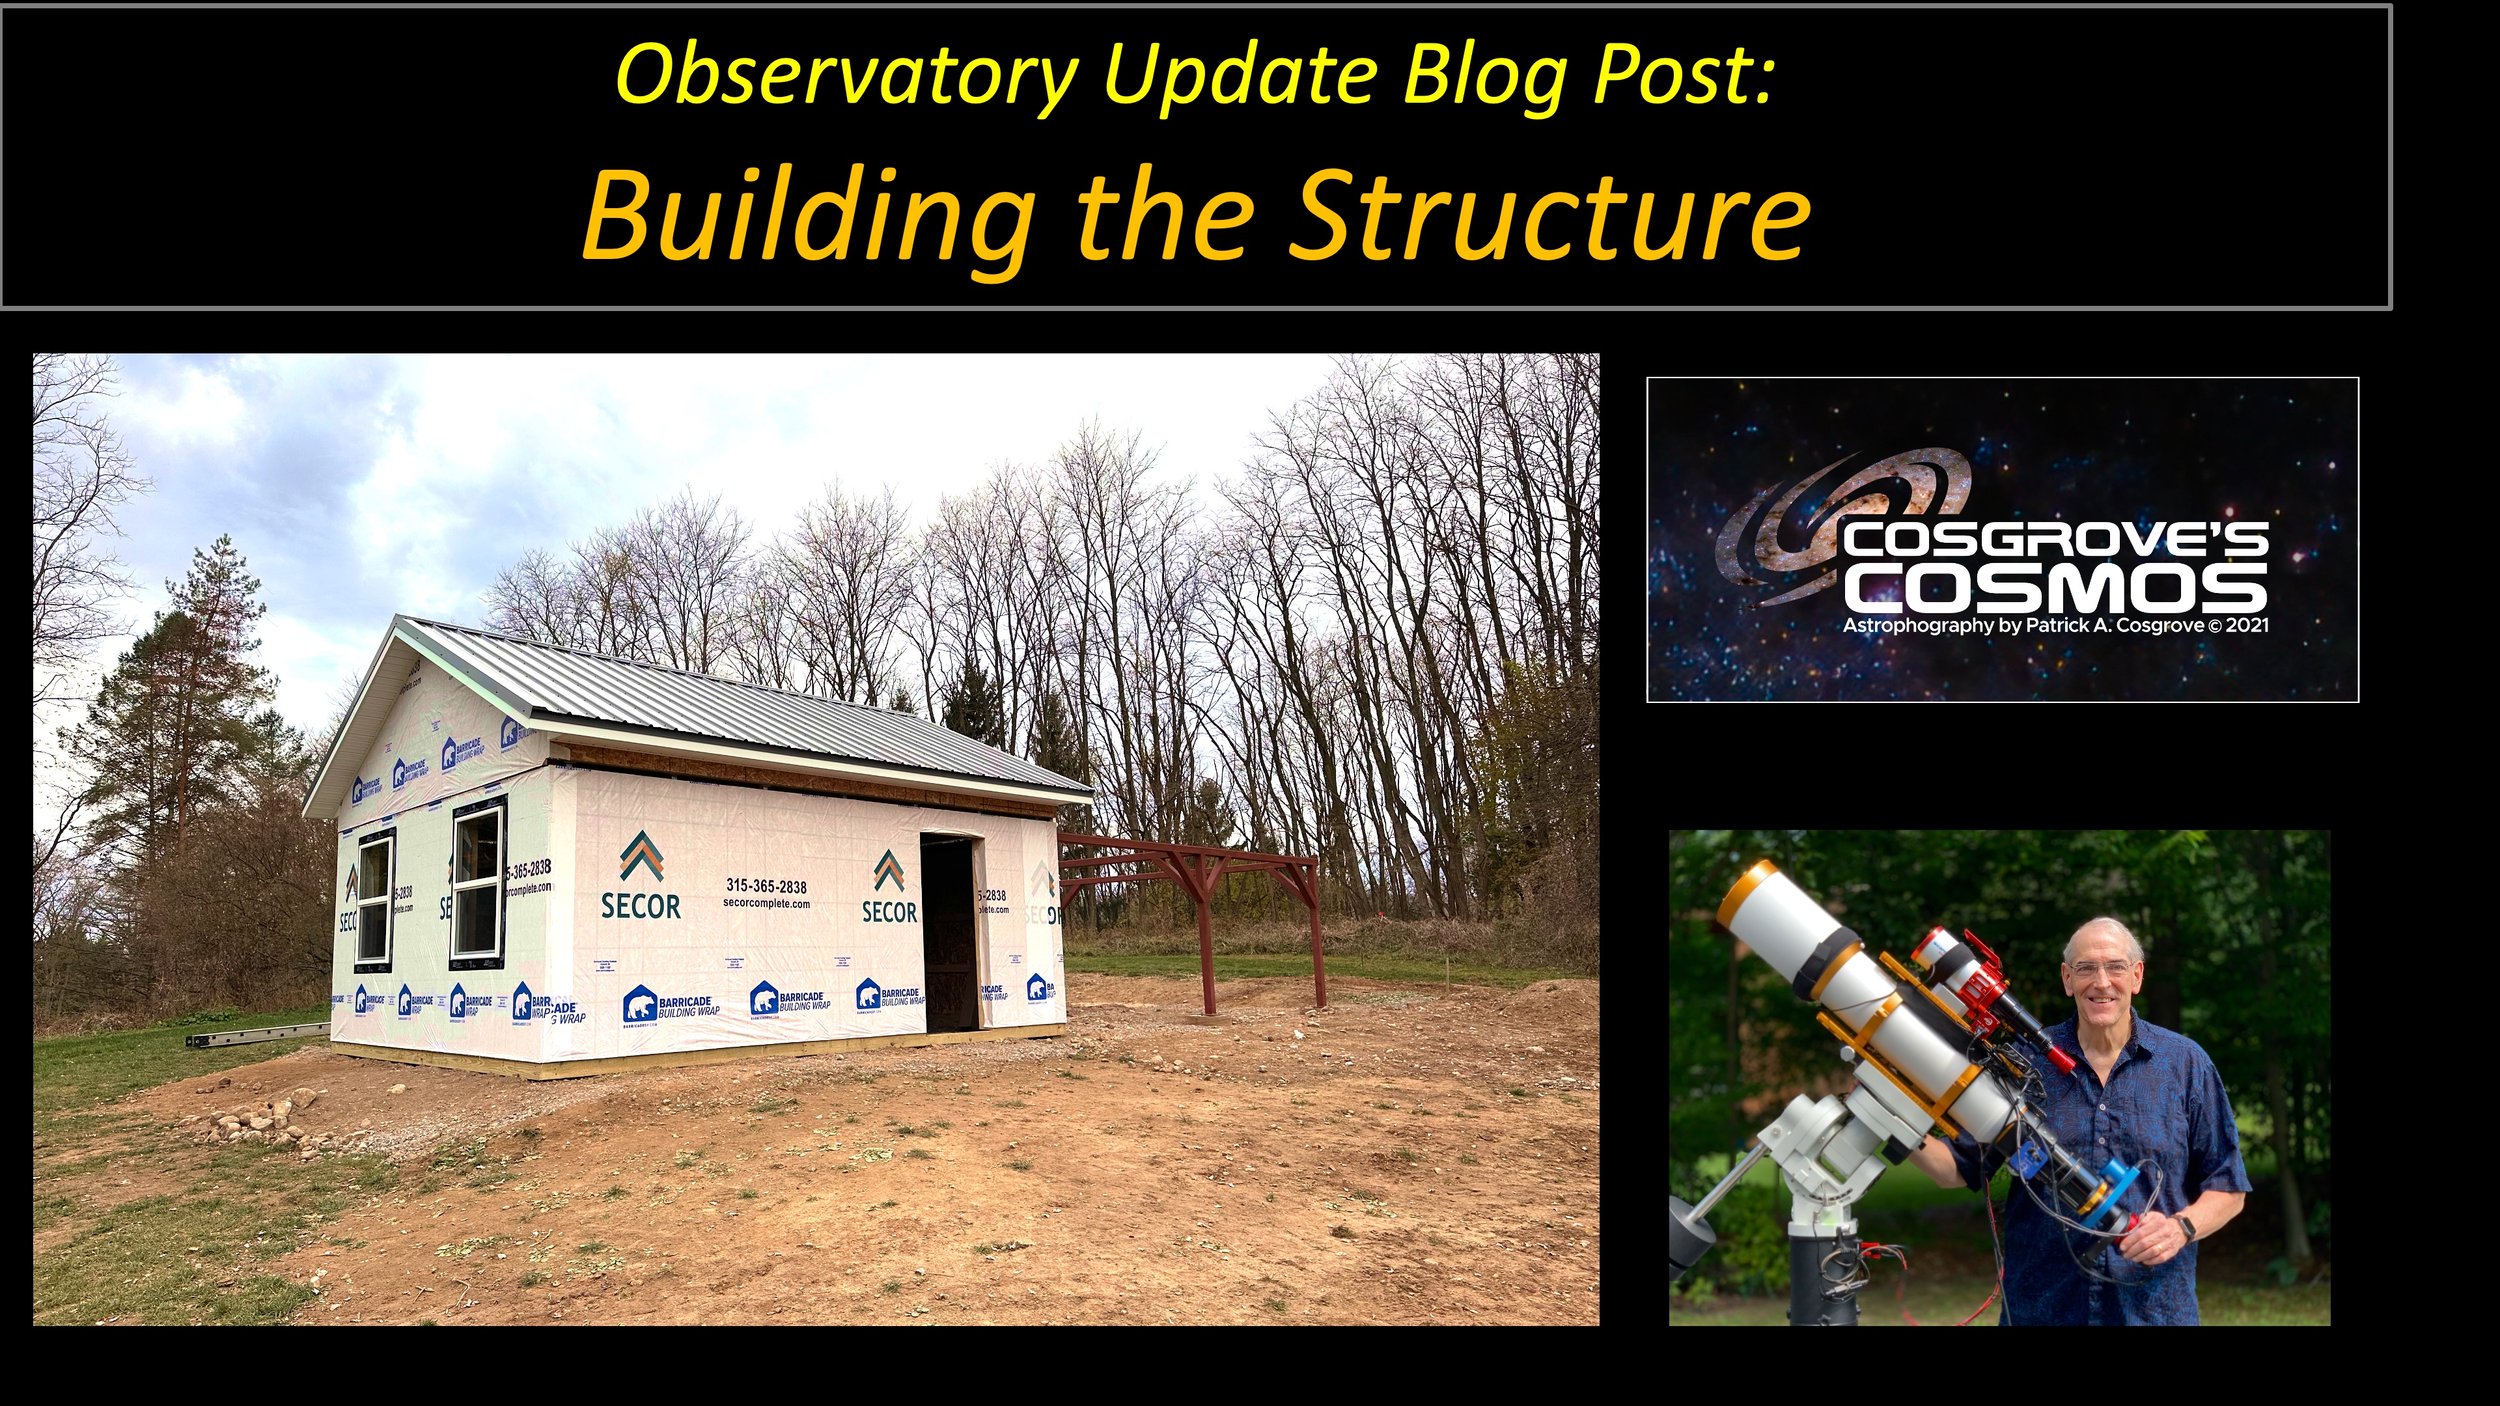
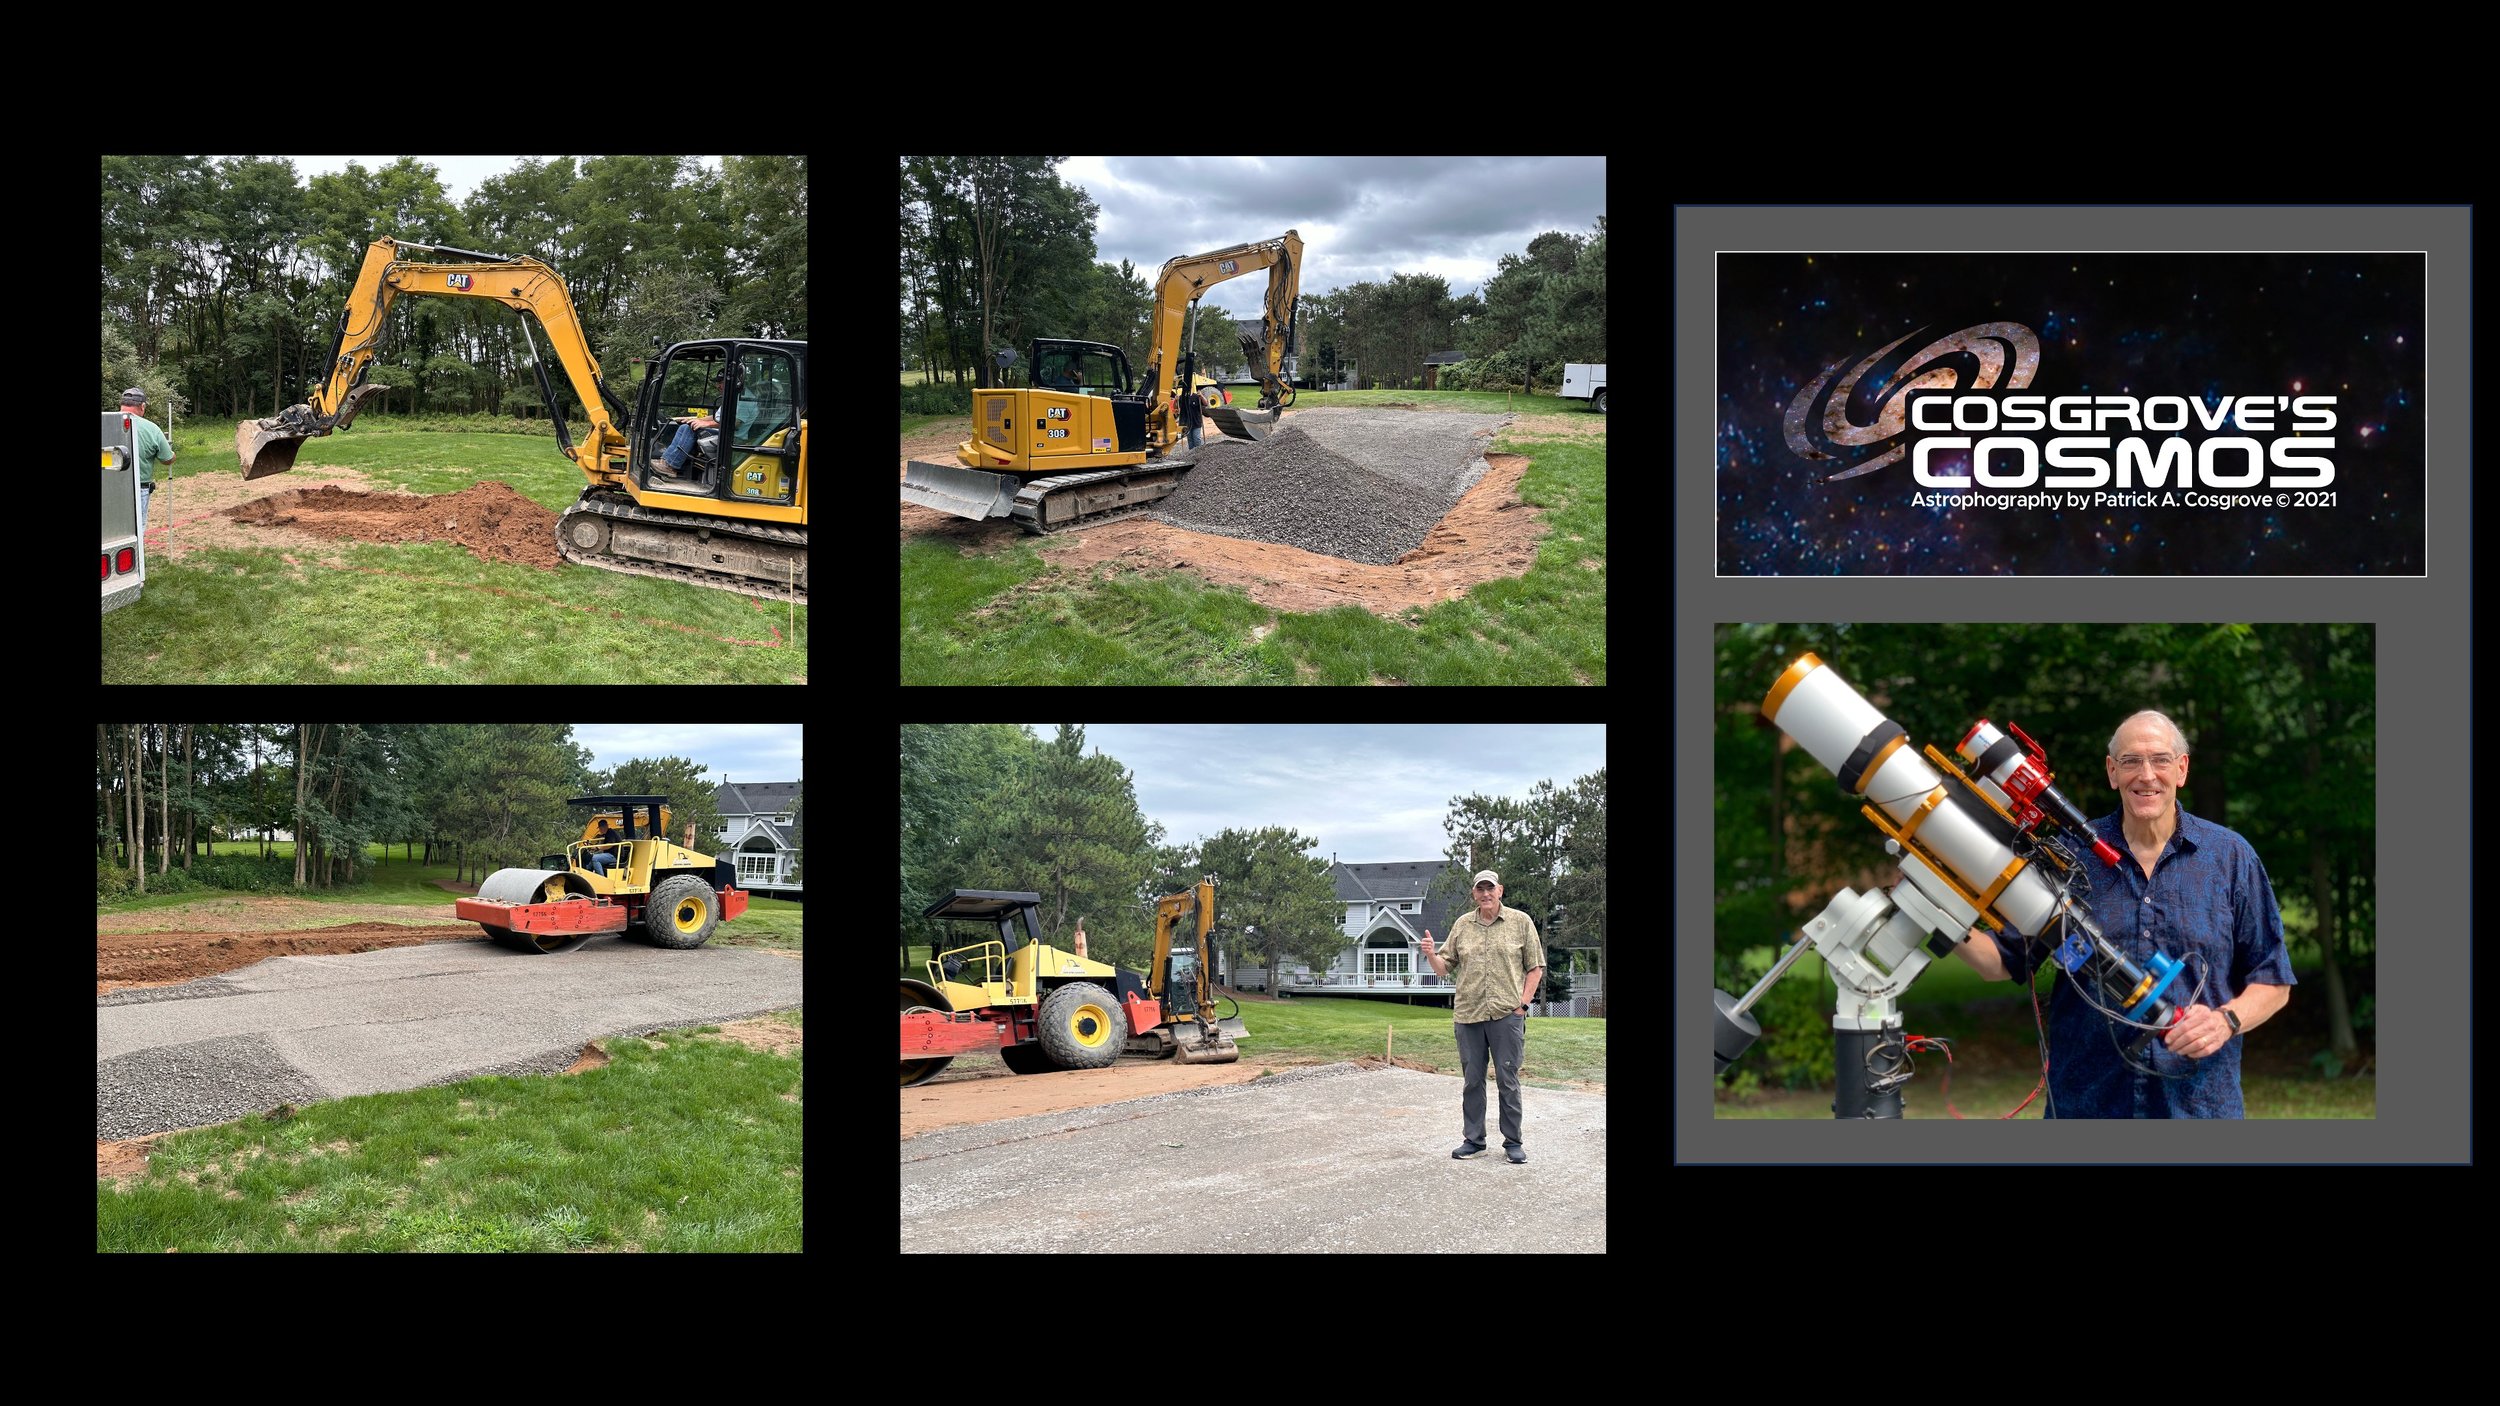
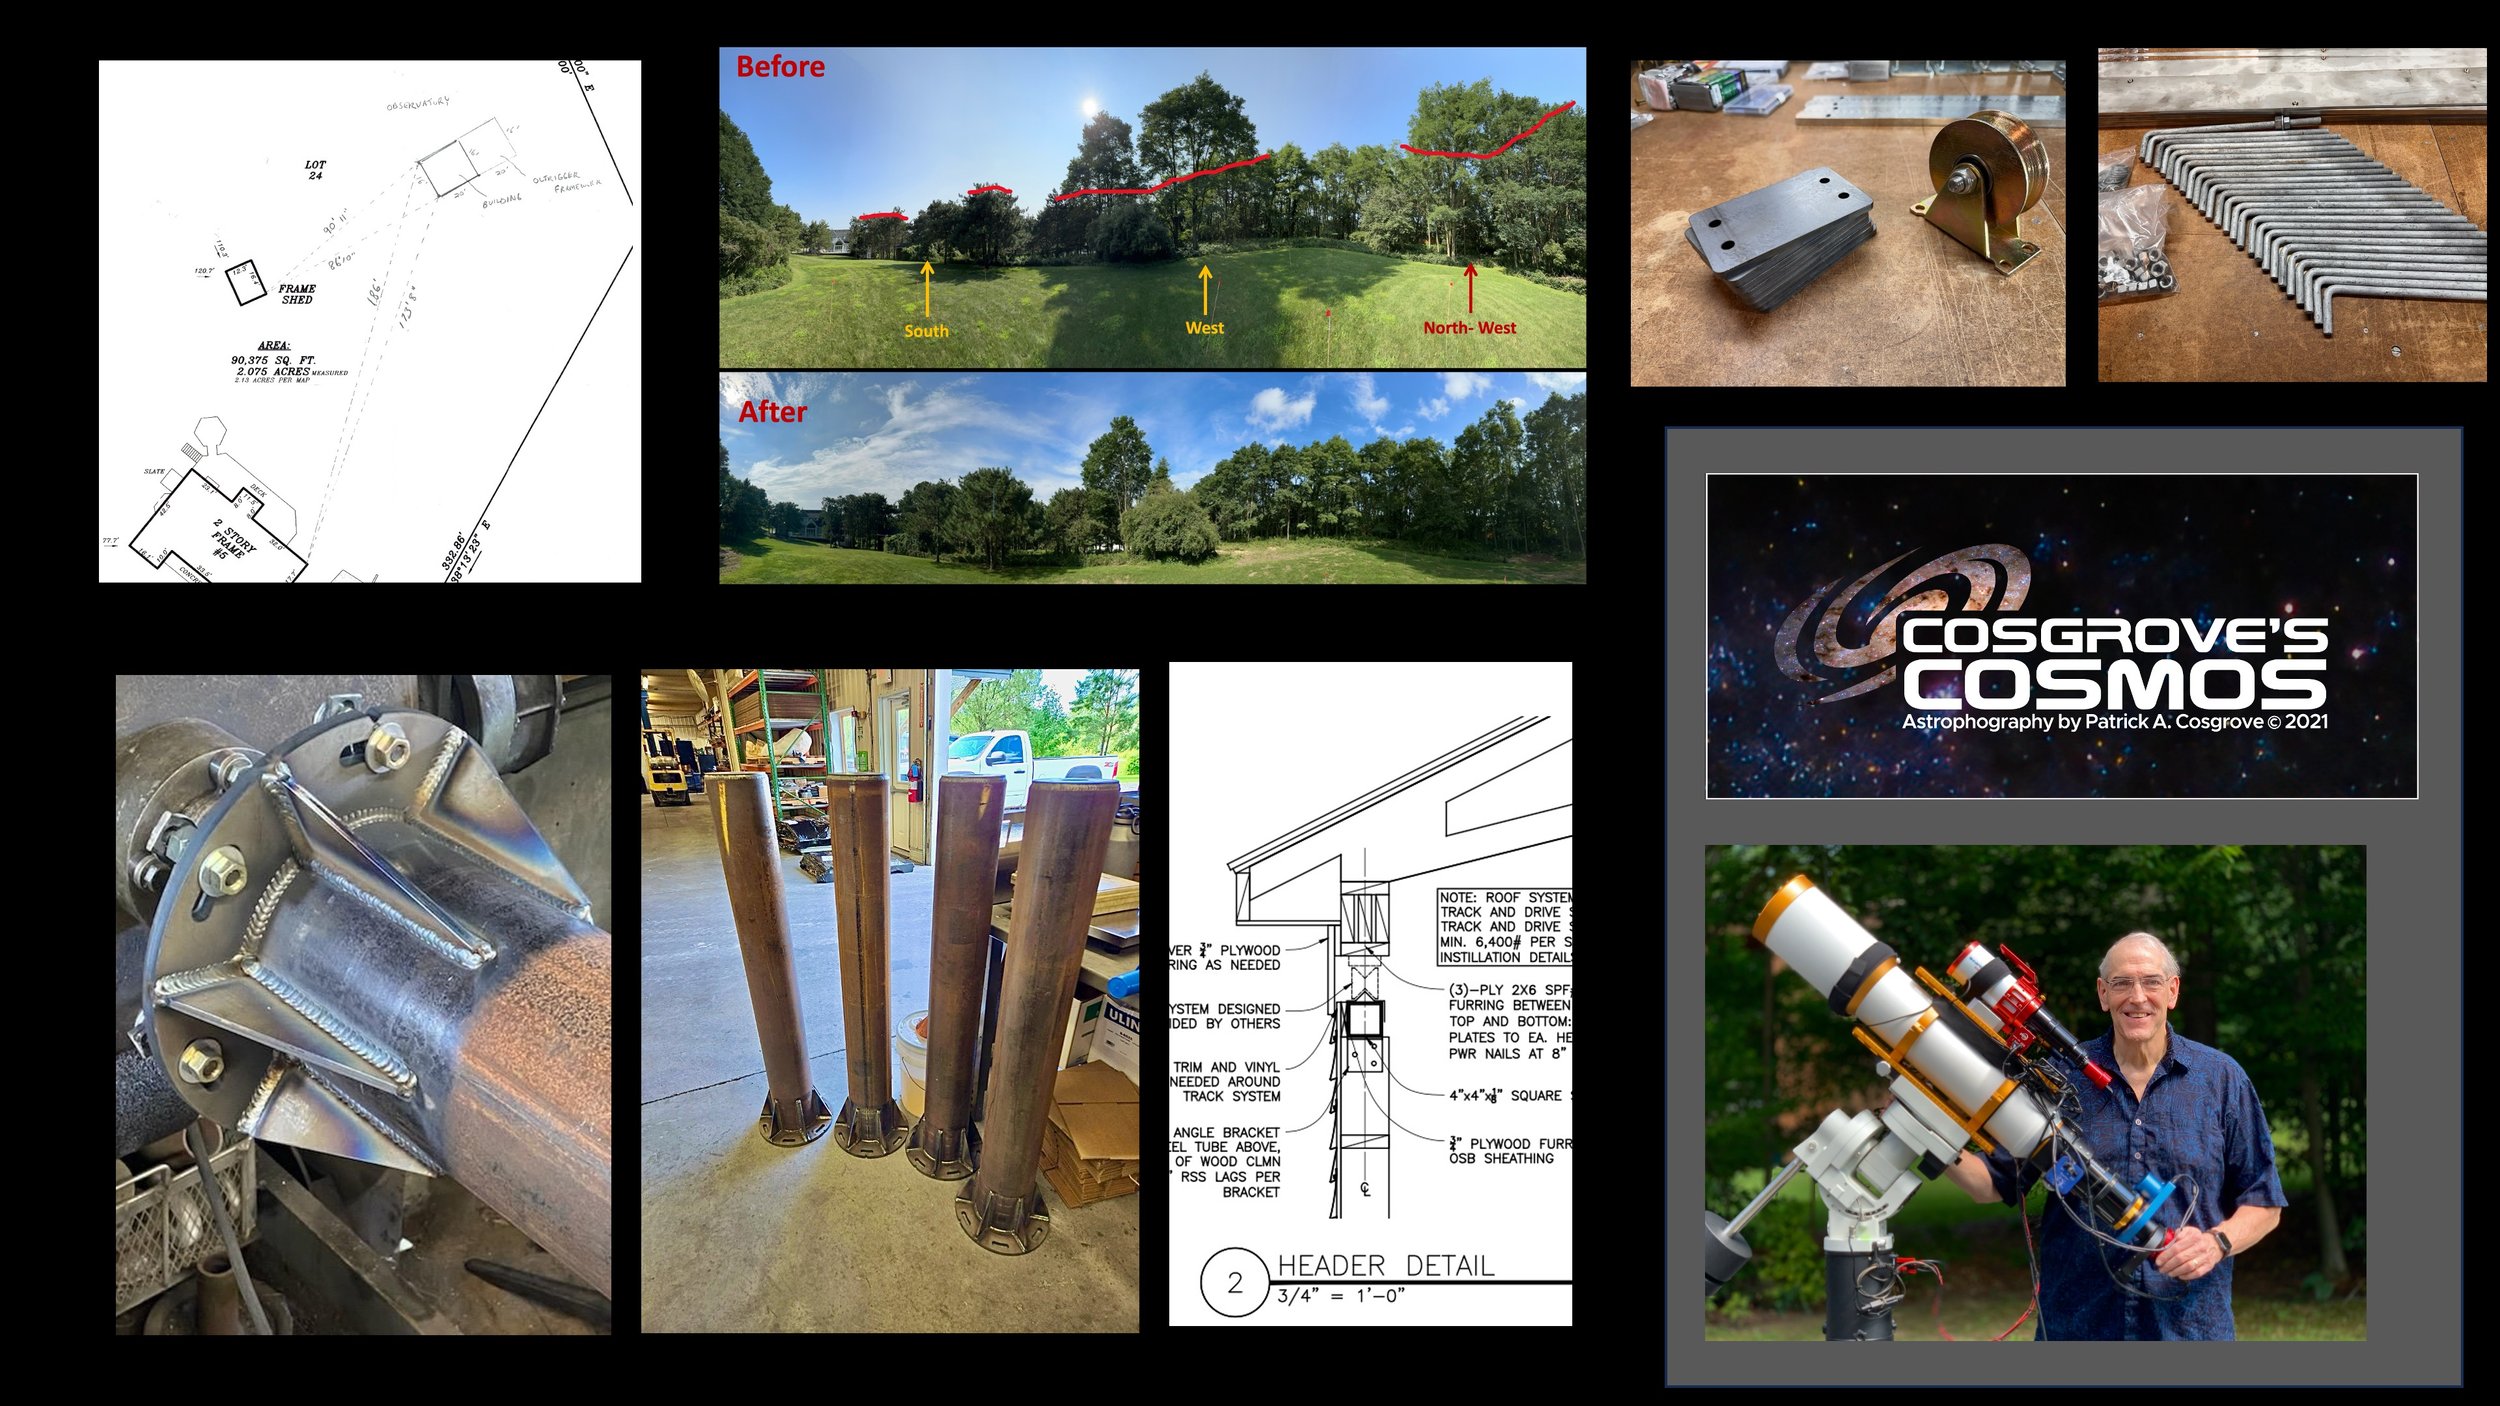
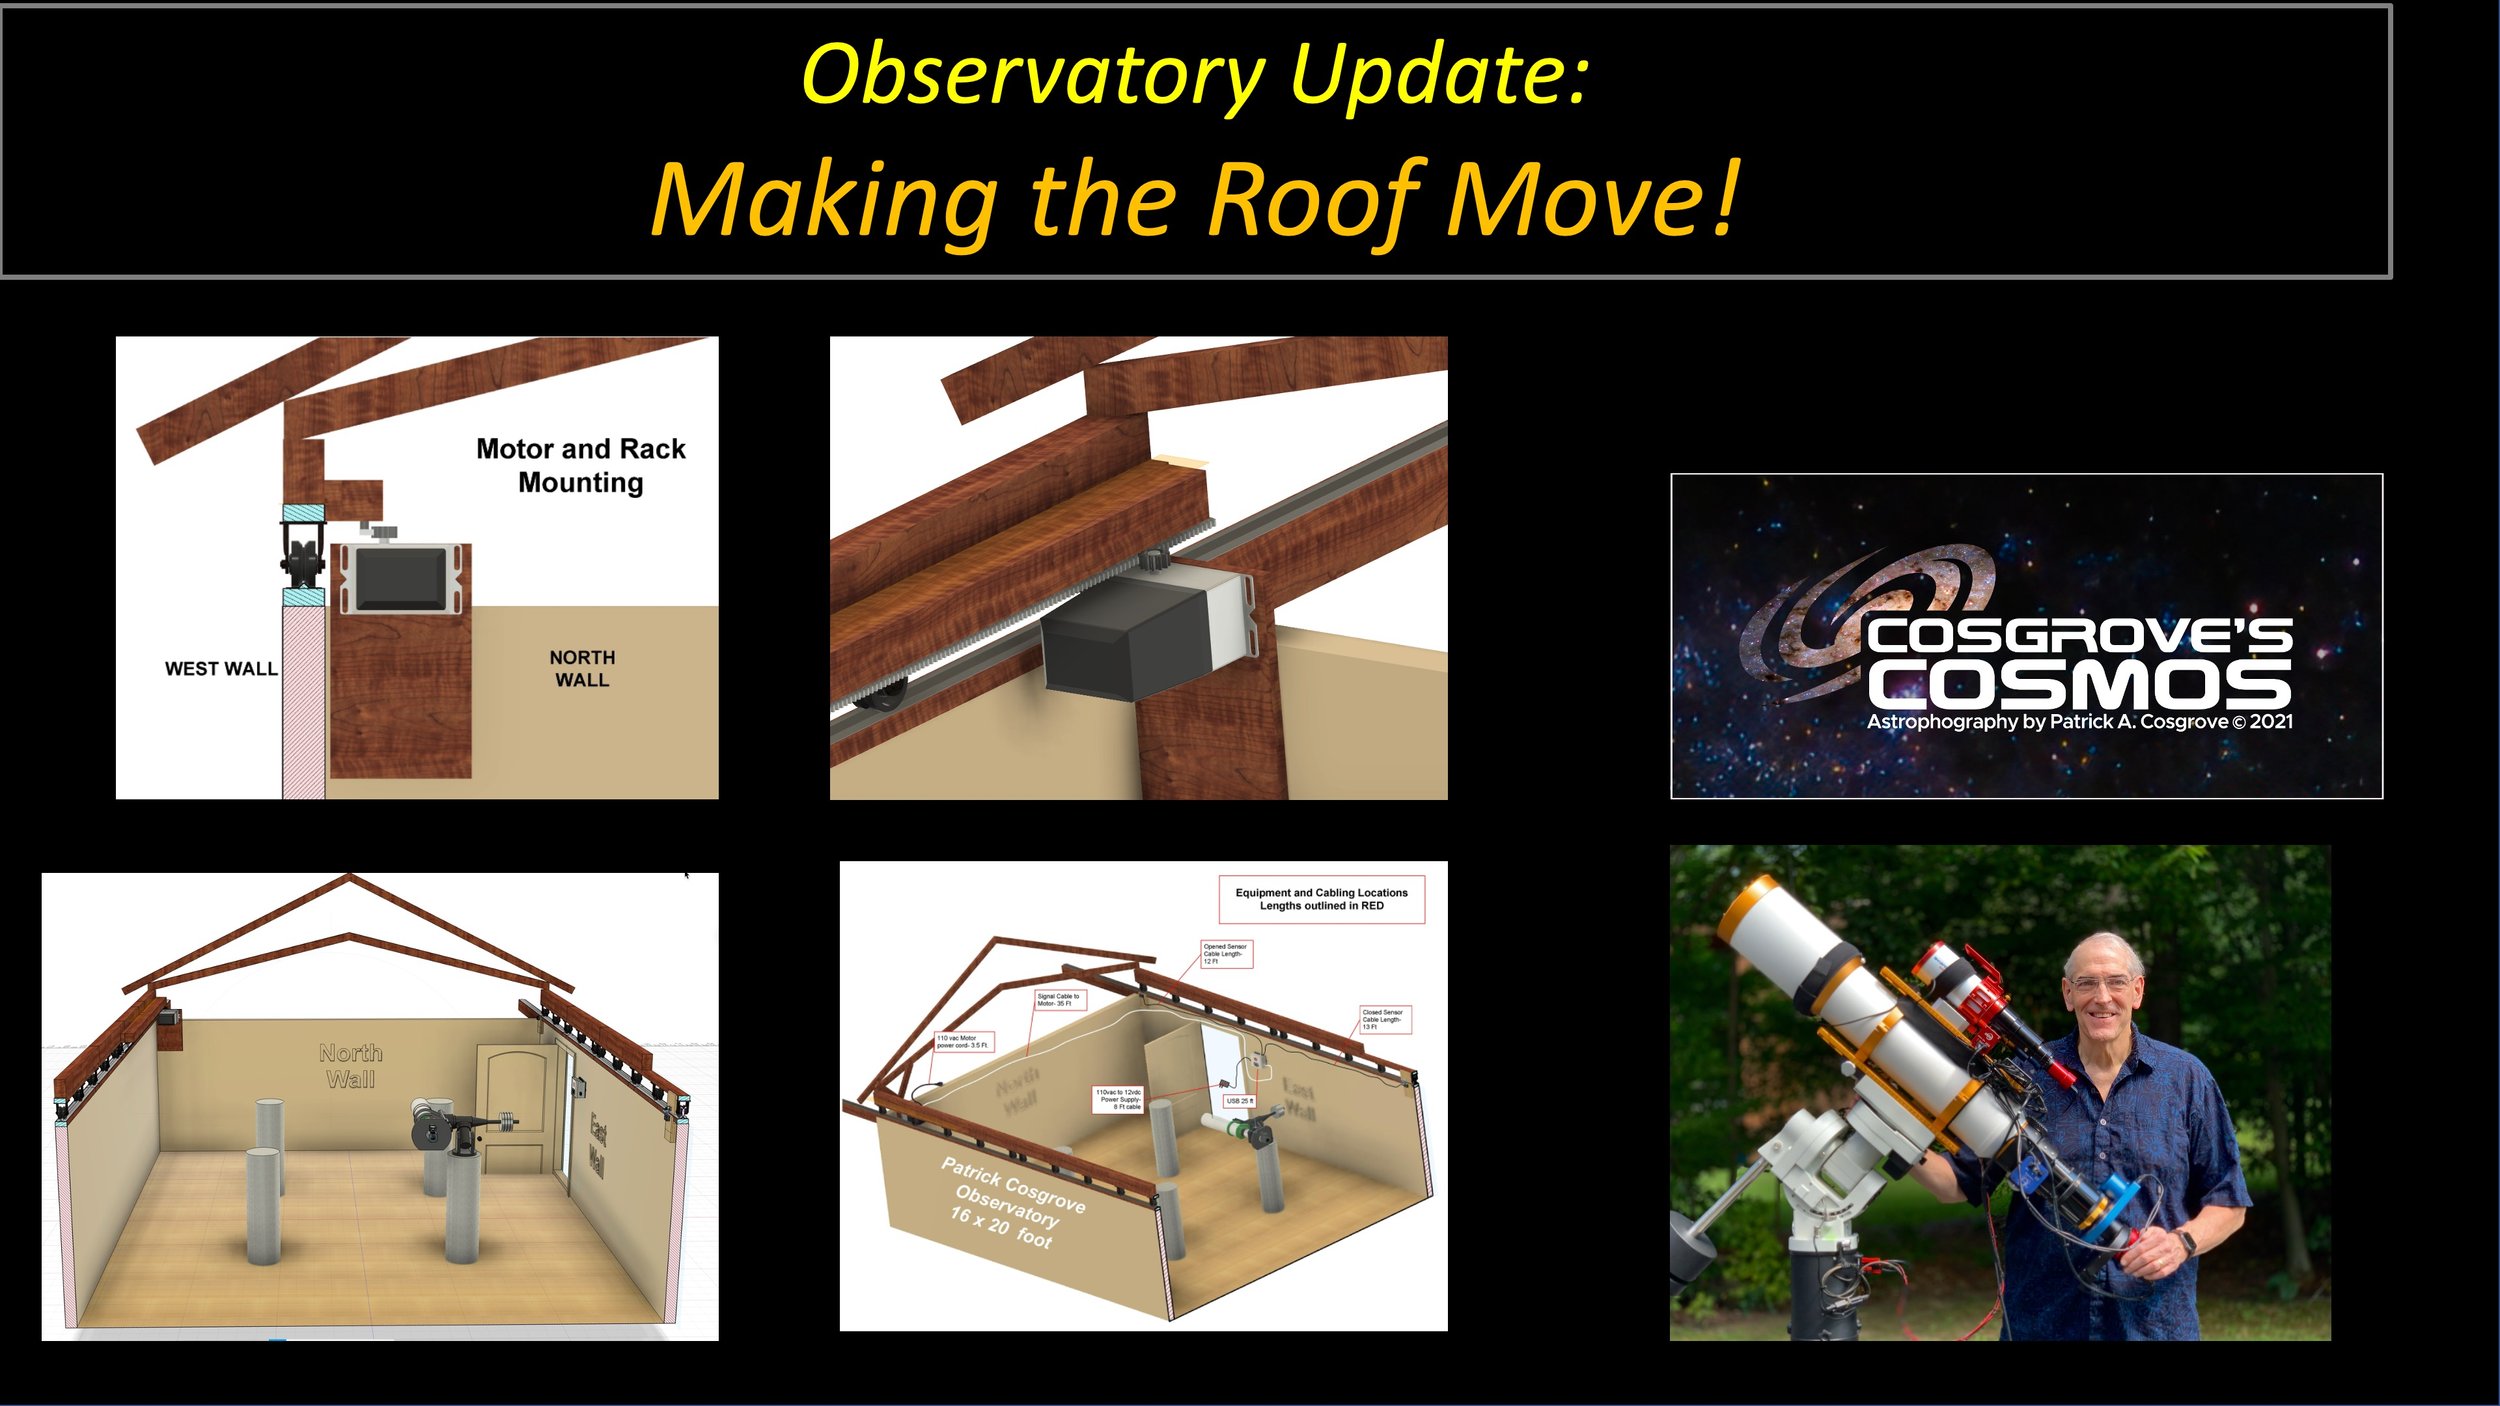
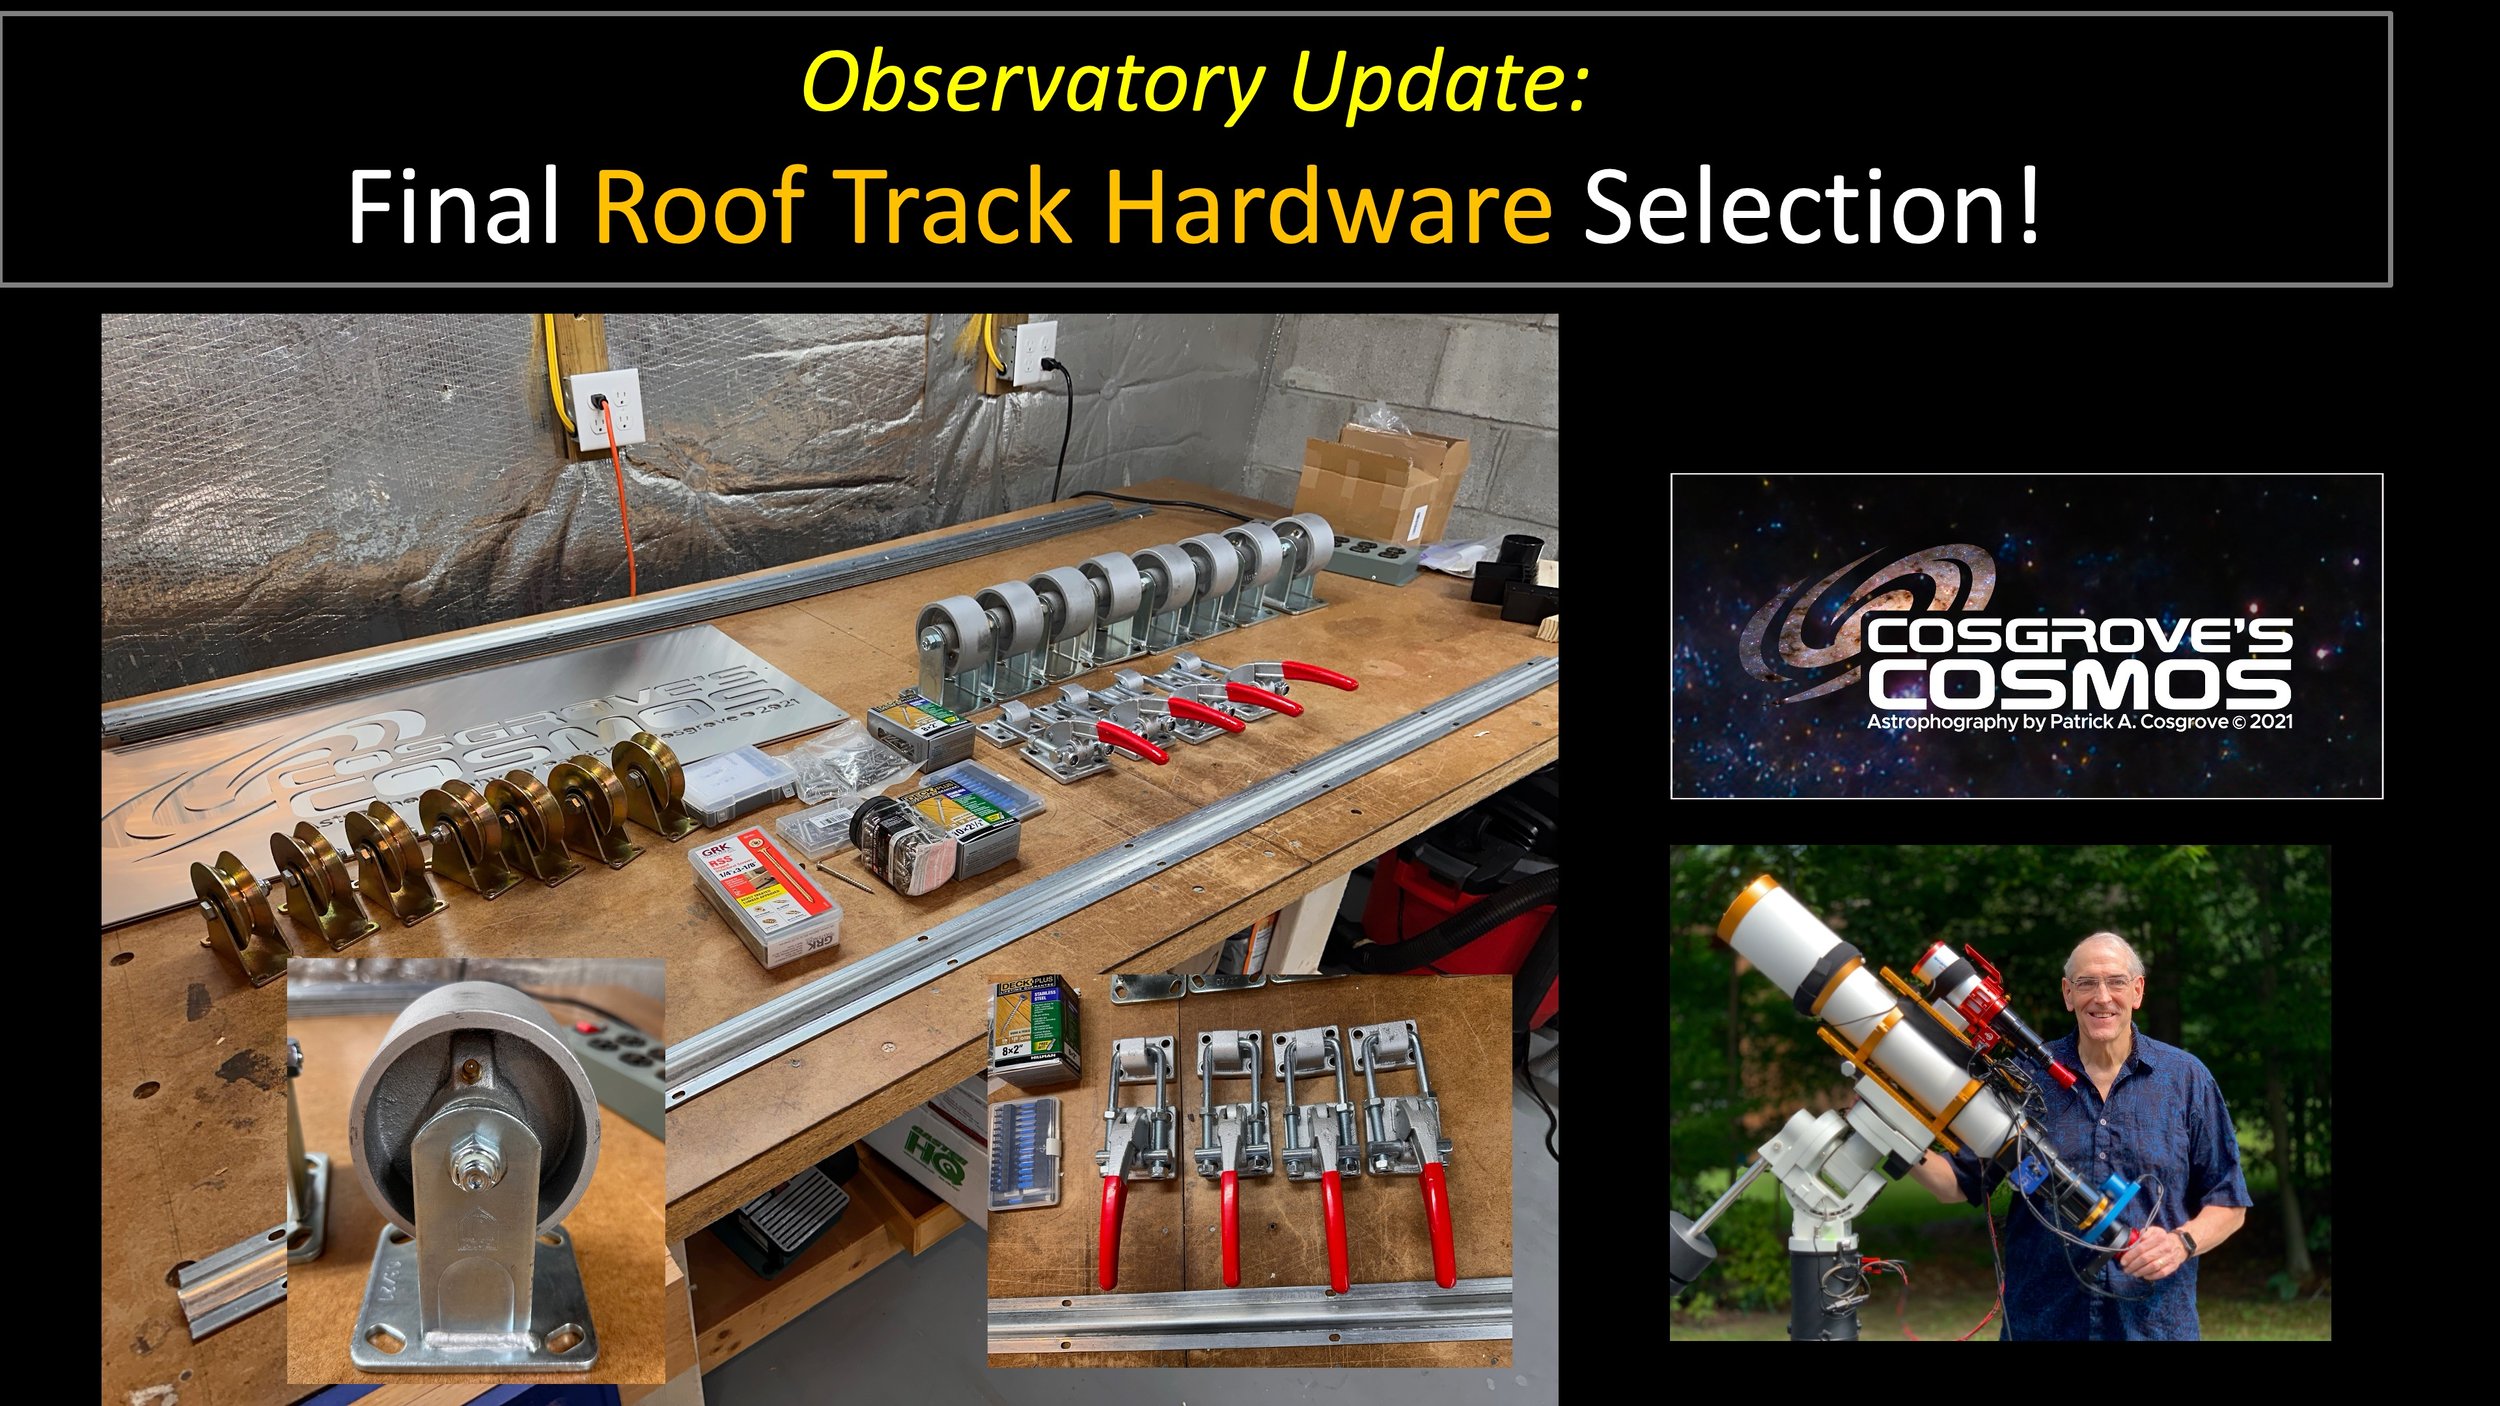
- Observatory project updates and build details
Everything is here so you can see exactly what I do and how I do it—learn from the wins and the mistakes—and apply it to your own astrophotography journey.
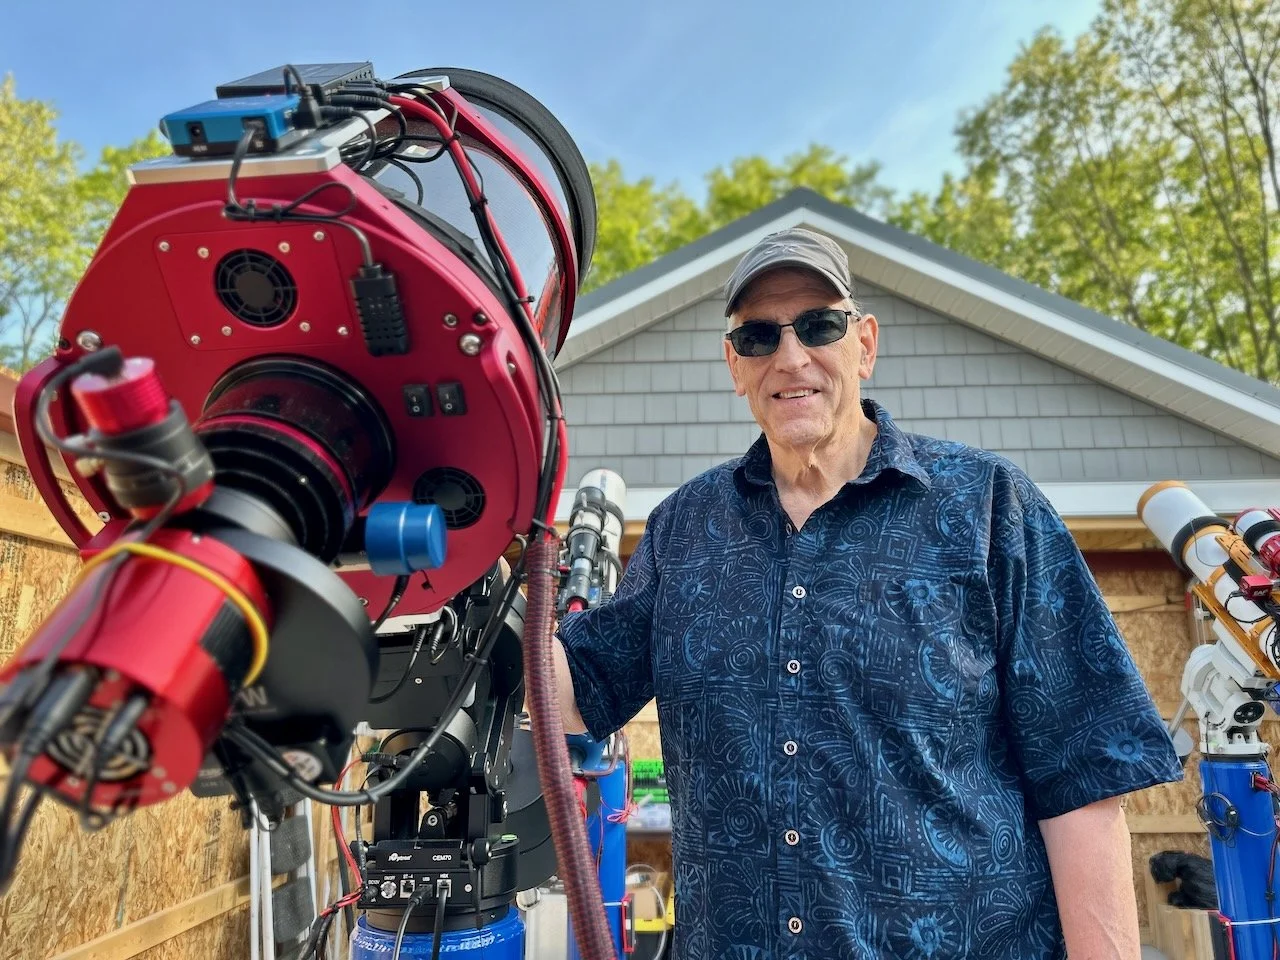
This is me with my most recent telescope platform - the Sharpstar SCA260 V2!
Why Astrophotography?
Because it is a challenge. Because it is precise. Because it allows a person to capture amazing pictures of objects in our Universe that can’t easily be seen with the naked eye. Because it feels like magic. Because it adds a dash of the extraordinary to the common elements of our life.
Astrophotography lets you reveal real structure in the deep sky—by collecting faint photons over time and extracting signal from noise. It’s equal parts planning, precision capture, and careful processing.
I share the full story behind each image—what I chose, why I chose it, how I captured it, and exactly how I processed it—including the projects that didn’t go well, because that’s where a lot of the learning happens.
Want the deeper explanation of how this works?
(photons → telescope → sensor → tracking → stacking → processing)
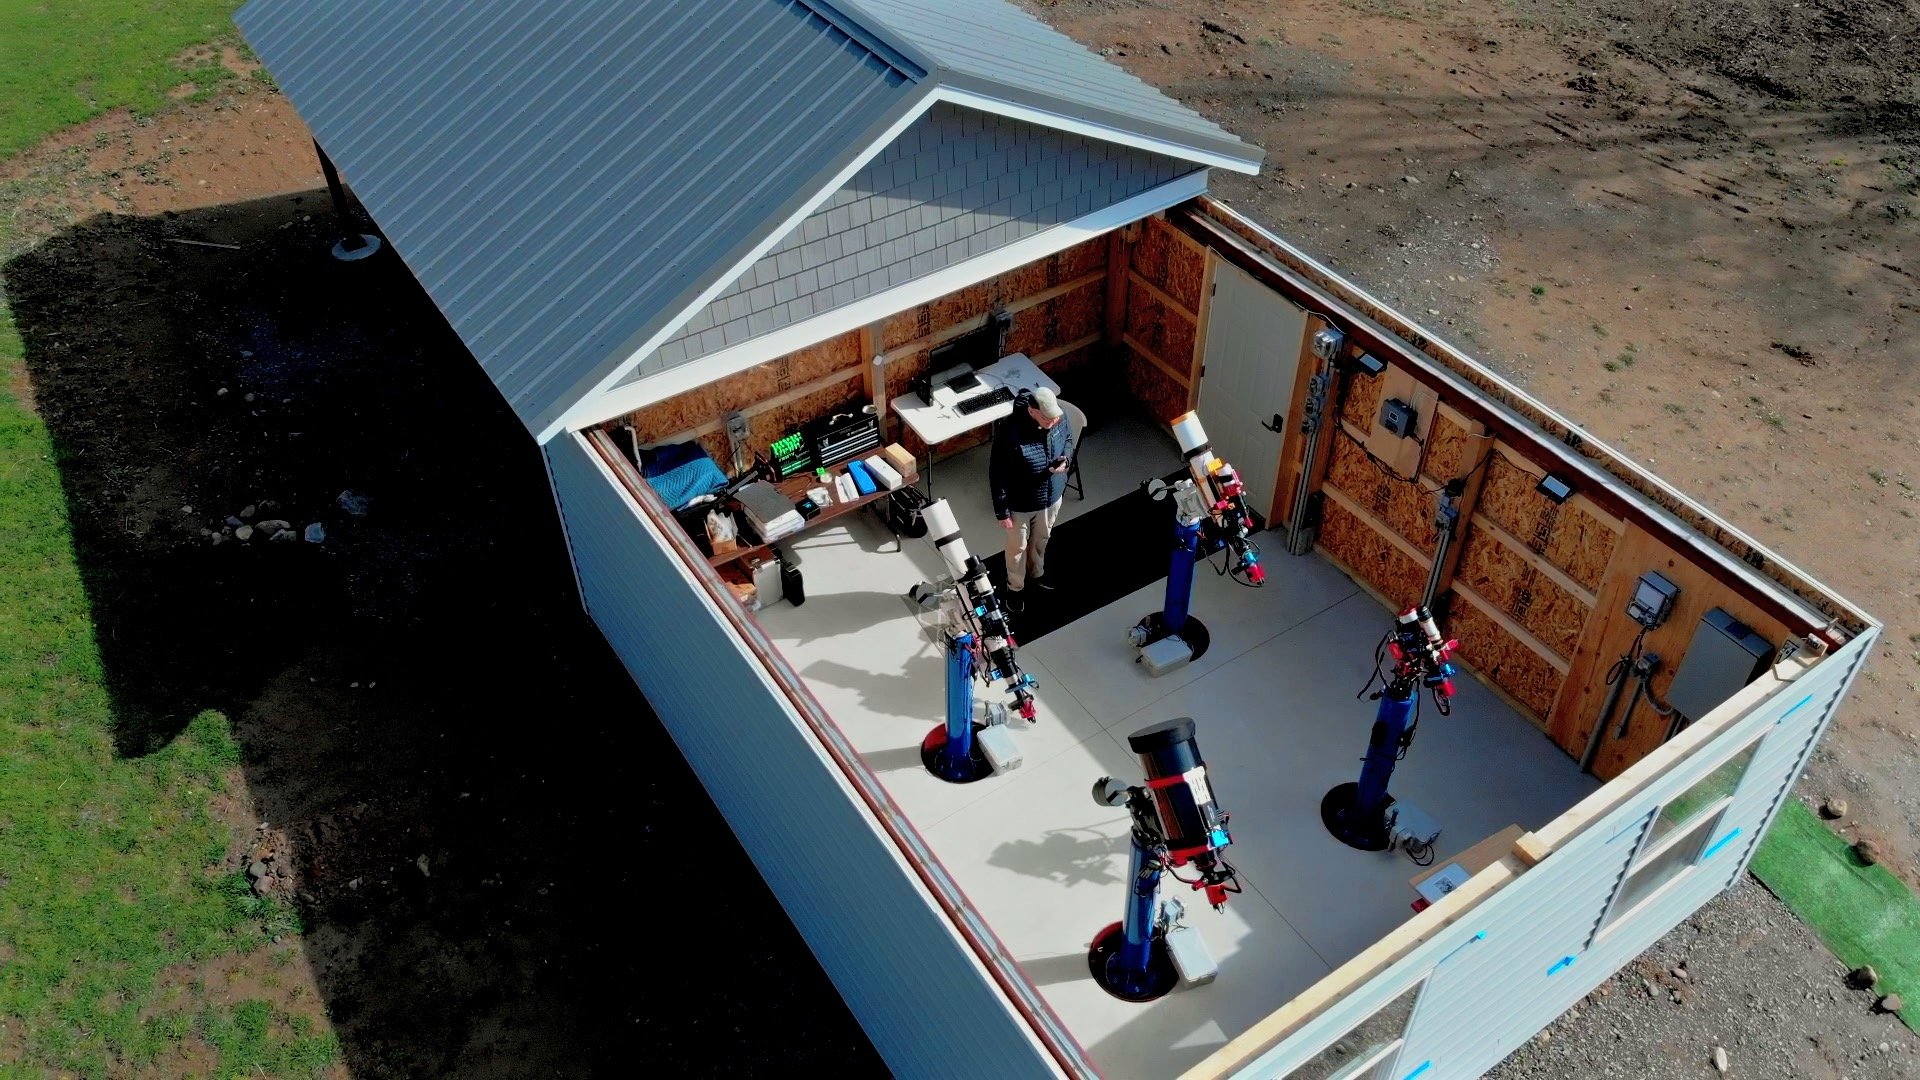
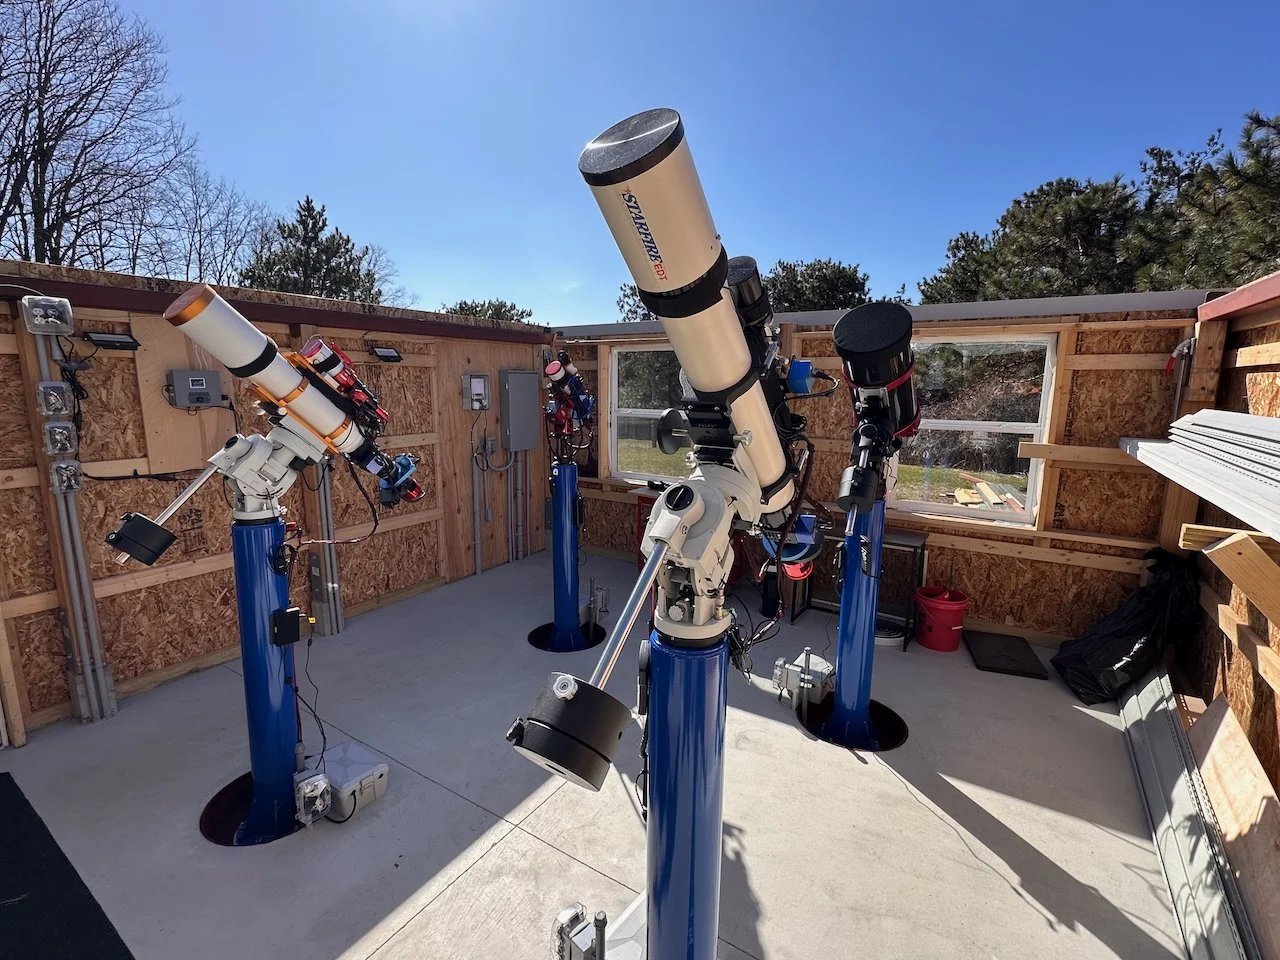
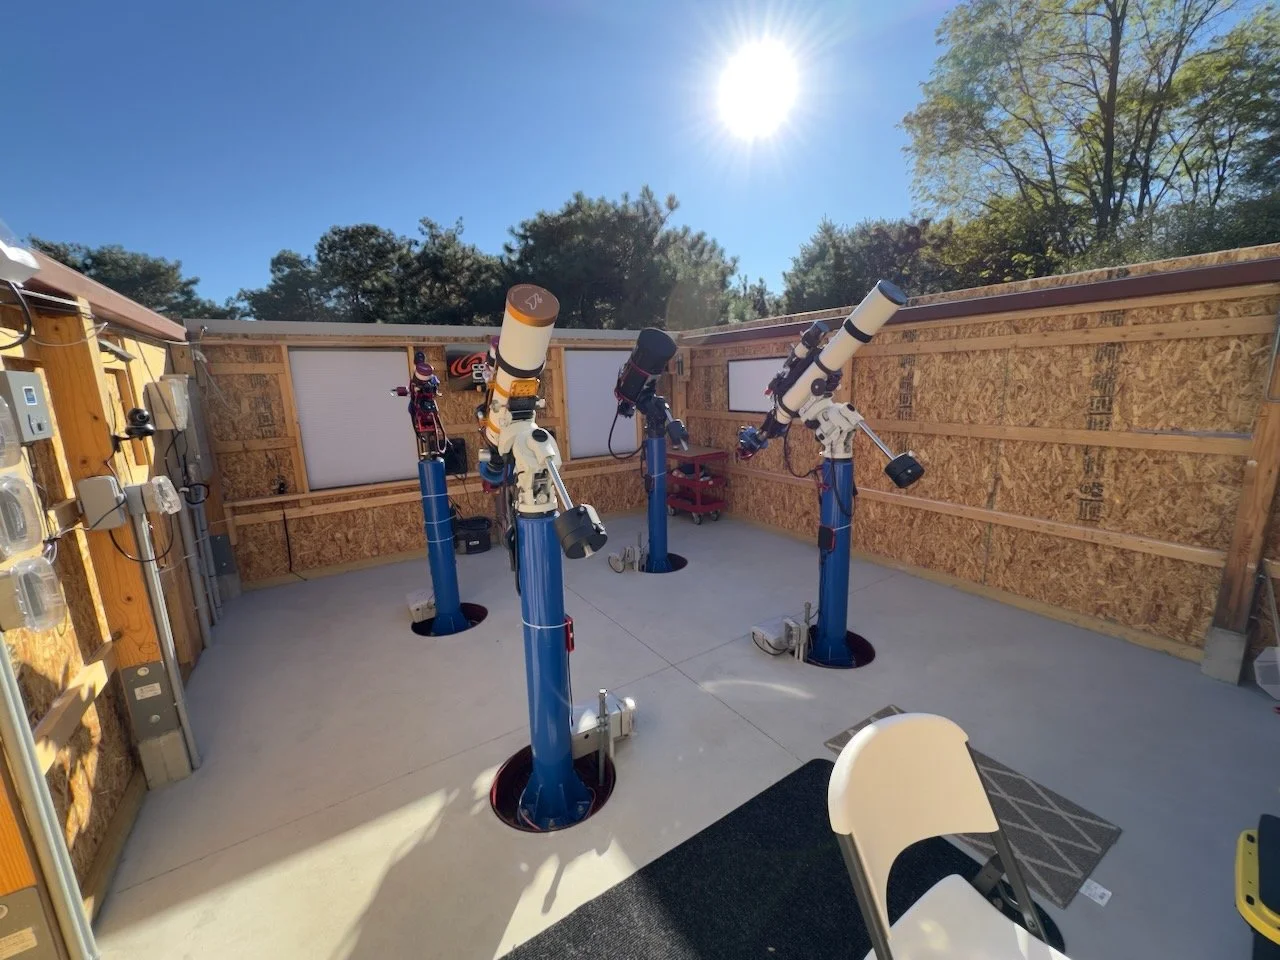
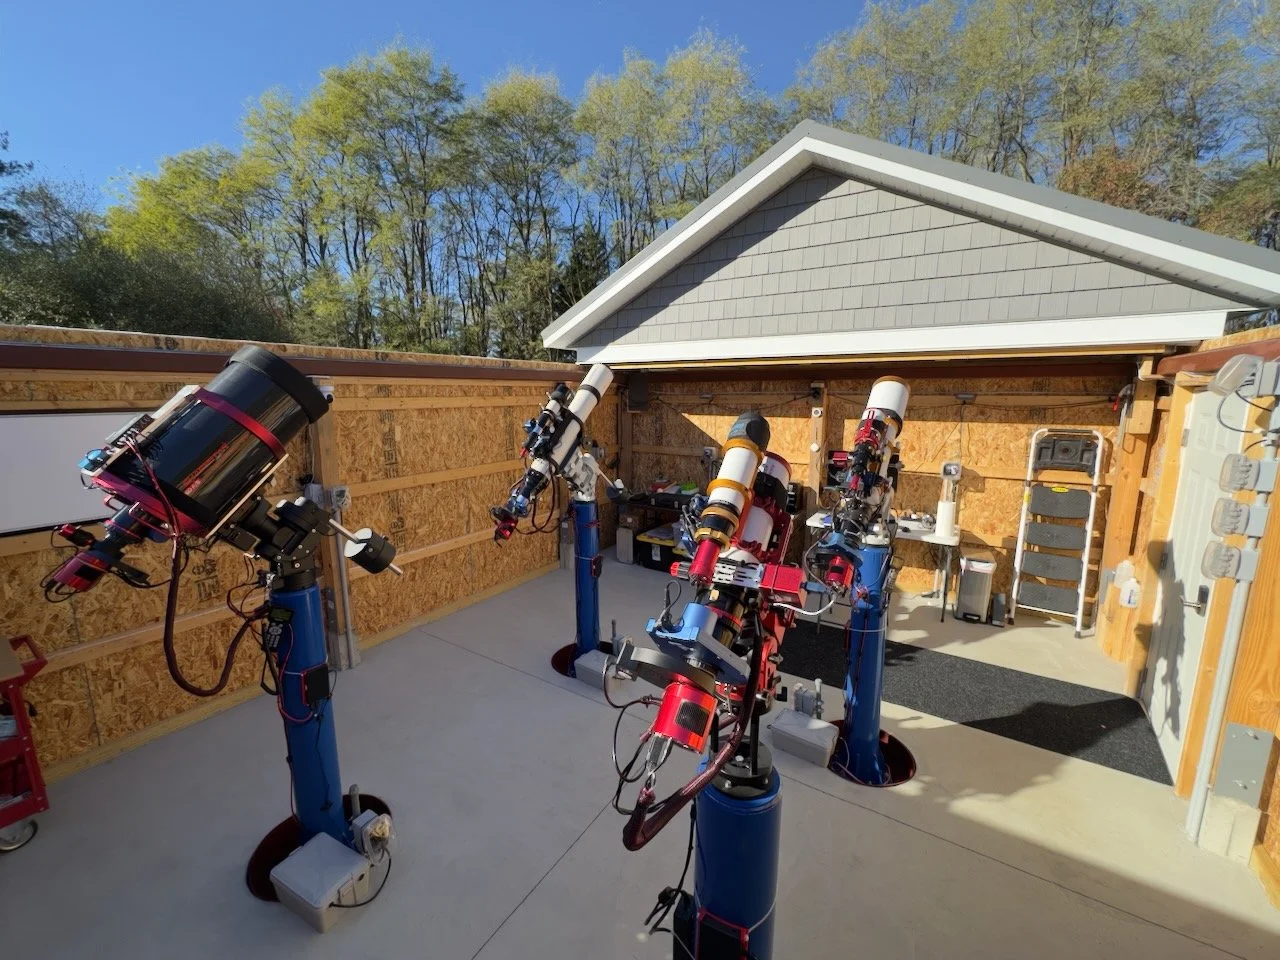
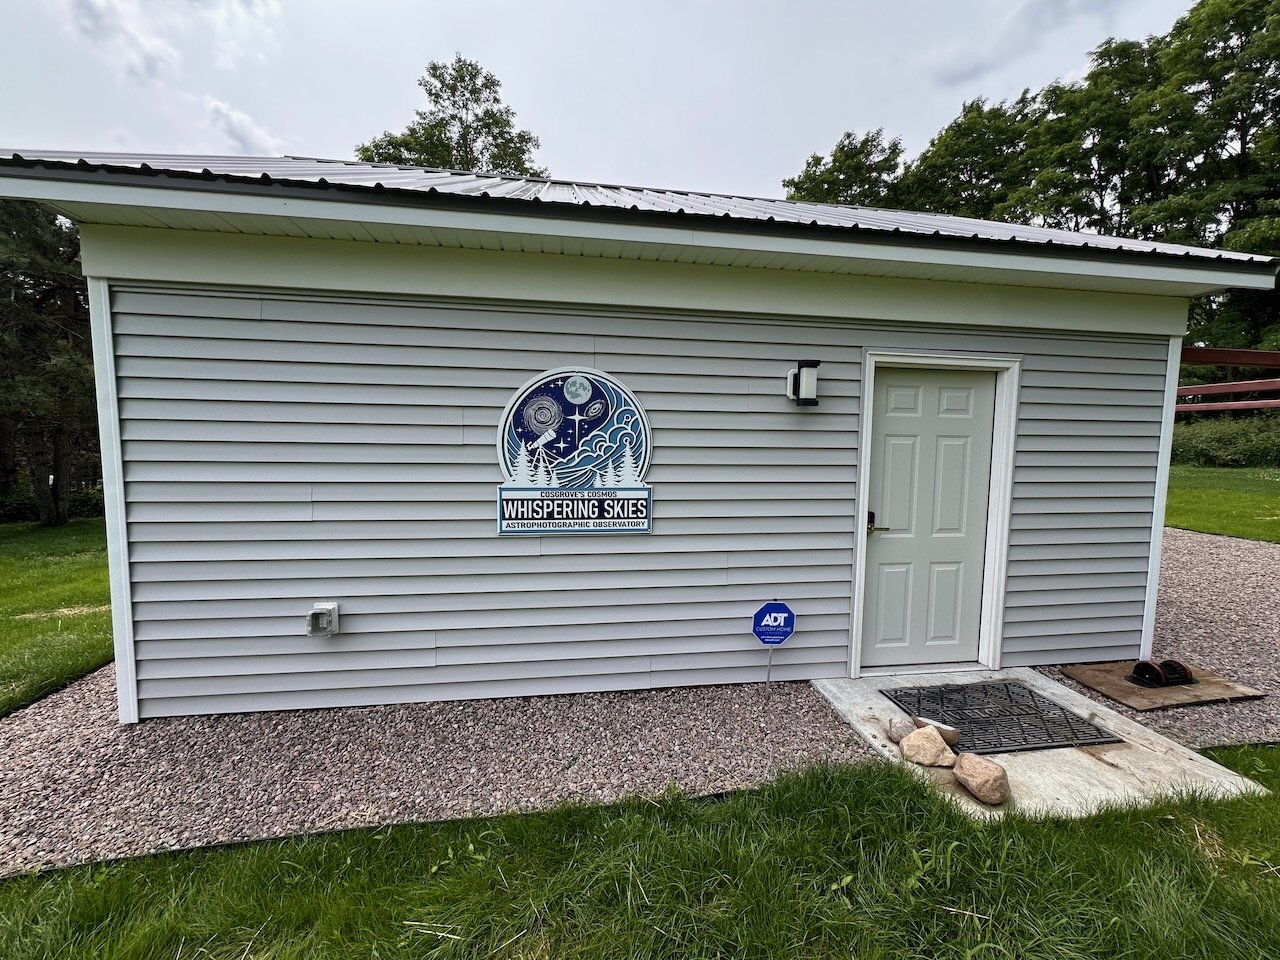
Whispering Skies Observatory - 16 x 20 feet in size - four telescope piers. After many years spent capturing from my driveway this is a bit step up for me!

The inside of Whispering Skies Observatory - completed in May of 2025. All images from 2025 and on were captured here.
Video Introduction
What’s New?
A Snapshot of Recent Additions
Review the “Recent Additons” Page
Recent Highlights
Latest Imaging Project Post


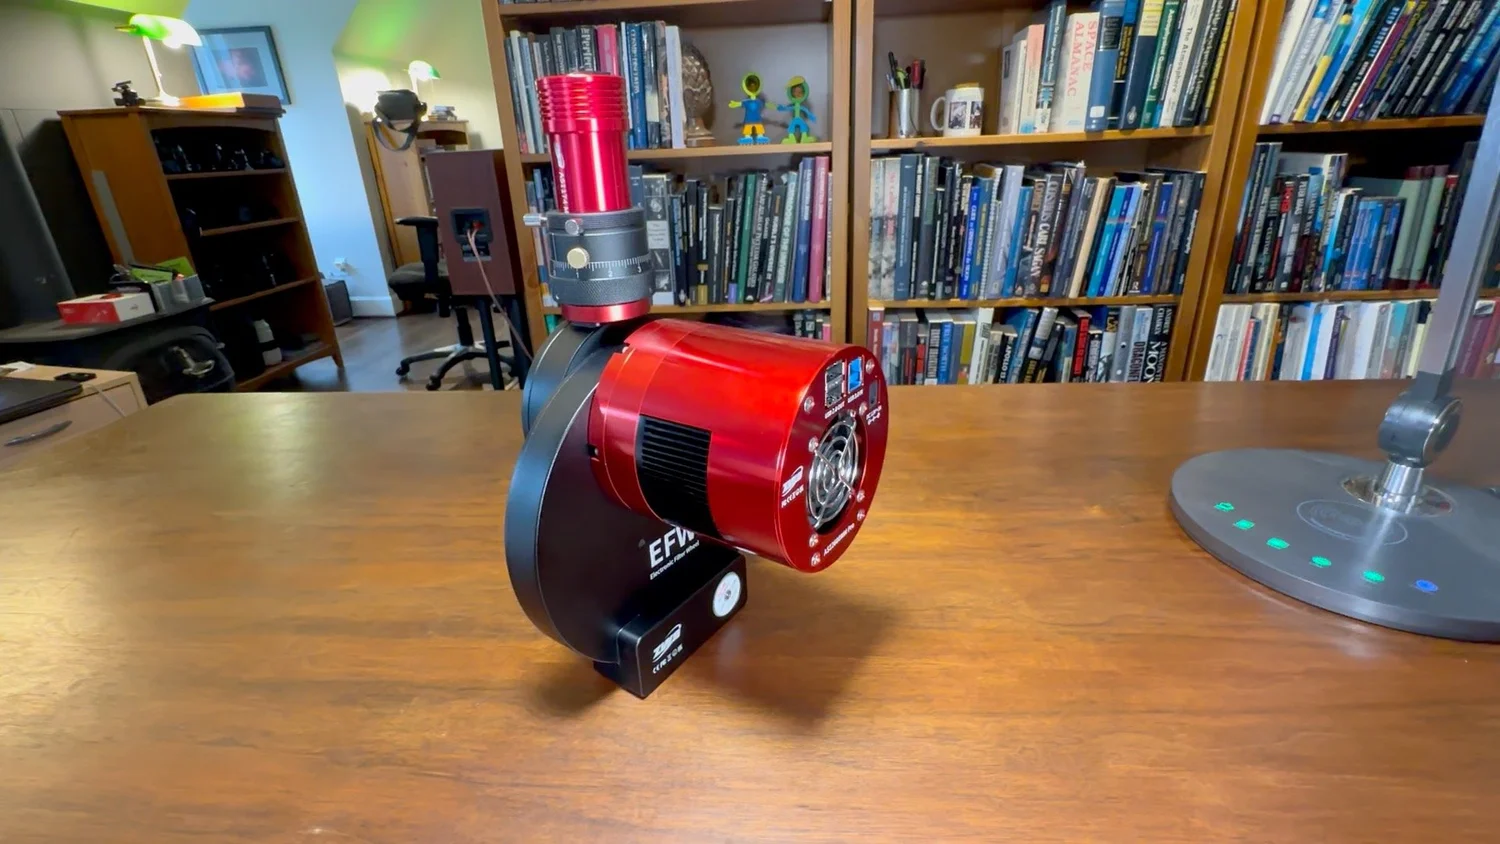
Latest Gear Post


The Latest Observatory Project Post


Explore the Site
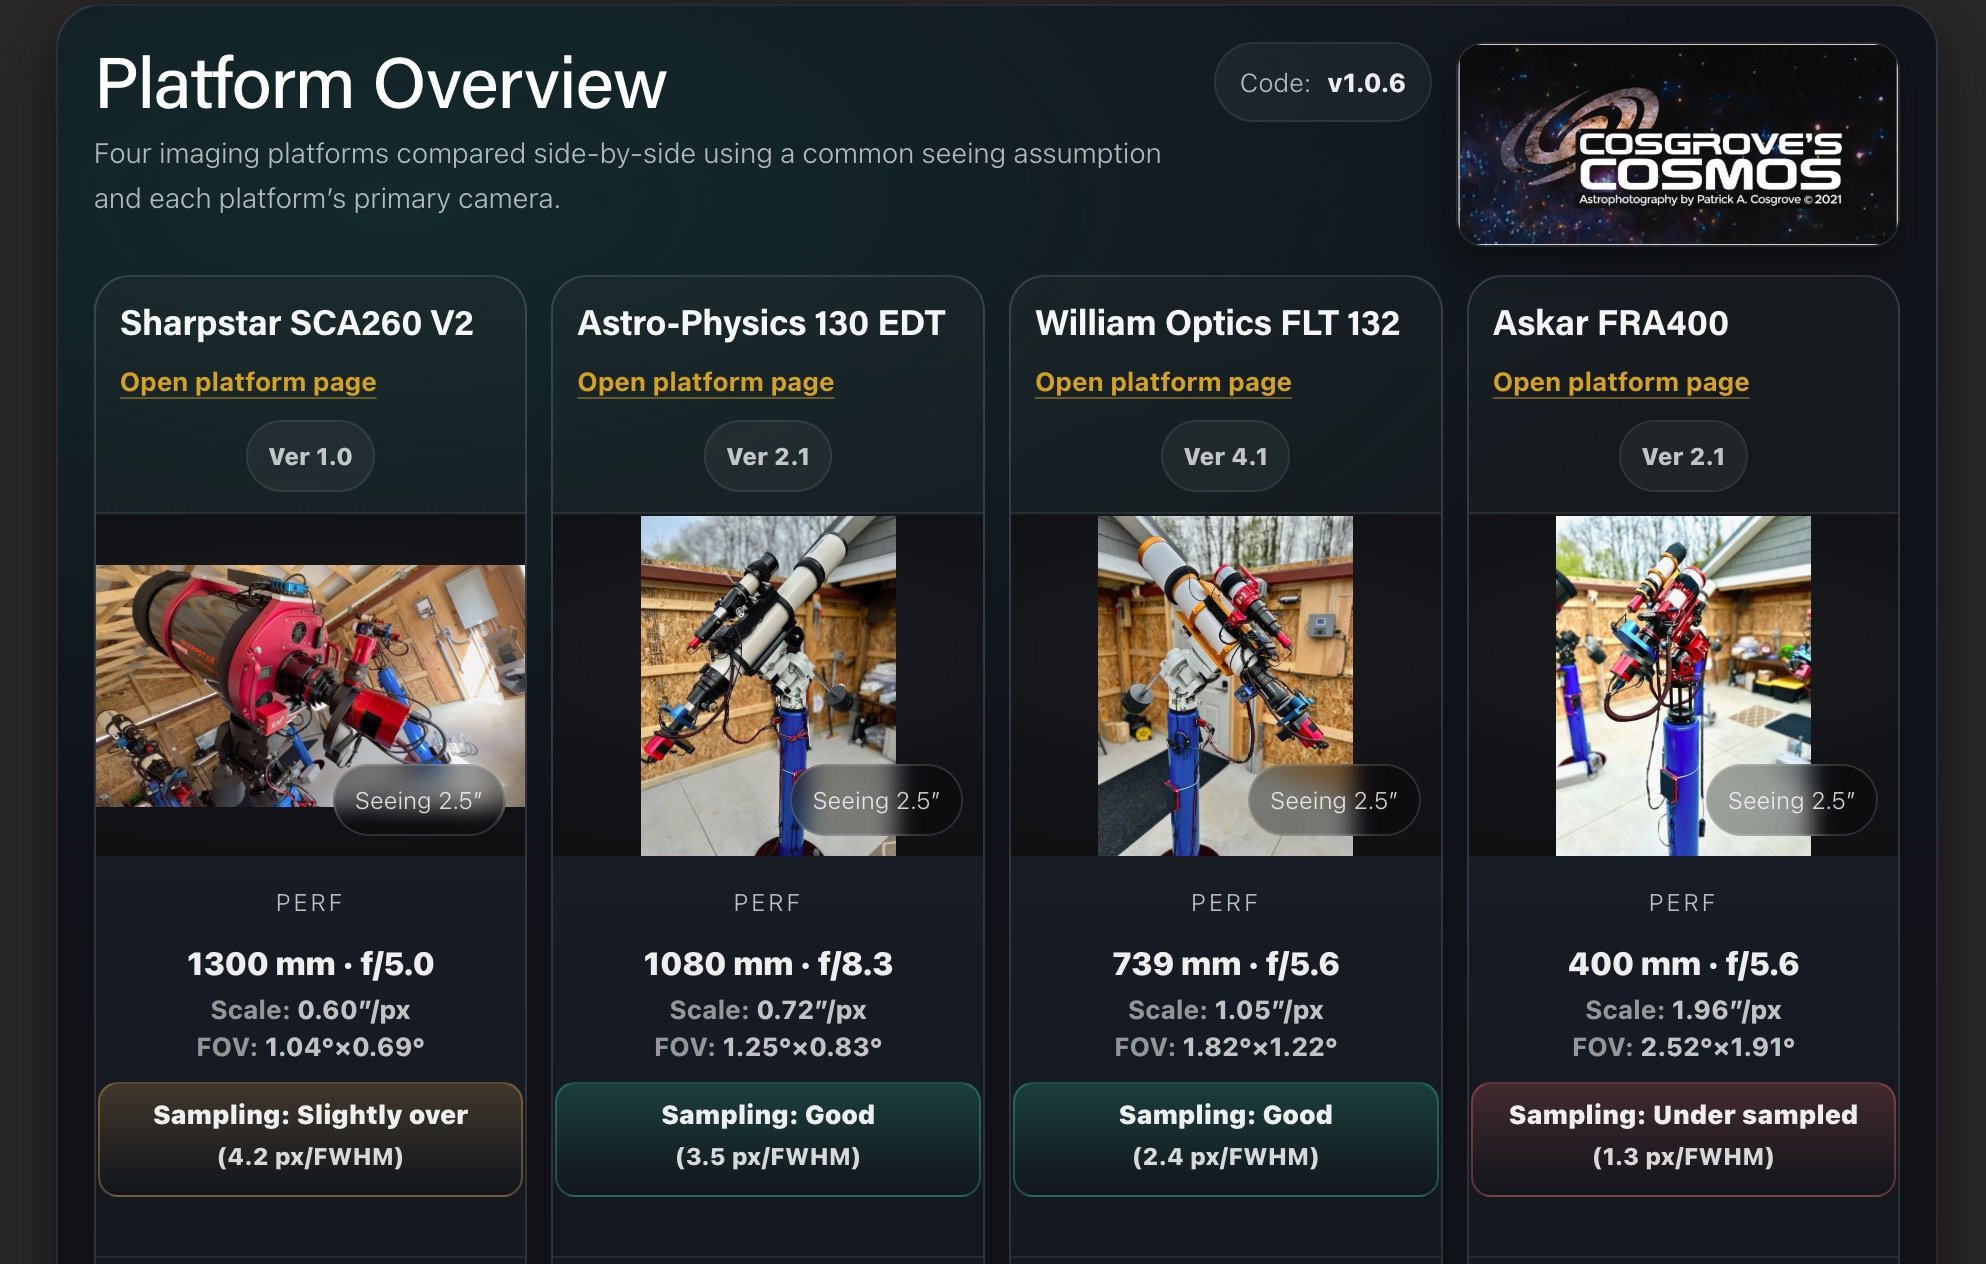
Projects show the results. Gear, software tools, resources, and the observatory show how the results are made.