
Using Deconvolution in Pixinsight - Part I: An Introduction
March 26, 2022

Table of Contents Show (Click on lines to navigate)
My First Experience with Deconvolution
I was not very far into my Astrophotography journey when I first learned about Pixinsight. Up until then, I had been a dyed-in-the-wool Photoshop user. But I heard the praises sung about Pixinsight, so I started doing some research.
I found that Pixinsight had many things that I was intrigued by, among them:
Higher precision computation
The ability to separate Linear vs. nonlinear processing
Multiscale processing capability
The magic of the PCC process
The magic of deconvolution.
These were enough to cause me to start down the long road of learning Pixinsight. Most things came easily to me - but deconvolution was not one of those things.
The was no online documentation for it. Much of the information found online about it was more of a recipe of steps for how to use it - but they did little to explain why those steps needed to be taken. For me, this is a critical piece. I need to understand what is happening and why I need to do some step or another. Without this - I have no hope of dealing with things when they go wrong.
And they did go wrong.
My first efforts in using deconvolution produced horrible results for me - creating abstract artifacts that would do well in a modern art museum and no place else.
I was having a hard time. Apparently, this is not uncommon. When I first posted a query on this topic to the #Astrophotography Community on Twitter, I received this response:
Learning curve on this was very frustrating for me. And I'm a freaking geophysicist who actual wrote decon algorithms in another life !-)
— Tom Boyd 🚴♂️ 🇺🇦 🇺🇦 🇺🇦 (@iProvostTom) March 18, 2022
I Initially followed a procedure defined in "The Astrophotography Manual" by Woodhouse. (1)
Tom’s experience sounds very much like my own. I have a background in Image Science and imaging systems and I was having a heck of a time getting the tool to do anything but mess up my images. !
But slowly I began to learn.
Gary Opitz shared how he did things, and following this guidance, I started to see some better results - my stars were shrinking in size! I still did not understand the why’s though.
Over the months I dug into this more. I also had a few images that really needed the help that deconvolution could provide, so I took a lot of time and experimented with those images, and finally, I started to develop an understanding. Not a mastery, mind you, but a growing awareness of how things worked.
I have learned that the effects of Deconvolution can sometimes be extremely subtle. Other times it can be very impressive. Sometimes it can be both within one image!
For something that can be subtle, is it really worth going through all of the efforts that it takes to use Deconvolution?
I would say YES! Anything that makes reveals details that had been lost, creates an overall sharper image, shrinks stars smaller is worth the effort. Sometimes - not always, Deconvolution can be magical.
The Goal of This Post
I would NEVER call myself an expert because I am not. But I have gotten to the point where I can reliably get some benefit from deconvolution. In this post, I will share what I have learned, and what I do that seems to work for me.
If you are having a hard time getting a handle on using Deconvolution, then maybe some of this might help you.
If you are someone who is already getting good results using Deconvolution, perhaps you will pick up something new to expand your understanding of this powerful tool. I know that I have picked up a lot of useful tips from others that have shared their own approaches - so I would like to pay that forwards a bit here.
In this post, I will discuss:
Concepts around Airy Discs and PSFs
Considerations when generating PSF Models
Where convolutions fit into the processing workflow
The creation and use of Object Masks and Local Deringing Support Images
How to test and set the key parameters needed for Deconvolution to work well for a given image
Show three example images (one from each of my scopes) and how Deconvolution was applied to them
Caveat: in some cases, the differences made by Deconvolution may be more subtle on the webpage due to the use of jpeg images and web hosting issues.
With that said, let’s get started!
This post became so long and involved, it seemed to make good sense to break it down into smaller topical subsections. So I have broken it up into a 7-part series, with this posting acting as a kind of “front door” to the whole shebang.
Below you will find links to each subsection focusing on different aspects of the Deconvolution Problem Domain.
Part 1 - An Introduction (This Page!)
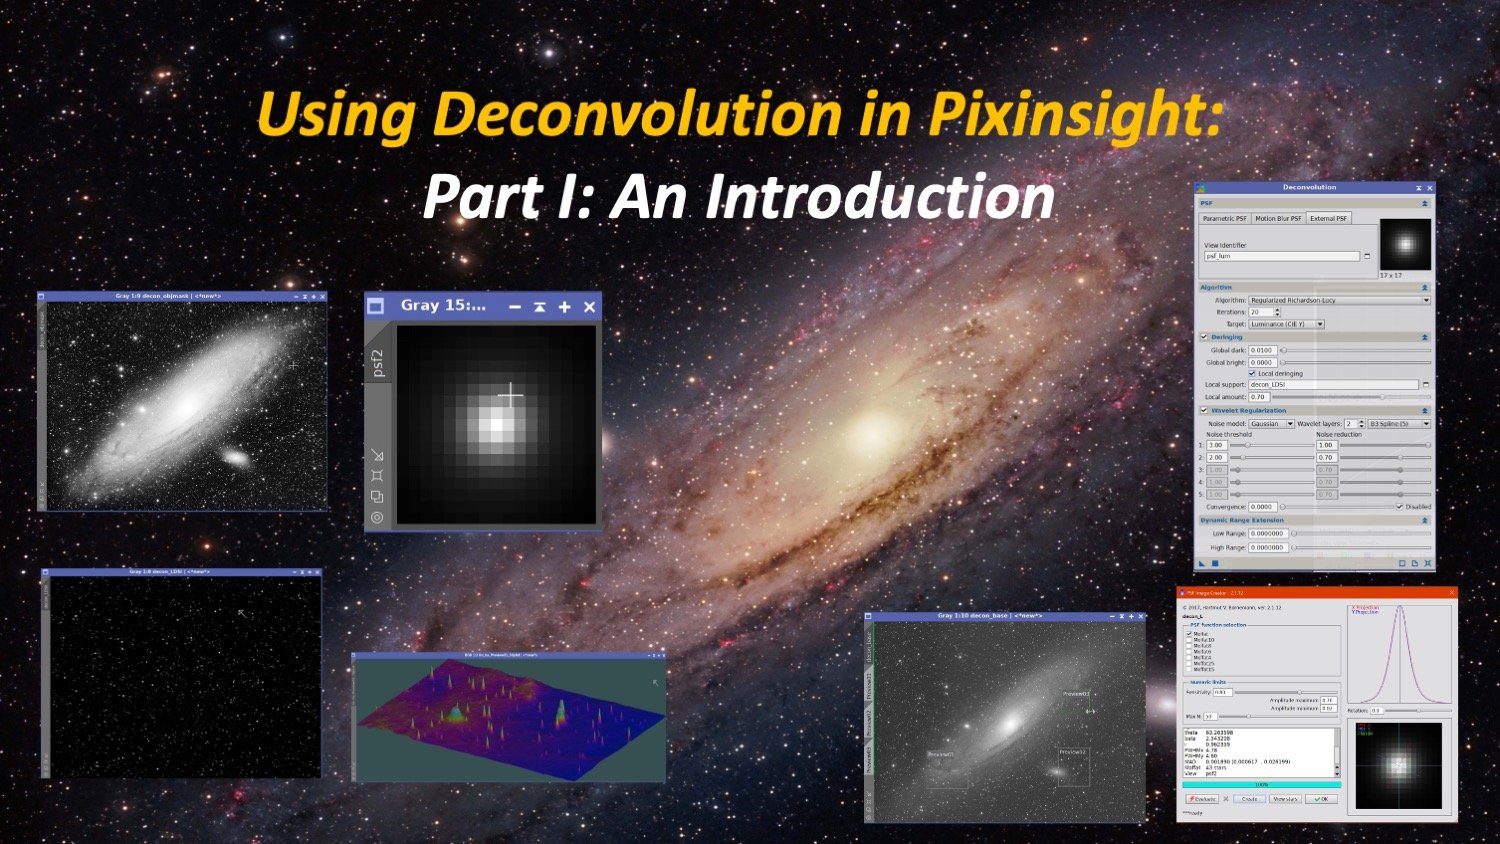
This post provides an introduction with some background - as well as acting as a gateway connecting to the other parts of this series.

We will start our deep dive with a discussion around the concepts of Airy Disks and Point Spread Functions (PFS), considerations around creating PFS Models, and finally - the first overview of Deconvolution itself..

How does Deconvolution fit into the overall workflow? Which images should be processed with Deconvolution? How do specific use cases (OSCs, LRGB, Narrowband) change this? These questions and others are dealt with in this section.
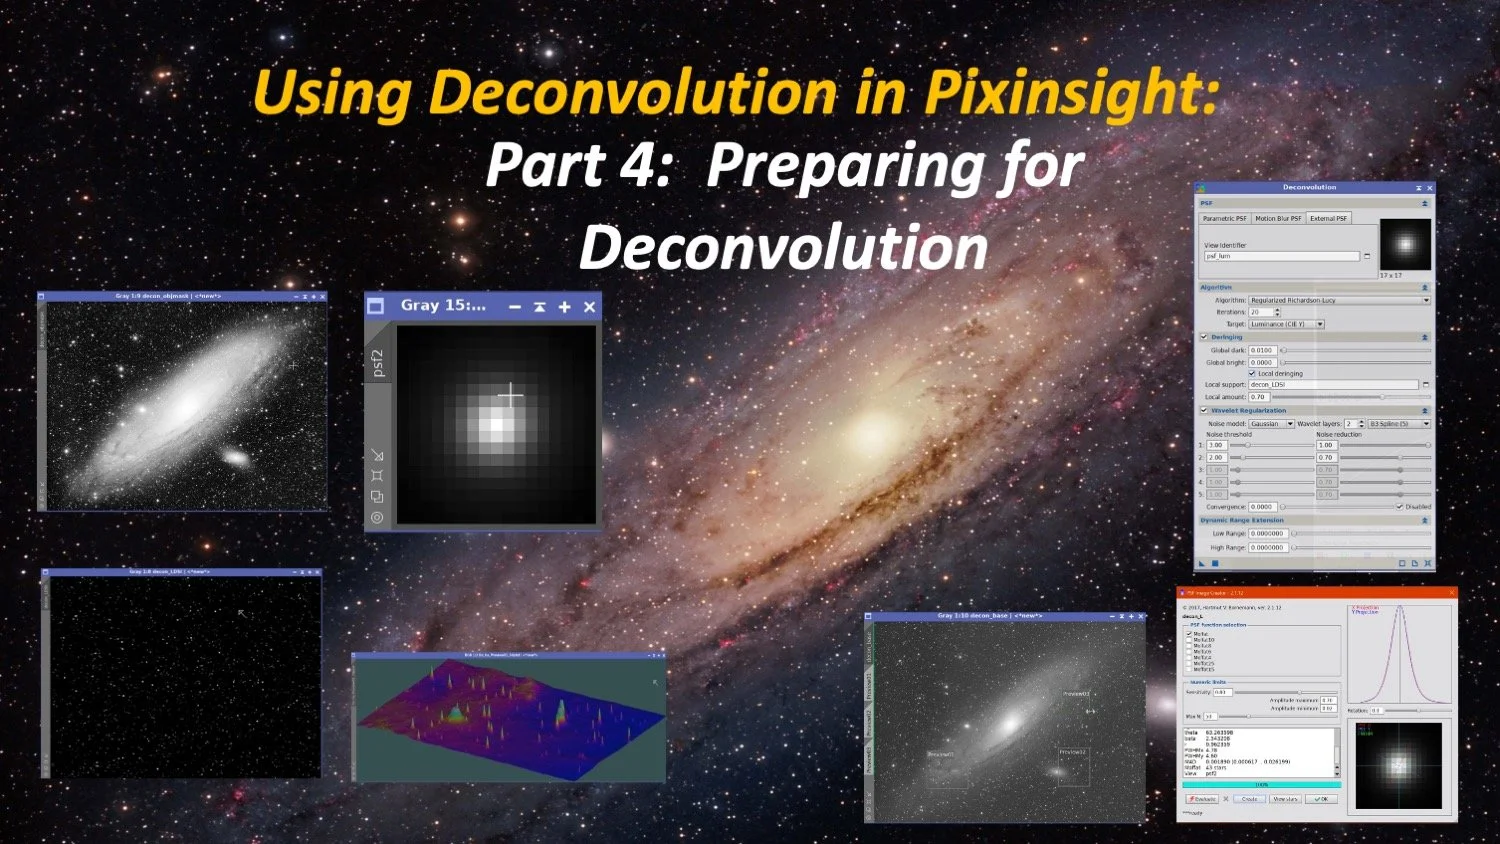
Deconvolution requires some preparation before it can be used. This section offers a playbook for working with Deconvolution. This section describes what is needed, why it is needed, and how to go about setting things up. It also covers the iterative testing needed to establish the right deconvolution parameters.

With some of the Whys and Hows behind us, let’s go through some real-world examples. This first image is my shot of the Draco Triplet taken with my William Optics 132mm (fl=920mm) scope and the ZWO ASI1600MM-Pro camera. We will be following the playbook introduced in the previous section.

This second real-world example is based on my most recent shot of Messier 63. This shot was taken with my Astro-Physics 130mm APO refractor (fl=1080mm) using a new ZWO ASI2600MM-Pro camera. Let’s see what Deconvolution can do to bring out detail in this small galaxy.

This final example is taken from a wider angle Askar FRA400(fl=400mm) scope that is slightly undersampled using a ZWO ASI1600MM-Pro camera. Both issues suggest we might not get the best Deconvolution results, so I drizzled processed the image and went through the Deconvolution process to see what would happen!
Further Information
A well-written article by Ron Brecher, which appeared in Sky & Telescope:
https://astrodoc.ca/wp-content/uploads/2017/06/Sky-and-Telescope-July-2017-Deconvolution-article.pdf
A really useful article written by Jon Rista, where he describes the use of Wavelet Regularization to handle noise rather than an object mask:
This article appears in the Light Vortex Astronomy Website:
https://www.lightvortexastronomy.com/tutorial-sharpening-fine-details.html#Section1
This a great article written by Juan Conejero of Pixinsight, offering a Deconvolution and Noise Control Example with M81/82. He goes into more depth on creating the LDSI - much more sophisticated that what I do. Thanks to Tim Hutchison for bringing this to my attention!
Conclusion
So is Deconvolution hard to use? It does take some time and effort, but once you understand it, it’s not hard. It also does things that cannot be accomplished in any other way.
Is it hard to learn? Once you get concepts down it is not all that bad. But even with this knowledge, Deconvolution - just like every other aspect of Astrophoto image processing - is a bit of an art form. An art form that evolves with time and experience.
Are the results obtained sometimes subtle? Yes. But they can be substantial improvements on some images and even on those images where the changes are small - they still add value. Small changes early on in the linear process can cascade through the system to become more significant when the image is stretched and finished.
As your skill as an astrophotographer grows, you will find that the difference between a good image and a great image is the amount of effort you put into optimizing every link in the chain from camera to screen. Deconvolution is a unique capability that provides benefits to one of those links.
I hope you found this post useful. I will think of this document as a living repository - I will add to it and amend it as I learn more and you the reader provide feedback and ask more questions! I know that I still have a lot to master when it comes to using Deconvolution - and I know I will continue to lean on it as a critical tool!
Clear Skies,
Pat Cosgrove
PostScript
I should mention that I am currently planning on writing a few more follow-up articles dealing with Deconvolution:
Using the EZ-Deconvolution. (Now Published HERE!)
Using Deconvolution to fix elongated stars
Playing with Wavelet Regularization Parameters in Decomposition
Stay Tuned!
——————-
Posting Change Log
03-31-22: Added new link in the “Further Information” Section to an article written by Juan Conejero of Pixinsight, offering a Deconvolution and Noise Control Example with M81/82.