
Using Deconvolution in Pixinsight - Part 6: Example - Messier 63
March 26, 2022

Table of Contents Show (Click on lines to navigate)
This posting is part of seven-part series: "Using Deconvolution in Pixinsight."
Navigate to other parts of this Series:
Table of Contents Show (Click on lines to navigate)
Messier 63 - The Sunflower Galaxy
This image of M63 is the result of 9.7 hours of integration time - taken in LHaRGB - with an Astro-Physics 130mm f/8.35 APO refractor, a ZWO ASI2600MM-Pro Camera with Astronomiks filters, and an IOptron CEM60 mount.
The story behind this image can be seen HERE.
With a focal length of about 1080mm, this should be a great scope for Deconvolution work.
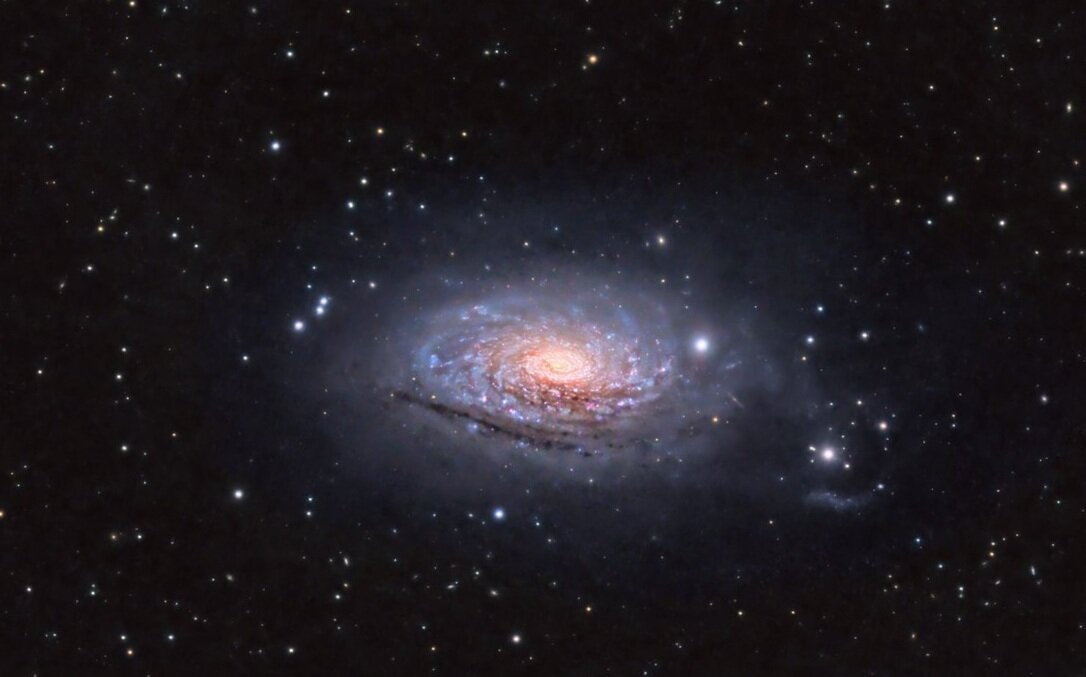
Messier 63 - THe Sunflower Galaxy in LHaRGB - 9.7 hours.
Preparing for Deconvolution
Creating The Object Mask
This was done starting with a copy of the L image, taking it nonlinear with the STF->HT method. I then used HT to clip the blacks and saturate the signal areas. Finally, I applied a bit of convolution. This gave me the following:

I started with a simple Luminance Mask

Then I used HT to clip the blacks and whites a bit and applied some modest convolution to end up with this Object Mask.
Creating the LDSI Image
Next, I created a Local Deringing Support Image using the methods described in the previous example.

The Starmask Settings used to create the support image.

The Local Deringing Support Image for M63.
Creating the PSF Image
Finally, I used the PSFImage script to create my PSF image.

The PSFImage Panel showing the results from M63.
The “View Stars” screen - Zoomed in a bit to show the kind of stars being selected (click to enlarge)

The final PSF image for M63 - nicely overampled!
Setting Things Up to Run Deconvolution
Select three preview regions for testing

M63 PReviews ares selected.
Apply the Object mask to the base image

The Main image showing the Object Mask in place.
Setup the Deconvolution Panel
We followed the same step as with the first example.

Experiment with settings of Global Dark
This time we will do a Global Dark Series with the Local Deringing and Object Mask in place - which is how I normally do it.
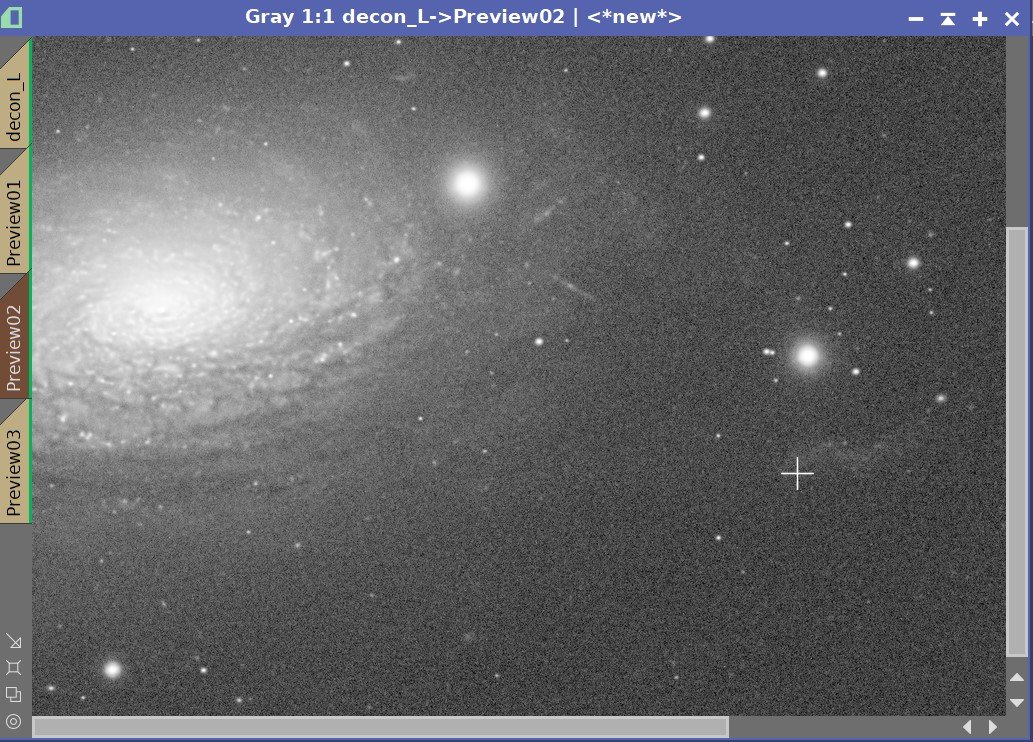
Global Dark Series:
0.0001, 0.001, 0.01, 0.1, 1 .0 - with Object Mask and Local Deringing Enabled.
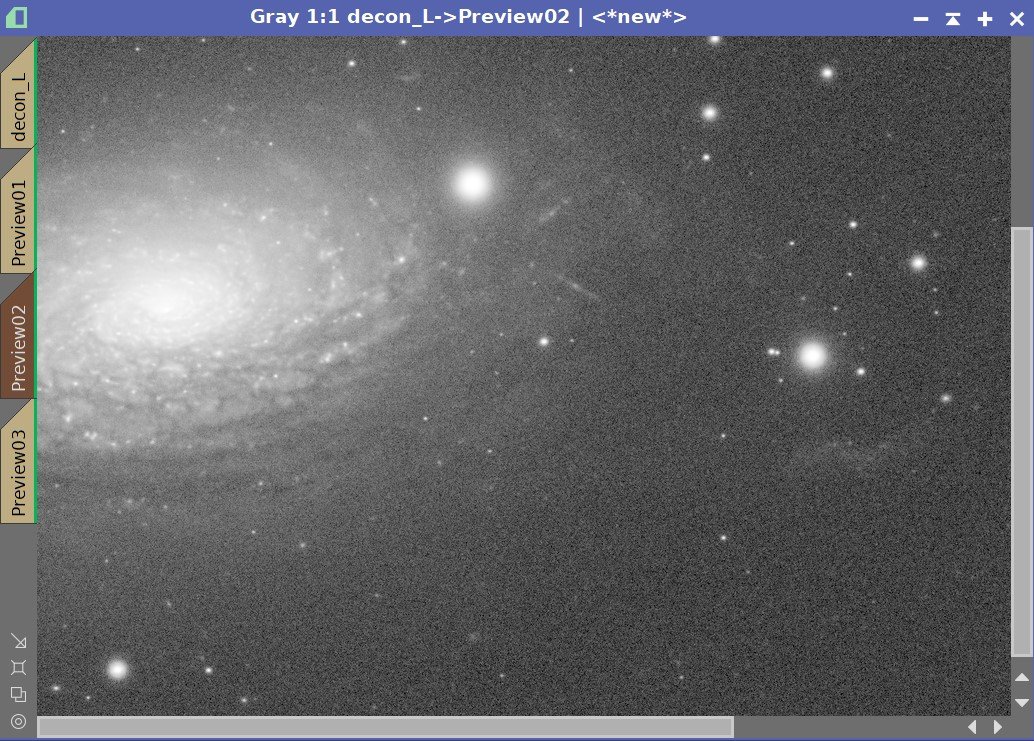
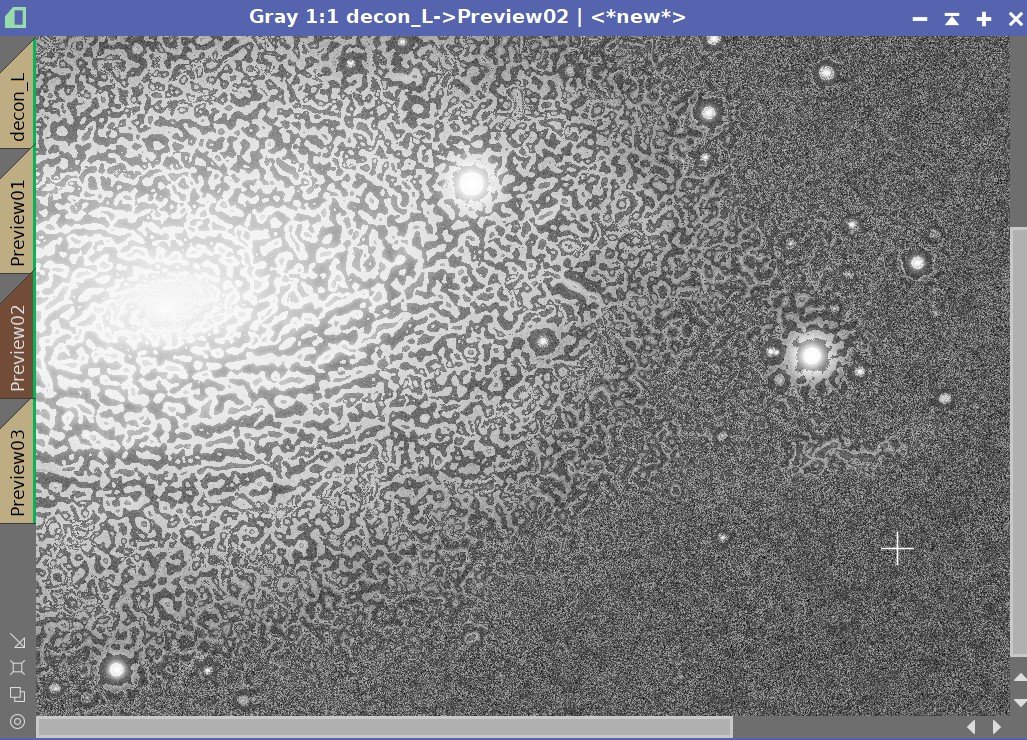
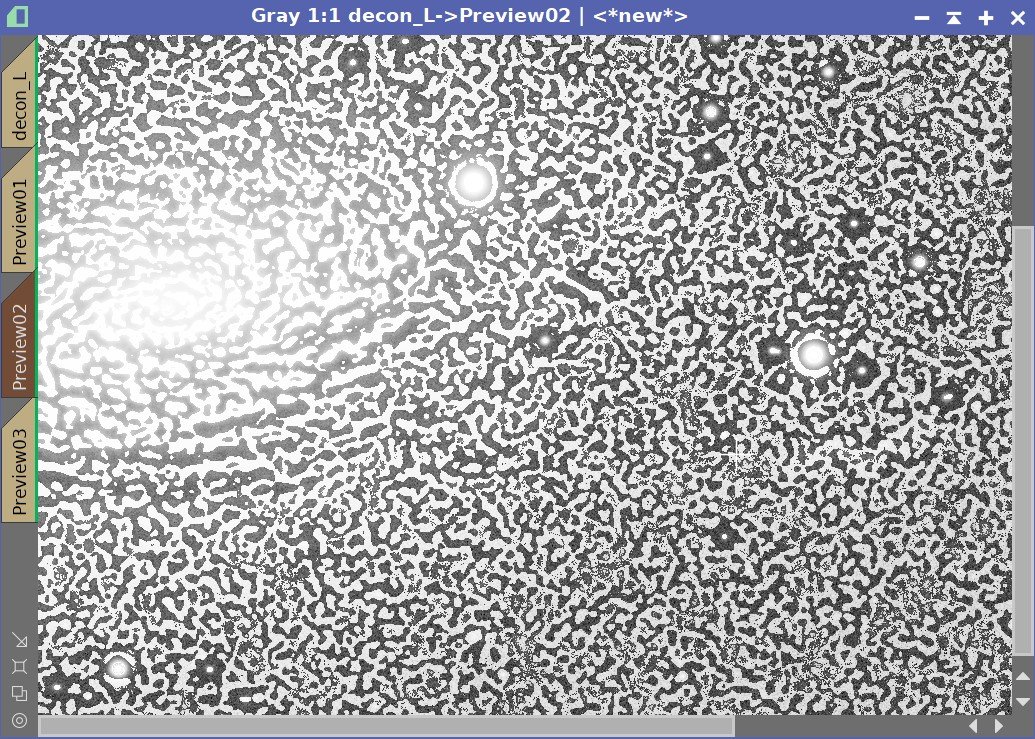
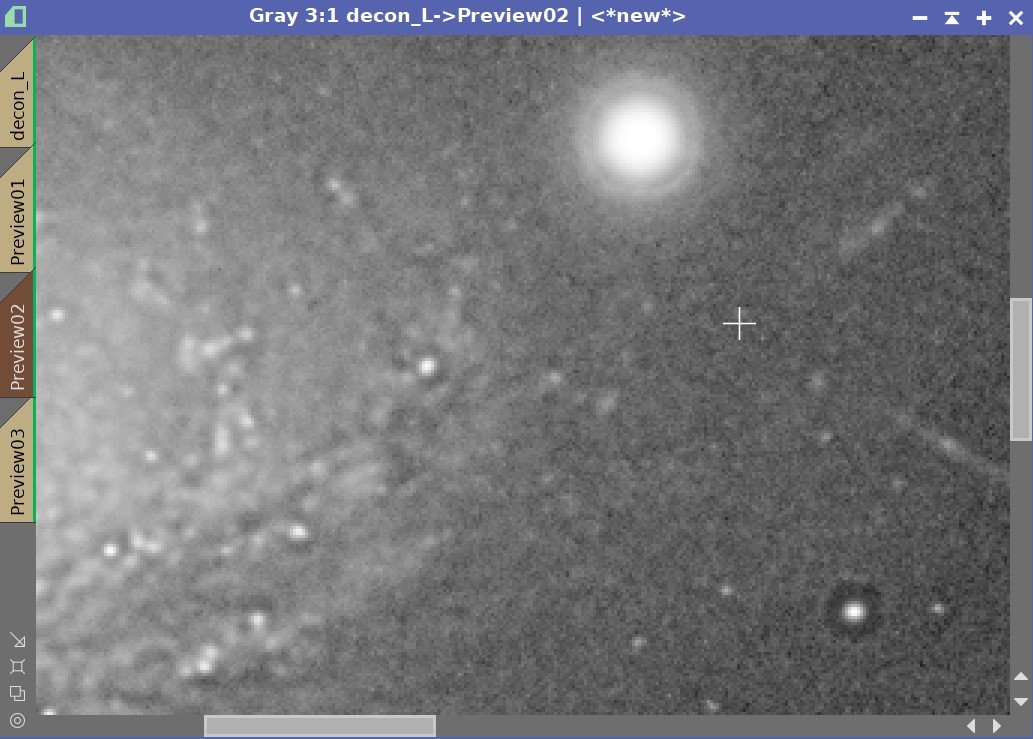
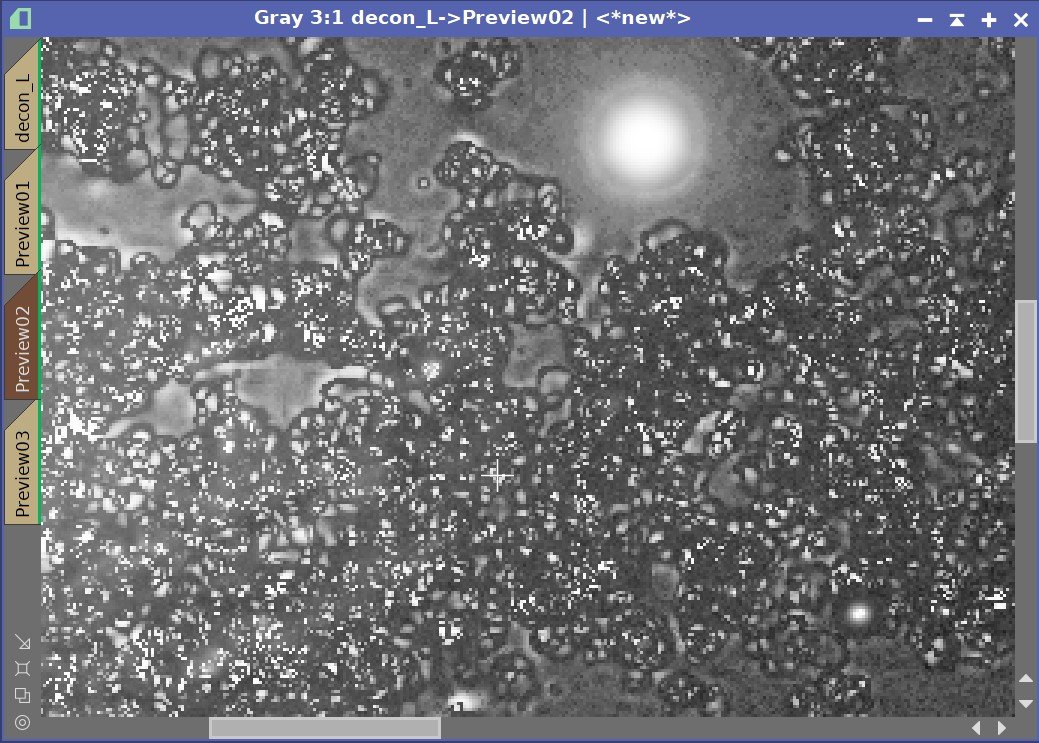
This shows what changes in Global Dark look like for a given preview. Here we see the first few settings diverging significantly causing obvious artifacts. The Sweet point seems to be between 0.001 and 0.0001.
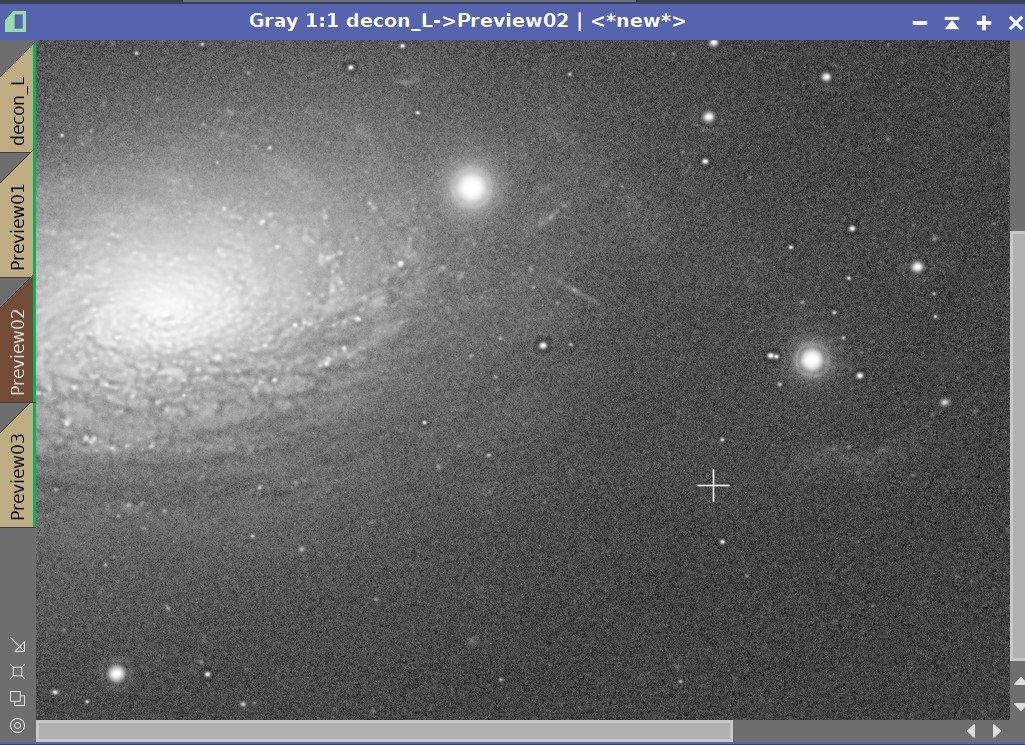
Iterations
Since there does not seem to be any evidence of “worms” here, we will skip Global Bright for now and investigate iterations.


Iteration Series: 20, 40, 60, 80, 100 Iterations
You may have to zoom in close to see what is going on in this series, but to my eyes, as I increase the number of iterations I see dark rings forming on some stars at 60 iterations and a pattern developing in the background as well. I think the sweet spot here is 40 and I think we may have some light “worms” going on - so Let’s also do a Global Bright Series from based on an iteration setting of 40.
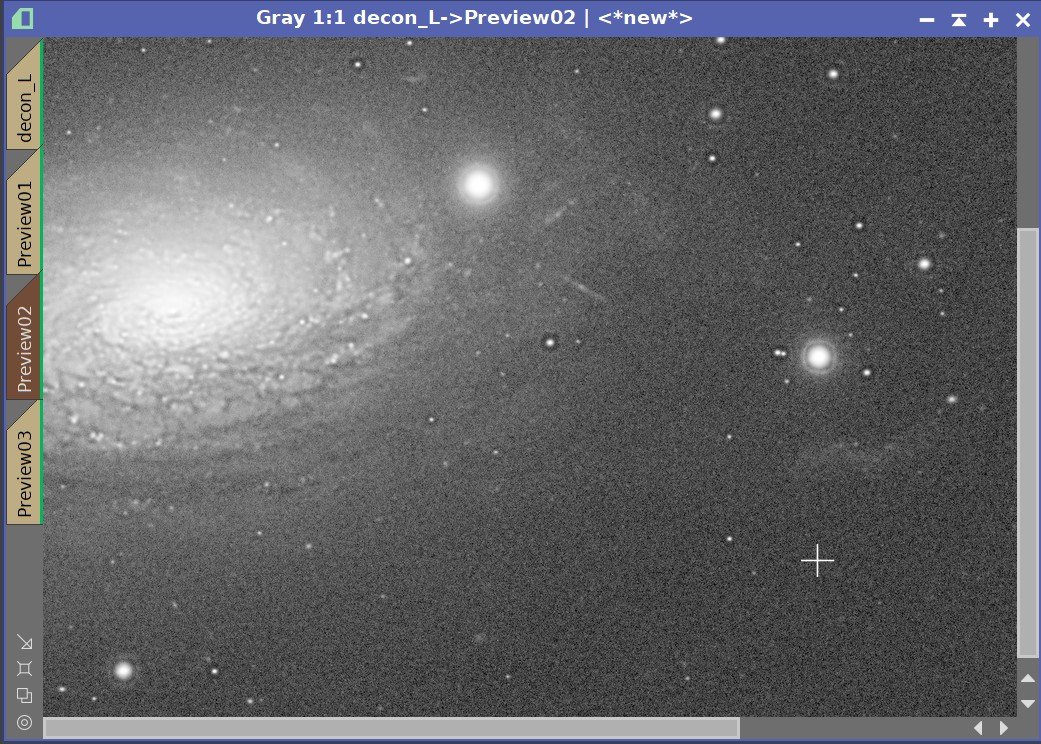
Global Bright

Global Bright Series
Values of 0.0000, 0.0001, 0.0010, 0.0100, 0.1000
With this series, it would appear that we are minimizing the slight background pattern between the values of 0.01 and 0.001.
The Final Result
After all of this testing, we have determined our final settings and applied them to the whole image. With that, we can now share the final result.

Here is the Deconvolution Panel showing the final values used for this image.
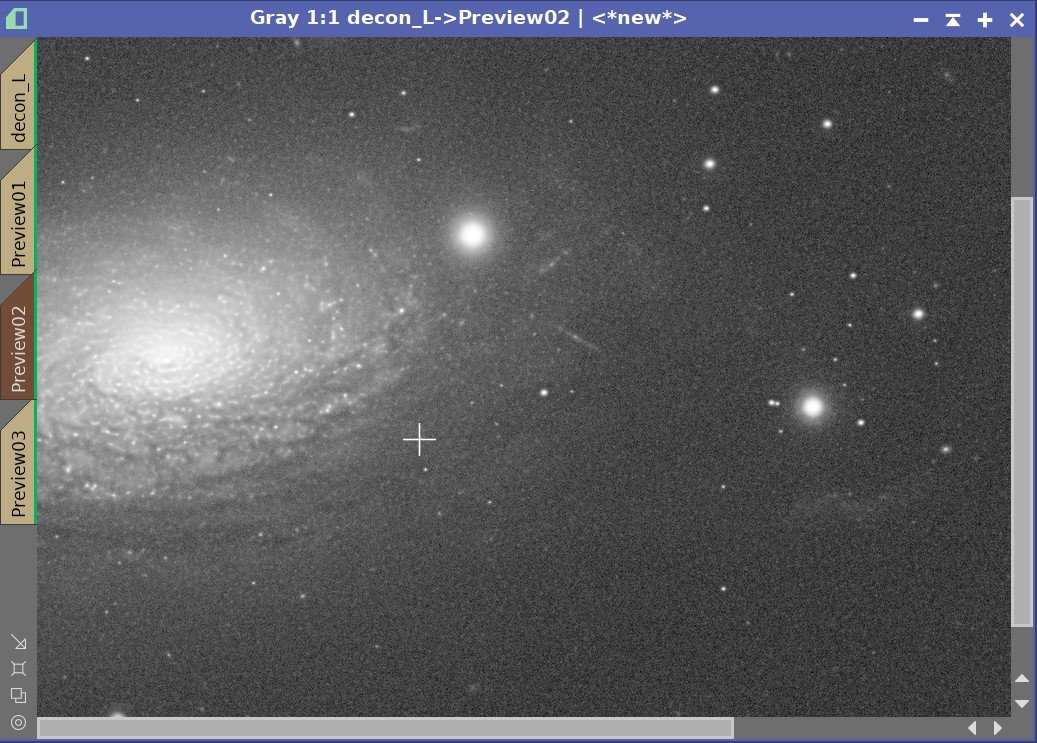
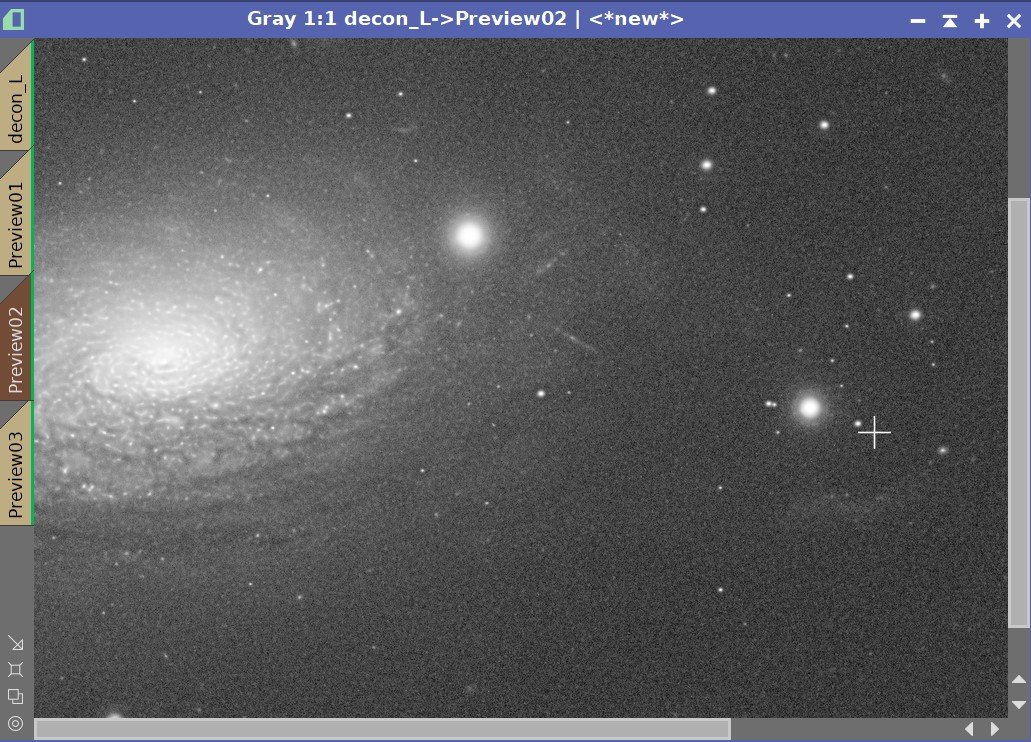
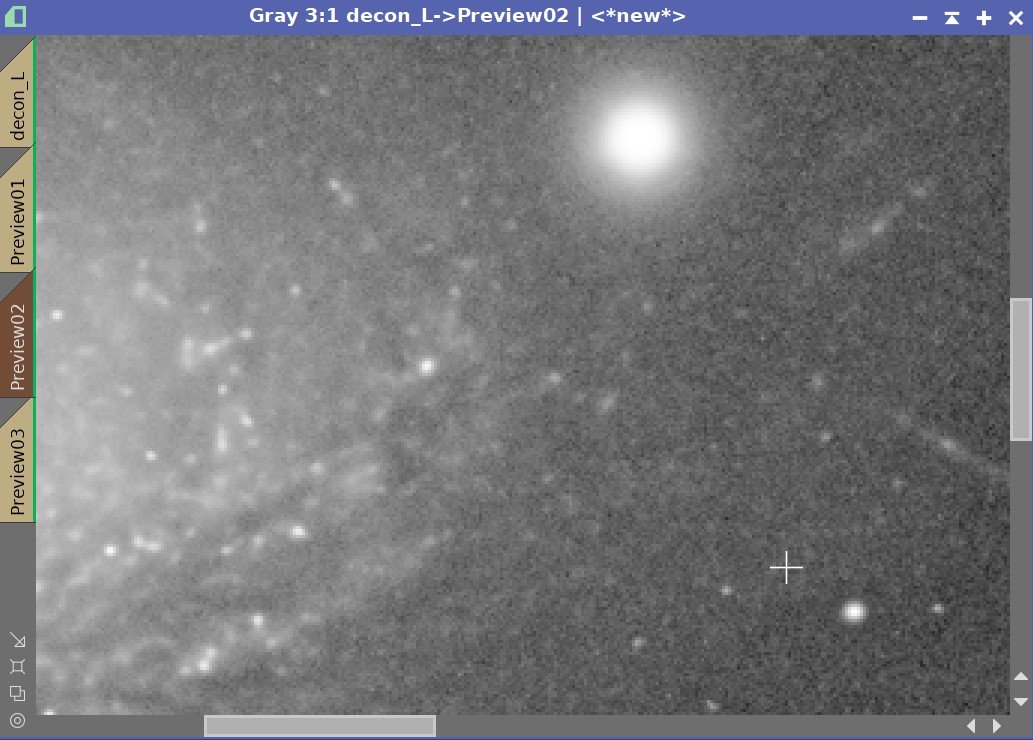
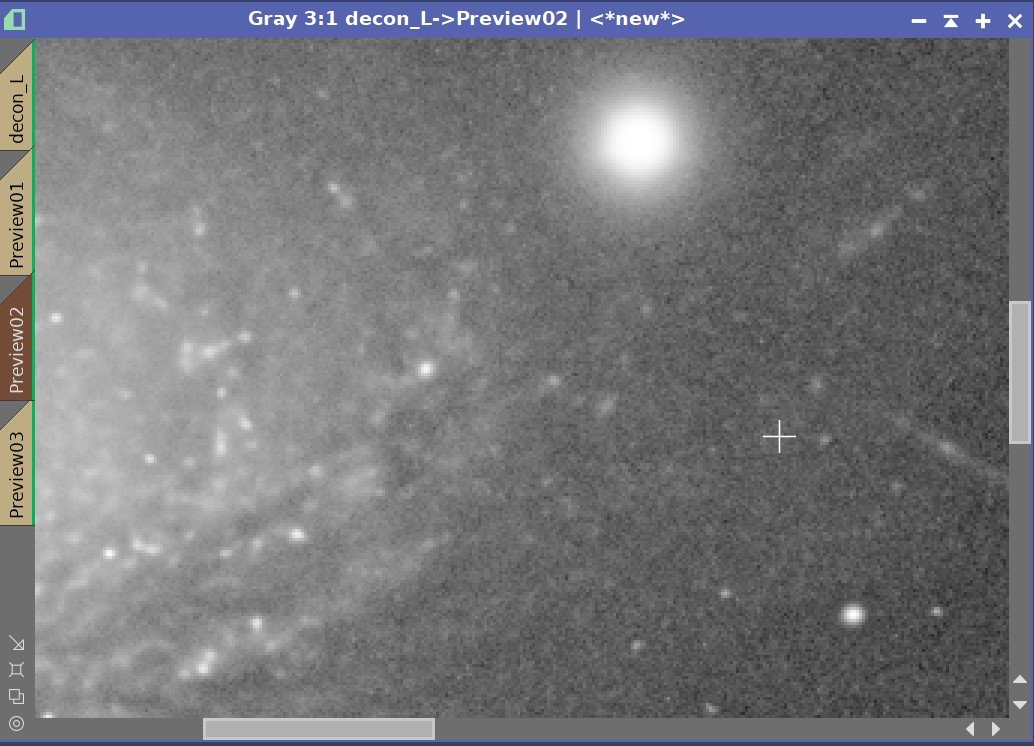
A Final Comparison
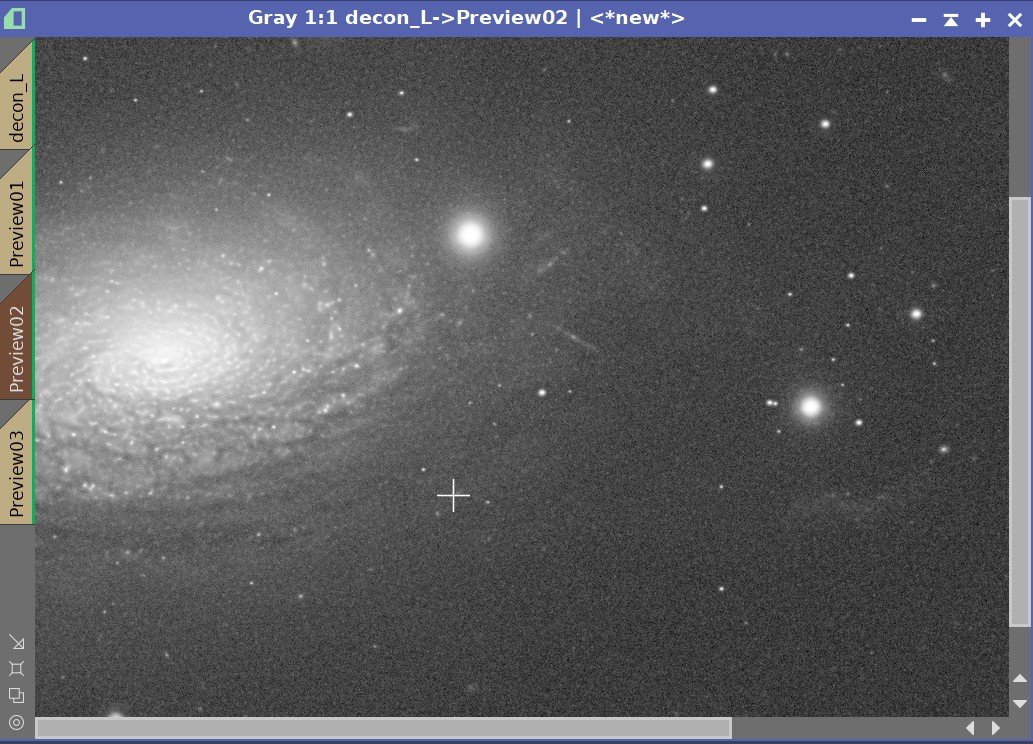
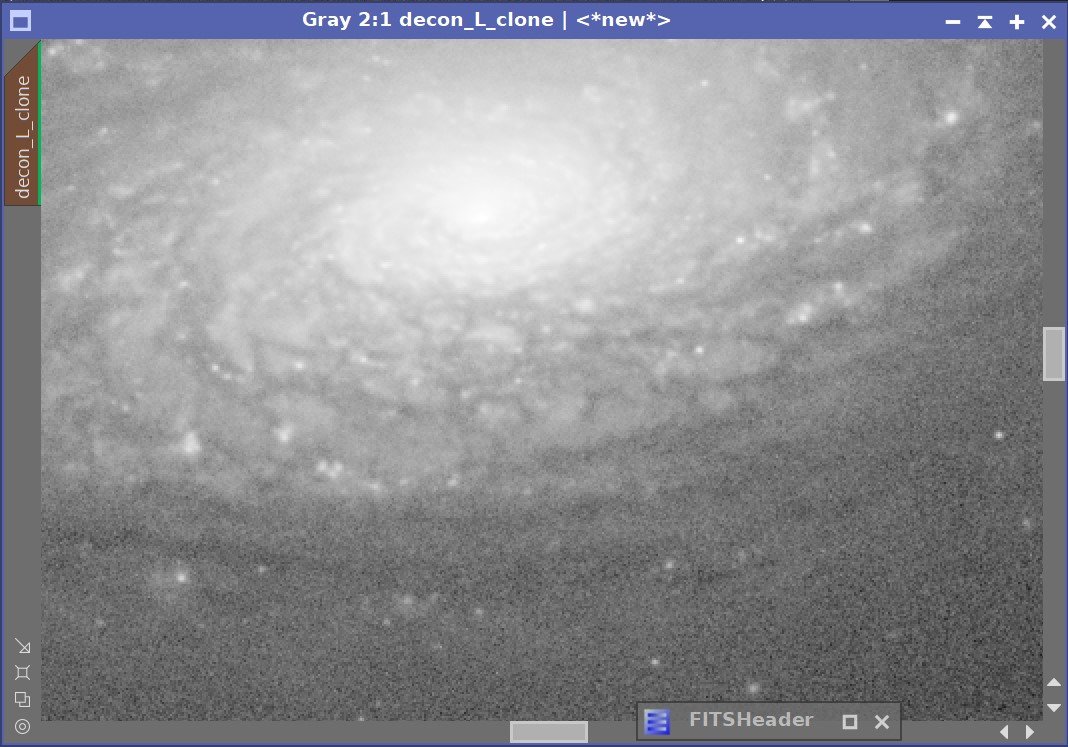
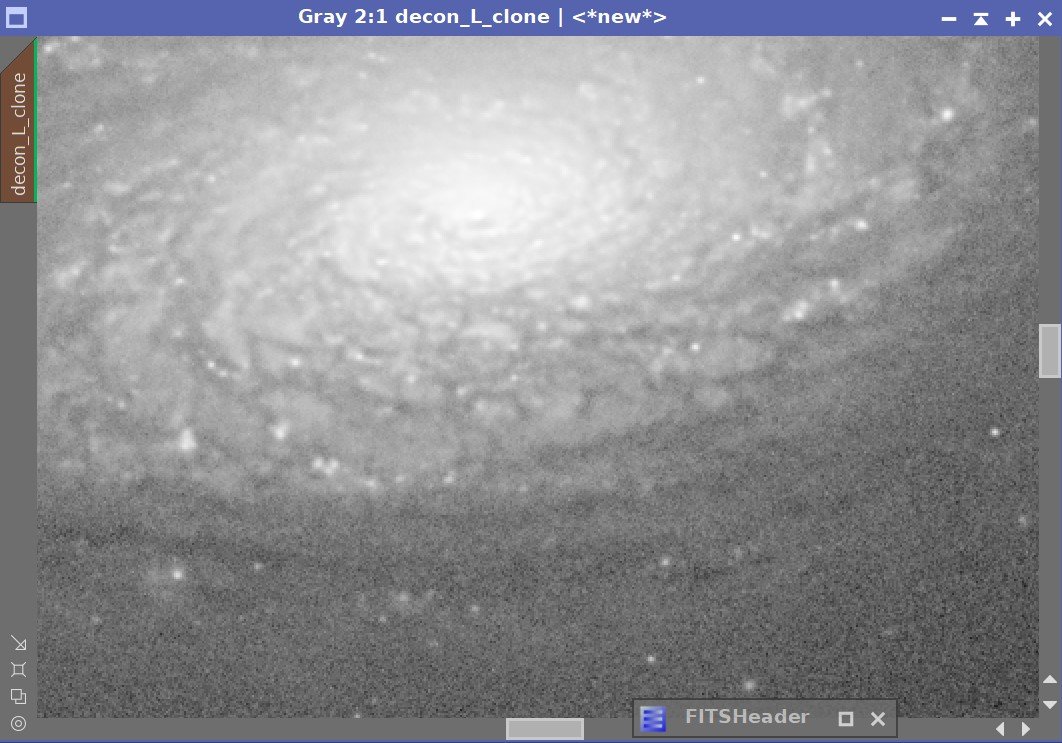
Before Deconvolution, After Deconvolution
With controlled testing, we were able to determine the best settings for the Global Dark, Global Bright, and Iteration Parameters. Applying these to the full image we have a very nice improvement in the detail shown in the galaxy as well as a reduction in star size.
Pulling details out of small galaxies like this can be magical. Remember, we are not just sharpening what is there - we are revealing detail that has been lost!
With the longer focal length, we have gotten a solid improvement with Deconvolution.
Now for Our Last Example
This posting is part of seven-part series: "Using Deconvolution in Pixinsight."
Navigate to other parts of this Series: