My Driveway Setup (2019-2024)
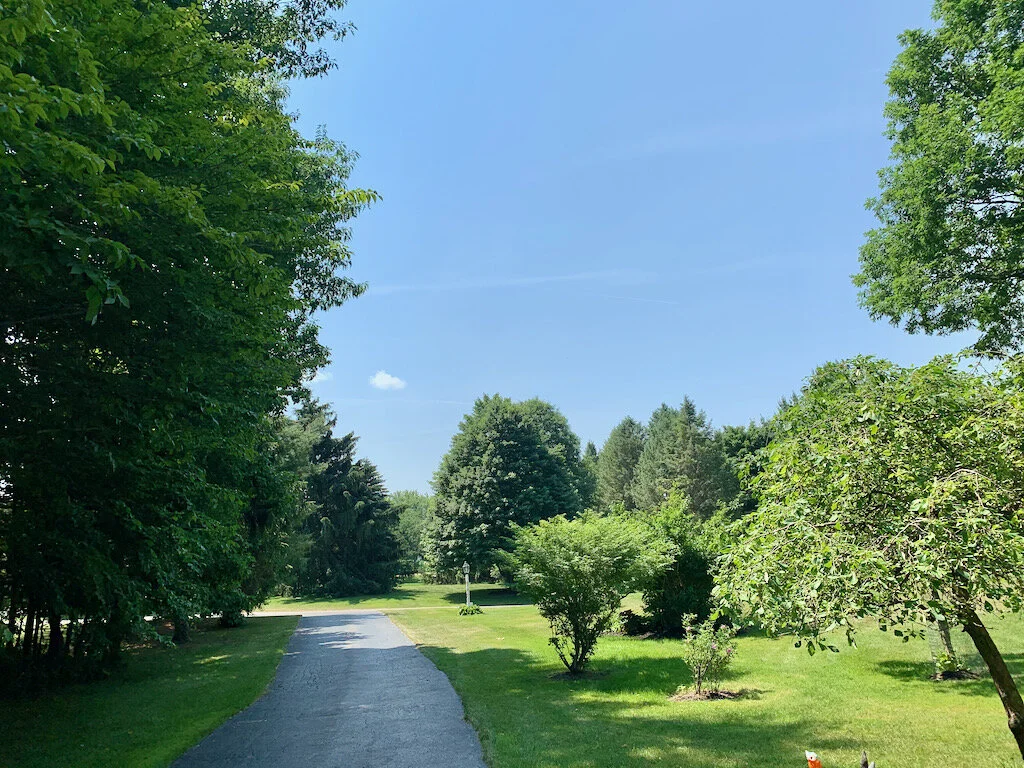
My Observatory - also know as my driveway facing South!
I Don’t Have an Observatory (Actually, I now do!)
I do have a backyard. But the backyard is not useful from an astrophotography perspective. It faces north towards the light dome of a local suburb and the city of Rochester. But I don’t see that from the backyard because of TREES. I used to love trees - before they gobbled up my sky.
So I have a driveway. My driveway is my observatory. I can look straight up - and down south where the driveway cleaves a path in the tree line. Driveways are funny things - people with cars that live in your house seem to insist upon using them. How rude. So I can’t leave my scope set up there - I have to set it up when I have a clear night, and at the end of the night, the gear has to be taken down. Sigh.
Here is my Three Scope platform setup in my driveway.
Screen shot from Stellarium showing the sky I can see betwixt the trees…
Setting Up My “Observatory”
So I had to get clever about how I set up. A big part of this is my wonderful Telescope Lifter & Transporter. Did I mention that it is wonderful? it is.
My secret to making this work is to leave my scopes fully assembled and ready to go - in my Garage. So I need to - ever so carefully - lift a couple of hundred pounds of ultra-sensitive optomechanical gear and move it to the driveway - and back again. The Telescope Lifter/Transporter does that.
So you may ask, what does my setup process look like? Well, I could tell you in great excruciating detail - most people would pay hard, cold cash to not be put through that ordeal. But budding Astrophotographers are not most people. They never shy away from process and detail. They will wallow in it. They will immerse themselves in that detail with relish and ask for more! (OK - maybe not more).
So with that thought (or perhaps delusion) in mind, I will share with you my punch list for setting up for a night of Astrophotography. You have been warned……
The Afternoon
Research possible Targets
Use Stellarium to determine the access time given by my trees.
Use Sequence Generator Pro to build a sequence
Use Mosaic & Framing to plan framing and rotation
Create an initial Sequence Plan
While Still Light out
Position Scopes
Uncover scopes
Use the Scope Lifter & Transporter to move the WO132 Platform to marked spots on the Driveway
Use the Scope Lifter & Transporter to move the AP130 Platform to marked spots on the Driveway
Carry the Askar FPA400 Platform to marked spots on the driveway
Wheel my Computer Cart to its position on the driveway
Move the folding table near FPA400
Prep Scopes
For Each Scope
Place leveling blocks under the legs of each scope and verify the level.
Remove the RA locking pin and set up the clutch
Rotate the scope to Zero positions and Setup Dec Clutch
Uncoil the USB cable and bring it to the cart or table where the computers will be
Run Power cables from the Main power supply to each scope Powerpole Strip
Run extension cord from Cart Power Strip to Table Power Strip
Place carpeting over these cables so I don't trip on them in the dark
Plug the Askar FPA400 Platform into the computer table power strip
Run the power cord from the Garage to the main cart power strip
When it is getting close to dark
Outside
Bring out laptop computers and place them in their positions on the table or the cart - plug them in
Plug the USB cable into the right computer
Power up the computers
Power up the 12v power supply
On each computer
Run the Pegasus Astro Power box software and connect to the device
For the two large scopes, Run Pegasus Astro Falcon Rotator software and connect
Run Ioptron Commander, connect to the mount
Search for the zero position and save
Remove covers on Polar Alignment cameras
Connect the Polar Alignment camera to the USB
Run polar alignment software & connect
Ensure that I have an AnyDesk session running.
Inside - On My Main Image Processing Computer
Run AnyDesk for each laptop and position the screen
Run security Camera Software and test view of scopes
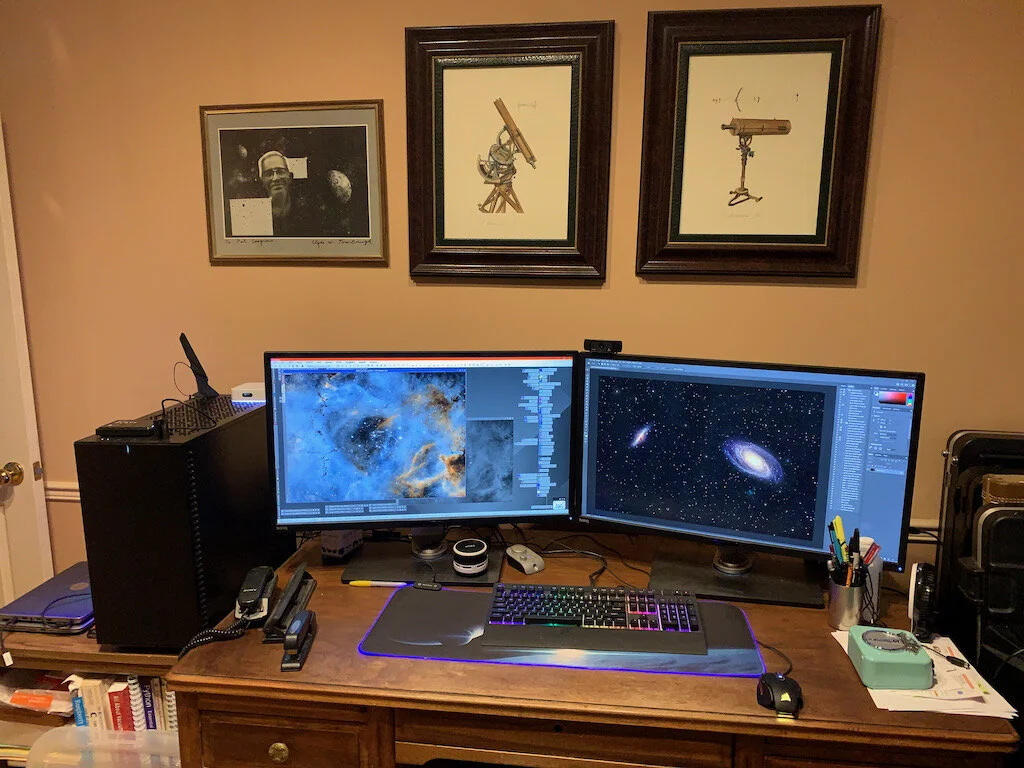
My nice warm den with my main image processing workstation.
Running 3 SPG sessions and a security camera session at the same time!
Once it is Dark Enough(Polaris and associated stars seen in PA Camera)
Outside
For each scope
Use a polar alignment camera to adjust PA.
Kill the PA app.
Remove the USB cables and put them away.
Cover the Polar Alignment Cameras.
Uncover the main scope and guide scope.
Inside
For each scope
Run PHD2 and connect to the mount and camera
Check focus on the guide camera
Run SGP
Connect all devices
Grab a test exposure on the main scope
Check focus - run autofocus if it looks off
Using the Ioptron Commander slew scope to object in the middle of my Southern view
Watch and listen to the slew with the security camera
With SPG - take an exposure and plate solve it
SPG - slew to target, center on target
SPG takes test exposure to the very target is I field
While waiting for the camera to cool down:
PHD2 run PA Assistant if the location is right and check PA and tracking params
Start Sequence
Wait for the first frames and verify stats
Let the sequence run to completion
End of Run
For each scope
Kill PHD2
Attach the flat-field source to the telescope and set the illumination level
SPG: Use Flats Wizard to add flats to the sequence
Run flats - check statistics on incoming frames to verify mean code values are around 30K +/- 500
When flats are done - remove the flat panel and put on the lens cap
SGP: Change flat sequence entries to be darks, then run sequence
SGP - start warm-up cycle
Ioptron Commander - go to zero position
Reinsert the RA protective pin and release the clutch
Wait for the camera warm-up cycle to complete.
SGP: Disconnect from devices
Remove and stow cables
Position scope for Scope Lifter & Transporter (Tube horizontal to clear garage door)
Move the scope to the garage
Pull in the remainder of the gear
Lock Up
Sleep!
The End.
“Oh No - Don’t stop now - I was just getting into it! (said no one ever)”


