2-Minute Tutorials!
- Sorted By Release Date -
The 2-Minute Tutorial Series is a collection of short videos that targets one concept related to the Pixinsight environment and explores it. These bite-sized, easy-to-digest series began on my YouTube video channel. This series has proved popular, and I now list them here in a more organized and curated form. As new videos are added on Youtube, they will also be listed here.
All 2-Minute Tutorials are precisely 2 minutes long (+/- 10 minutes!)
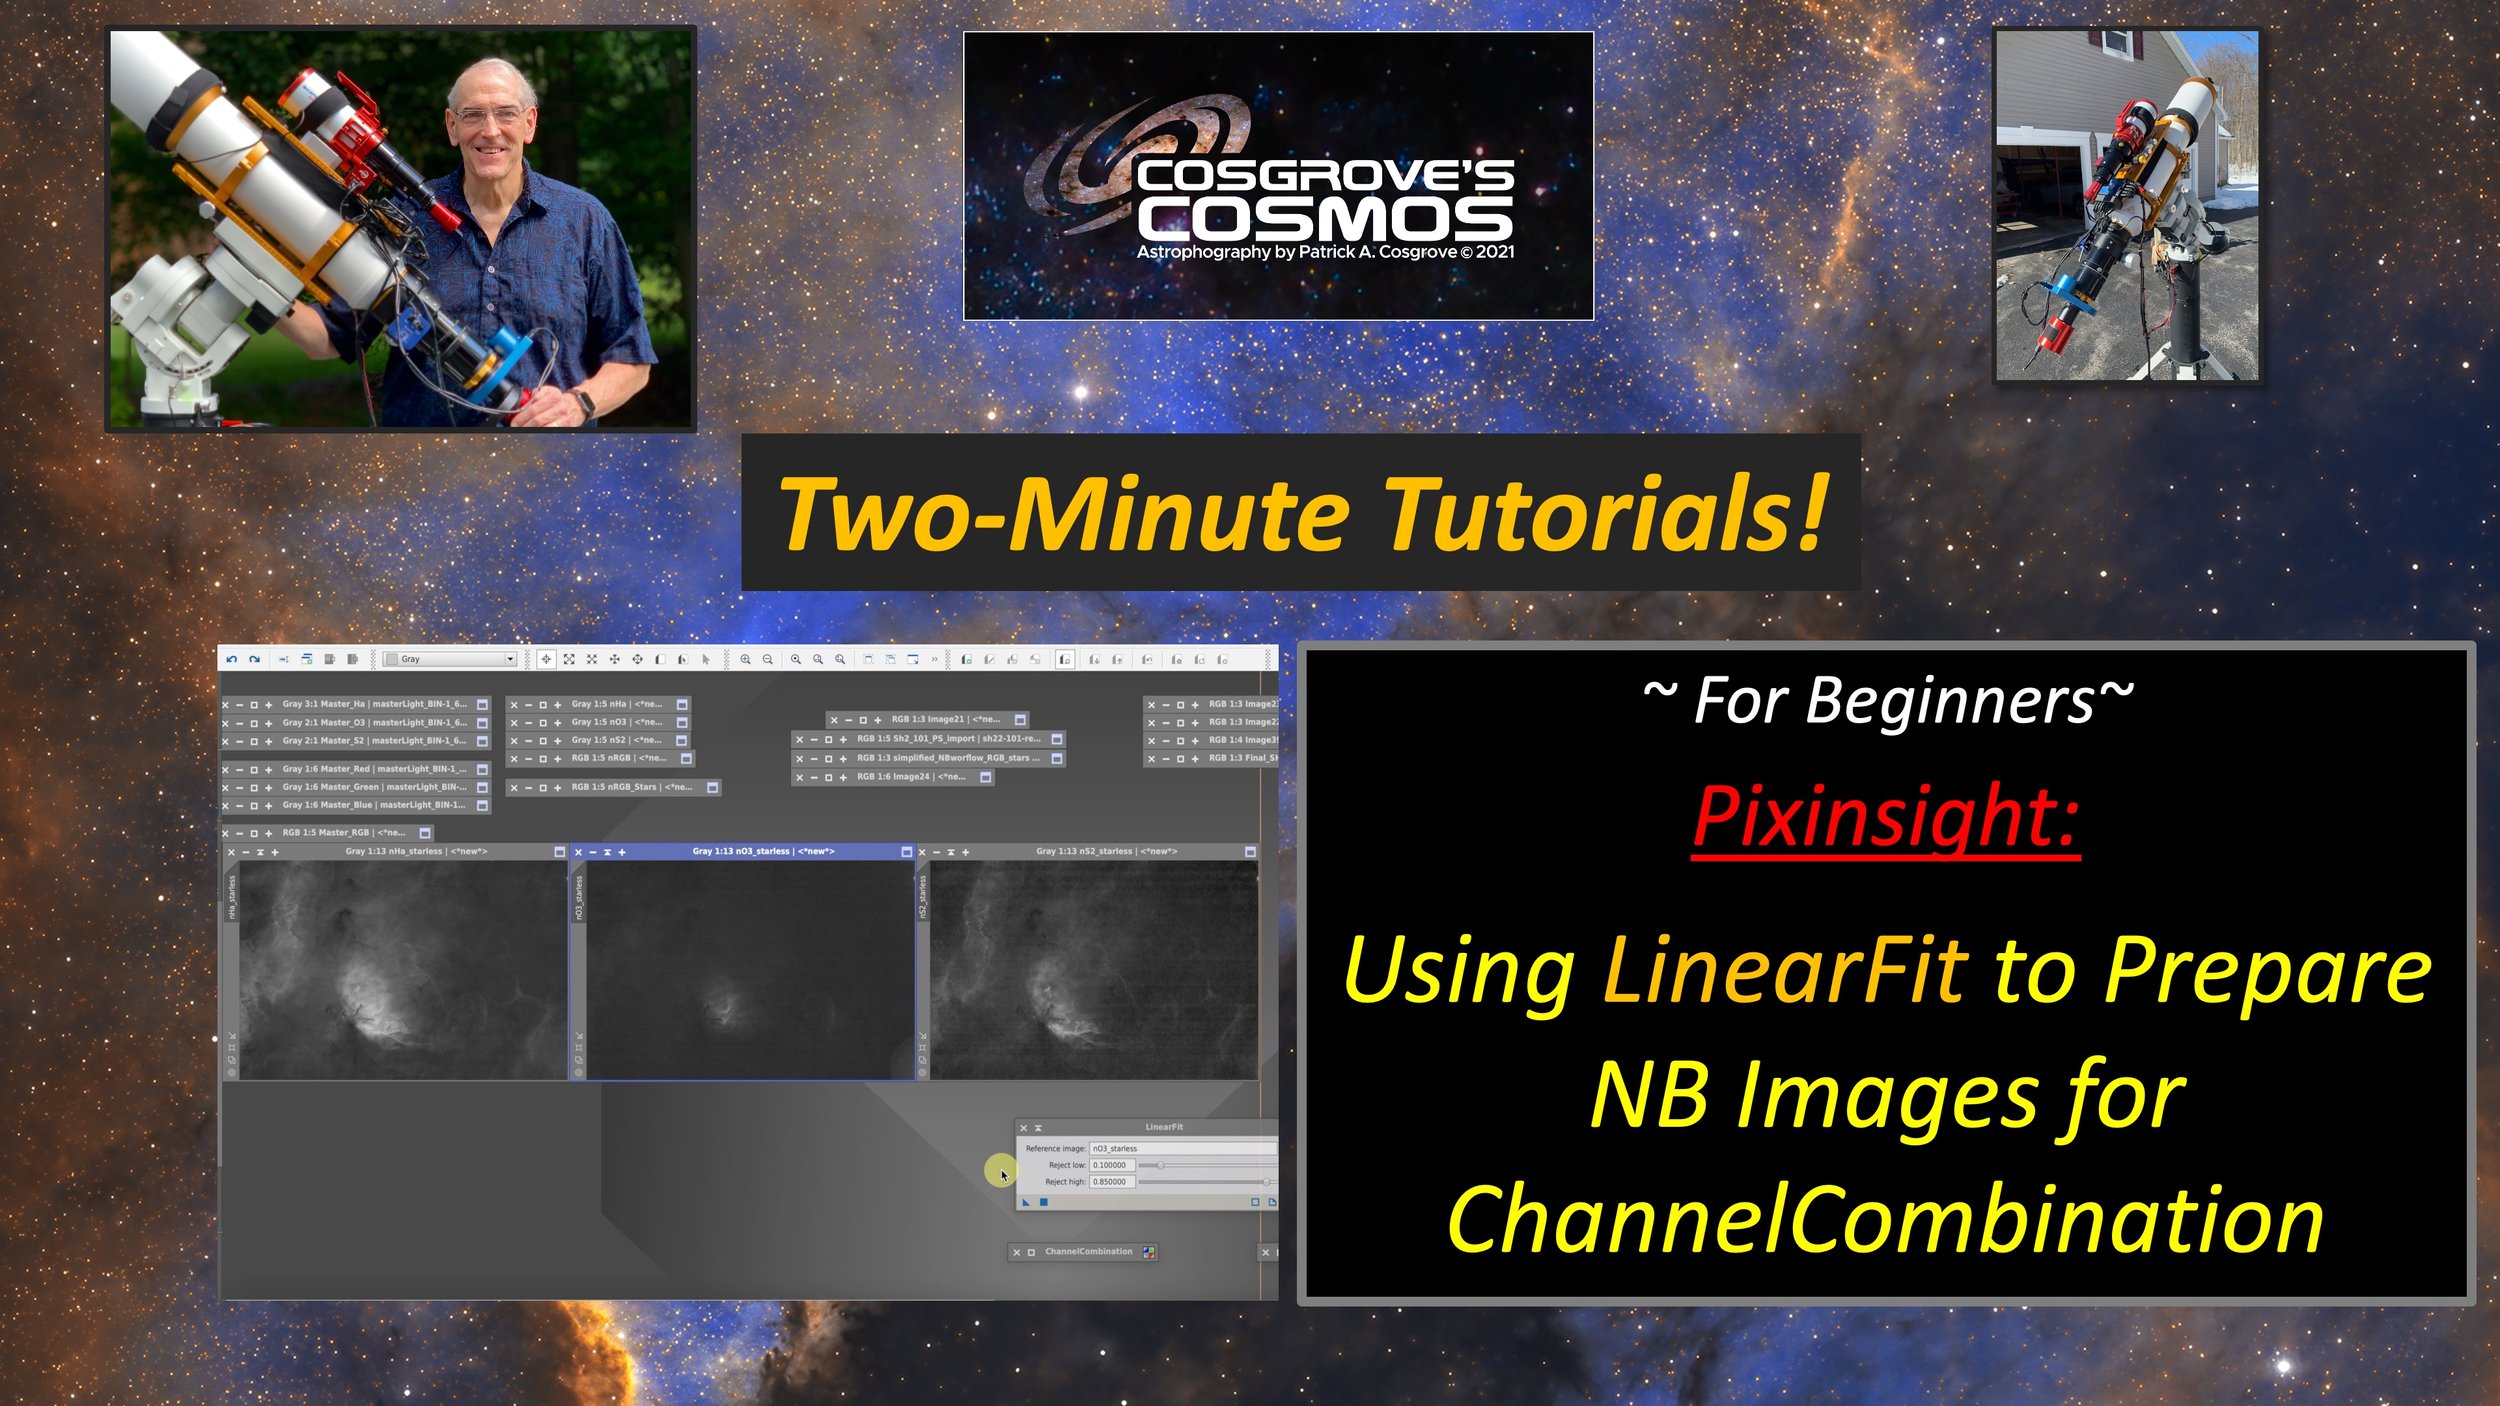
This video discusses using the LinearFit Process to prepare Narrowband Images for creating the first color SHO image using Channel Combination.
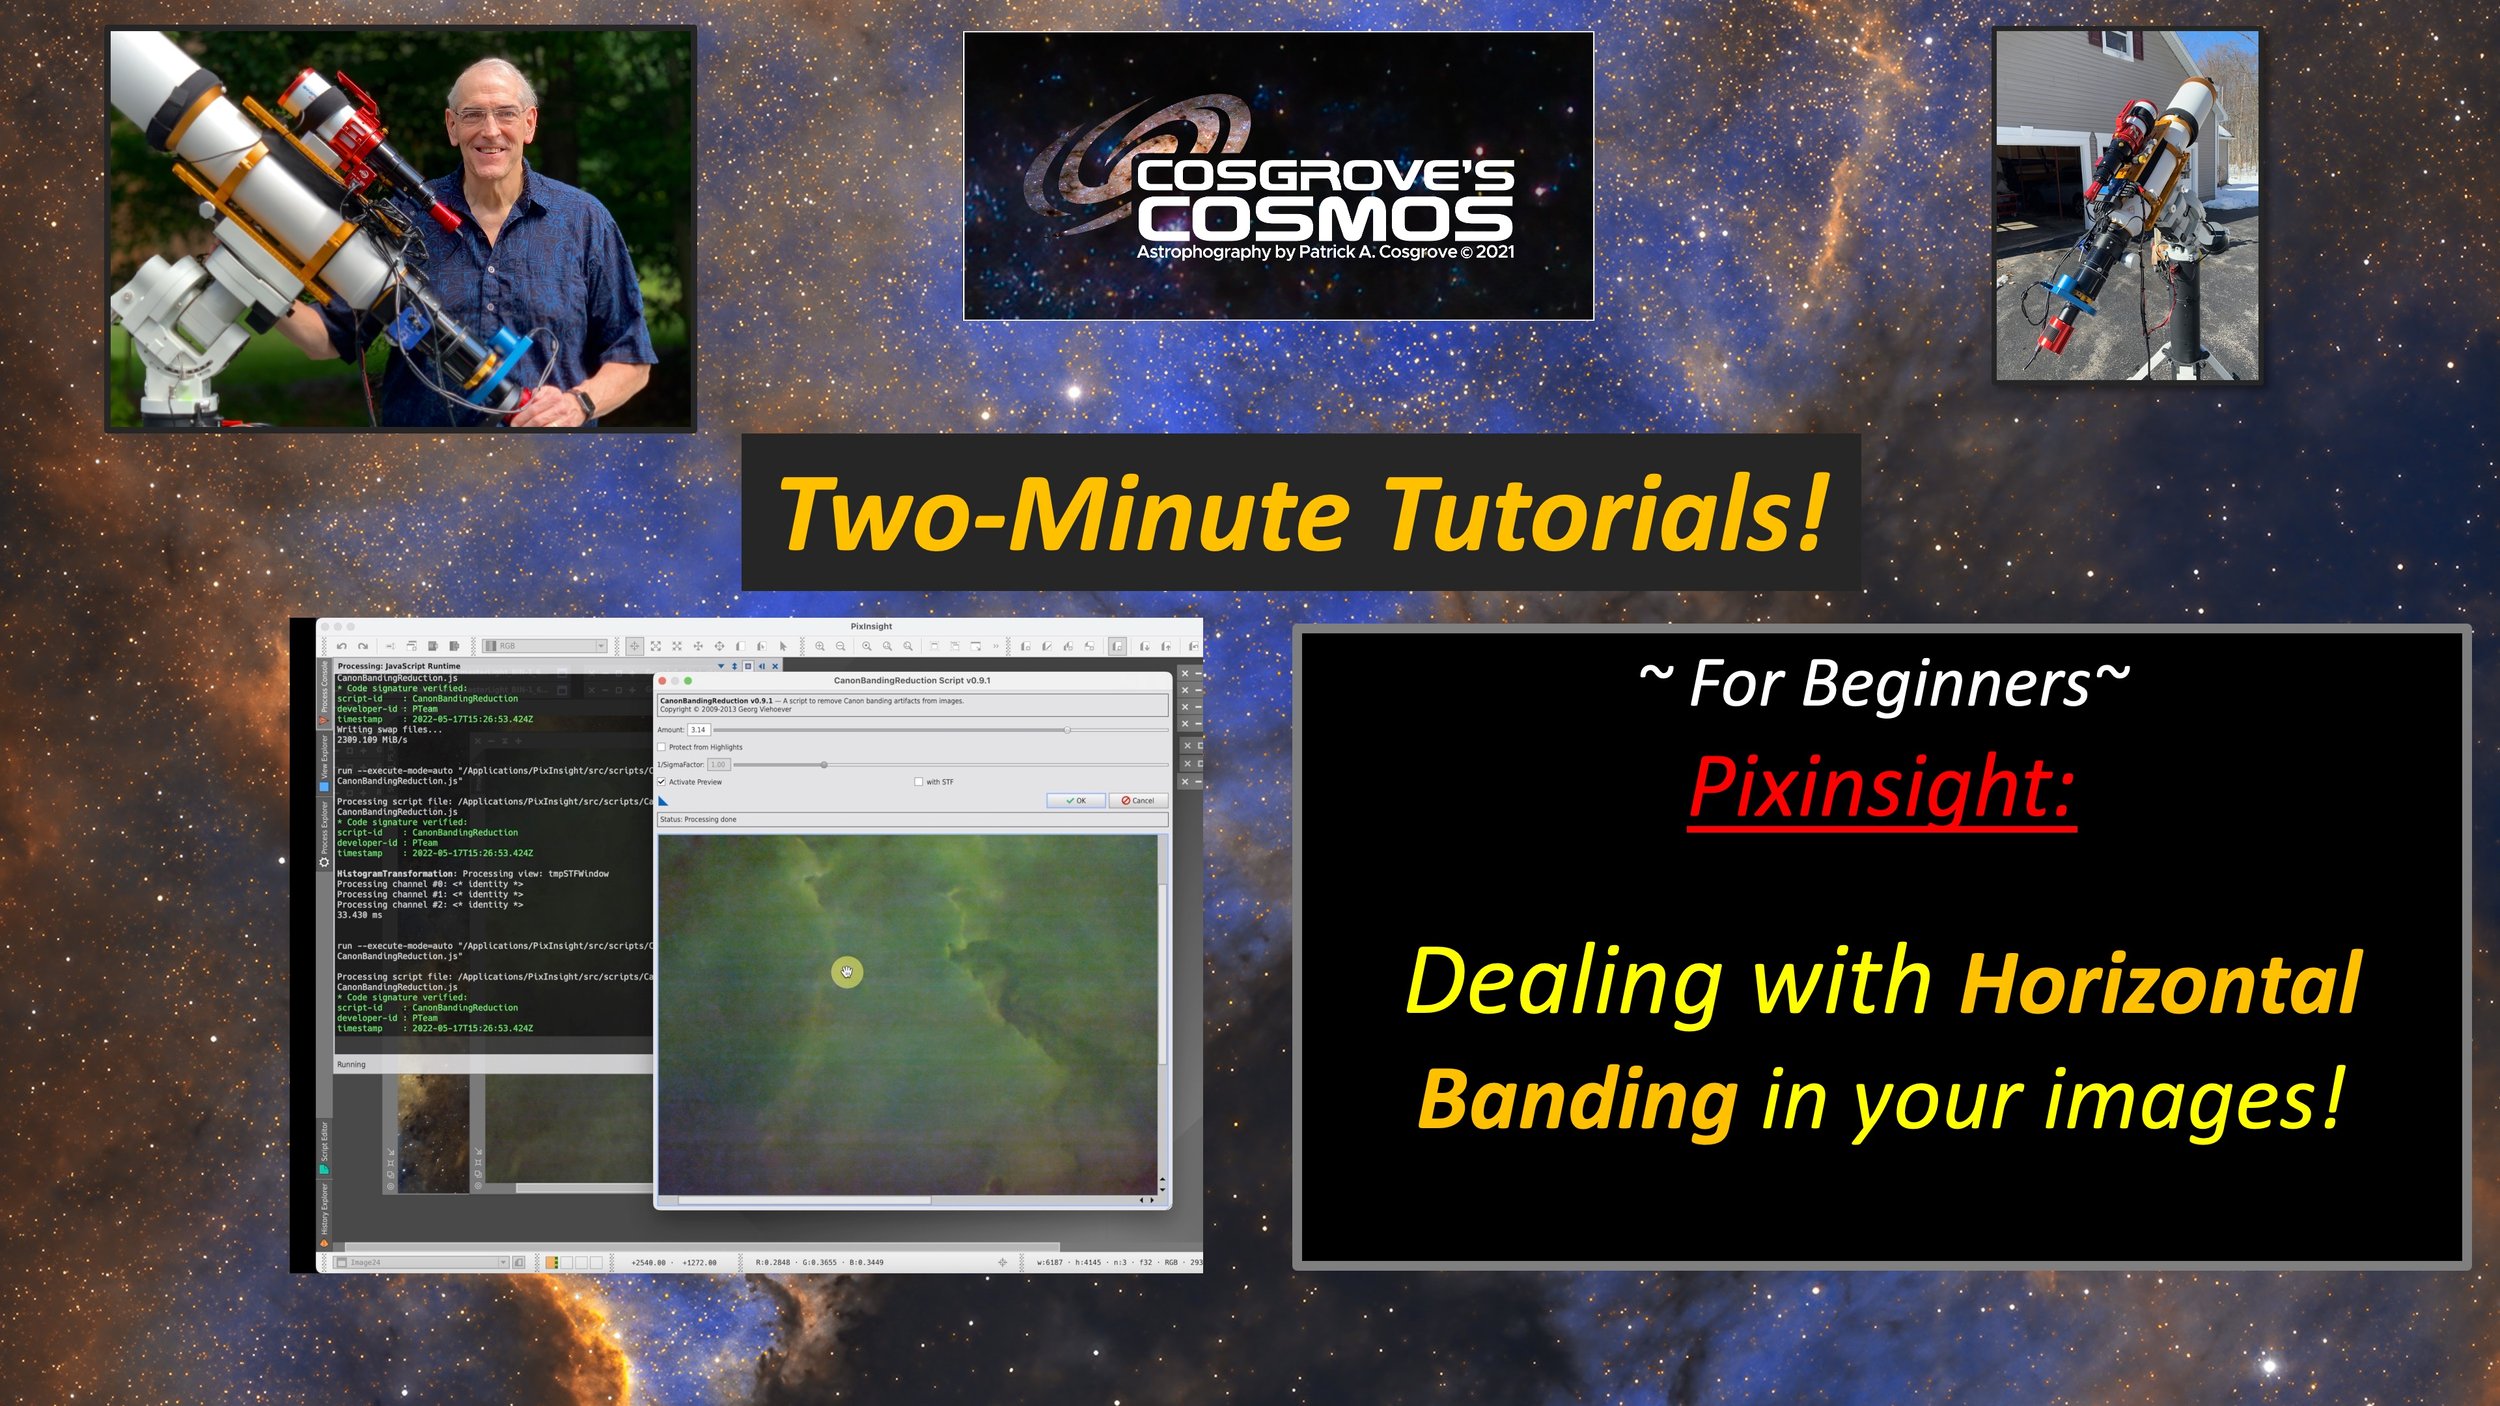
This video discusses the use of the CanonBandReduction script to handle horizontal noise banding artifacts.
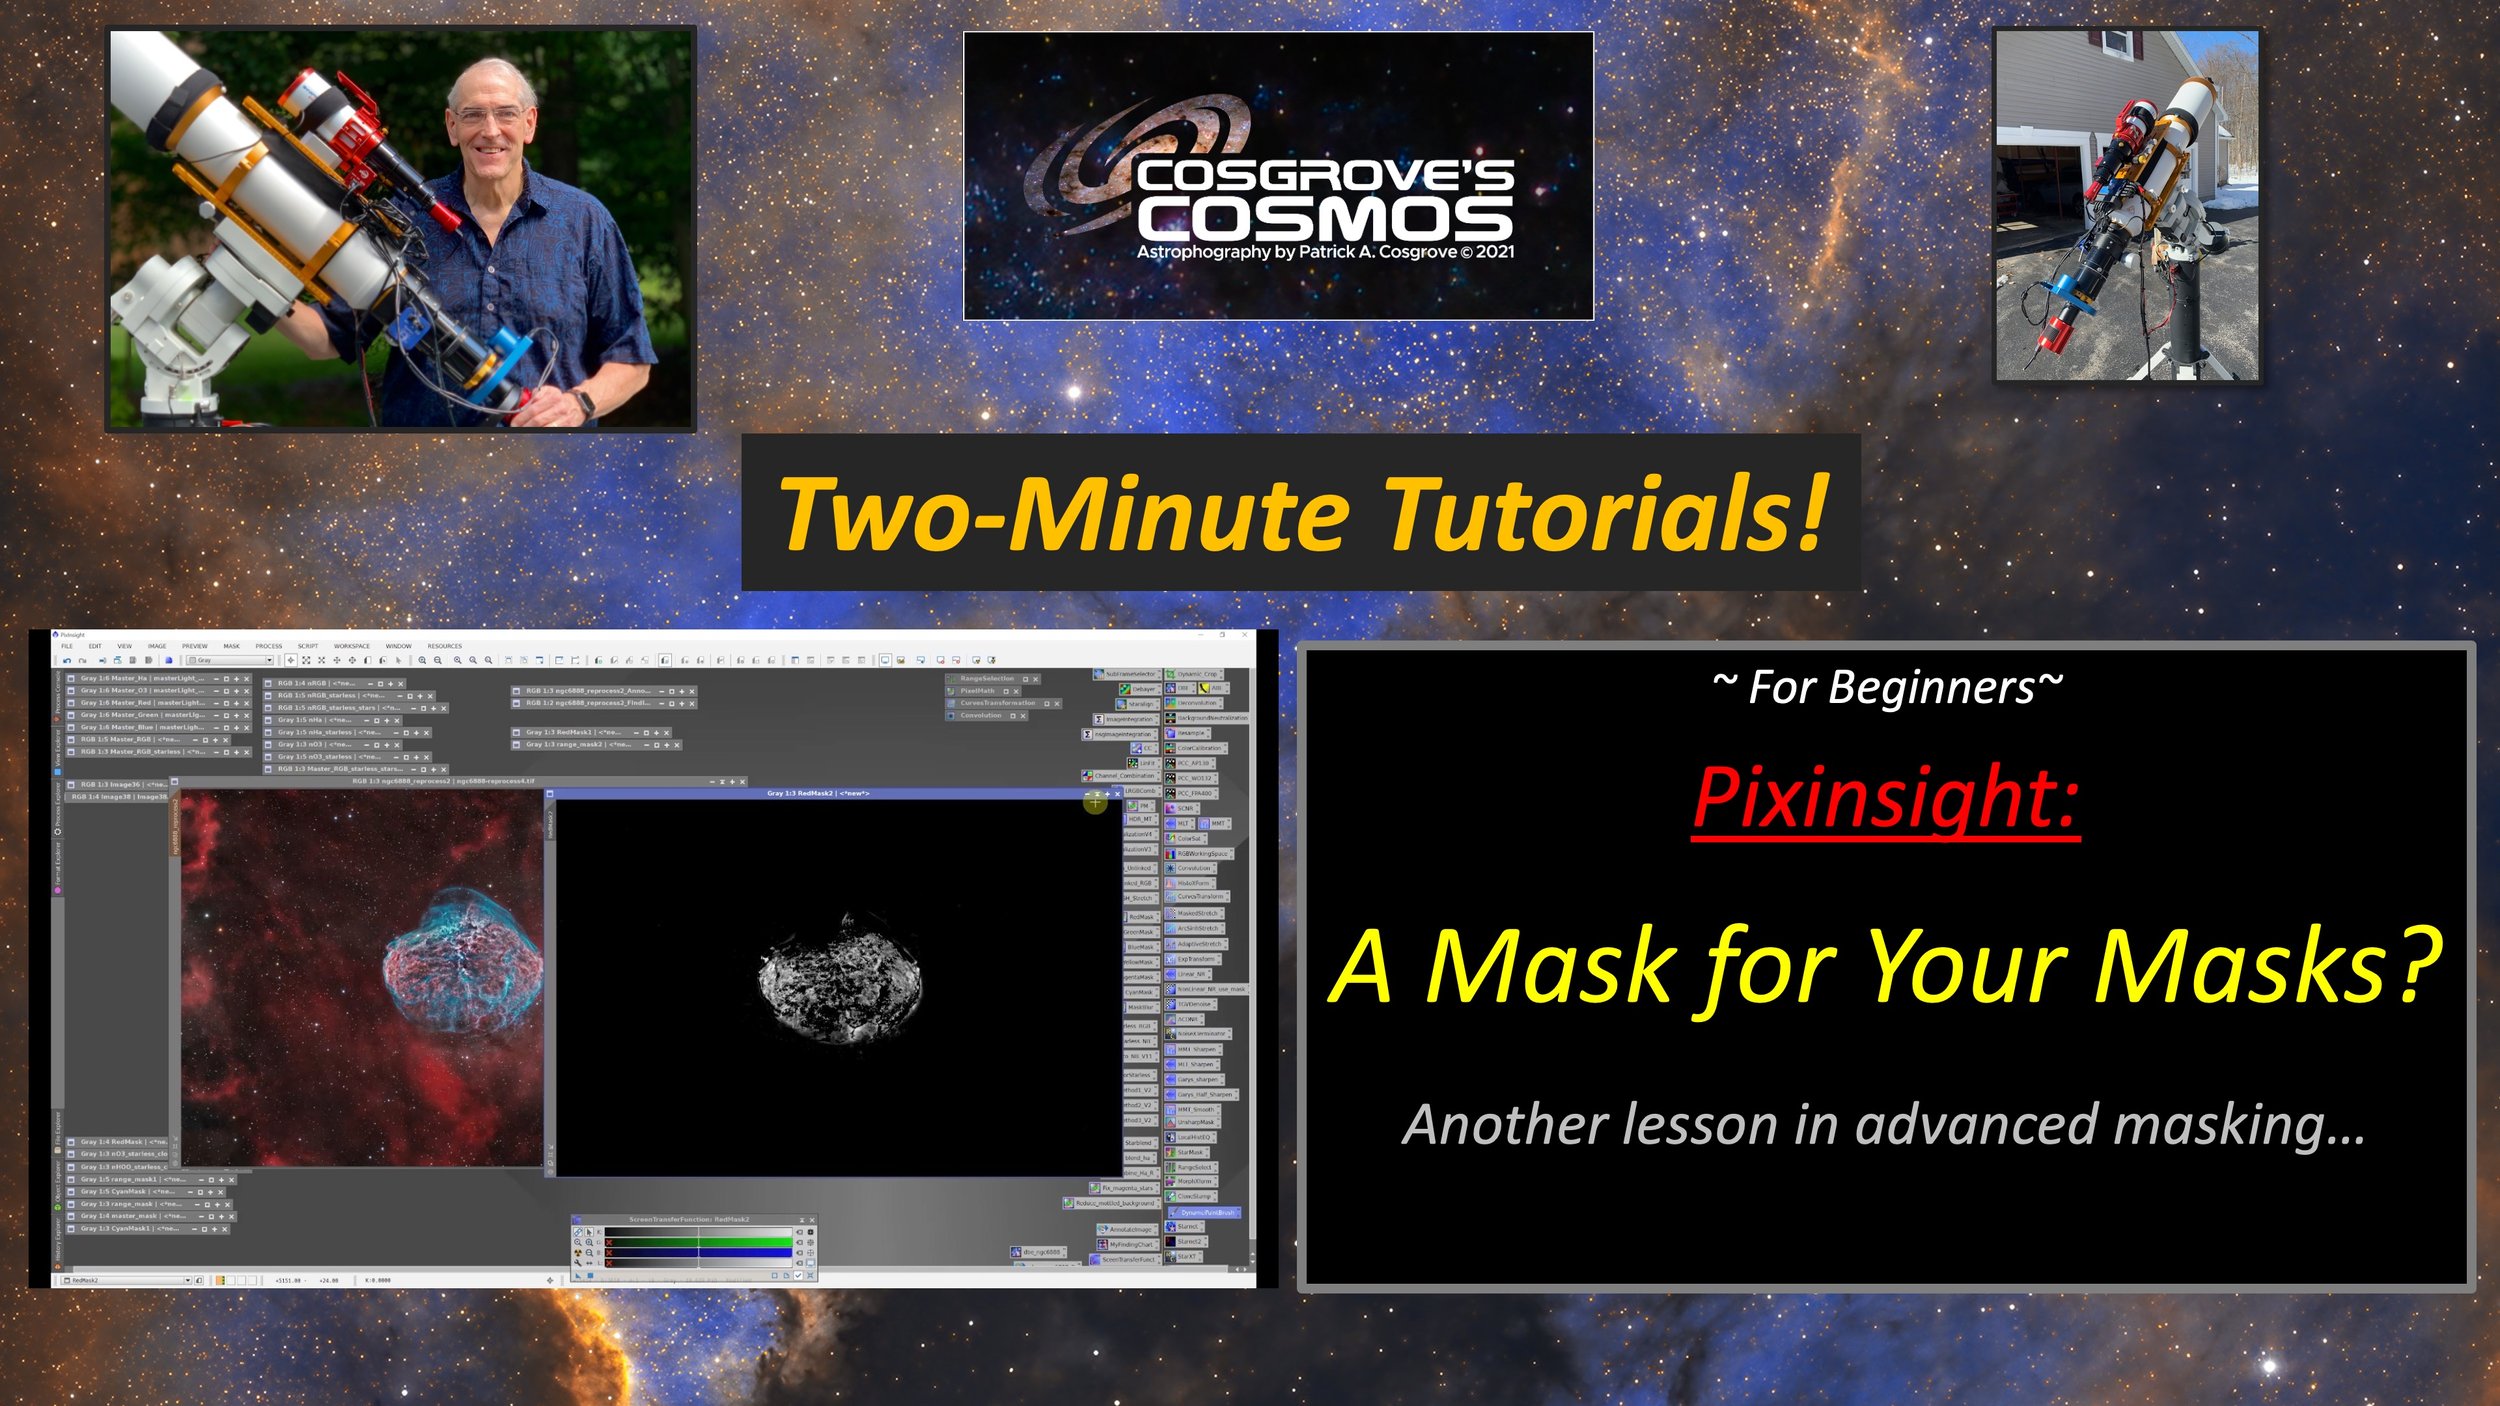
This video discusses the use of masks when creating a new mask! It shows methods where this is done and tools that can be used to facilitate such operations.
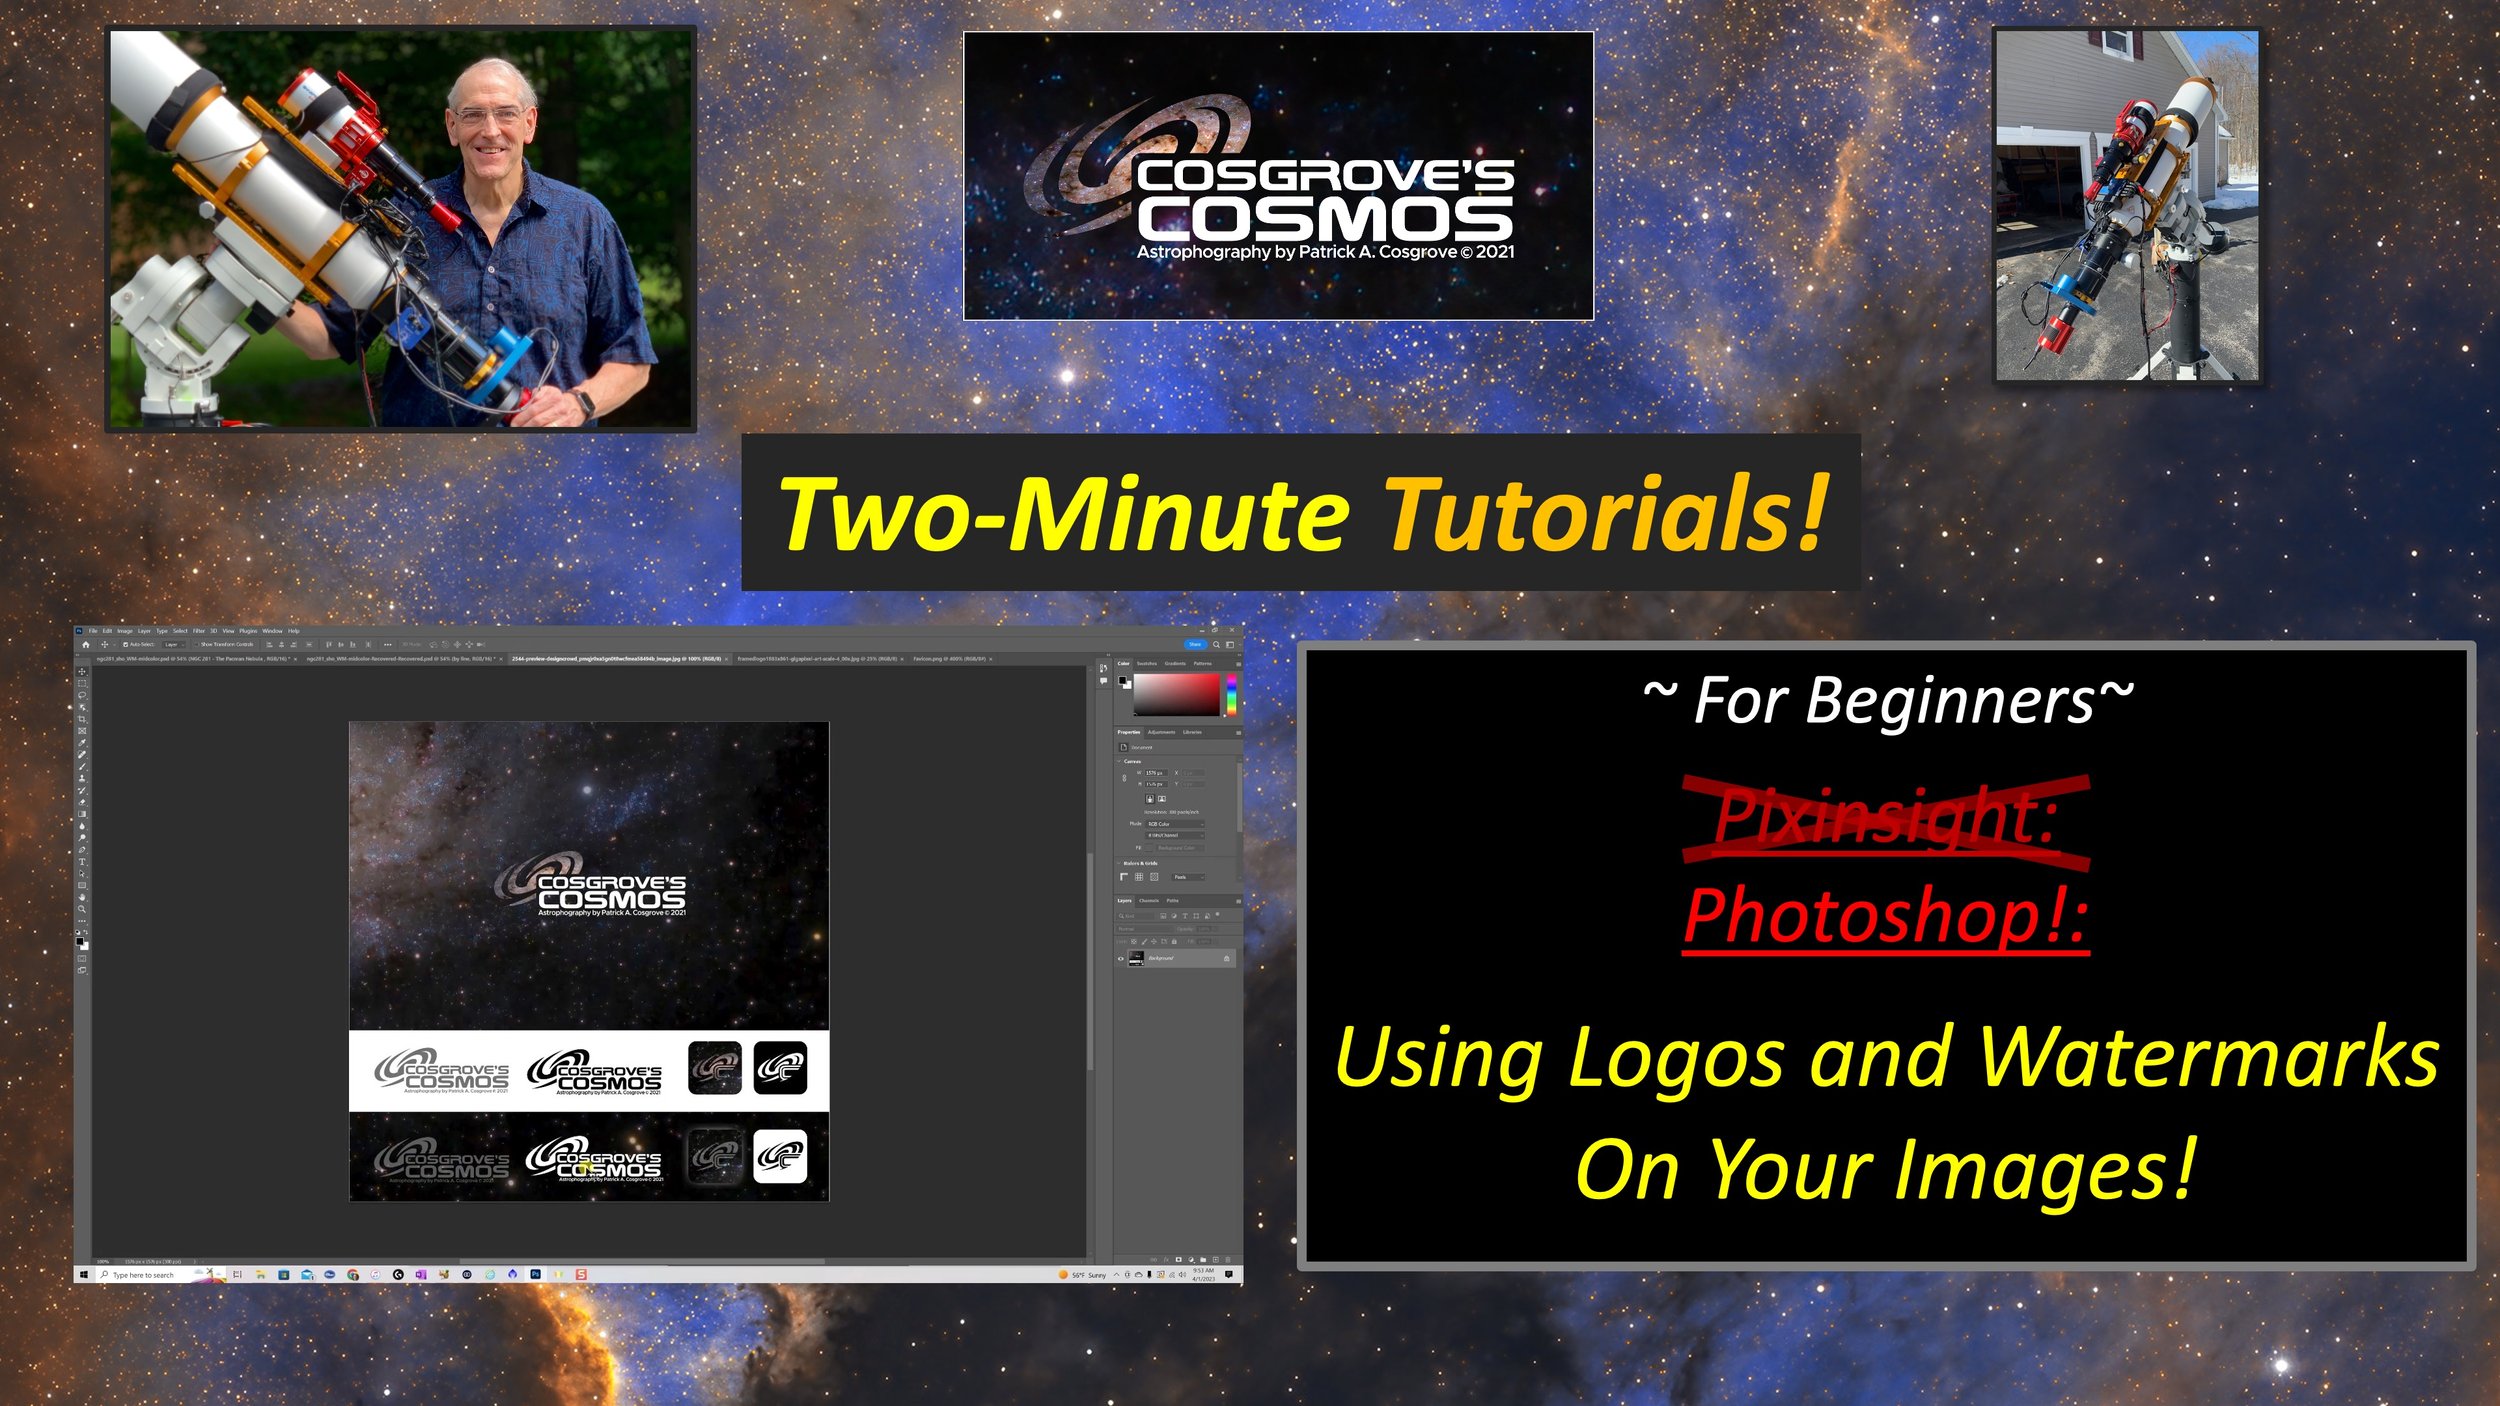
This video discusses using Logos and Watermarks on your images. It starts by exploring how you can make a logo that would be suitable for use as a Watermark.
It discusses the need for a design and file that supports transparent backgrounds. Here is a video that shows one way you can get a transparent background:
https://www.youtube.com/watch?v=h8IfRewcYns
It also talks about using Fiverr or DesignCrowd to create logos for you. These online services can be found here:
https://www.fiverr.com/
https://www.designcrowd.com/
Until now, all of the videos in this series have used Pixinsight. However, as I say in the video, I have not yet found a good/convenient way to create watermarks in Pixinsight, so for this video, we will be using PHOTOSHOP!
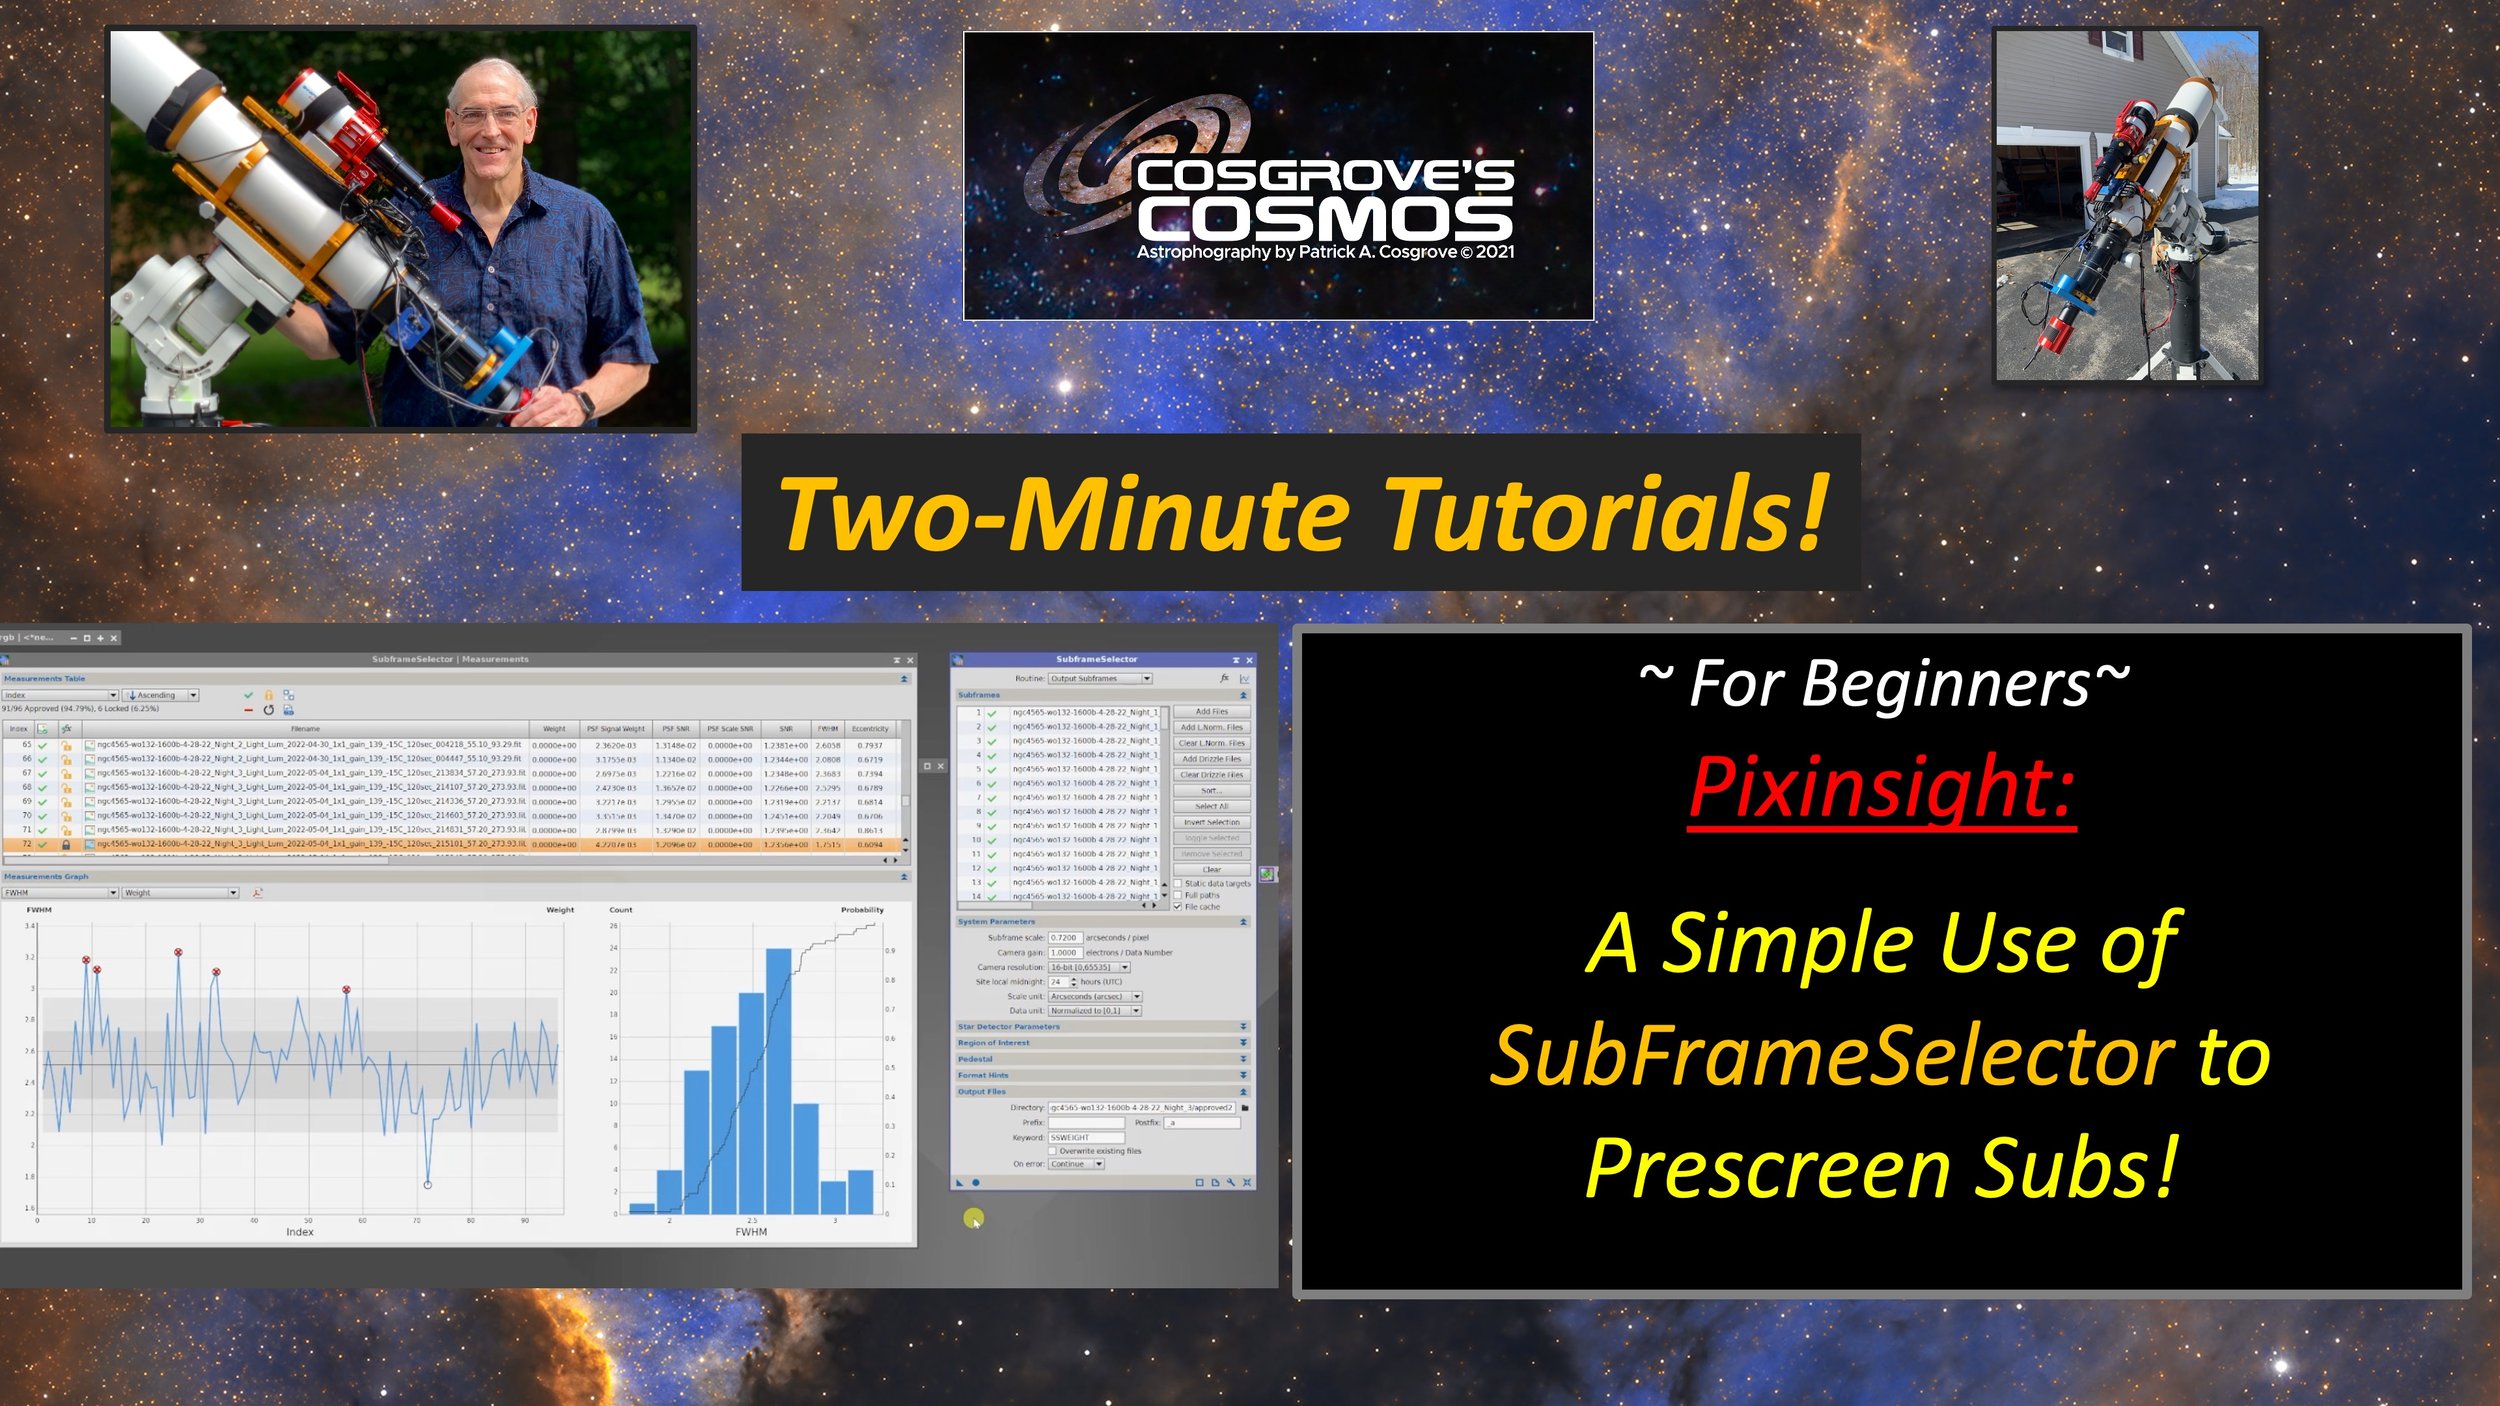
This video demonstrates a very simple way of using the SubframeSelector Process to prescreen your subs and eliminate outliers to ensure peak sharpness and SNR.
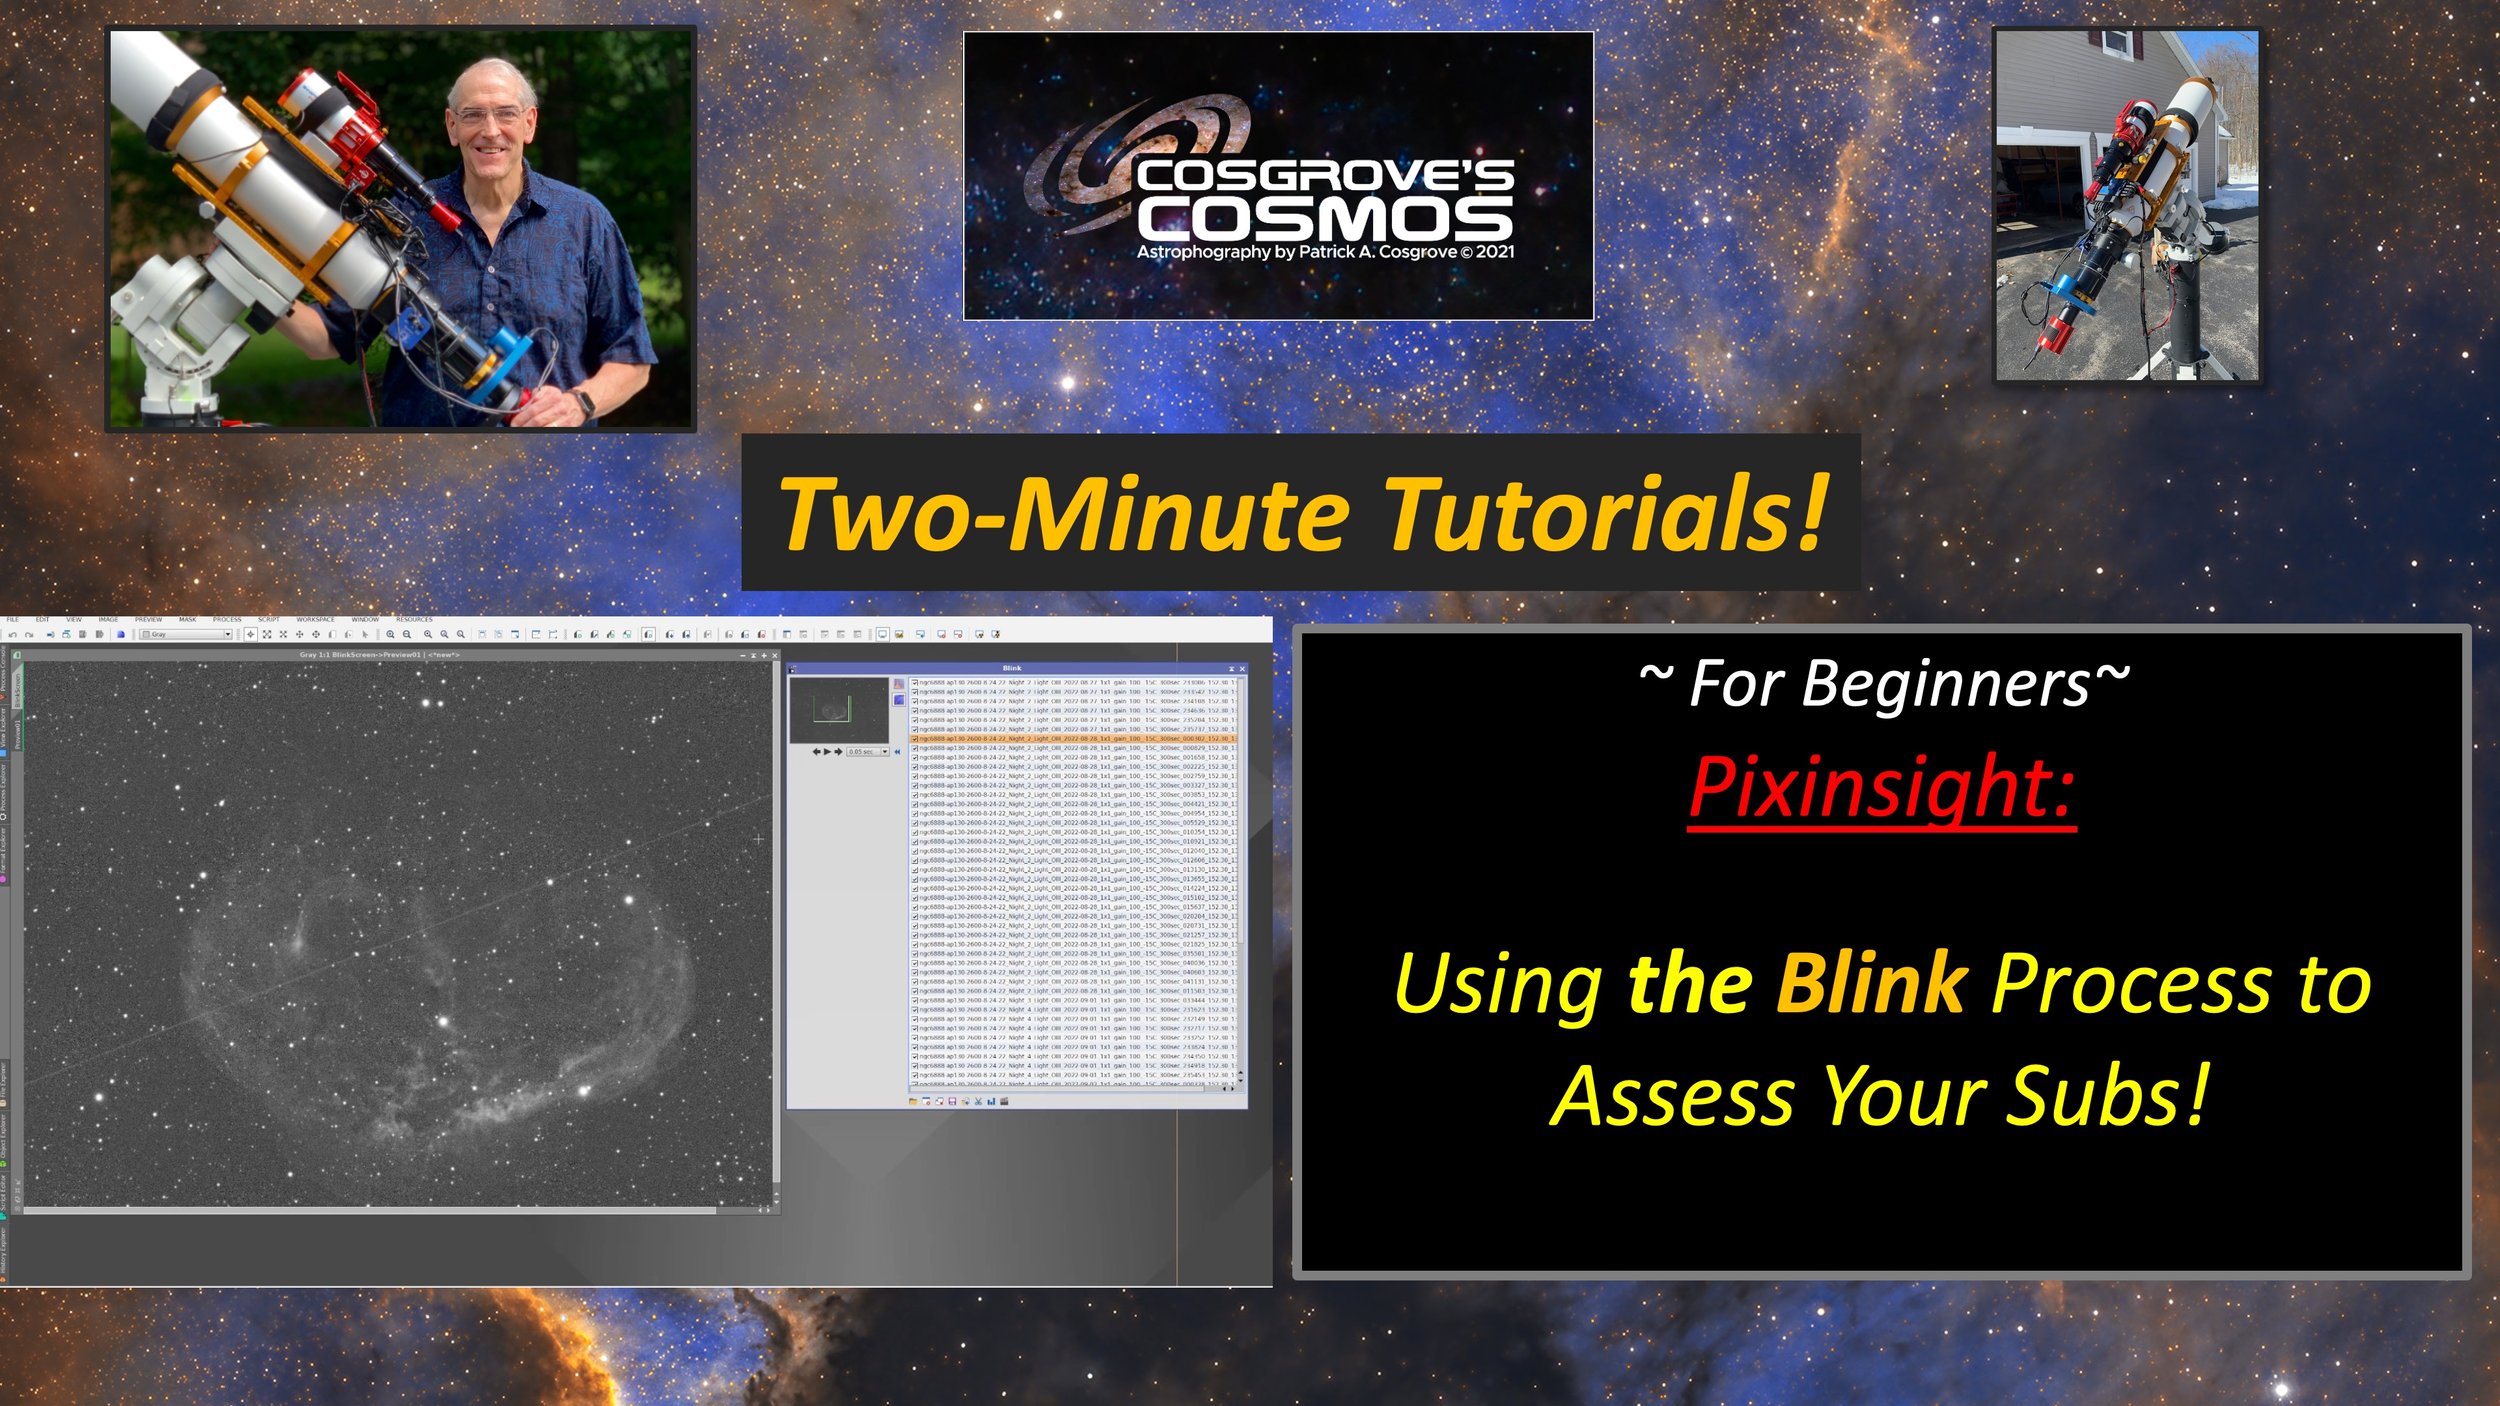
This video demonstrates how you can use the Blink Process to do a Blink Analysis - allowing you to assess your subs and cal frames and eliminate problematic ones so they will not contaminate your preprocessing steps.
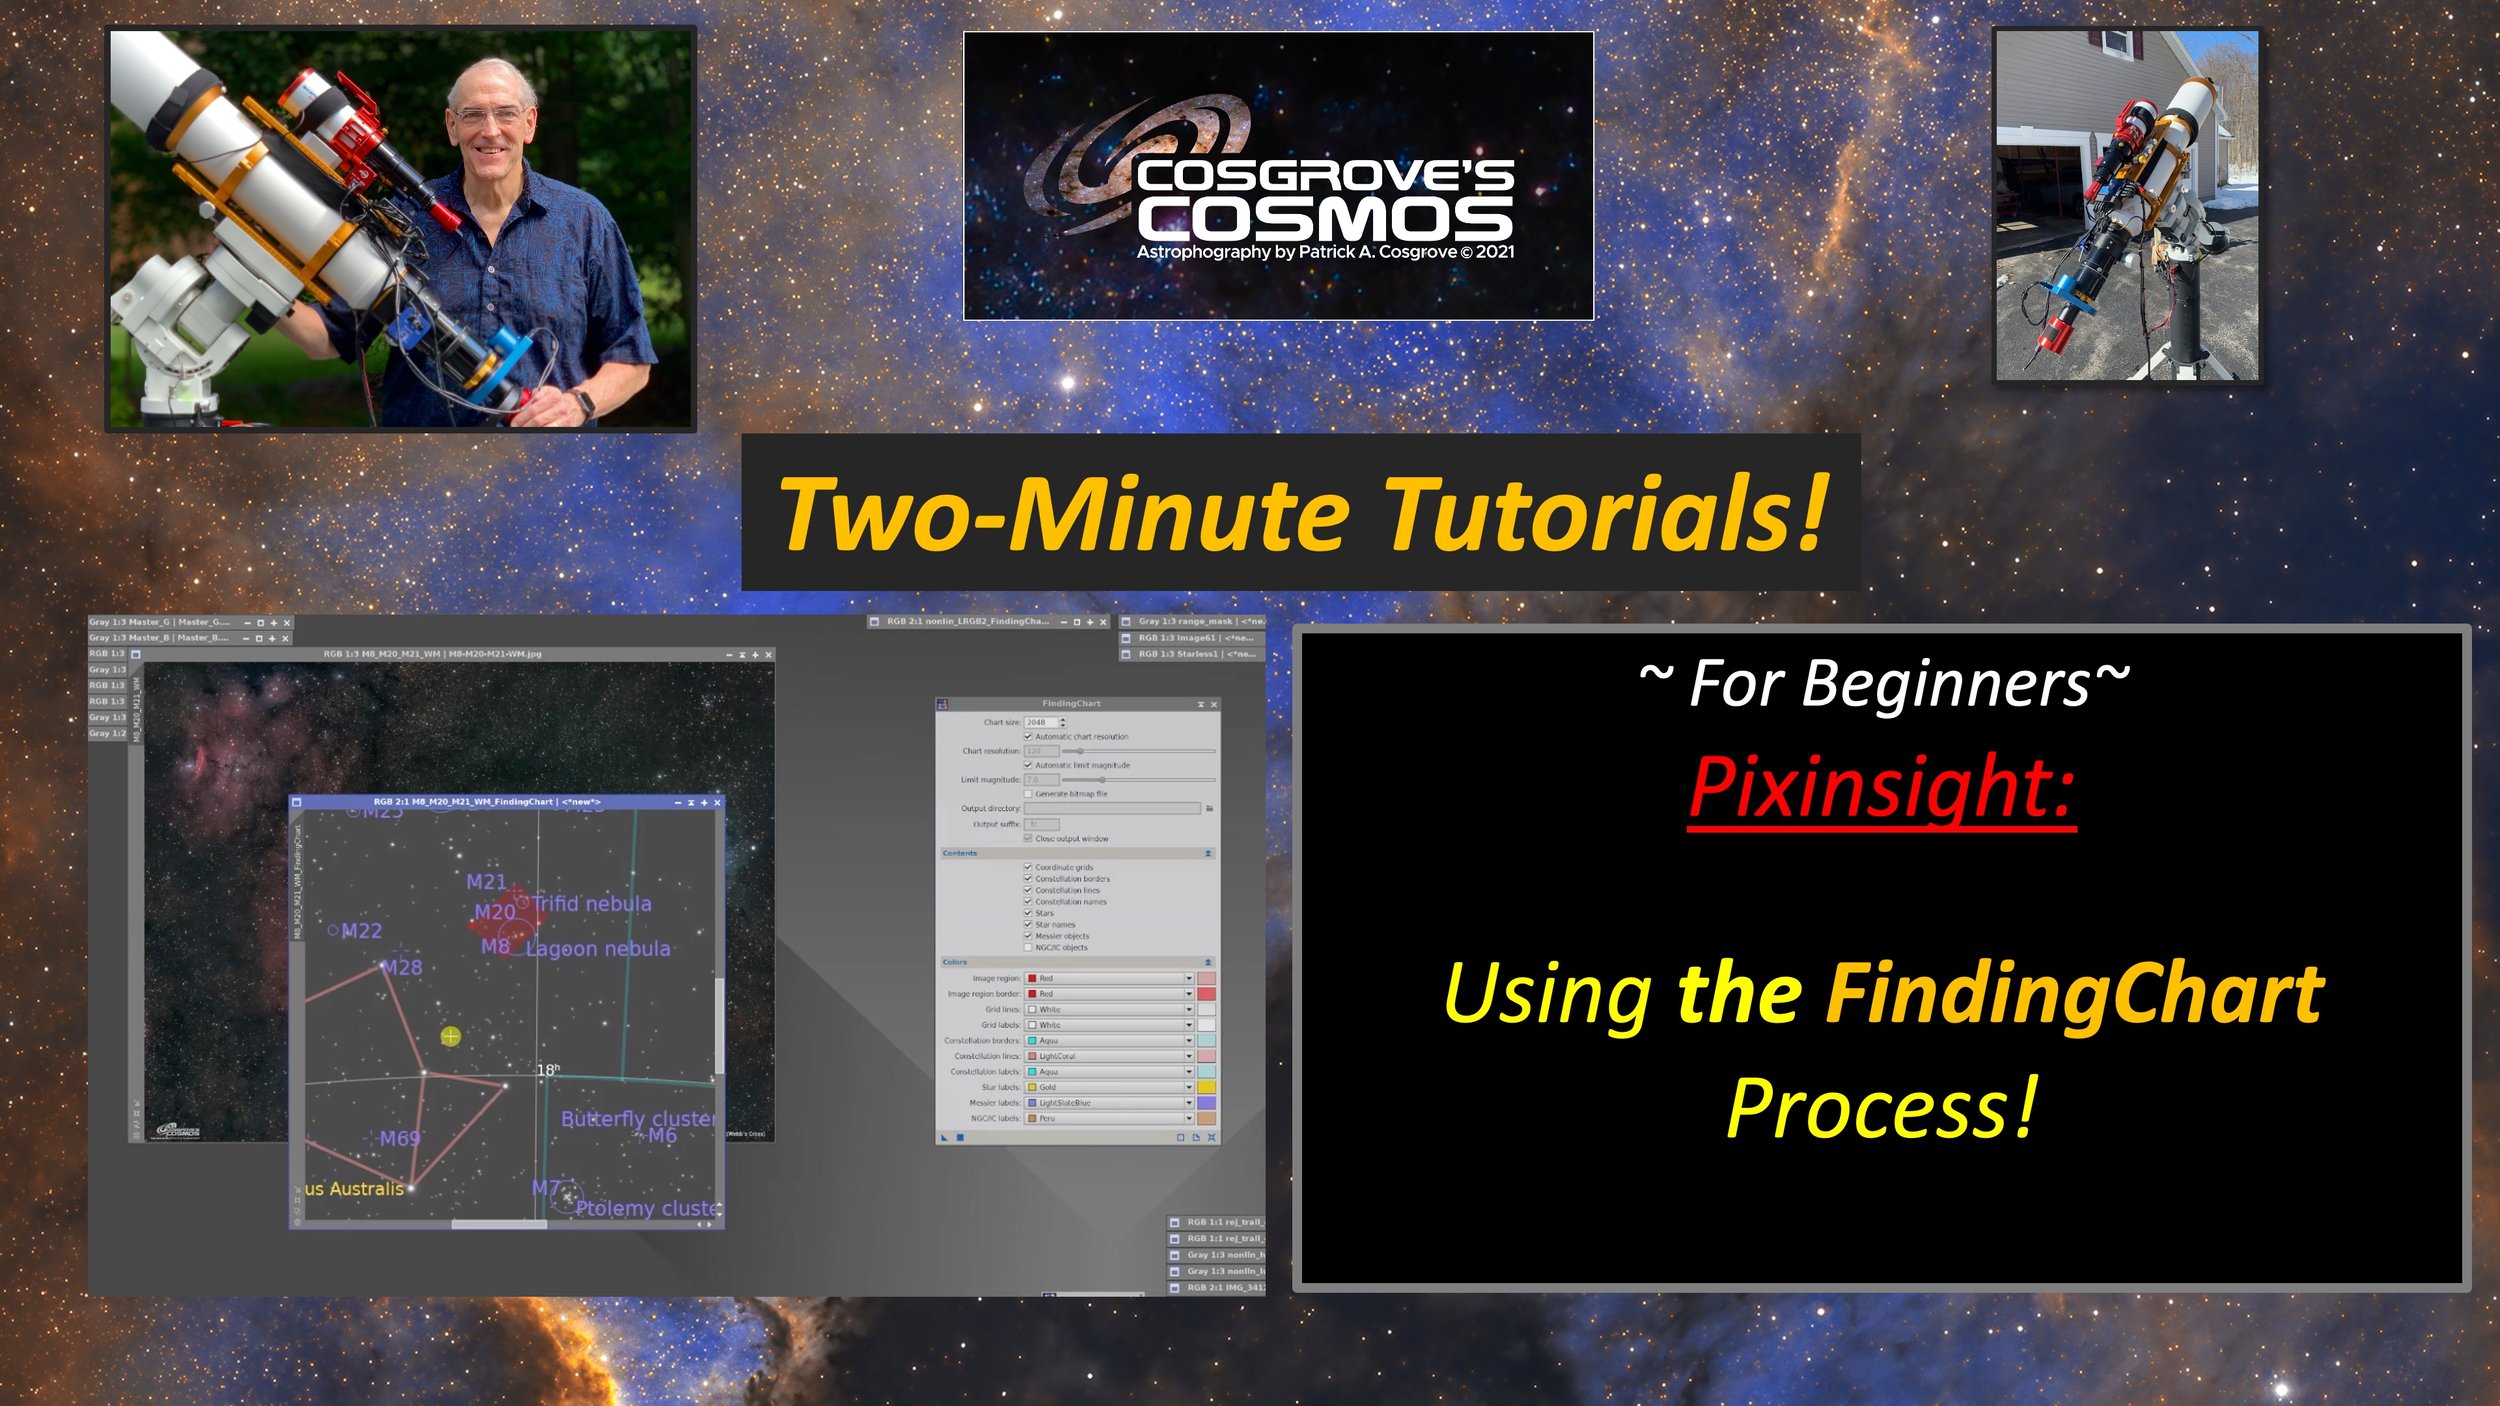
This video introduces the FindingChart Process to allow you to create a customized star chart showing the precise location of your image and where it can be found in the sky!
For this to work, your image must have an astrometric solution. If your image does not already have this, you can add it using the ImageSolver Script.
My 2-Minute Tutorial on Using the AnnotateImage Script covers how to do this. You can find that tutorial here:
https://youtu.be/seLTG79J8_M
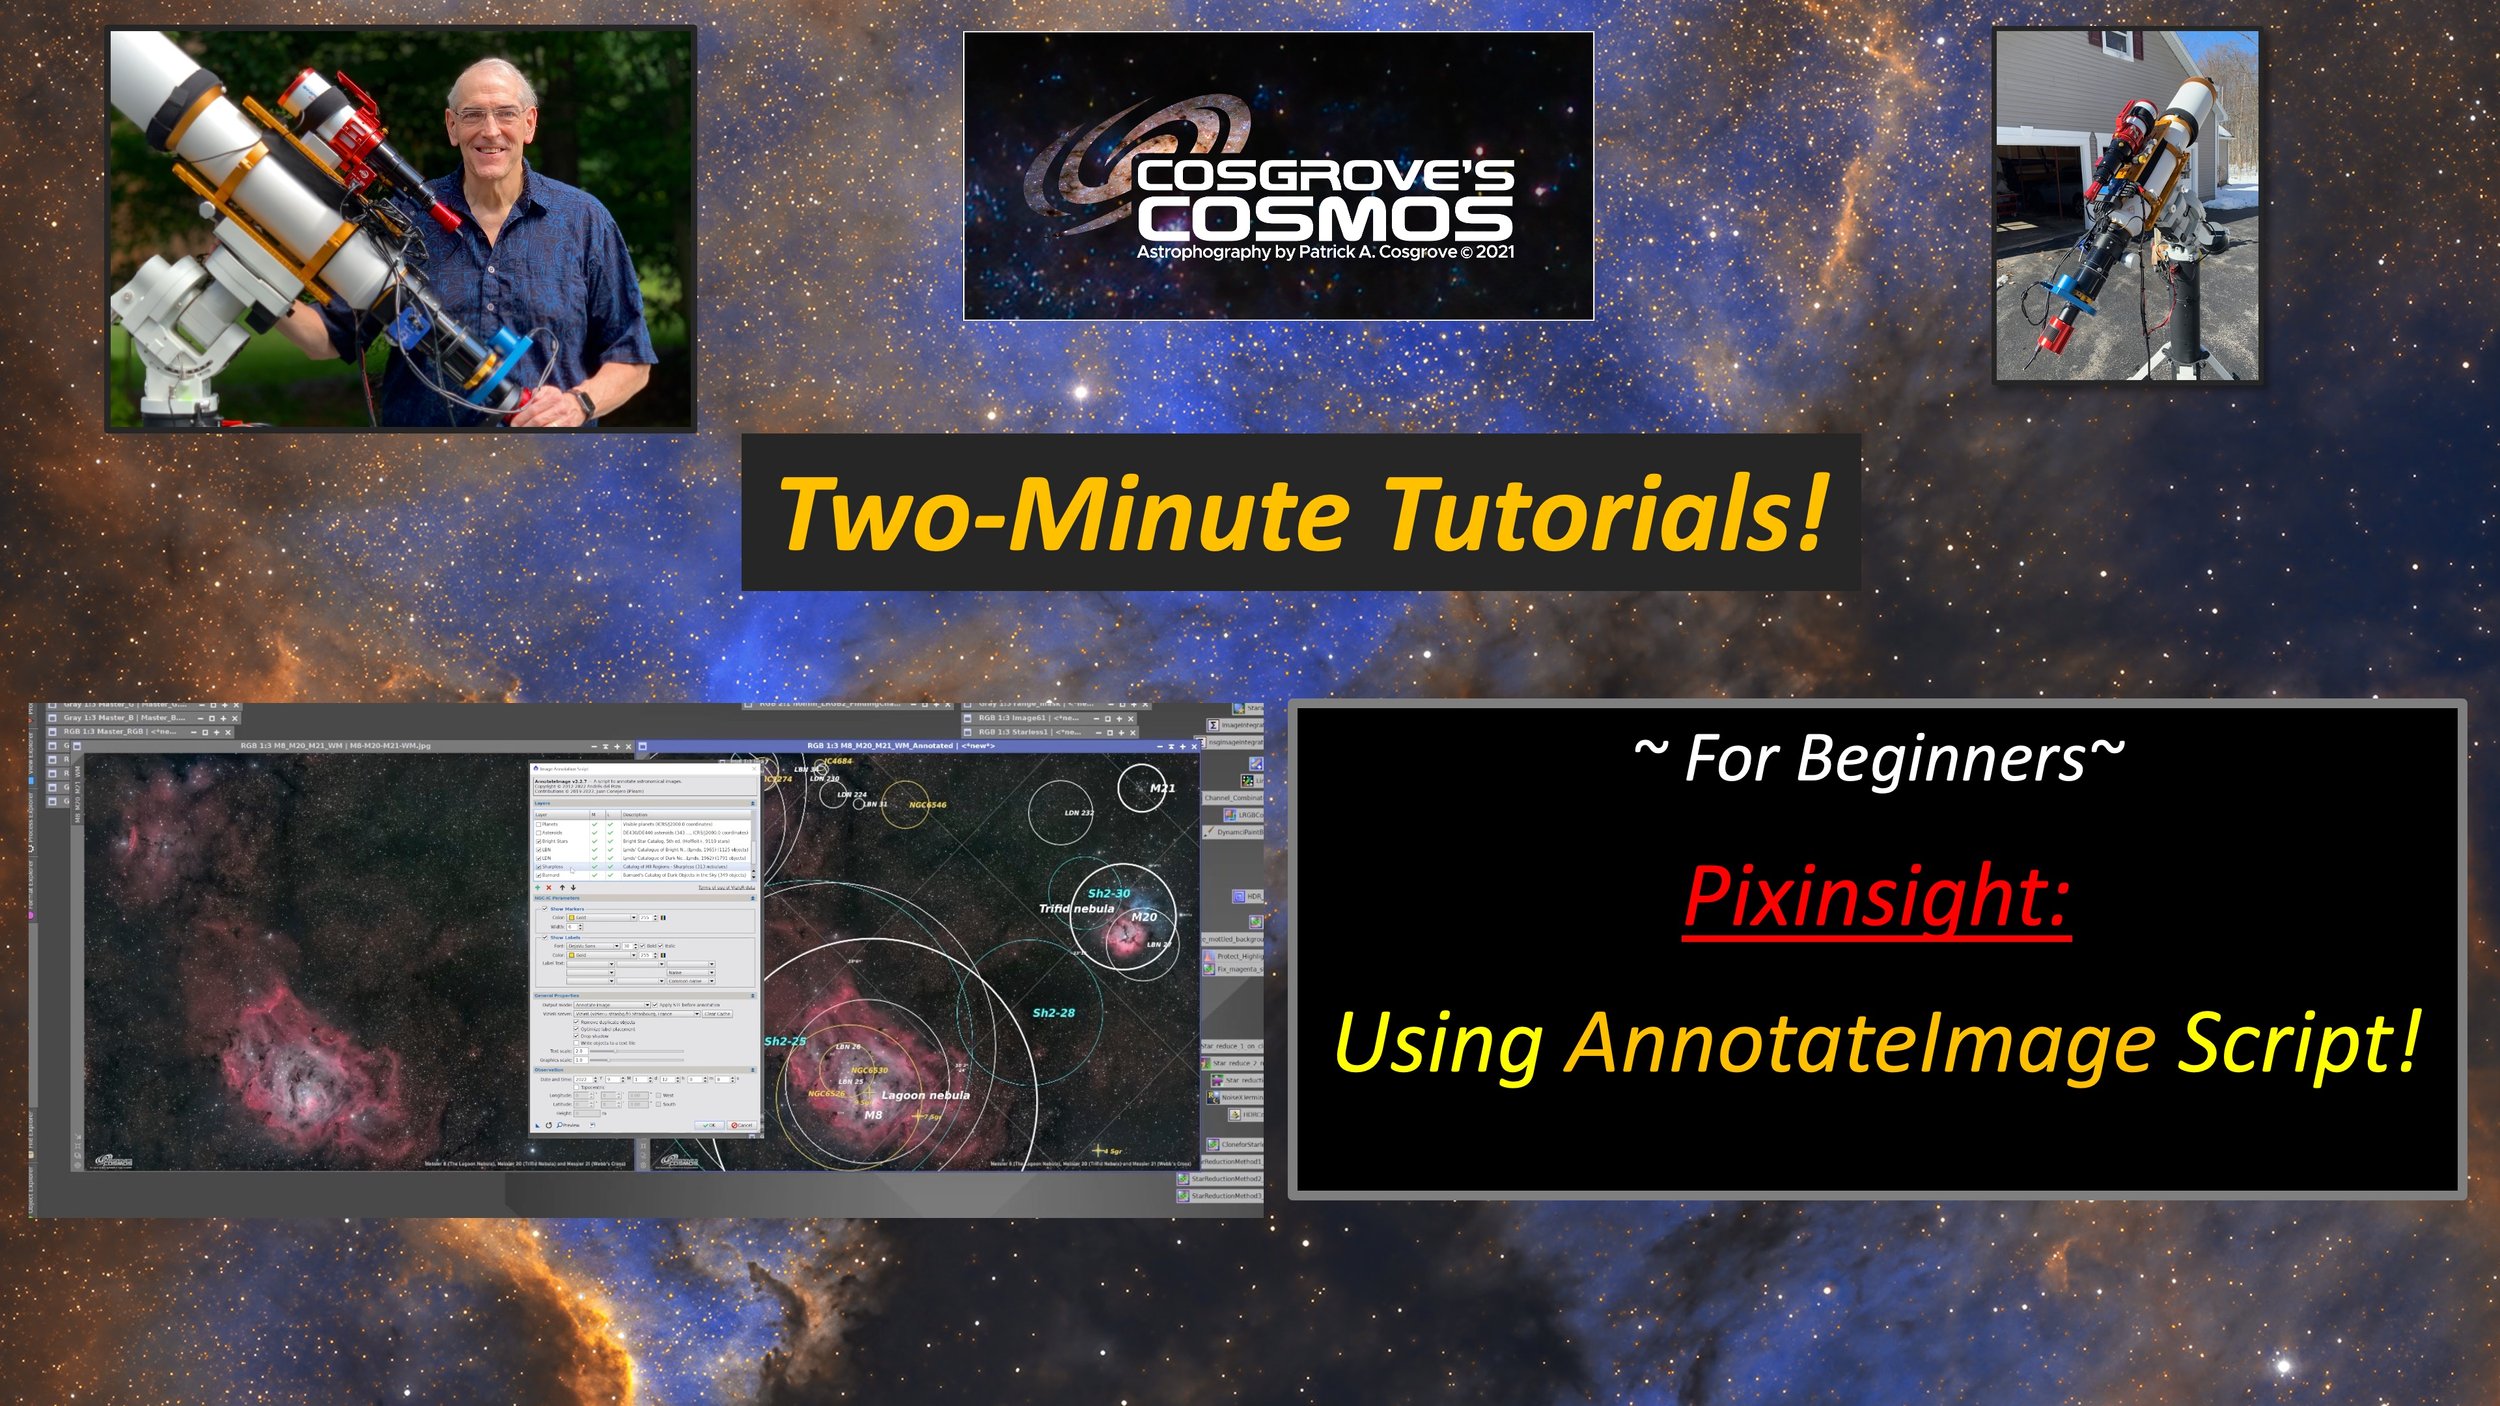
This video demonstrates how to use the ImageSolver and AnnotateImage Scripts to add informational layers to your image.
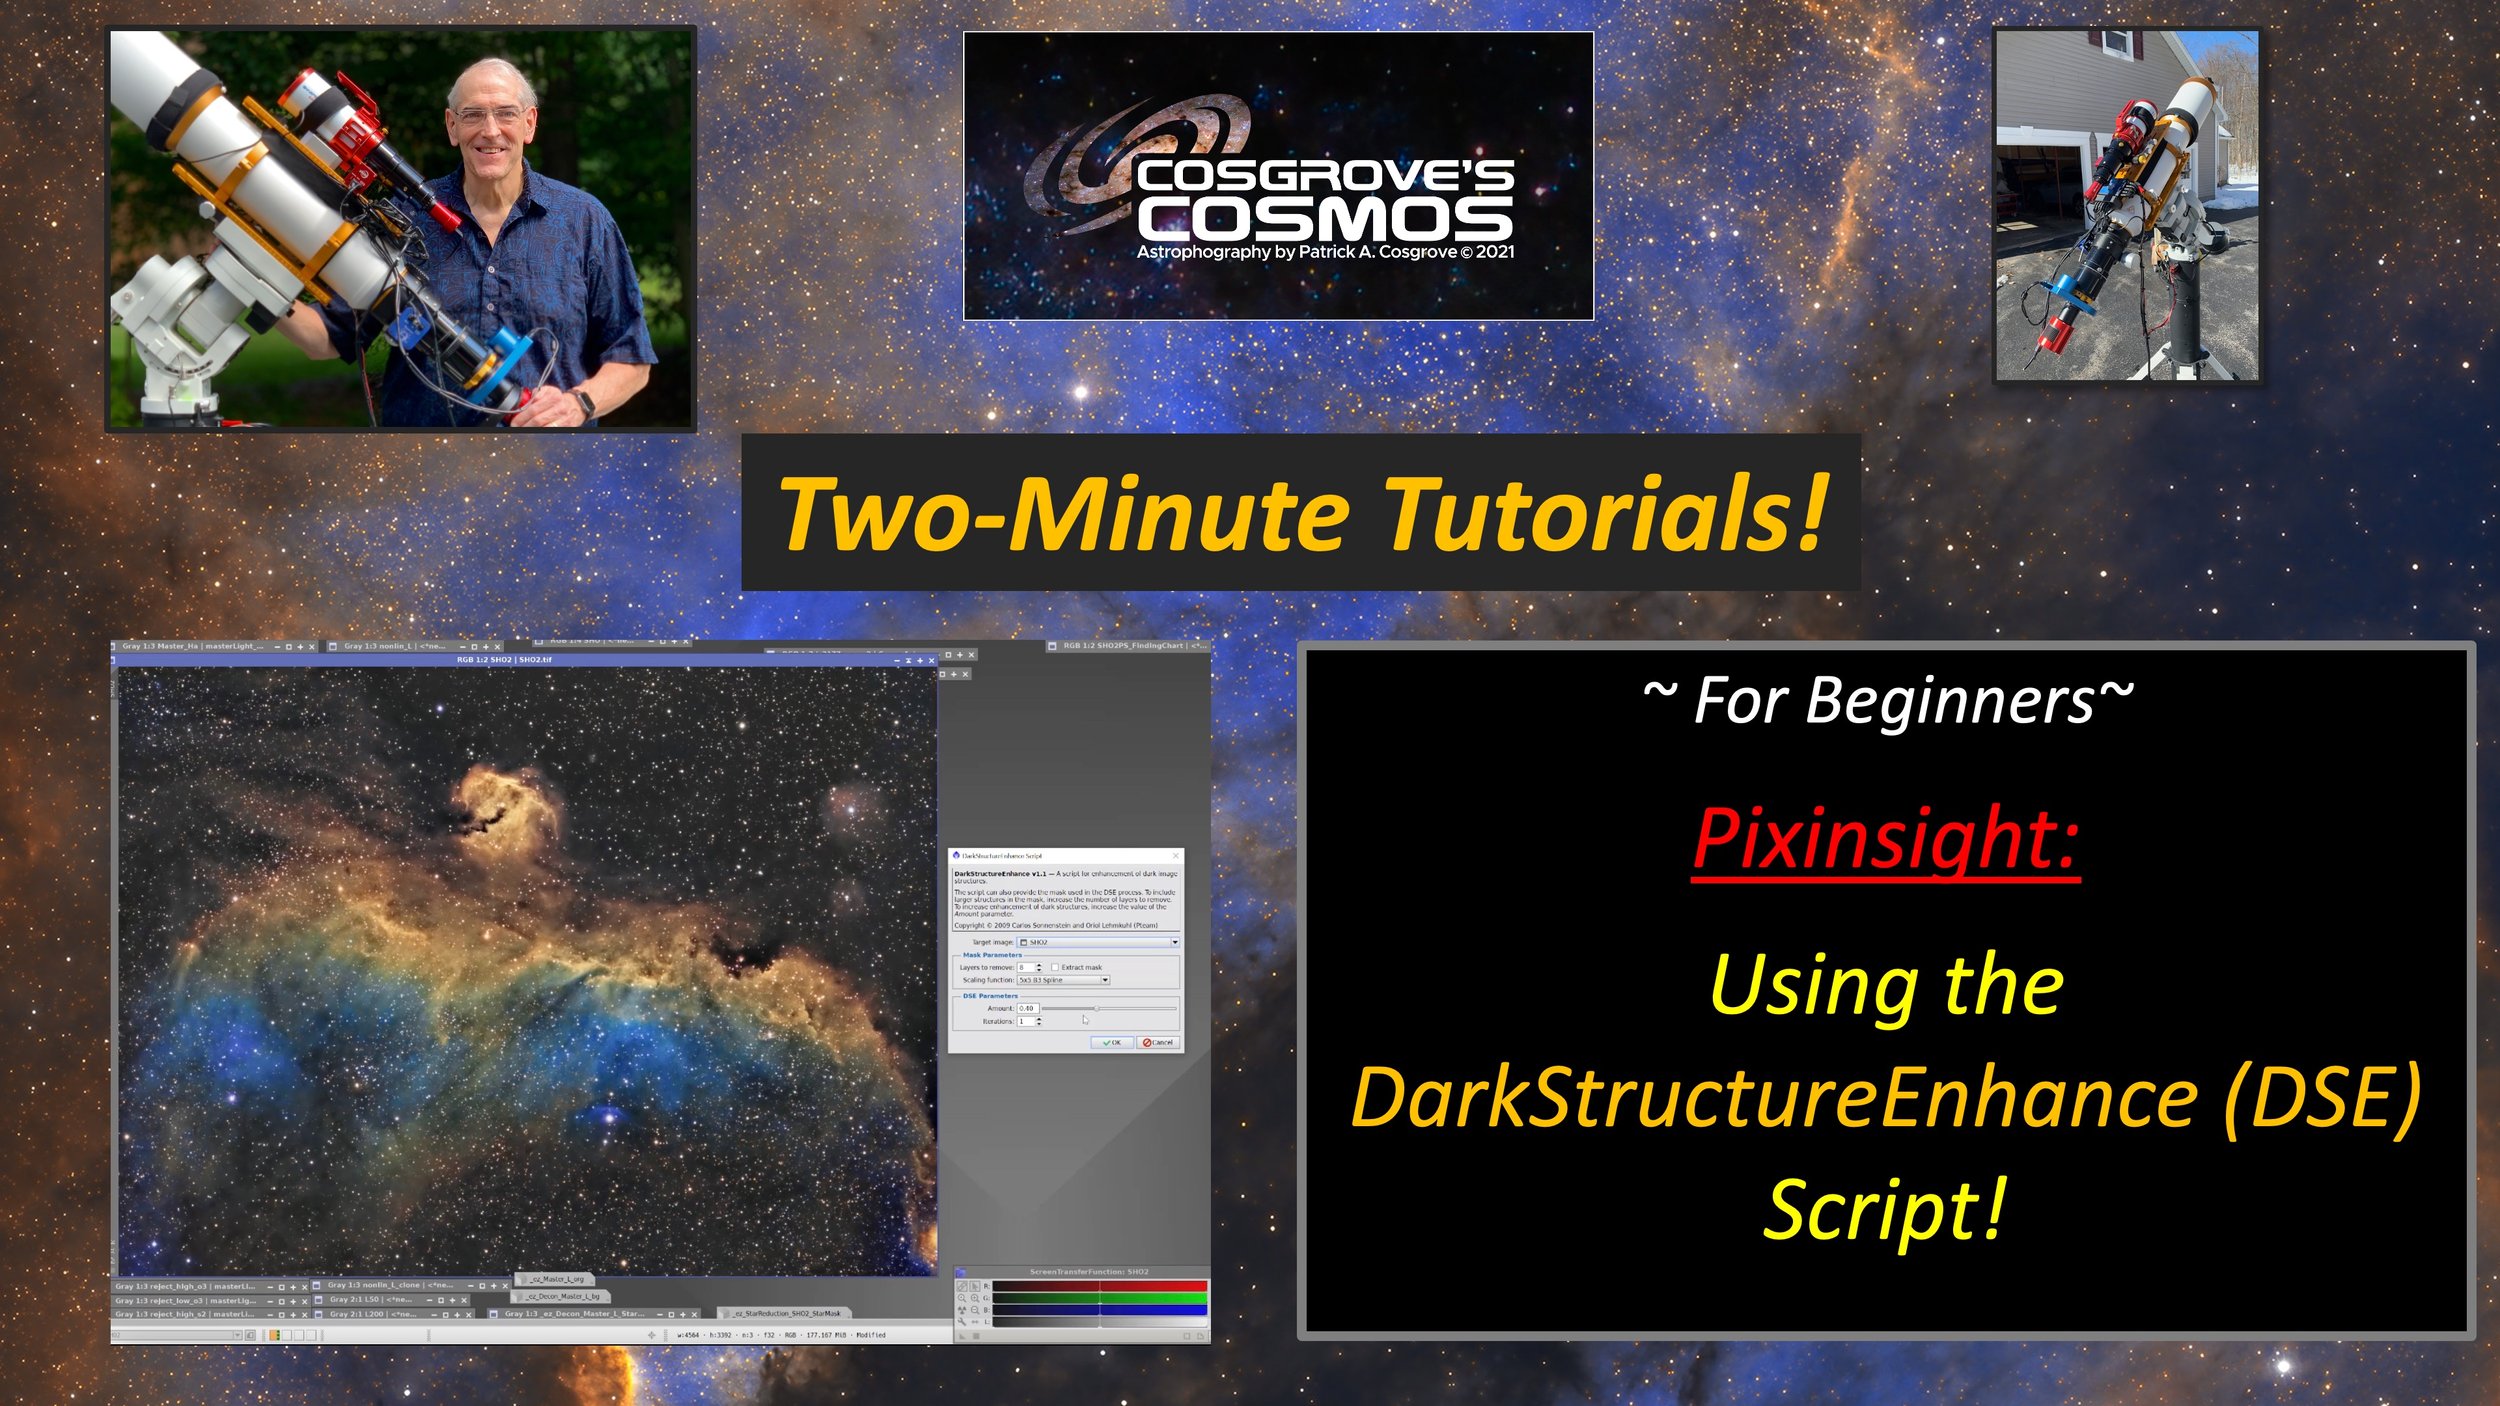
This video demonstrates how to use the DarkStracturesEnhance (DSE) Script to boost the dark dust lanes and structures in your image.
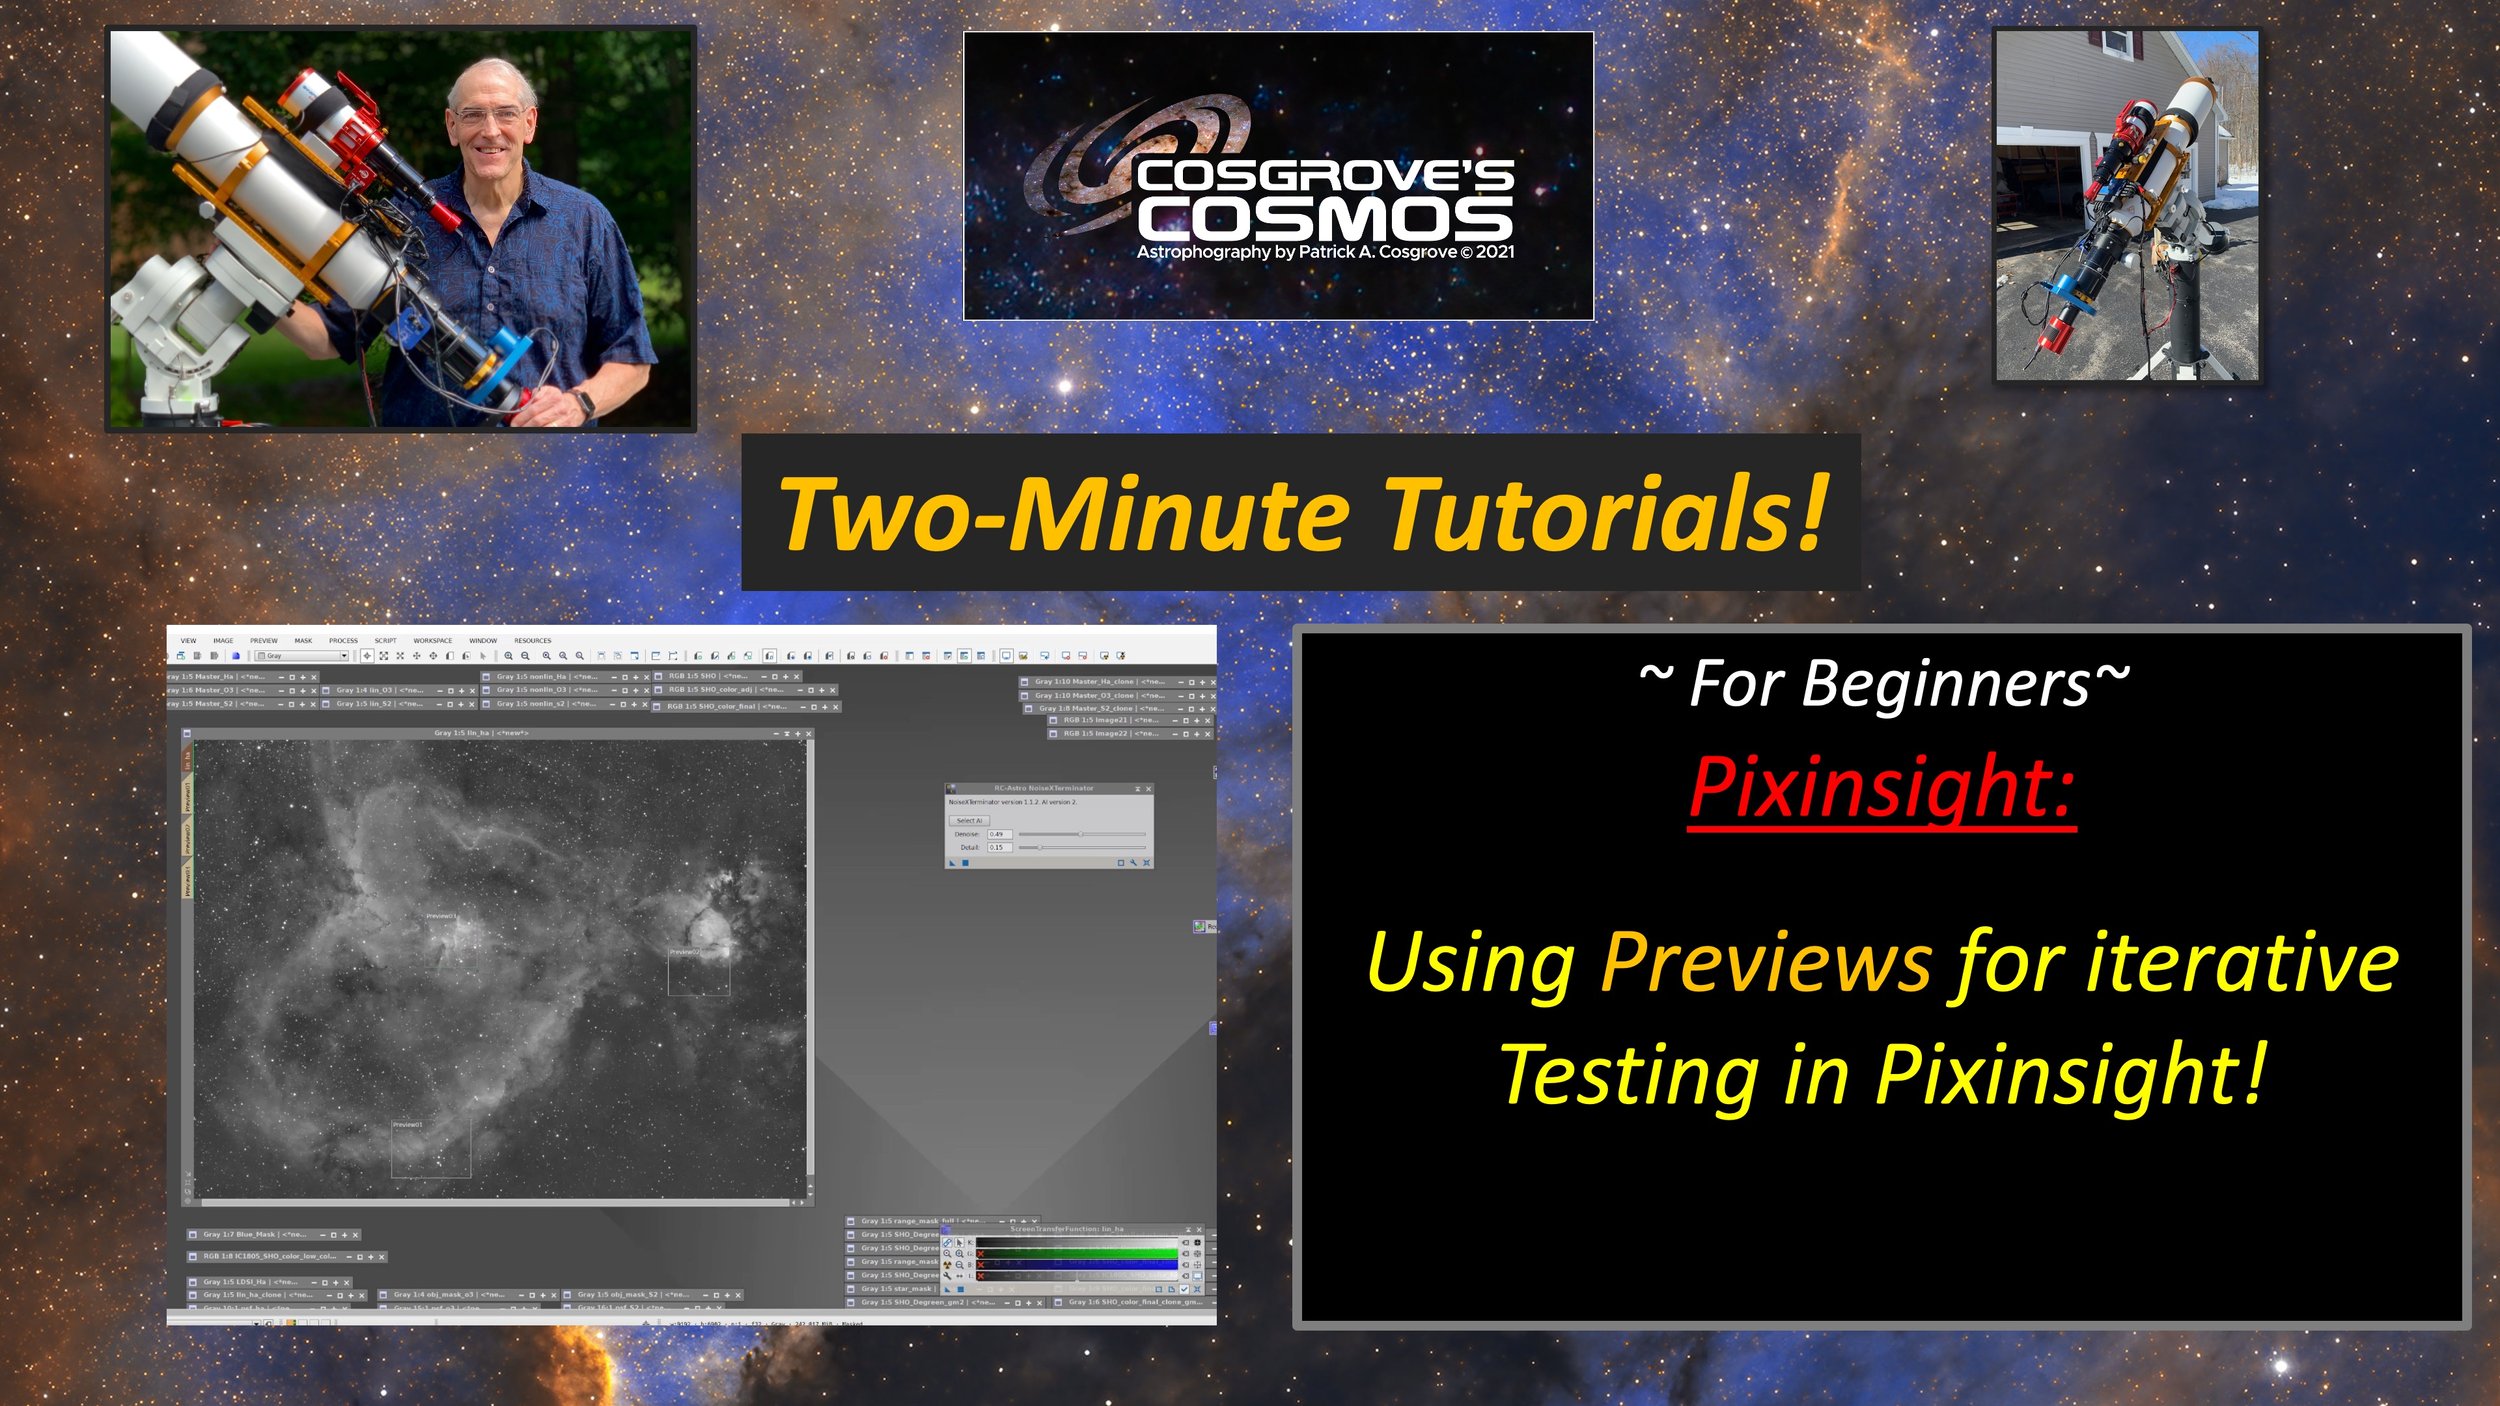
This video demonstrates how to work with Previews in Pixinsight to iterate and adjust process parameters by using smaller image areas as test regions.
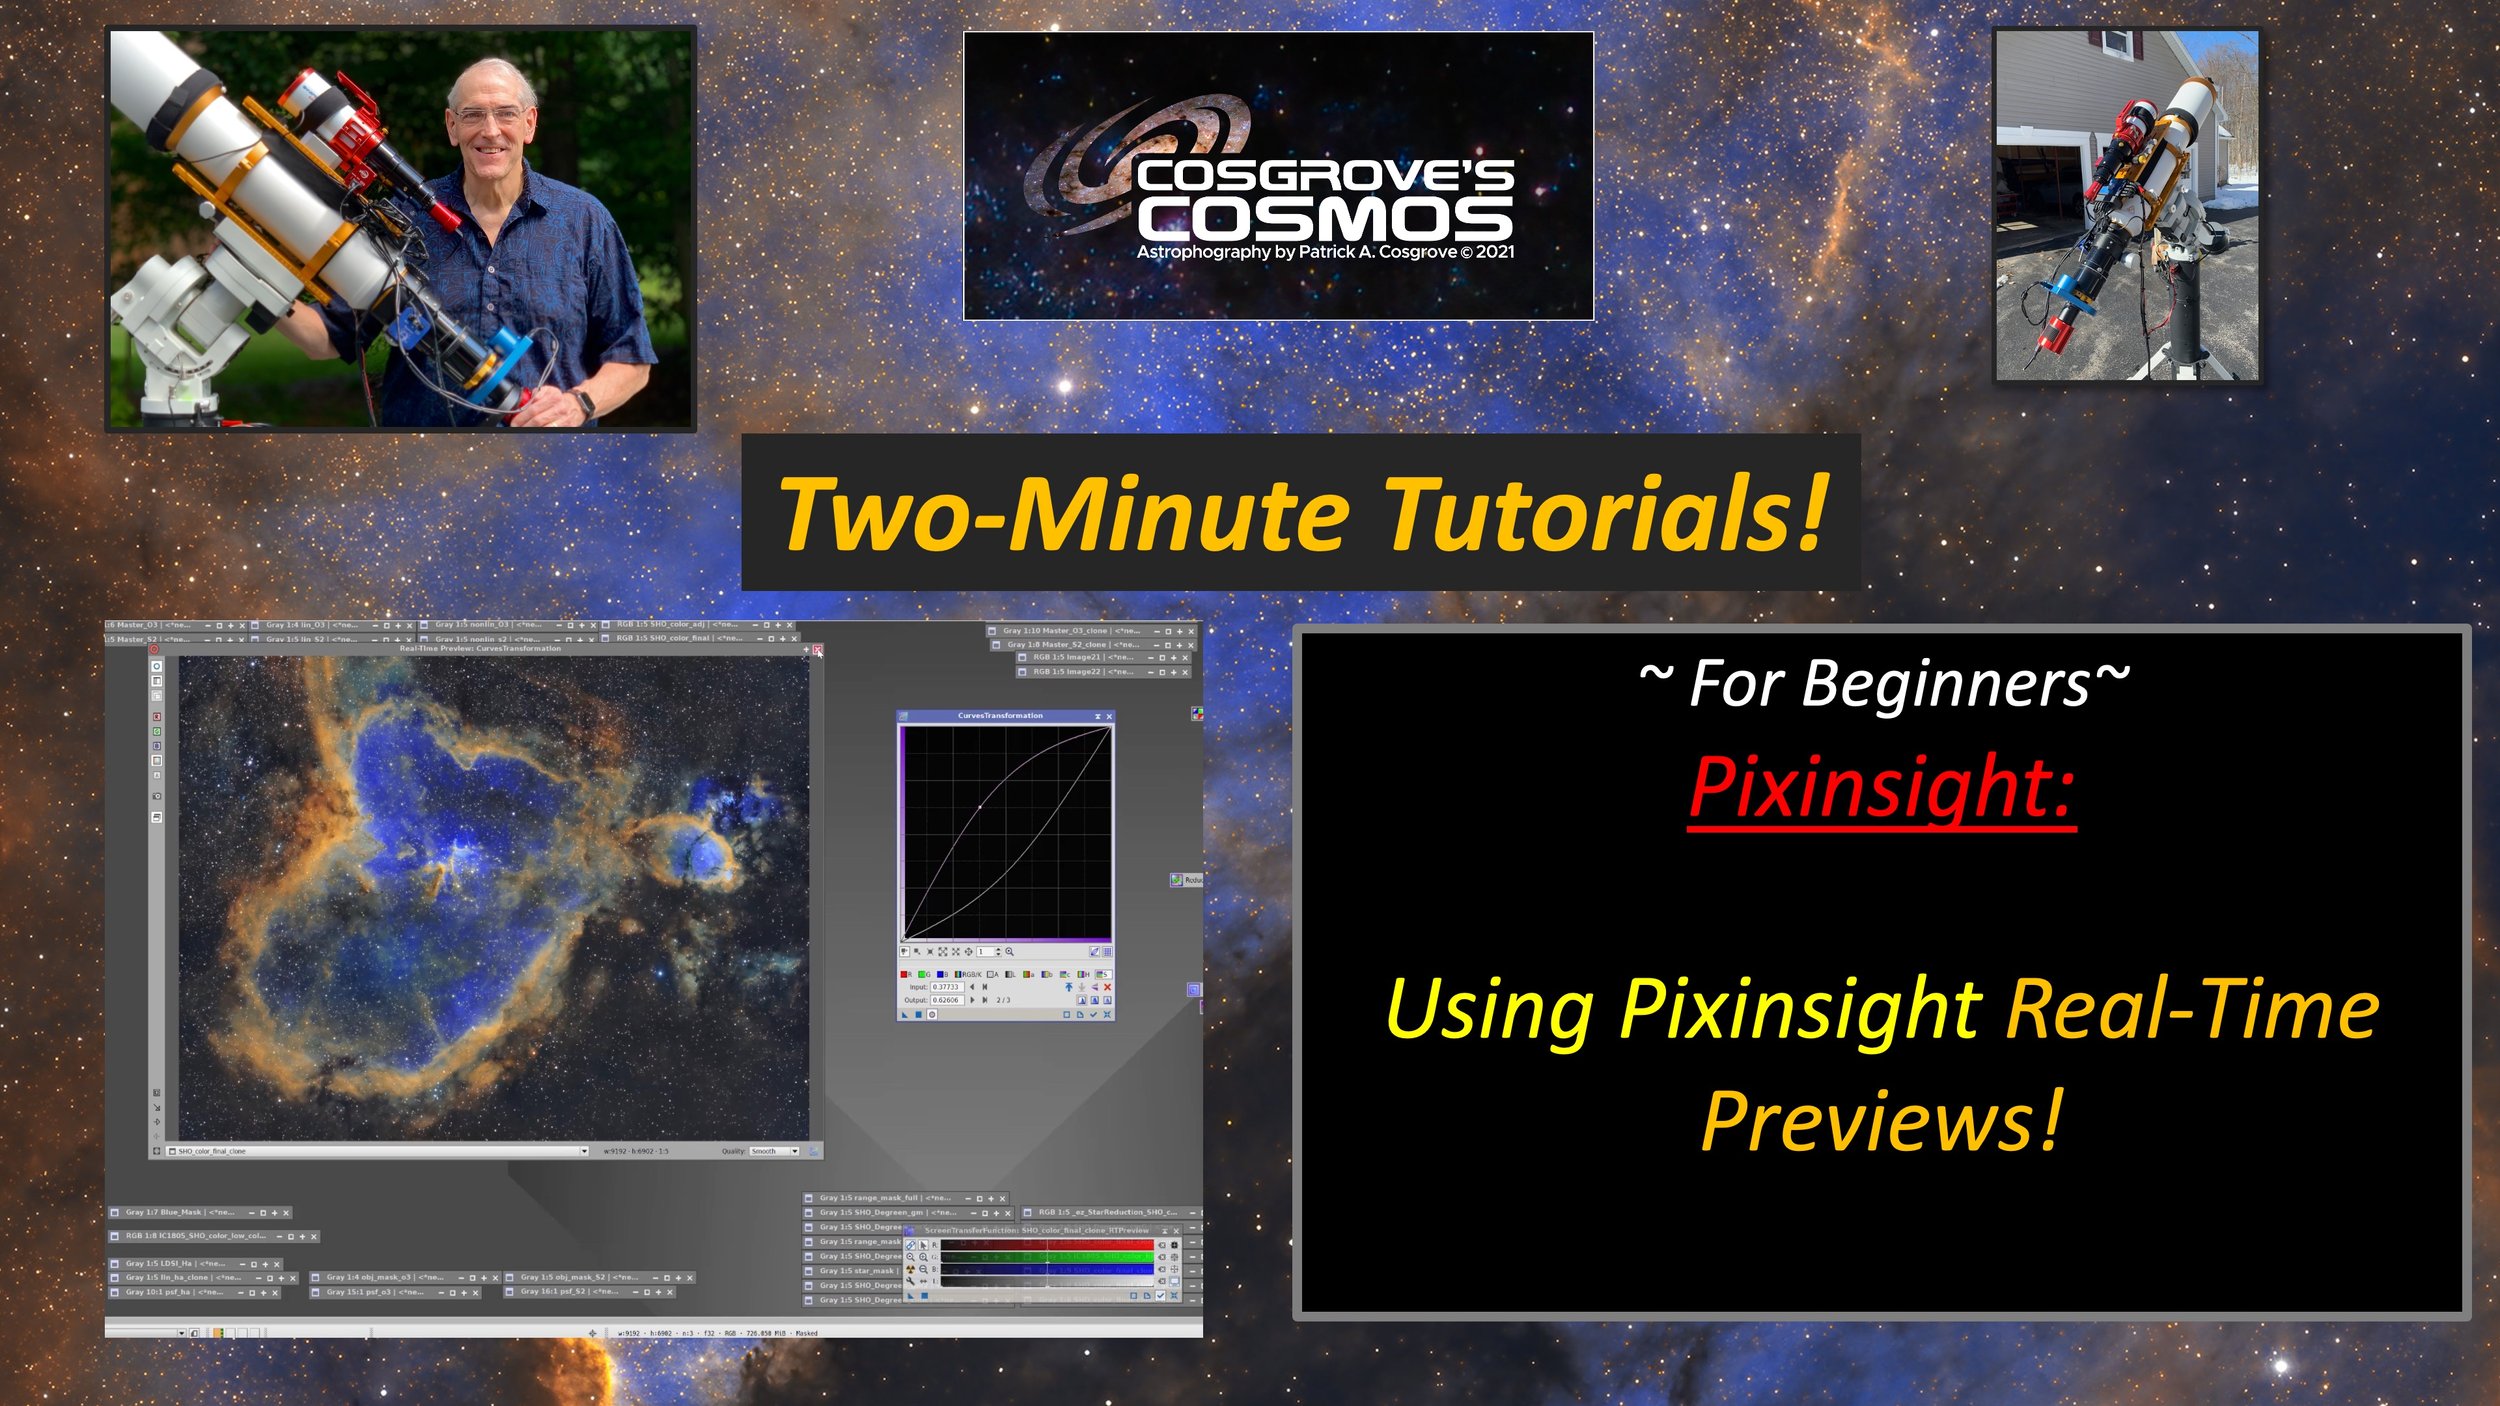
This video demonstrates working with Real-Time Previews in Pixinsight to provide instant feedback as you interactively adjust various processes to modify your image.
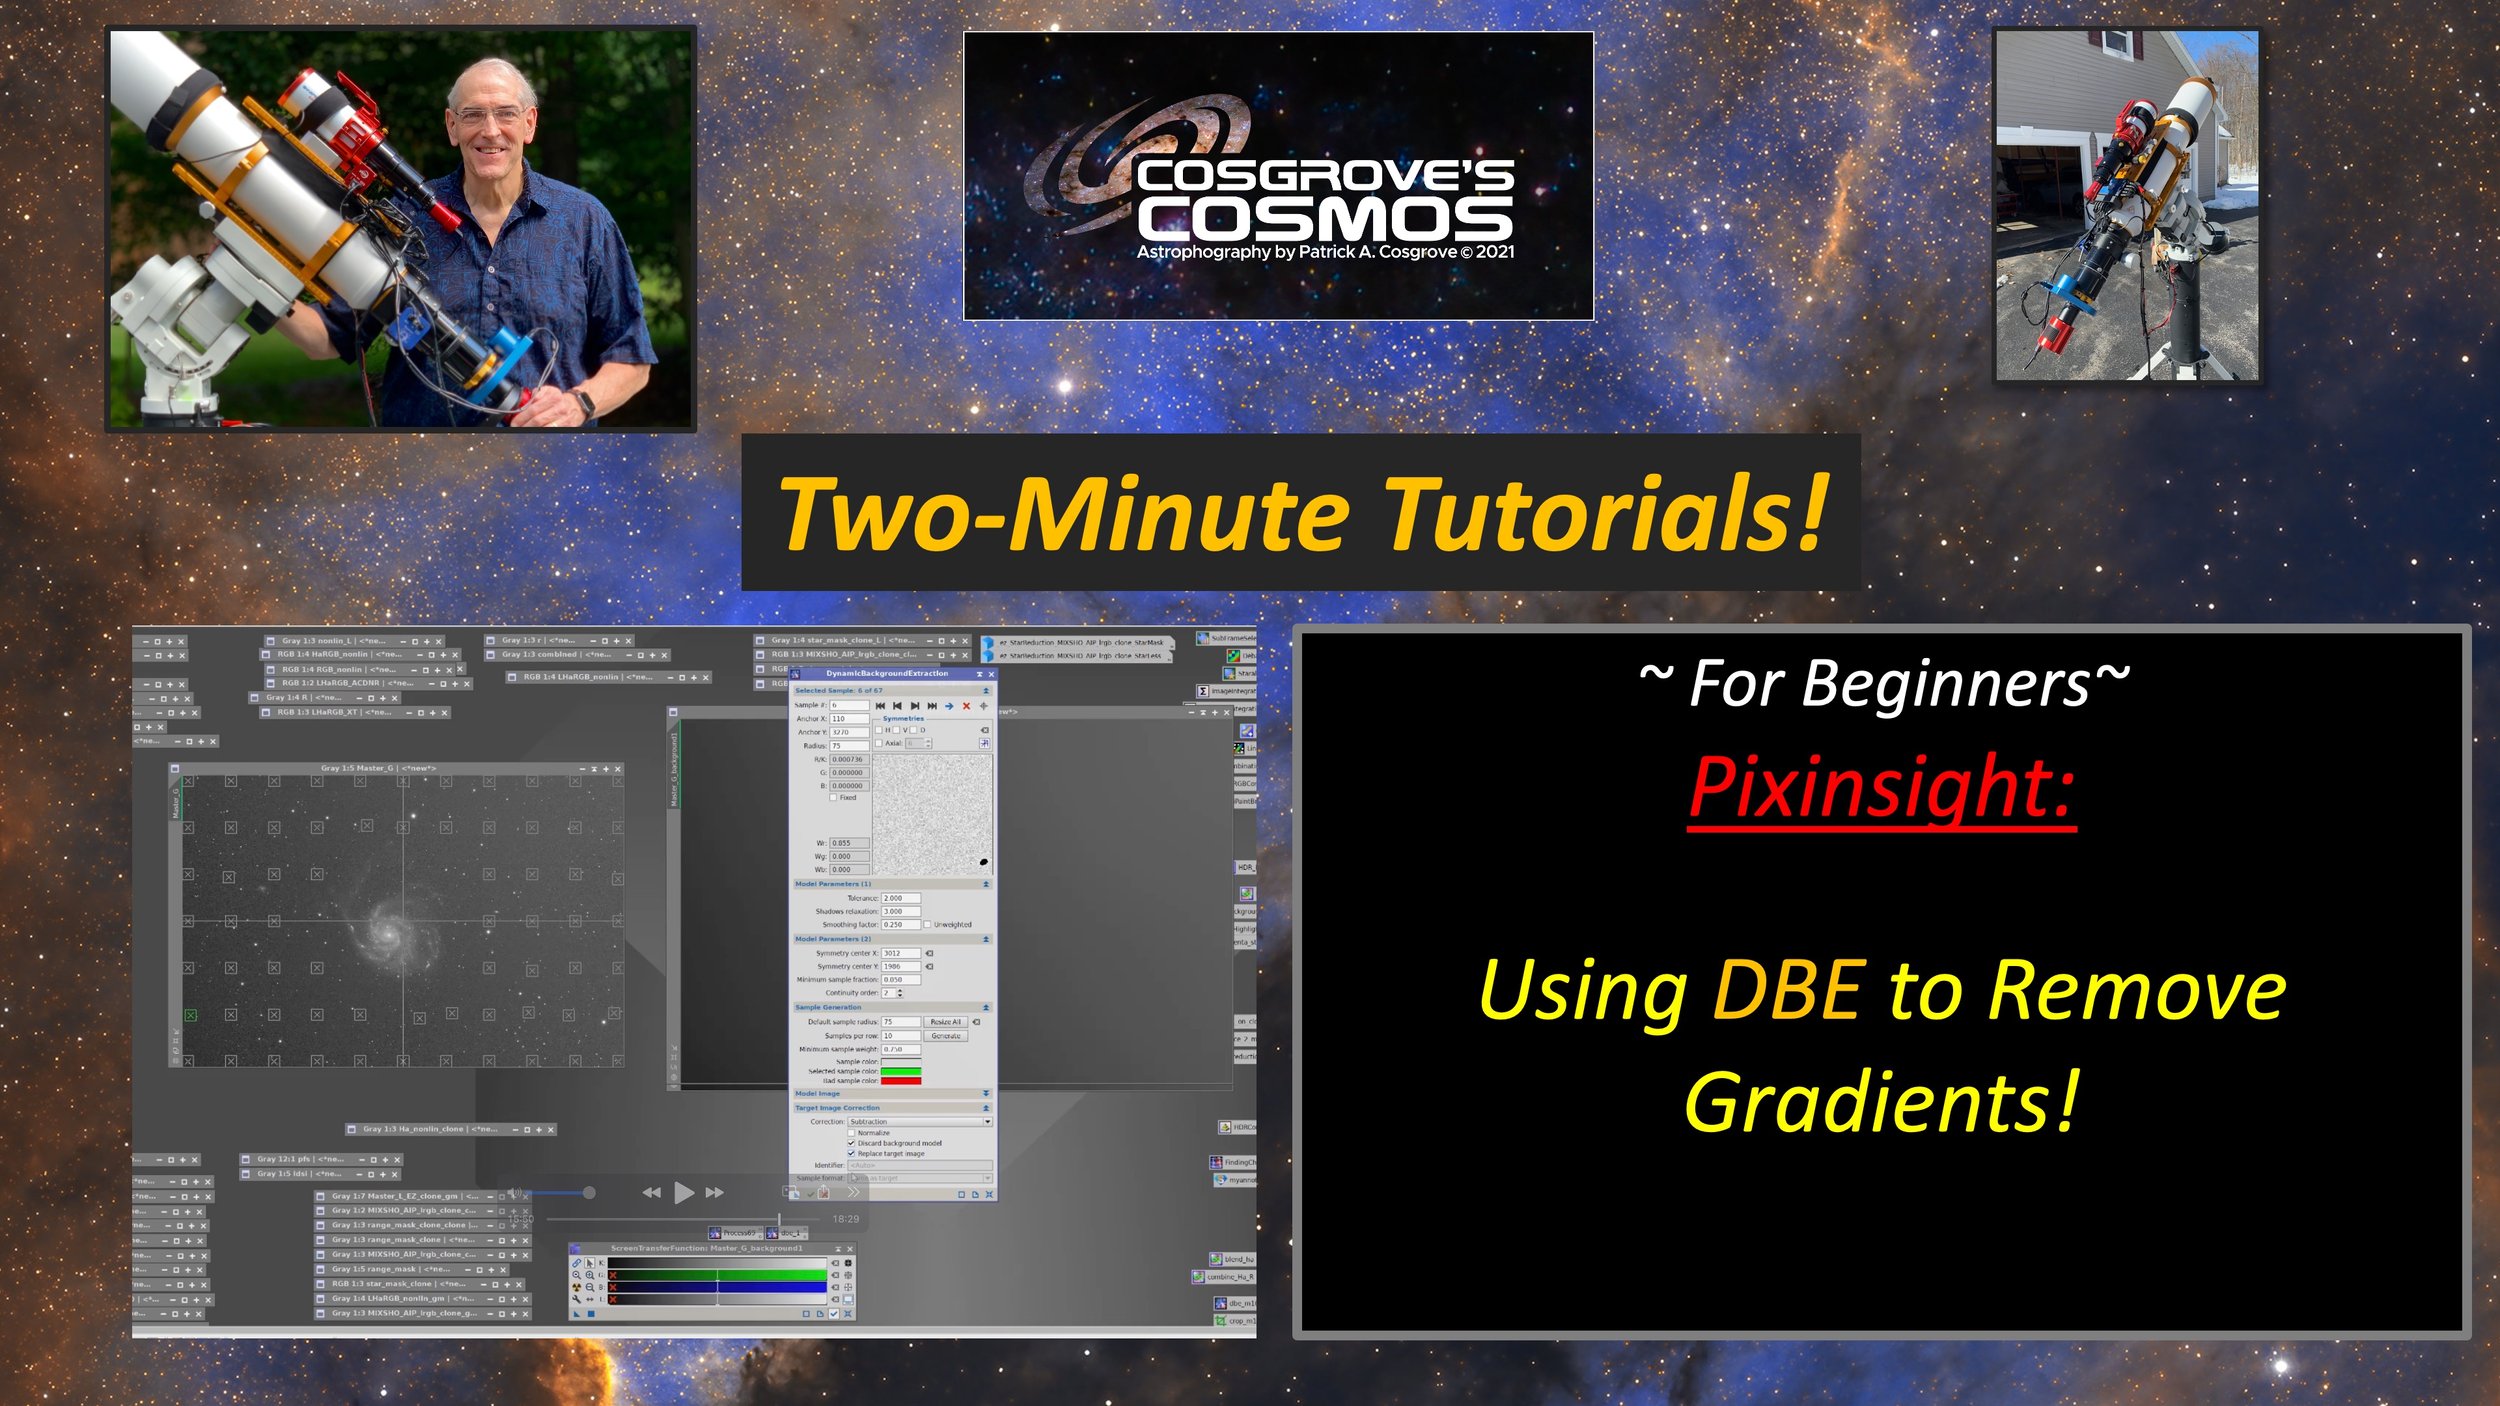
Using DBE to remove Gradients!
Warning. at almost 15 minutes, this is the world’s longest 2-Minute Tutorial!
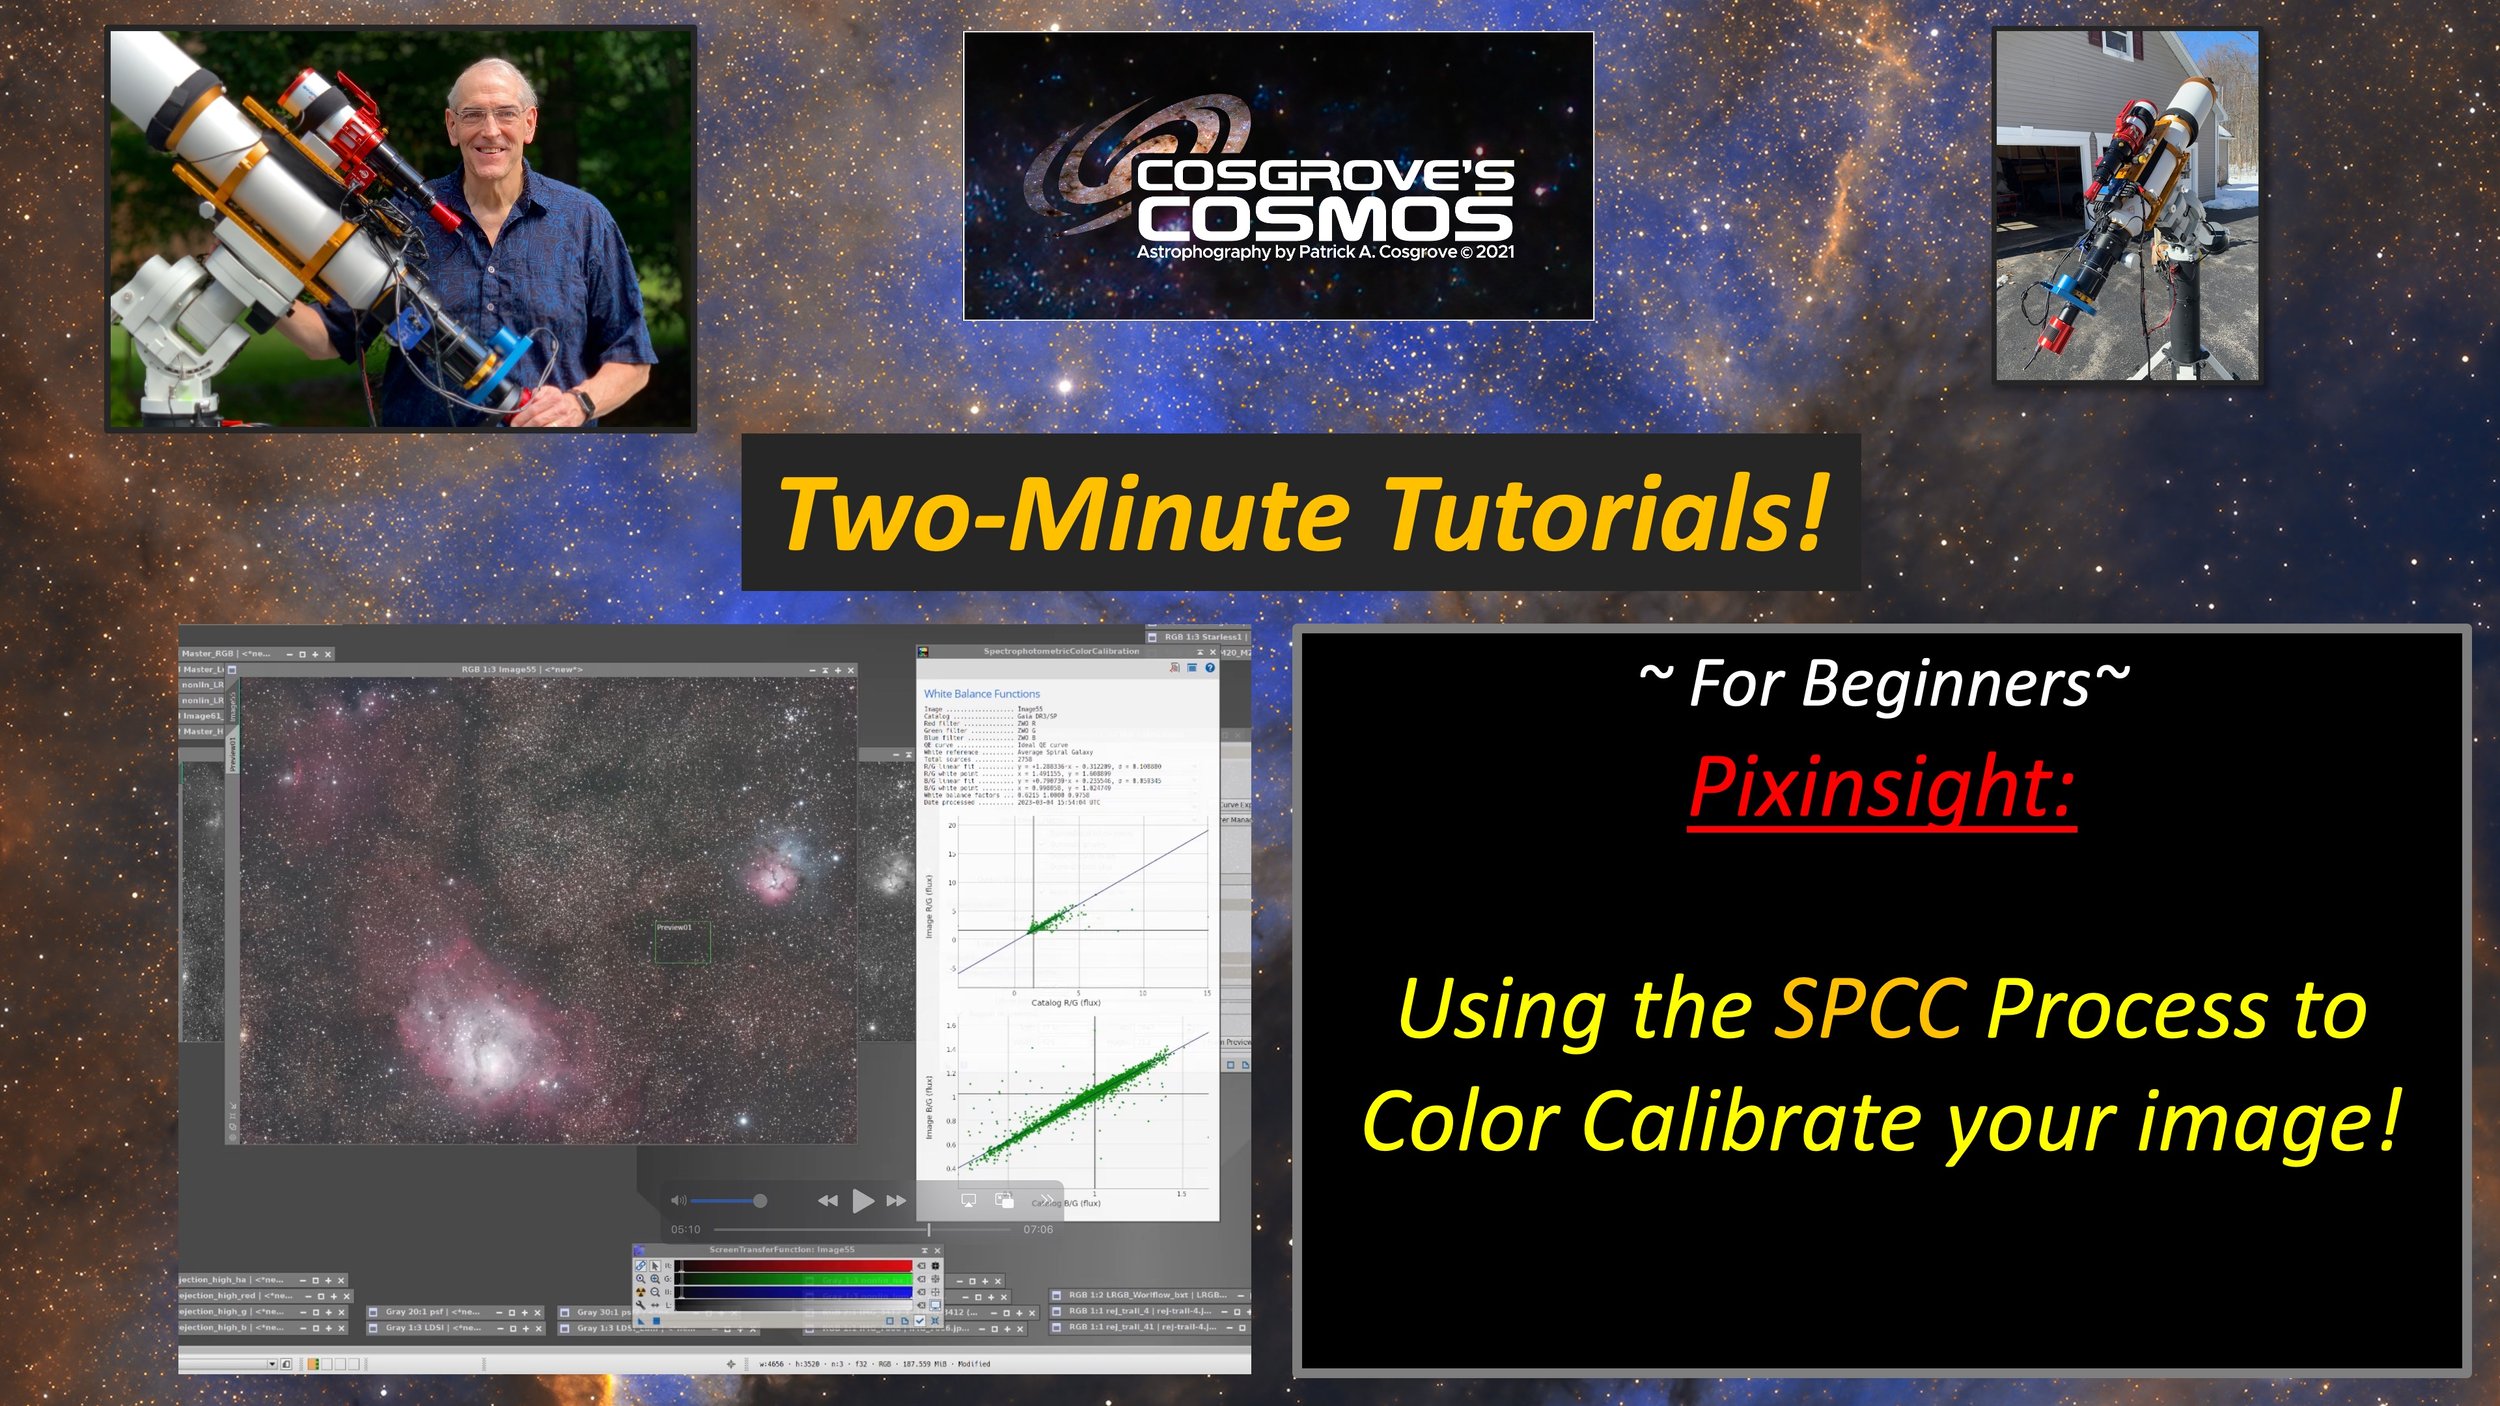
Using SPCC to Color Calibrate Your Image!
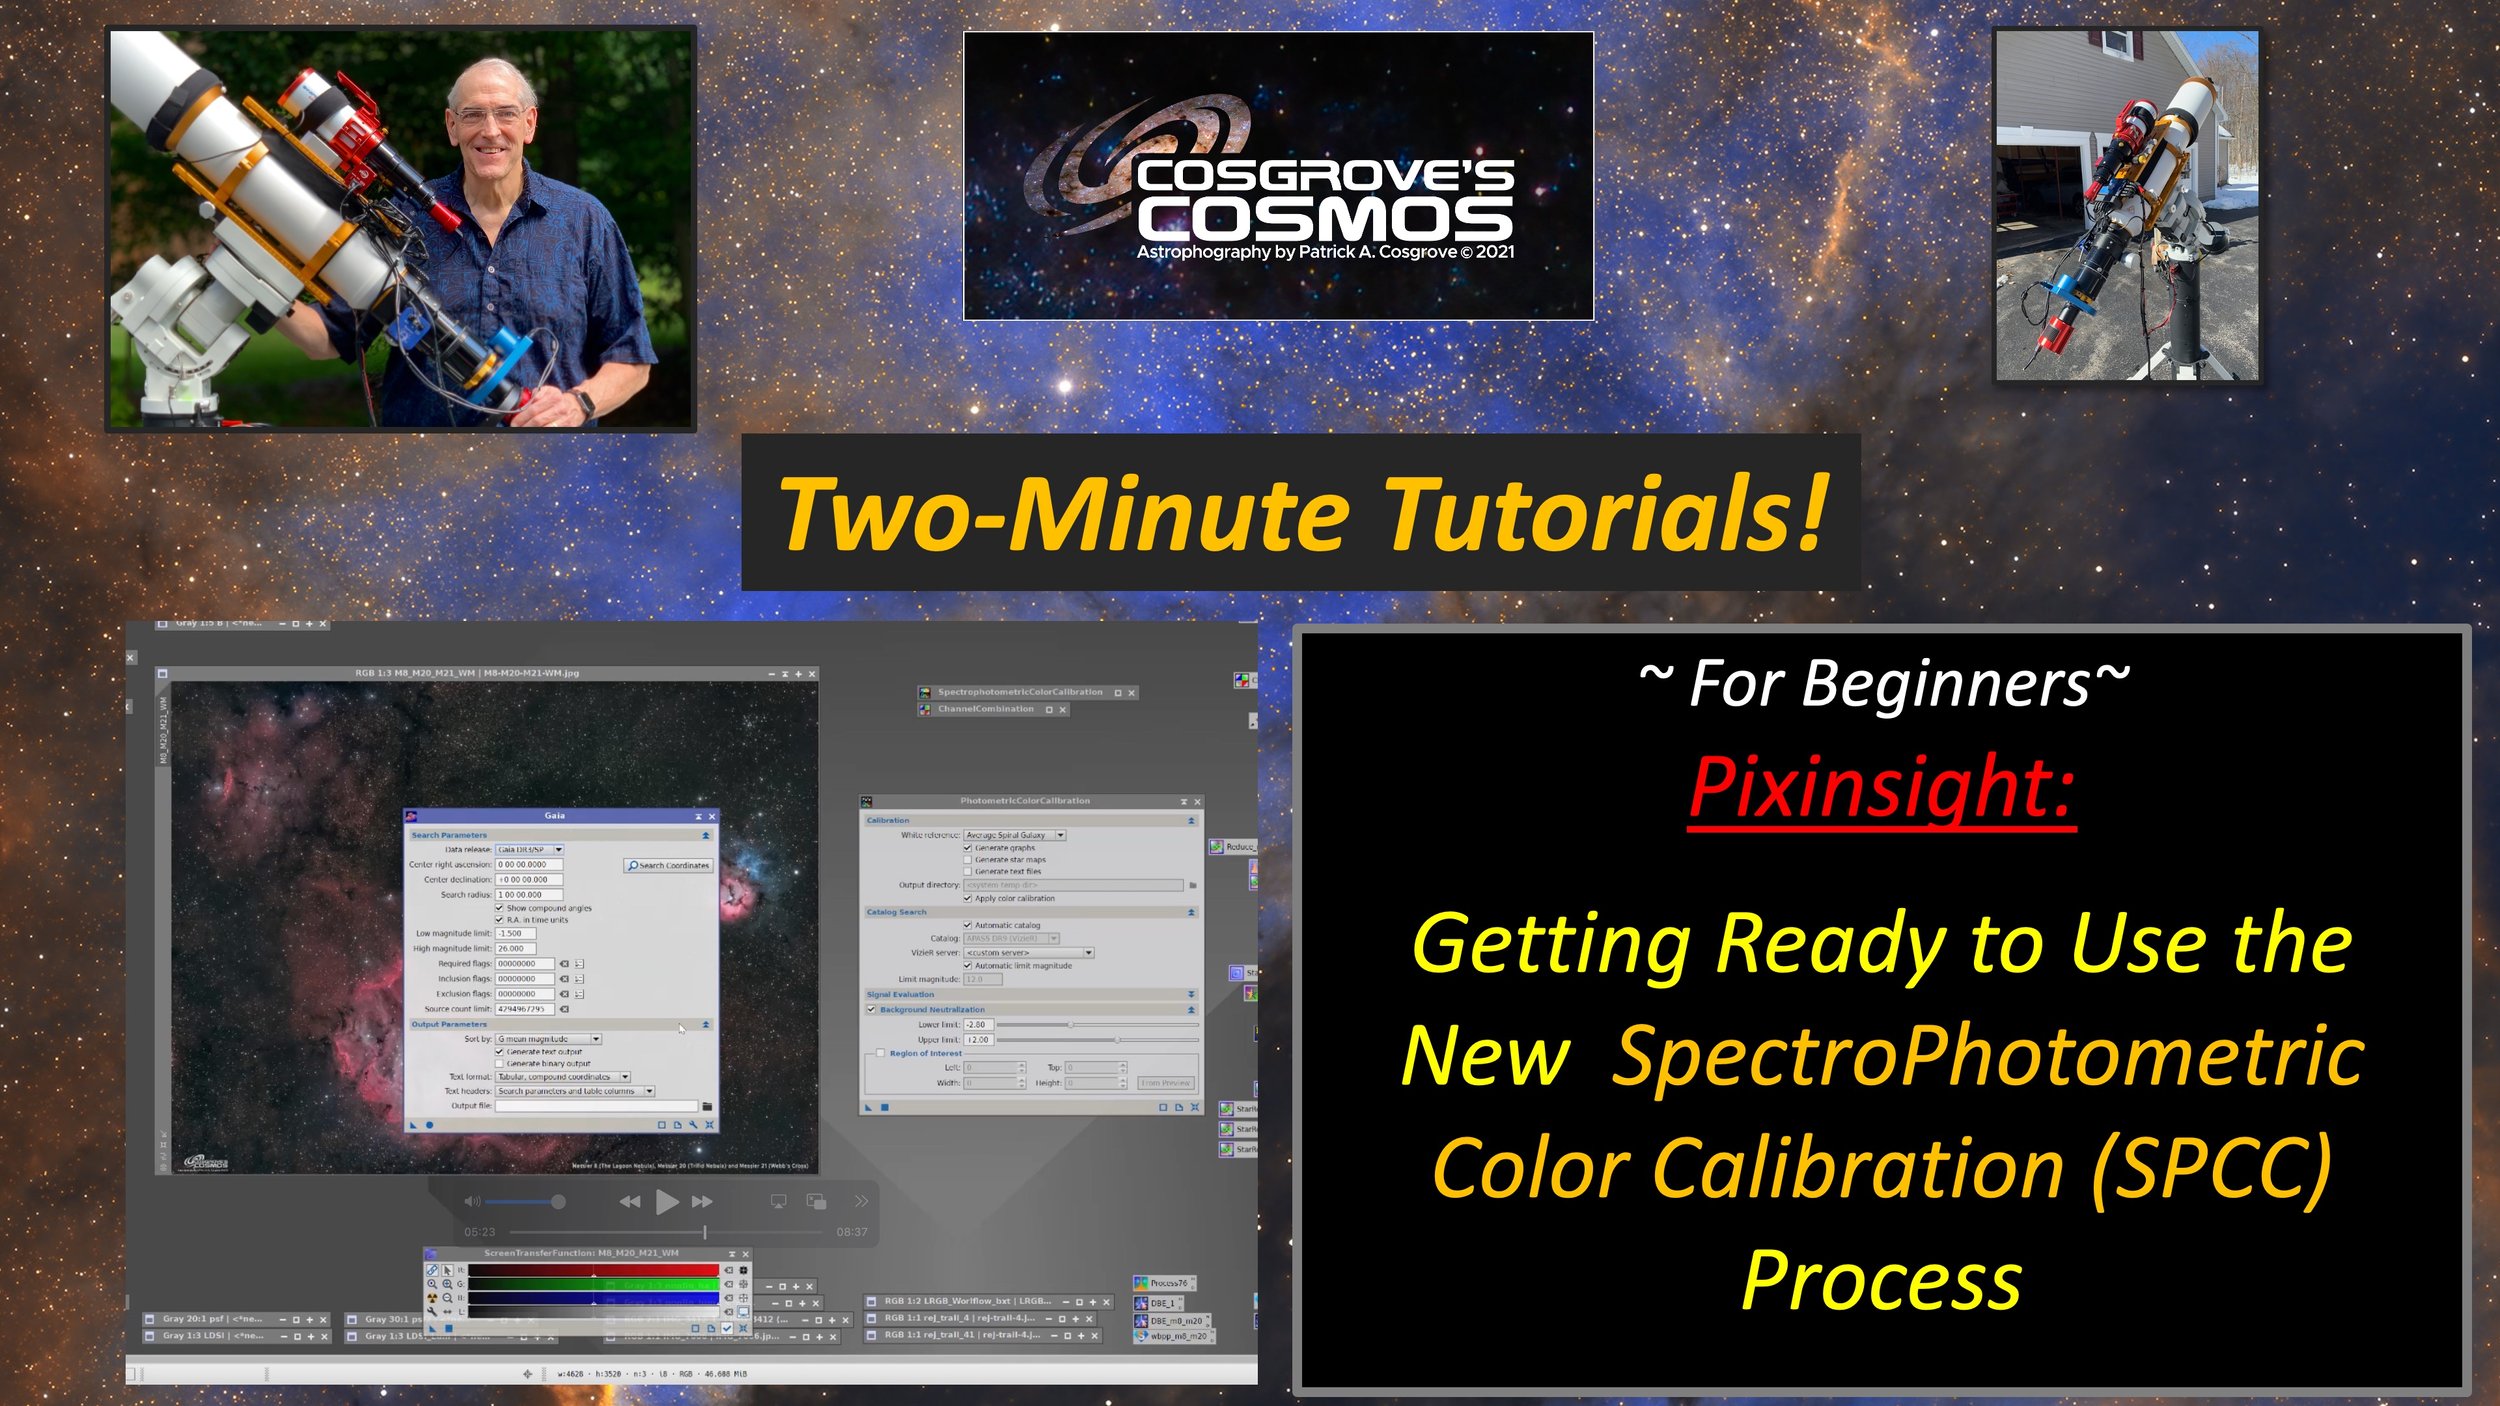
This video demonstrates how to set up things in Pixinsight so that you can use the new SpectroPhotomoetric Color Calibration (SPCC) process.

This video introduces the MultiScaleLinearTransform (MLT) for sharpening and noise reduction!
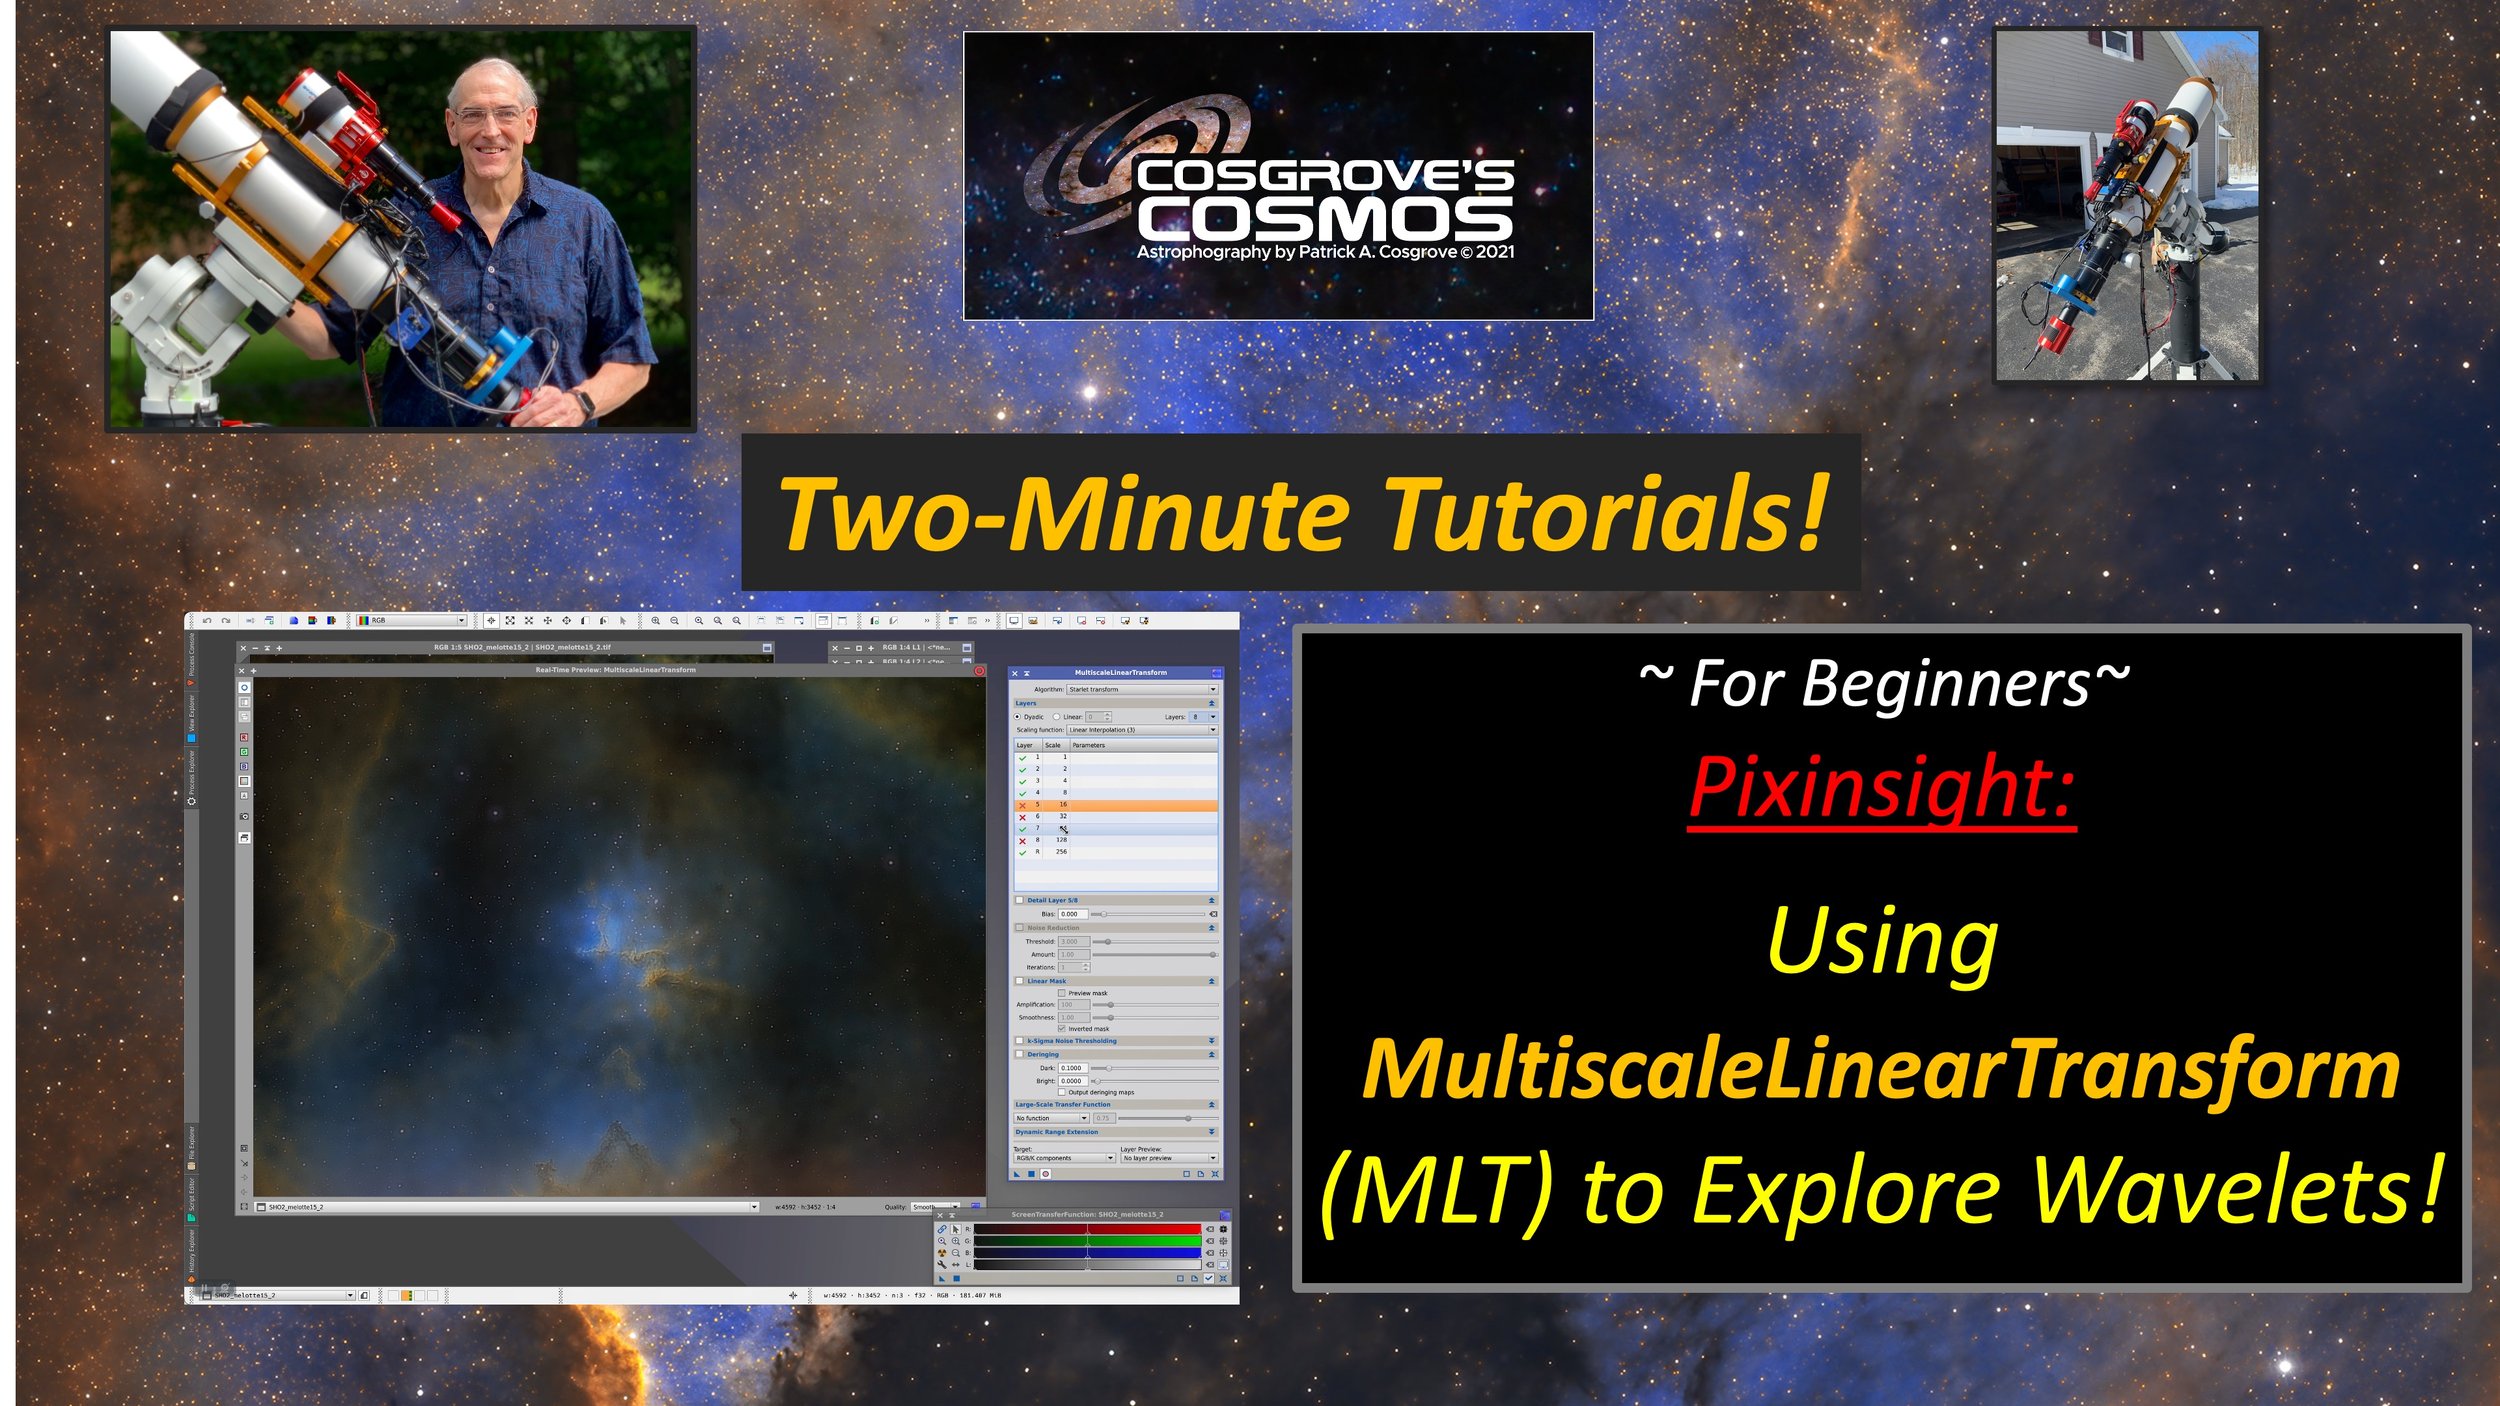
This video covers the use of the MultiScaleLinearTransform (MLT) process to explore wavelets layers in your image.
This is a follow-on video to the "Using the ExtractWaveletLayers Script to Explore Wavelets" video and introduces similar functionality in the more powerful MLT tool.
Stay Tuned for the next video in this series which will explore the use of MLT to do sharpening and noise reduction!

This video covers - at a high level - the concept of Wavelet Layers as used in Pixinsight.
It also introduces the ExtractWaveletLayers script, which breaks your image into individual wavelet layers and the residual layer that are stretched and ready for viewing. With this tool, you can analyze what information can be found in each layer for your image. This can be helpful when determining processing strategies with tools that use layer information as inputs.
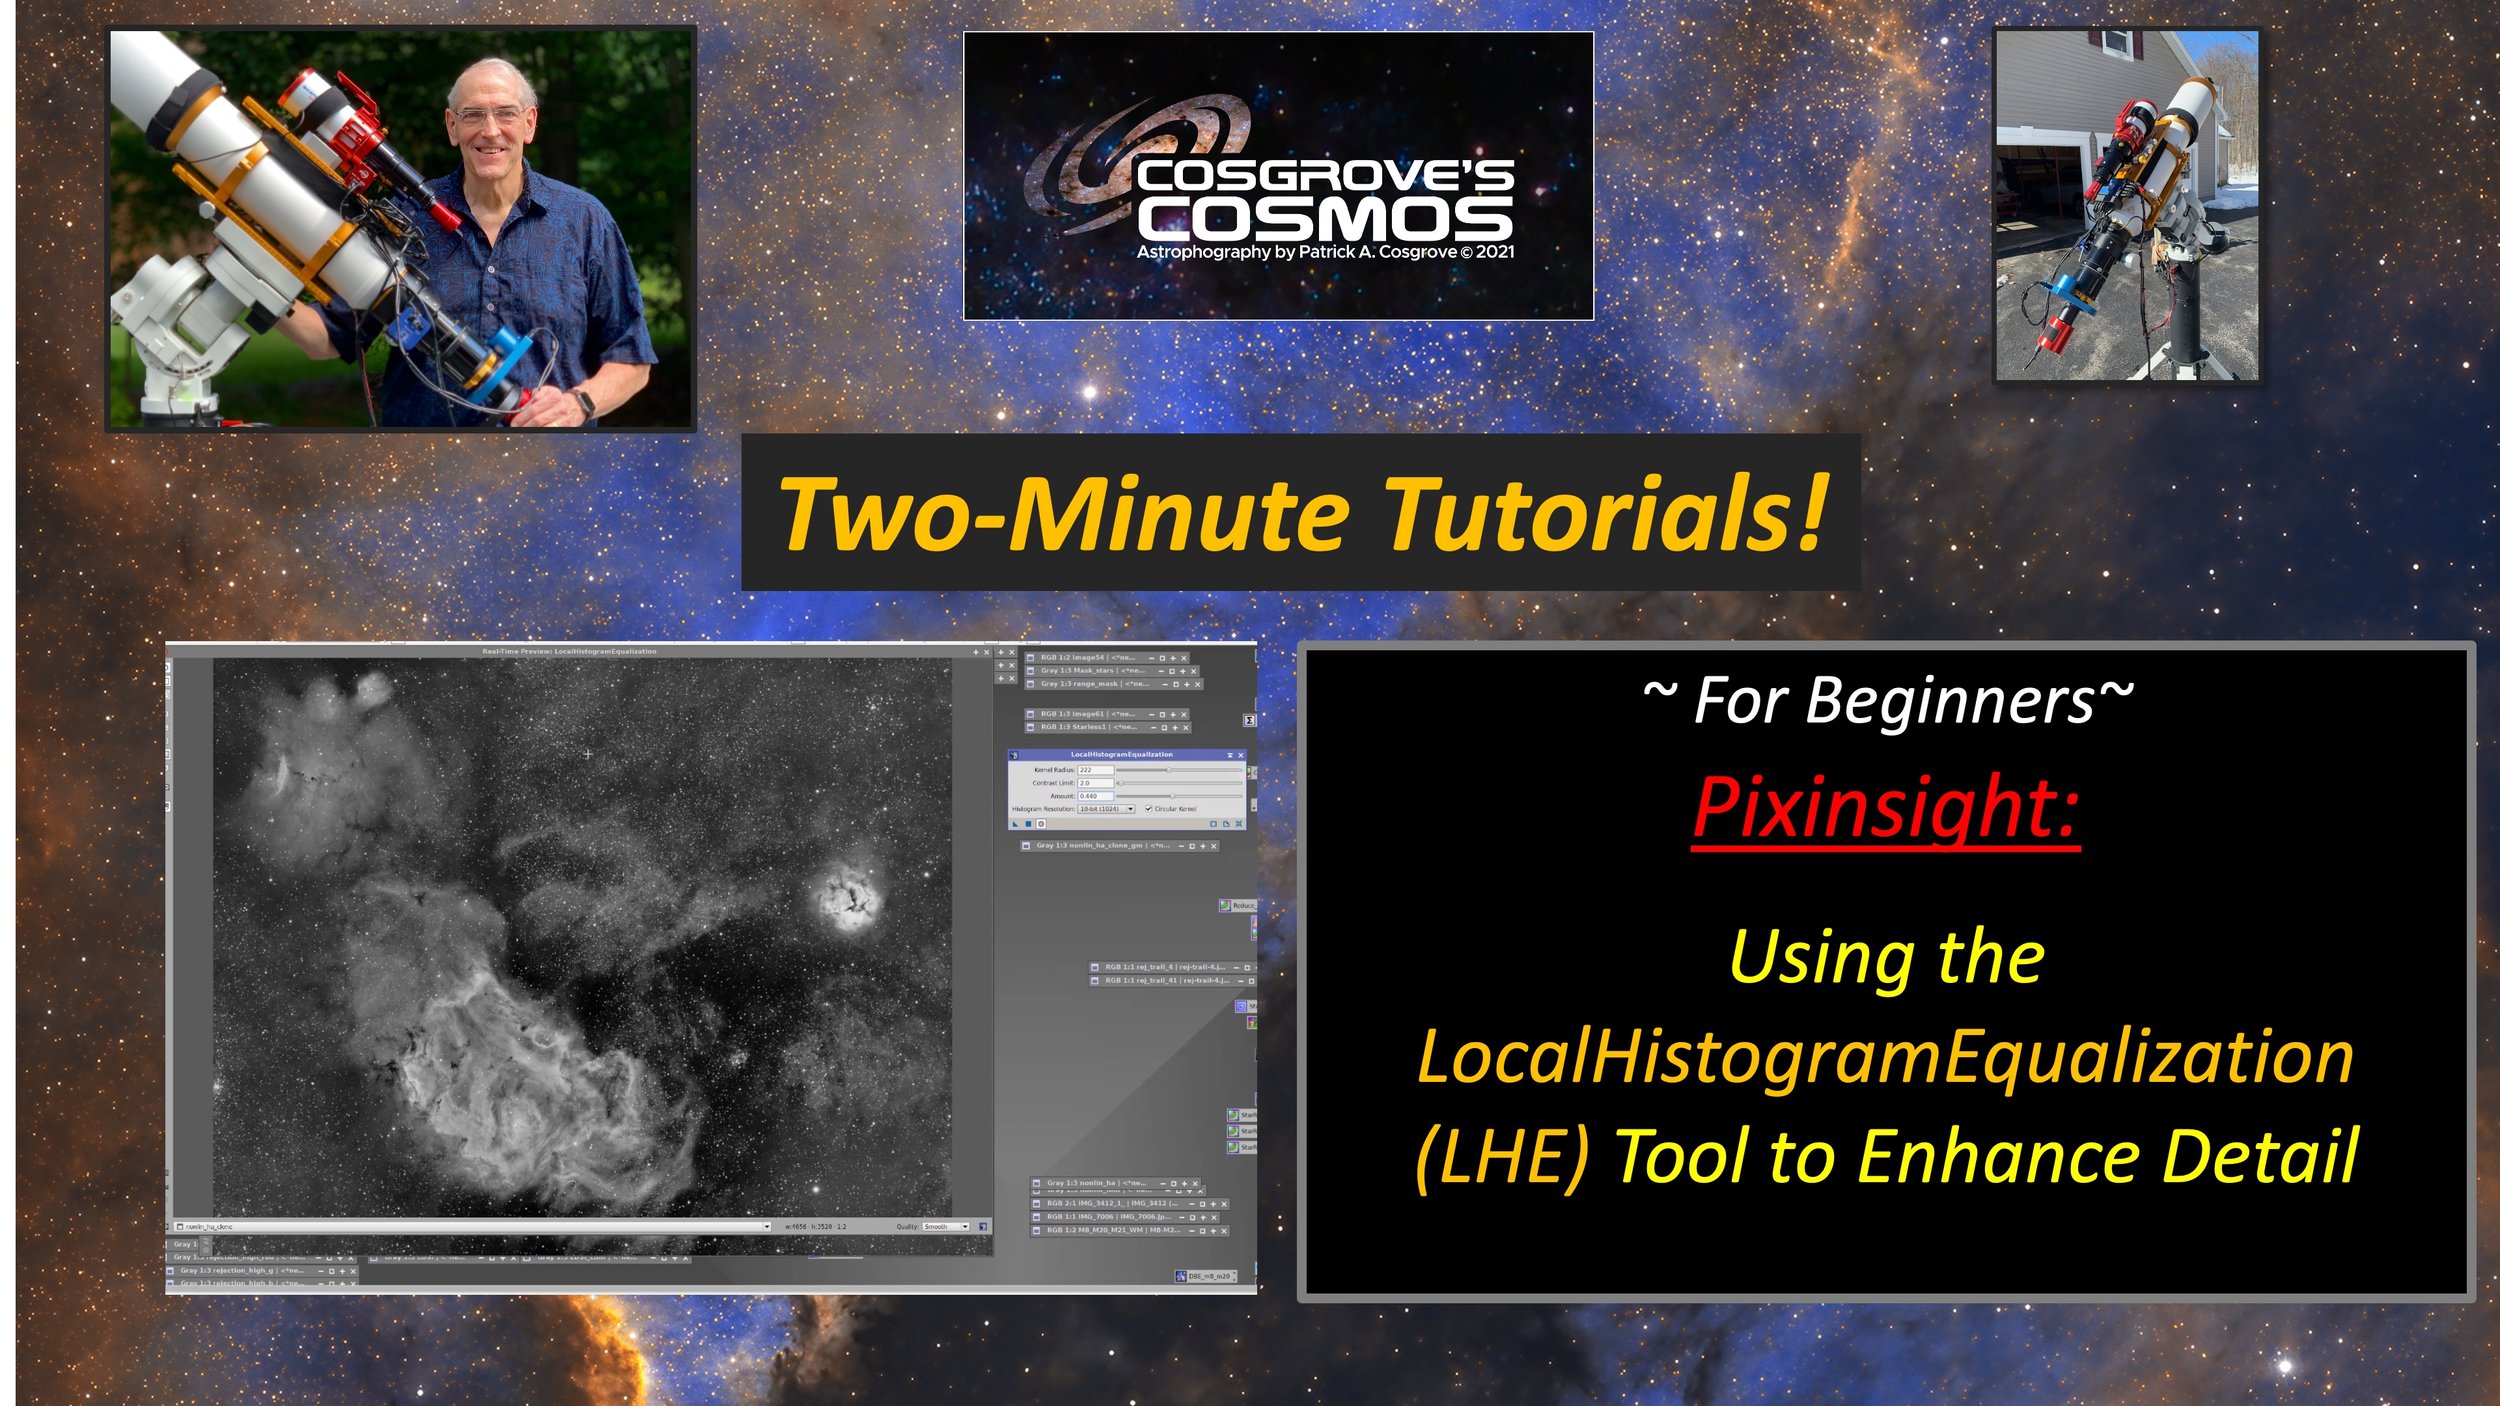
This video covers using the LocalHistogram Transform (LHE) to enhance the detail - at multiple scale levels - in your image.
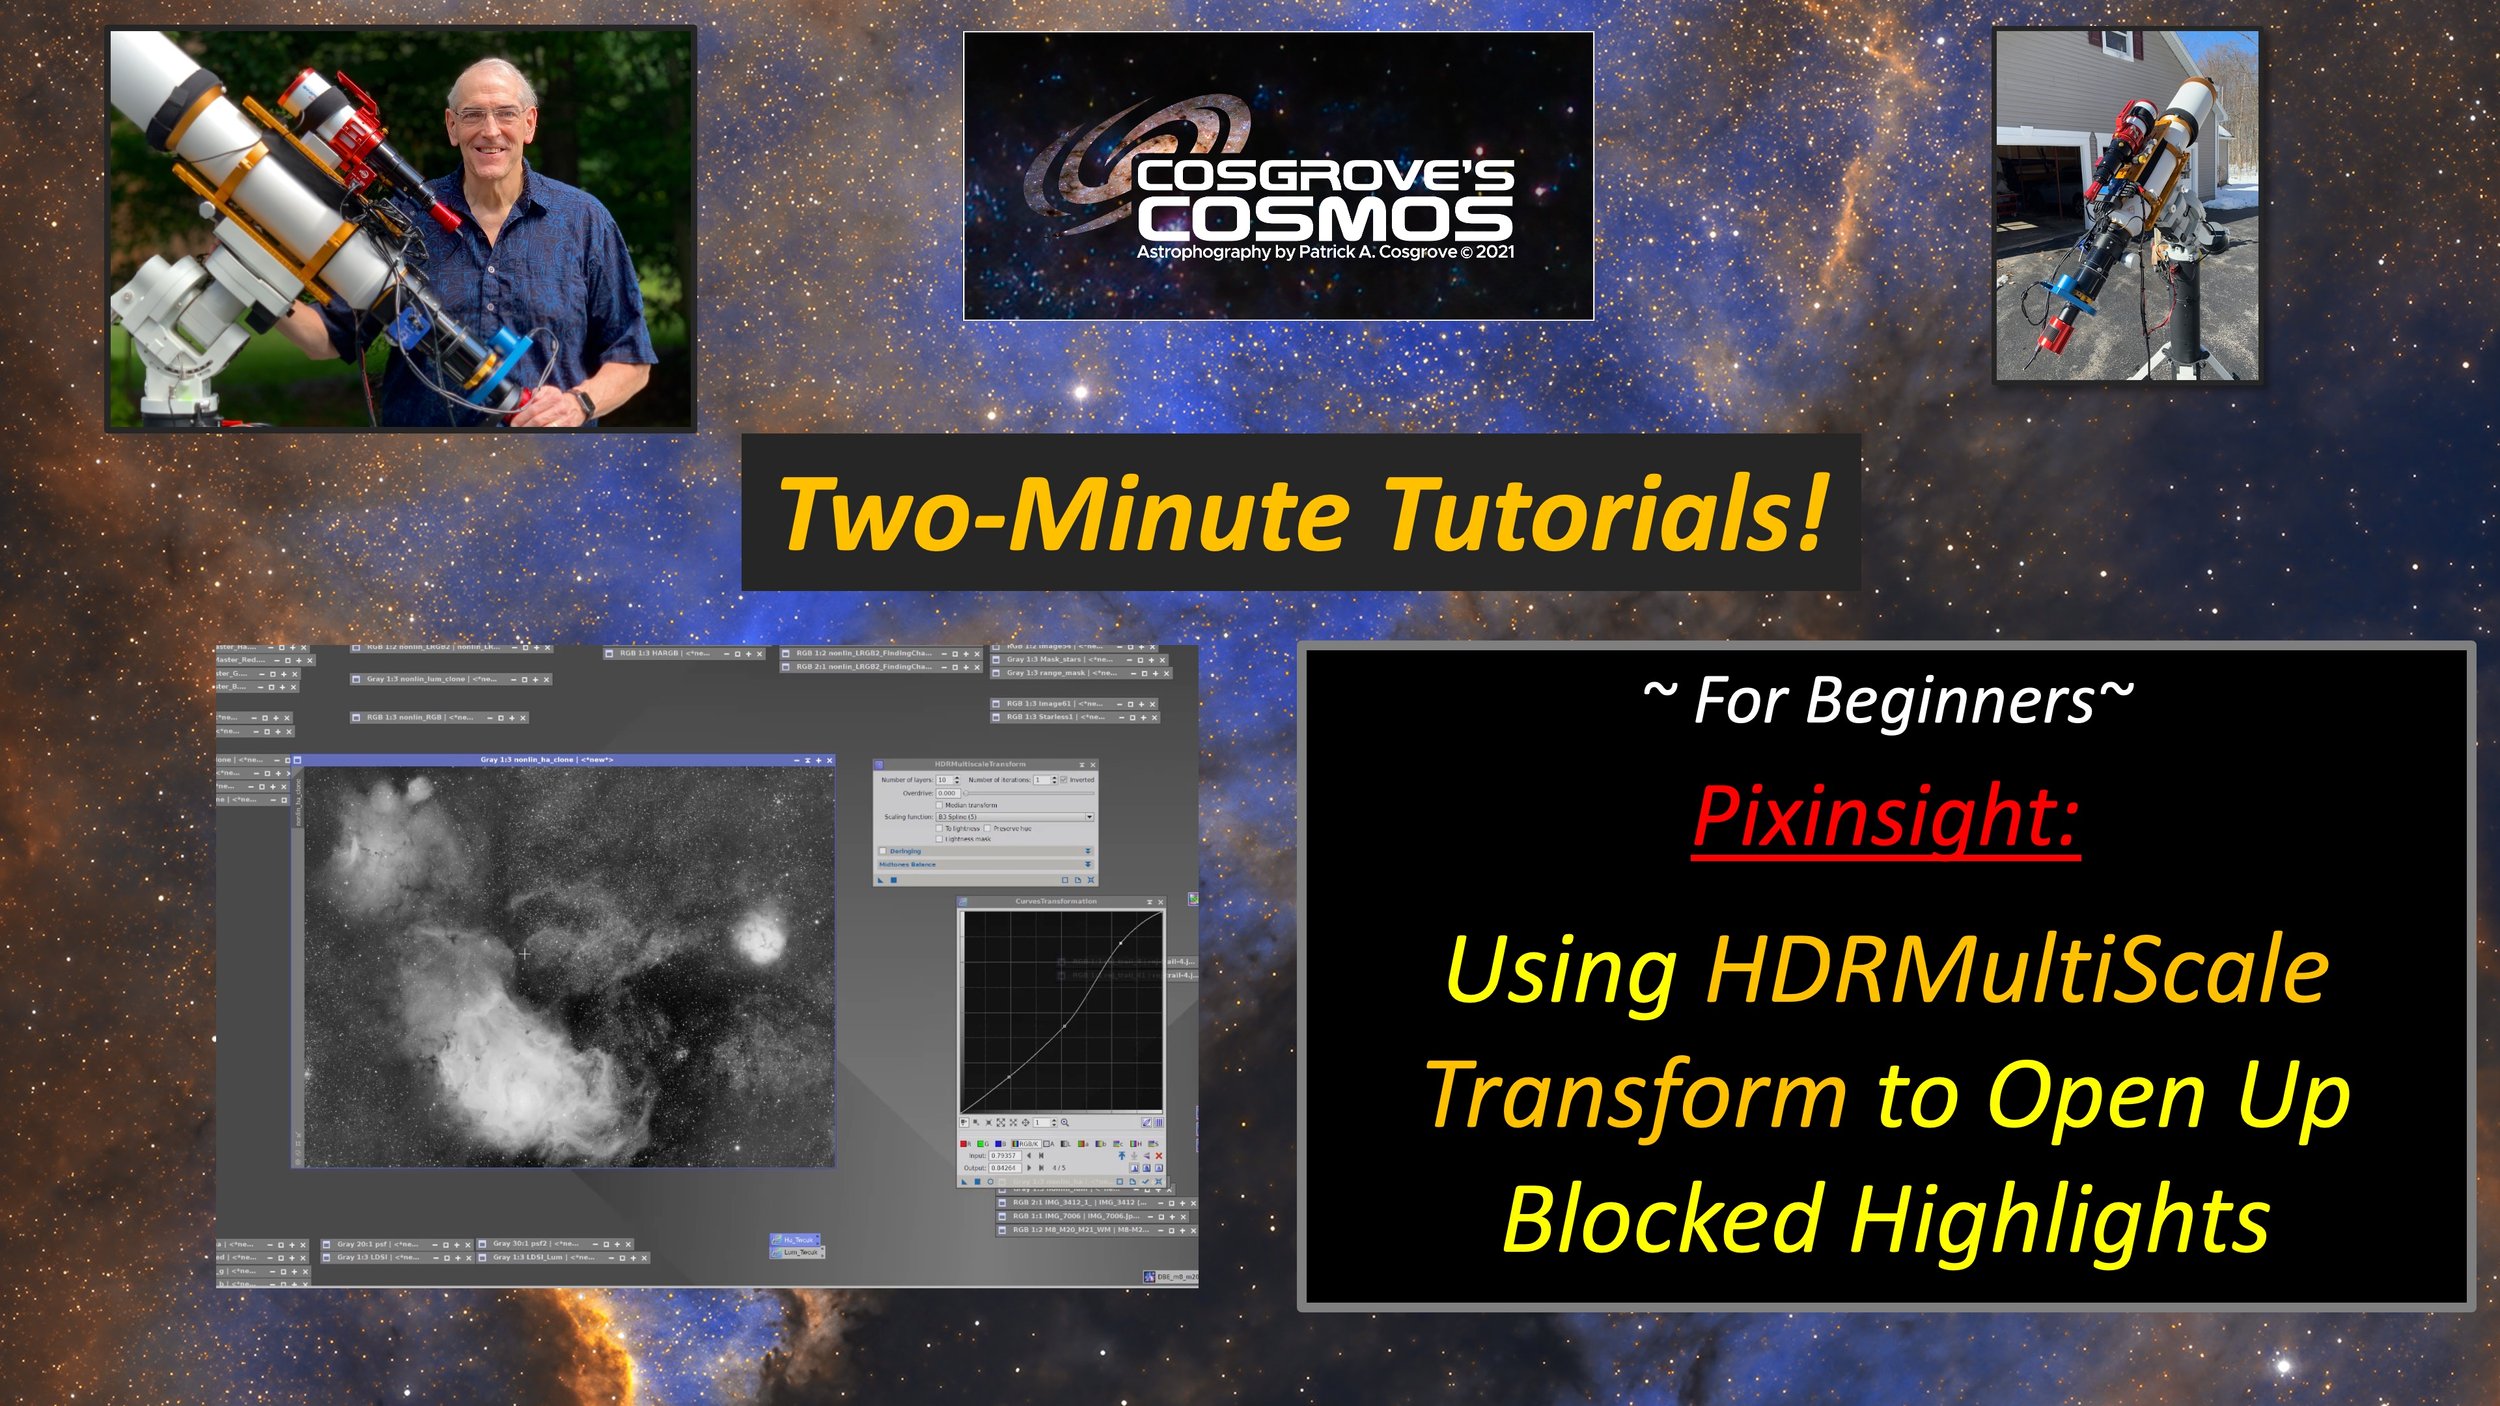
This video covers using HDRMultiScale Transform (MDRMT) to Open up blocked highlights in your image.
Most of what we image is extraordinarily faint - but sometime you will have very bright portions where you lose detail in the highlights. This is common with the bright core of galaxies, brighter portions of some nebulae, and some areas of bright emission Ha regions.
HDRMT can redistribute the code values at the top of your tonescale by using a Multiscale method.
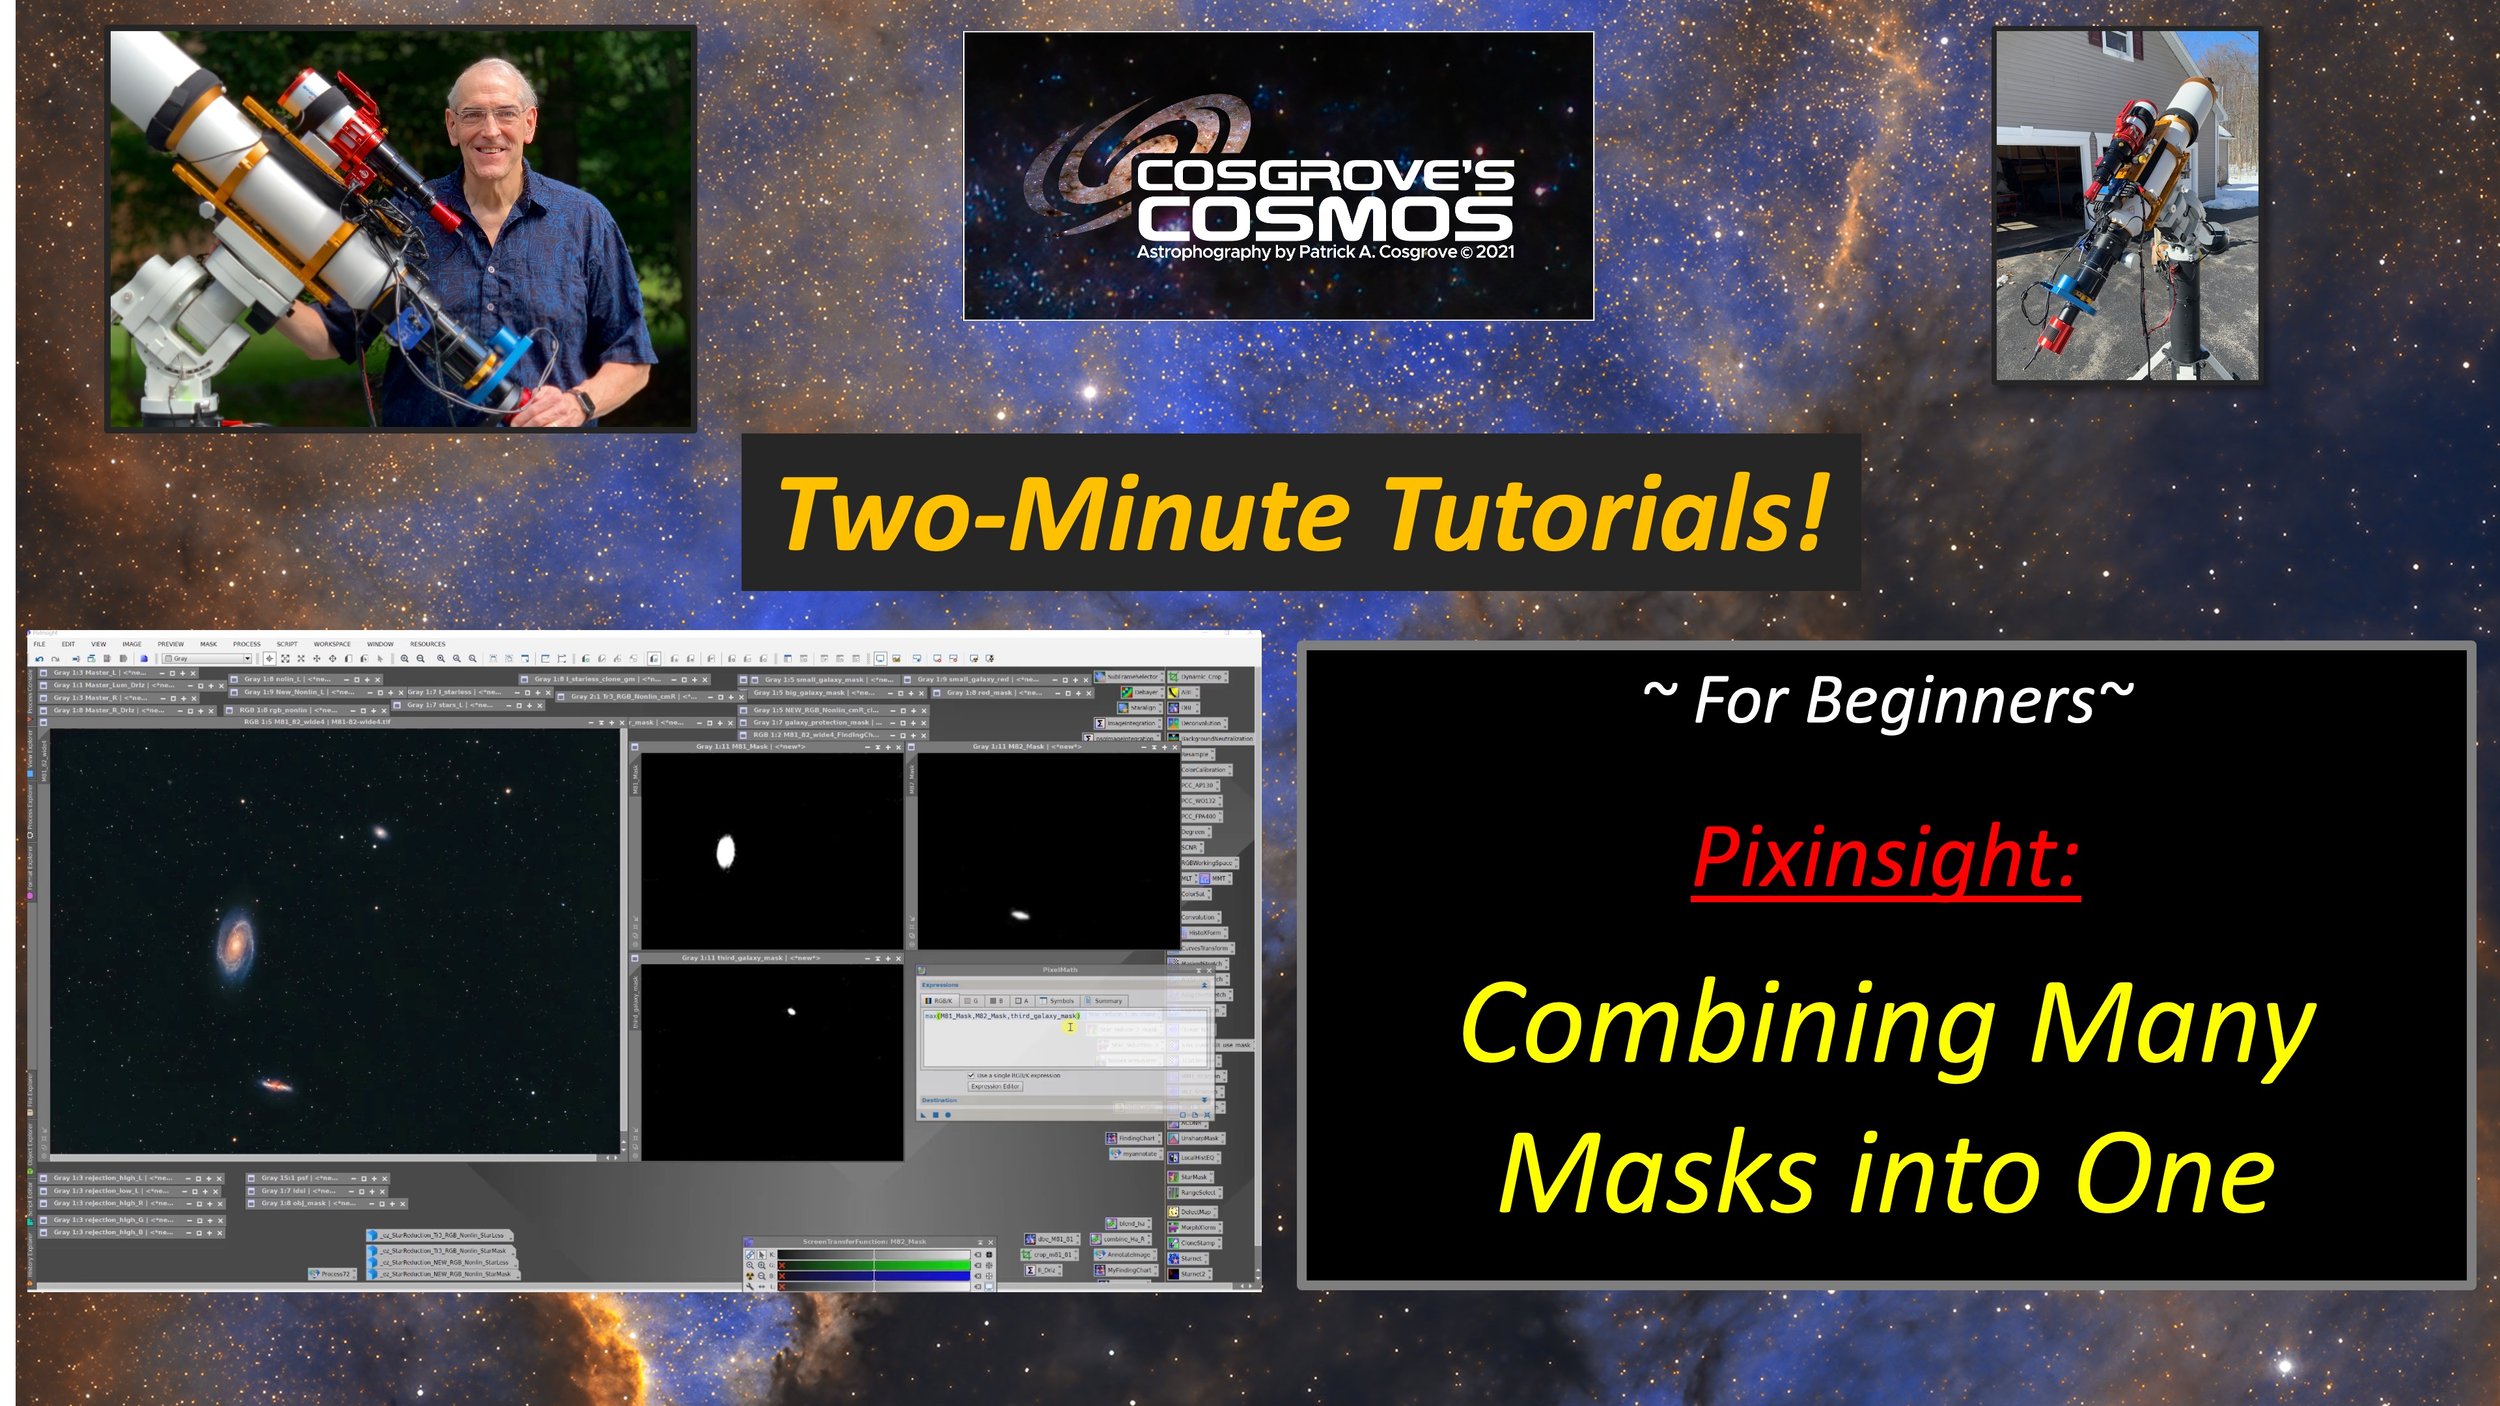
This video deals with combining two or more masks into one single mask. In effect, it creates a "union" of masks.
This is handy if you have been working on aspects of your image with individual masks and now want to treat all of these elements in a common way.
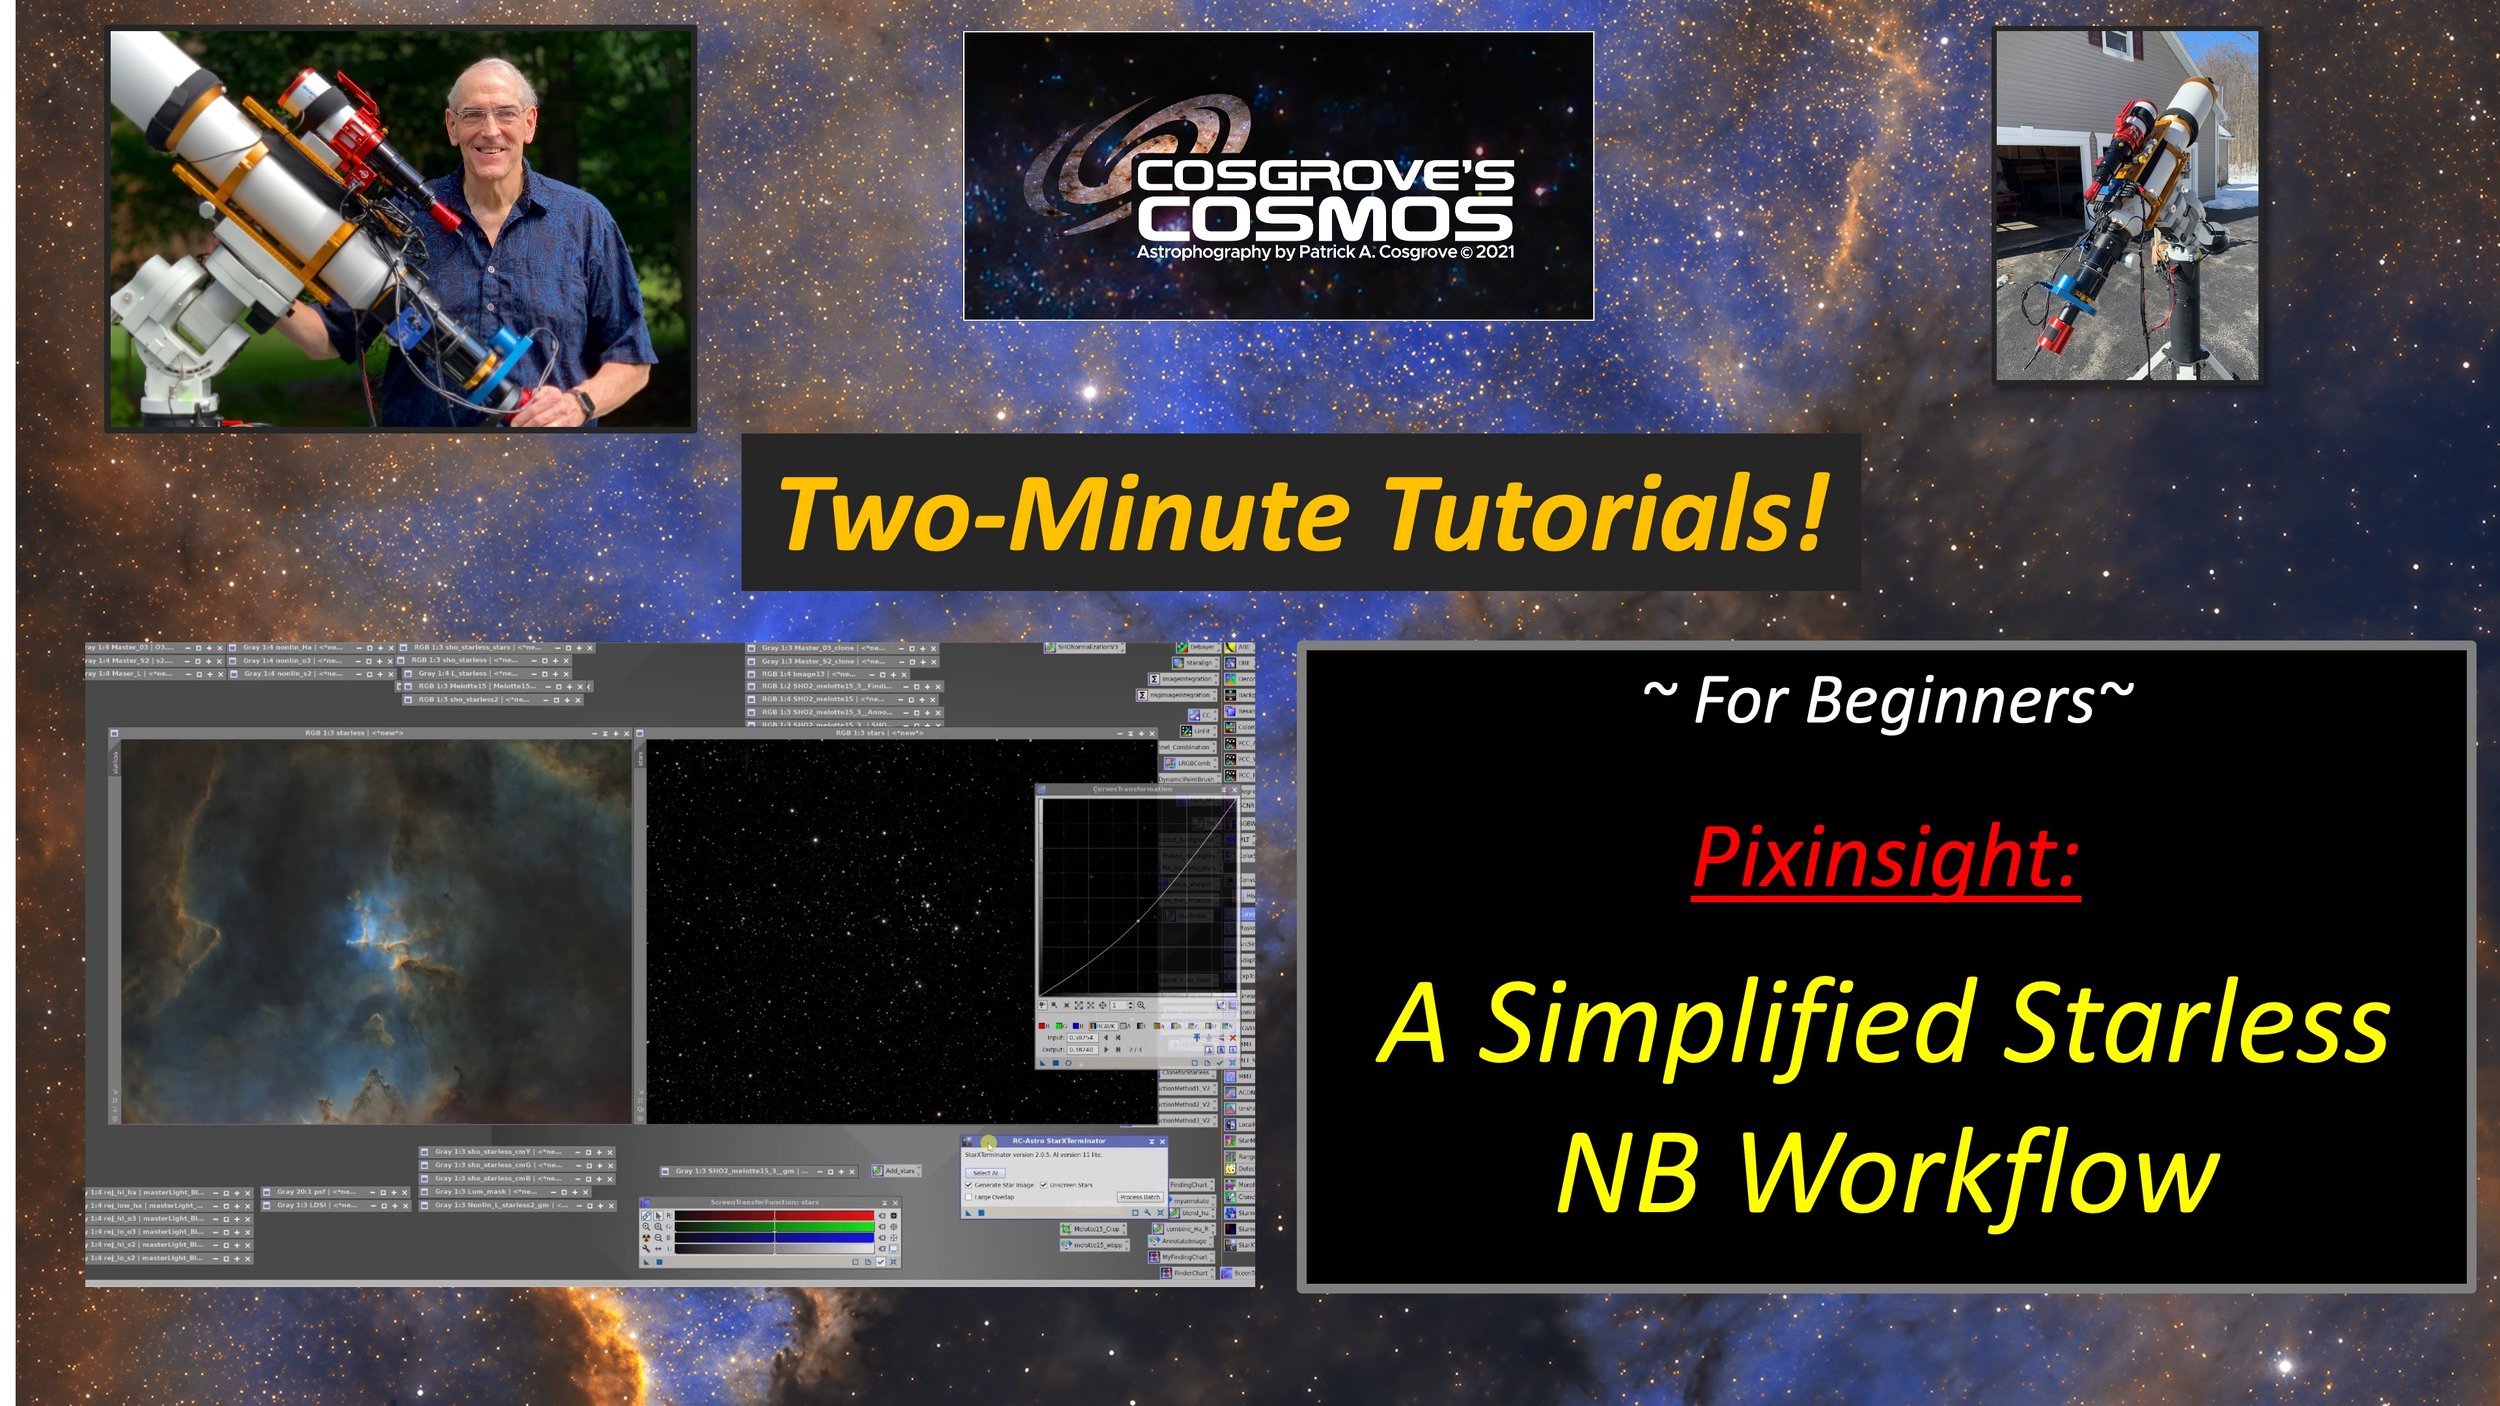
This video covers a simplified starless workflow for narrowband images.
I have had several requests for something like this. While it is not really a topic for the 2-Minute Tutorial Format, I thought I might share a simplified view that would cover some of the basic ideas.
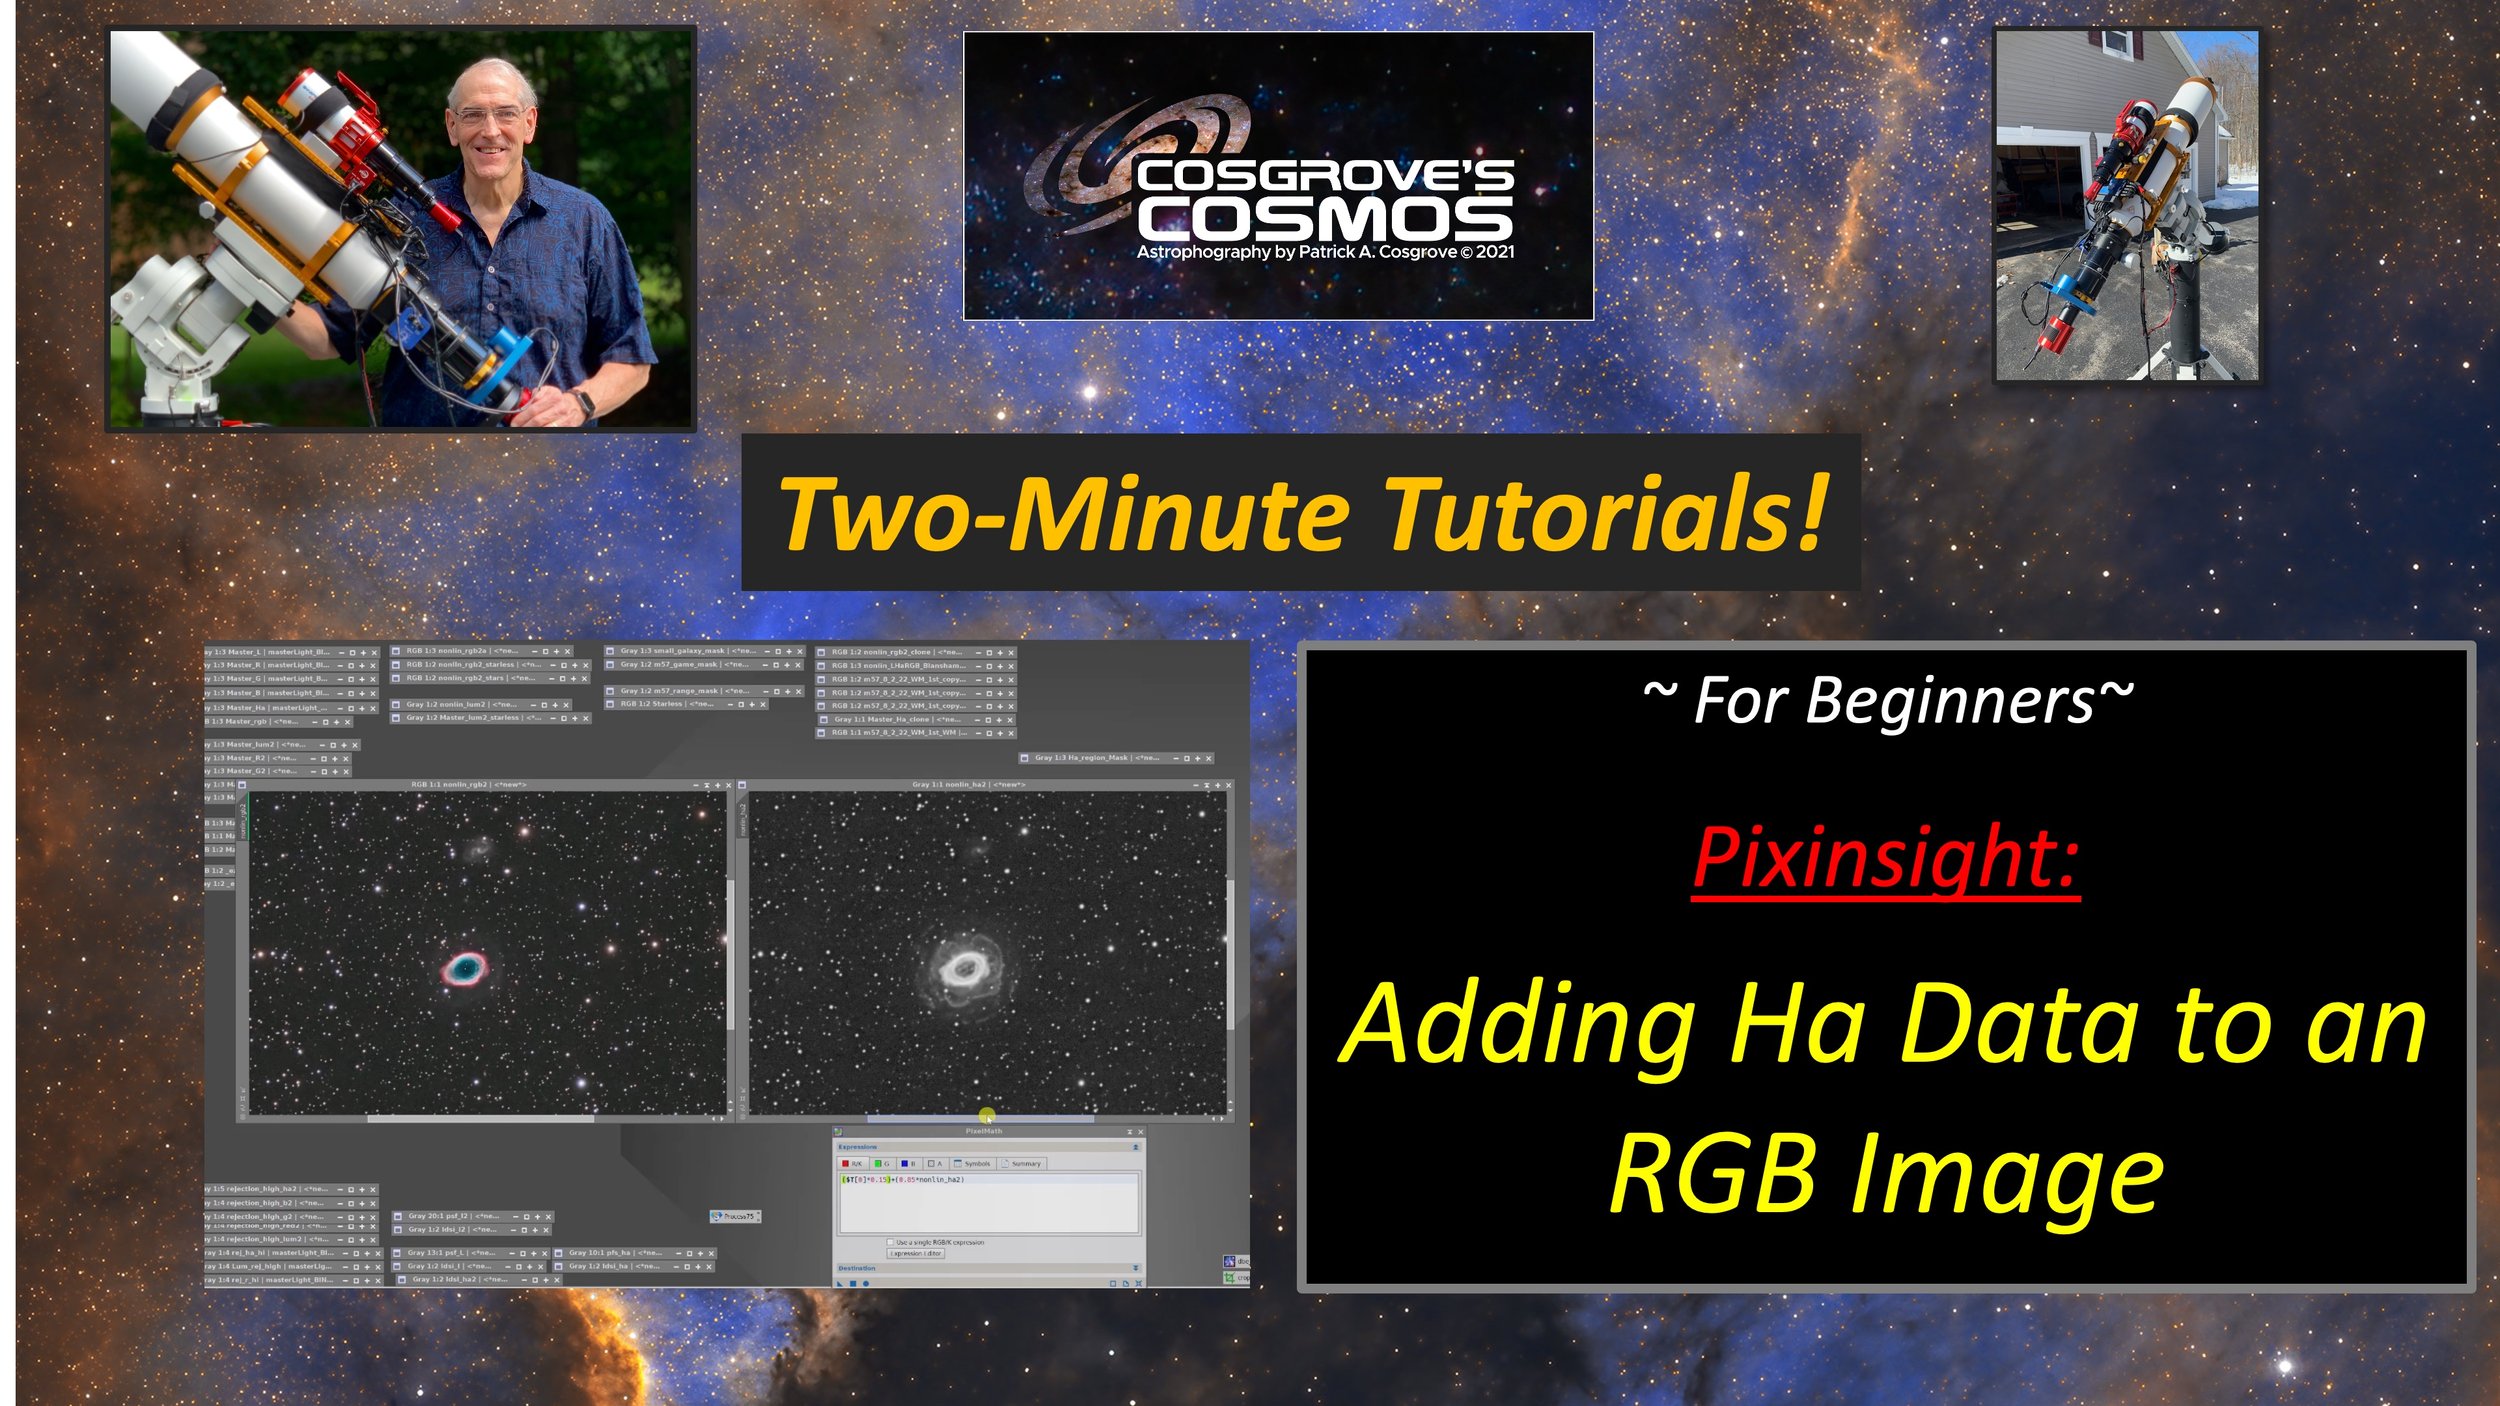
This video deals with adding Ha data to an RGB or LRGB image using PixelMath.
It also shows a masking technique that can target the effects you are going for.
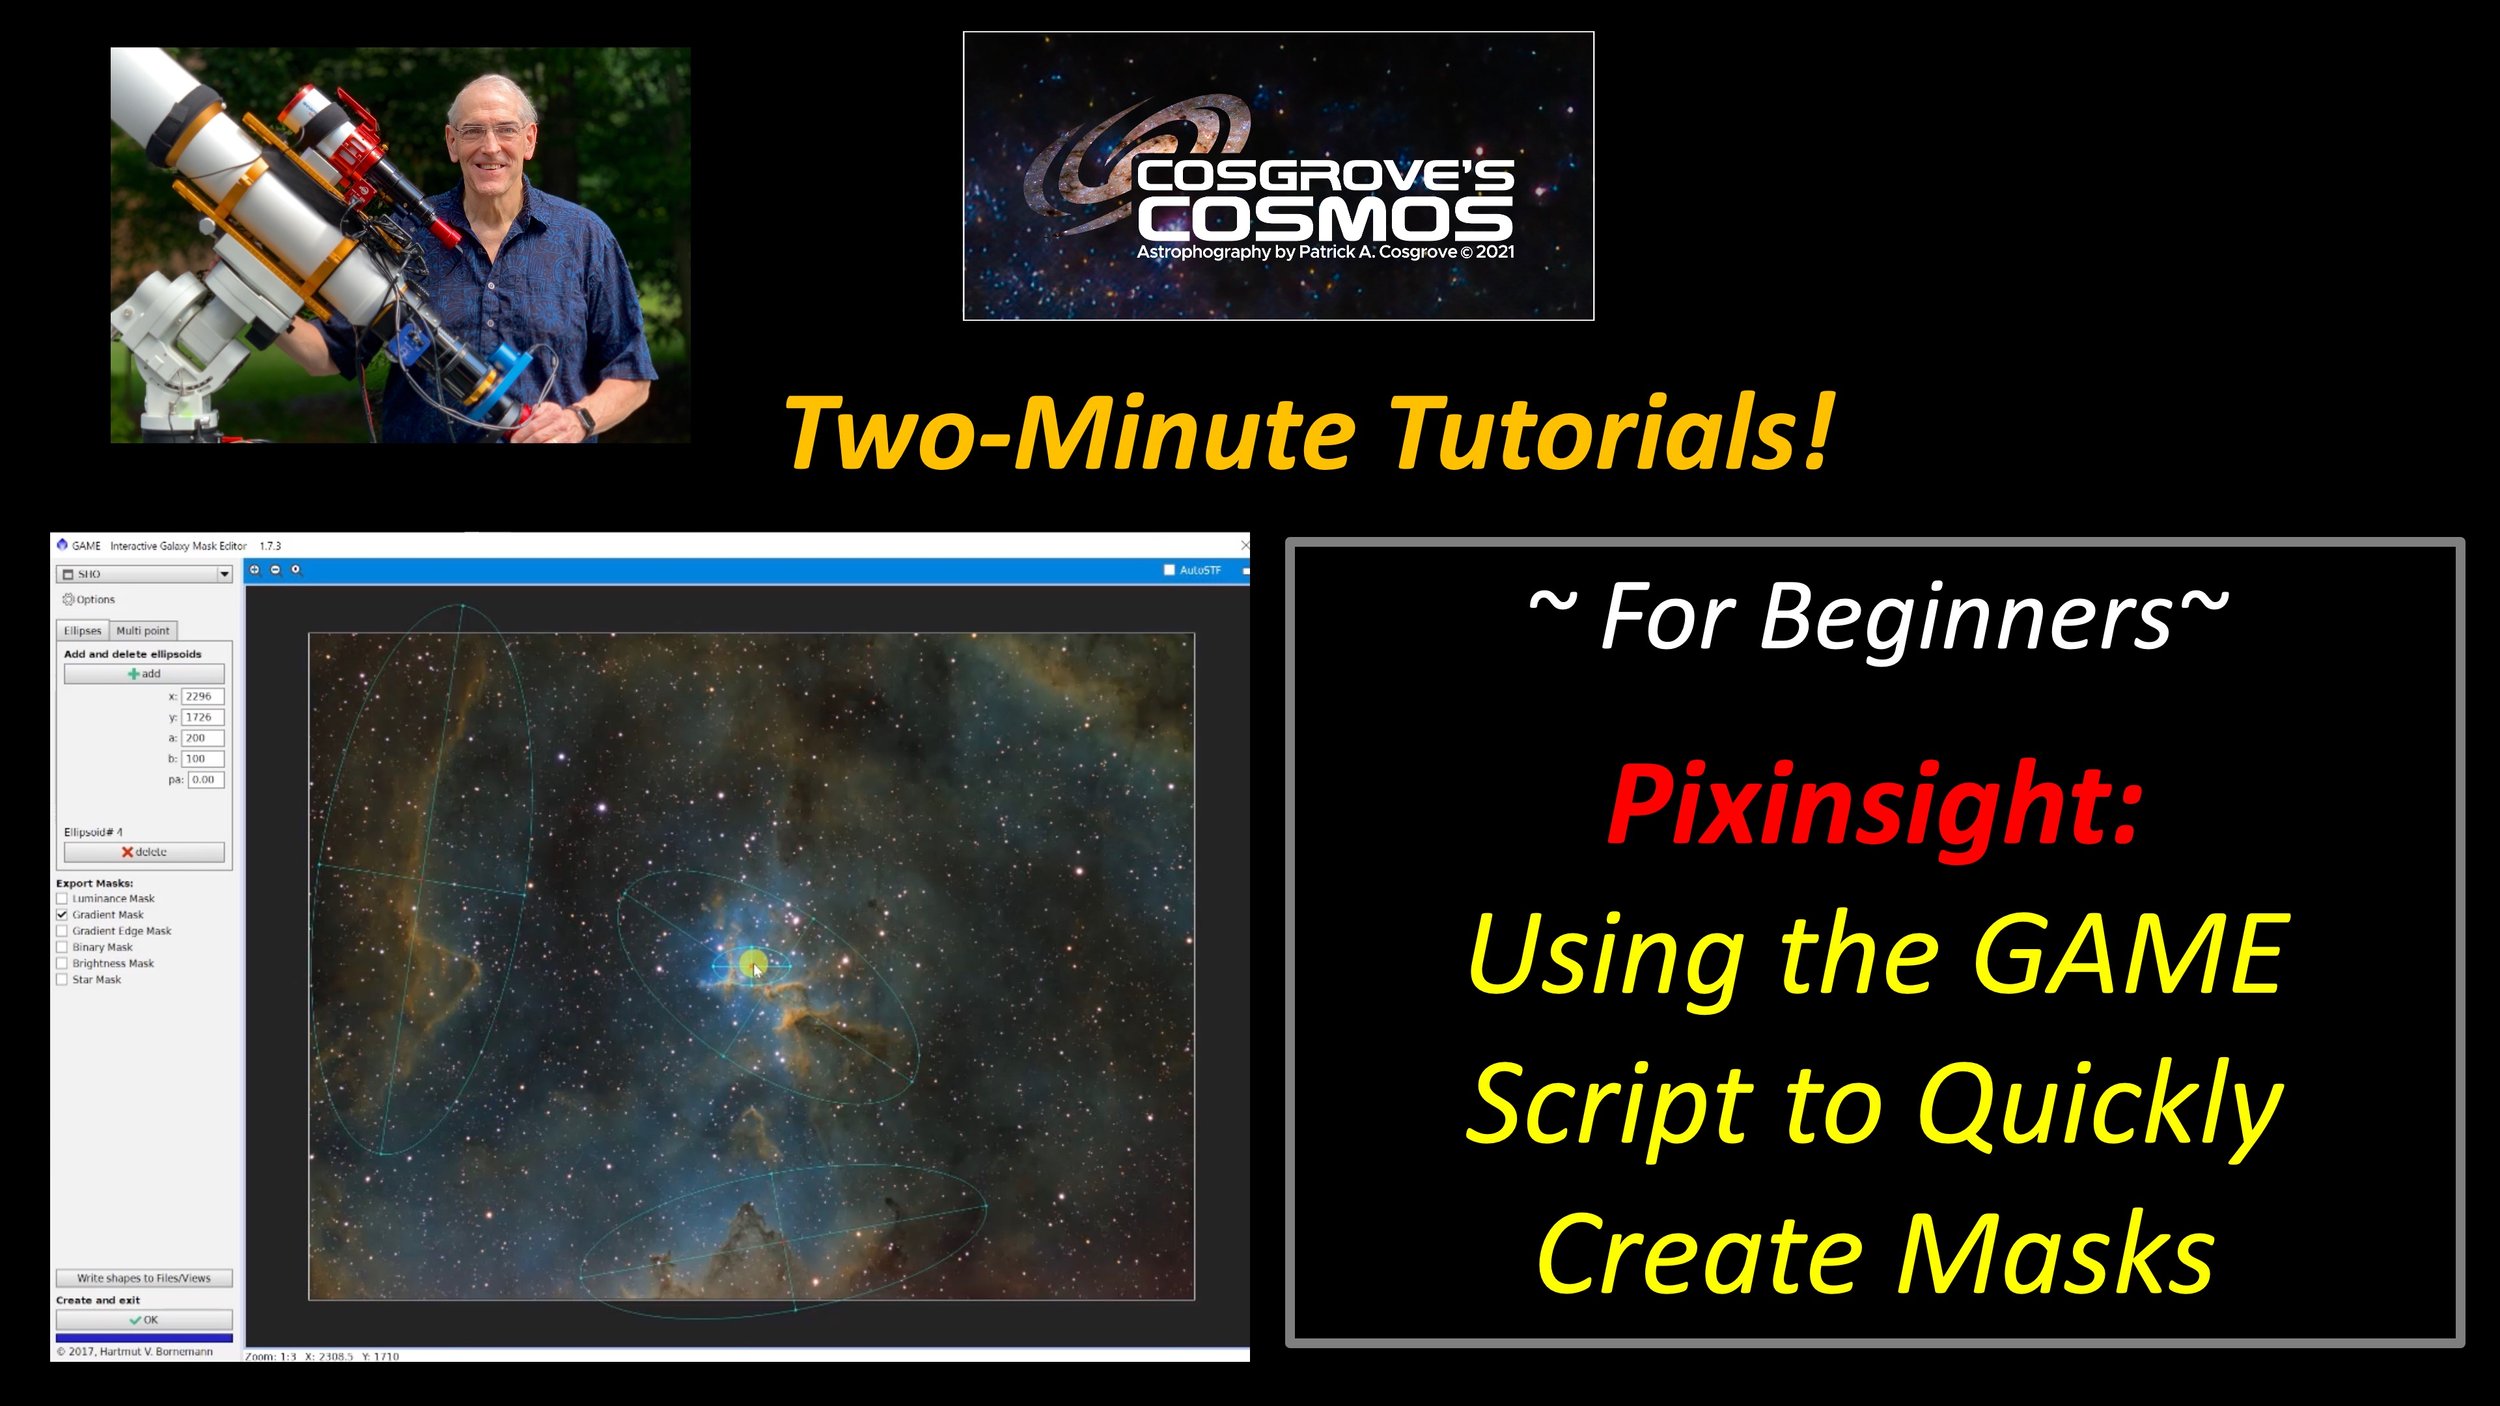
This video covers using the GAME script to create masks that create areas of focus for your image.
GAME is a free script that must be added to your Pixinsight install.
It allows you to create gradient and other forms of masks from ellipses or more complex shapes.
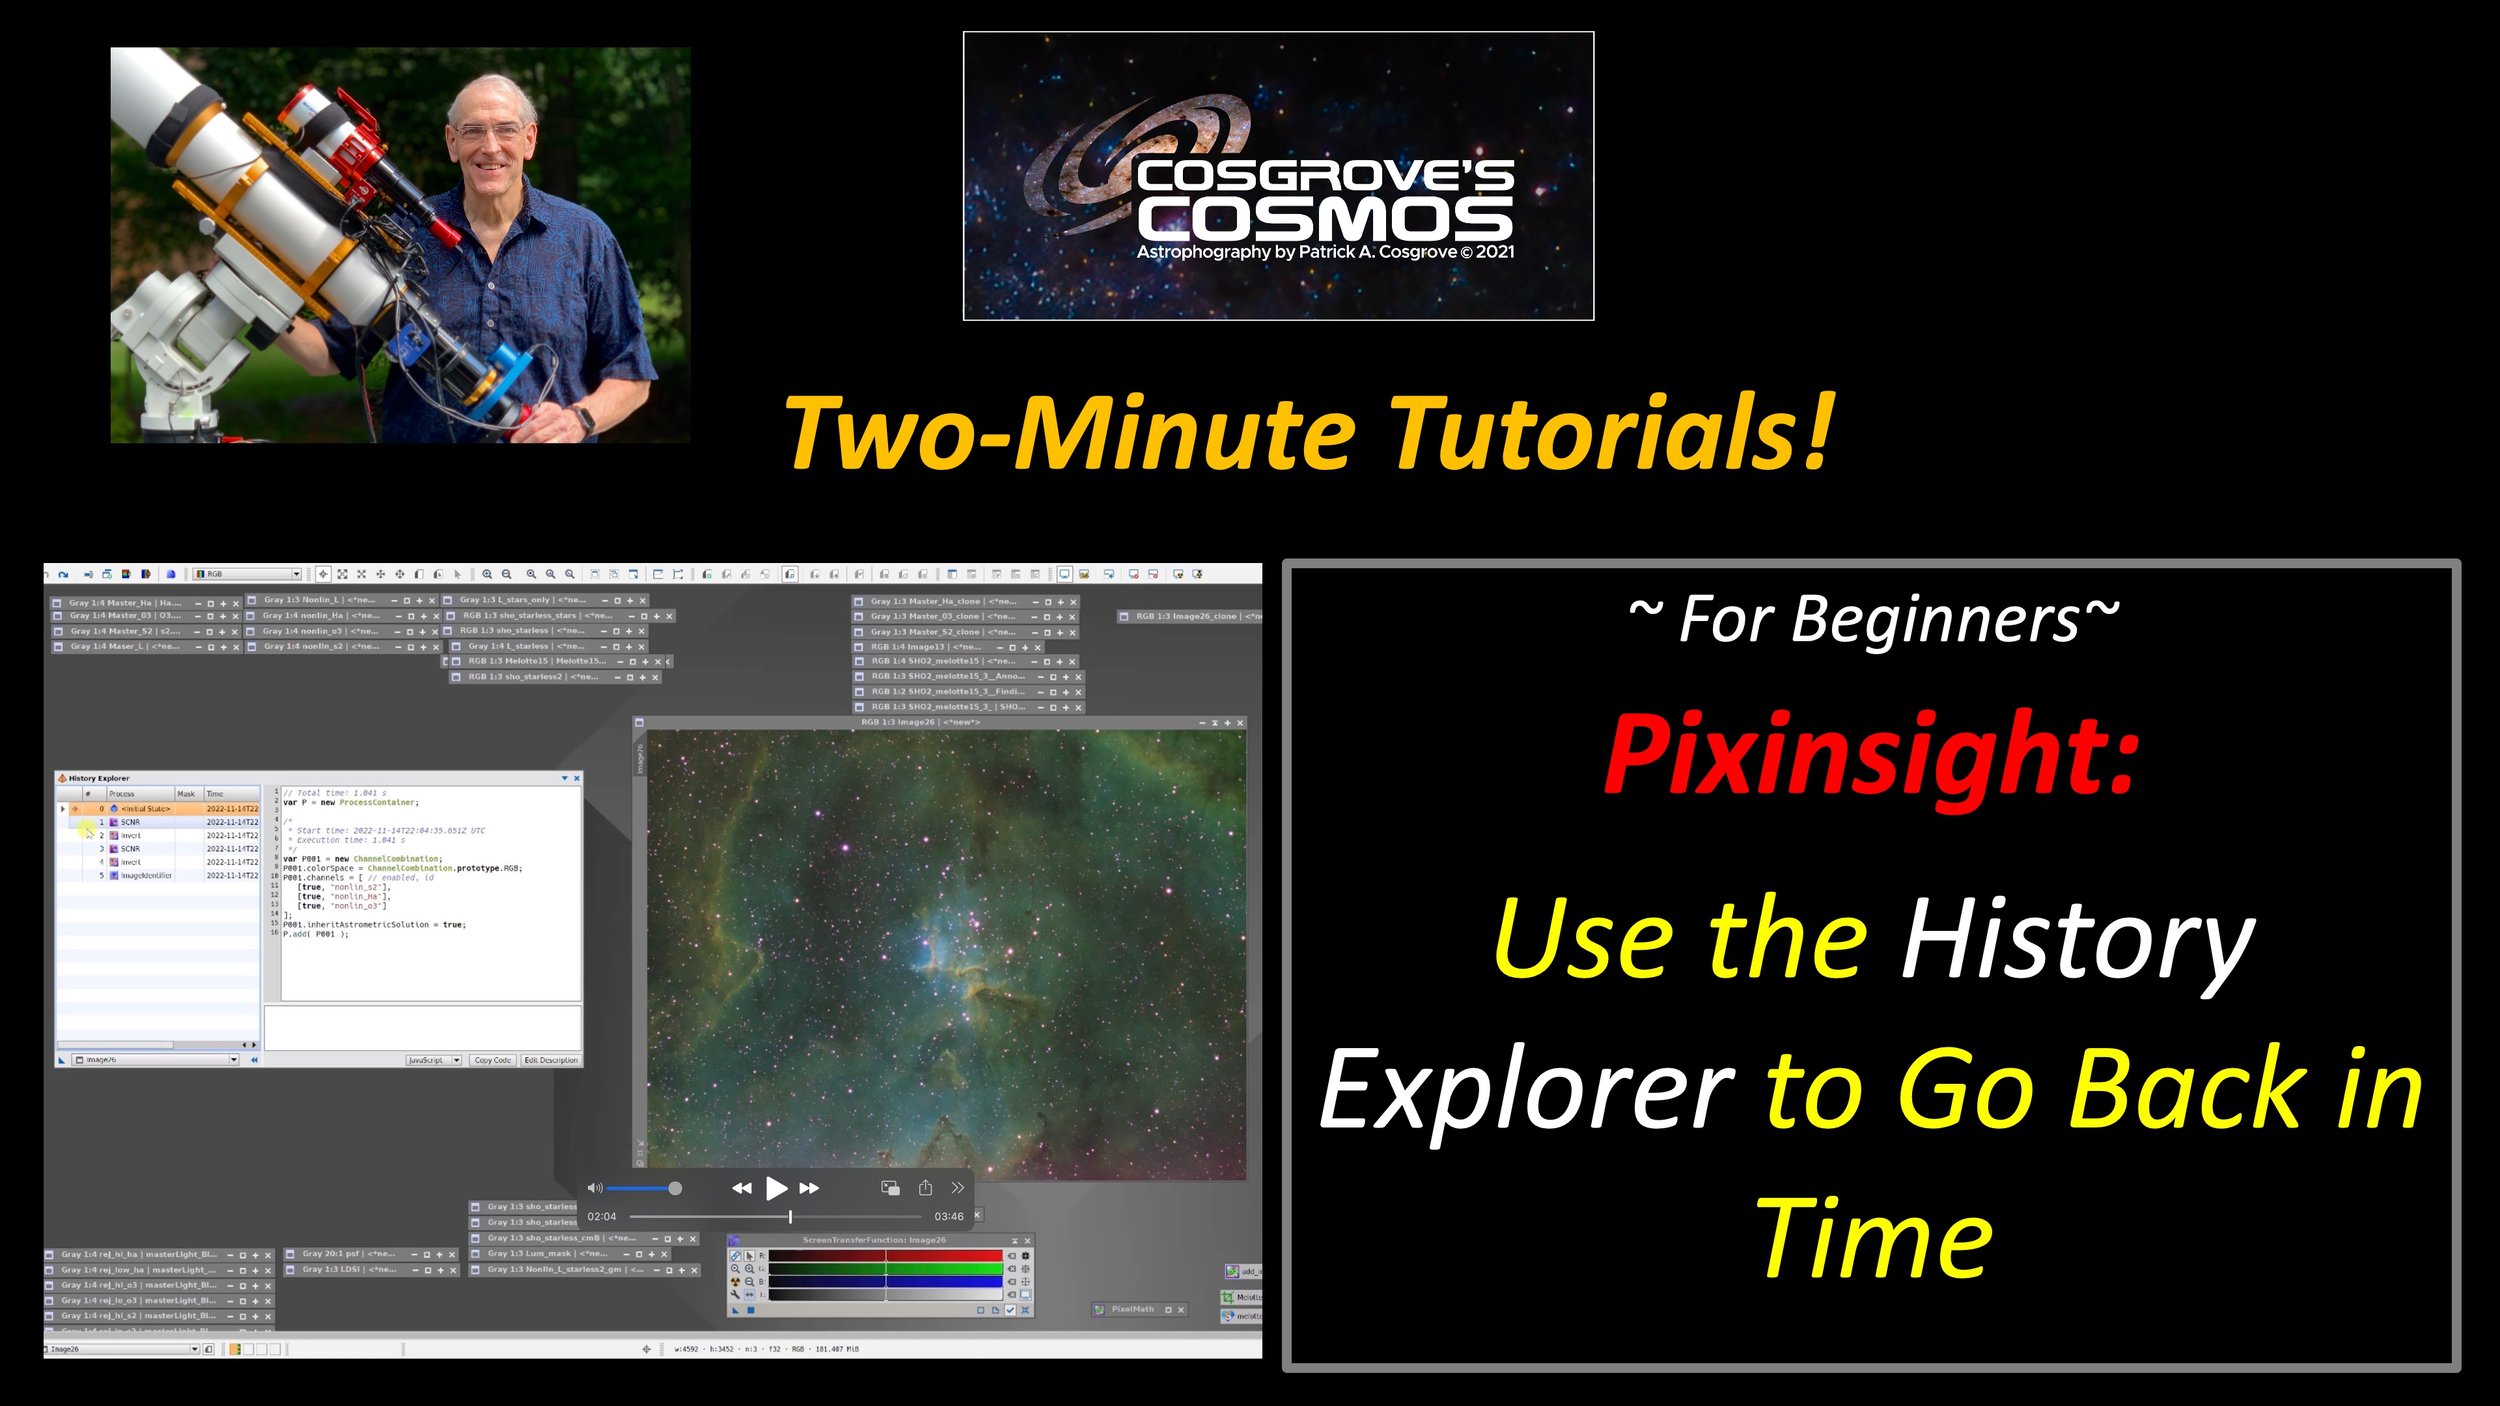
This video uses the Image History Explorer to go back in time!
Sometimes it is nice to review the processing chain that has produced an image.
Sometimes it is nice to grab an earlier version of an image so you can try an alternative processing method on it and compare it to what you currently have.
This video shows how you can use History Explorer to do all of this and more!
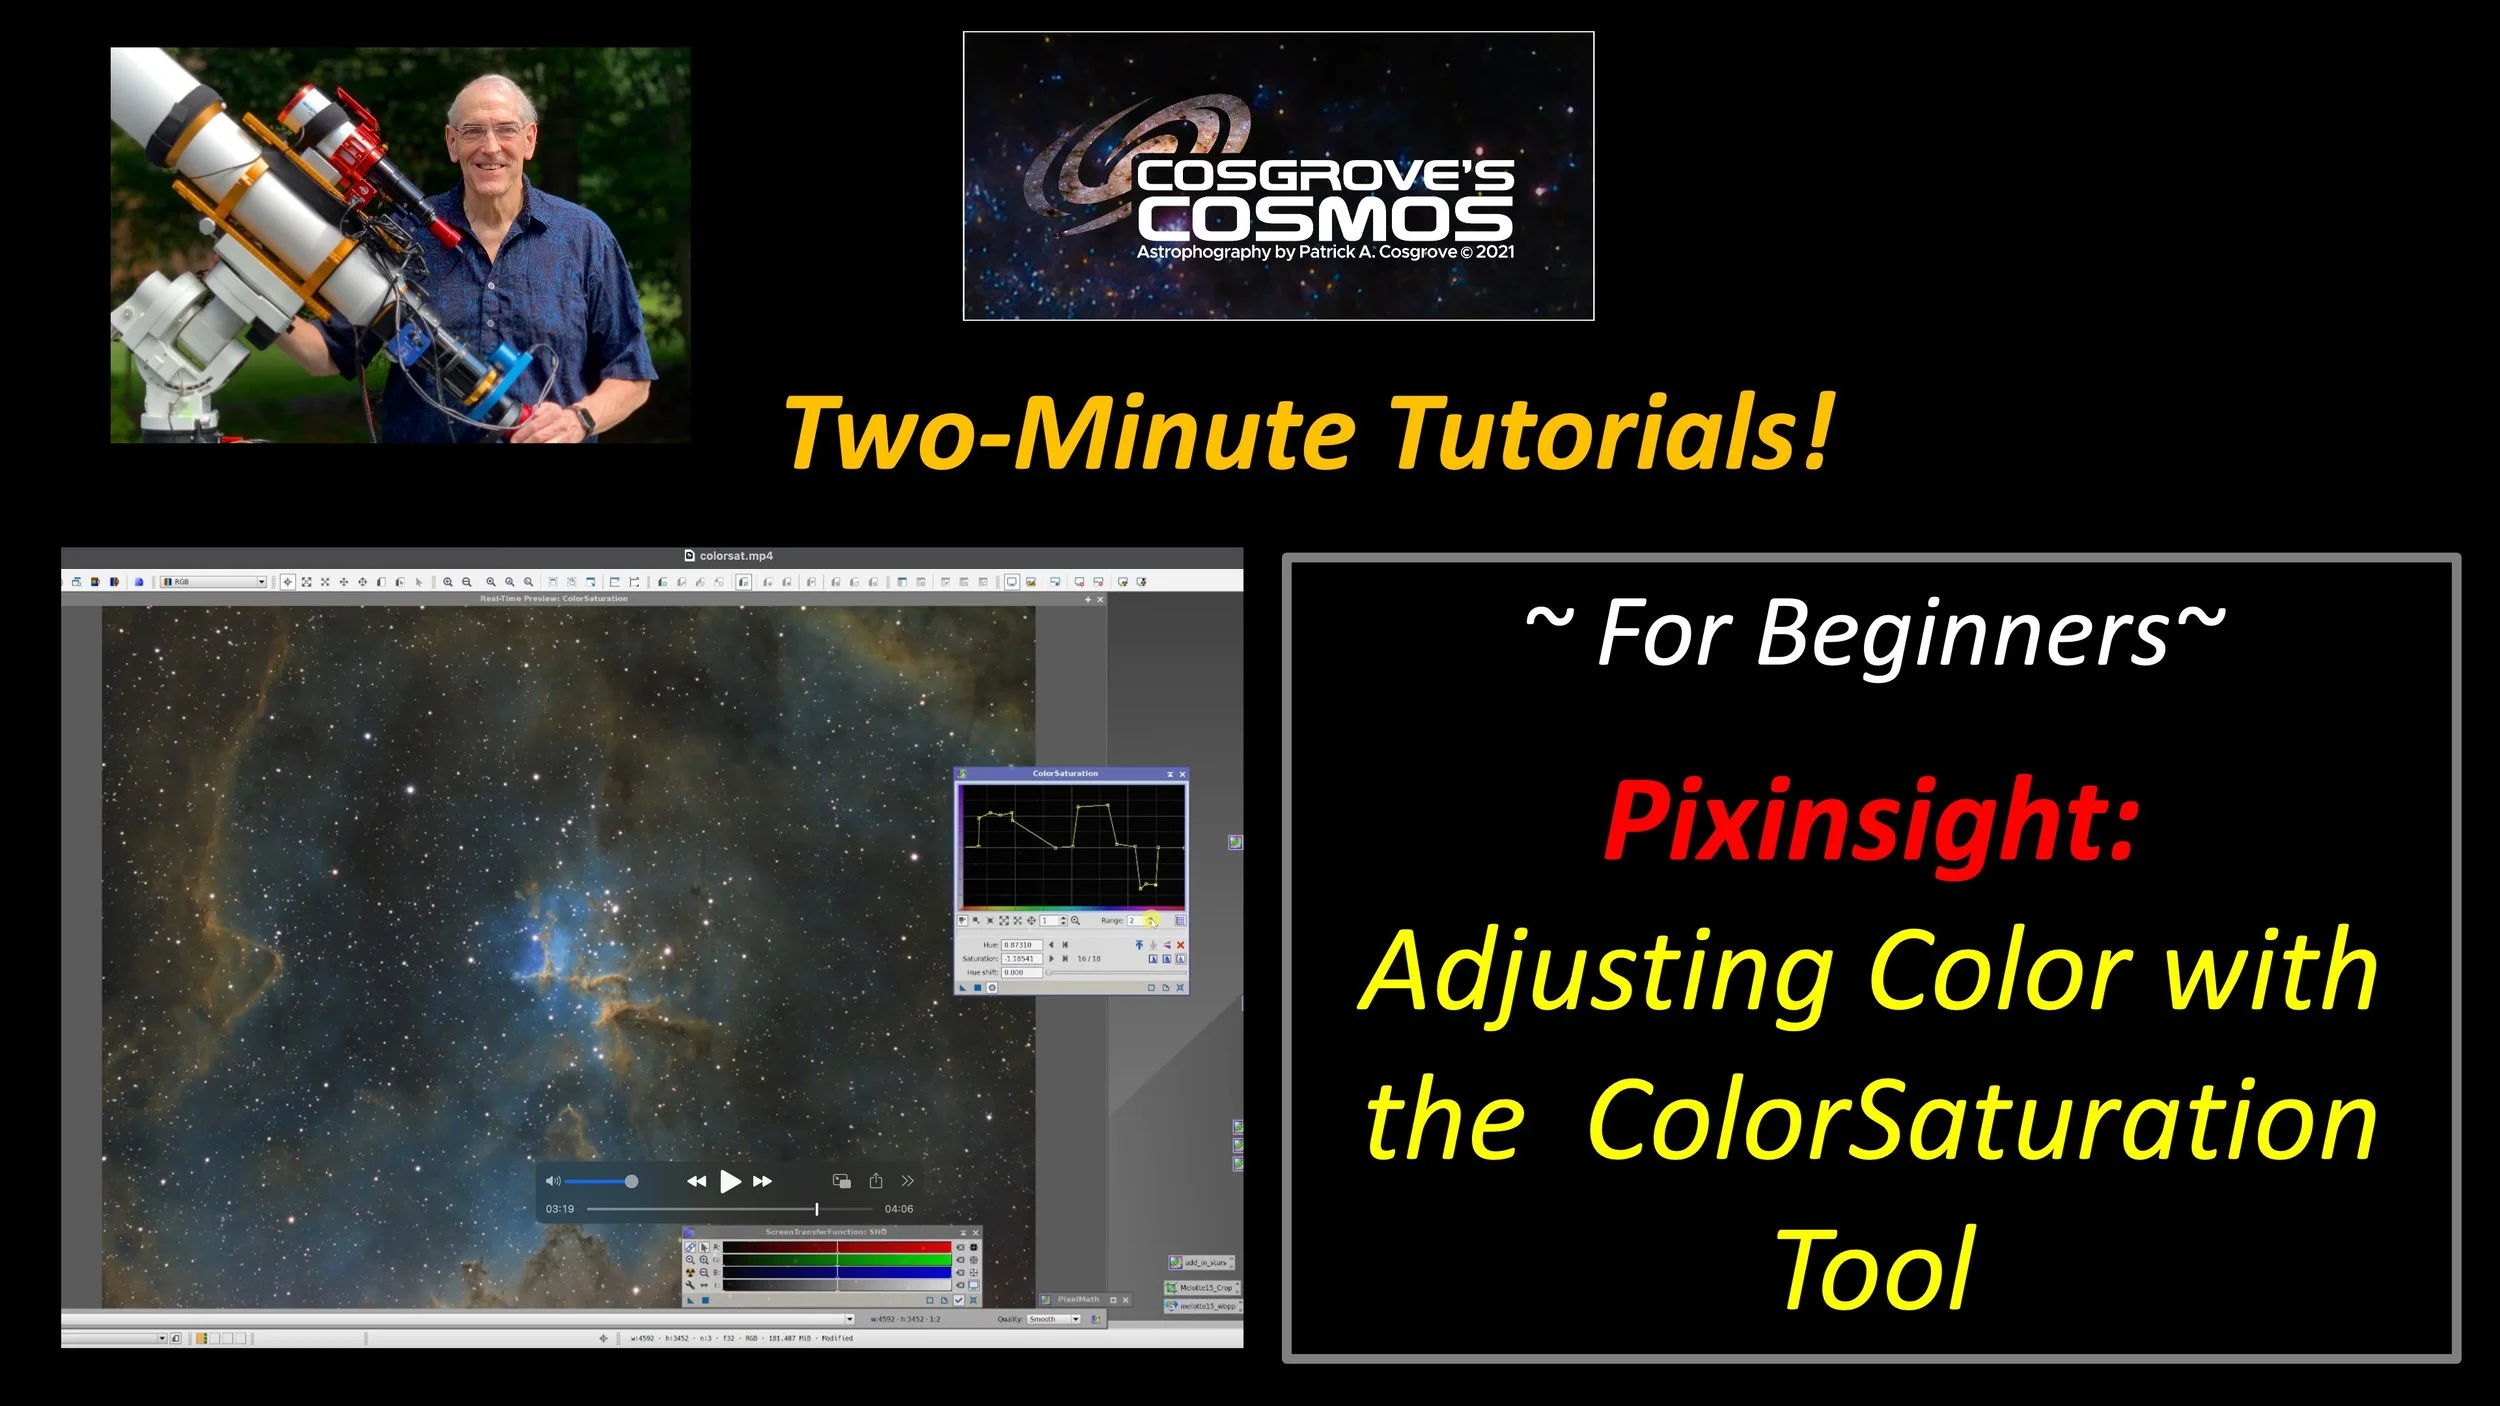
This video uses the ColorSaturation Tool to adjust colors in your image selectively.
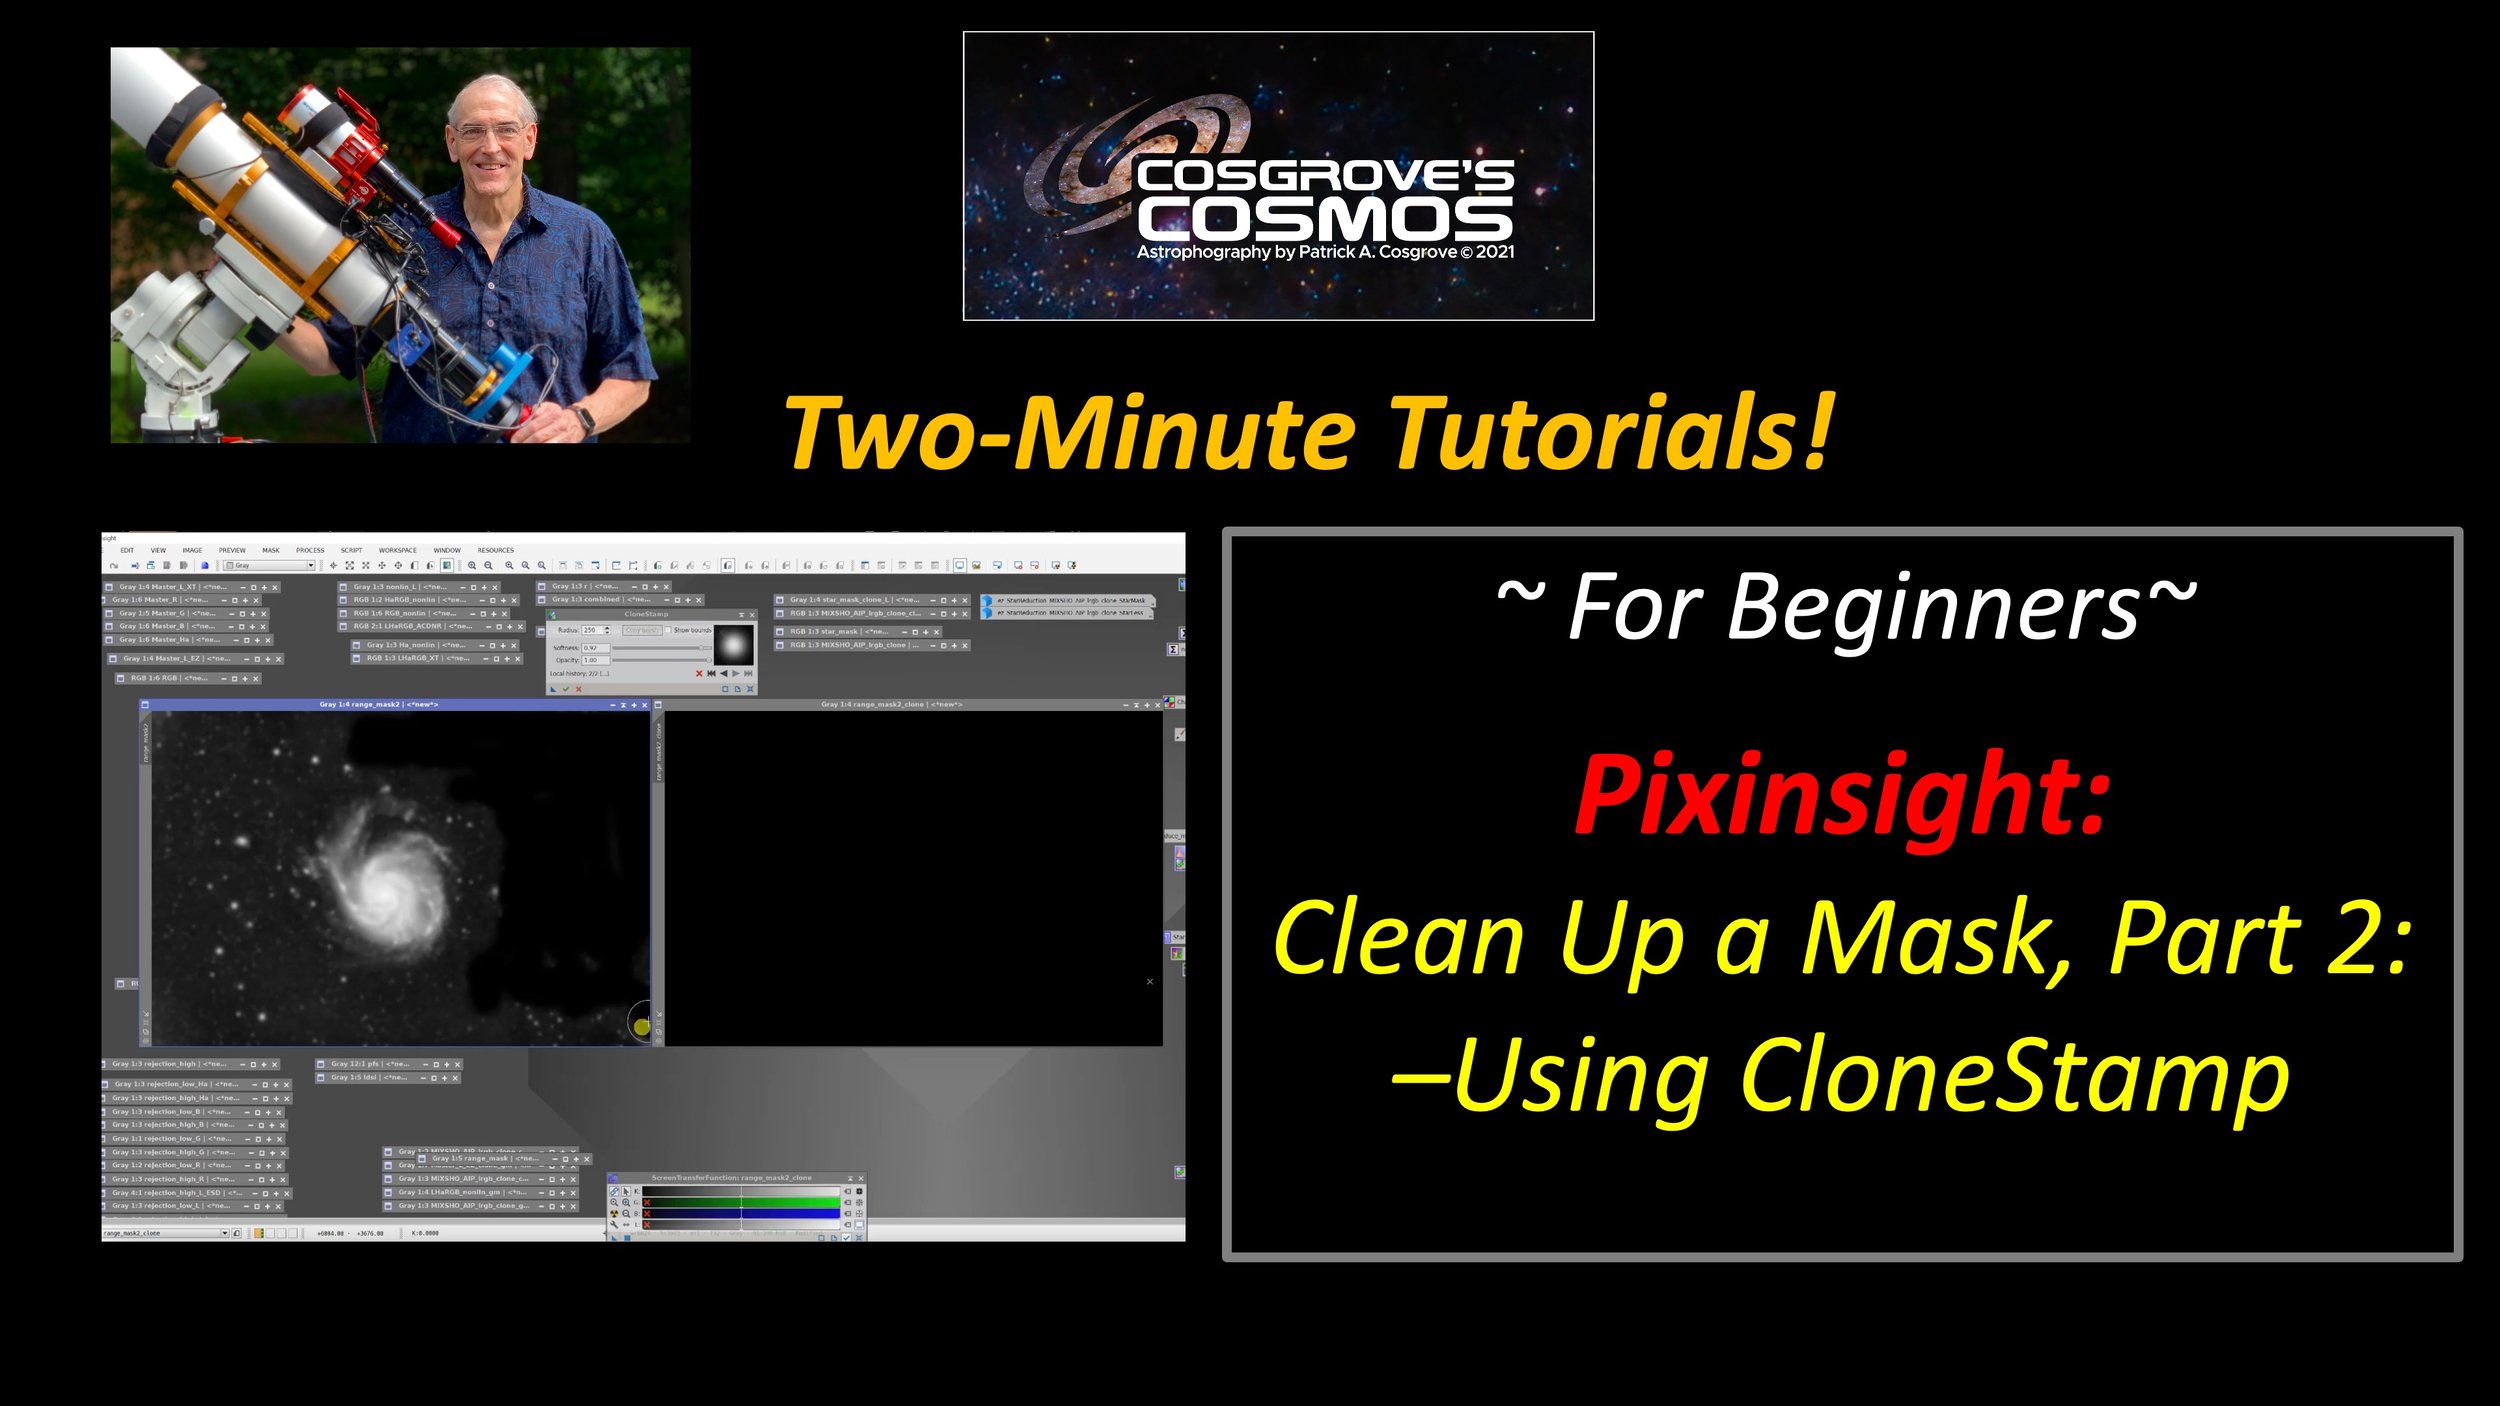
This video covers using CloneStamp to clean up or modify a mask.
In a previous video, I showed how to use DynamicPaintBrush - a $5 premium tool - to modify a mask. Since that tool is only available for Windows platforms, I created another video showing how you could use CloneStamp to do the same thing.
CloneStamp is a standard tool in Pixinsight and part of each installation regardless of platform.
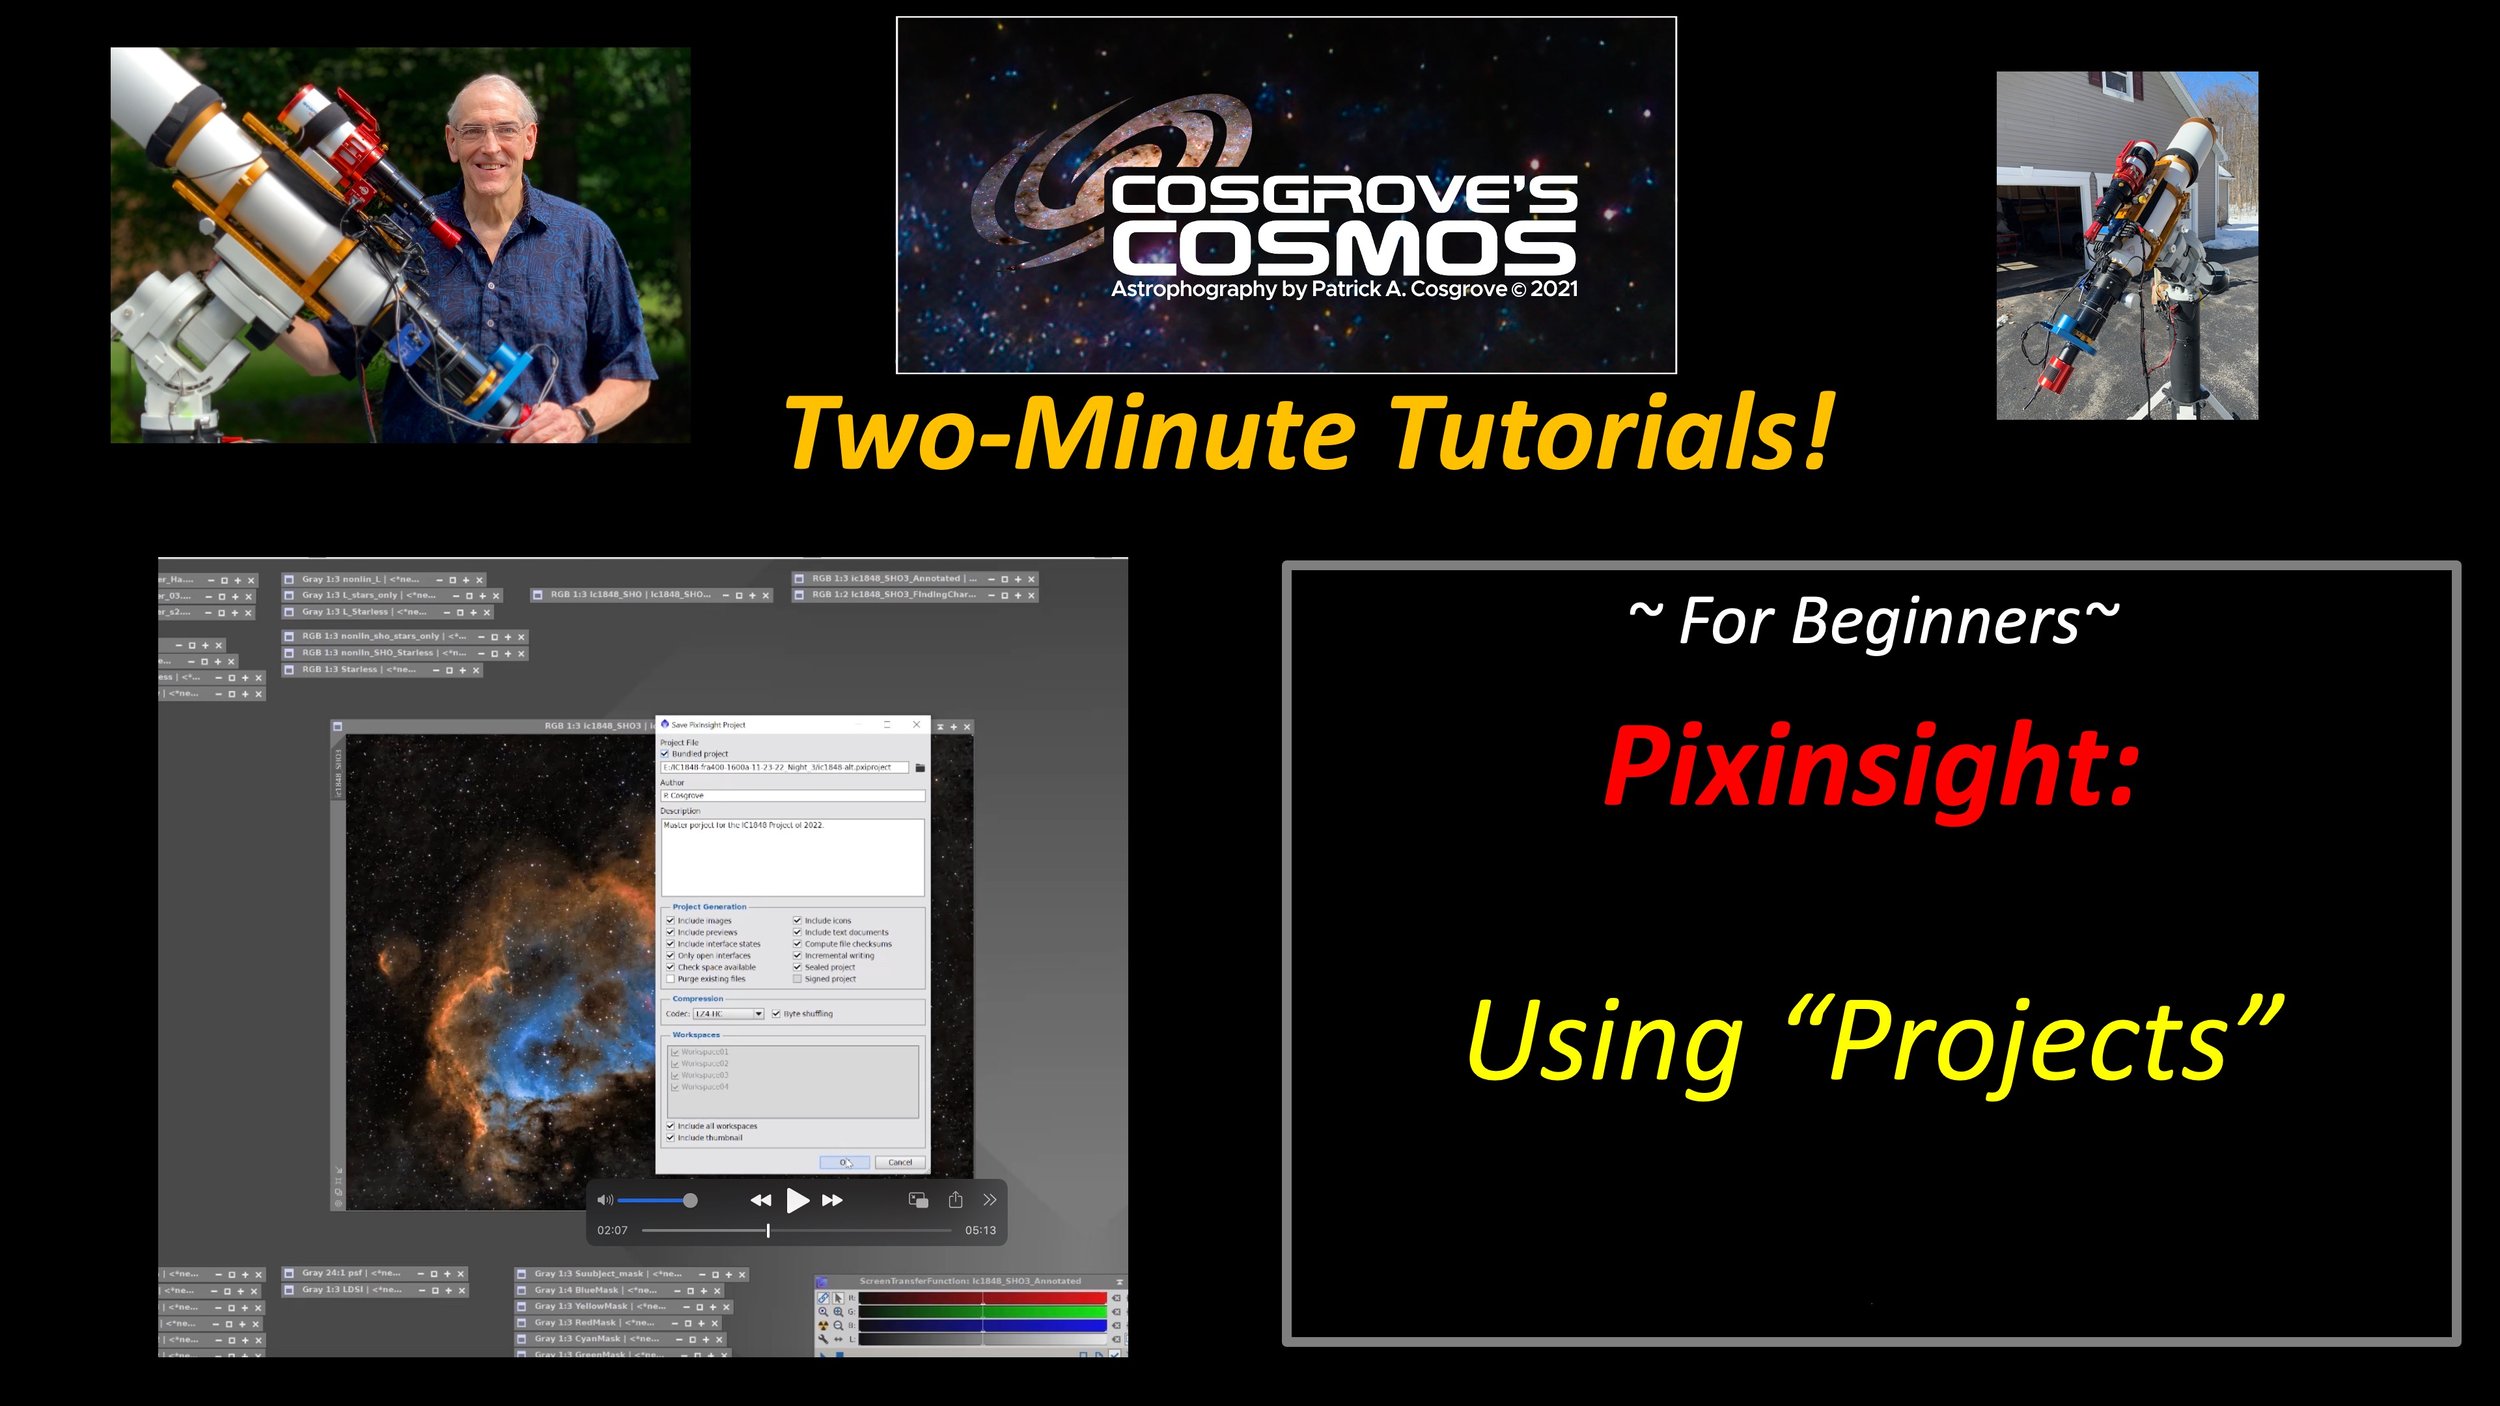
Save every aspect of your image processing effort as a Pixnsight “Project.” This is a great way to save your work as you go along and allows you to jump back into the project at a time down the road. This video shows how this works!
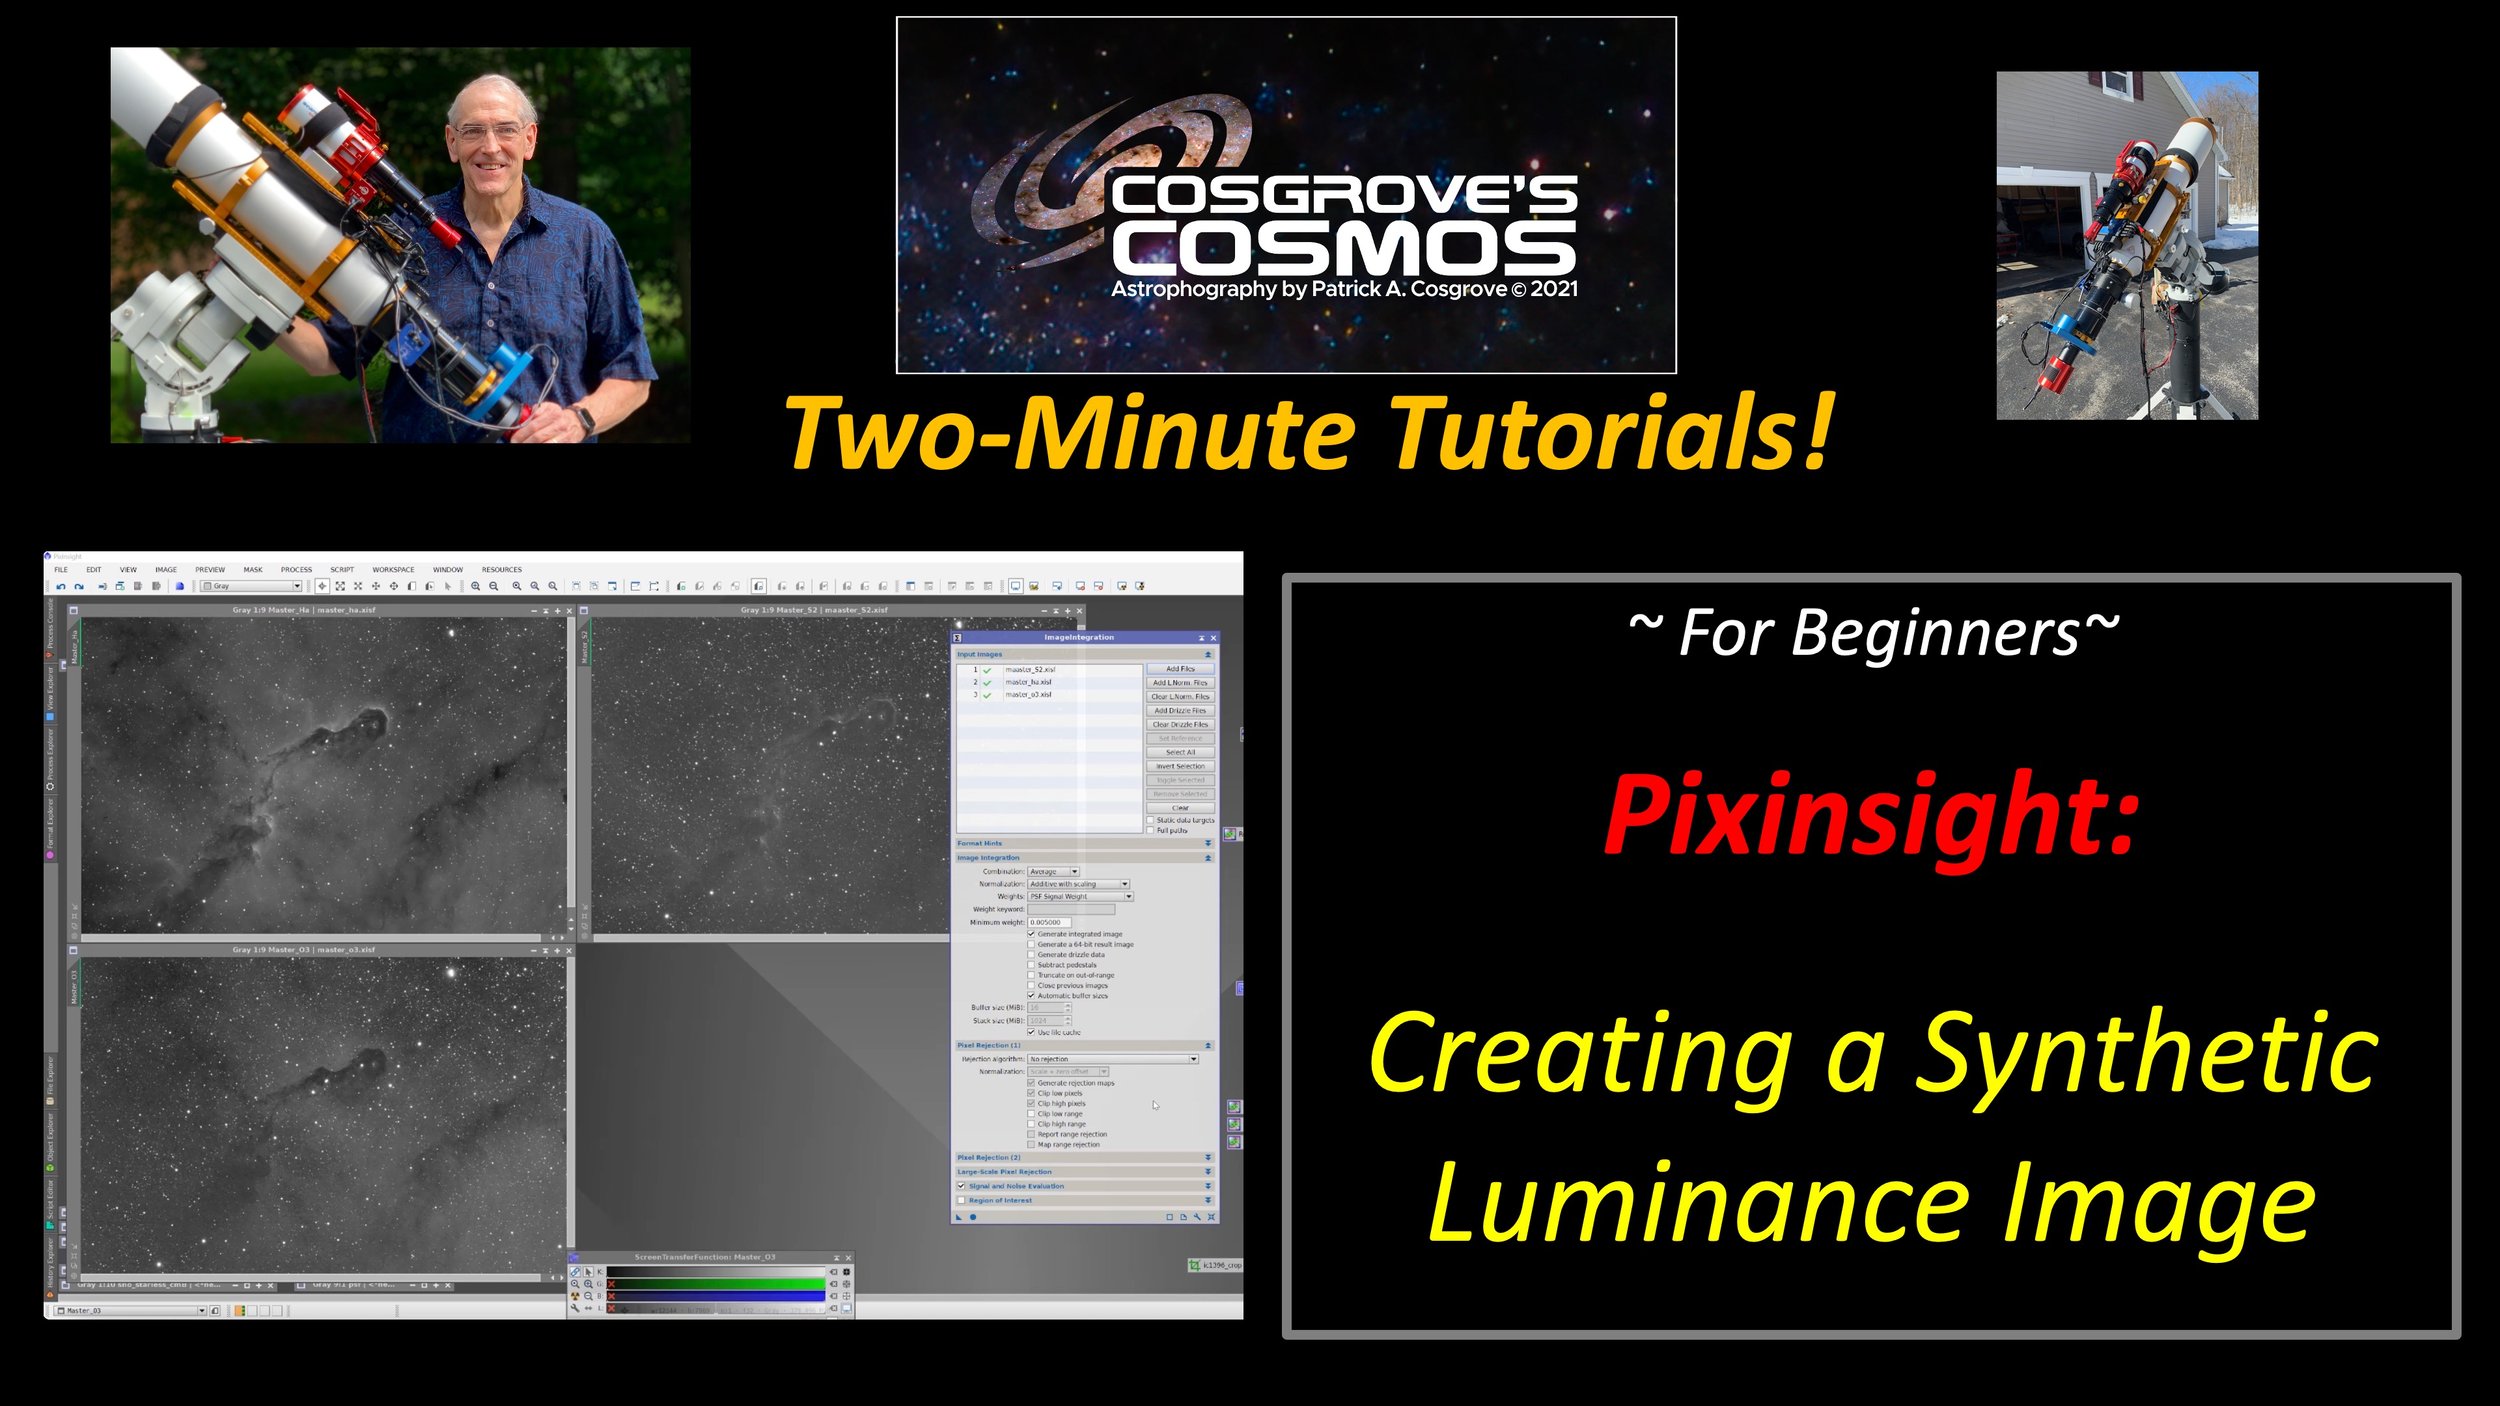
This video deals with creating a Synthetic Luminance Image using the ImageIntegration process.
This is useful when you want a Lum vs. Color workflow and don't already have a luminance channel - Narrowband imaging is an excellent example of this.
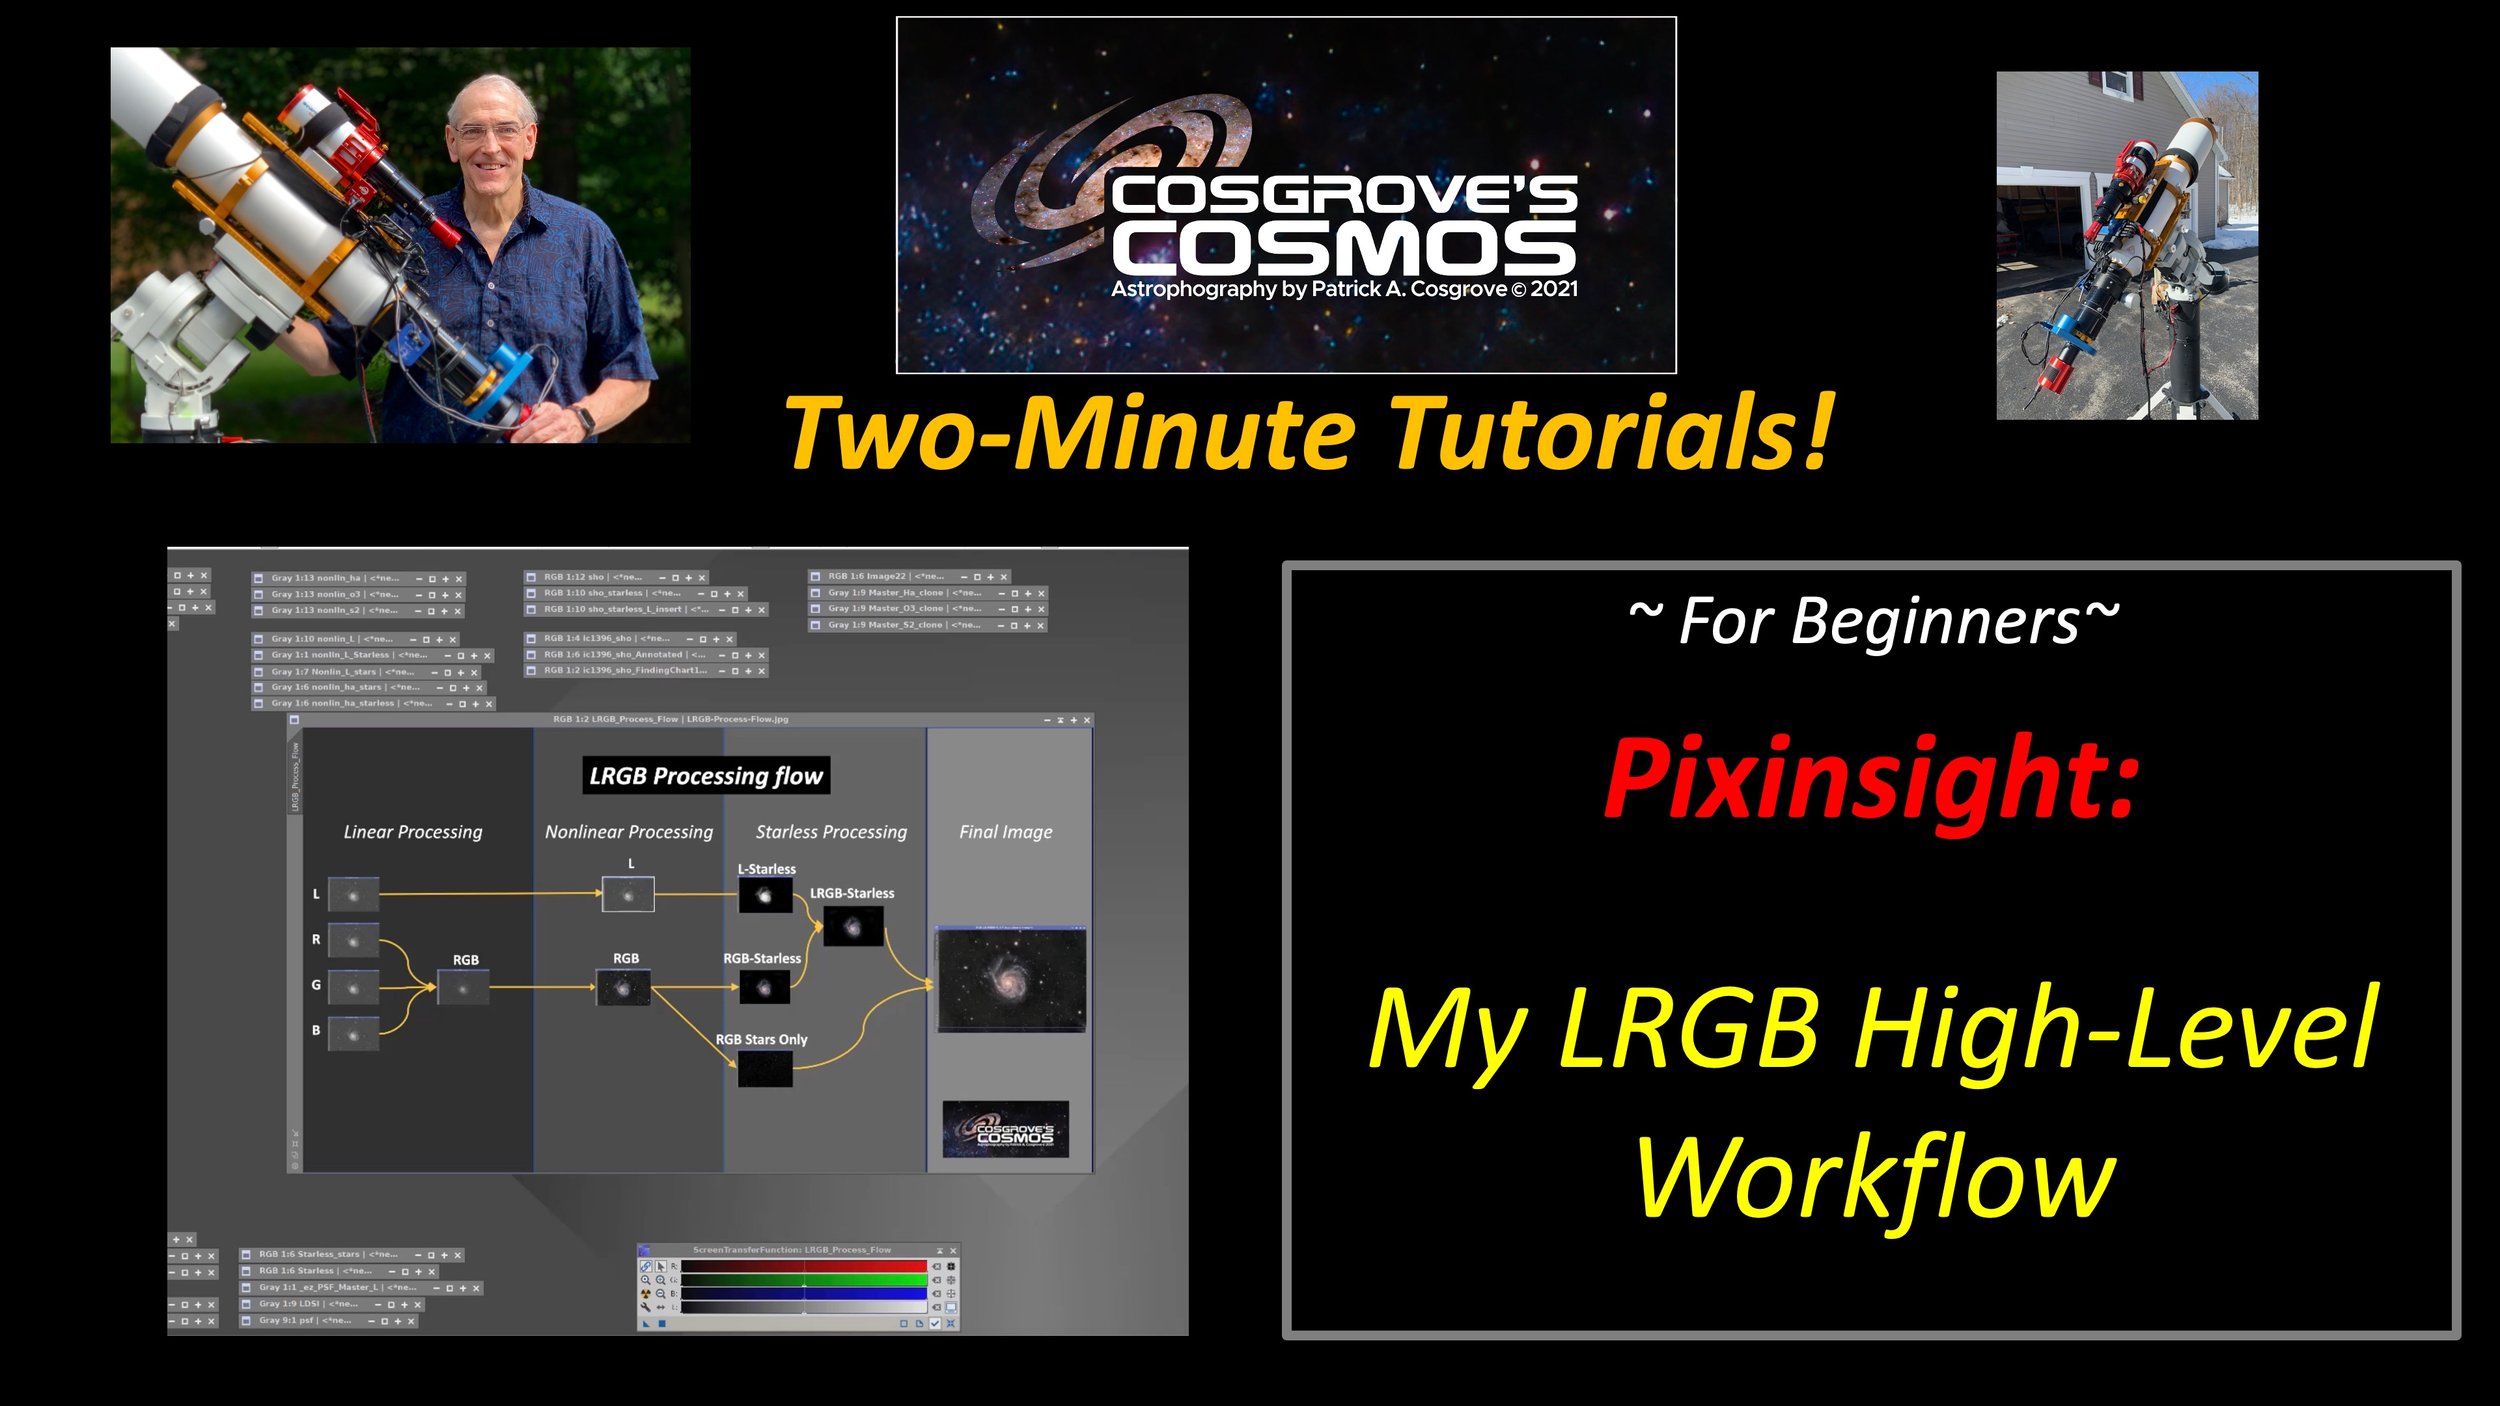
This 2-Minute Tutorial covers my preferred high-level LRGB workflow!
This video covers the use of Color Masks to selectively enhance the details of an image.
Color Masks are commonly used to target enhancements of color in an image - often using the CurvesTransformation tool. But in many images, areas of high color also have interesting detail associated with them. This video shows how you can use color masks to selectively and differentially enhance details in these color areas.