
The Whispering Skies Observatory Project
After I began my astrophotographic journey, it did not take me long to begin thinking about an observatory. However, it took years to find the right property and a lot more effort to create the design.
This Blog will capture that process as it unfolds! Join me as I build my dream observatory!

New Visitor?
The posts below document the complete build from concept to commissioning. If you want a single, current snapshot of the facility as it exists today, start with the as-built overview.
- 16’ × 20’ roll-off-roof astrophotographic observatory
- Four isolated pier foundations and permanent platforms
- Roof automation + weather monitoring, plus manual wind lockdowns
- Power, networking, drainage strategy, and a practical interior workspace

The October 2025 Update on the Whispering Skies Observatory Project! Coverd is images I have shut recently using the observatory as well as outdoor painting and indoor floor sealing and lighting projects. Also discussed are a few future projects that are currently in the planning stages.
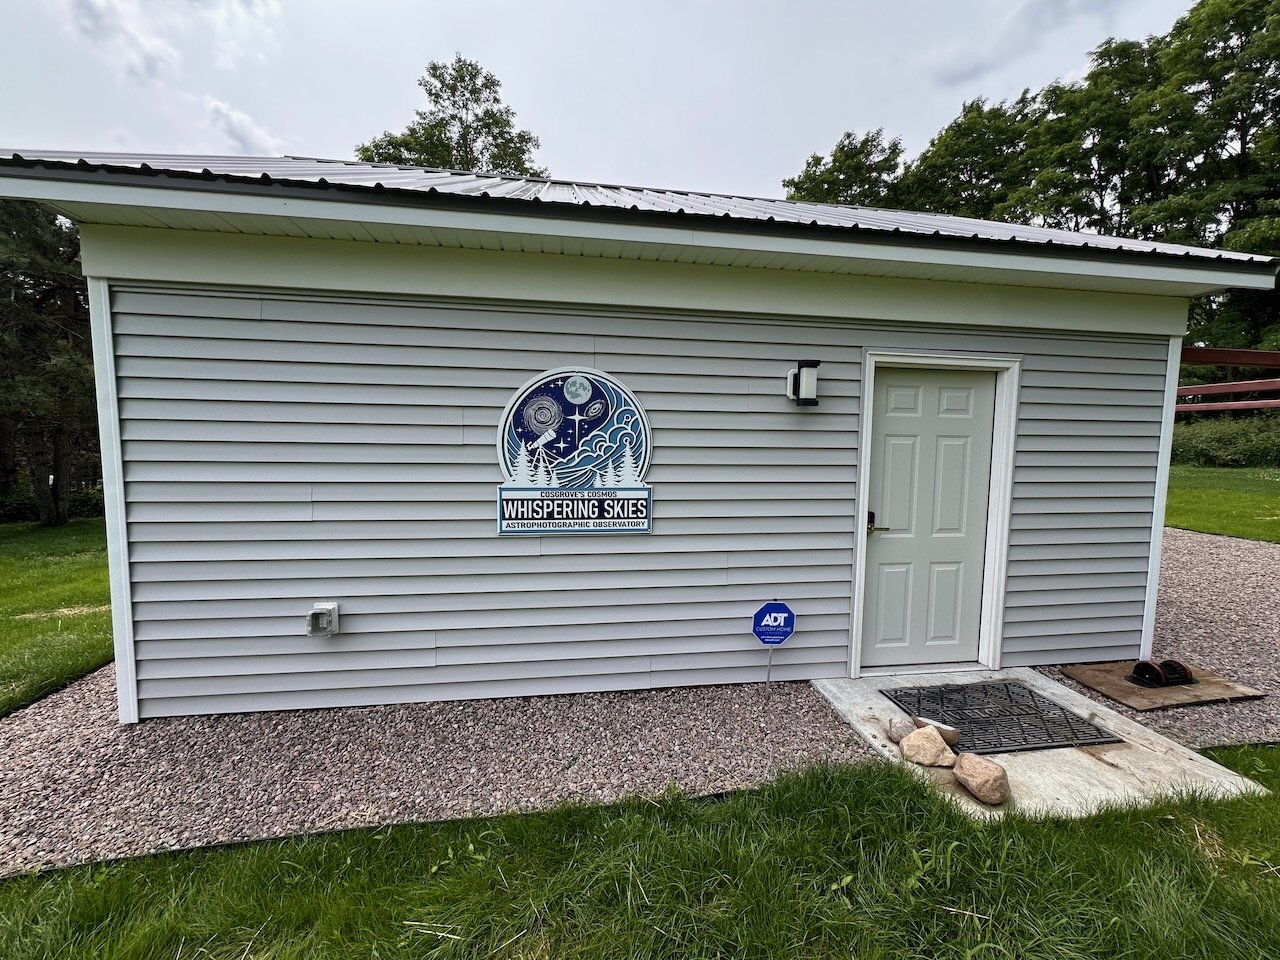
Getting the sign made and fabricated for my new observatory!

I recently added a SkyALert Weather System Station from Interactive Astronomy. This page shows a weather map that is updated every 10 minutes!

The construction phase of my observatory project is now complete!
It’s time to handle the drainage and the lawn restoration!

The construction phase of my observatory project is now complete!
In this video, I document the work completed to finalize the construction.

Finally - a huge milestone for the observatory project! The piers and scopes are now installed! Learn about how this was accomplished!

The construction phase of my observatory project is now complete!
To celebrate this, I created a drone video showing it’s current state!
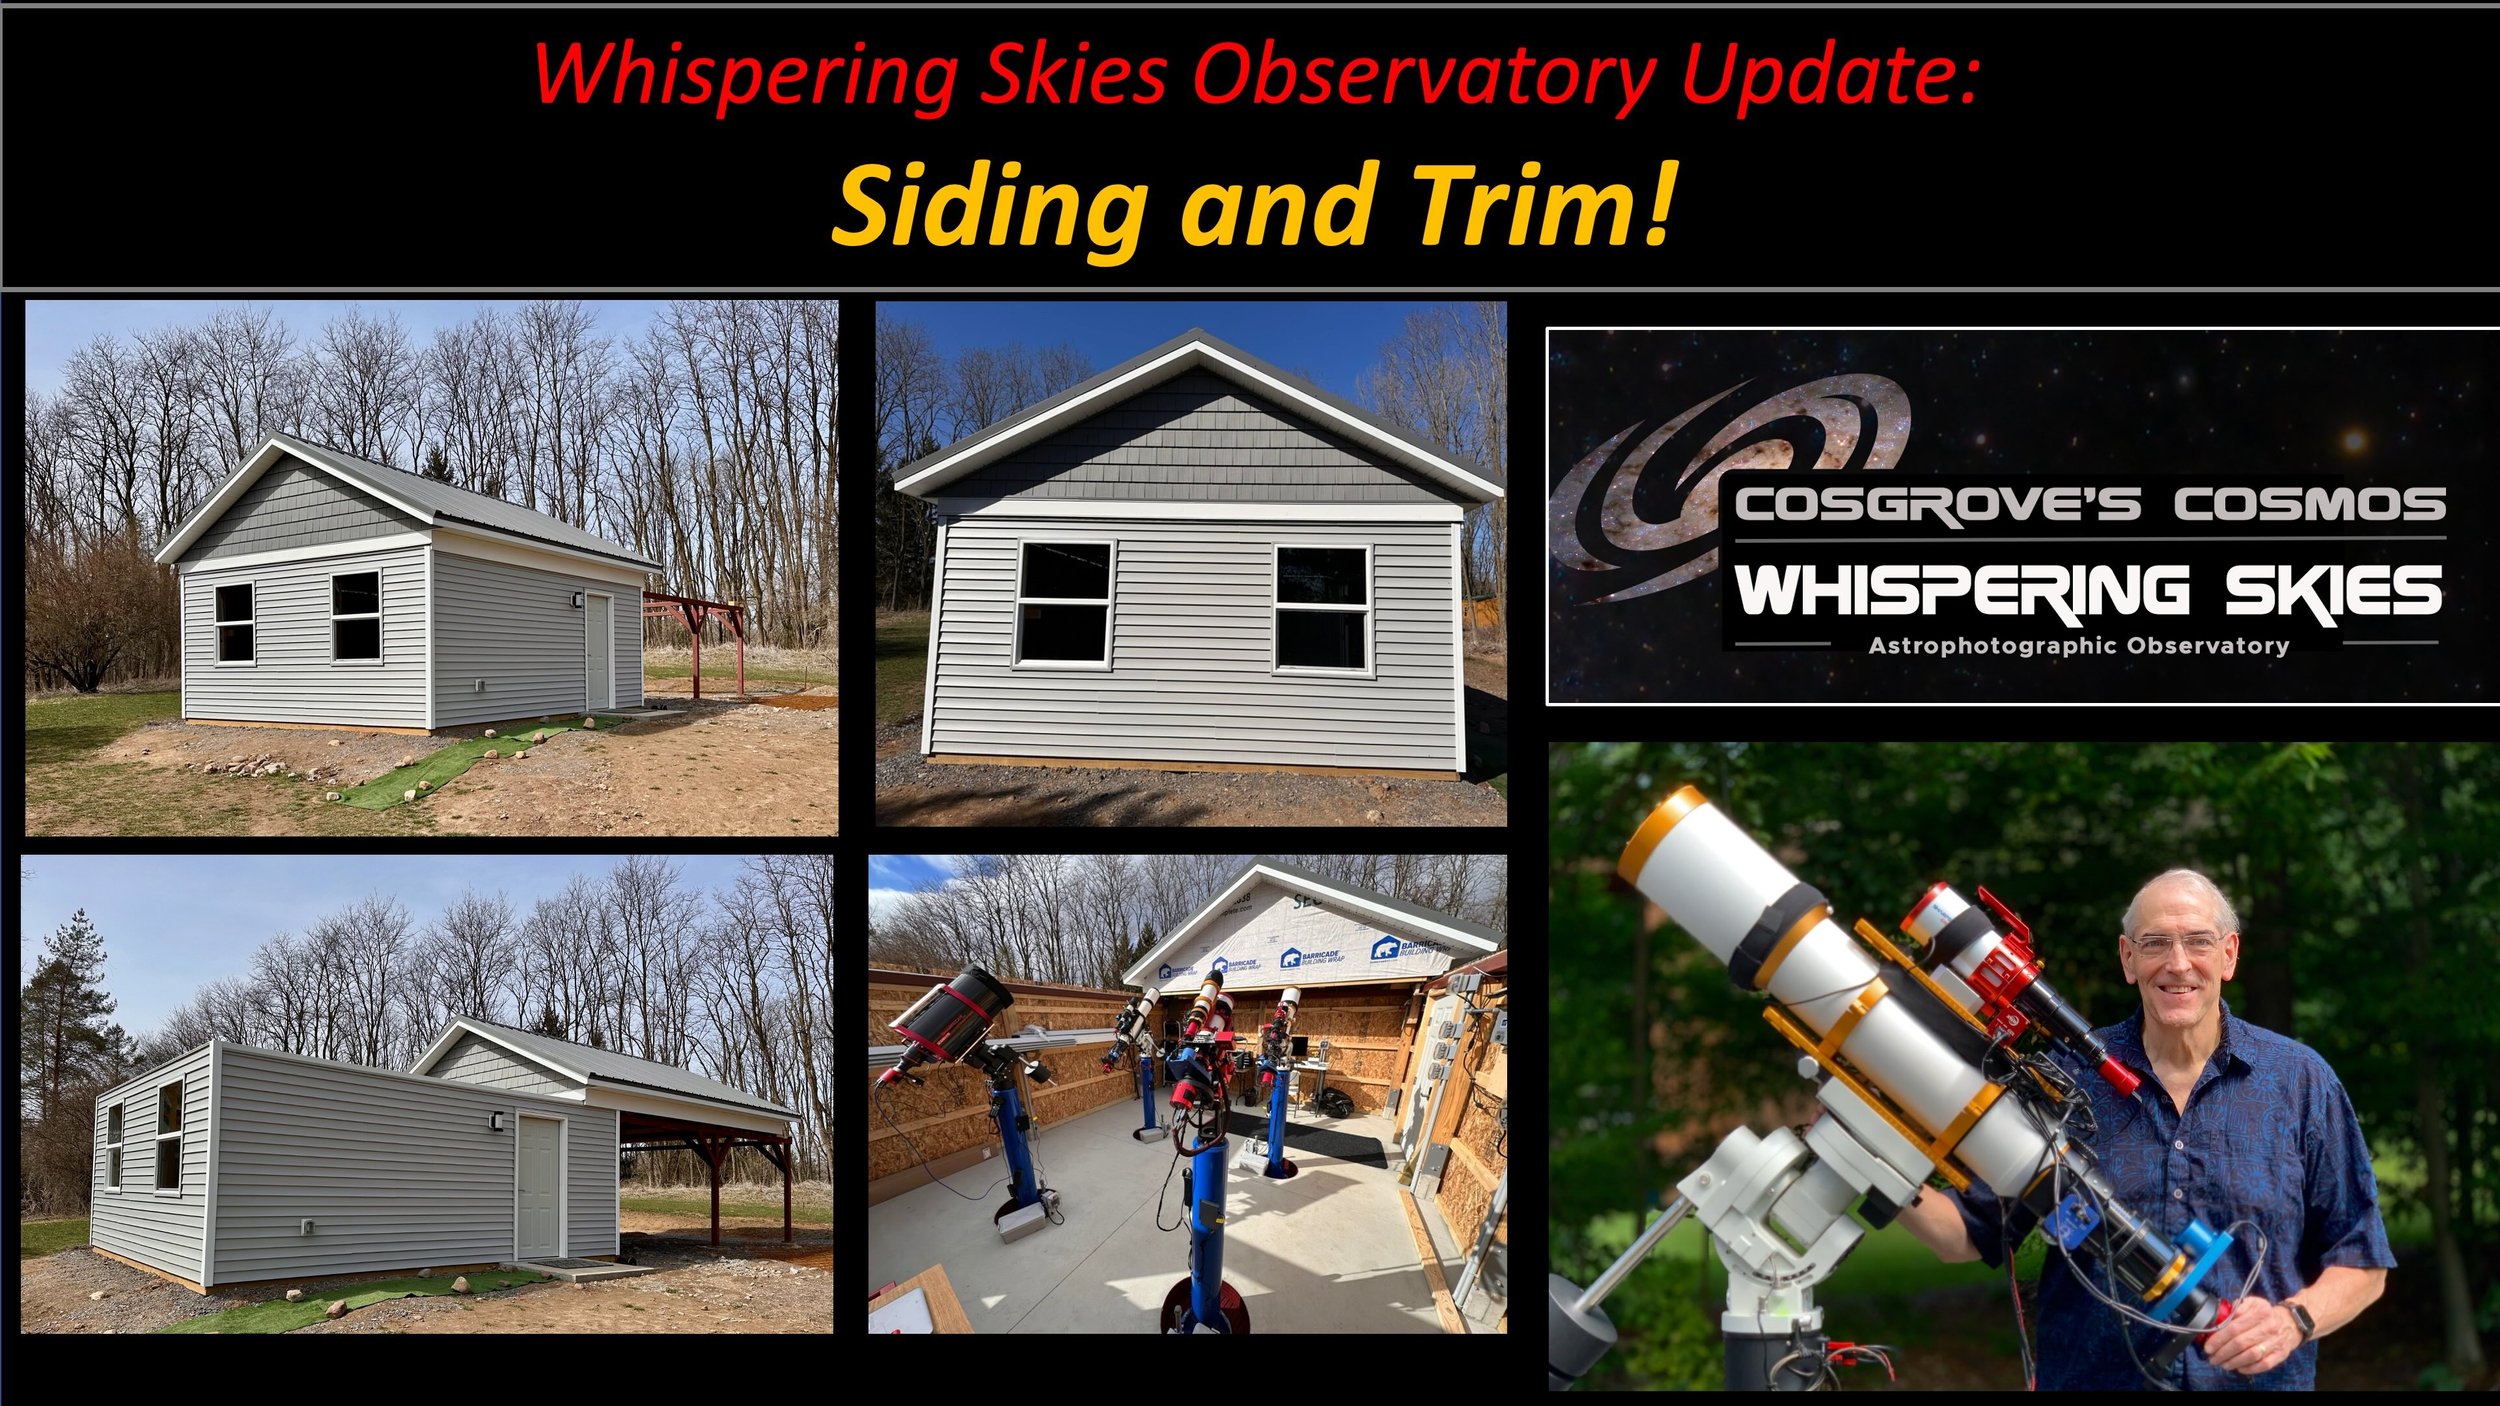
With the slightly better - and warmer - weather, we have made progress on finishing the outside of the building!
Most of the siding and trim are now done, and once more material is delivered, the rest can be completed in one day.
Also shown is a sneak peek at the inside with piers and scopes set up!
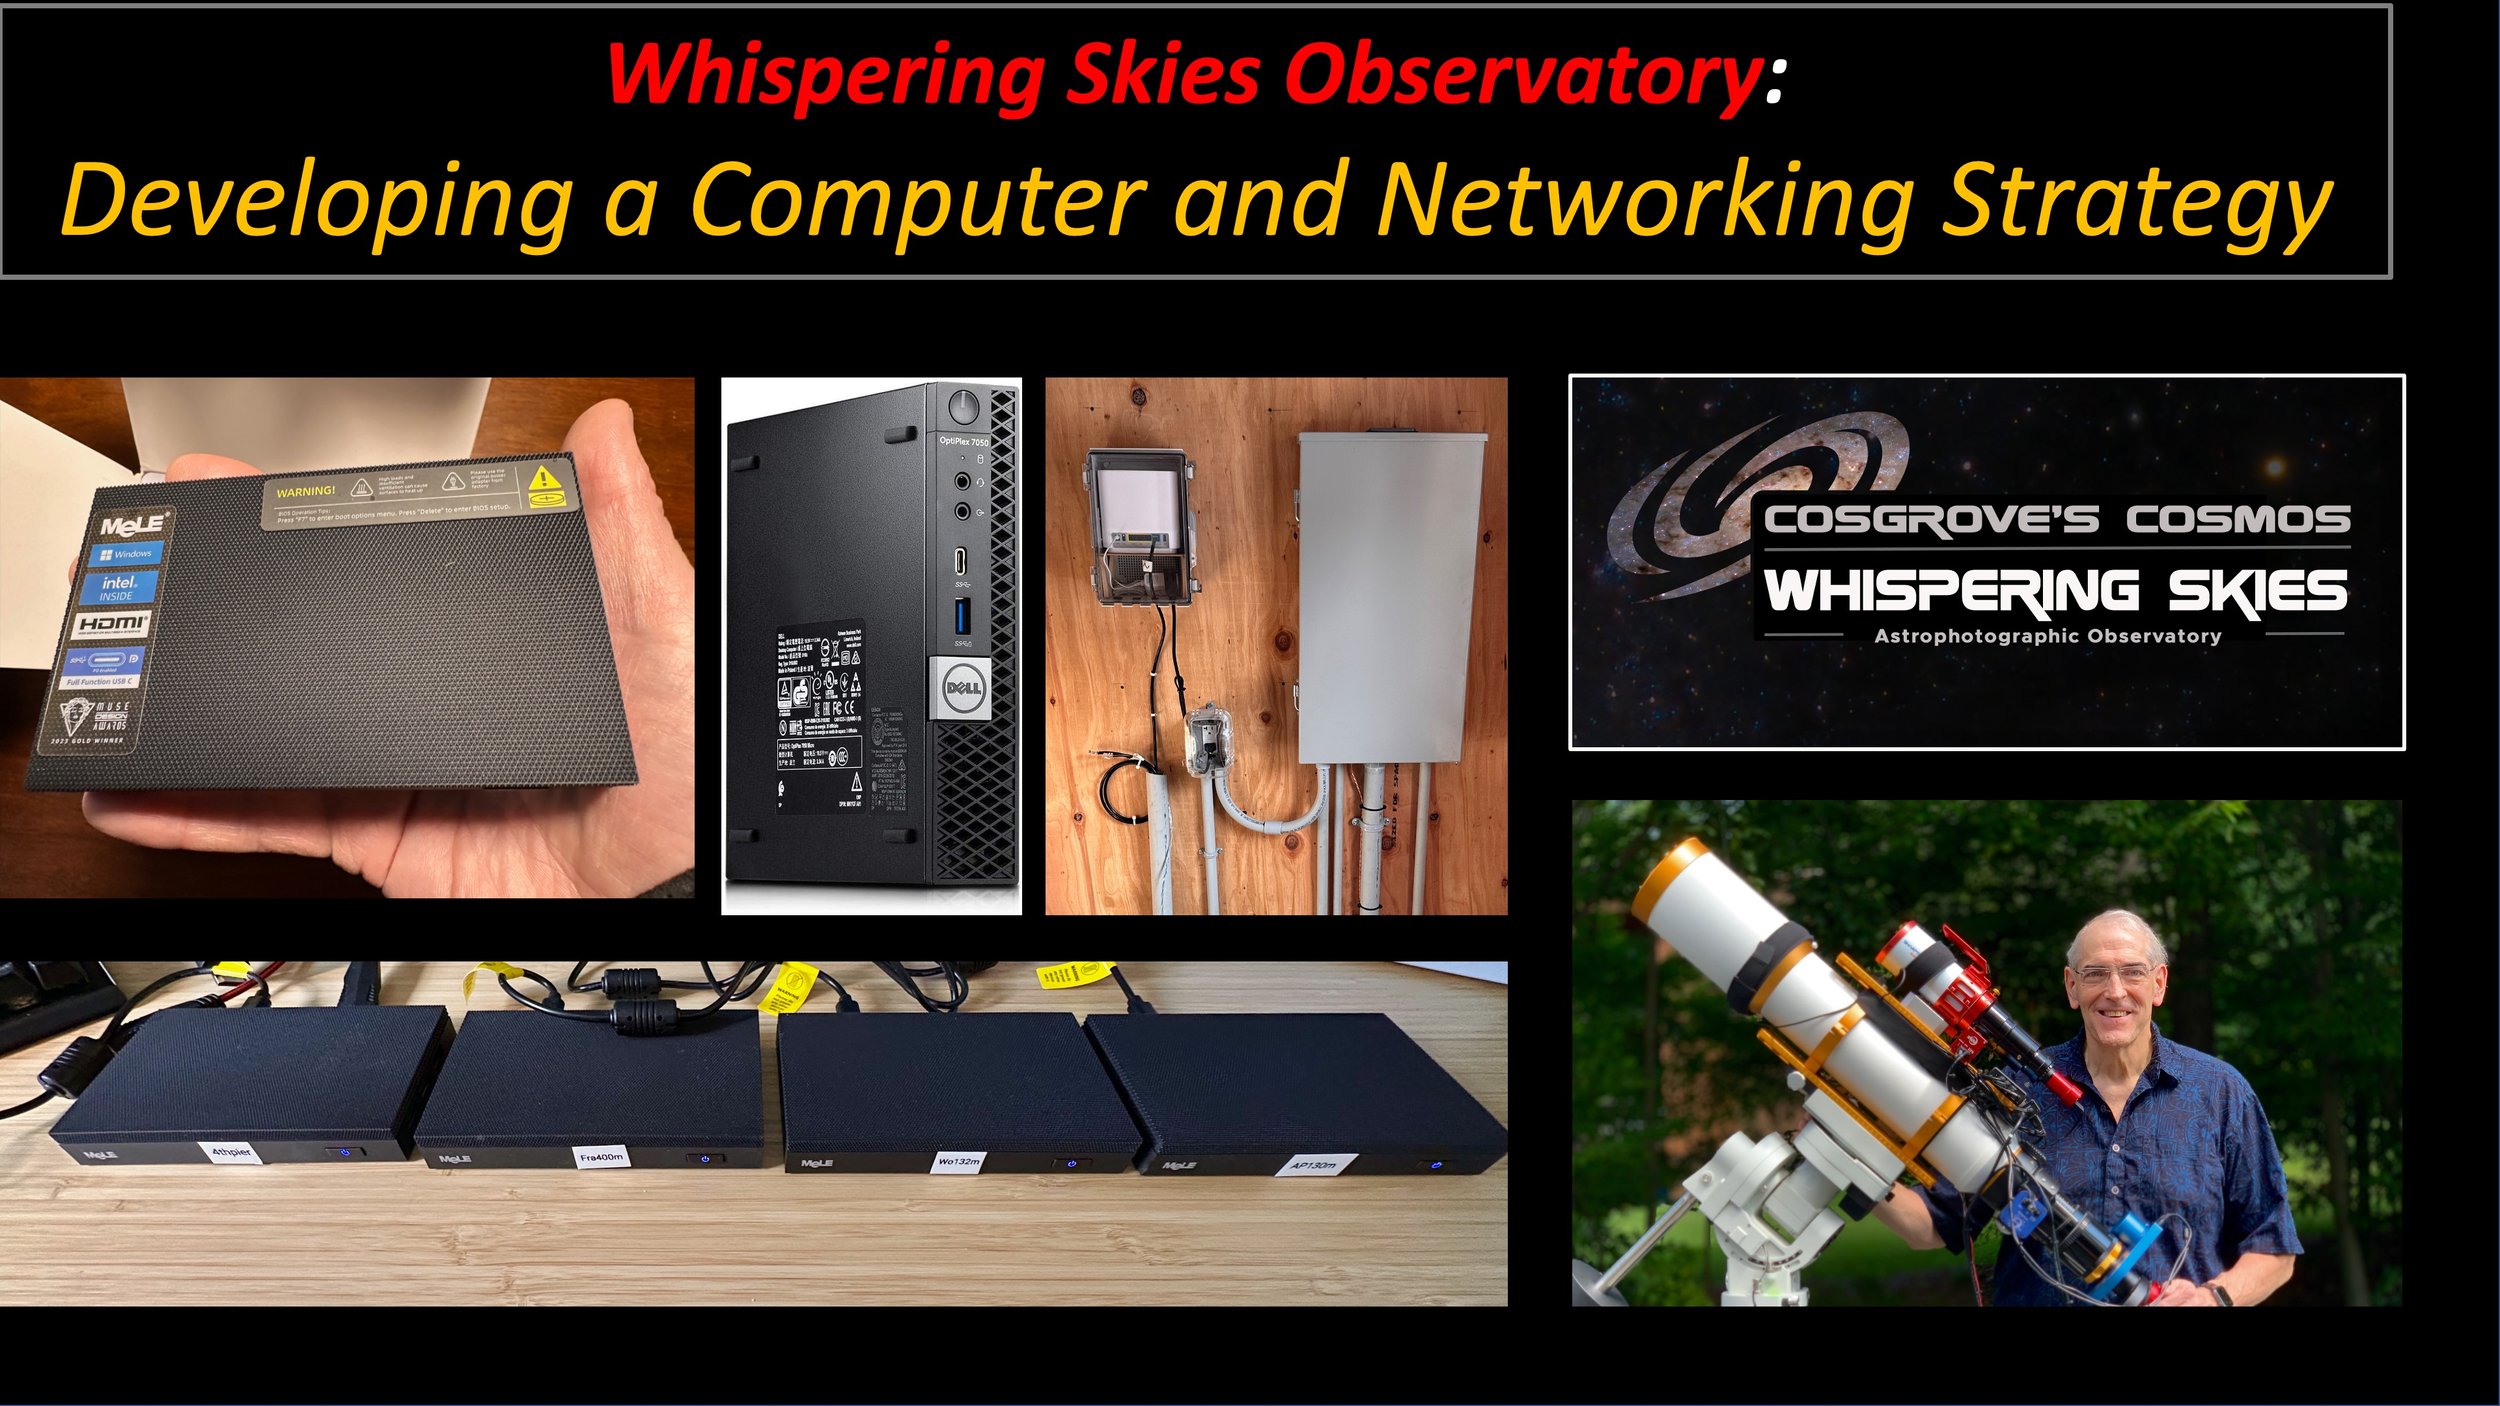
I am still waiting on the weather in order to complete the observatory, so I have been working on my computer and networking strategy for the observatory.
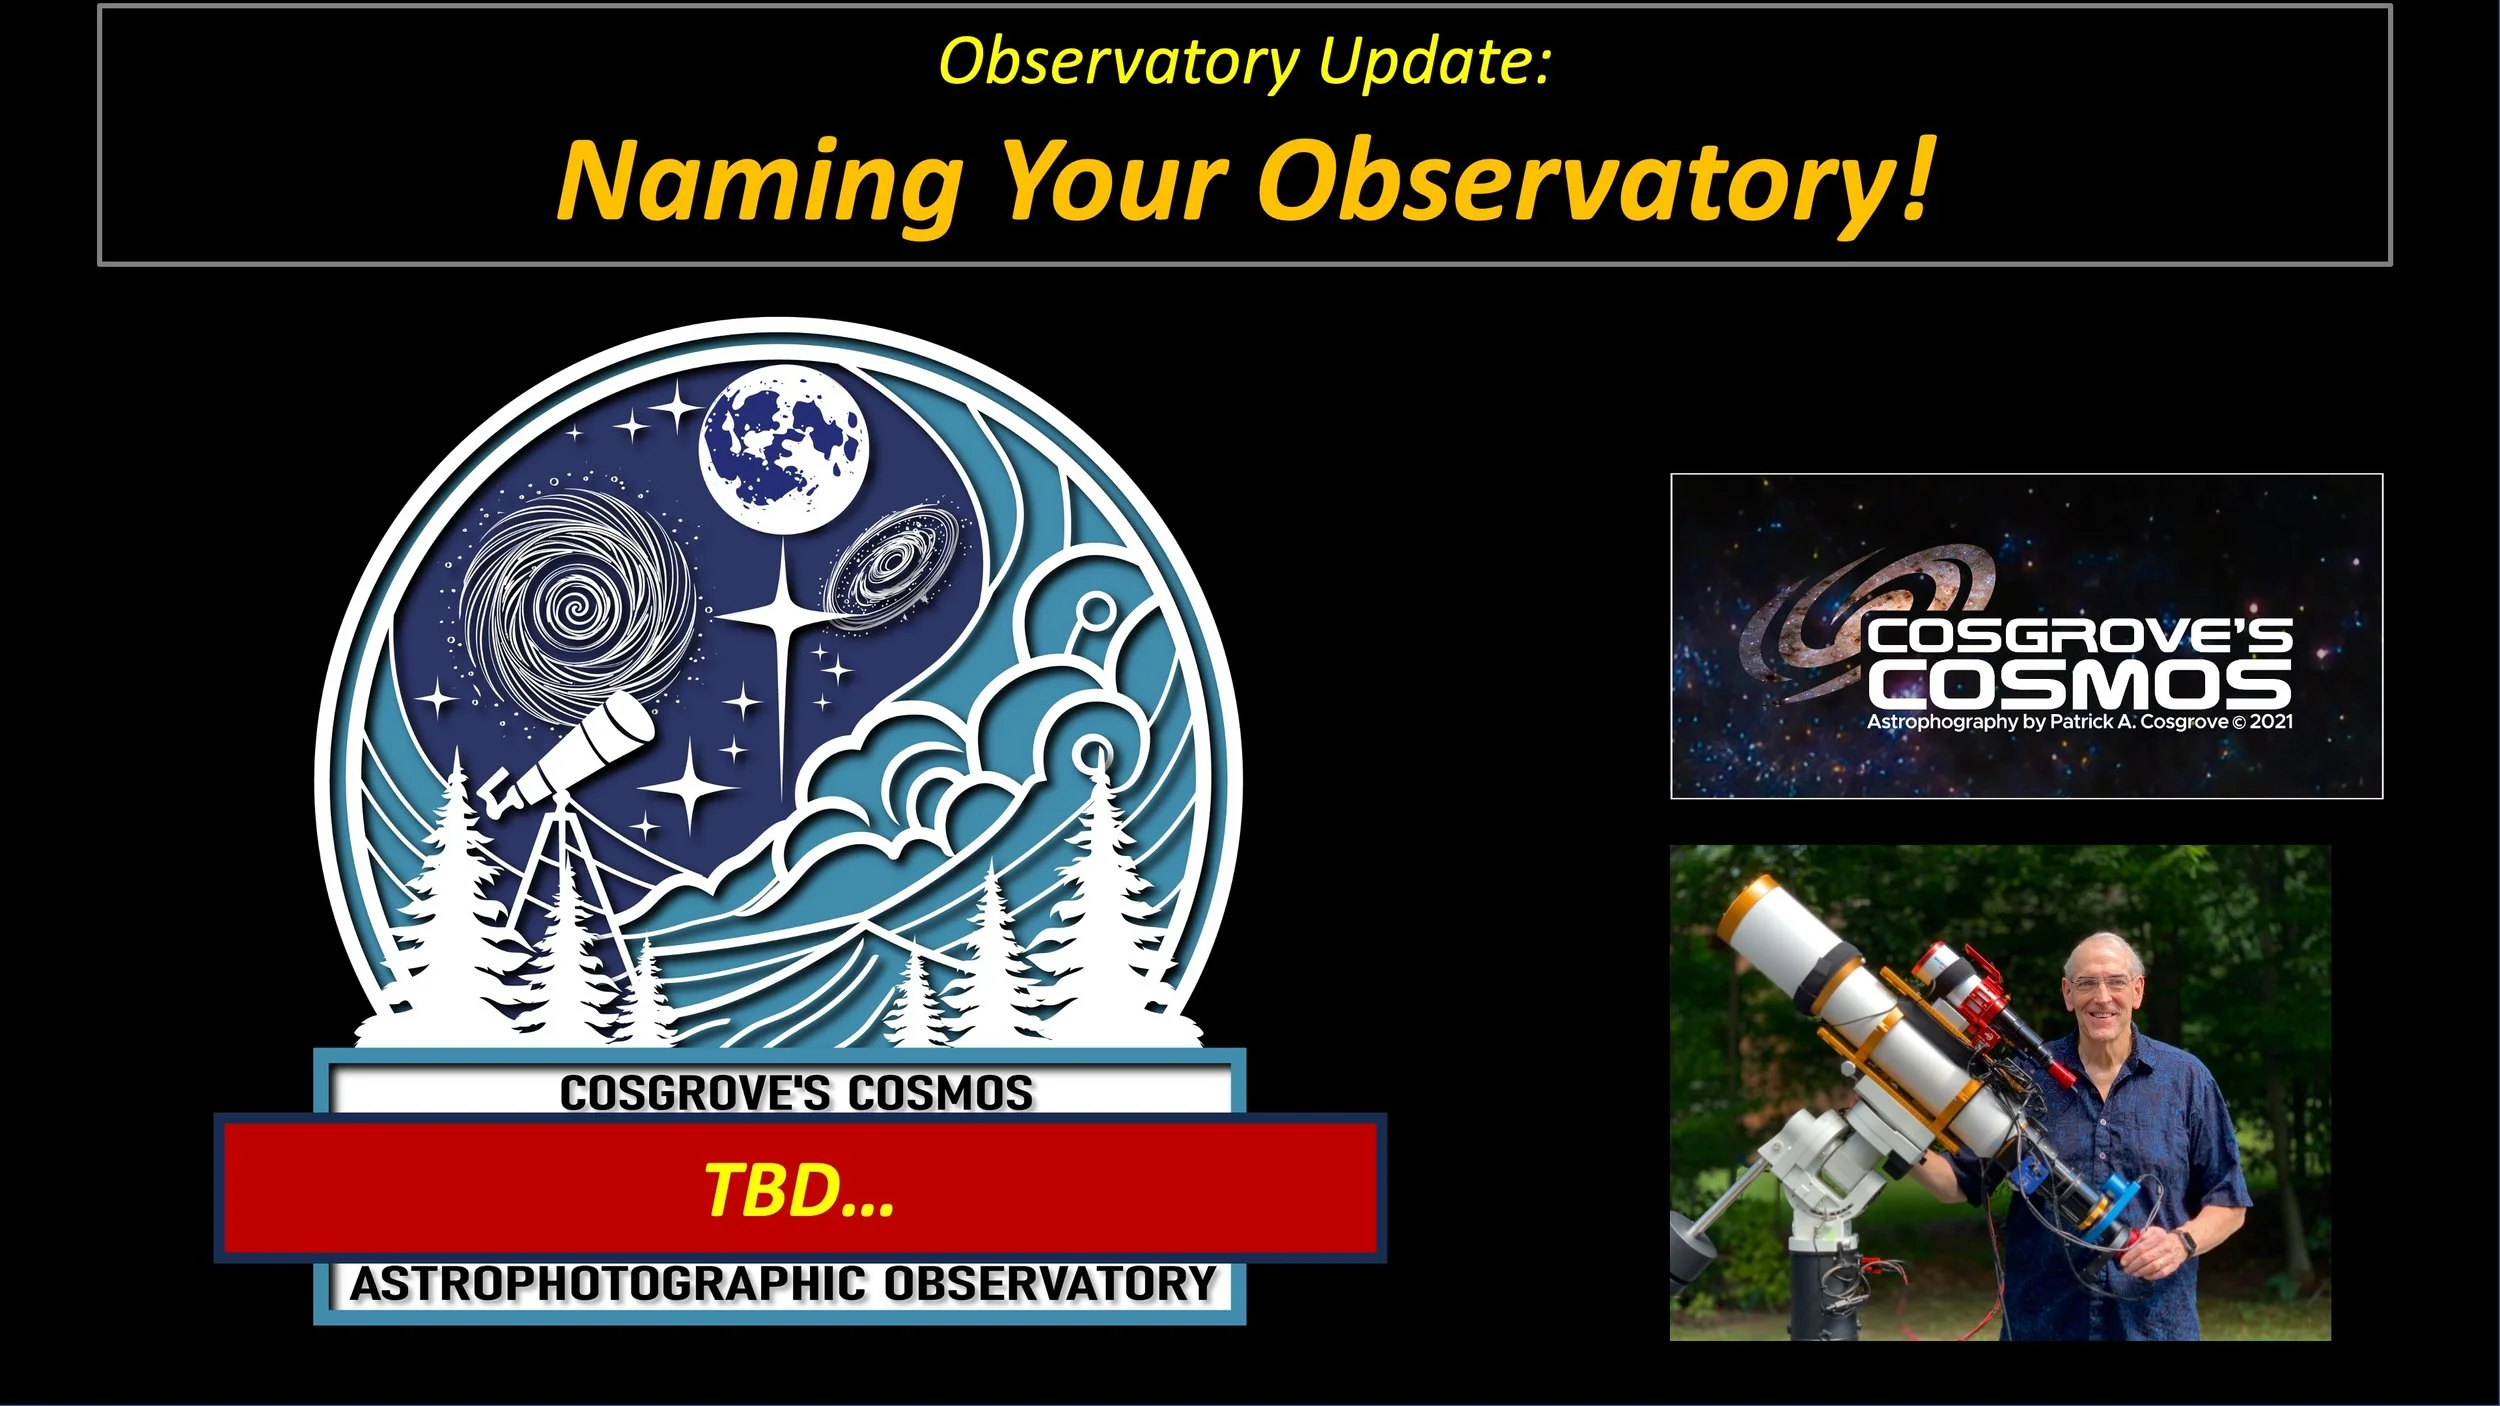
i finally have a name for my Observatory! Coming up with it was much more complicated than I thought it would be. This post explores when into that effort!
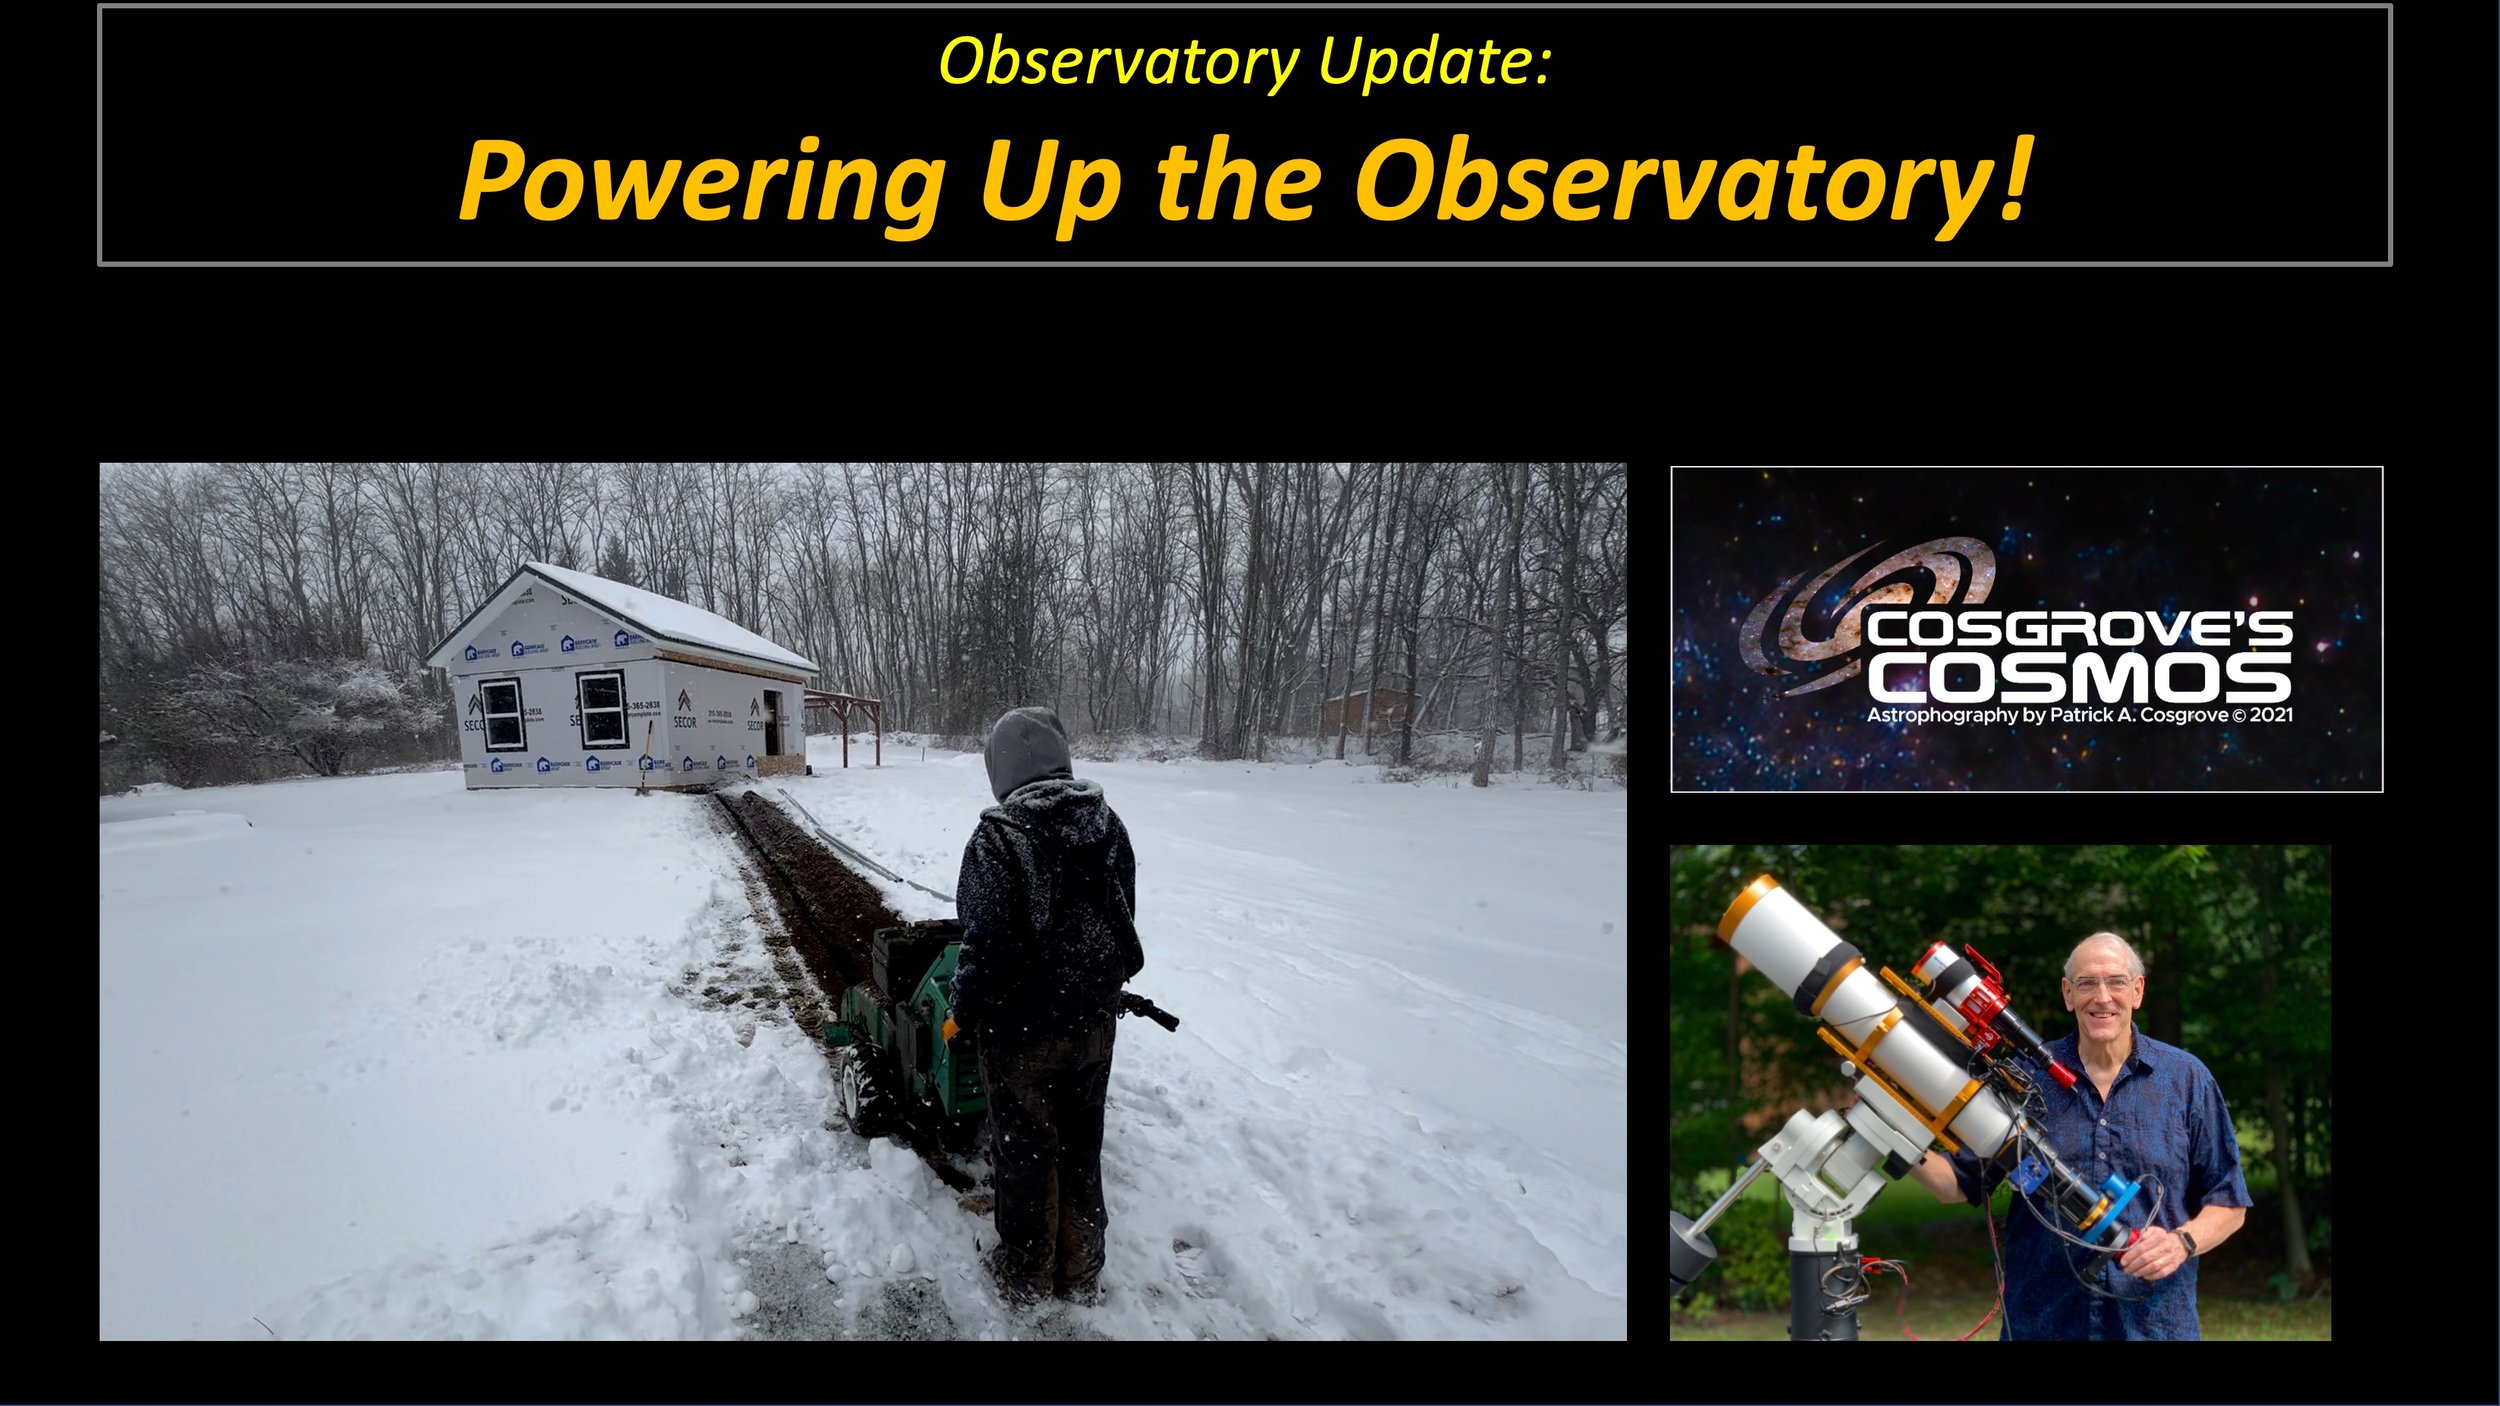
It may be Winter and snowing, but that did not stop the electrical installation for my Observatory Project!
This post covers electrical planning, running power from the house to the observatory, and then the finished installation of electrical service in the building.
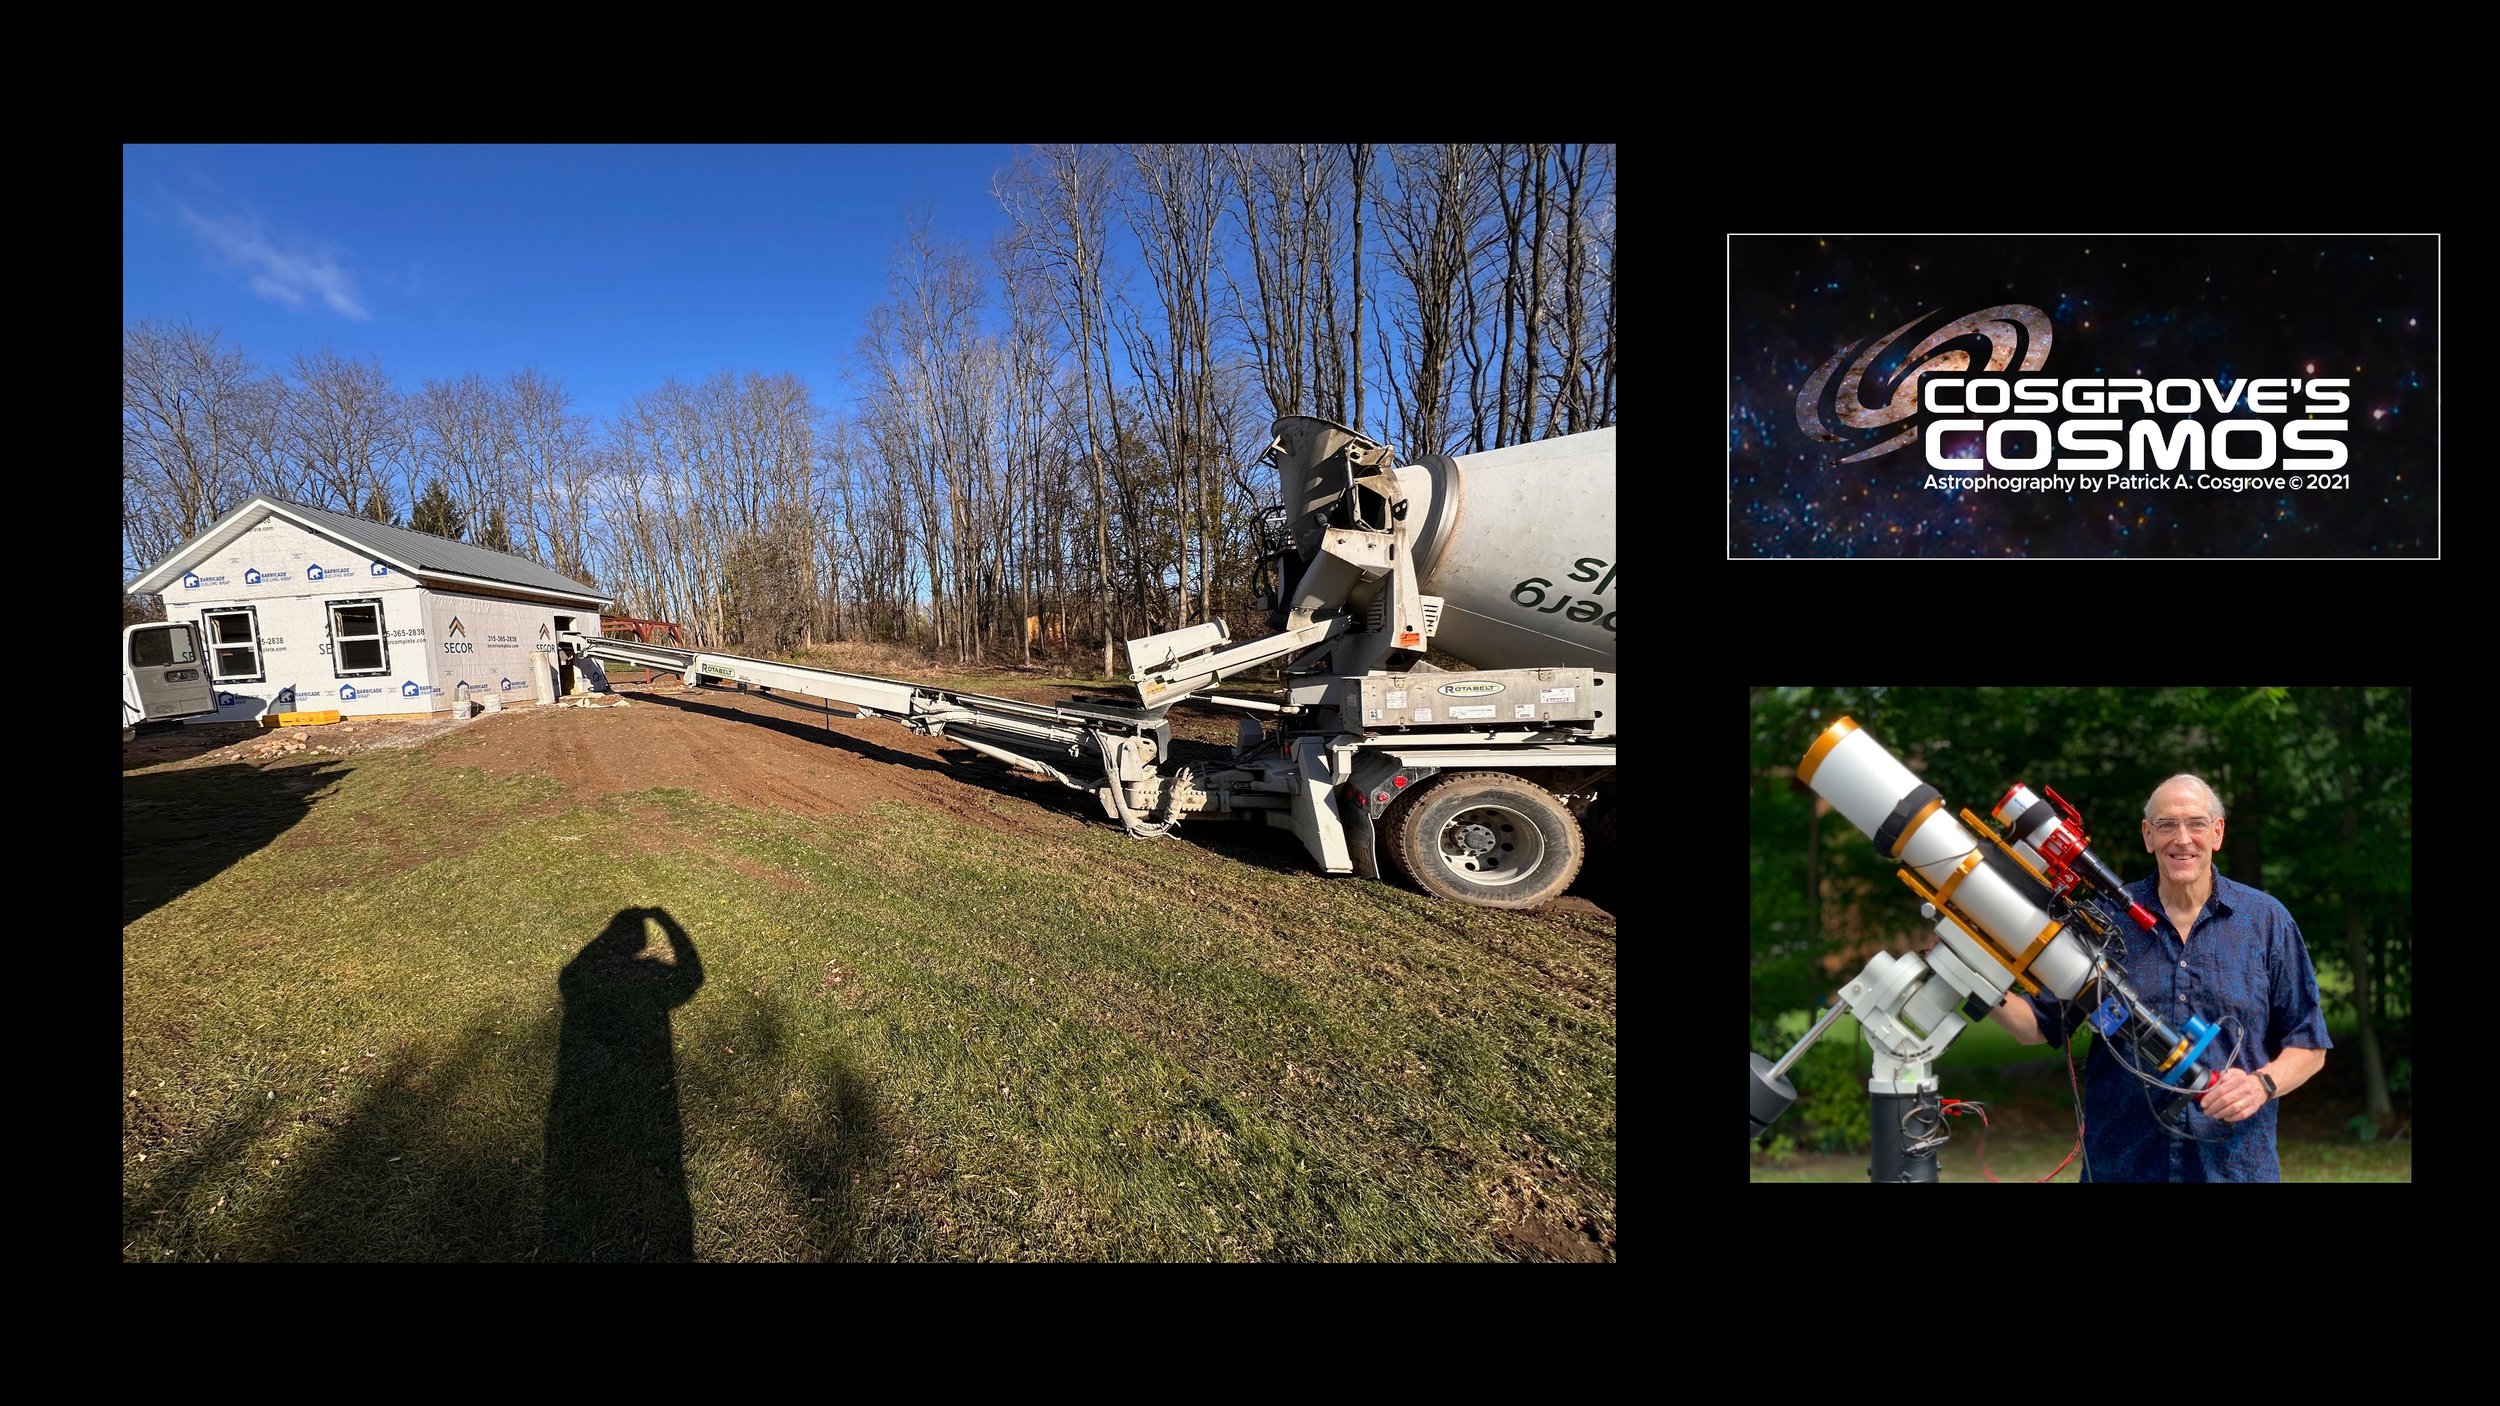
This post discusses pouring the concrete slab we will use as the floor.
Before it can be poured, we have to know what we want for electrical service so we can plan under-slab conduits.
Then, the other prep for the pour is done, and finally, the concrete flows!
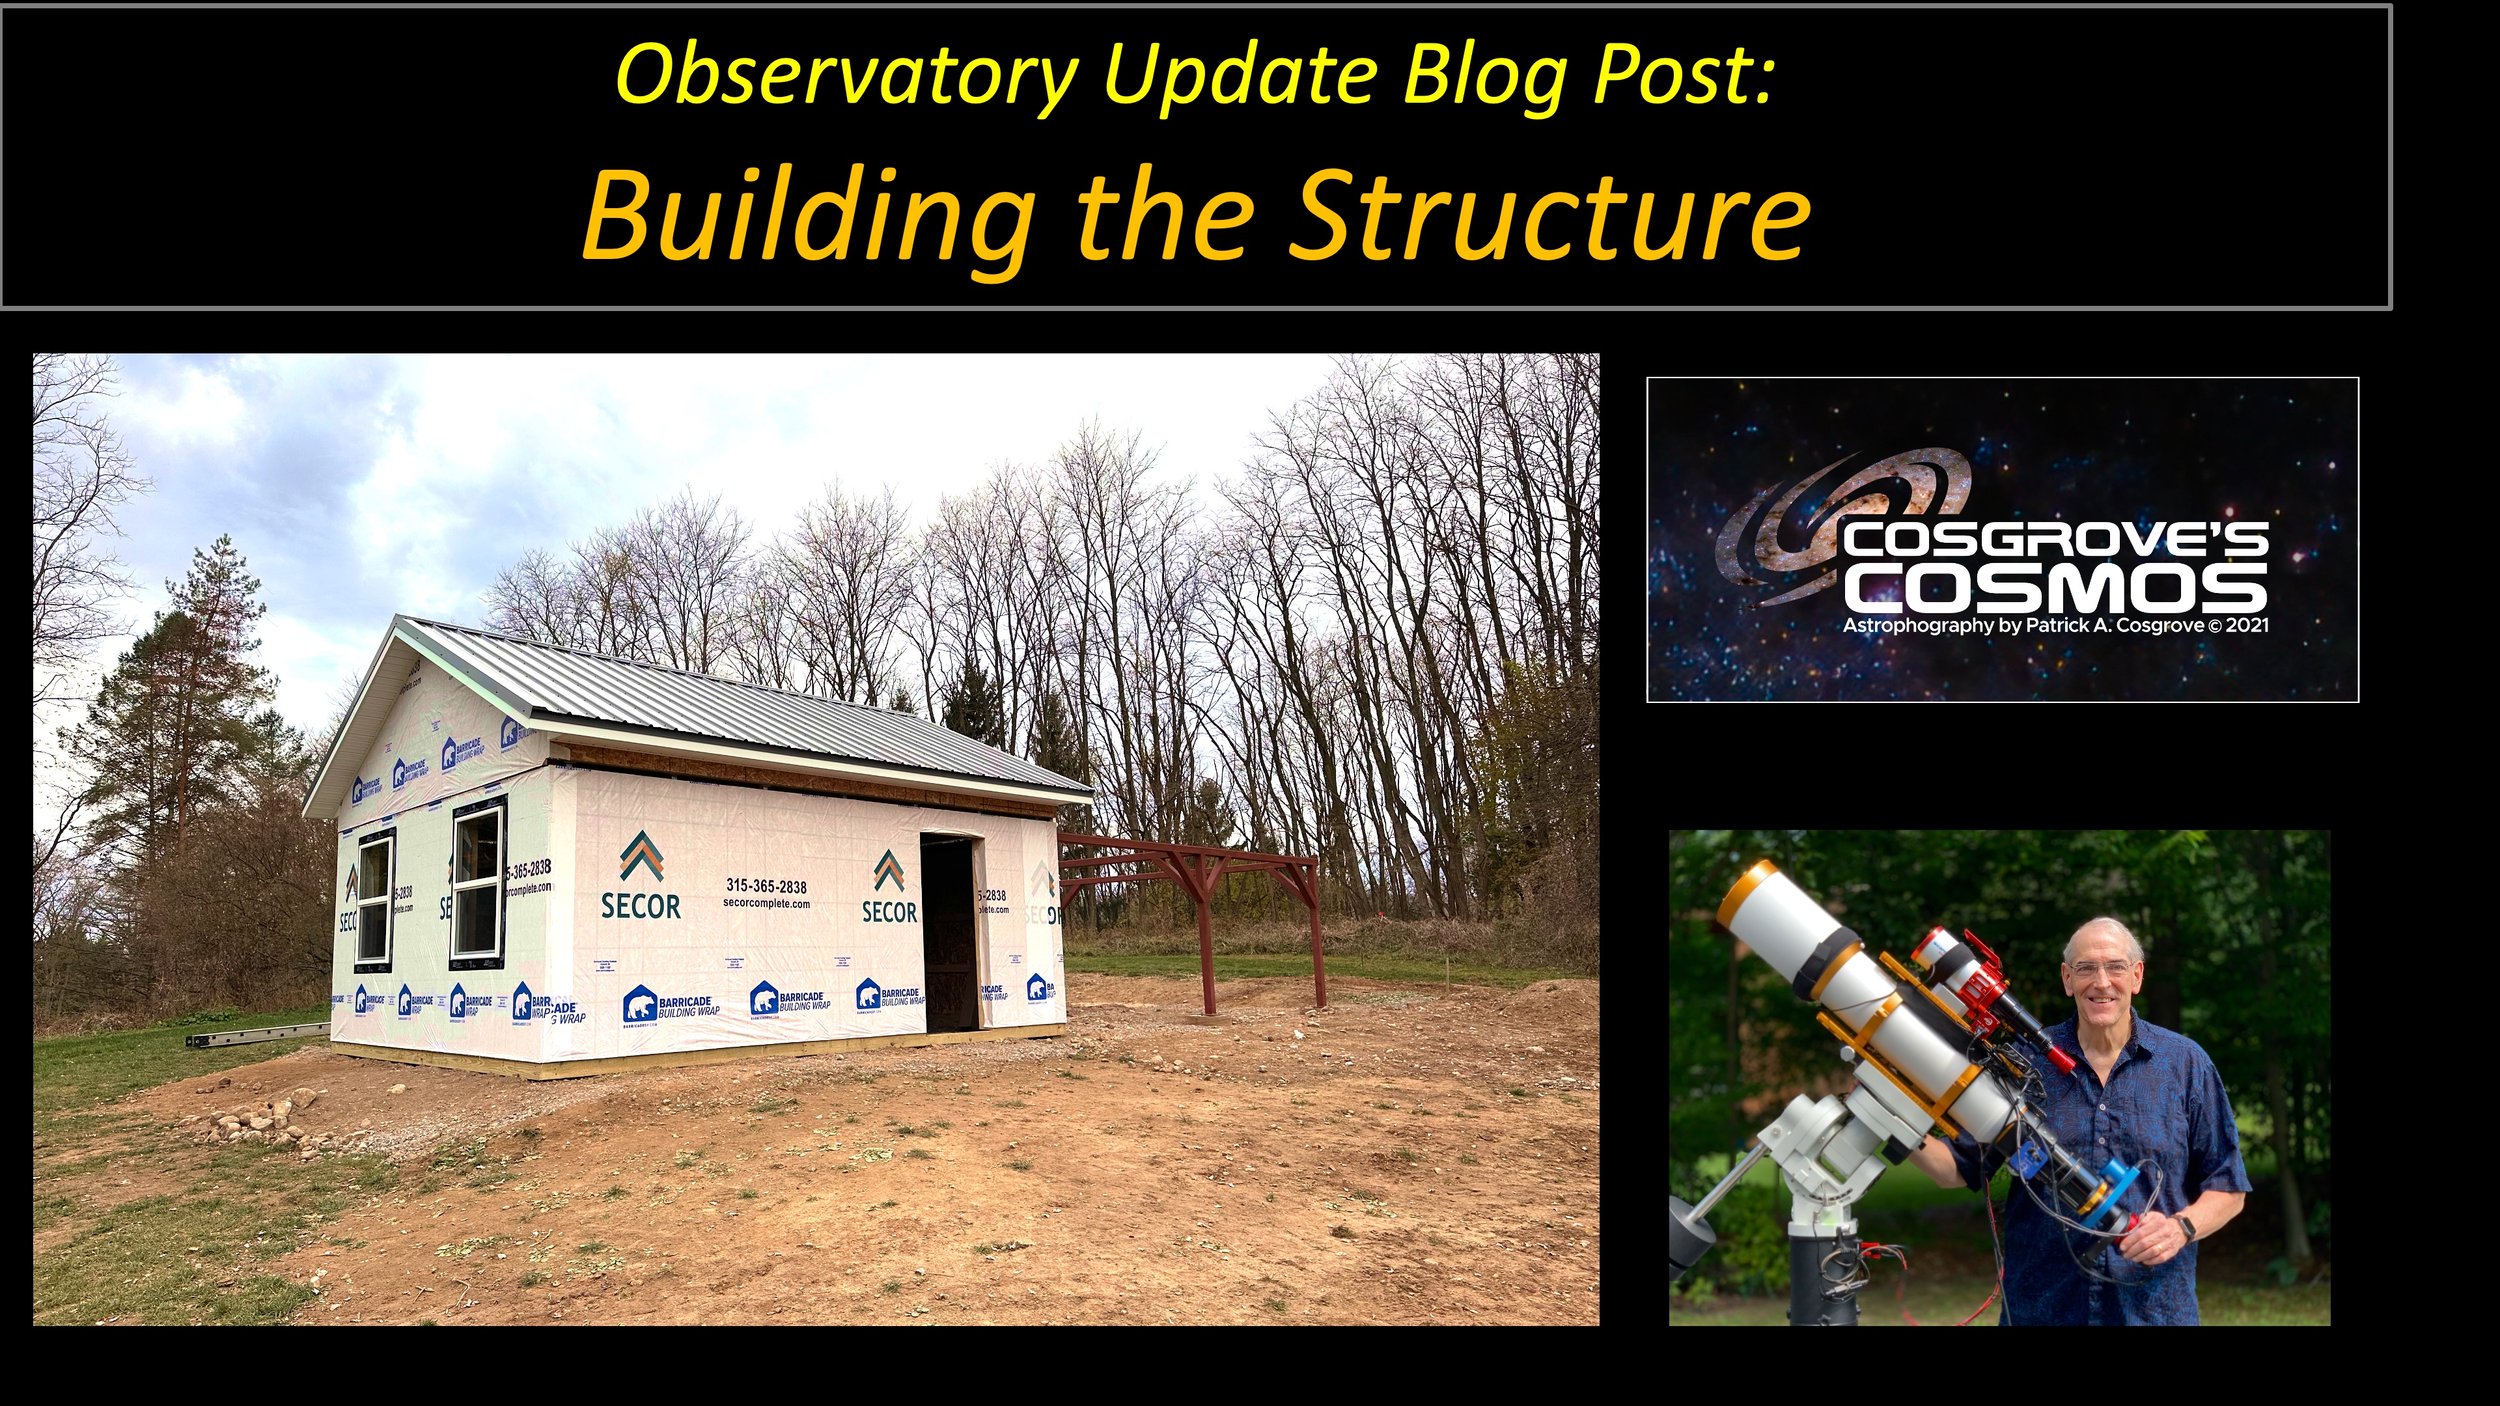
To supplement the two videos I have posted on this phase of construction, this blog post will cover the same information with some greater depth and additional background information.
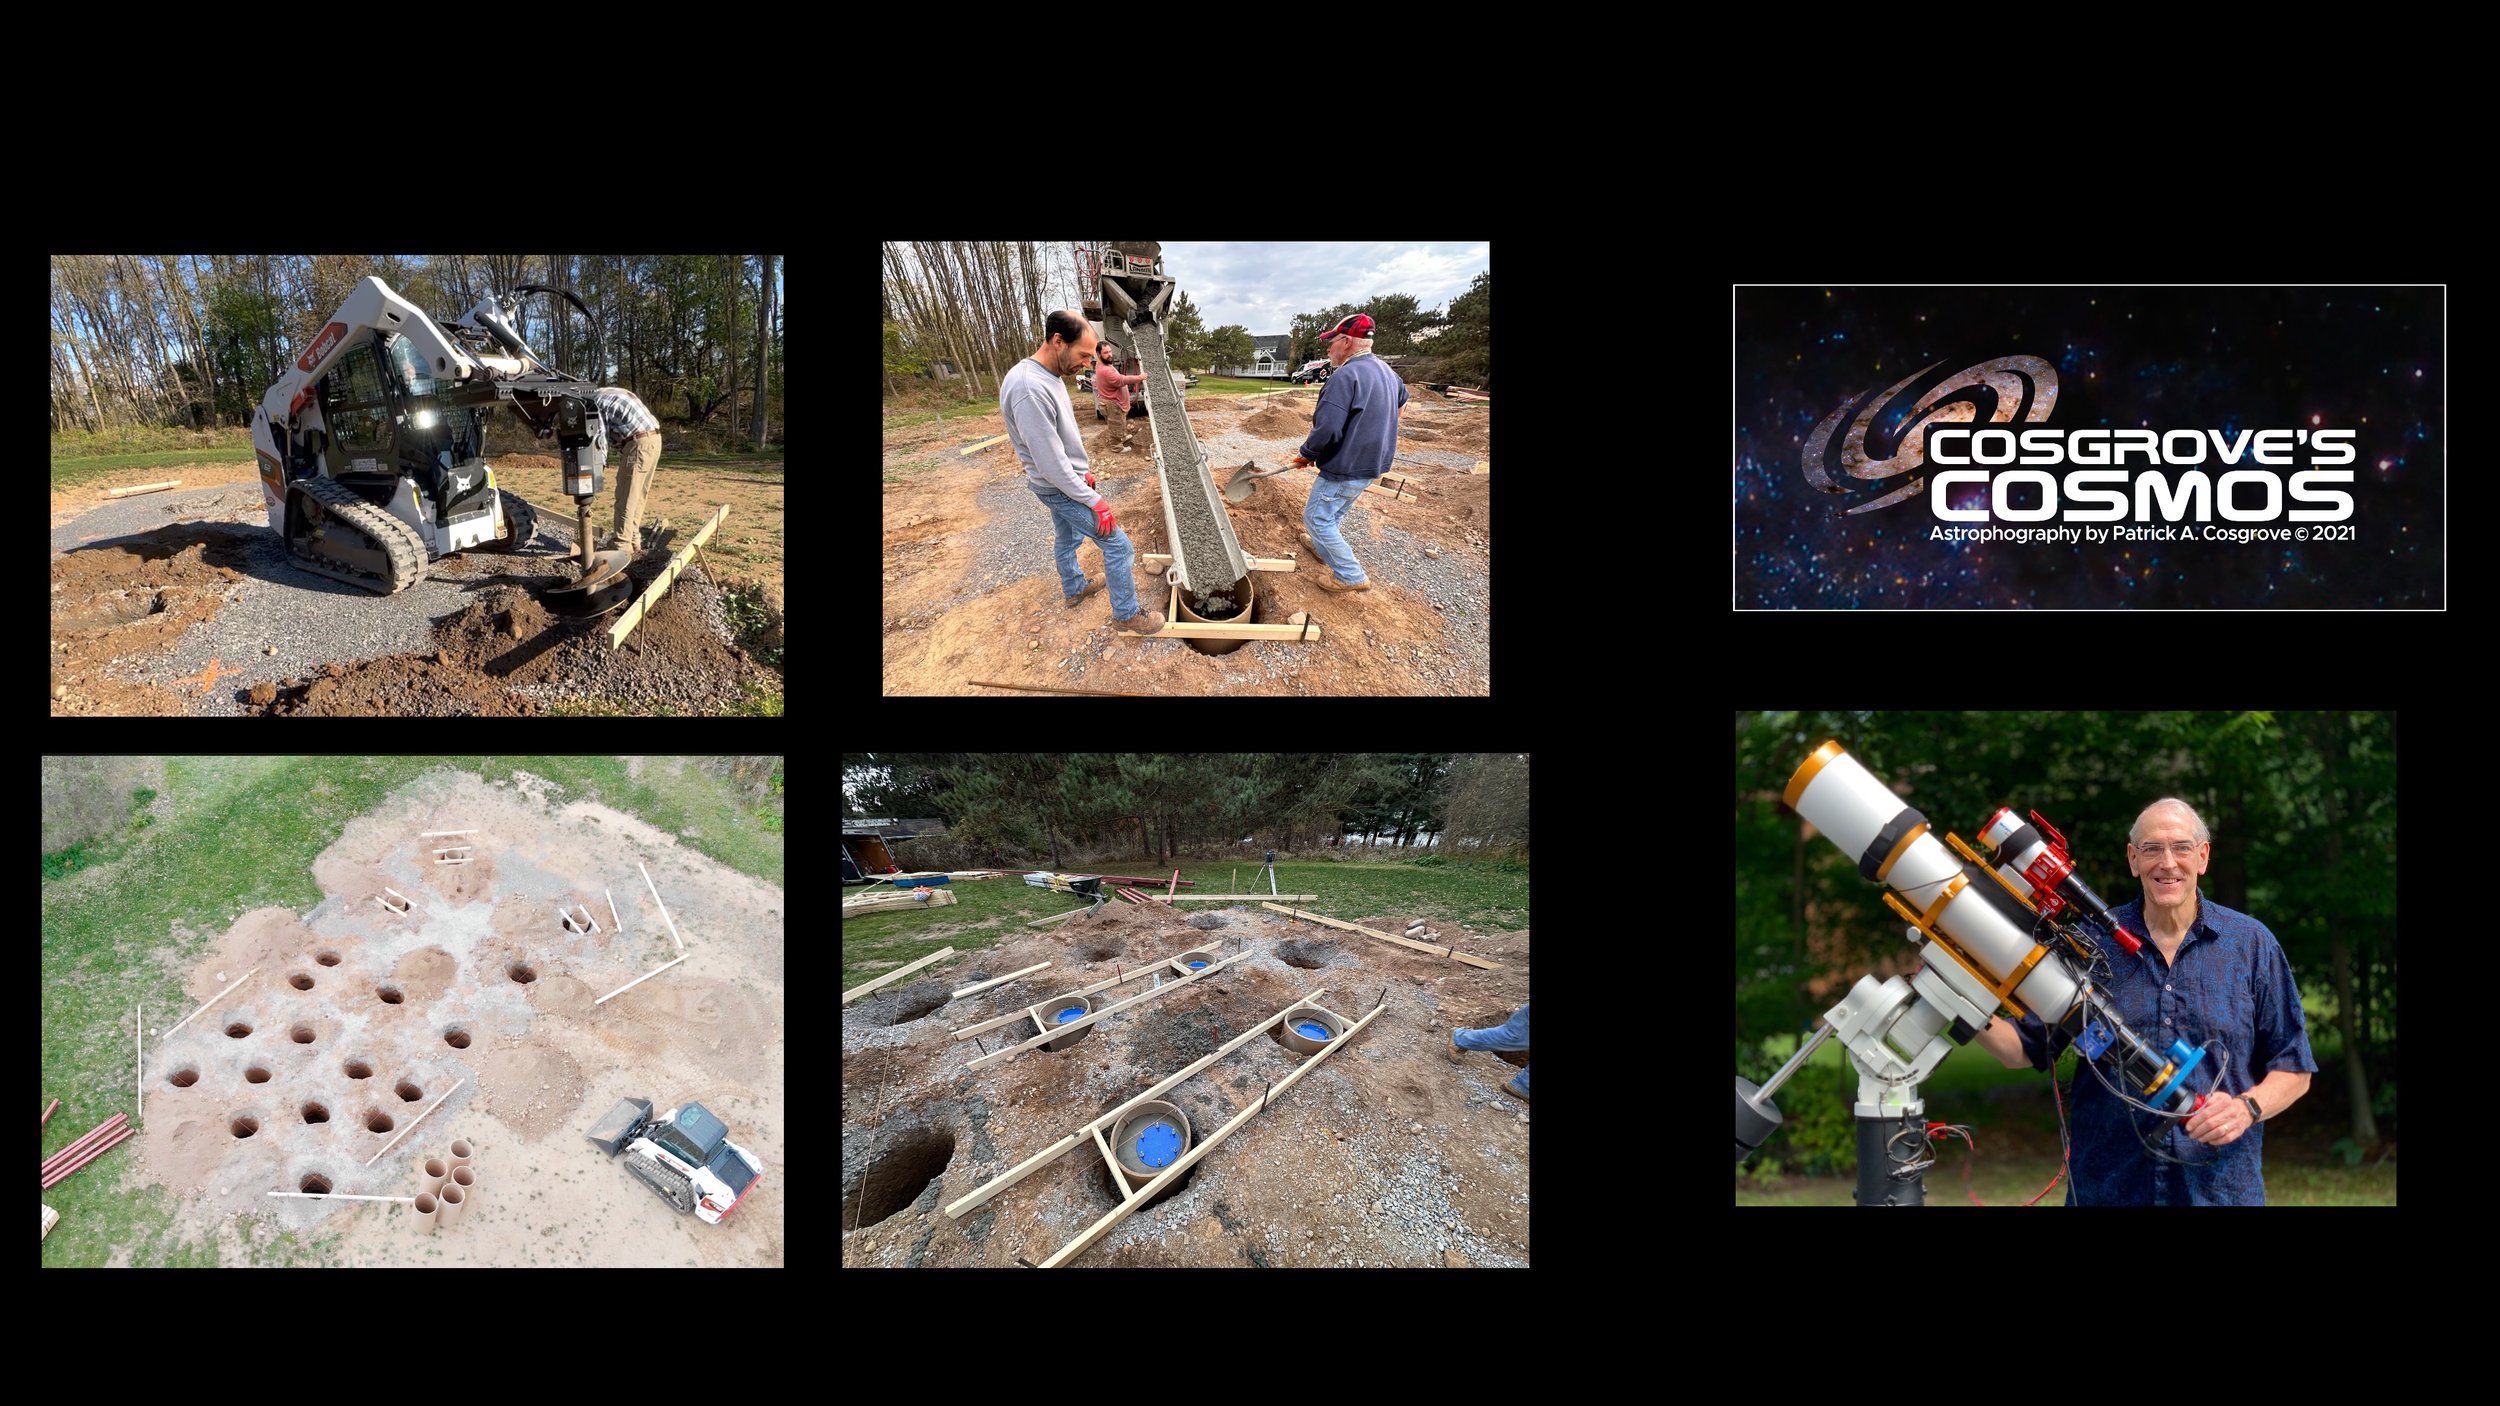
Construction on the Observatory project have begun in earnest and the first phase is laying the foundation.
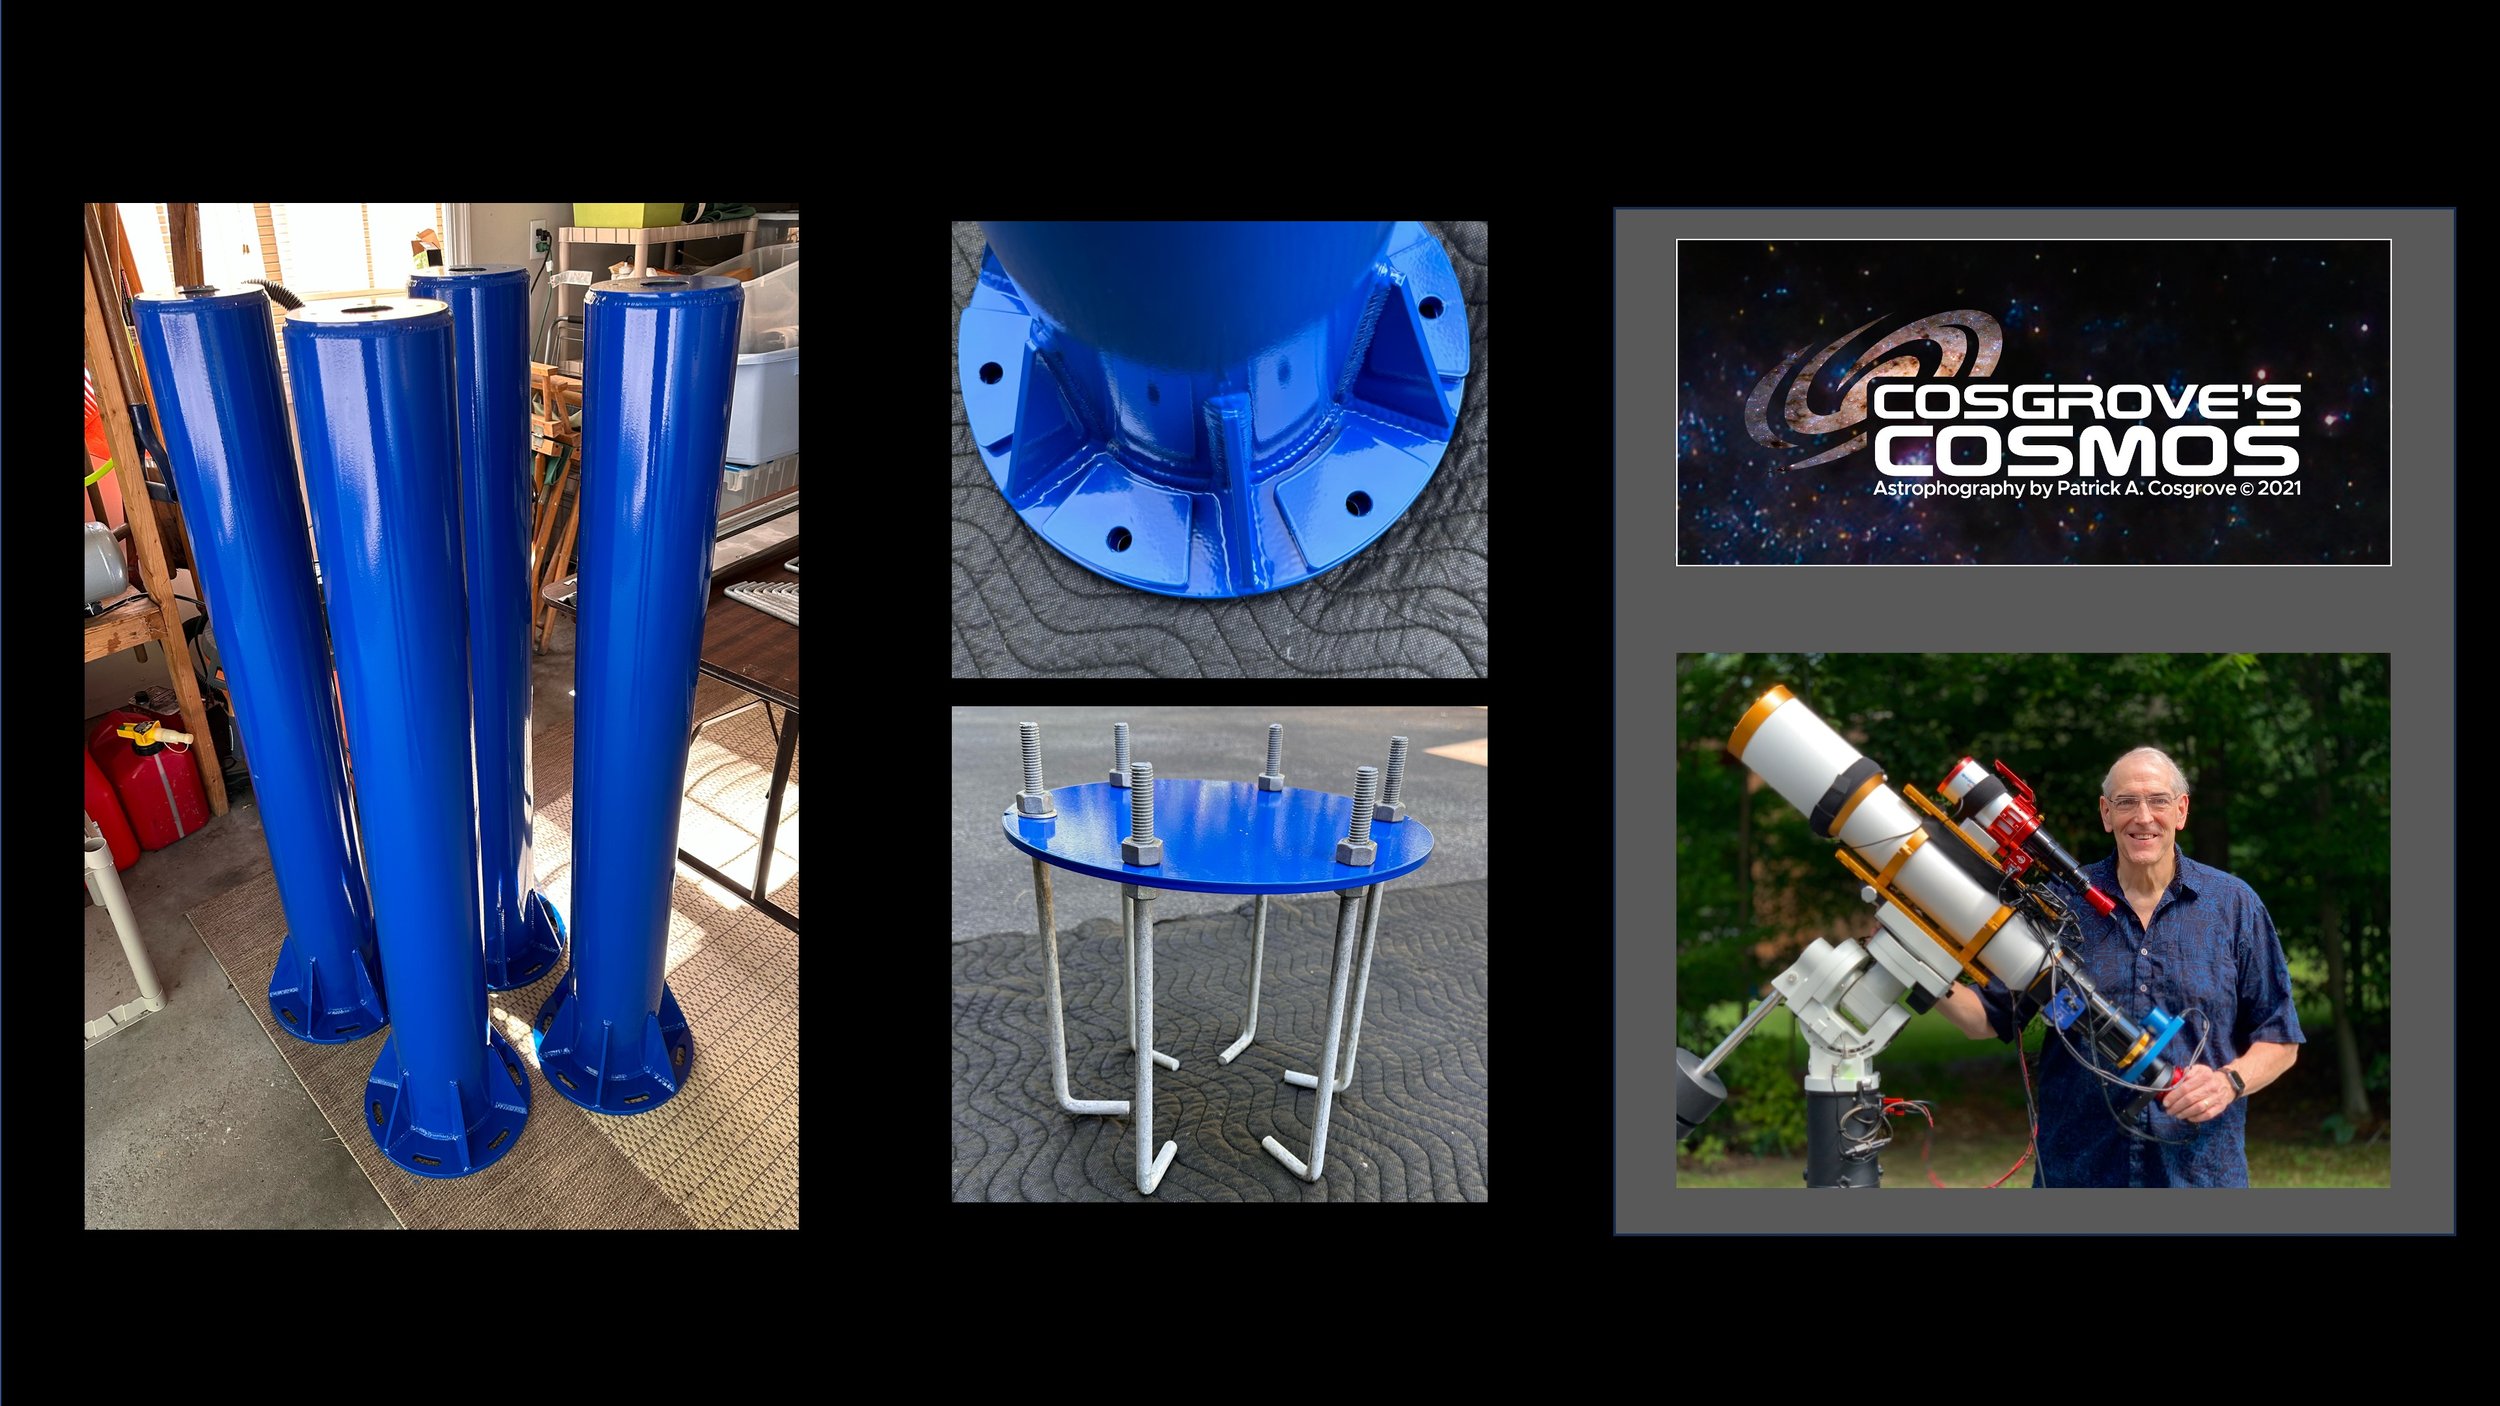
The Piers have come back from the painters and are now complete. This short blog post will review the final results!
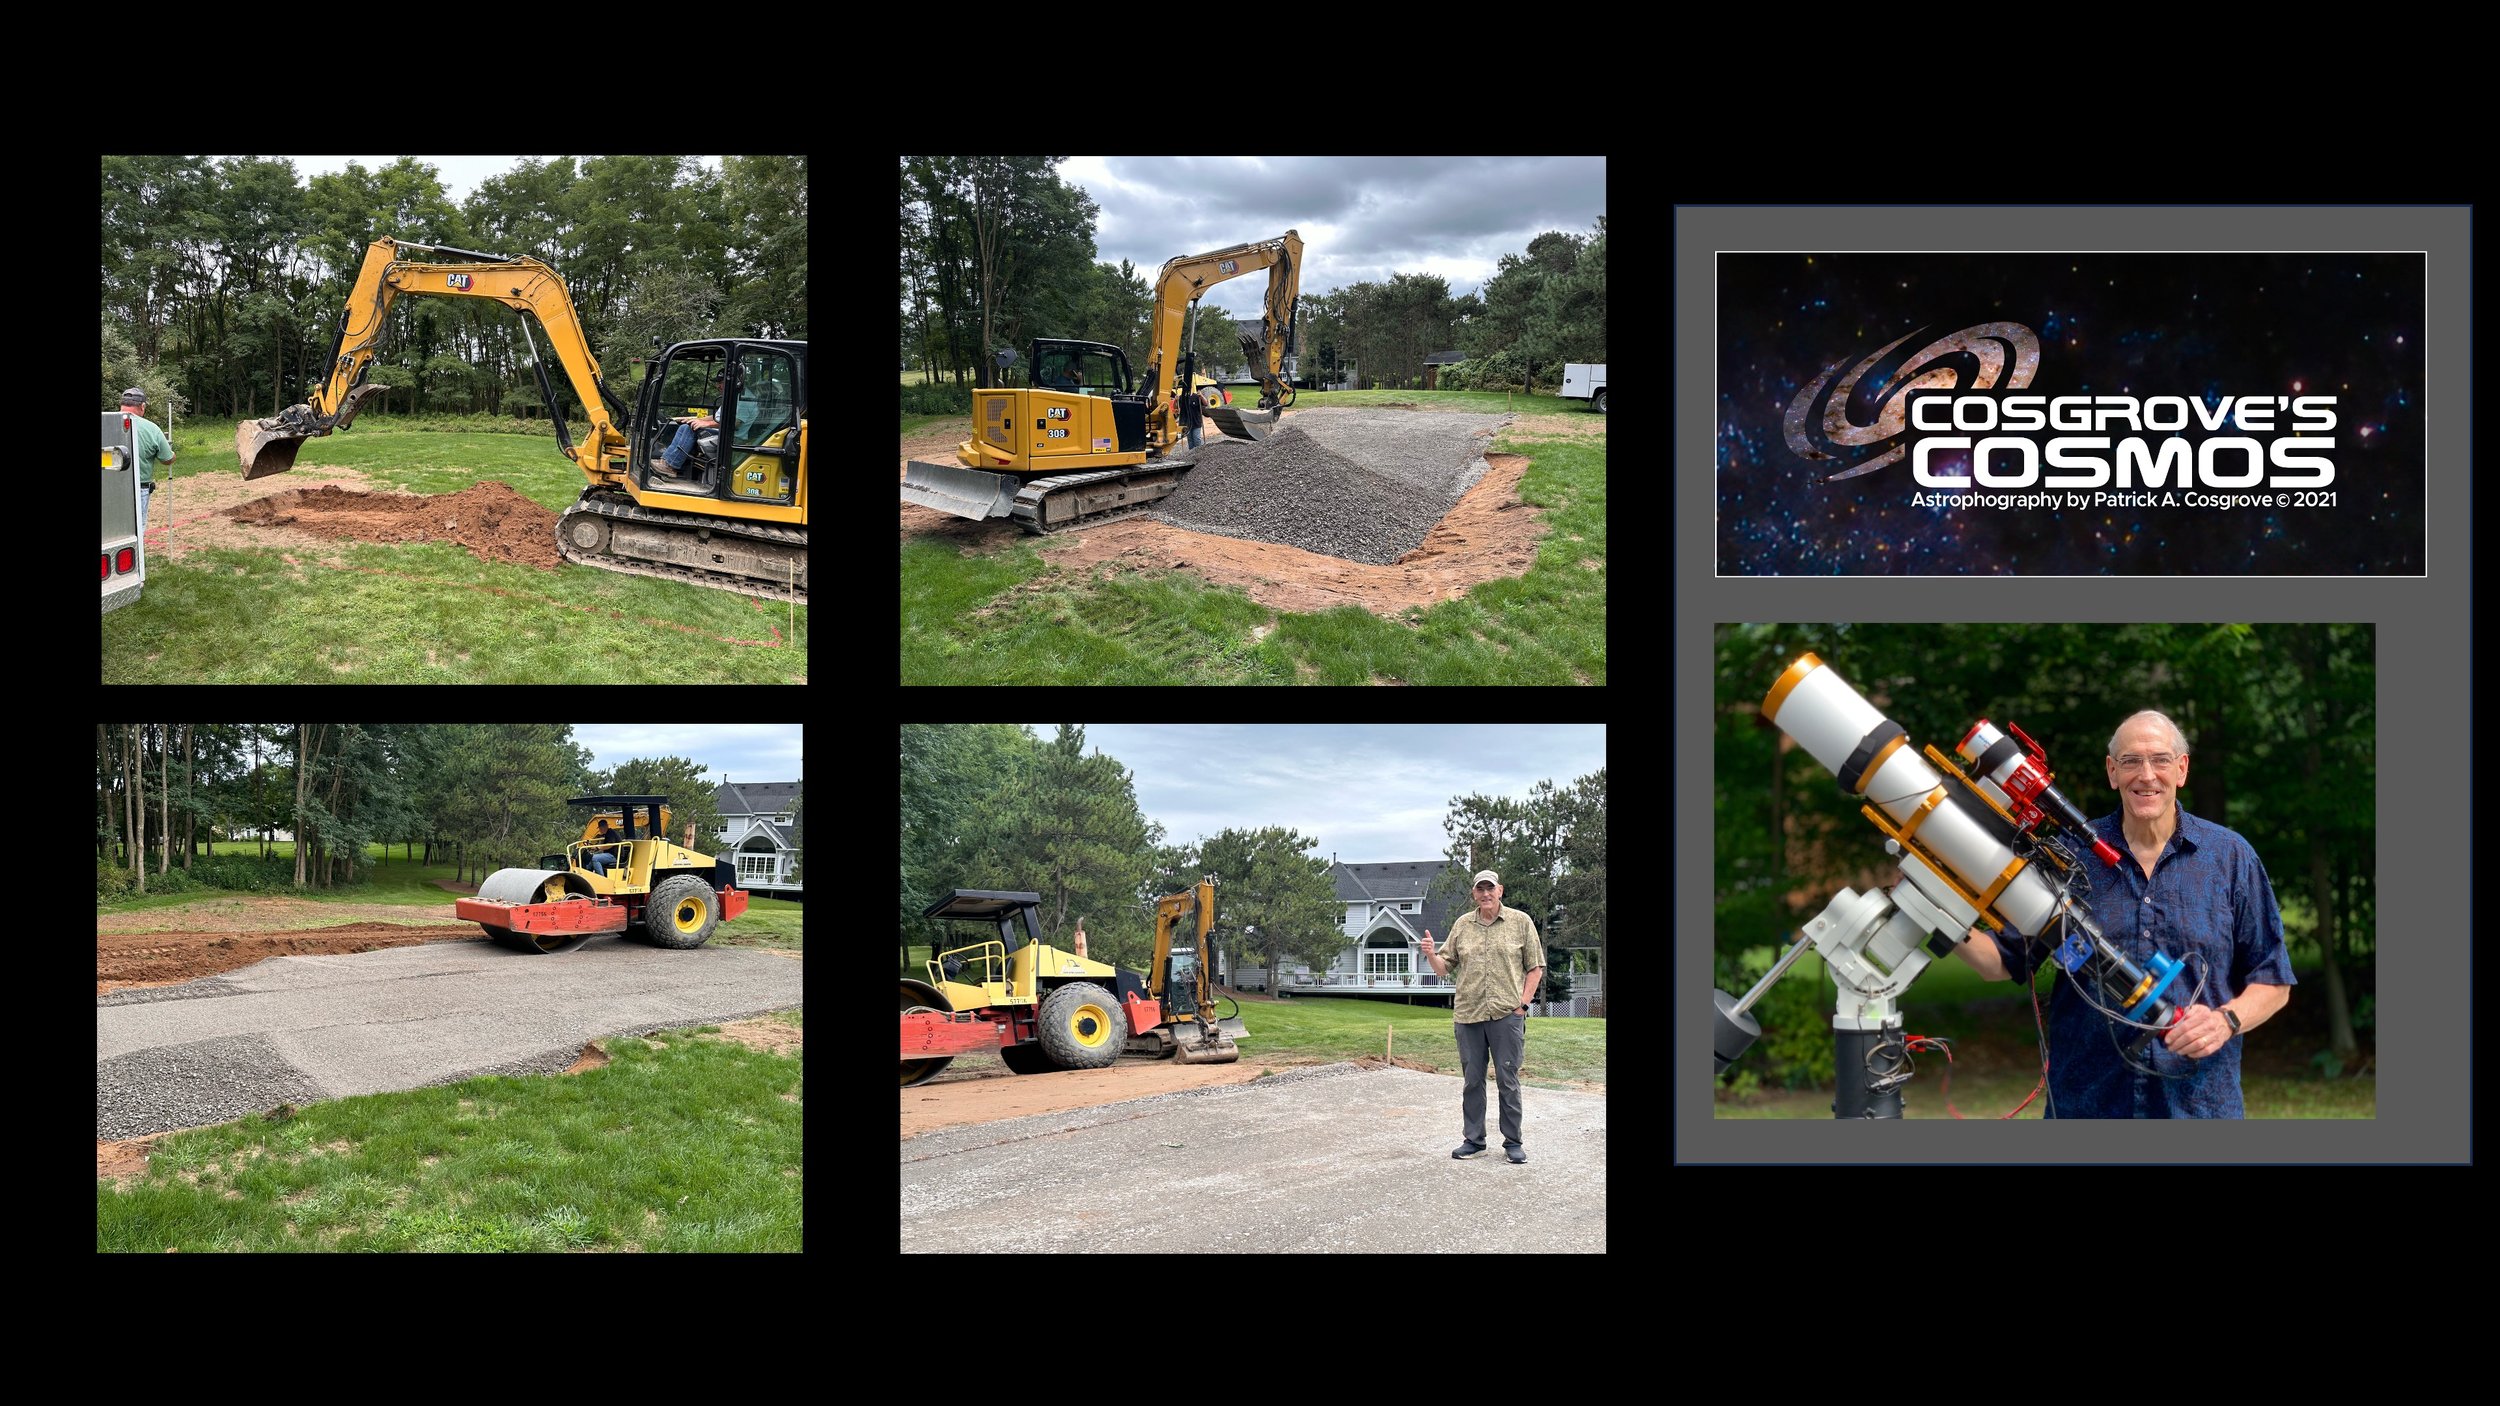
We have finally broken ground on the observatory project, and the excavation work is now complete!
This post is a companion article to the video I posted on my YouTube channel. Two days of work have been compressed into a few short minutes so you can see how the work progressed!
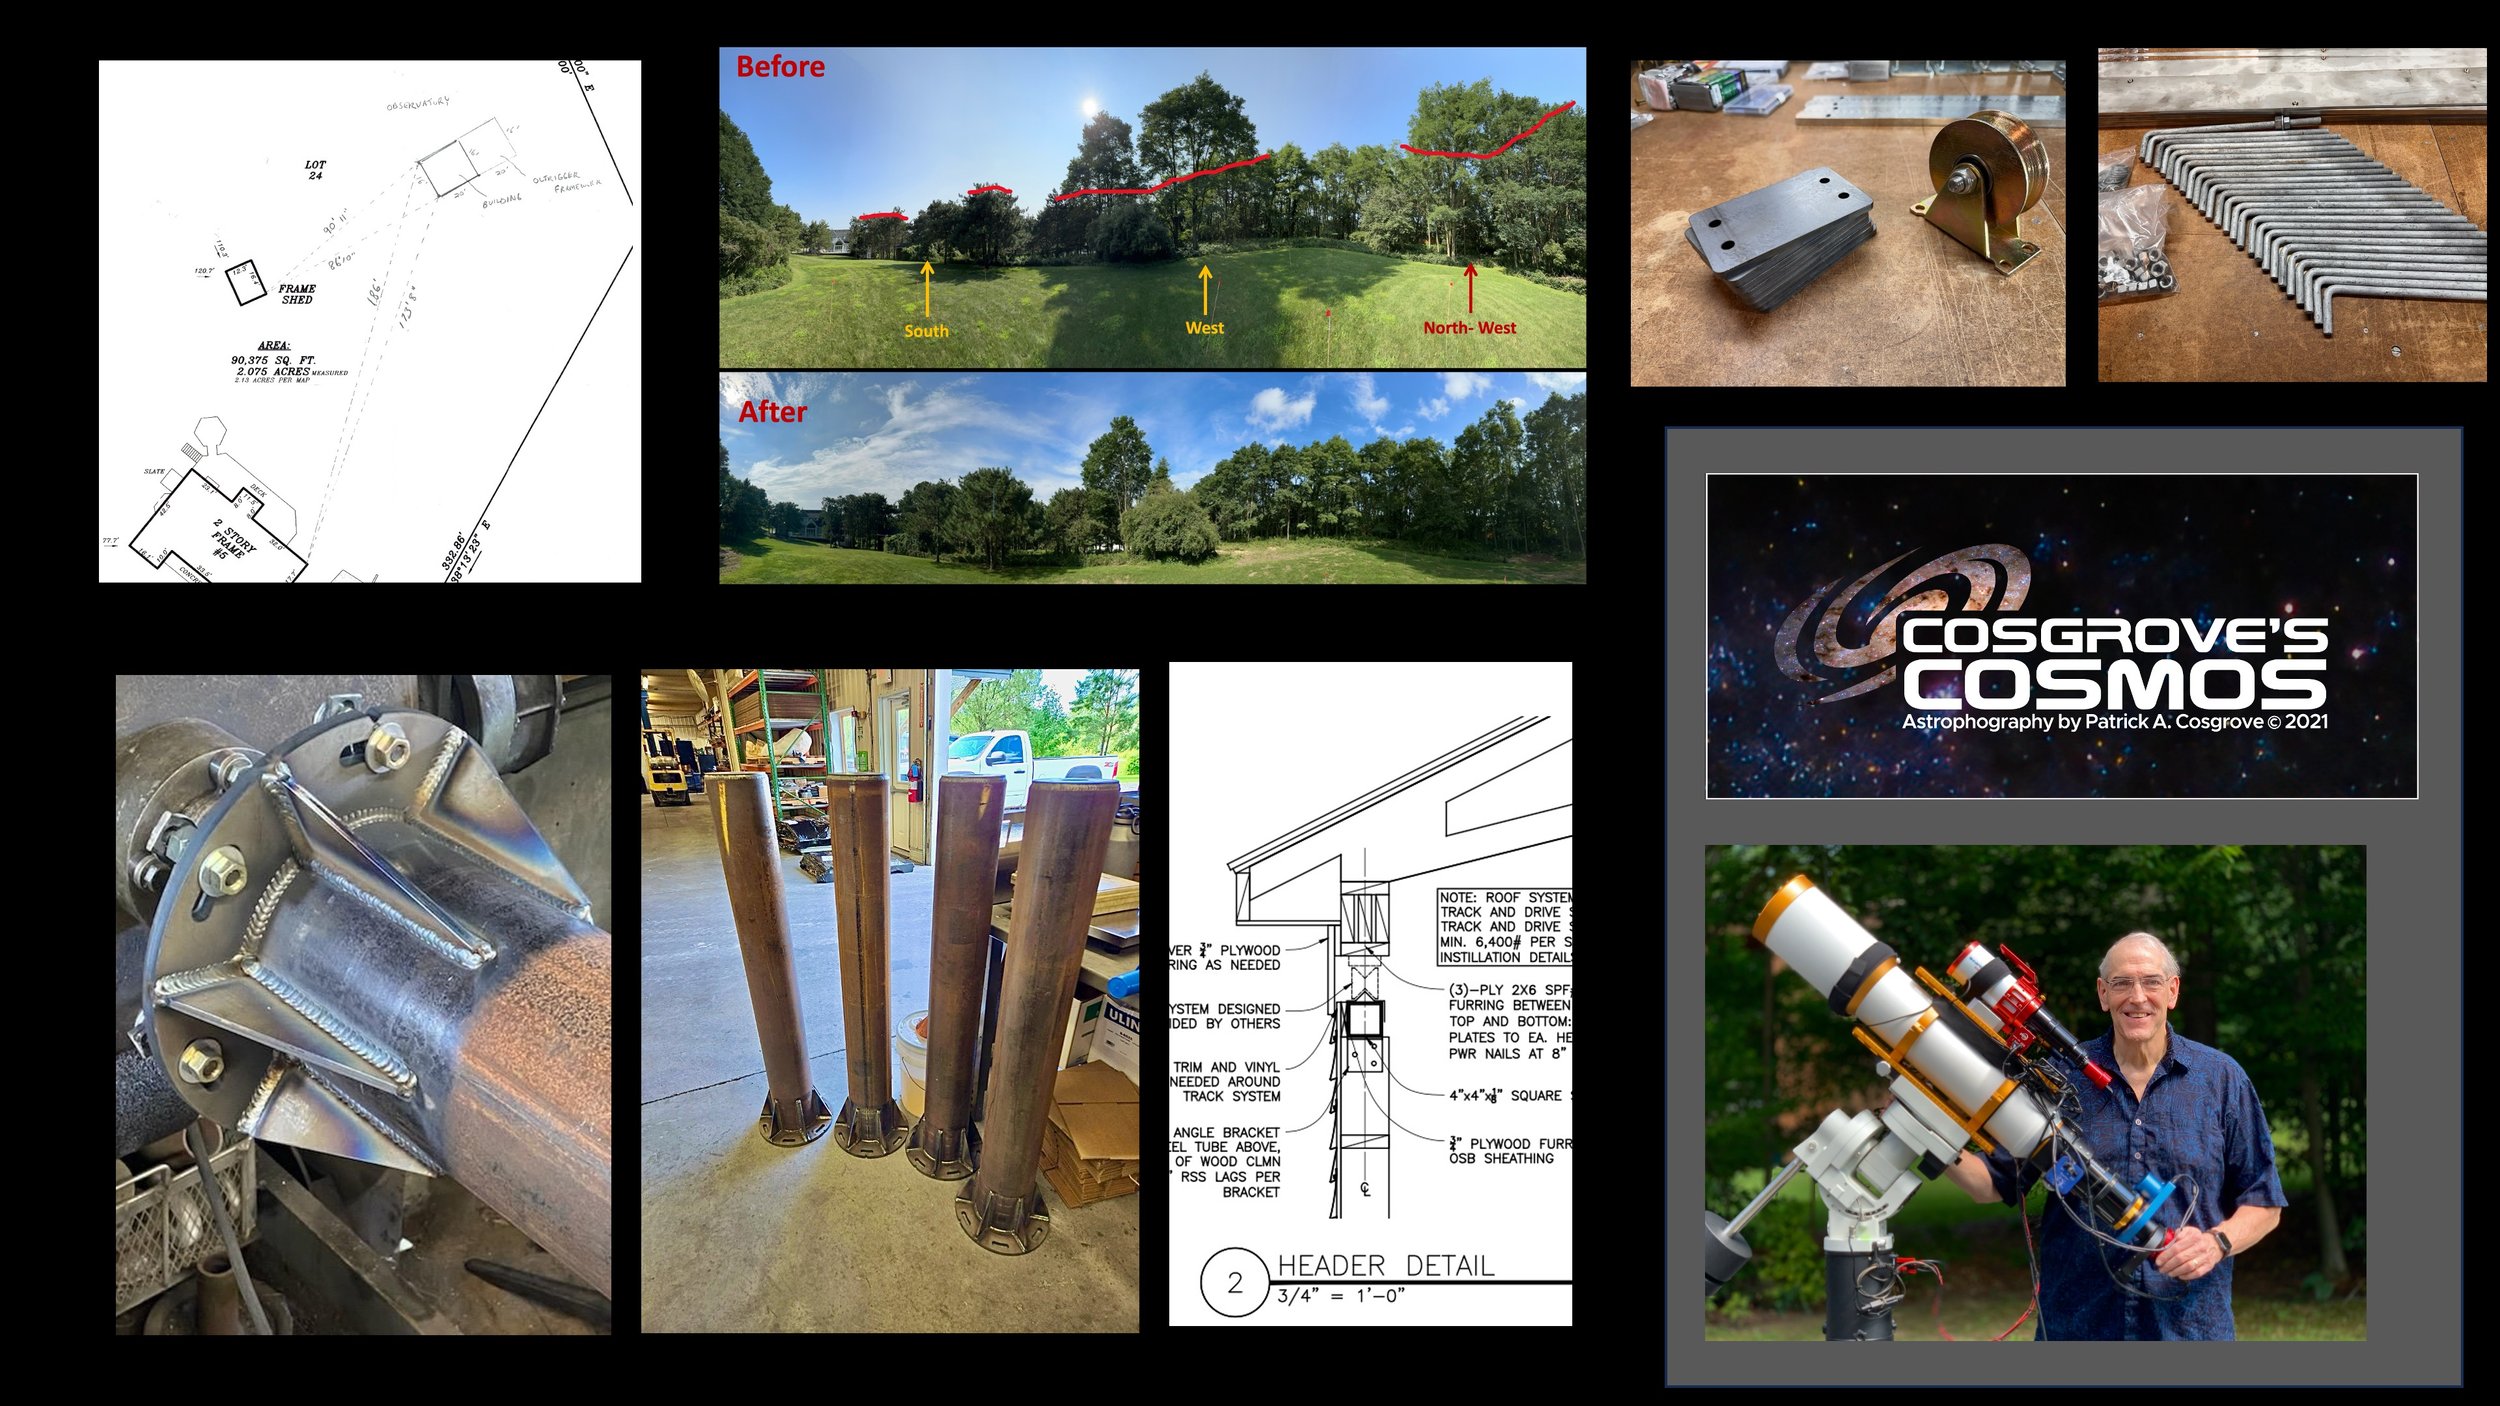
This is my last status report before construction commences on the observatory!
We have made progress on the final stamped plans, the building permit, and hardware acquisition, and I wanted to report on that!
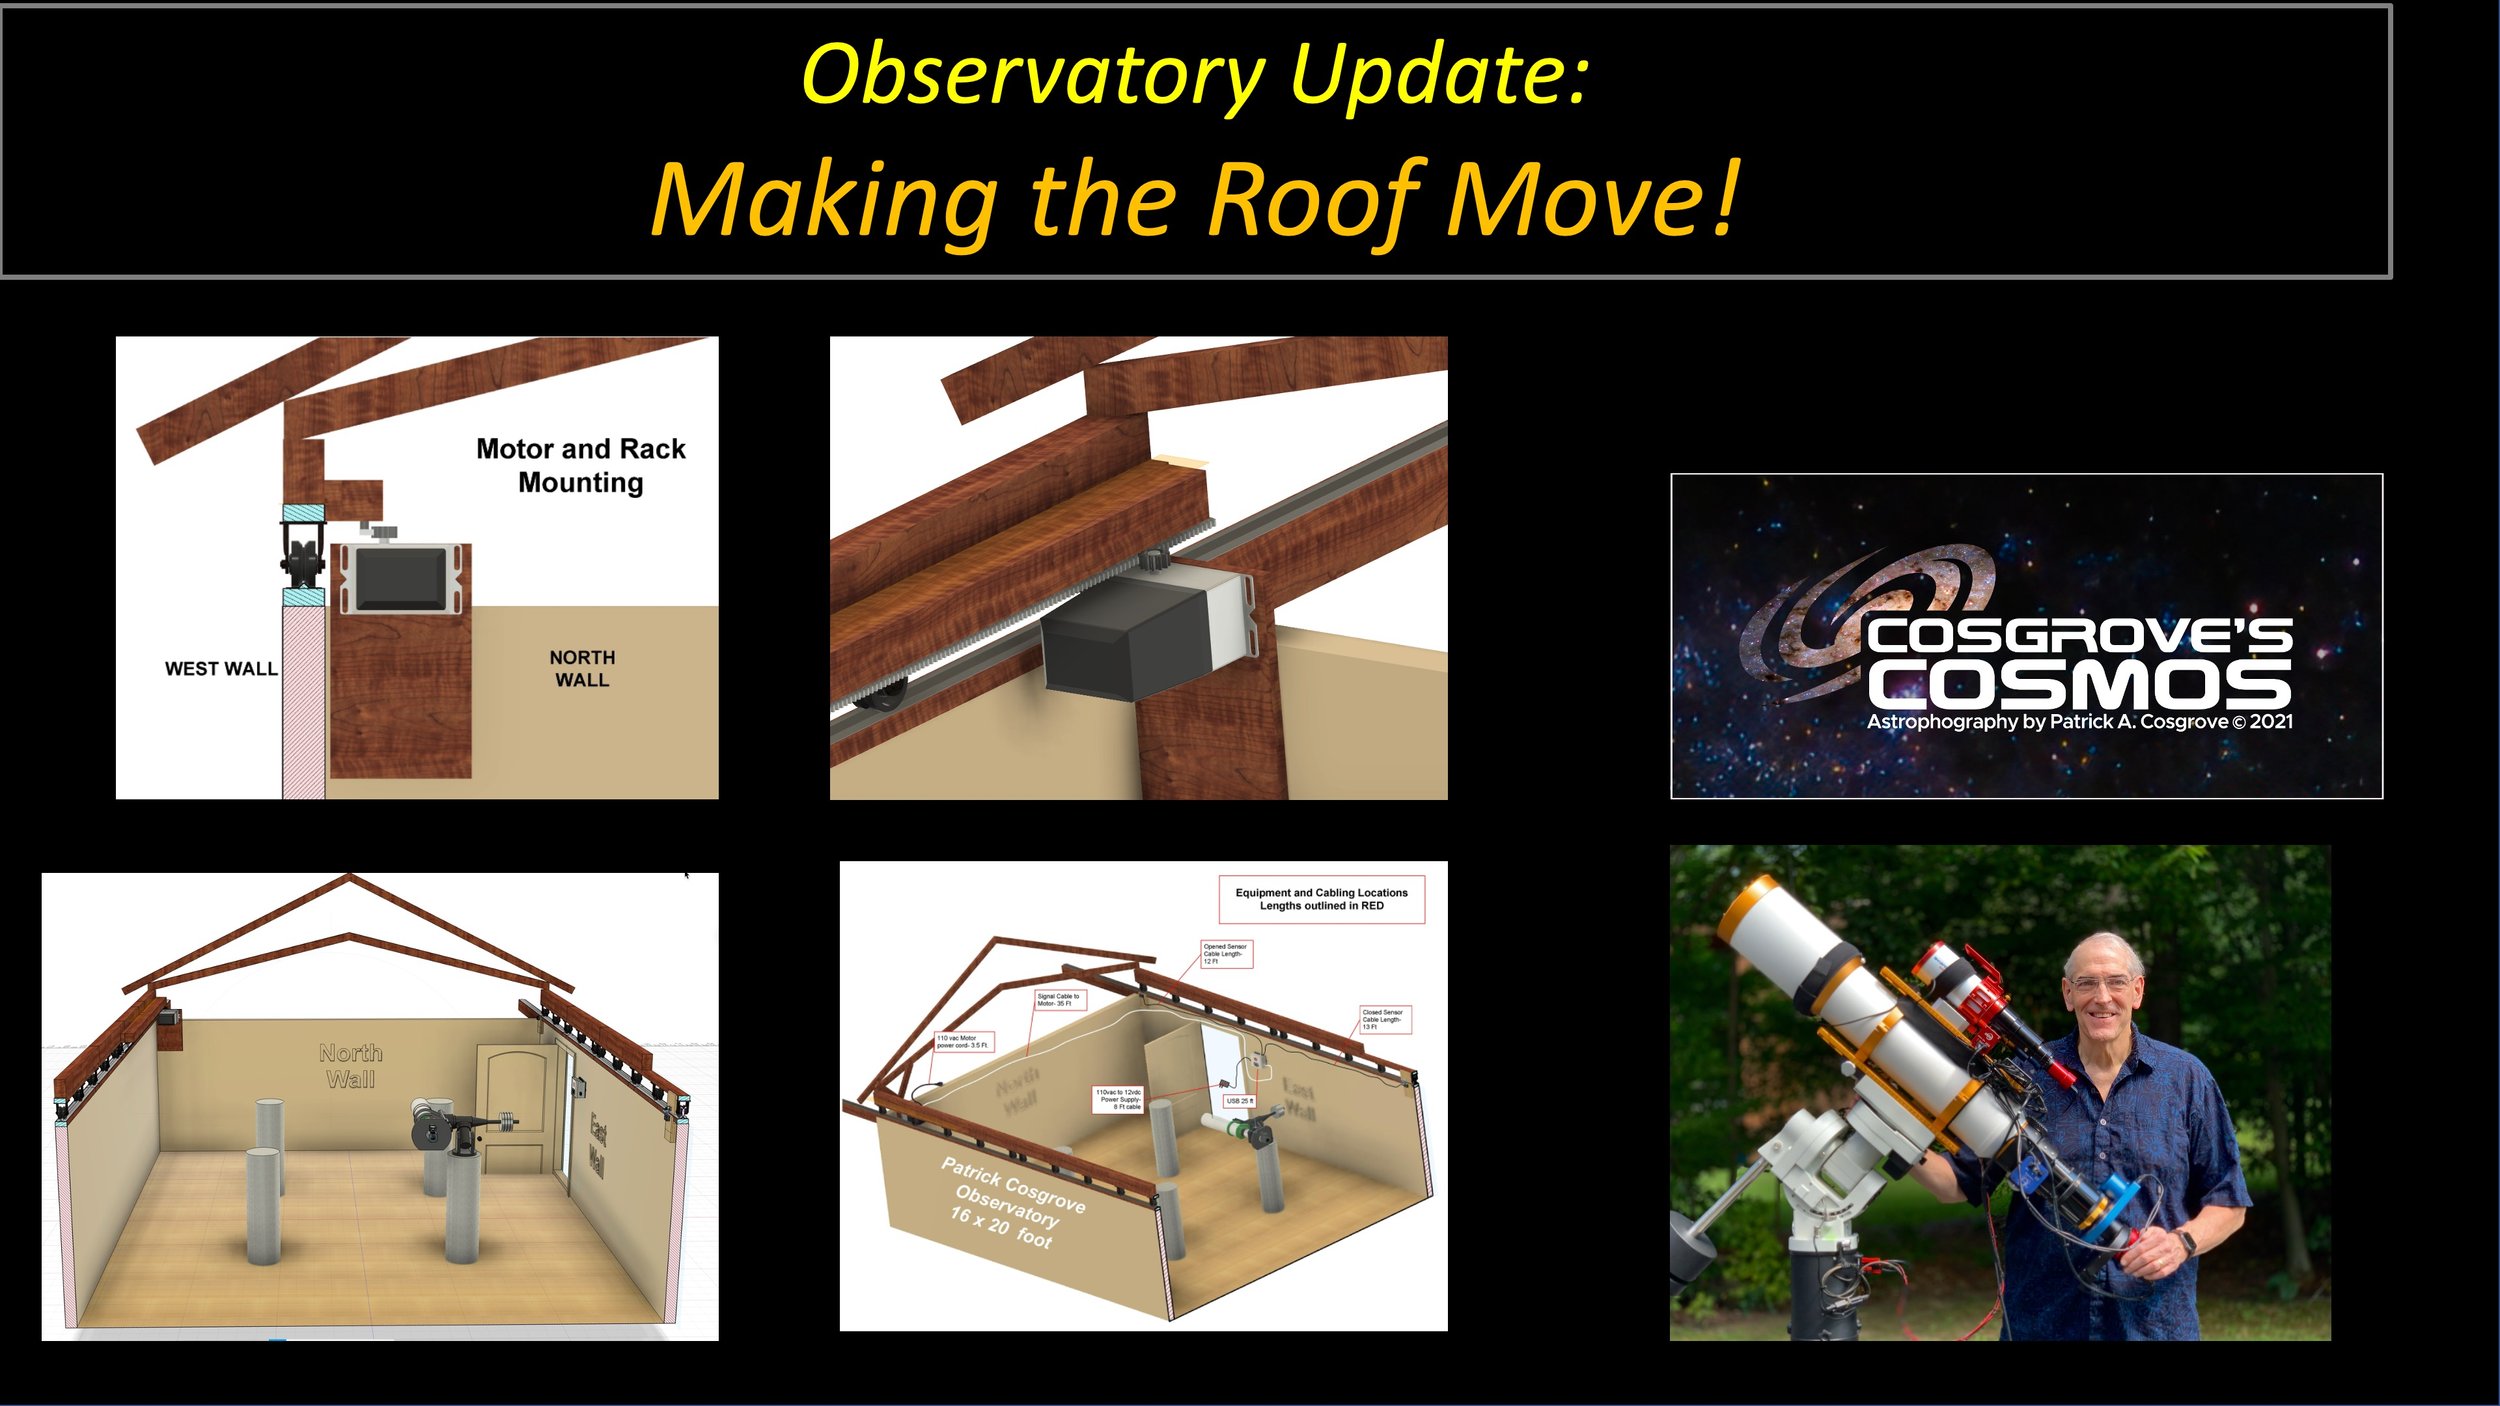
Now I need to plan for a way to move the roof on the observatory. After getting several recommendation, I decided to go with the SkyRoof System. Working with Jim Collins of IAA, I placed my order and plannned out how it would be installed for my application!
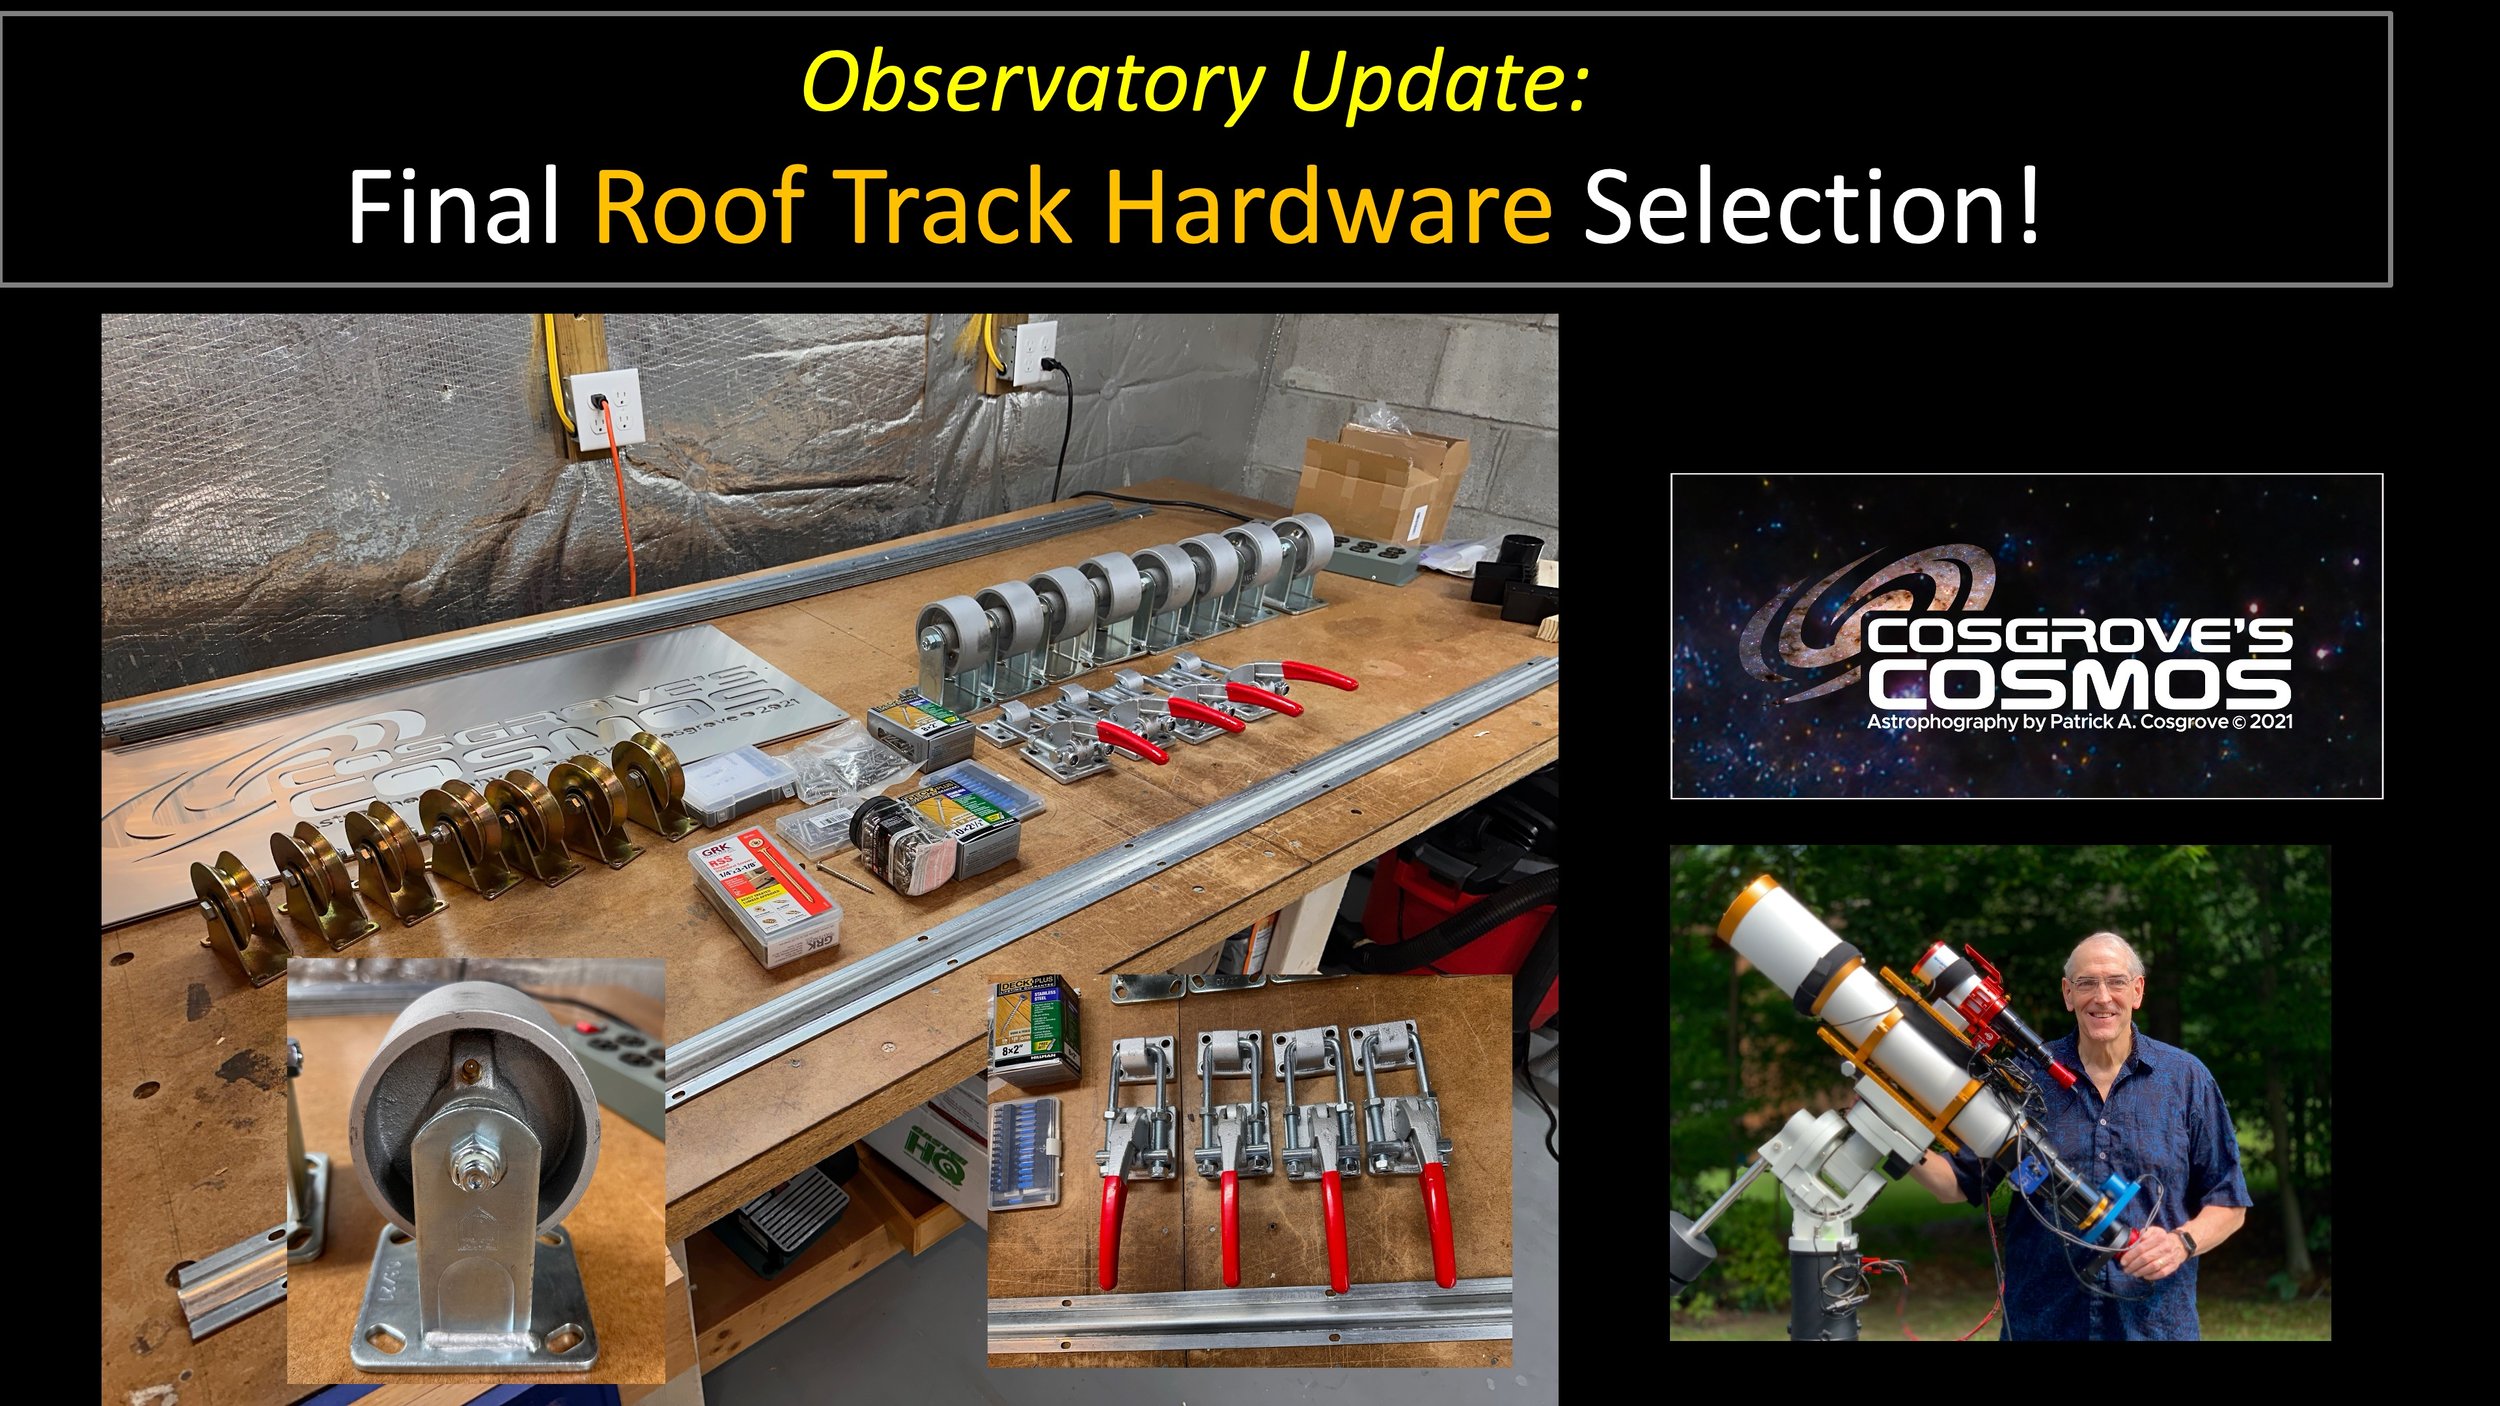
After a bit more research, my Roof Hardware choice changed once again. But these choicesare final as I ordered them and now have them on hand. This post updates where things stand with the hardware and reviews the final choices!
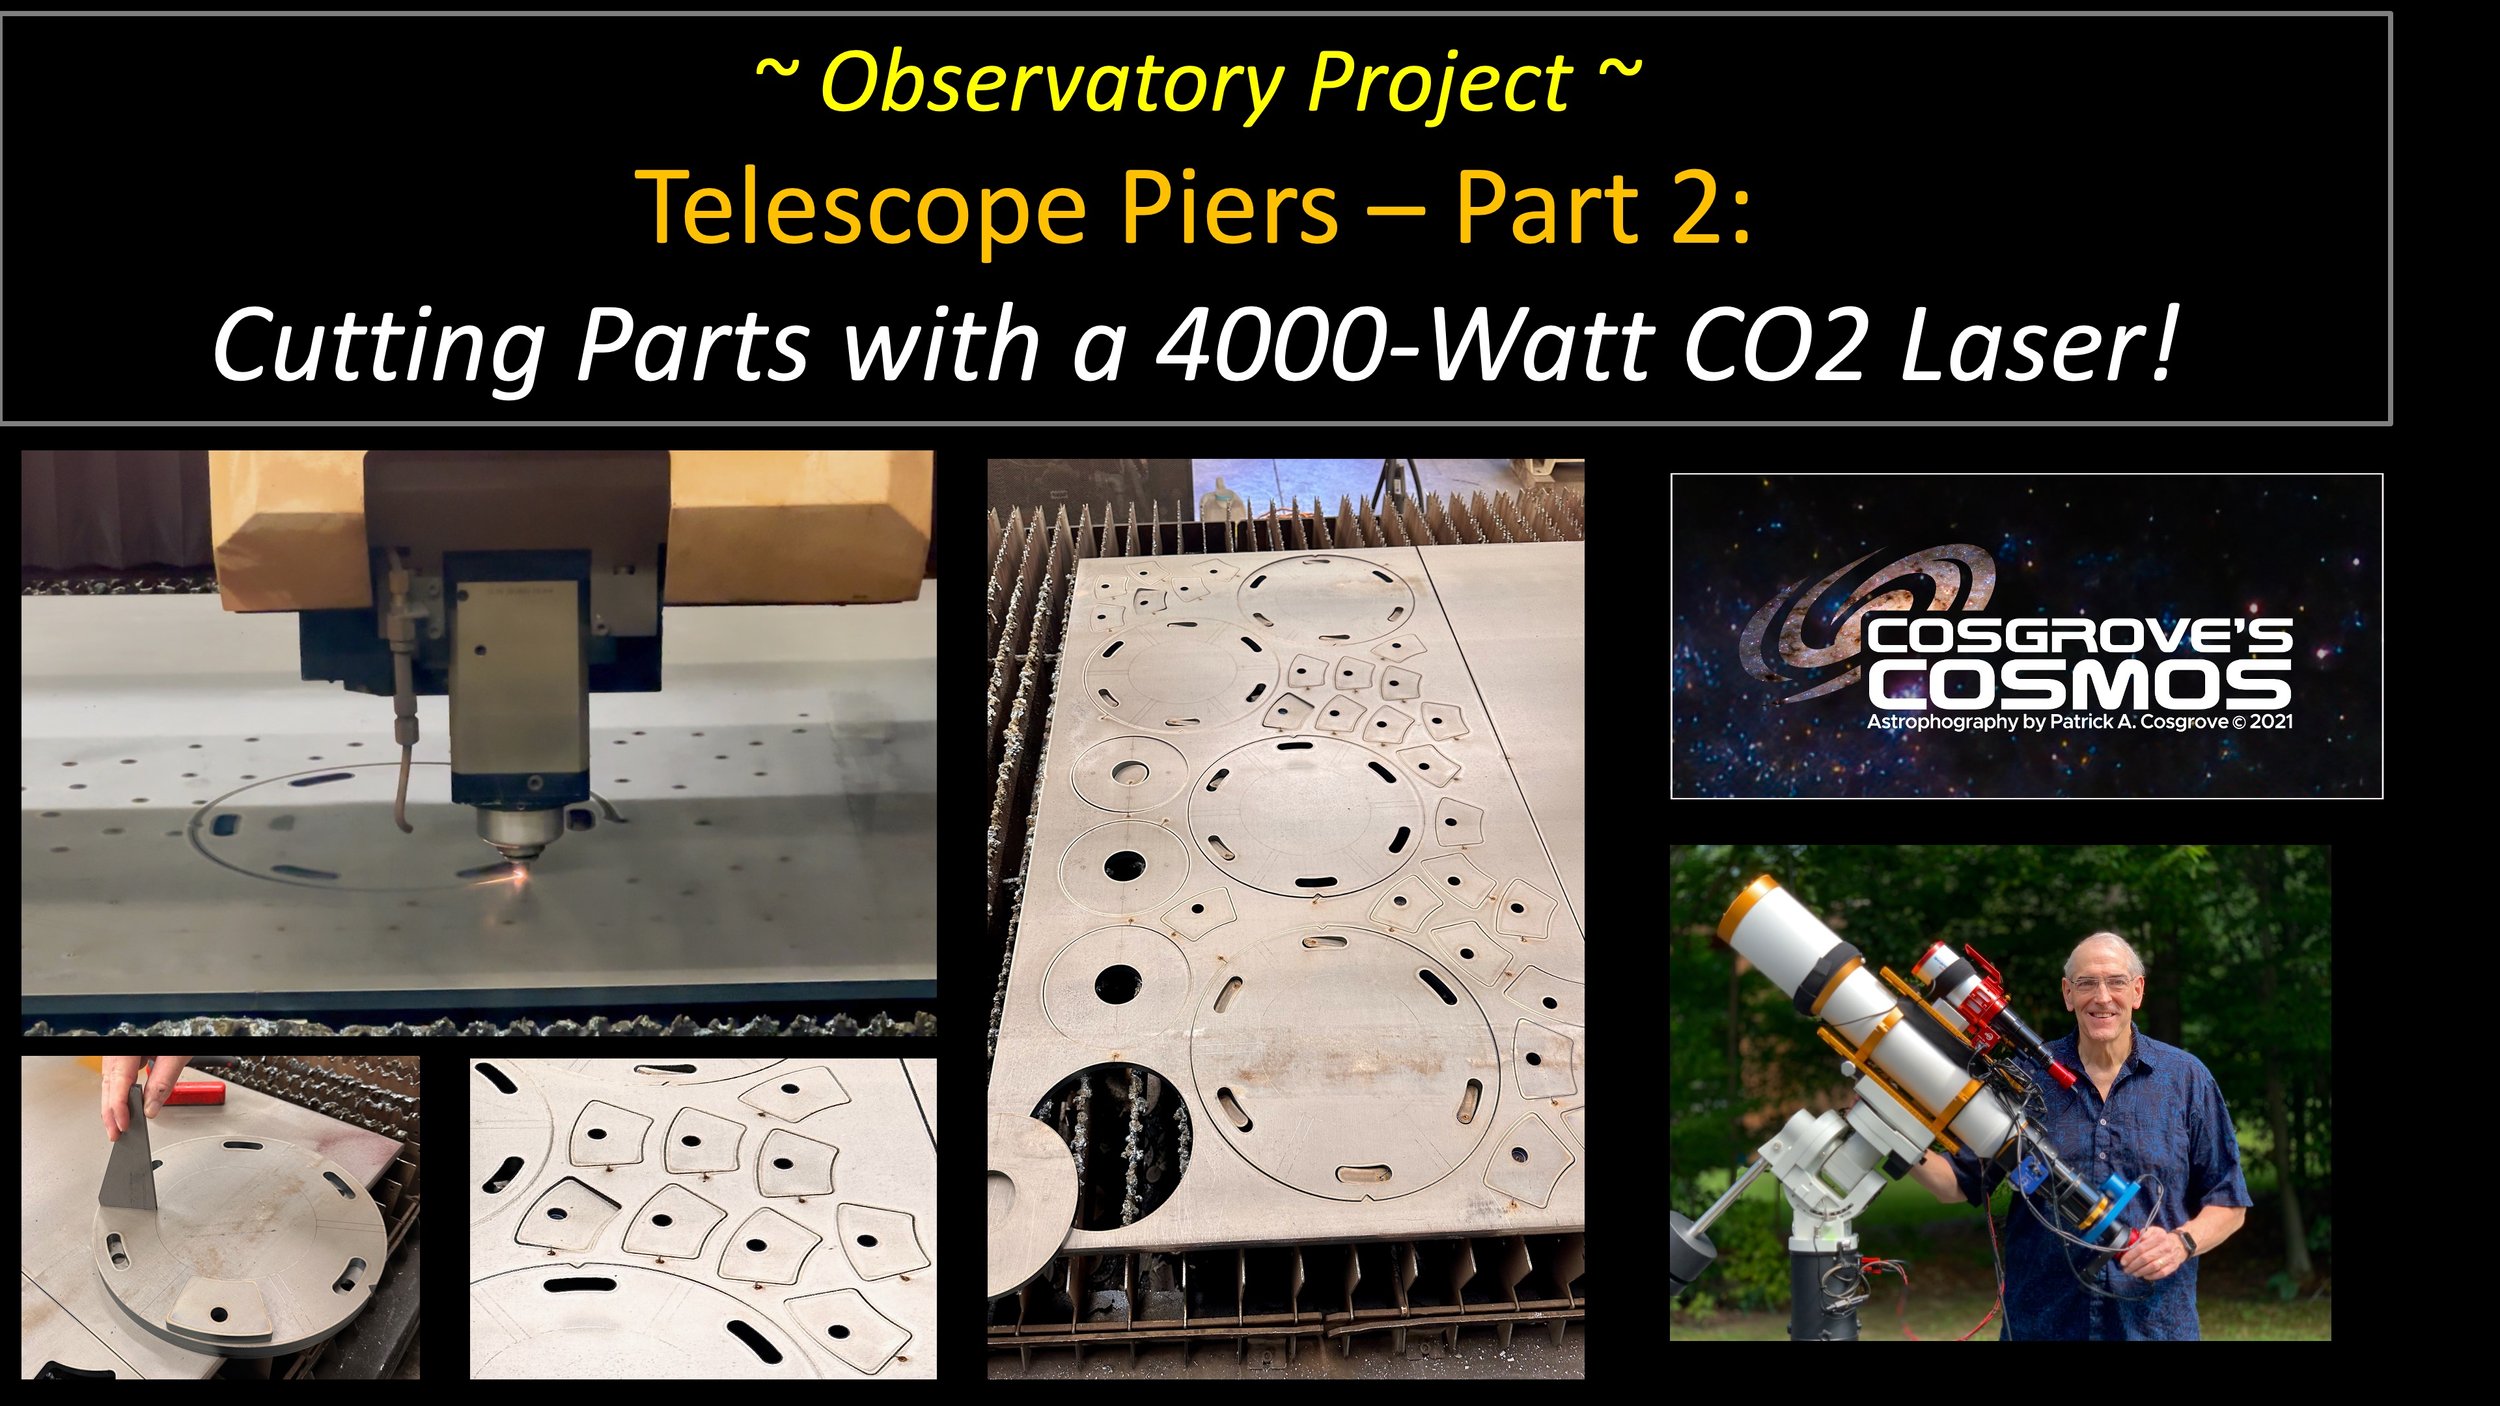
This is the second part of a series of posts covering the design of some custom steel piers for my observatory. This first post covers the concept and design behind the piers I am building. This post covers the cutting of the parts from plate steel using a 4000 watt CO2 laser!
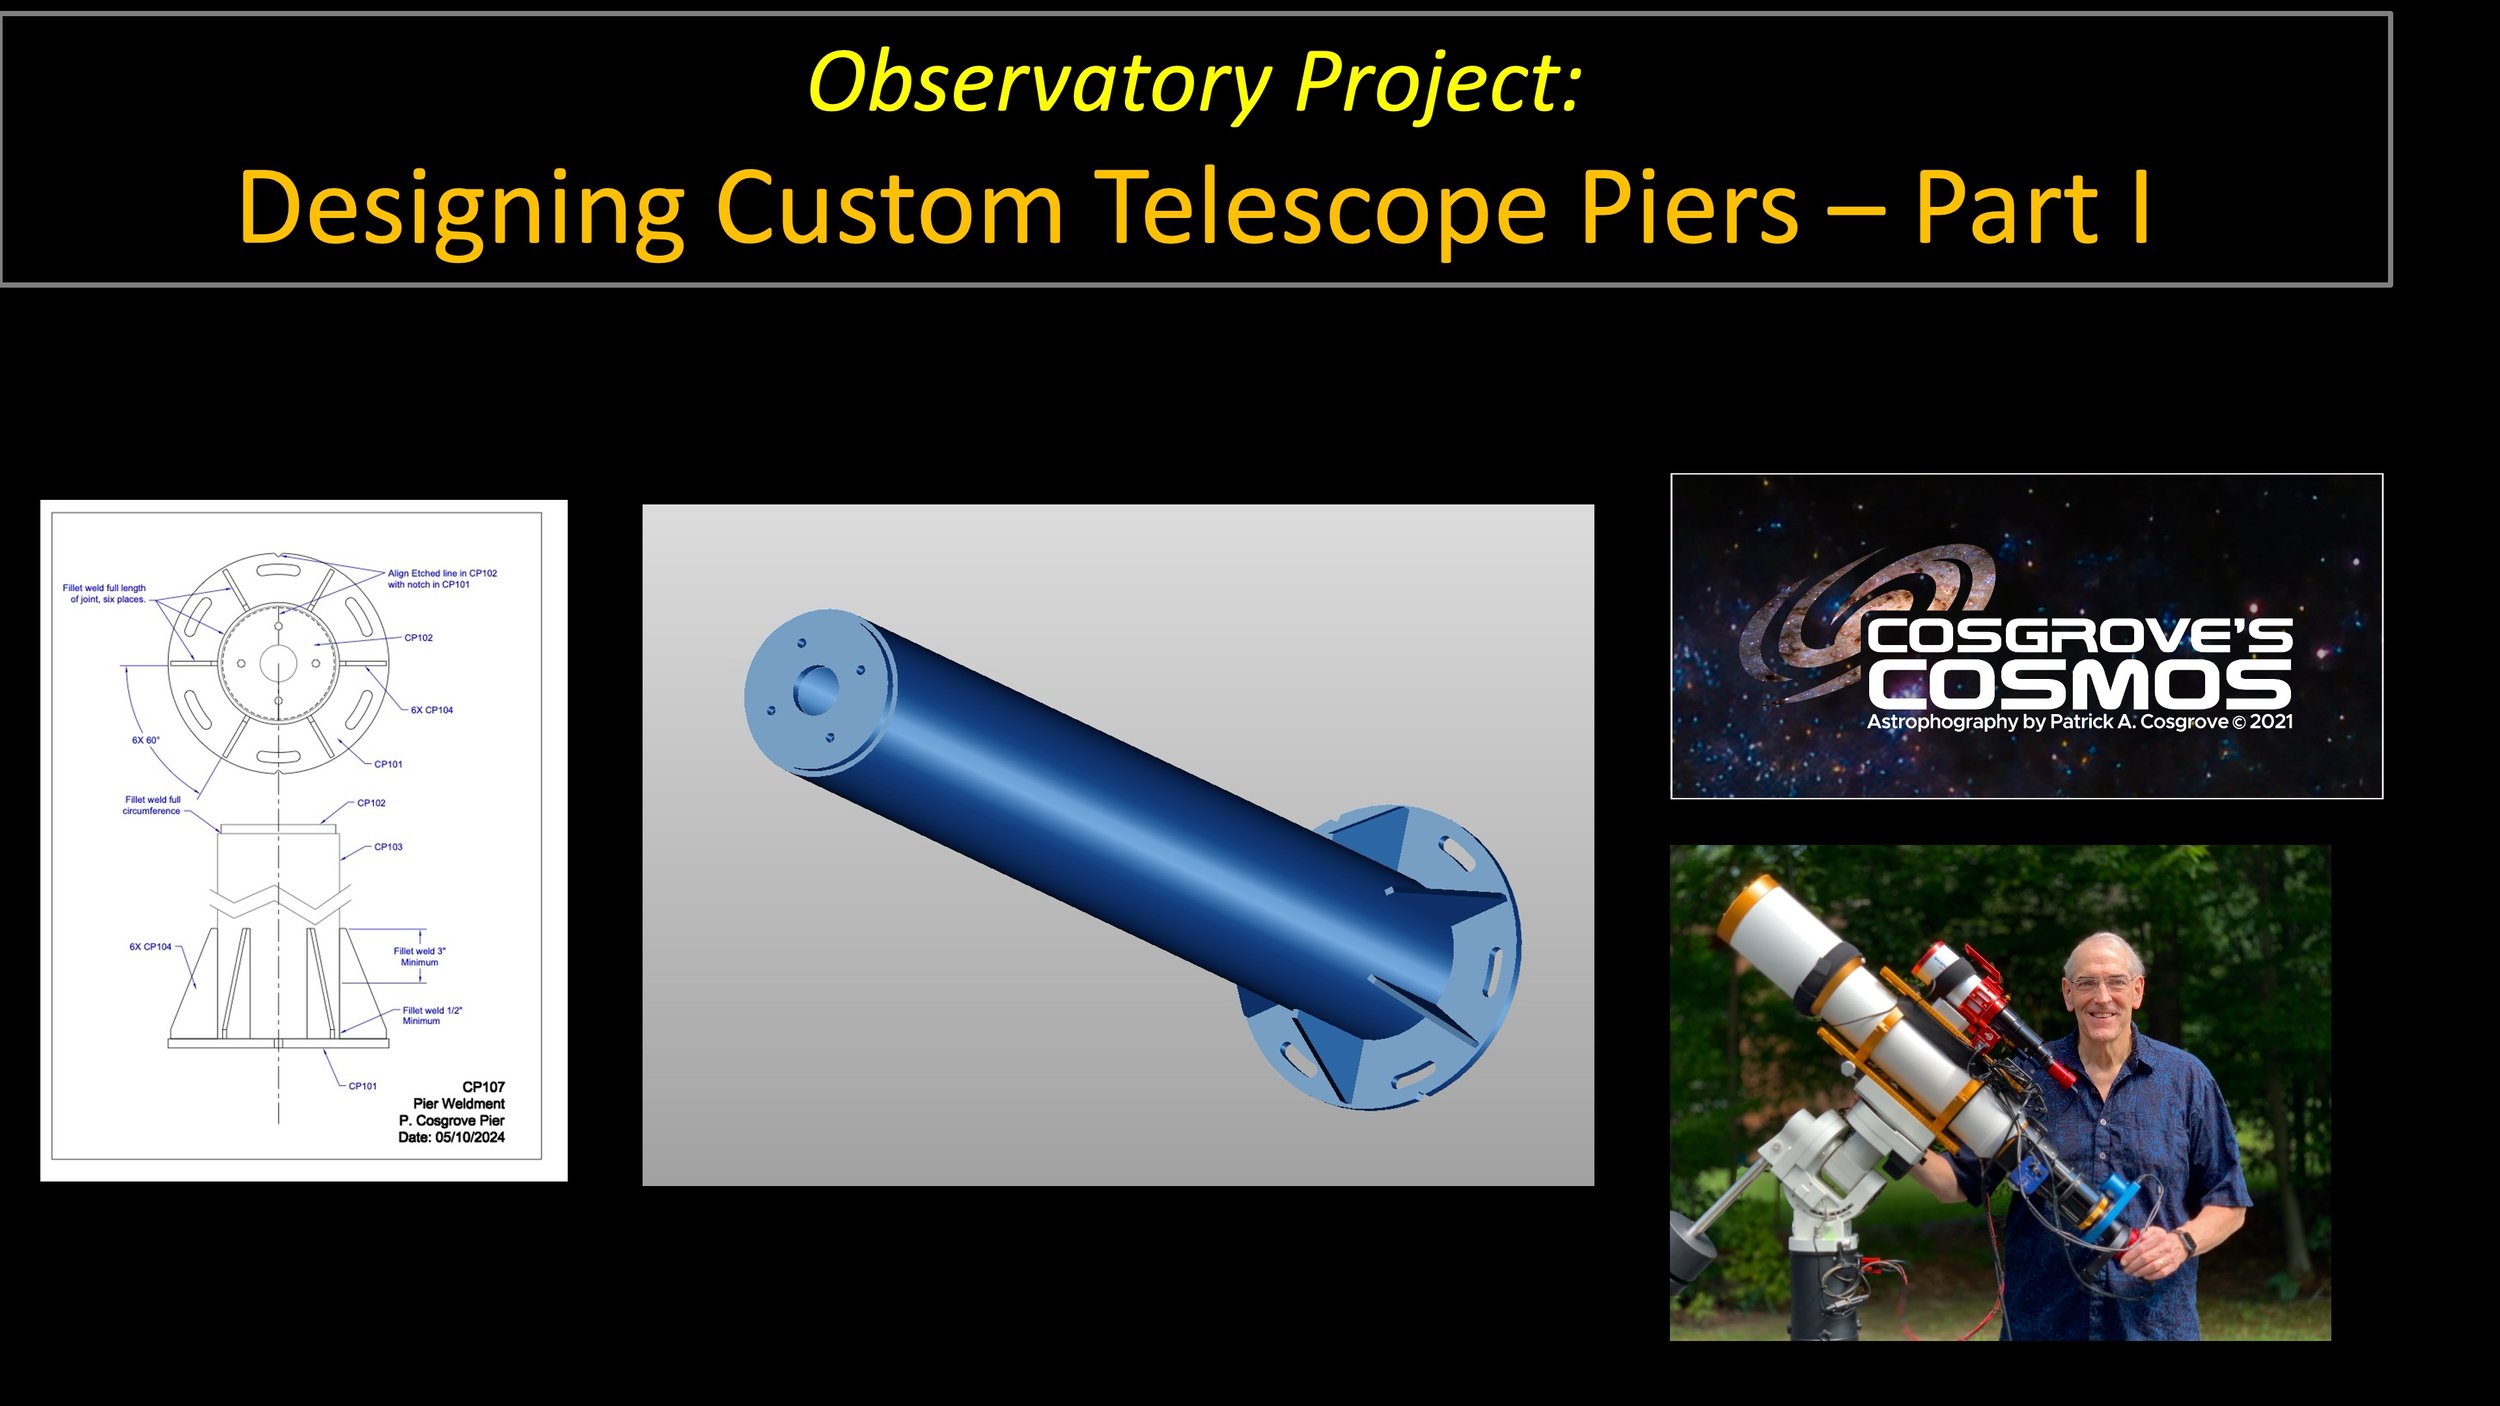
This is the the first part of a series of posts covering the design of some custom steel piers for my observatory. This first post covers the concept and design behind the peirs I am building.
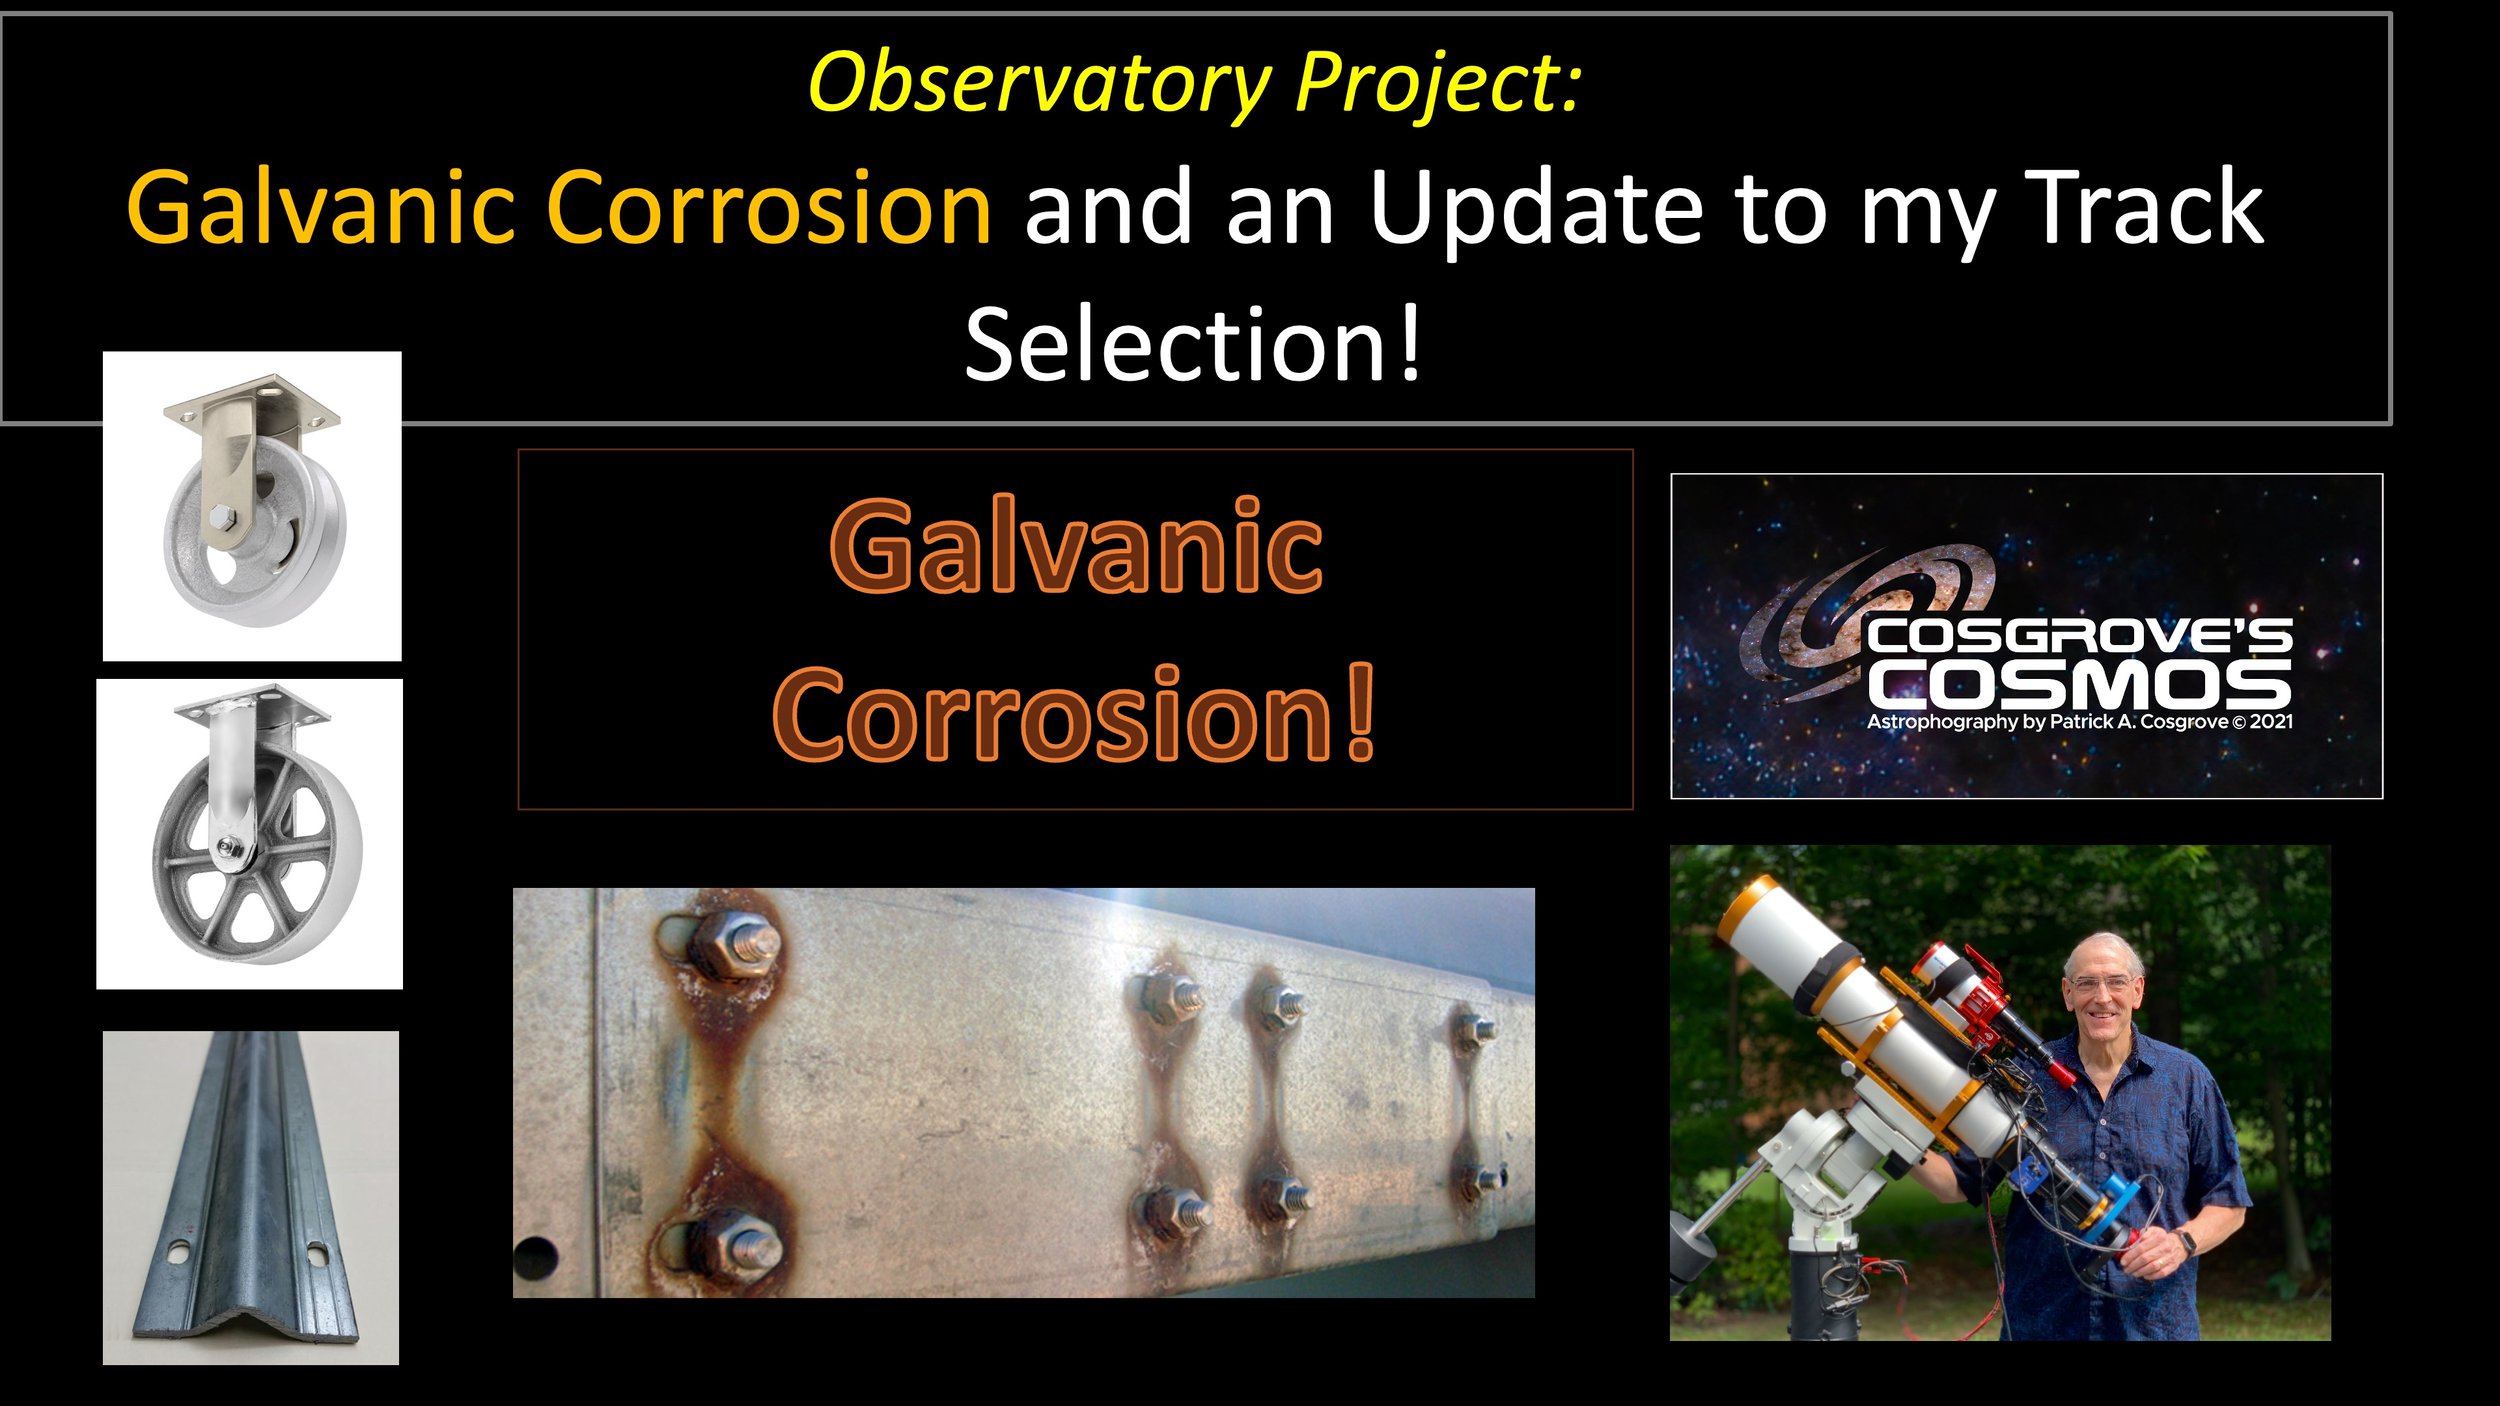
In a recent post I shared some initial hardware selections for the roof track section of my observatory, Since then, I have done some more investigation into Galvanic Corrosion and decided to make some changes. This post will update things! . ,
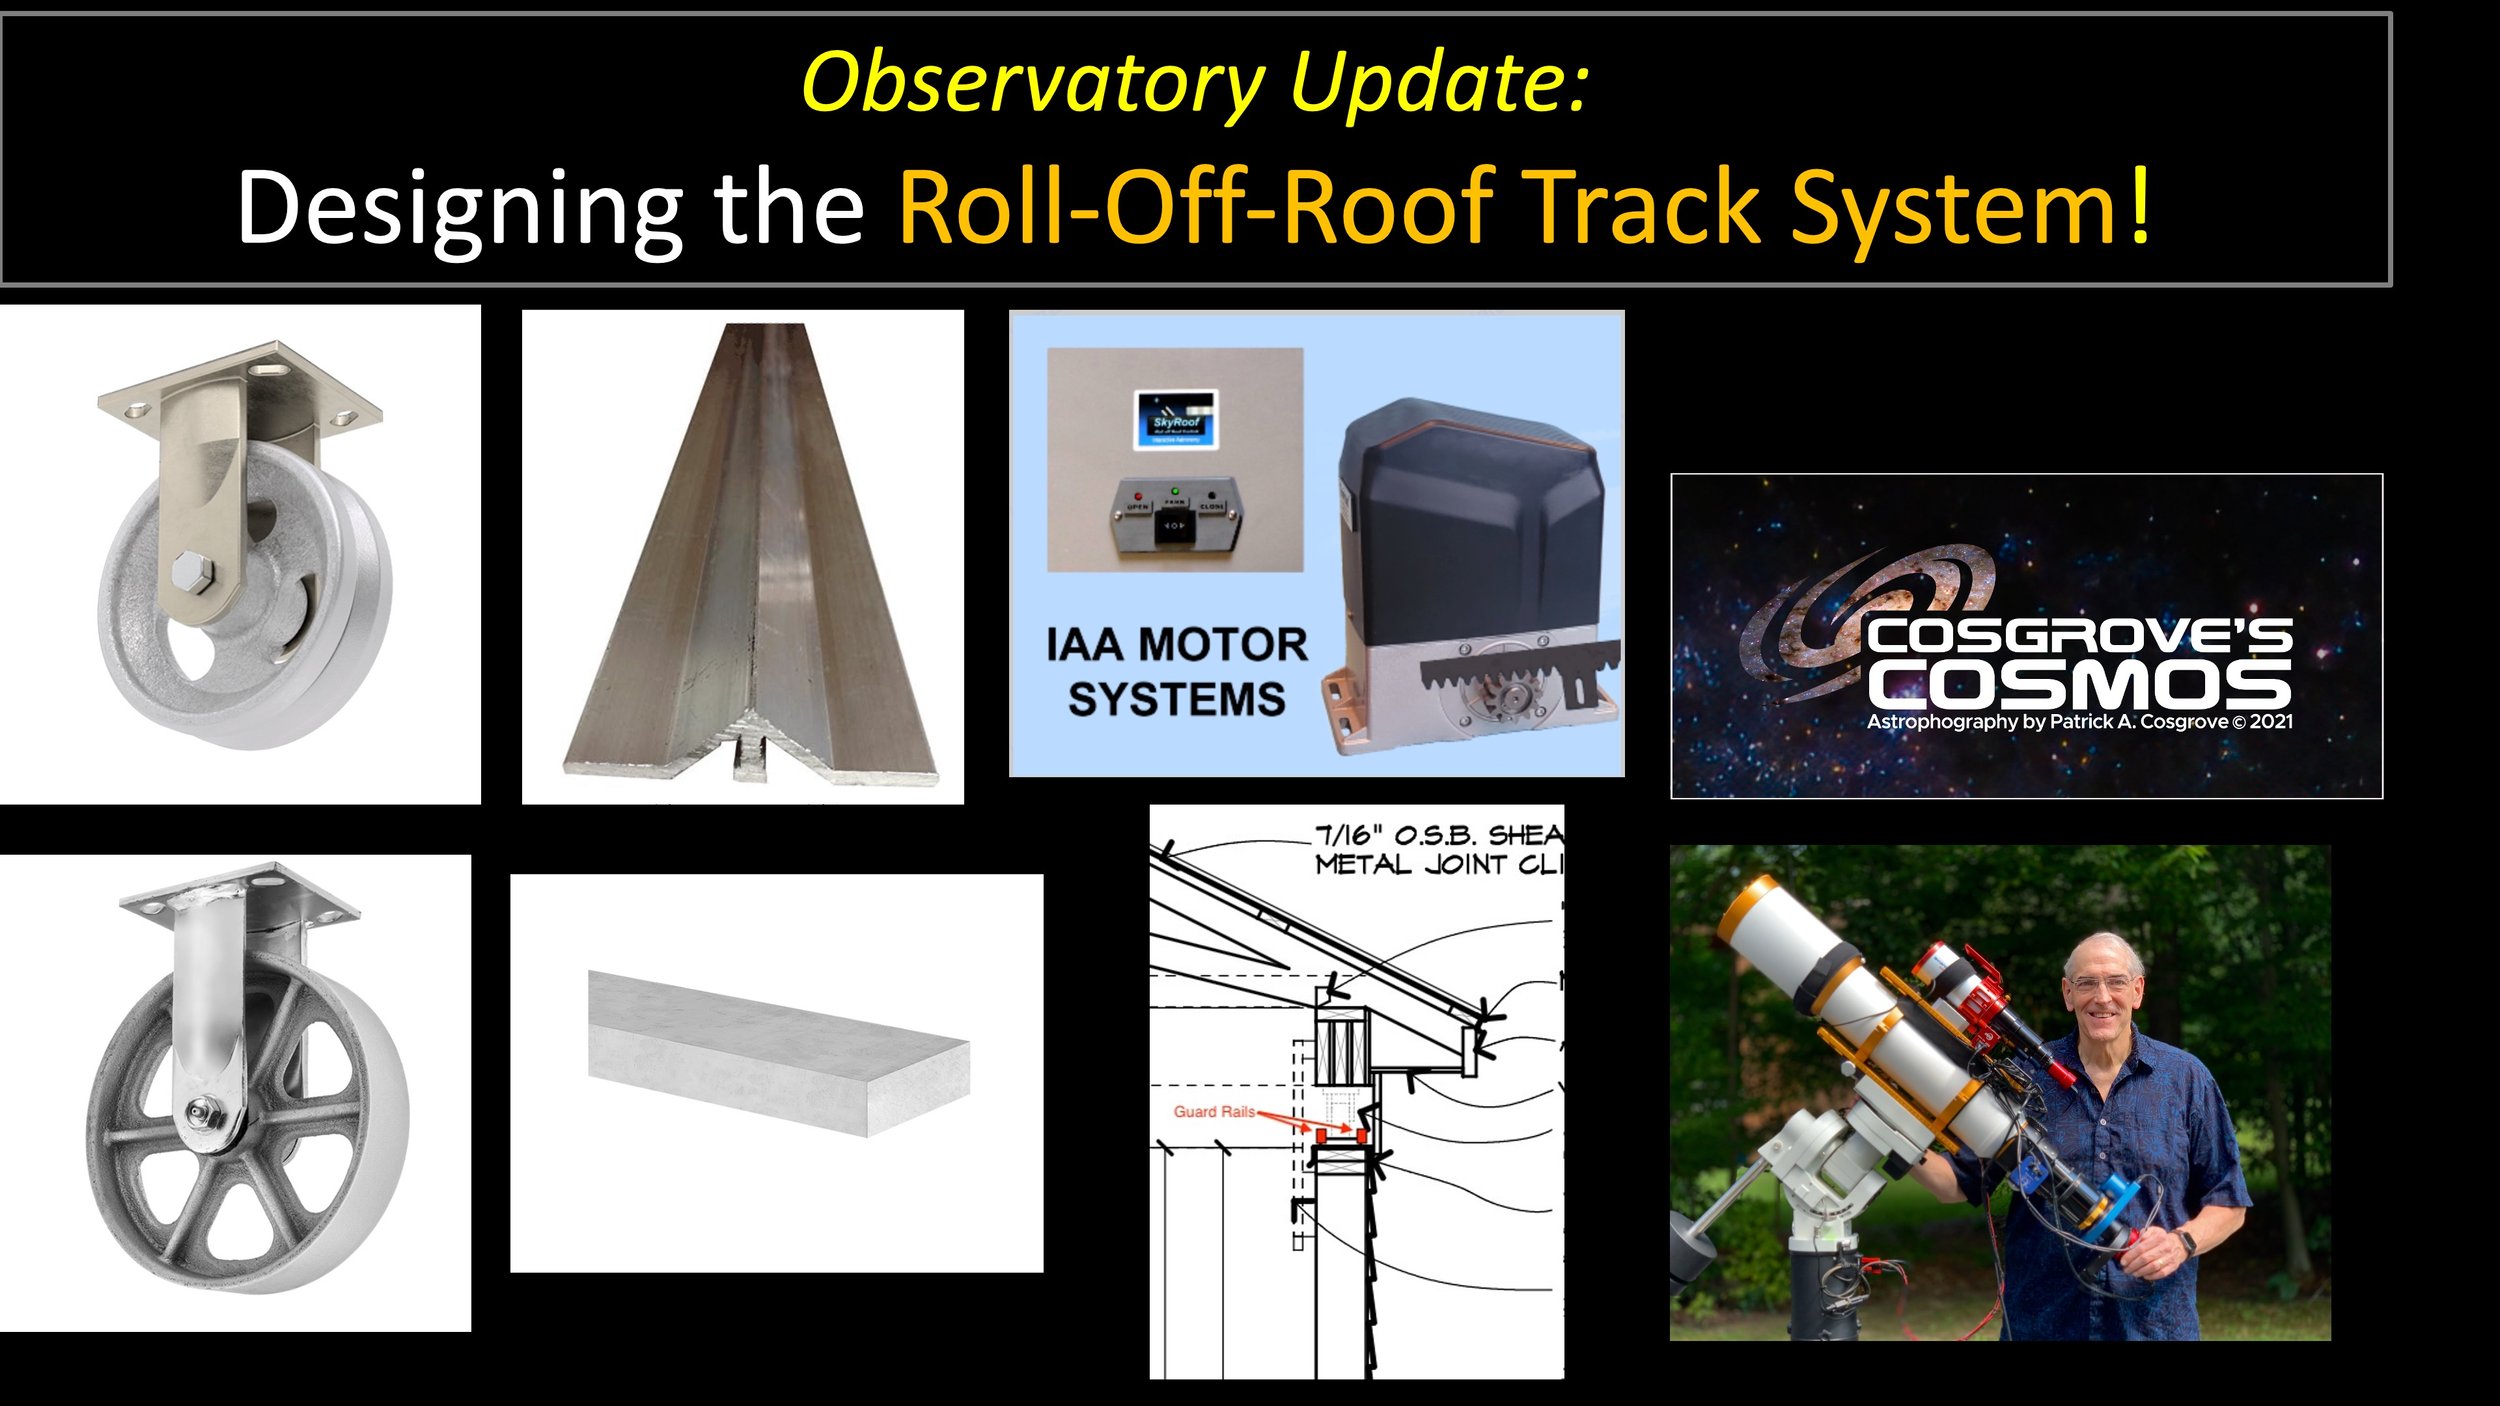
In this post we will do a deeper drive into the design of the Roof Tracking system. This involves the design, hardware selection, roof control system sourcing, and lockdown designs. ,
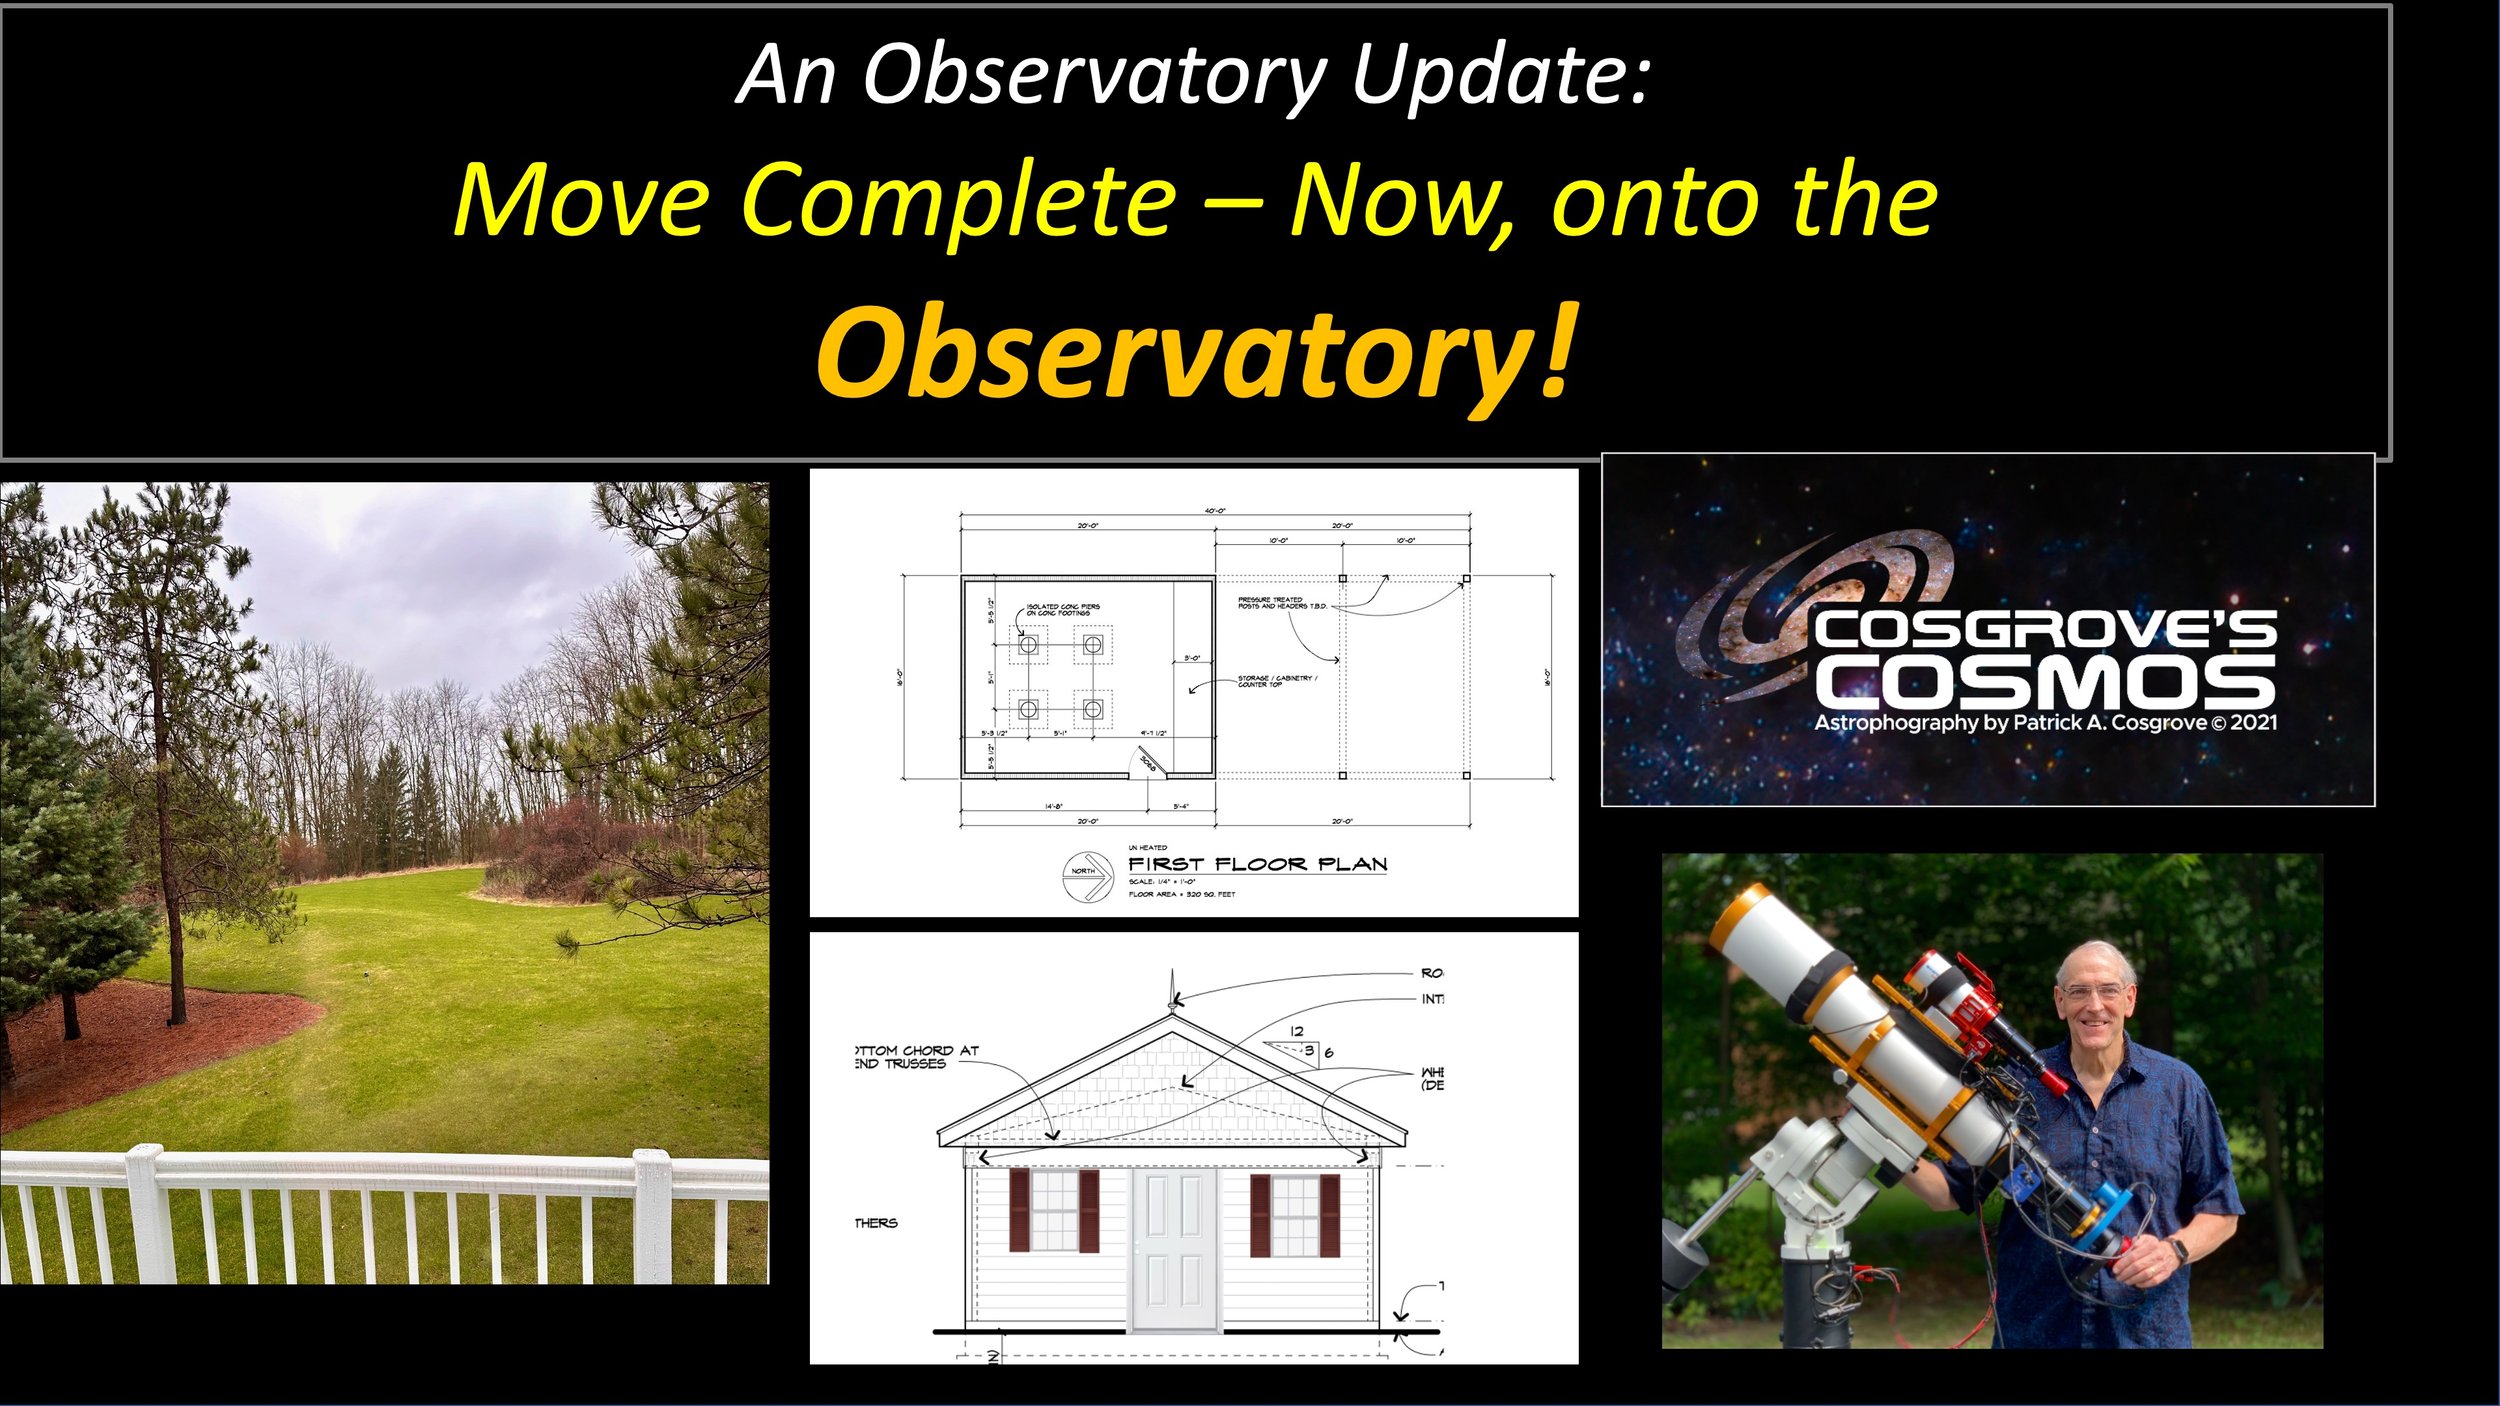
Move complete! Old house sold! It's time to pivot towards the Observatory Project. Here, I outline the Initial steps I am taking and review some preliminary hardware choices…
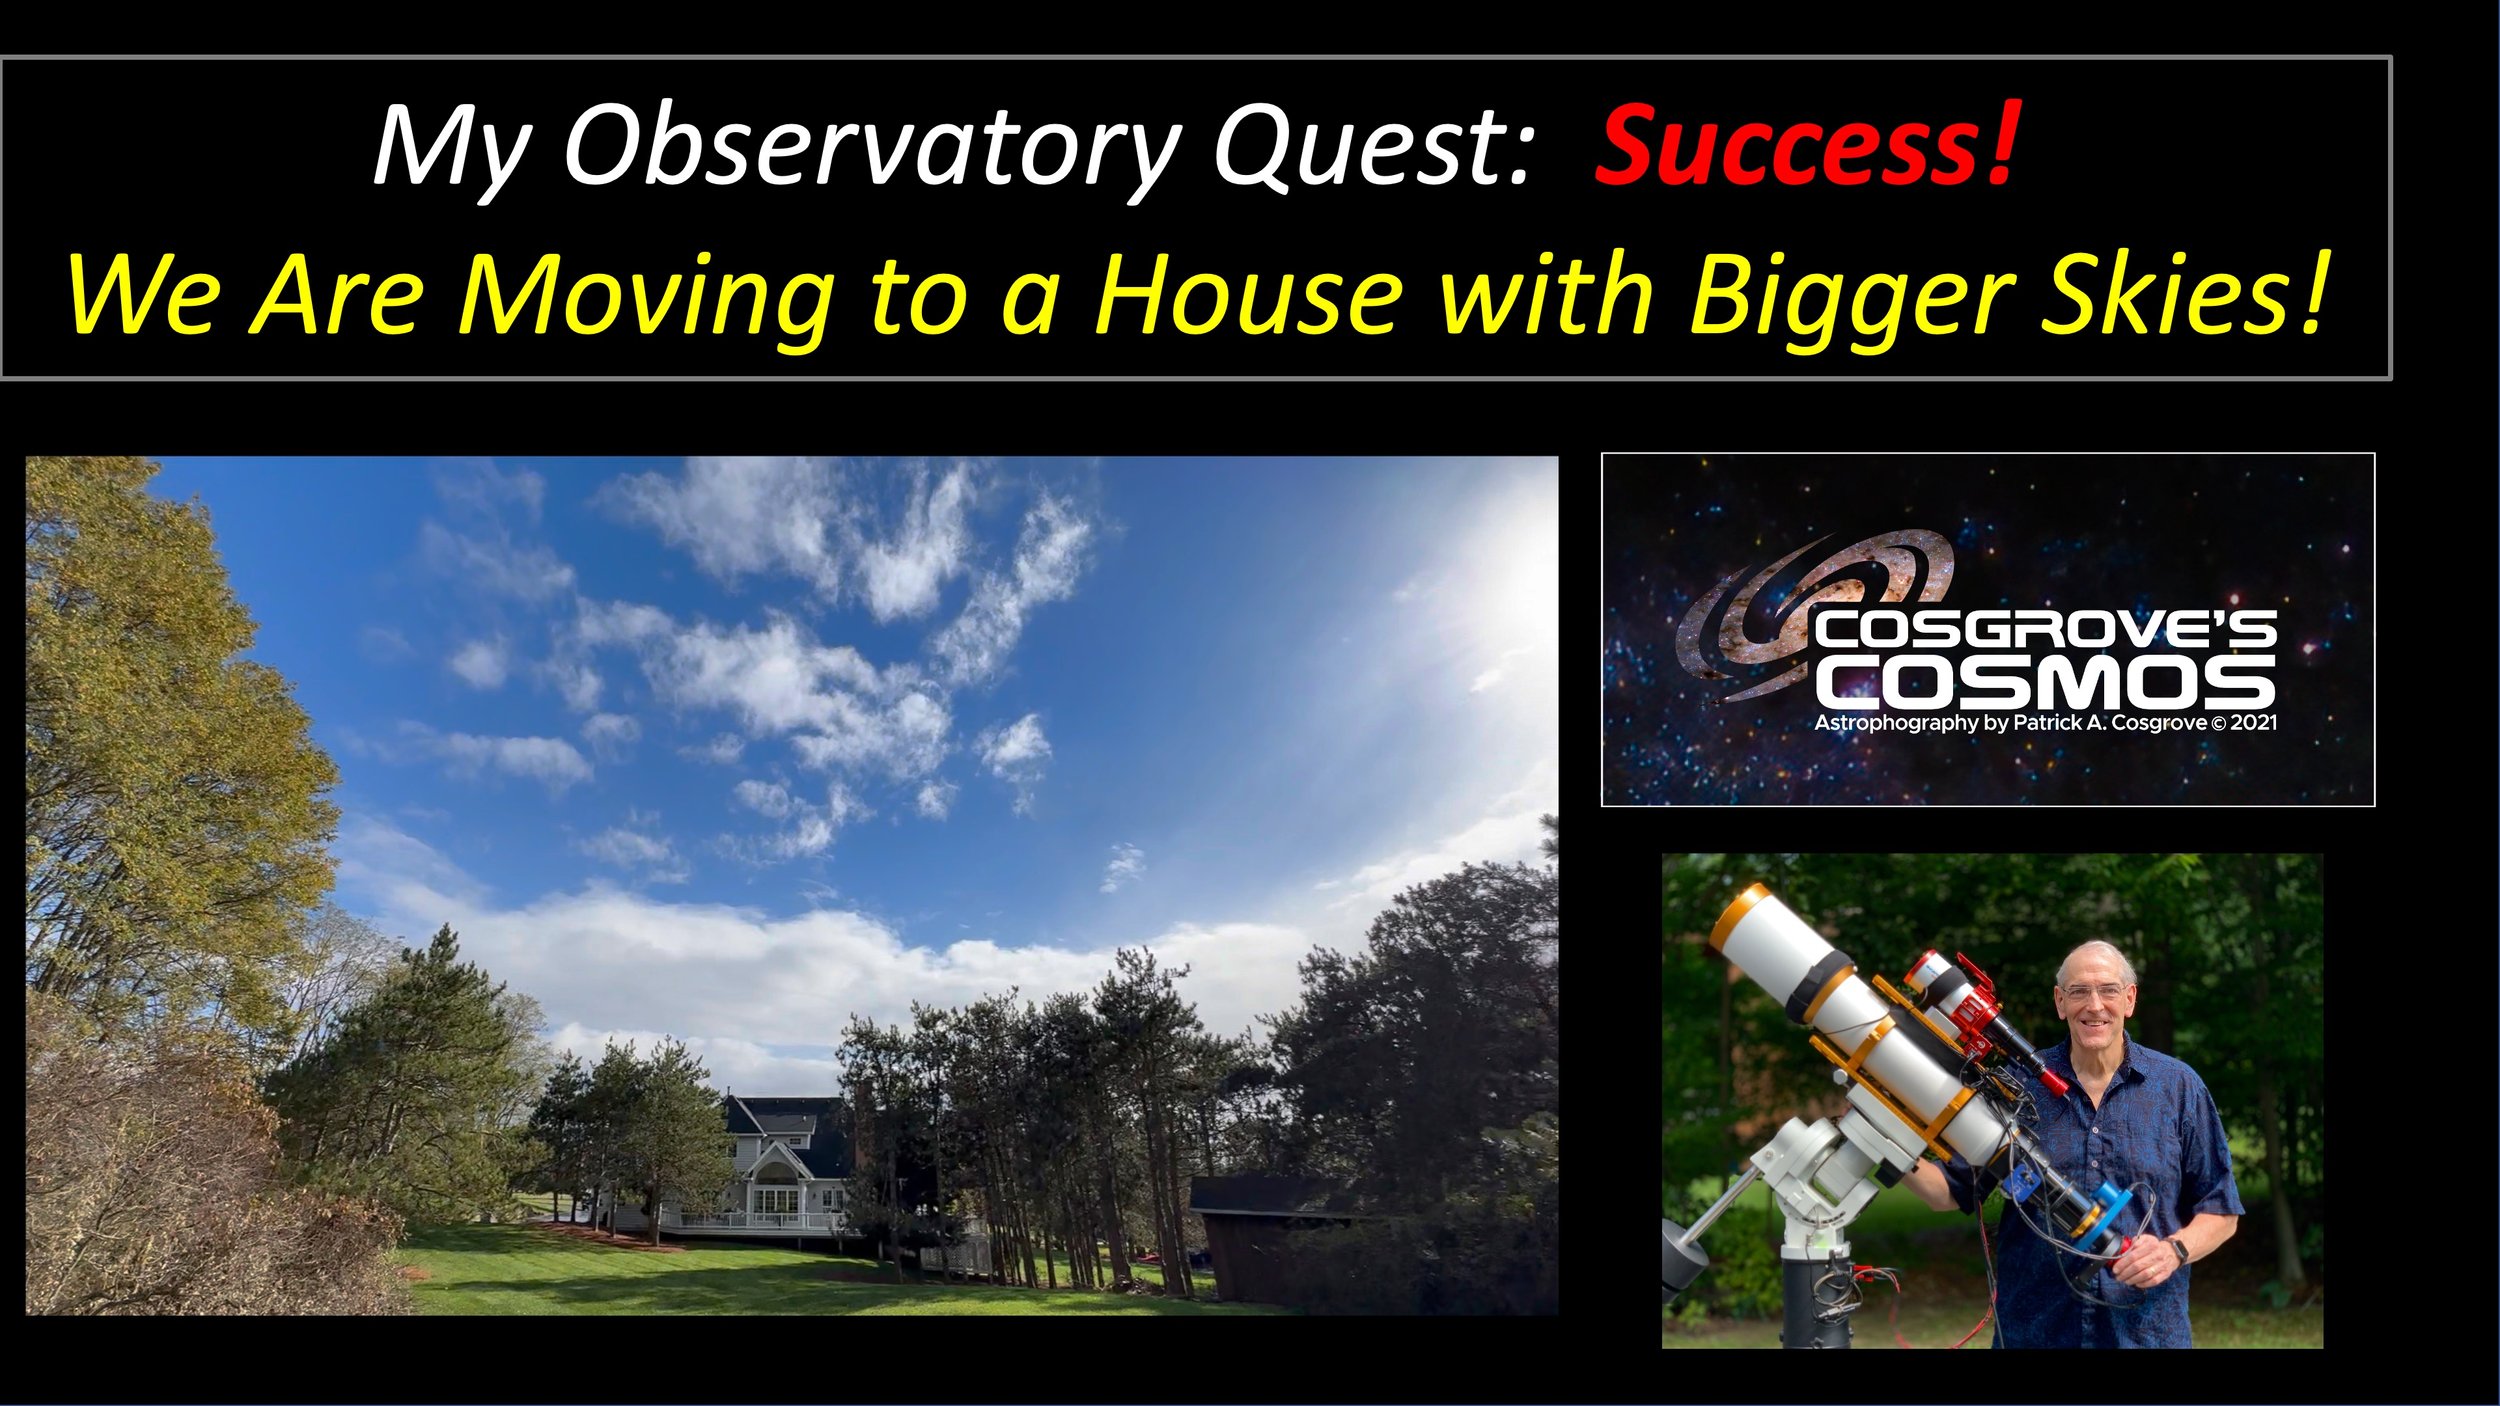
After two years of searching, we just bought a new house with a location in the backyard that will support my observatory! We can finally move forward with the project!
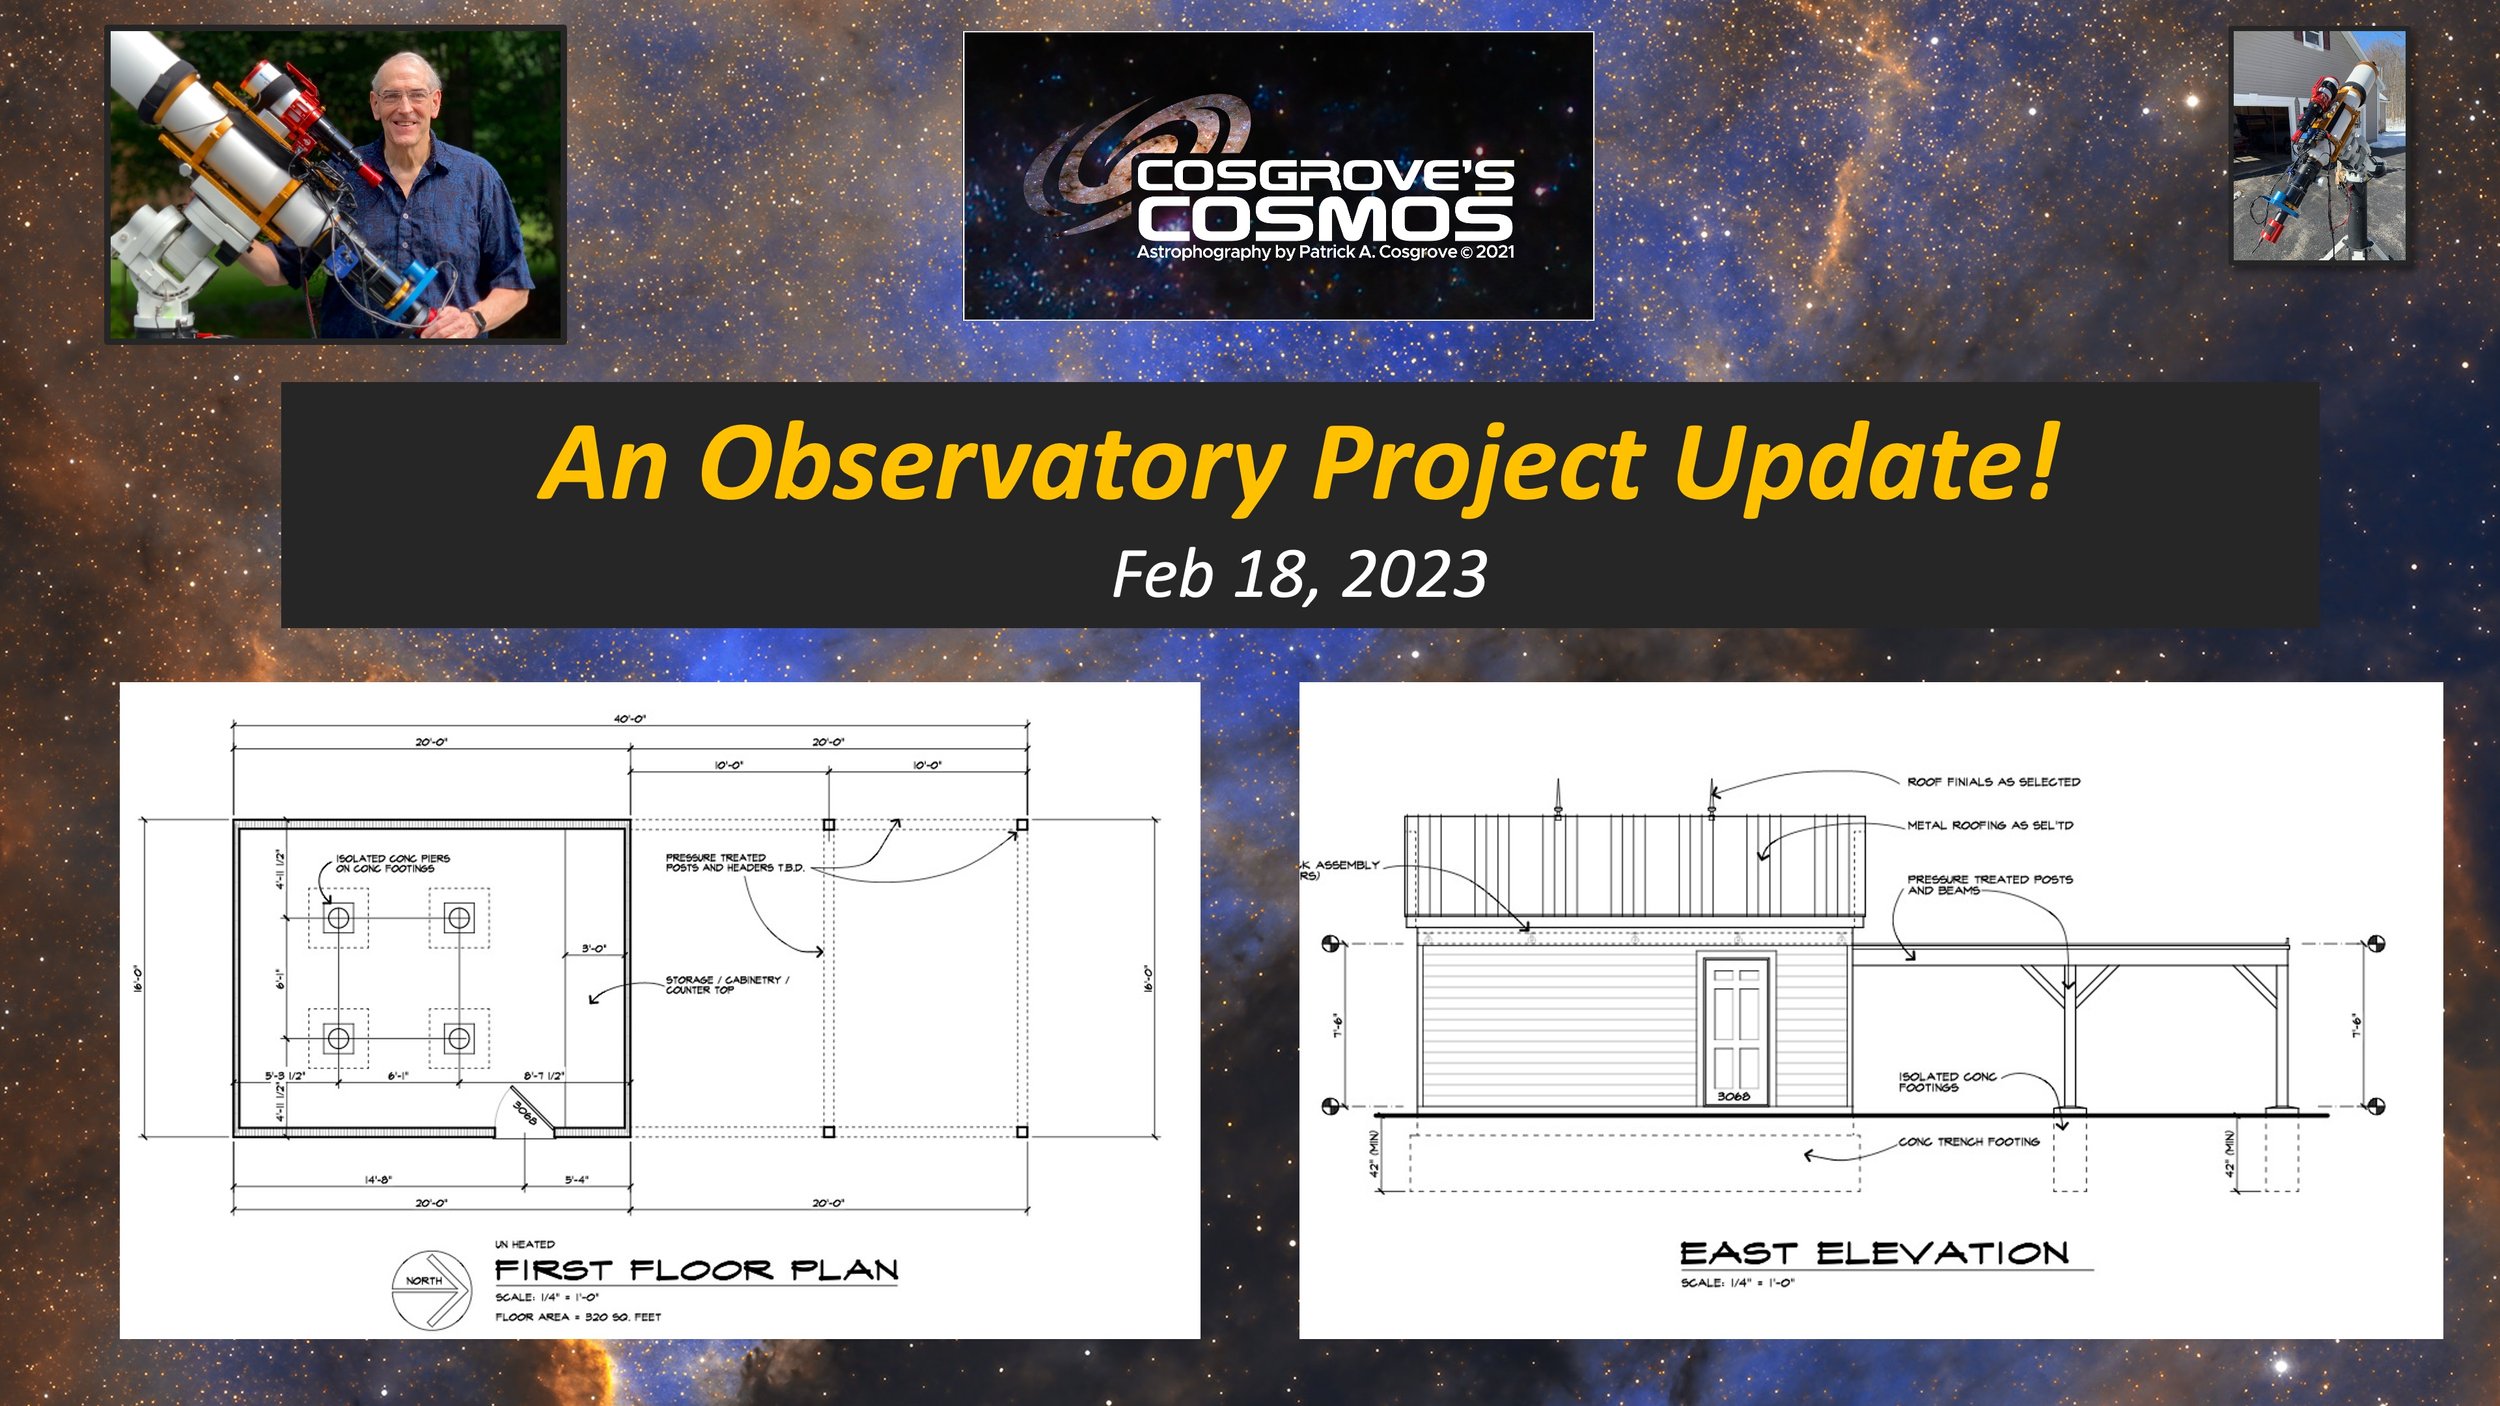
There has been no updates on my observatory project for over a year. During that time we have been engaged on a search for Land to build a house and an observatory - but in this tough market we have not found the right place yet! Even so, I thought it was time for an update on the search and my effort to design the observatory I would like to build!
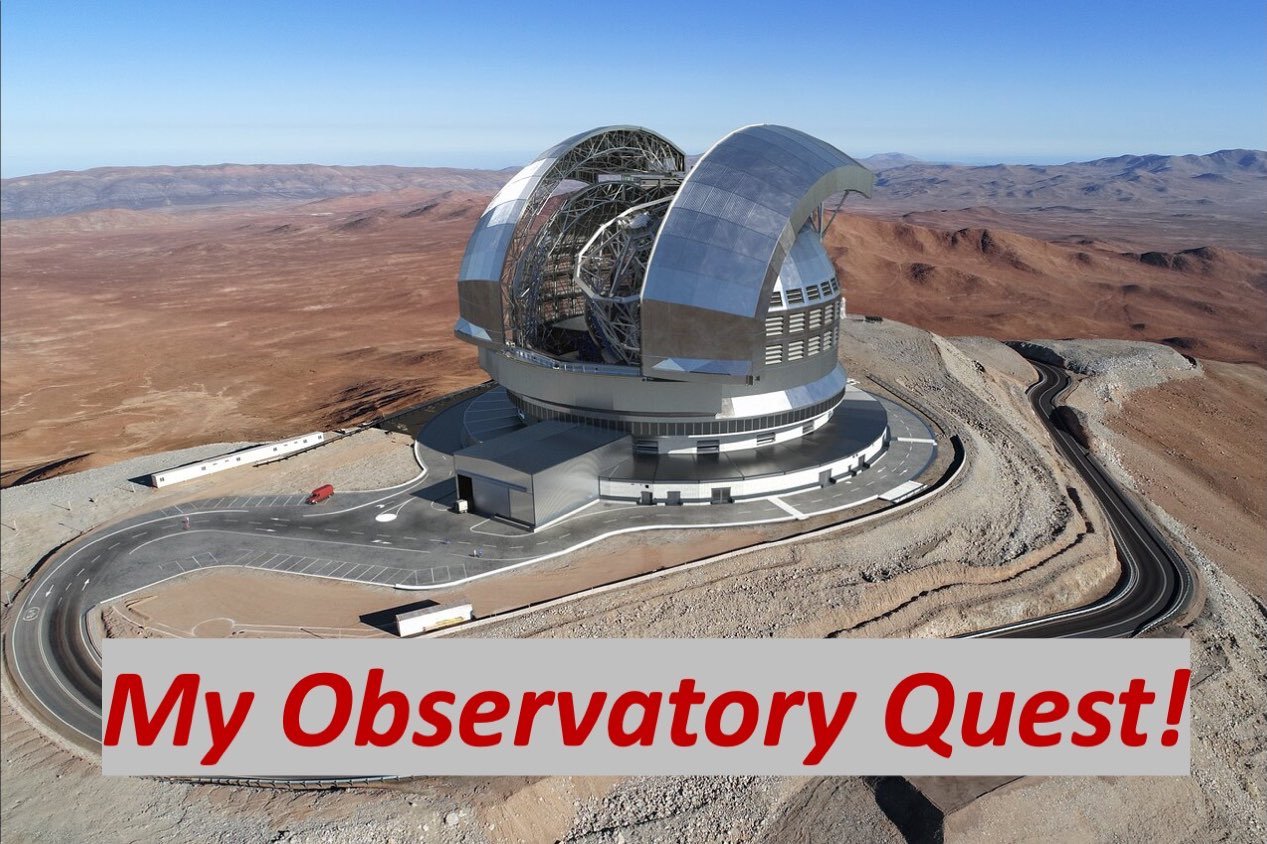
My current project is to buy land, and build my personal Astrophotographic Observatory on it so that I no longer have to set up 3 scopes in the driveway each night! This is the first of several posts that will chronicle the planning and development of this observatory!
The final part of my Observatory project involved putting cabinets and a countertop on the North Wall of the observatory.
After two failed stars and working with a somewhat unusual collaborator, I developed an approach that met my budget objectives.
I still have one more step to complete, but that will have to wait for warmer weather when the paint cures. Stay tuned.