Observatory Update: Roughing In the Electric and Pouring the Slab Floor!
Date: Dec 7, 2024
In this update, we talk about pouring the concrete floor!
Table of Contents Show (Click on lines to navigate)
NOTICE!
This post shares details for the construction of my Roll-Off-Roof Observatory.
I make NO representations regarding the fitness or soundness of the designs and design decisions discussed or the suitability of the construction details shared.
Use this information at YOUR OWN RISK!
If you decide to build your own version of this project, YOU ASSUME ALL LIABILITY for your efforts and their results.
Earlier Posts in this Series
I have been thinking about building an observatory for a while now. Below are previous posts that have led up to where I am today.
Observatory Update: Building the Structure! Nov 2024
Observatory Update: Laying the Foundation Nov 2024
Observatory Update: Custom Telescope Piers Part 3 - Painted and Complete! Sept 2024
Observatory Project: Breaking Ground! Excavation Complete! Sept 2024
Observatory Project: A Final Update Before We Break Ground! Aug 2024
Observatory Project: Opening The Roof! Aug 2024
Observatory Project: Final Roof Track System Hardware Selection July 2024
Observatory Project: Designing Custom Steel Piers - Part I June 2024
Observatory Project: Galvanic Corrosion and a Change in Track Selection! June 2024
Observatory Update: Designing the Roll-Off-Roof Track System! May 2024
The Move is Complete, Now Pivoting to the Observatory Project! April 2024
An Observatory Project Update: Success! We Just Bought A Property and Will Be Moving! Nov 2023
An Observatory Project Update - One Year In Feb 2023
Goals for my Observatory Project March 2022
The Video
A companion video has been created on YouTube to show this aspect of the build here:
Preparing to Pour the Slab Floor
With the walls up, it is time to pour the slab floor.
I could have done a wood-framed floor, but I wanted to go with a concrete slab. Why?
The space under a wood floor is a great spot for skunks, groundhogs, and raccoons to nest. I want to avoid that.
The poured slab goes around each column base, thus adding more support to an already strong design
The slap helps seal the floor to the walls - hopefully, this helps reduce the influx of field mice.
Before the slab can be poured there is some work that needs to be done in preparation. This includes:
Roughing in electrical conduits that will be located under the floor
Setting up forms around the Piers
Setting up the forms for the outside pad near the door
Installing the vapor barriers, steel wire mesh, and rebar
Electrical Planning
To determine what conduits are needed under the slab, you have to know precisely what electrical service you will install.
I met with the electrician and discussed what the job would entail.
Here is my list of key items:
Since the roof would roll off and there could be heavy dew or even rain, circuits had to be waterproof and GFI-protected.
Run 100 amp service from the house 170 feet to the observatory
Run 3 Ethernet Cat6 lines from the house to the Observatory - one would be used, and the other two would be redundant spares.
Install a Power panel in the observatory
Run one 15 amp circuit to the four piers under the slab
Run a 20 amp line to the NW corner for the roof motor
Run a 20 amp line to the NW corner for the Heater or dehumidifier
Install three switches by the door
One to an outside porch light
One to an LED Red strip light socket
One to an LED White light light socket
Install two four-gang outlets at countertop height on the north wall.
Run one outlet each on the West, East, and South Walls.
Run one outlet on the outside of the South Wall.
Here is the floor plan with the power installations marked with red boxes. The blue box is for a mesh WiFi router node.
The electrician said he could connect everything with conduit buried under the slab for the same price as having it routed above the slab, so I opted to go that way. I thought that would be the neatest and minimize conduits on the walls since I plan to install interior panels later.
Roughing the Electrical
First, a sheet of plywood was installed in the SE corner to have a mount point for the electrical panel, router and feed conduits.
The plywood panel that will hold the power panel.
These were installed along with feed conduits. Note the panel is weatherproof.
The power panel and main feed conduits are in place. The conduit towards the left is for the ethernet cable. I will install a Mesh router node in a weather proof box abive it.
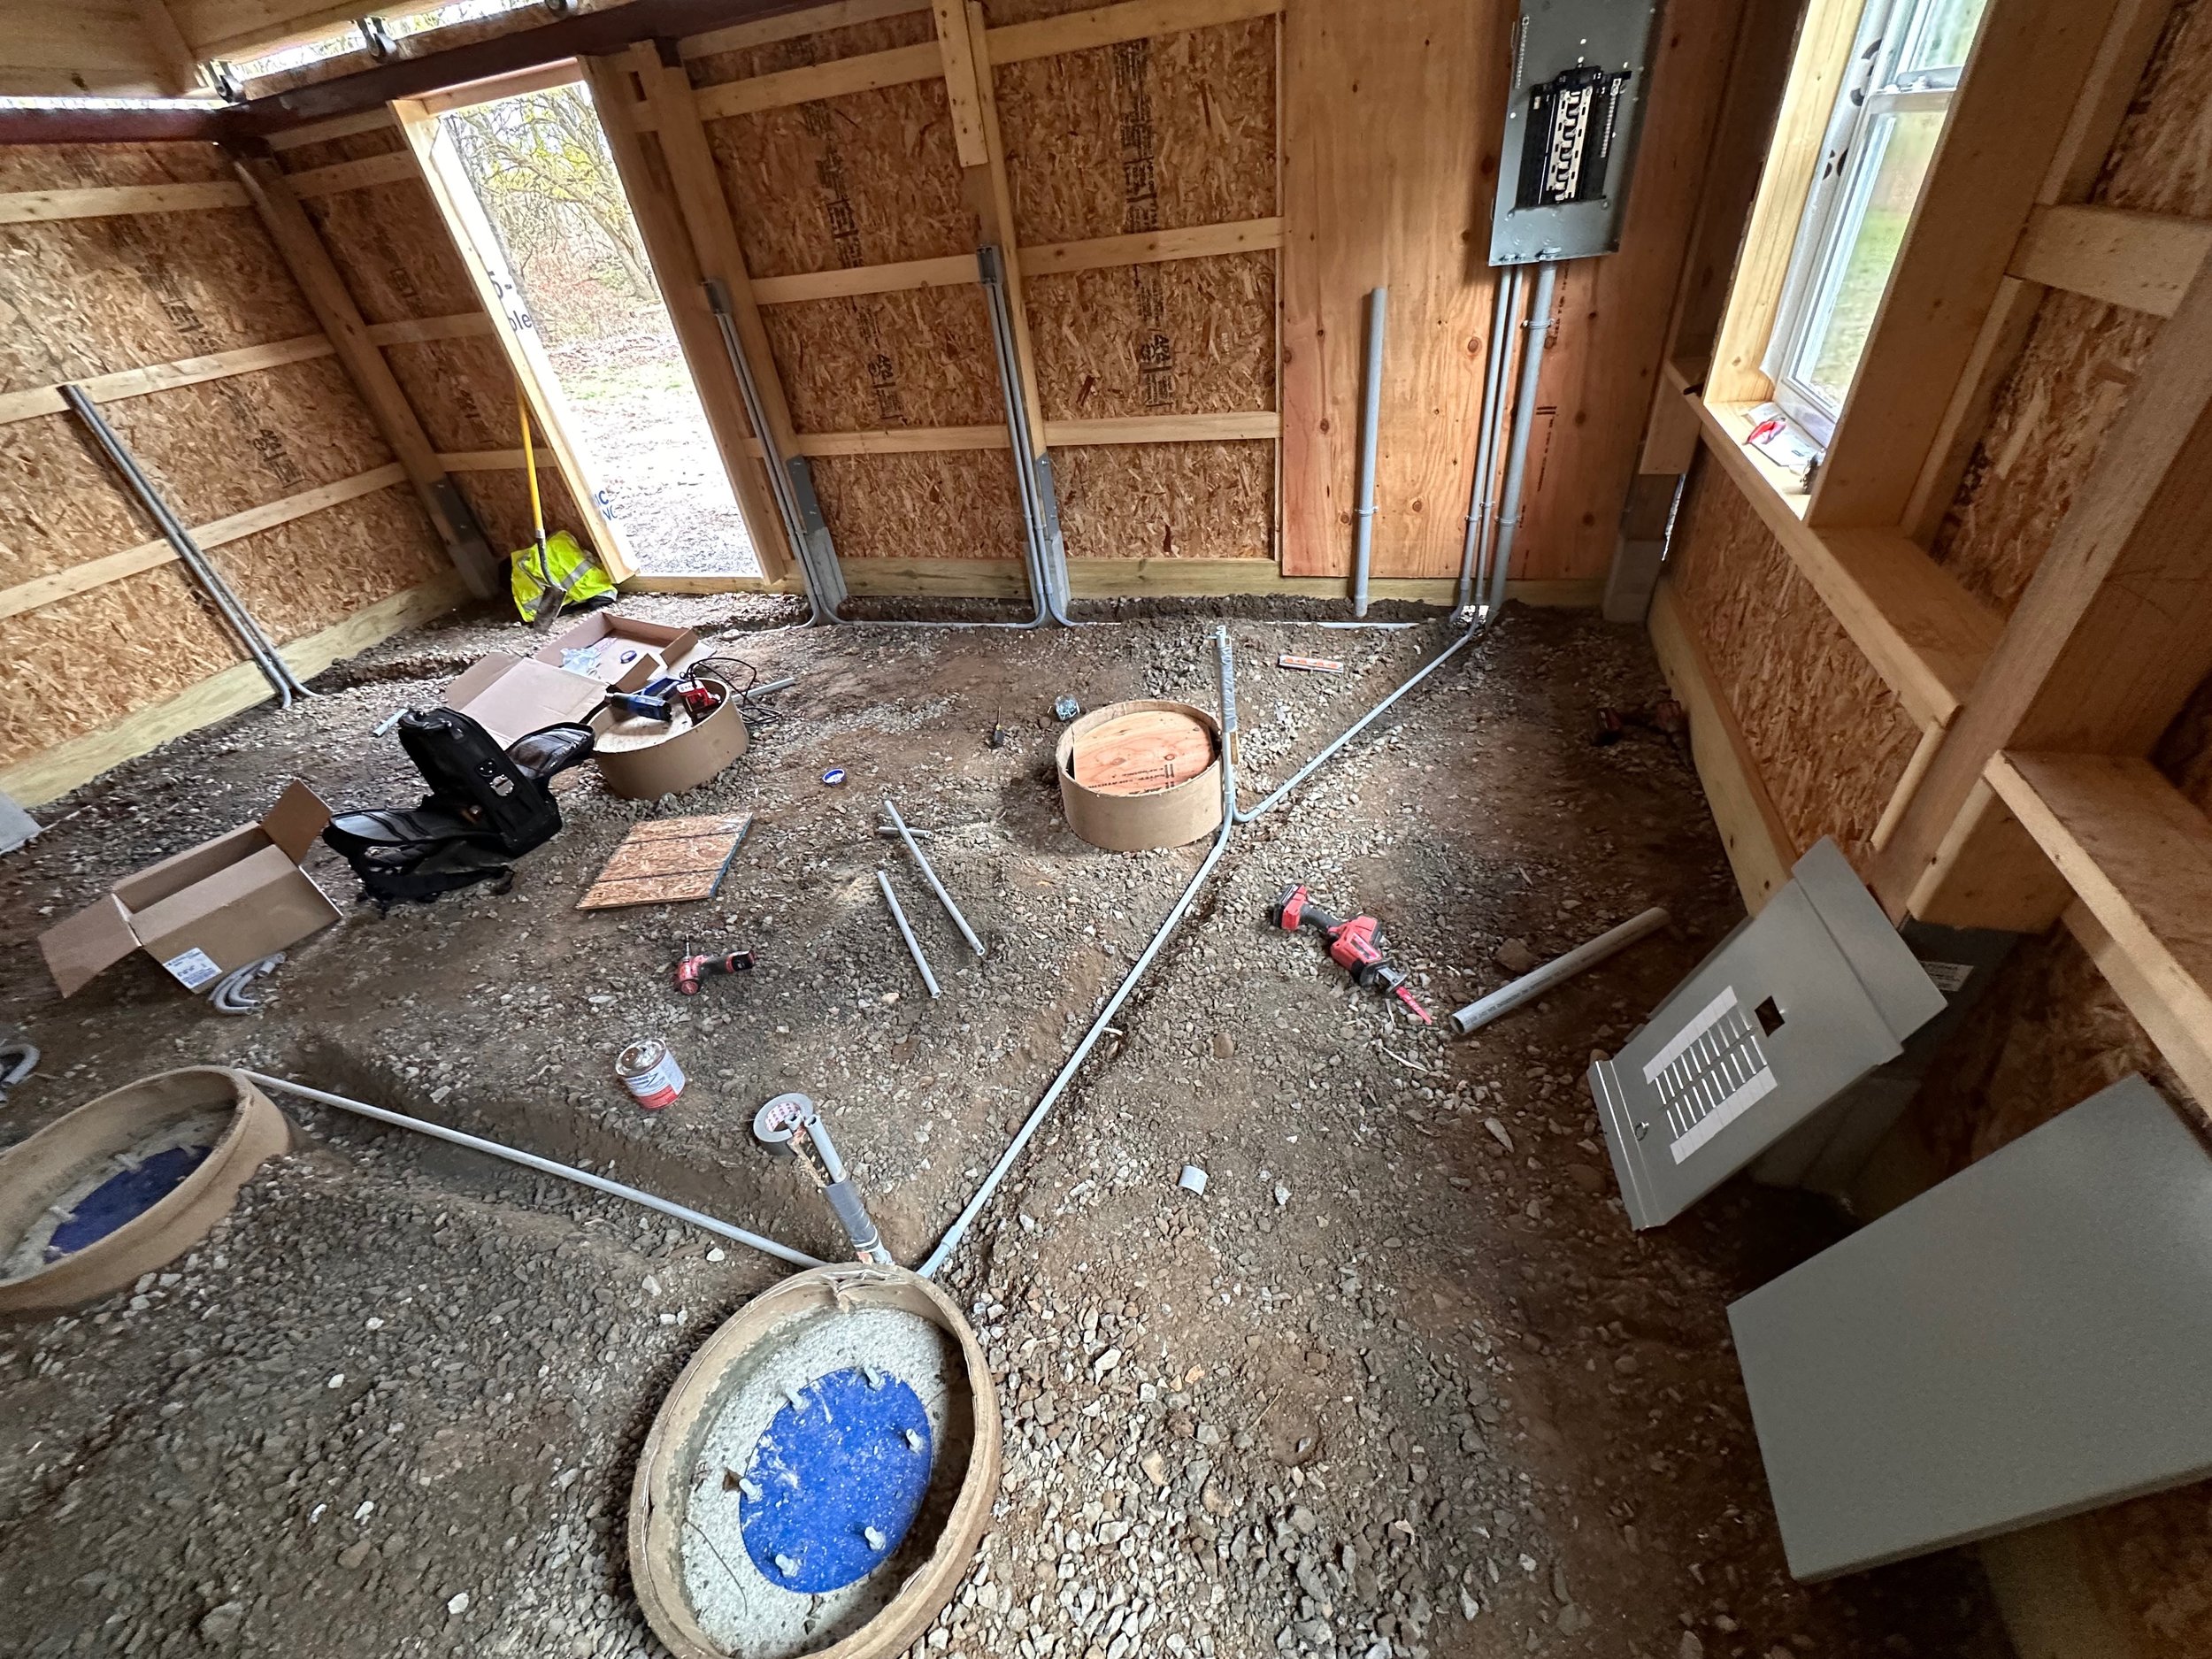
Trenches were cut in the floor, and conduits were run to each pier and each feed for a switch or an outlet.
I am told that several lines can be pulled through each conduit so if I want to expand or enhance service at a later time, that will be possible.
Trenches with conduit runs are now almost complete!
Once this was done, dirt/gravel covered things up.
Electrical rouging is now complete.
This work took about half a day.
Preparing the Interior for the Pour
Now, the more traditional reparation work was done for the Slab poor.
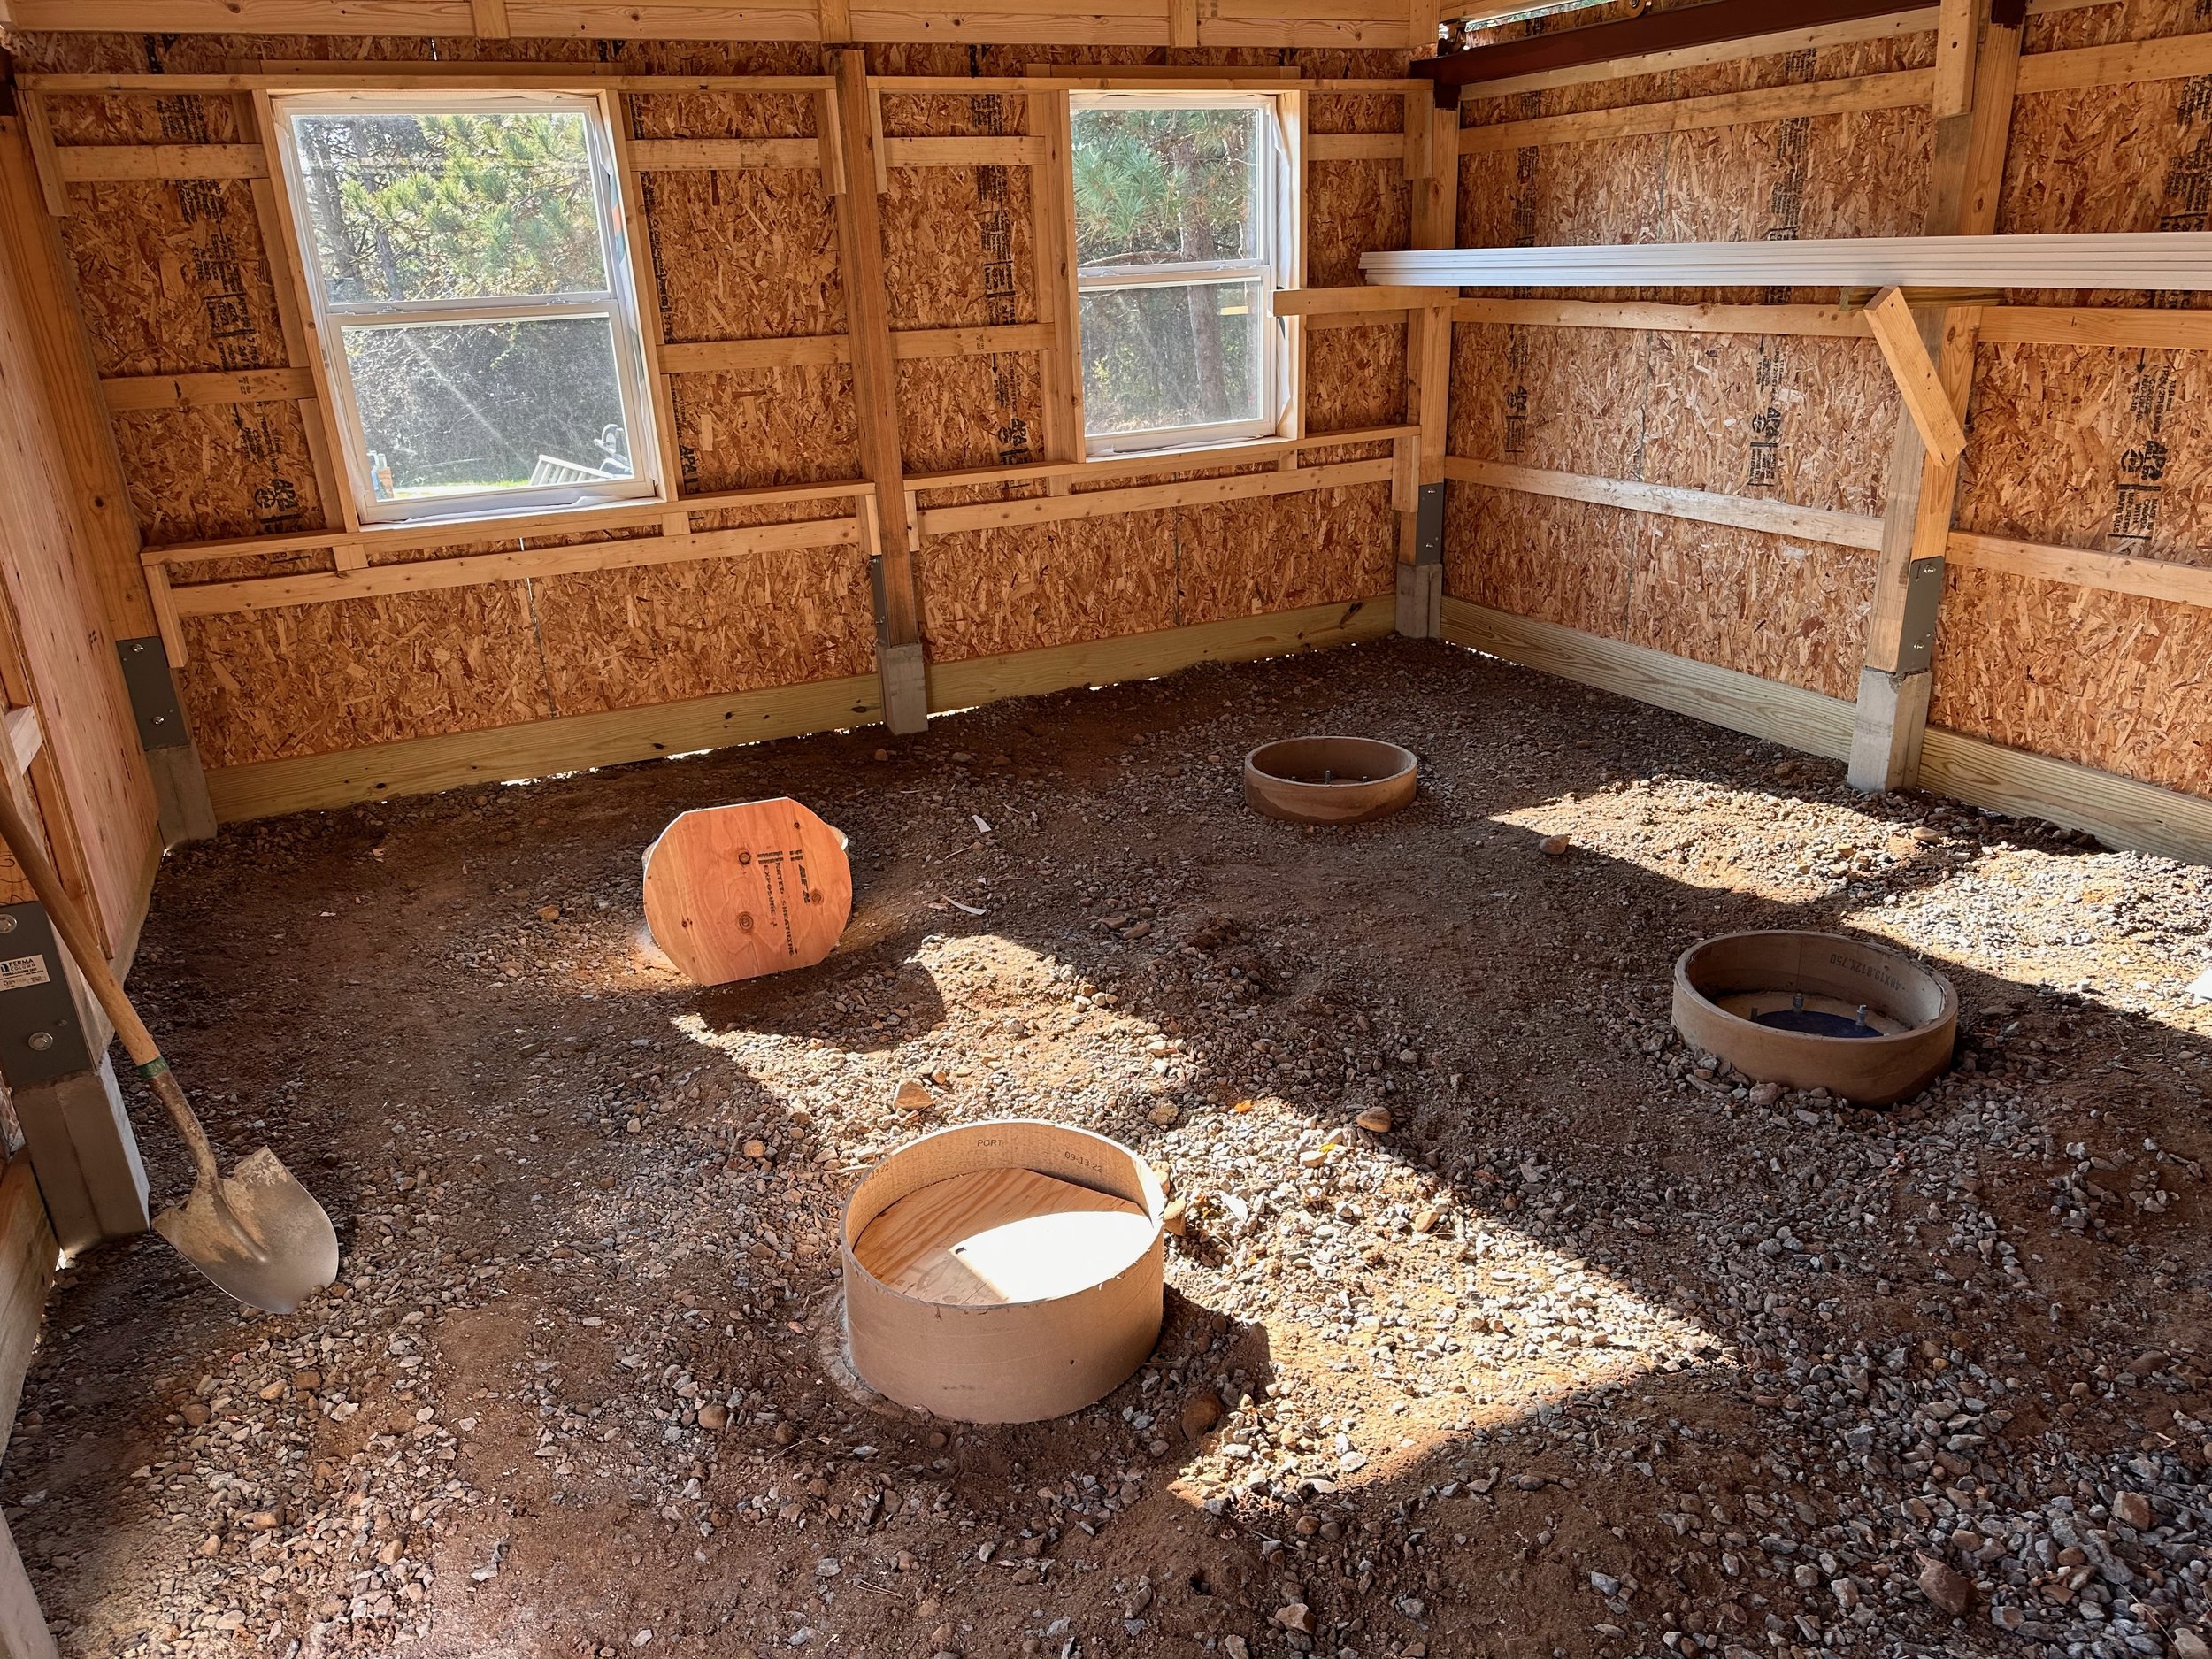
One thing we had to address was the fact that the Eastern Pier mount plates were not centered on the 24” cement foundations.
This happened because the auger drilling the holes hit rocks and wanted a bit. This is unavoidable. But we still have a good foundation for the mountain plates - even though they are a bit off-center.
To make this look right on the slab, new Sono tube sections were cut and installed centered on the pier plate. This was offset to the original cement foundation. Dirt and gravel were used to cover the cement foundation that is exposed so that the slab would continue to be isolated from the slab.
Here you can see that the plate is off-center to the foundation, bu the new slab circle will be centered.
Plywood circles are placed in the new Eastern forms to keep then round as the concrete is poured.
Poly was laid on the floor as a vapor barrier.
Installing the vapor barrier.
The vapor barrier installation is almost done.
A form was set on the outside of the door to frame the entrance pad.
The form for the outside pad.
Wire mesh and rebar were cut and laid onto the floor in an overlapping pattern to reinforce the slab.
Wire mesh and rebard are installed and ready to go.
Pouring Cement
We were ready for the pour.
The concrete truck showed up a bit early with a five cubic yard load of material. The first attempt at backing the truck into position did not work out. The angle was wrong to have the chute come through the door.
First try - ending with a bad access angle.
So, a second attempt was made to back in.
The back tires are spinning in the mud and the entire truck is starting to fishtail!
Unfortunately, we had had several days of rain and the ground was wet. The truck could not make it up the grade, and the wheels were spinning, the back of the truck was beginning to swing wide. Not good!
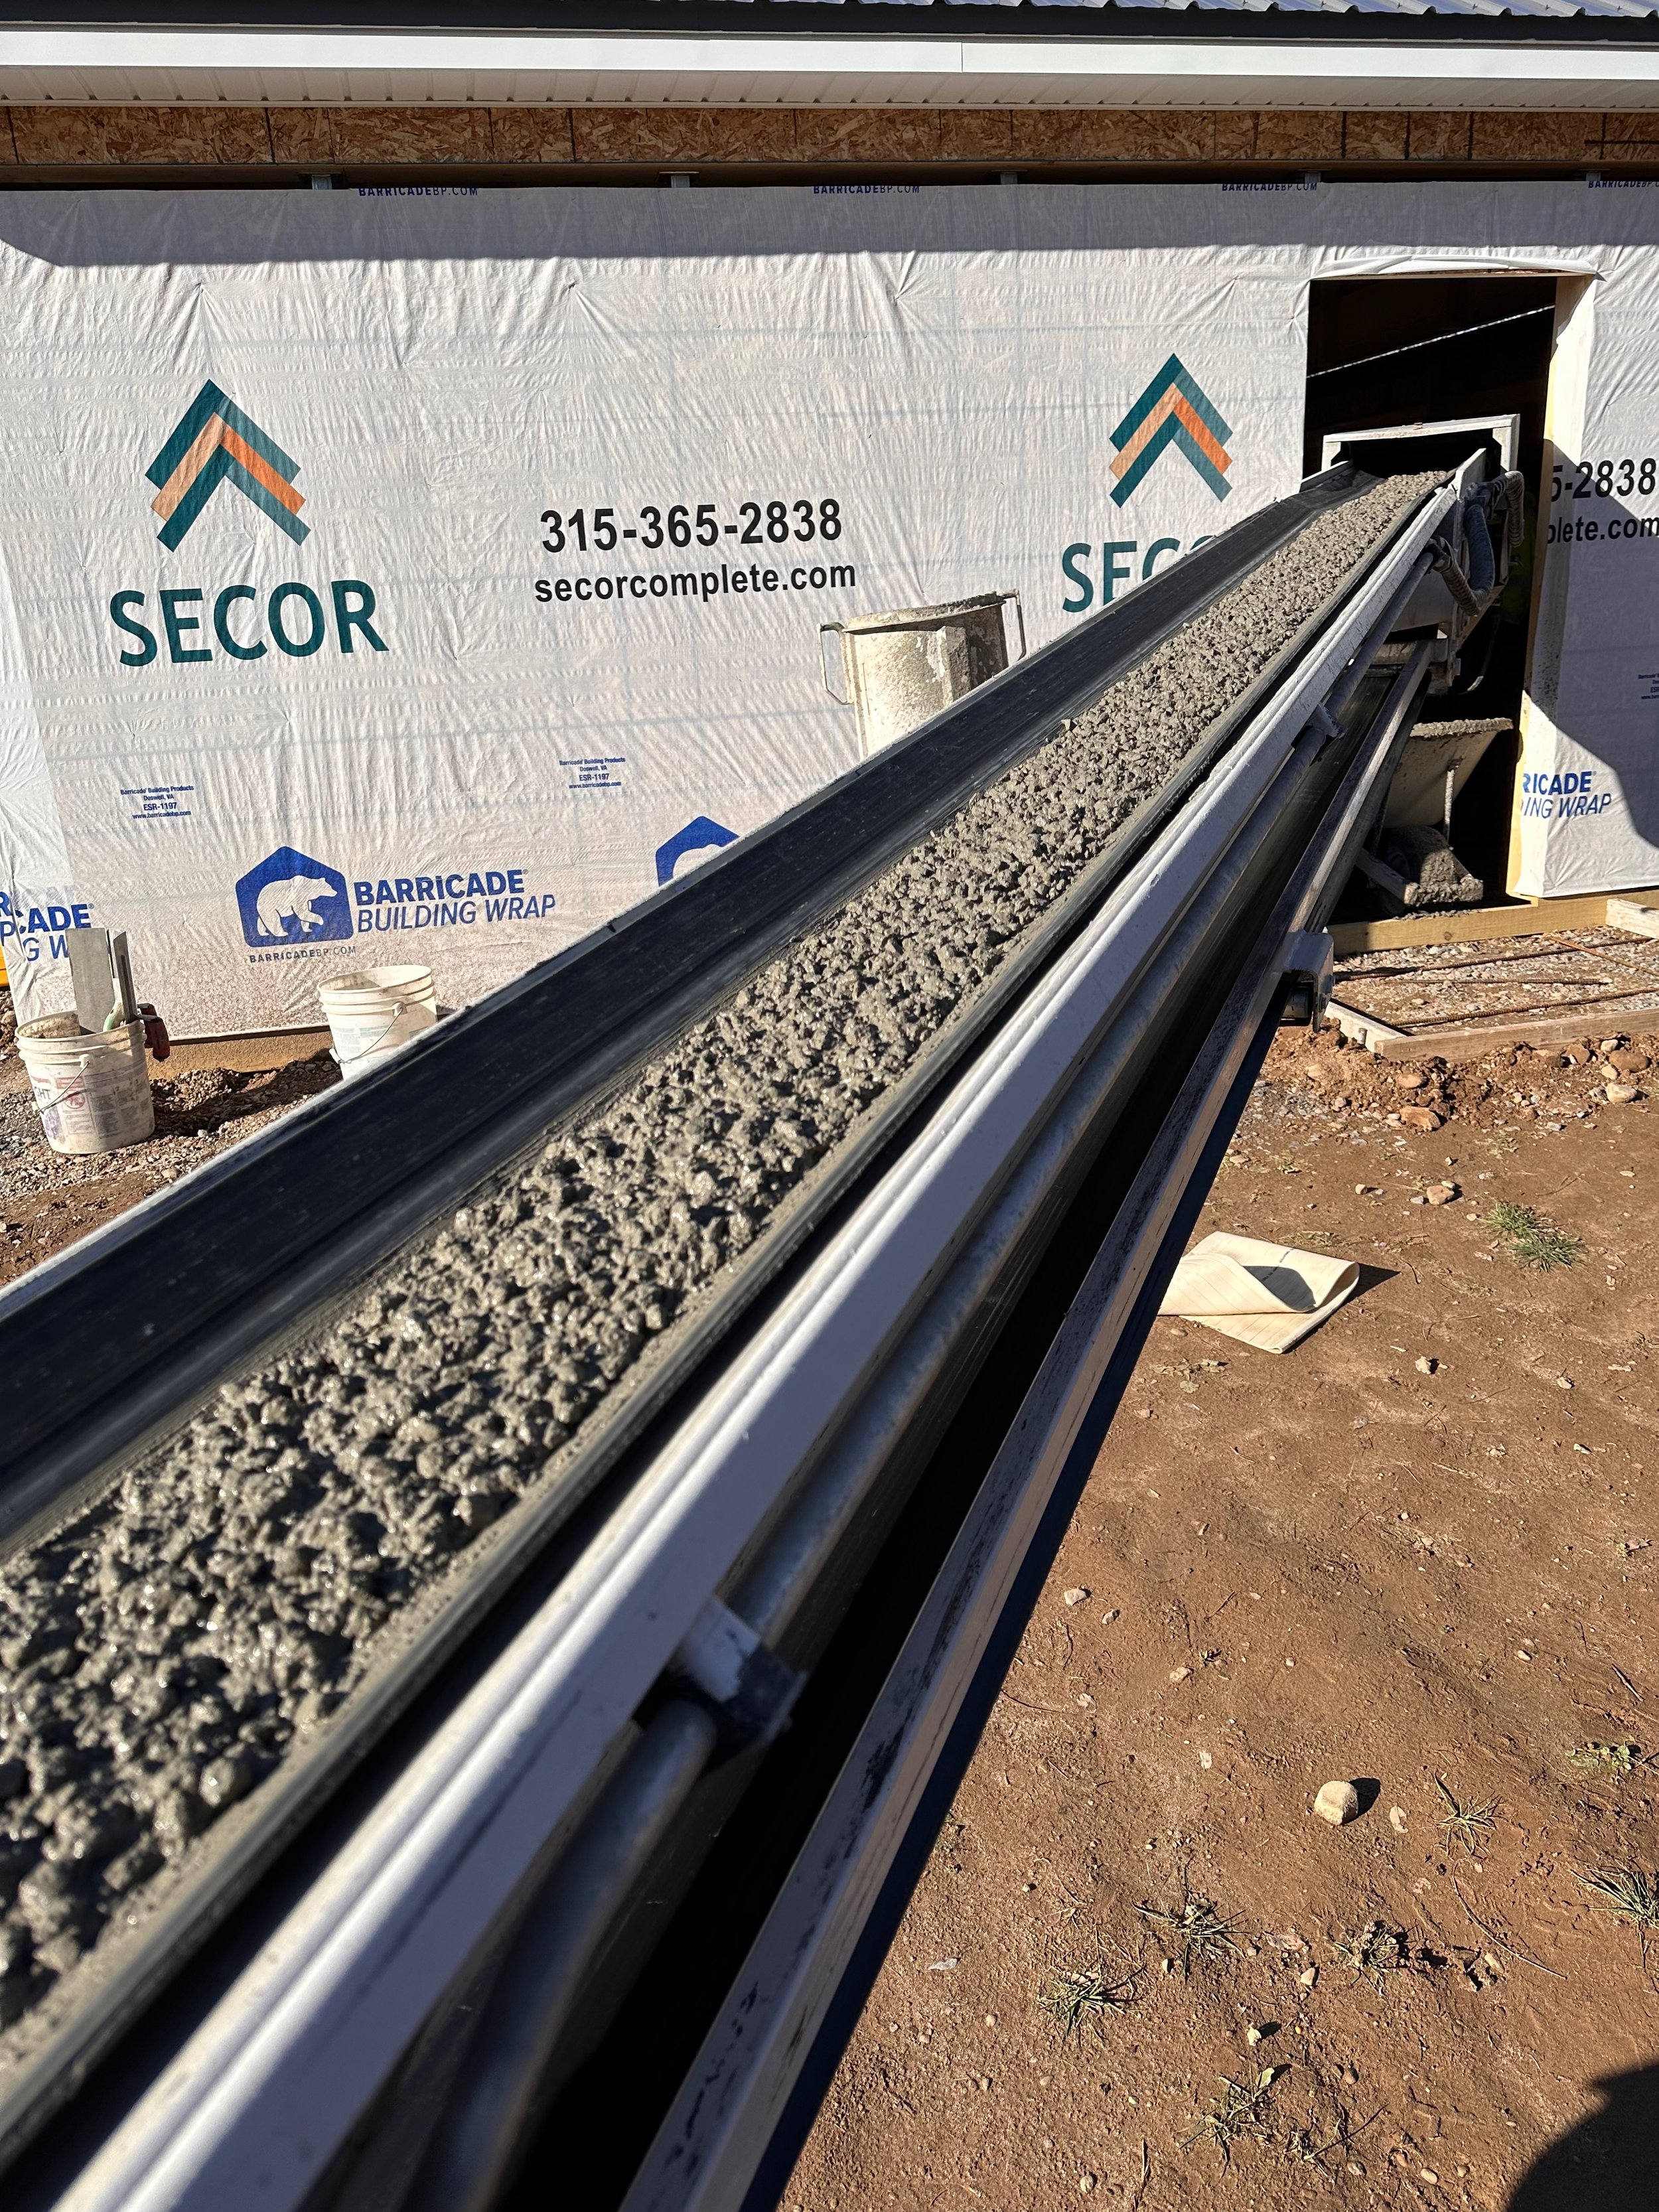
However, this truck did have a boom arm, so they could extend it so that it fit just inside the door!
The truck was not moving, so the boom had to reach in. It just made it!
Getting ready for the first load of concrete!
Concrete is flowing down the u-belt of the boom arm.
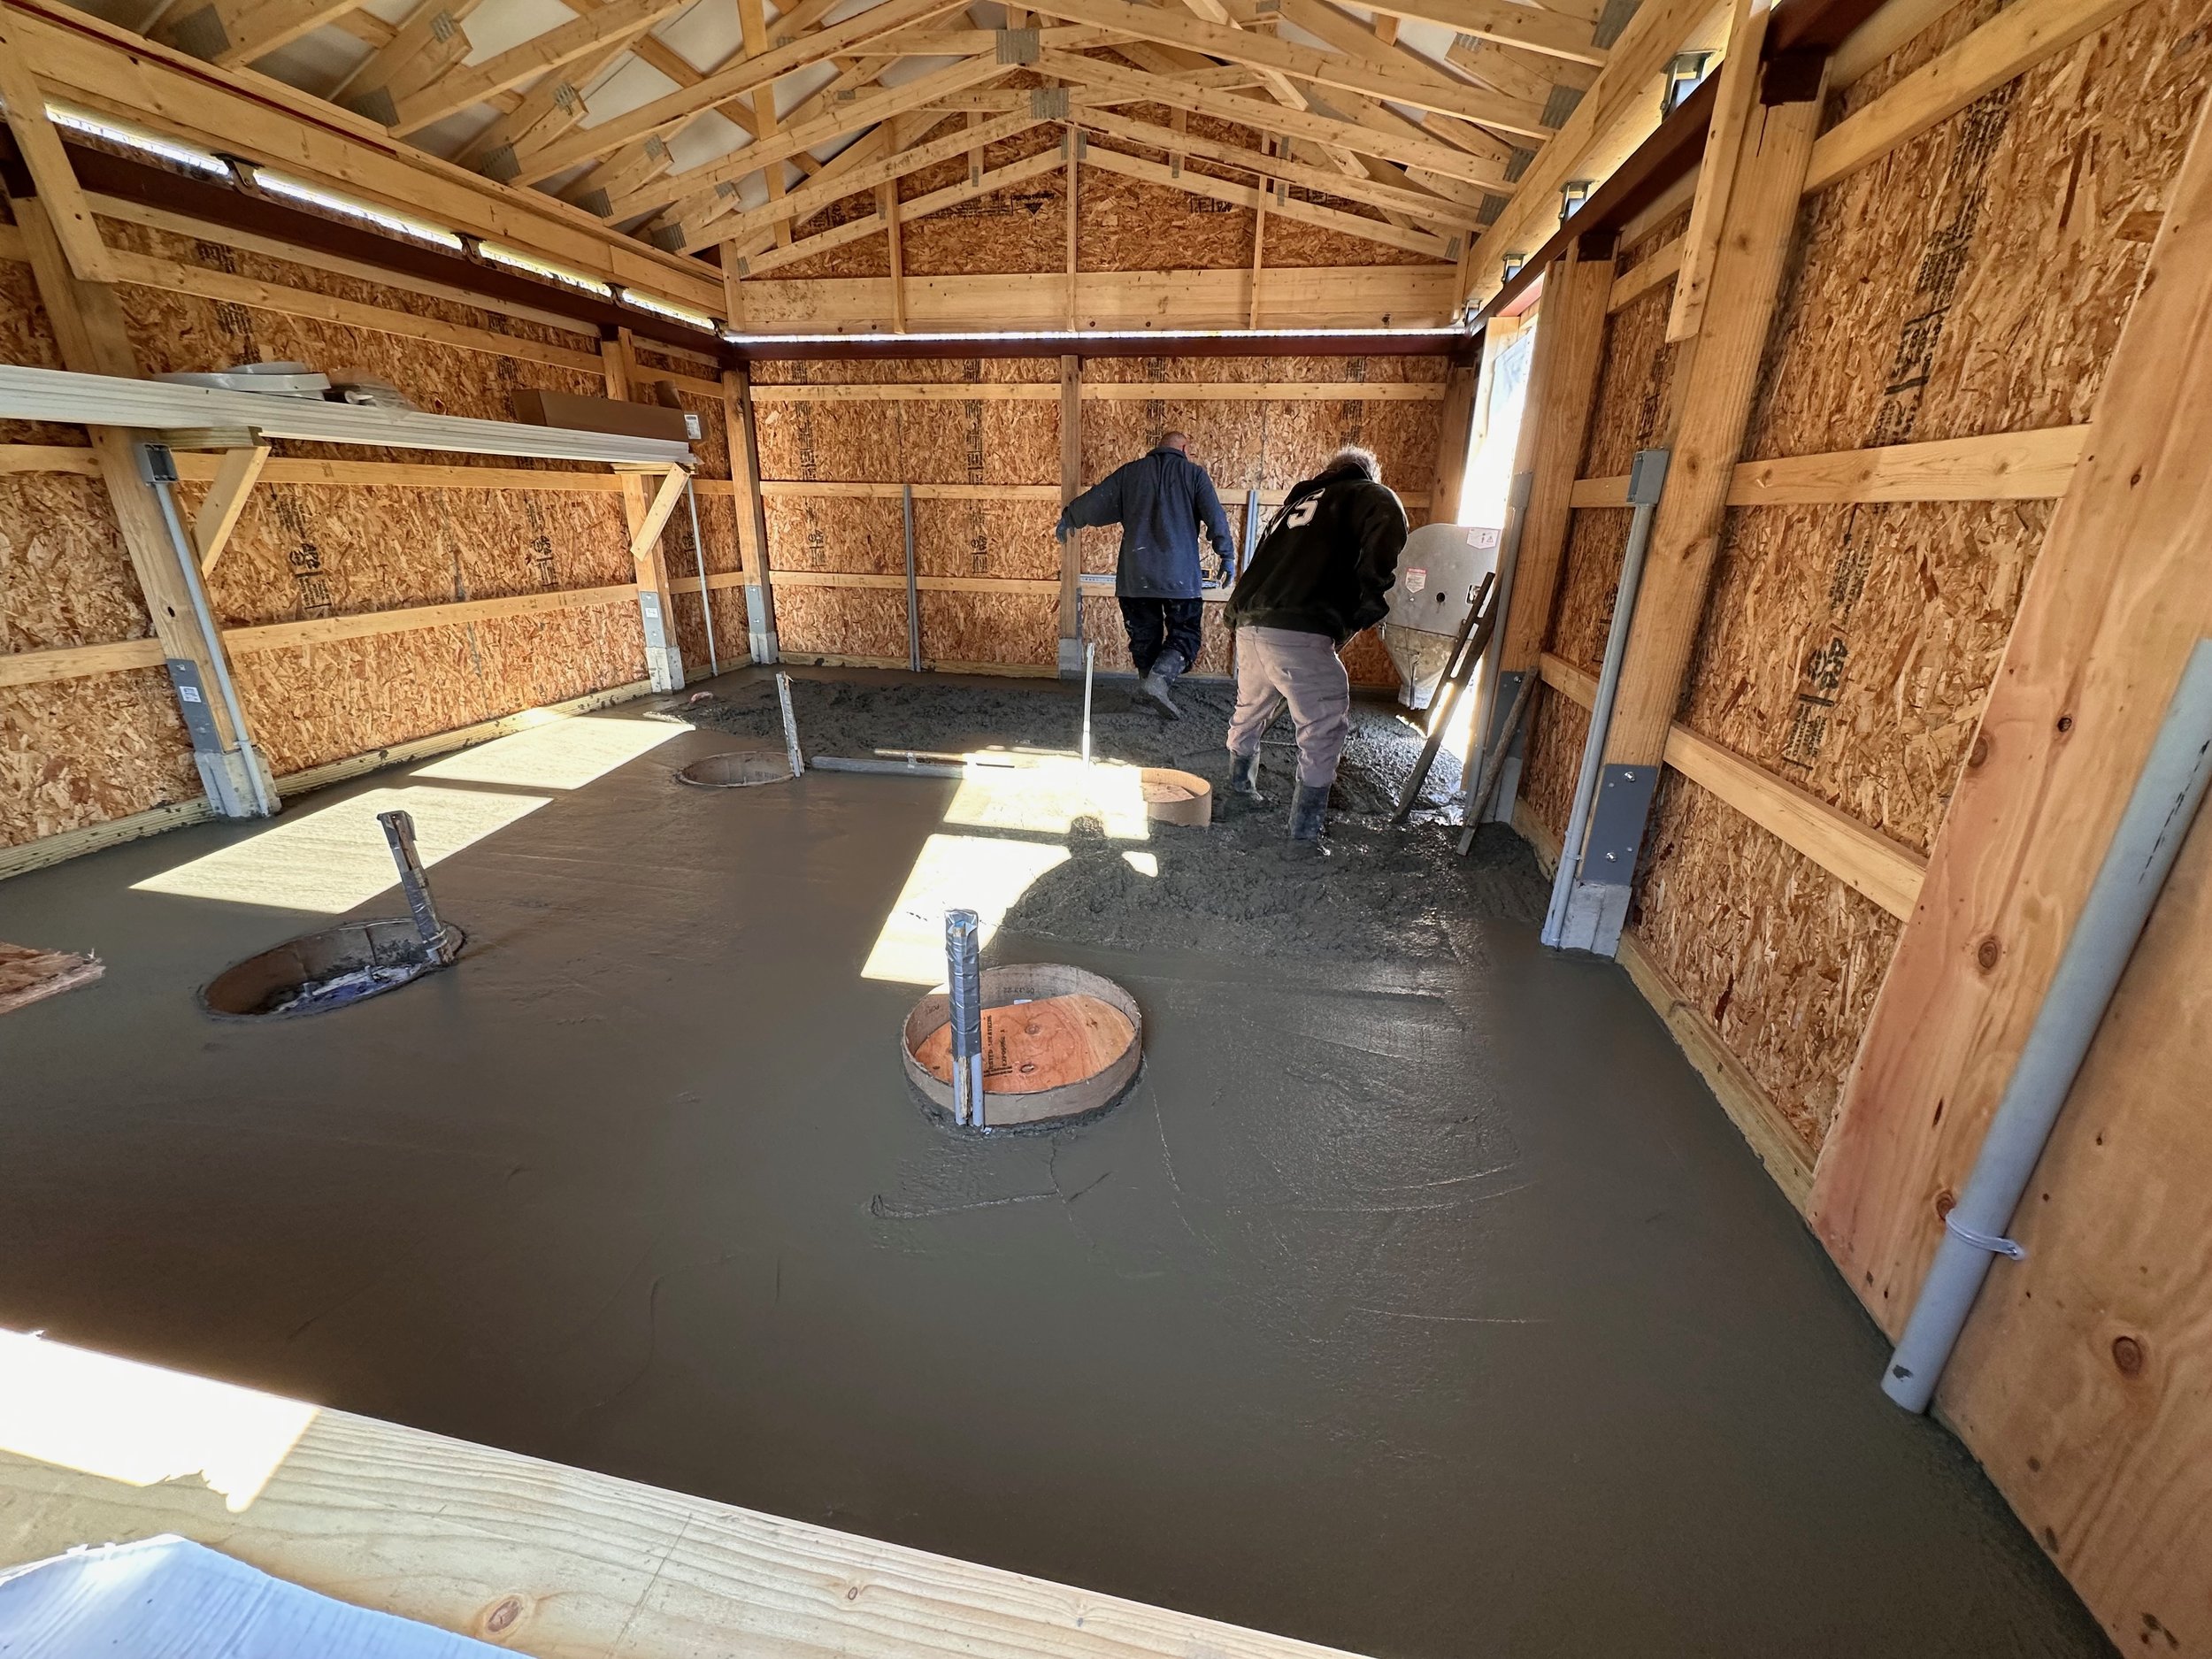
Concrete was brought in, one wheelbarrow at a time, and distributed. It was then smoothed. A laser was used to check height and level. This was quite a job.
The cement is broght in, one wheelbarrow at a time!
Initial smoothing of the concrete.
It was not done by Noon, when we were due to leave to head to Boston to spend Thanksgiving with my son, Kevin.
As a result, I did not see the end of the job. My security camera showed that the concrete truck left about an hour later and the mason about 2.5 hours later.
As it turns out, the mason returned on Black Friday to make the floor cuts. Basically, the 16x20 floor was cut into quadrants.
They secured the door with wire mesh so the deer would not stomp inside and leave their footprints!
Inspecting the Work
I came back the following Sunday and inspected the work.
It looked pretty good, but as you would expect, there was some splatter of concrete on the skirtboards and on the walls. So I went out there with a putty knife and cleaned off the worst of that.
So the floor is in, and they wanted to give it about a week to cure before going back in with ladders and such.
The cardboard sonotubes need to be cut out, and we need to clear the material that separated the slab from the pier foundations - but all of that will happen later.
The final floor!
Detail in the corner.
This ends this phase of the operation!
What’s Next?
Coming up next is the final electrical work.
The final work around the track and the drive system is also coming. Finally, the door, vinyl siding, and rain gutters need to be installed.
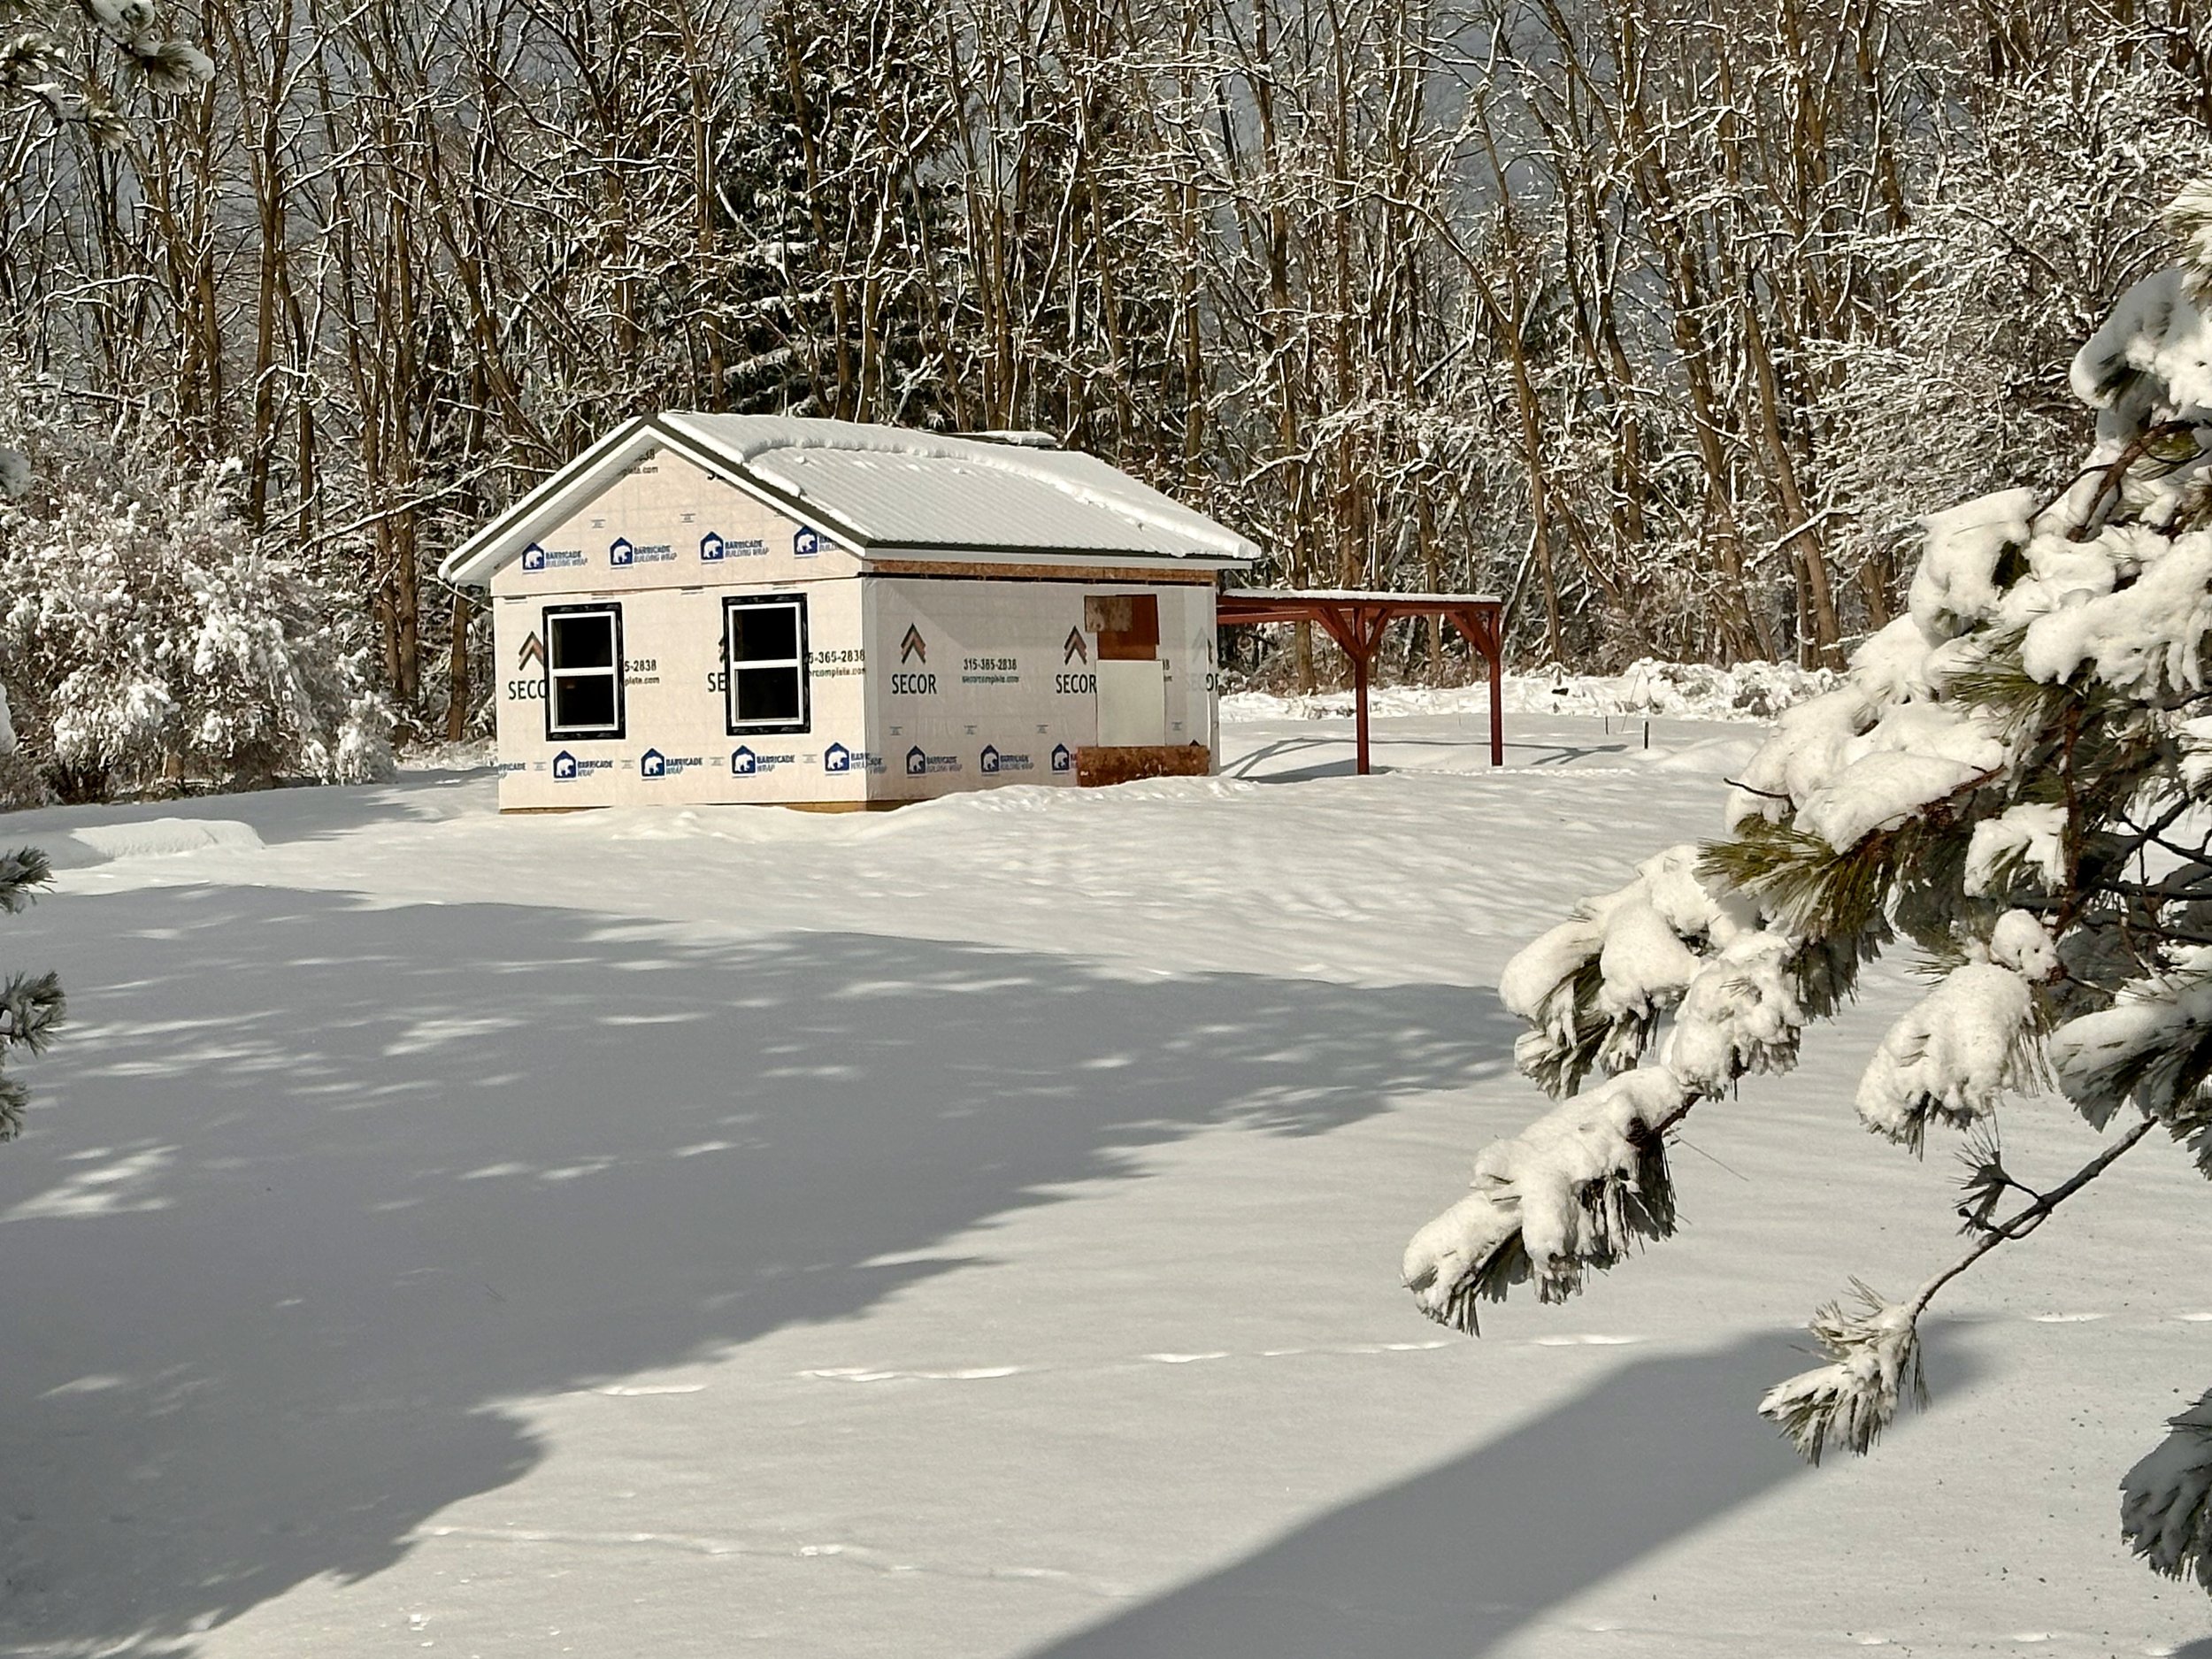
We now have some snow moving in (See below!). Ahh the joys of living in the northeast! The schedule delays on the frontend are pushing us into the winter season which will only act to complicate things.
I managed to piece together some plywwod sections over the doorway to keep the worst of the blowing snow out. The door should be delivered soon, and then this work around will not be needed!
At this point, I don’t know how the weather will impact the schedule - so stay tuned!
The first real snow of the year. Darn….


