
Observatory Project: Designing Custom Steel Piers - Part 2 - Cutting Parts With a 4000-watt CO2 Laser!
Date: July 11th , 2024

Table of Contents Show (Click on lines to navigate)
NOTICE!
This post shares my preliminary design thoughts for a Roll-Off-Roof Observatory.
I make NO representations regarding the fitness or soundness of the designs and design decisions discussed.
Use this information at YOUR OWN RISK!
If you decide to build your own version of this project, you ASSUME ALL LIABILITY for your efforts and their results.
Earlier Posts in this Series
I have been thinking about building an observatory for a while now. Below are previous posts that led me to where I am today.
Observatory Project: Designing Custom Steel Piers - Part I June 2024
Observatory Project: Galvanic Corrosion and a Change in Track Selection! June 2024
Observatory Update: Designing the Roll-Off-Roof Track System! May 2024
The Move is Complete, Now Pivoting to the Observatory Project! April 2024
An Observatory Project Update: Success! We Just Bought A Property and Will Be Moving! Nov 2023
An Observatory Project Update - One Year In Feb 2023
Goals for my Observatory Project March 2022
Cutting Parts!
In my last Blog, I talked about designing custom steel piers for my observatory project.
This time around, we will start cutting the parts for these piers with a powerful CO2 laser!
Now that we have a design for the piers, we could get started with their fabrication.
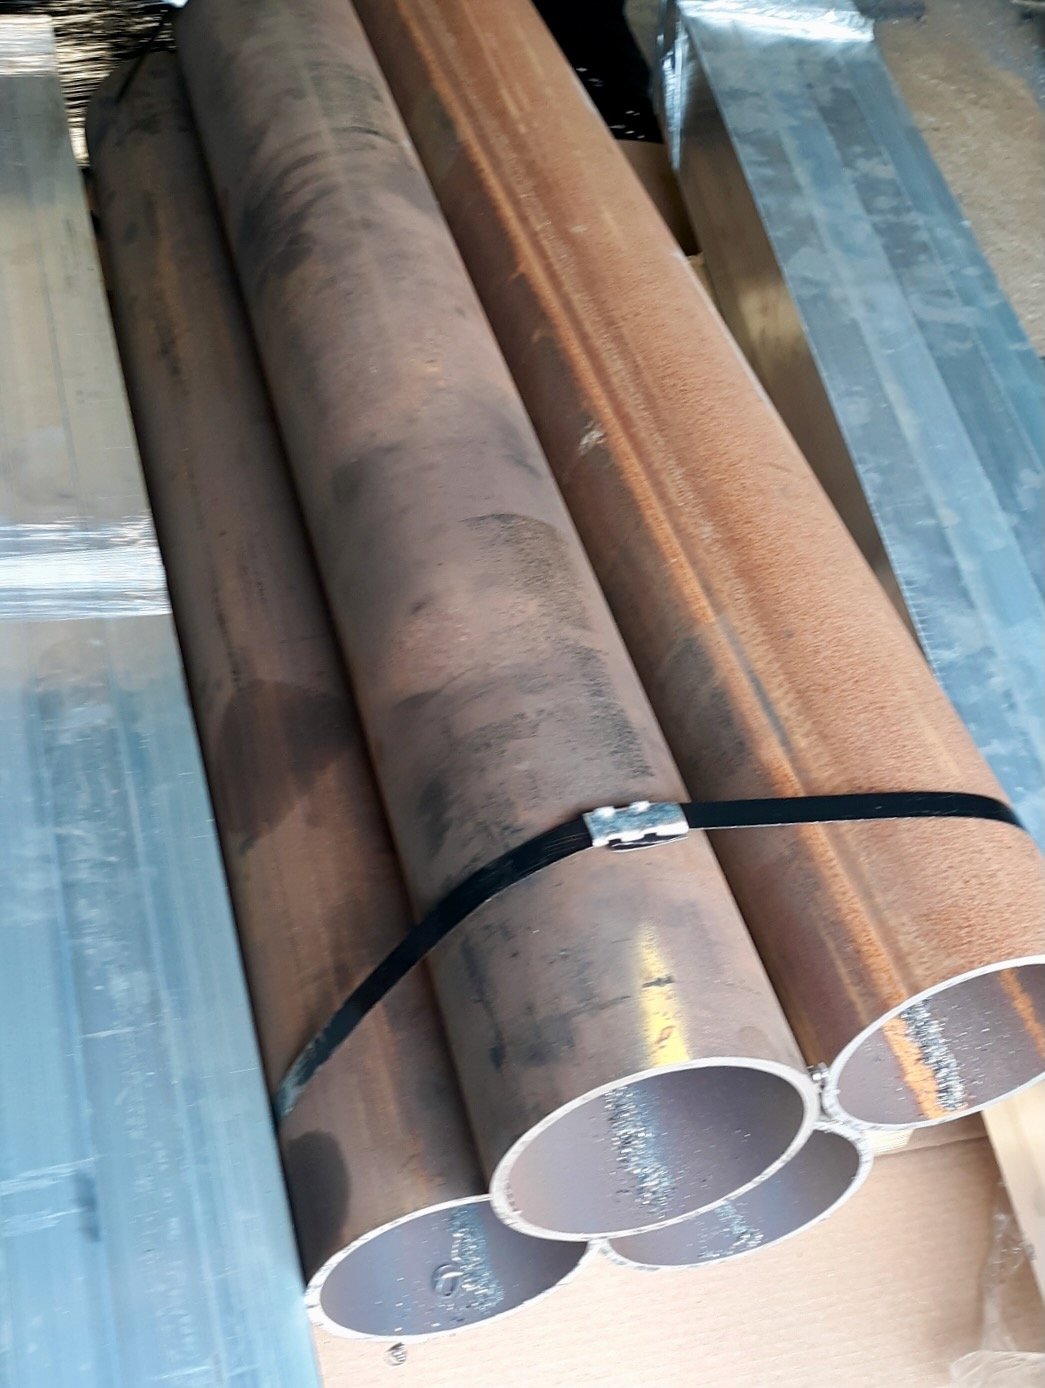
First, we need to order the cut steel pipe:
Then, we need to cut the other parts out of steel. Once this is done, the parts can go to the welder for assembly.
But how does one cut the parts?
The design calls for parts that have fundamentally two thicknesses of steel:
1/4-inch plate
1/2- inch plate
The 1/4-inch plate will be used for gussets and the foundation plate. For four piers, this means:
• 32 gussets
• 4 foundation plates
The 1/2-inch will be used for the bottom flanges, the top plate and the wedge-shaped washers:
• 4 bottom flanges
• 4 top plates
• 32 wedge-shaped washers
These are all laid out so that most parts can come out of each steel plate sheet.

These plates are set into the laser and cut.
Smidgen's Laser Cutting
First, let's talk about the amazing business doing this work.

Gary and Rita Villa have been involved in laser cutting for more than 30 years. This started as a way to make a little money on the side. Rita was making scale doll-house furniture and selling it, and at some point, they shifted from using a saw to a laser to cut out these small parts.
Soon, they were not only cutting parts for themselves but also for others who needed work done.
They acquired more lasers that could cut more materials and developed unique capabilities in this arena.

Thus began Smidgen’s Laser Cutting. Gary and Rita have grown this business dramatically over the years, and they now have a large collection of lasers and skilled staff that can cut or etch paper, acrylics, wood, and various metals of various thicknesses.
You can learn more about them at the link below:
They have a large and growing list of commercial and industrial clients who request parts of all kinds and quantities. They also support the artistic community, cutting a variety of materials for the creation of large single pieces and small-run artistic offerings.

Smidgens also stocks large quantities of raw materials and can ship anywhere in the us, even overnight.
It is an amazing business. If you were to walk through at any given moment, you would see a wide range of interesting parts and materials being created.
Cutting my parts
Gary invited me to be there while they cut the parts for the custom piers we are building and wild horses could not have kept me away.
To create the parts, they would be using their most powerful laser: The Mazak Optiplex 3015 4.0

This is a 4000-watt CO2 laser that can cut:
• Up to 1-inch steel plate
• Up to 3/8-inch aluminum
• Up to 1/2 inch stainless steel
This Laser cutter is a beast. Its cutting area measures 5' x 10' and supports the ability to automatically mount different cutting torch heads. The torch head is capable of moving across the field at 4724 inches a minute!
The plate steel comes in a sheets that measures 48" x 96". So 4’ x8’ in size!
Obviously I would not need this much steel, often jobs will use most of a sheet and the remainder is always saved as it could be used for smaller jobs - like mine!
These sheets - even the smaller remnants - are still pretty heavy! They must be loaded into the machine with a fork-lift.
When I arrived, two sheets of steel were laid out on the cutting areas. The first piece of steel was a 1/4-inch thick plate measuring about 4' x 3', and the second was a 1/2-inch plate about the same size.

Seeing all of the Action!
The best way to see all of this in operation is to watch the video I prepared for my YouTube Channel, which is posted below. After that, I will have a text summary of the operation for your reference.
The Text Overview
As the machine started up I saw the torch move across the field - I jumped! It moved lightening fast and caught me by surprise - I am not used to seeing machinery this massive move that fast!
It opens a metal lid at one corner of the machine, exposing a selection of cutting torch heads. It chooses the correct one and mounts it. It then begins its work.
Any etching needed is one first and then cutting. The 1/4-inch had no etching, so the cutting could start right away!
As we start working with the 1/4-inch plate, it pauses at each location to make a piercing cut that makes an initial hole through the metal. It then traces and cuts the outline of each cut, leaving just a tiny tab of metal to hold the part in place.
During the piercing operation, the laser pulses - which helps the laser cut through the metal during a pierce operation.
This is the bed metal sits on. As the metal is cut, so is the support bed. Molten metal can build up, which must be cleared off periodically.
Once all of the parts on the 1/4 sheet were done, we were ready to move on to the 1/2-inch plate.
The distance to the second plate was measured and entered into the machine to act as a starting point for cutting the second sheet.
First, all of the etching was done. Most of this etching will act as a placement guide for the welder.
With 1/2-inch steel, the laser first makes all of the piercing cuts for each piece before cutting each piece out. The first piercing cut creates a lot of heat, so this is done first to distribute the heat and allow it to dissipate a bit. Then, the cutting can begin.
To my eye, the speed of the laser cutting through the 1/2-inch plate is amazing. It is slightly slower than cutting the 1/4-inch plate, but not much.
All of the cuts were made in no time, and the parts were moved outside the machine. After some cooling time, we could handle the parts and make sure that they lined up and fit.
I had an amazing time watching the laser cut these parts.
Thanks to Rick Abreacht for helping to create the designs and to Gary Villa and Smidgeons for doing a fantastic job cutting out the parts!
The next step is welding, and I will post another one once that step is complete.