
Goals for my Observatory Project
Date: March 12, 2022
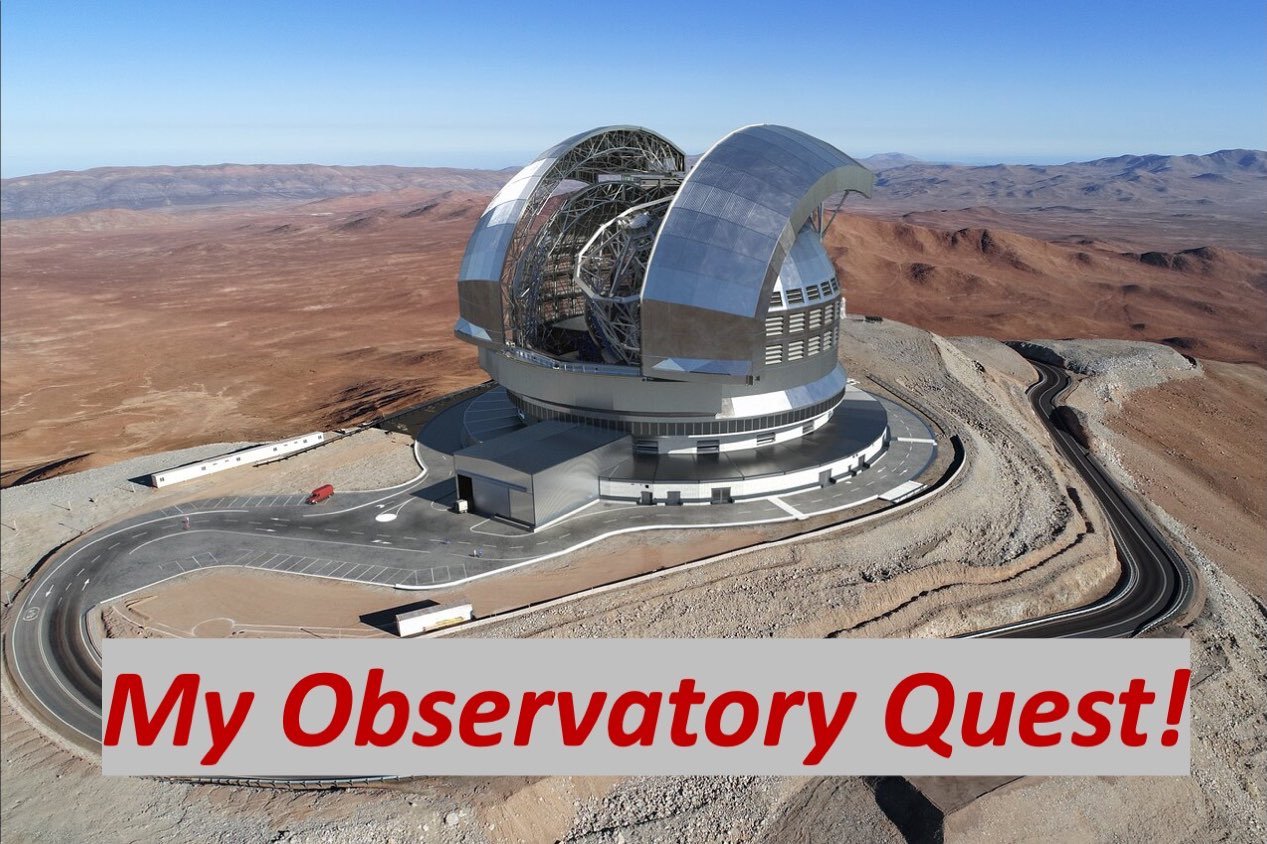
So I want to build an observatory. Maybe this one might be smidgeon outside of my budget, but a guy can dream - right? This is the Extremely Large Telescope (ELT) project. (Image by ESO/José Francisco (josefrancisco.org))
Table of Contents Show (Click on lines to navigate)
Background
As many of you now know, I retired in the summer of 2019 and with that life change, I decided to pursue an interest in astronomy that has laid dormant for many years. As I young man, I was very involved in observational astronomy using a Meade Cat Telescopes and a Large 14.5" Dobsonian Telescope that I built.

My old visual light bucket that I put together 30 years ago. I had the tube assembly done by Telescopics. Inc. 14.5” f/5. It is a bear to move around but it gave great views under dark skies!

A close up view of the business end. The 80mm super finder with a Telrad made star hoping simple. The massive 2” focuser would hold super large widefield Nagler eyepieces which made it feel like you were in a portal in a space ship! Love those Naglers!
Then came a year -1991 to be precise - that changed all of that. I was promoted at work and took on a lot more responsibility. At the same time, I was going to school at night working on my Masters's degree, building a new house, and expecting our second child. There was no time or energy for Astronomy and late nights. I laid that aside for 30 years - always thinking that someday I would get back into it - perhaps when I retired.
So once I did retire, I jumped back into it. Only now - 30 years later - the advances in telescopes, digital cameras, and computers had created a brand new sandbox to play in! These new technologies have transformed Astrophotography from those days when I played with gas-hypered film systems.
With my background in image science, computers, and software - this was right up my alley and I dove in. While I have extensive experience in consumer imaging, I found Astro Imaging to be a very different beast and I have been on a huge learning curve since I started - with no end in sight.
That brings us to today.
I now run 3 telescope rigs at the same time. I have to set them up for each night of imaging in my driveway. I have gotten good at it - but it still takes time and effort. Putting all of the gear away in the early morning after a long night can be a challenge at times.

Imagine setting this up and polar aligning it - every night! And taking it all down in the morning when you are sleep deprived….
Now I should add to this picture the fact that my yard is heavily treed. I only have a small area of the clear sky looking down my driveway. This has greatly complicated my astrophotography by limiting what I can see, when I can see it, and for how long I can see it.

My little slice of sky down my driveway…..
These circumstances have been holding me back.
This past year my wife finally retired and we began to discuss what the next phase of our life would be like. While we love our current home, it has become clear that a different home would better suit us as we go forward.
Thus, the idea of moving came into focus, and we decided that we could find land that would be better for my Astrophotography and go into a house that we could age into.
It also meant that an Observatory was now in the picture - and I quickly concluded that this was the way to go.
The Advantages of having an Observatory
Having an observatory means that your gear can be carefully set up, balanced, polar aligned - and kept that way!
It means that all you have to do if you are going to image is open the roof! At the end of the night, all you have to do is park the scopes and then close the roof!
We are talking convenience - and we are talking precision - as the scopes are not moving about and changing night by night.
Add automation to the mix, and suddenly you have the ultimate in convenience!
My friend and fellow astrophotographer Dan Kuchta has really worked to heavily automate his observatory. He tells stories about setting things up for a night of image capture, and then going to bed, and - now get this - he sleeps all night long!
He wakes up in the morning and sees what he has captured overnight!
If there is a problem, his phone wakes him up so he can address the issue. Then he goes back to sleep.
Are you picking up on a theme here?
Now I tell him that Astrophotography, by its very nature, must involve a great deal of suffering and by avoiding much of this suffering, he cannot be, in fact, a true Astrophotographer. But in reality, I am utterly green with envy!
Imagine having my three scopes all set up and polar aligned. Opening the roof of my observatory from within my house, and kicking off a night of automated capture whilst I snoozing in the comfort of my warm bed! An all-sky camera keeps an eye on things and should clouds move in, or the weather changes, it would safely park the scopes and close the roof - automatically. If the weather clears, it would open the roof and restart the capture.
Also, imagine this in a location where the whole sky was accessible - no trees clogging my view! A target could be tracked for as long as possible - instead of the three-hour imaging windows, I now have! I could then lock on to a single target each night and capture photons until the cows come home.
Oh yeah - I want this!
Initial Thinking
At a very high level, I began to think about what would be an ideal situation for me.
First - let's talk about the land. What I am looking for?
Currently, I am located in the South of Rochester, NY. This is not a bad location as my view of the East, West, and South are pretty dark. The north view is light-polluted as I face the city but in general - it is not bad.
So perhaps moving a bit further south would be good - as I go further south skies get darker. But I don’t really want to move so far south that the drive time to services in Rochester begins to get onerous. Maybe another 10-15 minutes south at the most.

Screen snap of Google Maps showing my rough search region, towards the south of Rochester, NY. The red dot shows roughly where I am located right now. Anything to the south of that point is where I would like to end up.

Here is the same rough area showing the light pollution (from https://www.lightpollutionmap.info/). As you go south, you tend to get better skies - but you do need to make sure to avoid key pockets of light pollution as you go…
I was also thinking of getting something in the 3-15 acres range - enough land to be separated from neighbors with their porch lights, garage spotlights, and other forms of local light hazards. Perhaps something that had some elevation, some trees where we could build a house, but with another portion that was clear with open access to the sky.
For an observatory, I was leaning towards a Roll-Off-Roof style observatory. This seemed like a natural direction to go in given that I routinely run 3 scopes at the time each night. I was thinking of making it large enough to hold two piers - one for each of my larger scopes, and then have an area where I could leave a smaller scope set up on a solid cement floor.
Since we would also be building a house on the property, my plan is to build the observatory at the same time. When the foundation and basement for the house were being laid, the same crew could pour the foundations for the observatory slabs and piers. When the house was framed, the same crew could also frame the observatory, and so on.
With all of this in my head, I started looking at what other people were doing with their observatories. I thought I might get some good ideas.
I also wanted to share some images of ROR Observatories that people have done - but I try to be very careful and only use images with permission. So I sent a Tweet out to the Twitter #Astrophotography community and asked for samples I could use. Below are some observatories that were shared - I think these are good examples of how folks can adopt a fairly simple design to create an amazingly useful resource for Astrophotography!
Many more examples can be found here in this CloudyNights Thread:
https://www.cloudynights.com/topic/60945-post-a-pic-of-your-observatory/#entry785816
Here is beautiful little ROR by Peter Proulx. (Image by Peter Proulx, used with permission - click to enlarge)
This ROR is by Paul Haworth. (image by Paul Haworth - used with permission - click to enlarge)

This ROR is by Dean Kos. With a warm room attached, it looks mighty comfy to use1 (Image by Dean Kos, used with permission - click to enlarge).
This ROR by Chris Grimmer was based on shed that was given to him. He indicates it has made a huge difference in his Astrophotographic productivity! (Image by Chris Grimmer, used with permission - click to enlarge)

This ROR was built by Gary Opitz - and houses a large refractor. (Image by Gary Optitz, used with permission - click to enlarge)

The inside of Gary Opitz’s ROR. (Image by Gary Optitz, used with permission - click to enlarge)
This ROR is by Roy Yang - here is the outside view (Image by Roy Yang, used with permission - click to enlarge)
Here is the inside view of the same ROR. (Image by Roy Yang, used with permission - click to enlarge)
This great little ROR was built by Kevin Earp. Here is the outside view with the roof closed. (Image by Kevin Earp, used with permission - click to enlarge)

Here is the outside view with the roof opened. (Image by Kevin Earp, used with permission - click to enlarge)
Kevin has a nice little warm room arrangement! (Image by Kevin Earp, used with permission - click to enlarge)

Here a view with the roof open, looking in. (Image by Kevin Earp, used with permission - click to enlarge)

And finally here is the inside view with the roof open. (Image by Kevin Earp, used with permission - click to enlarge)
This ROR is by Eric Day - shown with the roof closed. (Image by Eric Day, used with permission - click to enlarge)

Now shown with the roof and door open. (Image by Eric Day, used with permission - click to enlarge)
And finally, the interior showing Eric’s scope and his flat light source. (Image by Eric Day, used with permission - click to enlarge)
This ROR is by Laura Shell FRAS, with an entrance under the roll-off roof. (Image by Laura Shell, used with permission - click to enlarge)
Now shown with the roof rolled back. (Image by Laura Shell, used with permission - click to enlarge)

Looking straight into the door (Image by Laura Shell, used with permission - click to enlarge)

While this is not a ROR, it’s a creative approach by Alex Bell, BLT Astro, which is based on an octagon with a rotating top with a roll-off shutter! More details can be seen at: https://www.bltastro.com/observatory-build
(Image by BLT_Astro, used with permission - click to enlarge)
Here is the detail of the rotating roof before the rolling shutter was added. (Image by BLT_Astro, used with permission - click to enlarge)
The roof is now in position and the shutter is mounted. (Image by BLT_Astro, used with permission - click to enlarge)
I Found the Inspiration for the Observatory I Want to Build!
Then I stumbled upon a thread in CloudyNights. This one in fact:
https://www.cloudynights.com/topic/764679-west-texas-observatory-wto/
And I knew I had found exactly what I was looking for!
The West Texas Observatory was a 15' x 15' ROR Observatory with four (yes four!) piers that was built by a group of astrophotographers in Texas.
I instantly knew that this is what I wanted. With four piers, I could mount each of my current scopes and still have one pier available for a future scope that I have been contemplating for a longer focal length instrument that would go after smaller galaxies and planetary nebula.
The foundation and four piers of the West Texas Observatory (Image by Yuexiao Shen, used with permission - click to enlarge)
The building and roll-off roof structure (Image by Yuexiao Shen, used with permission - click to enlarge)

The incredible interior of the West Texas Observatory! (Image by Yuexiao Shen, used with permission - click to enlarge)
In the thread I learned that their observatory was built by the folks with BackYardObservatories.com, using one of their standard designs. I contacted the gentleman who posted the thread, Yuexiao Shen, and he was very helpful in answering my questions, making suggestions, and sharing some of their learning and some of the plans they had used for laying the foundation of the observatory.
These guys have done an amazing job and built a powerhouse of an automated observatory with only a modest build cost. I am sure that anyone seeing the drool-worthy images of their final project will be as impressed as I was!
I also contacted BackyardObservatories.com. This was a little tougher because they are often on the road, traveling around the country doing observatory builds, but I finally got hold of Scott Horstman, and I ended up buying a plan for their 11'6" x 11'6" observatory, which could then be scaled to the 15' x15' size. The plan was very reasonably priced and Scott has been very helpful in answering questions about it.
So now I have the inspiration and a set of plans as a foundation for my project. This covers the basics, but there were a few changes that I still want to make to refine this plan:
Roofline. I live in the snowy part of the country. I probably will have to beef up the strength of the roof to handle snow loads. Also - with the current arrangement, opening the roof would probably end up shaking snow off the roof and right into the interior of my observatory! Not good. The obvious thing to do is to rotate the roofline by 90 degrees so that falling snow would go elsewheres. However - this would put the peak of the roofline in the way of the scope trying to see Polaris in order to tweak or verify polar alignment. I could do drift alignment but I would much rather have access to Polaris. One way around this is to extend the design of the observatory towards the north without changing the location of the piers. This would cause the roof to roll off further to the north relative to the scope, thus opening up access to Polaris.
Workbench and Storage Cabinets. There are times when the scopes will have to come down from their mounts so that the optics may be cleaned and the configuration modified or updated. To support this, I wanted to have a workbench and some cabinets for storage. If I were to extend the observatory towards the north to better expose Polaris, I could use this new space for this purpose.
Other ideas I am considering. A recent exchange around the ideas around this observatory on Twitter with the #Astrophotography community has brought up some interesting options that I will have to consider. These include:
A roll-up door for allowing larger gear to come in and even to better allow groups to see the interior
large screen monitors showing the live view from the cameras so people could see what each scope was doing or to support Electronic Astronomy viewing in real-time
A warm room area for when I am spending time in the observatory
A concrete pad outside with access to power for another or visiting setups.
Observatory Specification
Here is my current speciation for the Observatory and the land to put it on. This search will take some time, as it is a tough market, and finding that perfect piece of land will be a challenge. But we are crossing our fingers and are hopeful.
Observatory
Roll-off Roof Observatory Design.
Roof ridgeline runs parallel with roller tracks to prevent built-up snow from falling in
The Roller system must handle the weight of the roof and potential snow loads
The Roller system must lock down automatically when the roof is closed
The roof must have scissor-like trusses to maximize open space under the roof
Interior size will be approximate 15'x17'
Exterior Size will be 15'4" x 17'4"
Walls
2x4 stick framing
height is 7'
Standard security door - opens outward
South wall fold-down as an option
Add at least 20 feet section towards the north for a space for workbench countertop and cabinet storage.
The Interior will have 4 piers.
12" Sonotube -40" inches high - steel reinforced with mounting bolts on top. Height to be adjusted such that Polaris can be seen by scope and scopes will clear the roofs when in the park position.
Alternative - concrete foundation at floor level with bolts that steel pier can be bolted to
Each Pier foundation is a 36"diameter hole 4 feet deep - isolated from each other and from observatory foundations
AC power feed to each pier
Slab
Outer footing + slab is 12" deep
The concrete slab is 6 inches deep on a 6-inch bed of gravel
Shall be isolated from pier foundations
Will allow power to enter the building and route to 4 piers, and outside wall
Roof
Must be pitched to handle snow
Normal roof shingles - or perhaps metal roof for better shedding of snow load
Steel Track and rollers to allow the roof to roll off easily
Rear roof supports must be on concrete footings
Must have a way to adjust the level of the support rails
Must have weather stripping to prevent snow, rain, insects ingressing around the track area
Quiet computer-controlled motor for opening and closing the roof.
At the full close and fully open positions, the roof must engage interlocks with the main wall of the observatory such that they are locked in position to prevent wind damage.
Must have a way of the closing roof if there is a power failure
Utilities
20amp service to building
Option for ethernet line
Power plugs on each wall
Power to each pier
White light LED lighting
Red light LED lighting
Provision for sky camera on the roof
Security system for door & roof
Security camera with a view inside and outside of the observatory
Provision for a weather station
Exterior design to match the house
Land
Location
South of Rochester and our current location in Mendon
Monroe County acceptable
Ontario County Preferable (lower tax rate)
Would consider outside of the county if it is a unique property
Further south for darker skies
No towns located directly to the south (minimizing light dome to the South)
Size
Min 2+ acres
15+ OK for the right price
Smaller and larger parcels would be considered if they had the right characteristics
Utilities
Power, Phone, High-Speed Internet feeds required
Public water, natural gas, and sewer connections are desired, but not required
Septic system is fine
General Description
Country environment - quiet and relatively undeveloped
Residential - low density
No obvious or potential exposure to sources of light pollution.
Good drainage and well out of the flood zone
Hilltop or Hillside preferred
Rolling terrain preferred
Nice view desired but not required.
Good Southern exposure required
A mix of a treed area and a clear area (latter for the observatory)
Driveway access that is not too long is desirable ( long driveways = greater costs)
Prefer it to not be on a major road or exposed to highway noise
Square parcel preferred over a long narrow strip
Either no working farms on borders or land big enough to buffer against It (dust concerns)
Some Key Questions I Need to Still Work Out
One critical detail that I still need to work out is how tall to make the Piers. I think I am going to go the Sonotube/Concrete route for making them, and then bolting plate onto the top to hold my mounts. But I need to determine the optimal dimensions here. They have to be tall enough to allow the scope to see over the open roof and spot Polaris. But they need to be low enough that I can park the telescope and still close the roof without it shearing off any key parts of the scope!
To a certain extent, this will be dependent upon several factors:
The scope and configuration I use for the OTA.
The mount used.
The final design of the roof, and how much room will exist for clearing the scope during movement.
For three of the scopes, I know the details on their dimensions and the mounts used. The fourth pier is still an open question. The roof has a current design and it will allow a certain clearance, but I may need to change this in order to beef up the design to handle the snow loads we get here.
I am currently teaching myself SketchUp so that I can model the observatory and scopes in 3D so that I can verify how the pieces fit and how access to Polaris might work out.
I am also thinking of having a steel pier for the 4th scope that would be bolted to the floor. This would allow me to adapt the pier height later when I know the particulars of the final scope
Wrap-Up
So we are now working with a Realtor and the search is on! lots of other activities that go into this kind of project:
Talking with custom builders
Talking with Architects
Looking at house plans
Talking to banks and setting up the financing
Researching build specifics for the Observatory
Preparing our current house for future resale
I will be adding sections to this part of the website to document my progress (or lack thereof!) as the project goes forward!
You too can help, if you have a mind to!
Any ideas or suggestions around the design and build of the observatory are very welcome!
If anyone knows of land for sale in my region that would meet these needs - please give me a heads-up! Or perhaps you know someone who has land they might be willing to sell or sub-divide - that would be very much appreciated!
If anyone knows of a builder they would recommend, we would value that as well.
In the meantime, keep an eye out for progress reports!
Thanks,
Pat