
All Gear Posts
In order to “do” astrophotography, you can’t get around the need for gear!
This page documents all of my gear posts!
This includes various versions of my telescope platforms as they have evolved over time, as well as general gear posts.
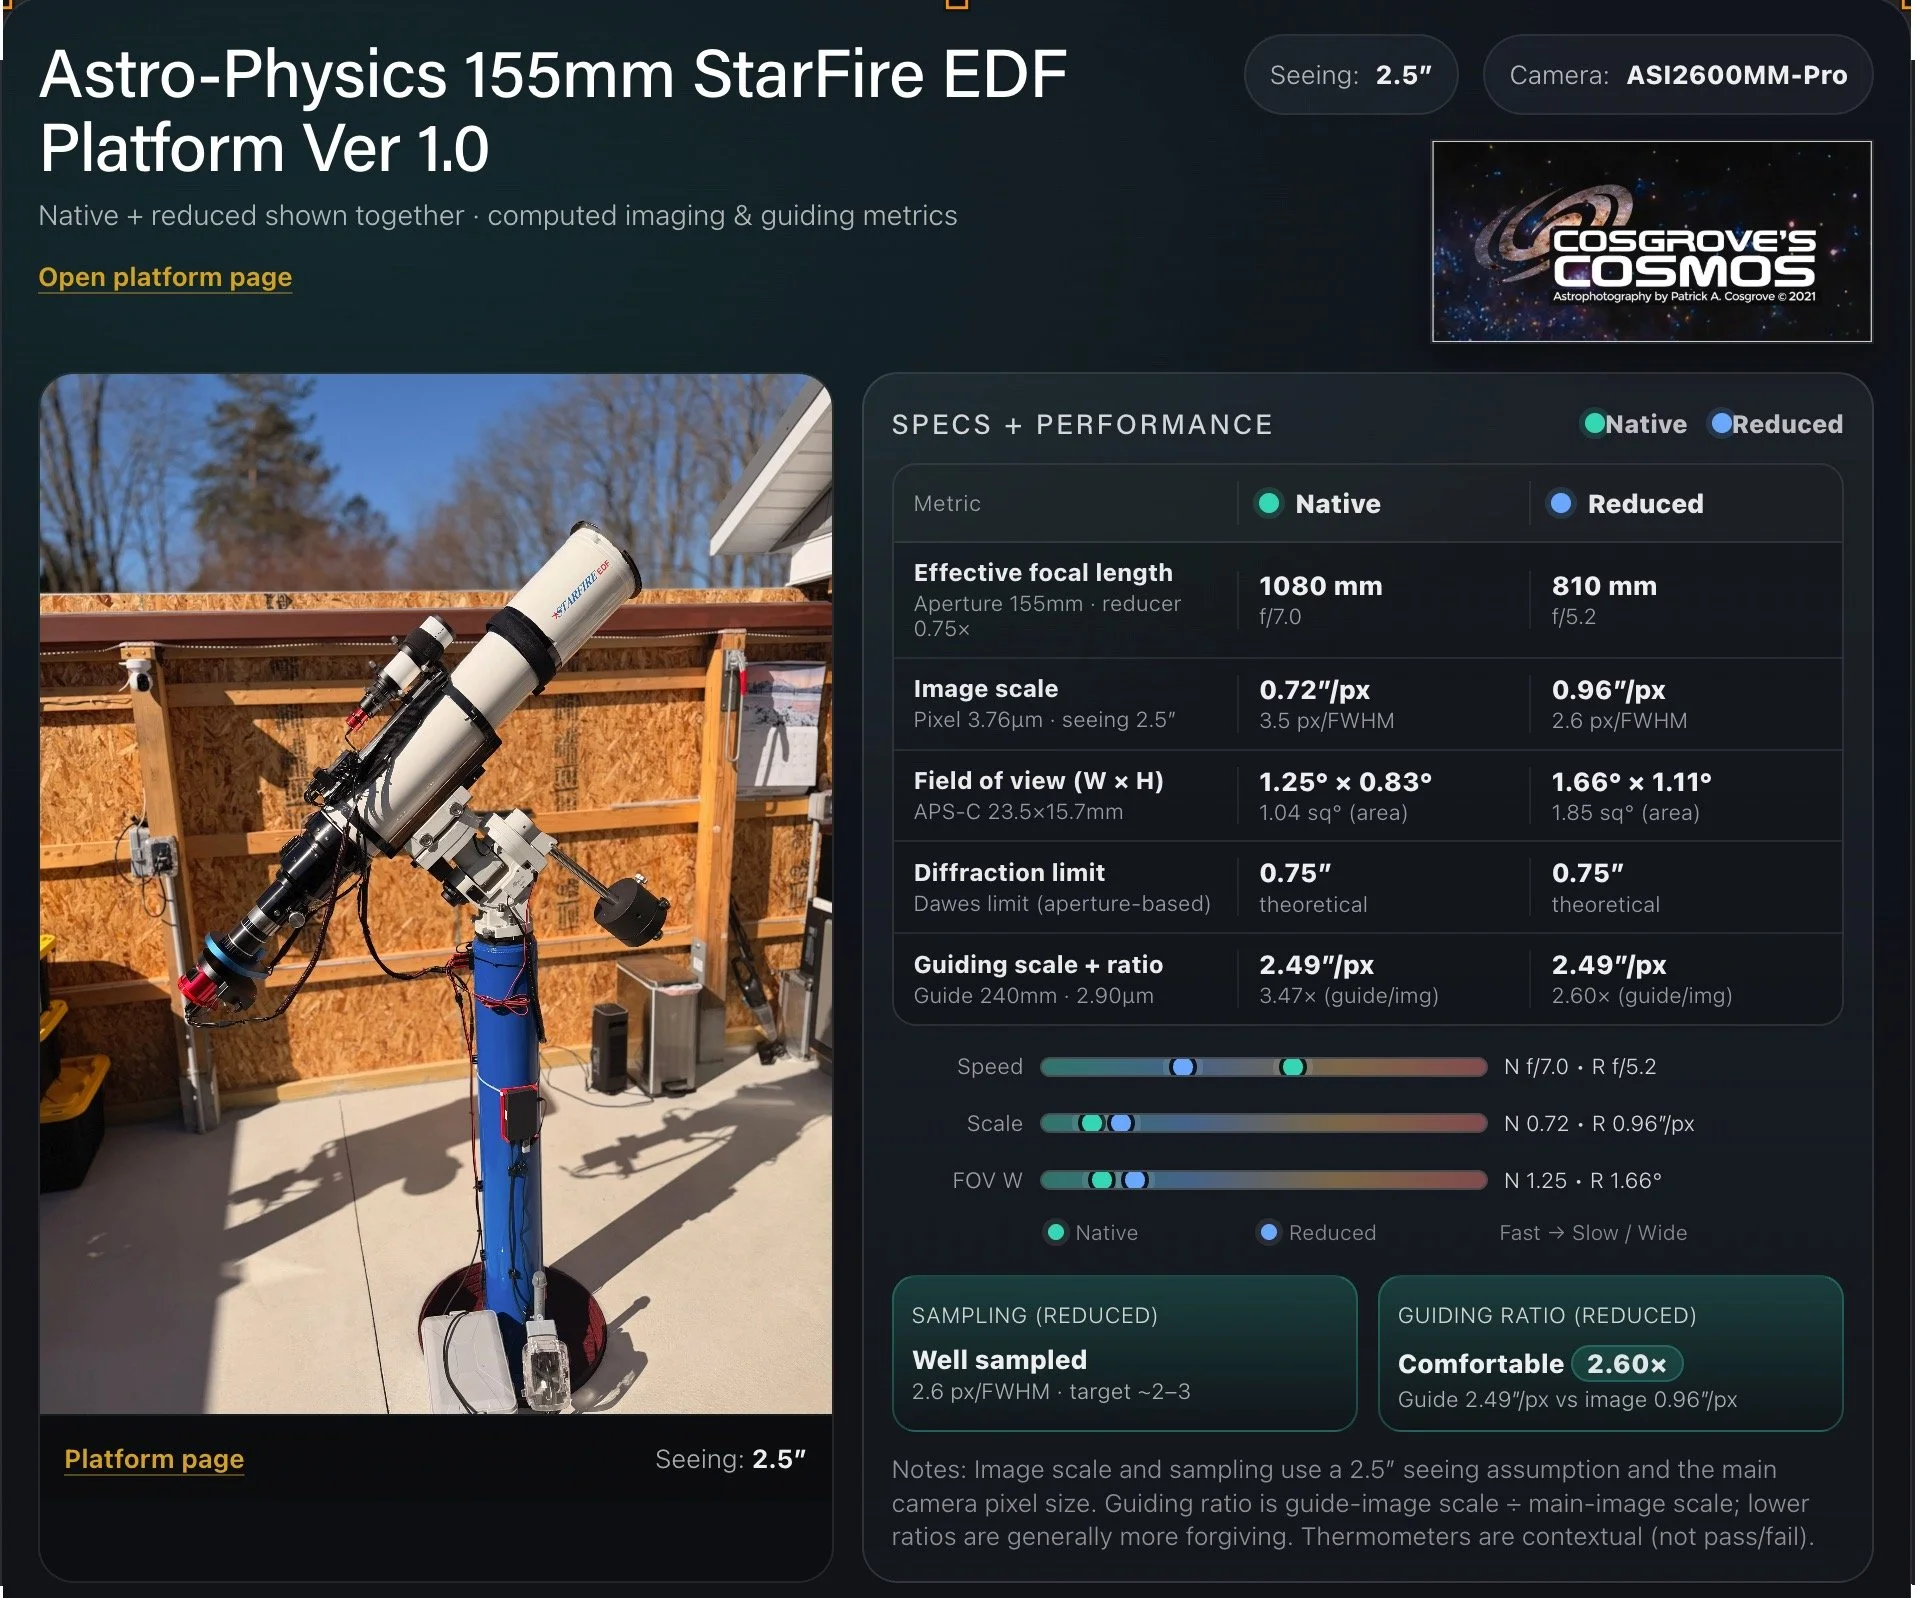
A major upgrade to one of my core observatory platforms: retiring the Astro-Physics 130mm Starfire EDT and building out a new AP155 imaging system. This post covers why I made the change, the mechanical challenges involved, and how the new platform fits into my overall telescope lineup. This involved a change to the OTA, the guide scope, and the addition of a Wanderer Astro motorized cover.
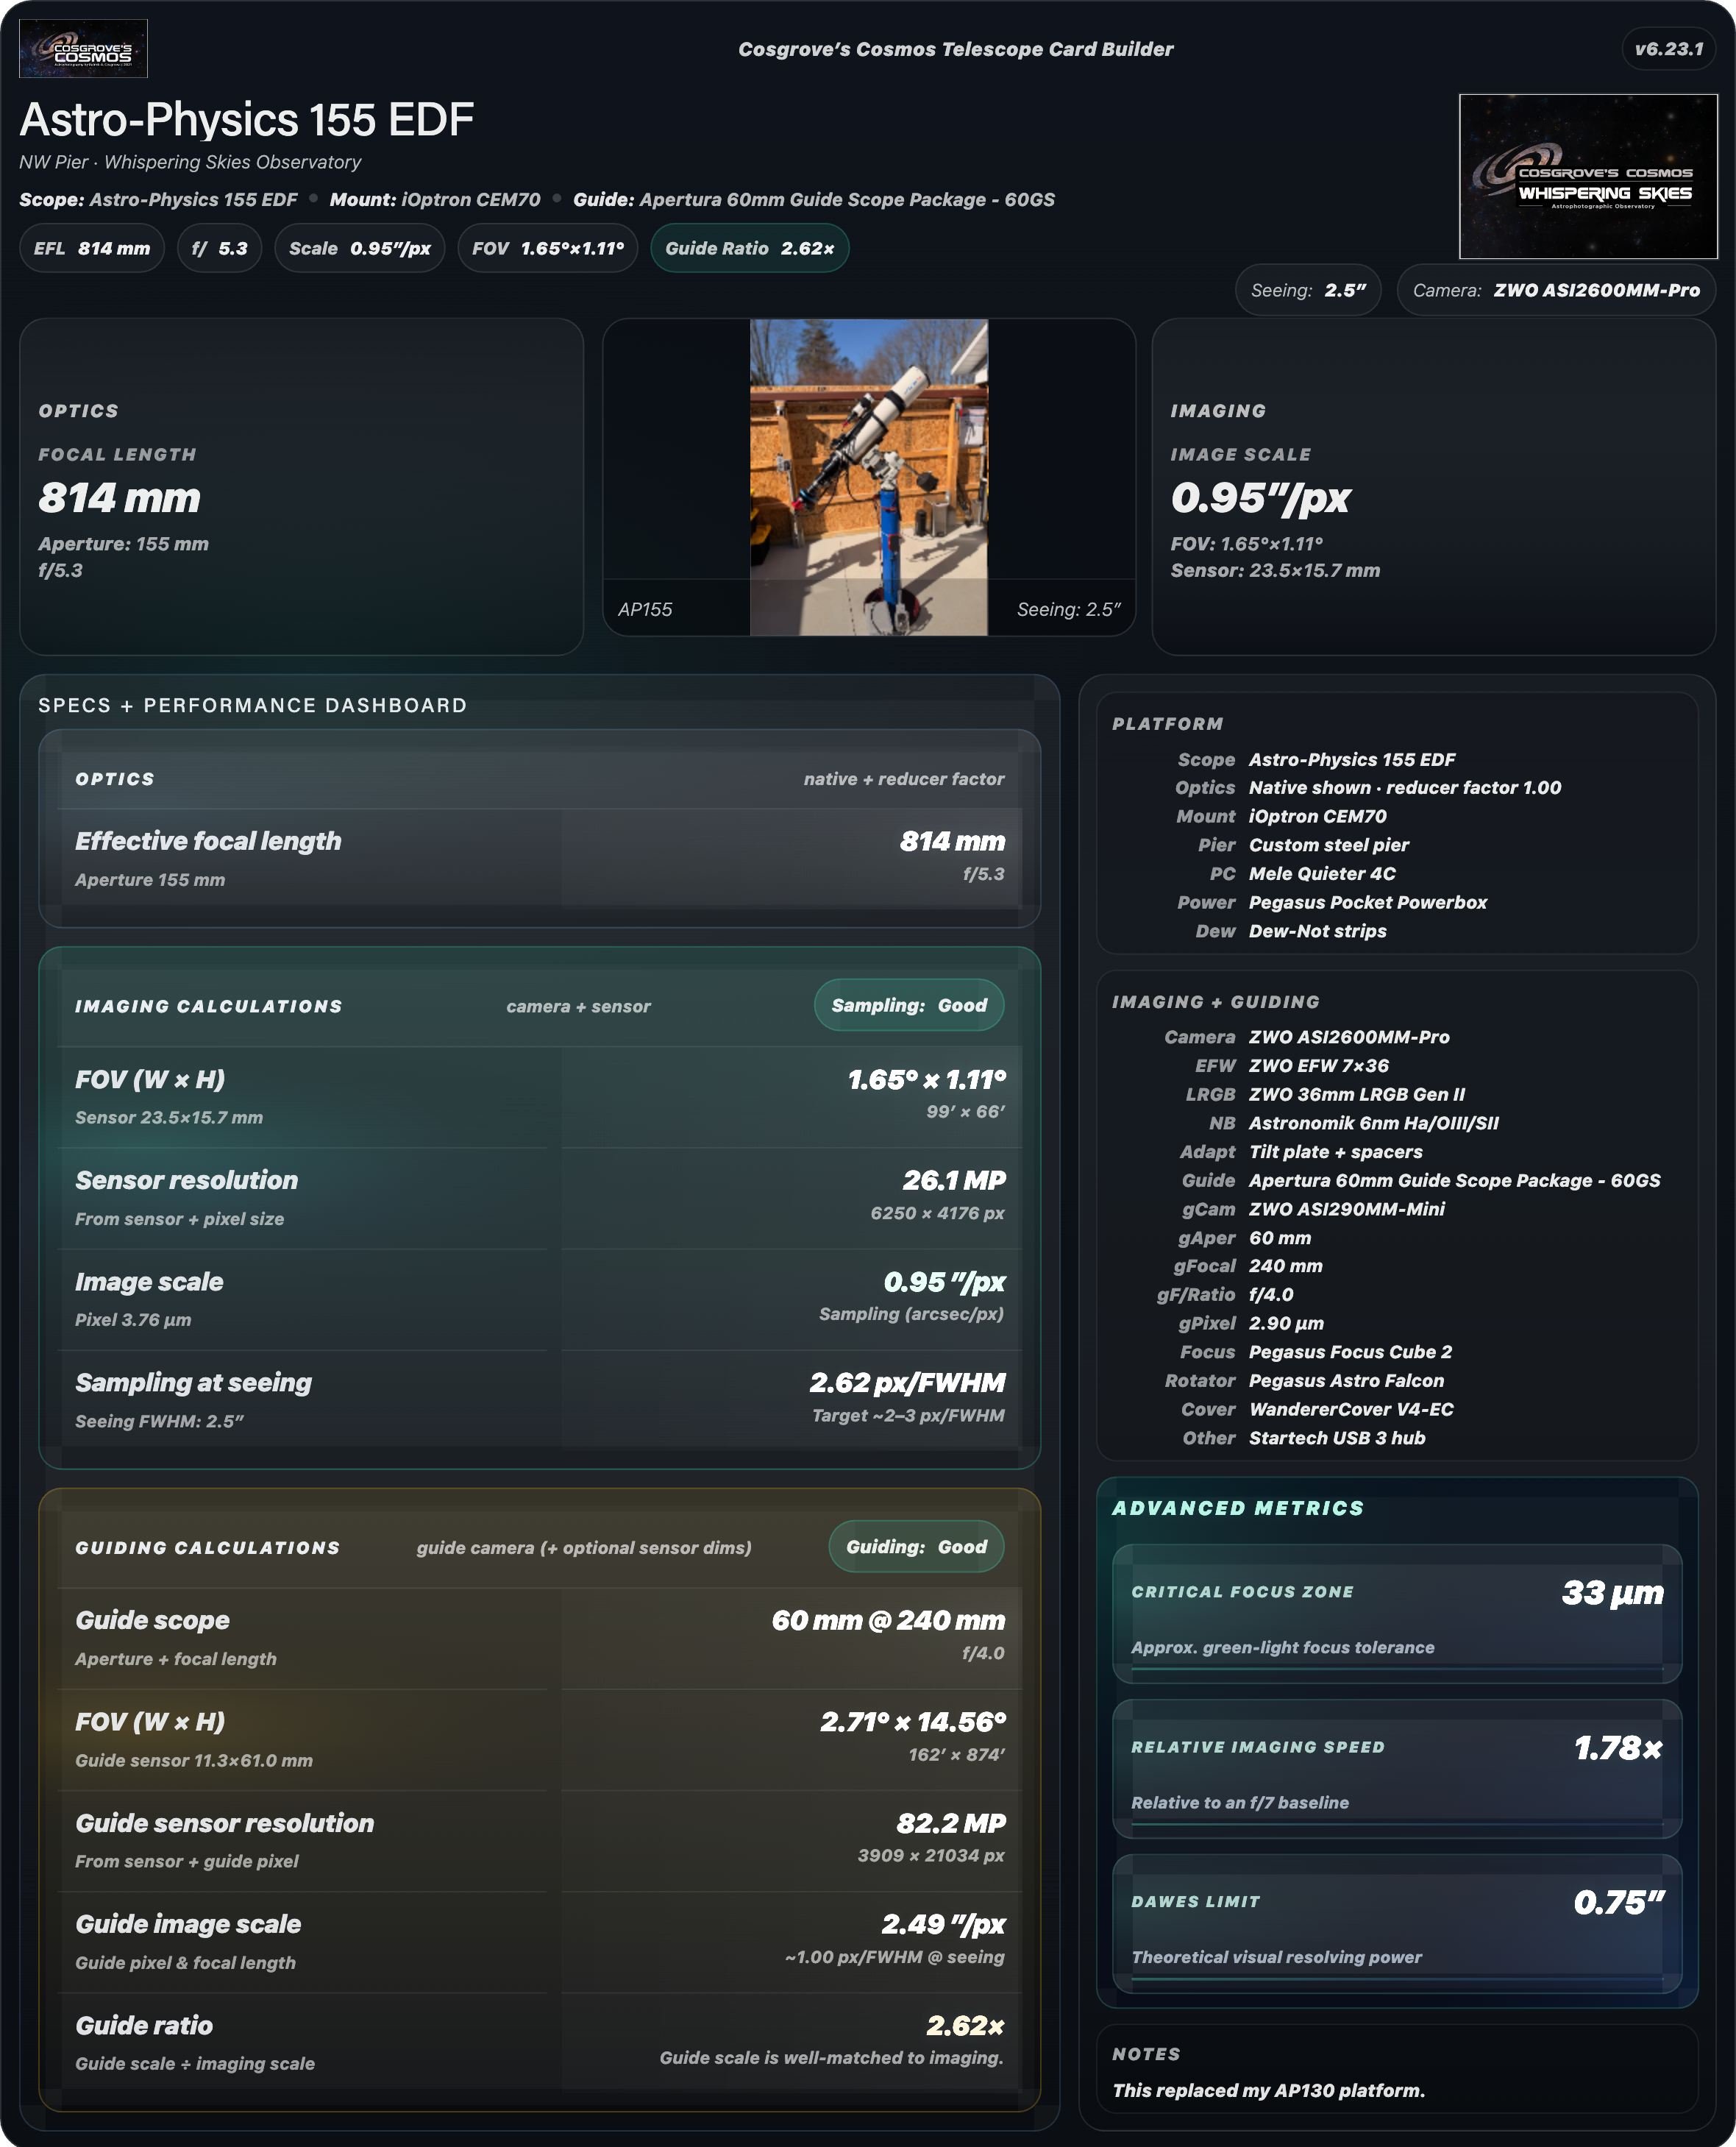
An interactive Telescope Platform Card Builder Tool: enter platform specs, get a polished card with the key calculated imaging metrics.
The tool is mobile-friendly with on-page displays plus high-resolution PNG export for sharing - it works best with larger screens.
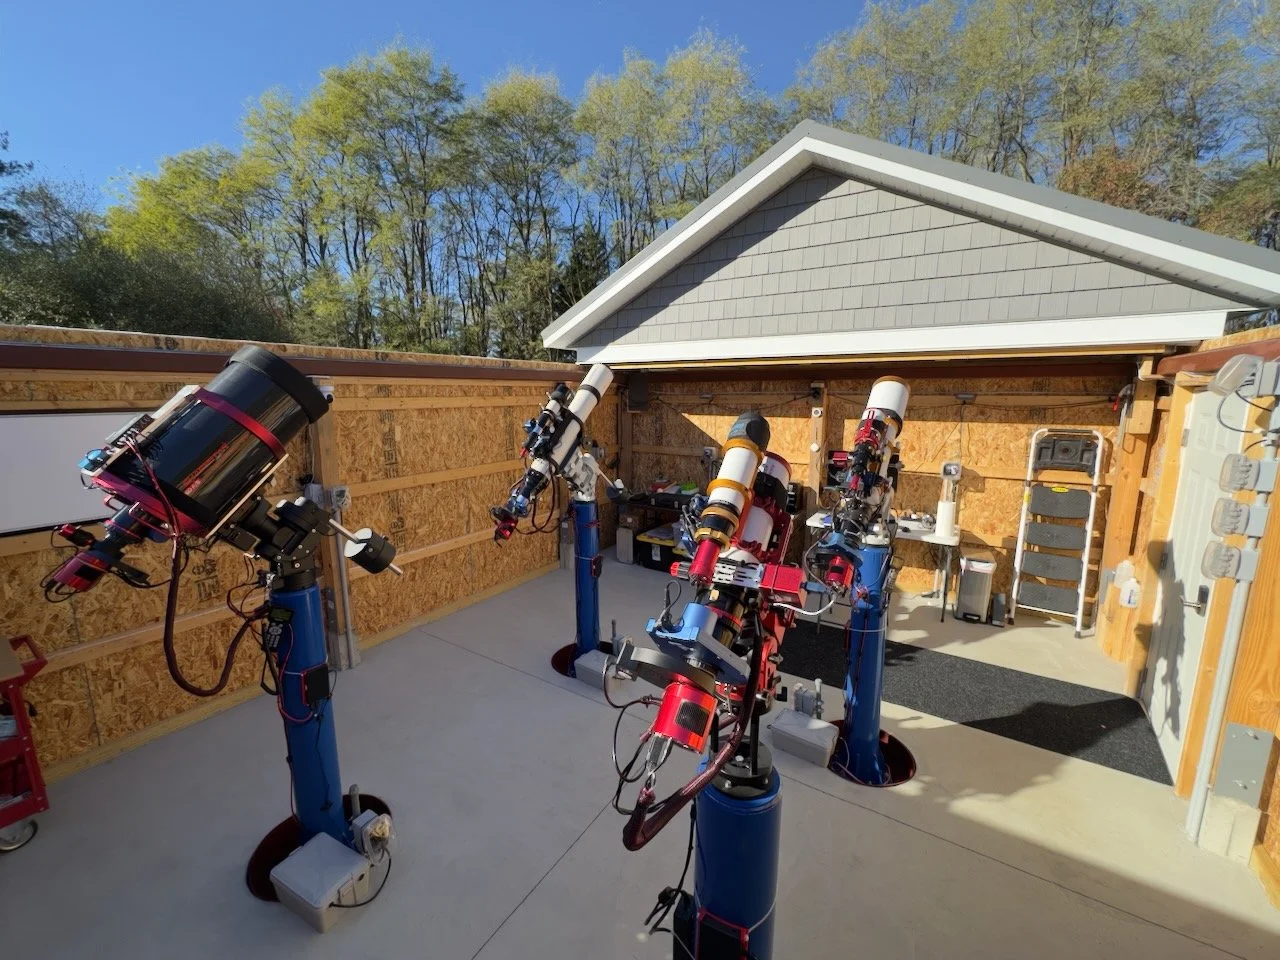
An overview of my Whispering Skies Observatory. The build is now complete, and while I have posted many articles from the planning and build, this one provides an overview of the completed observatory.
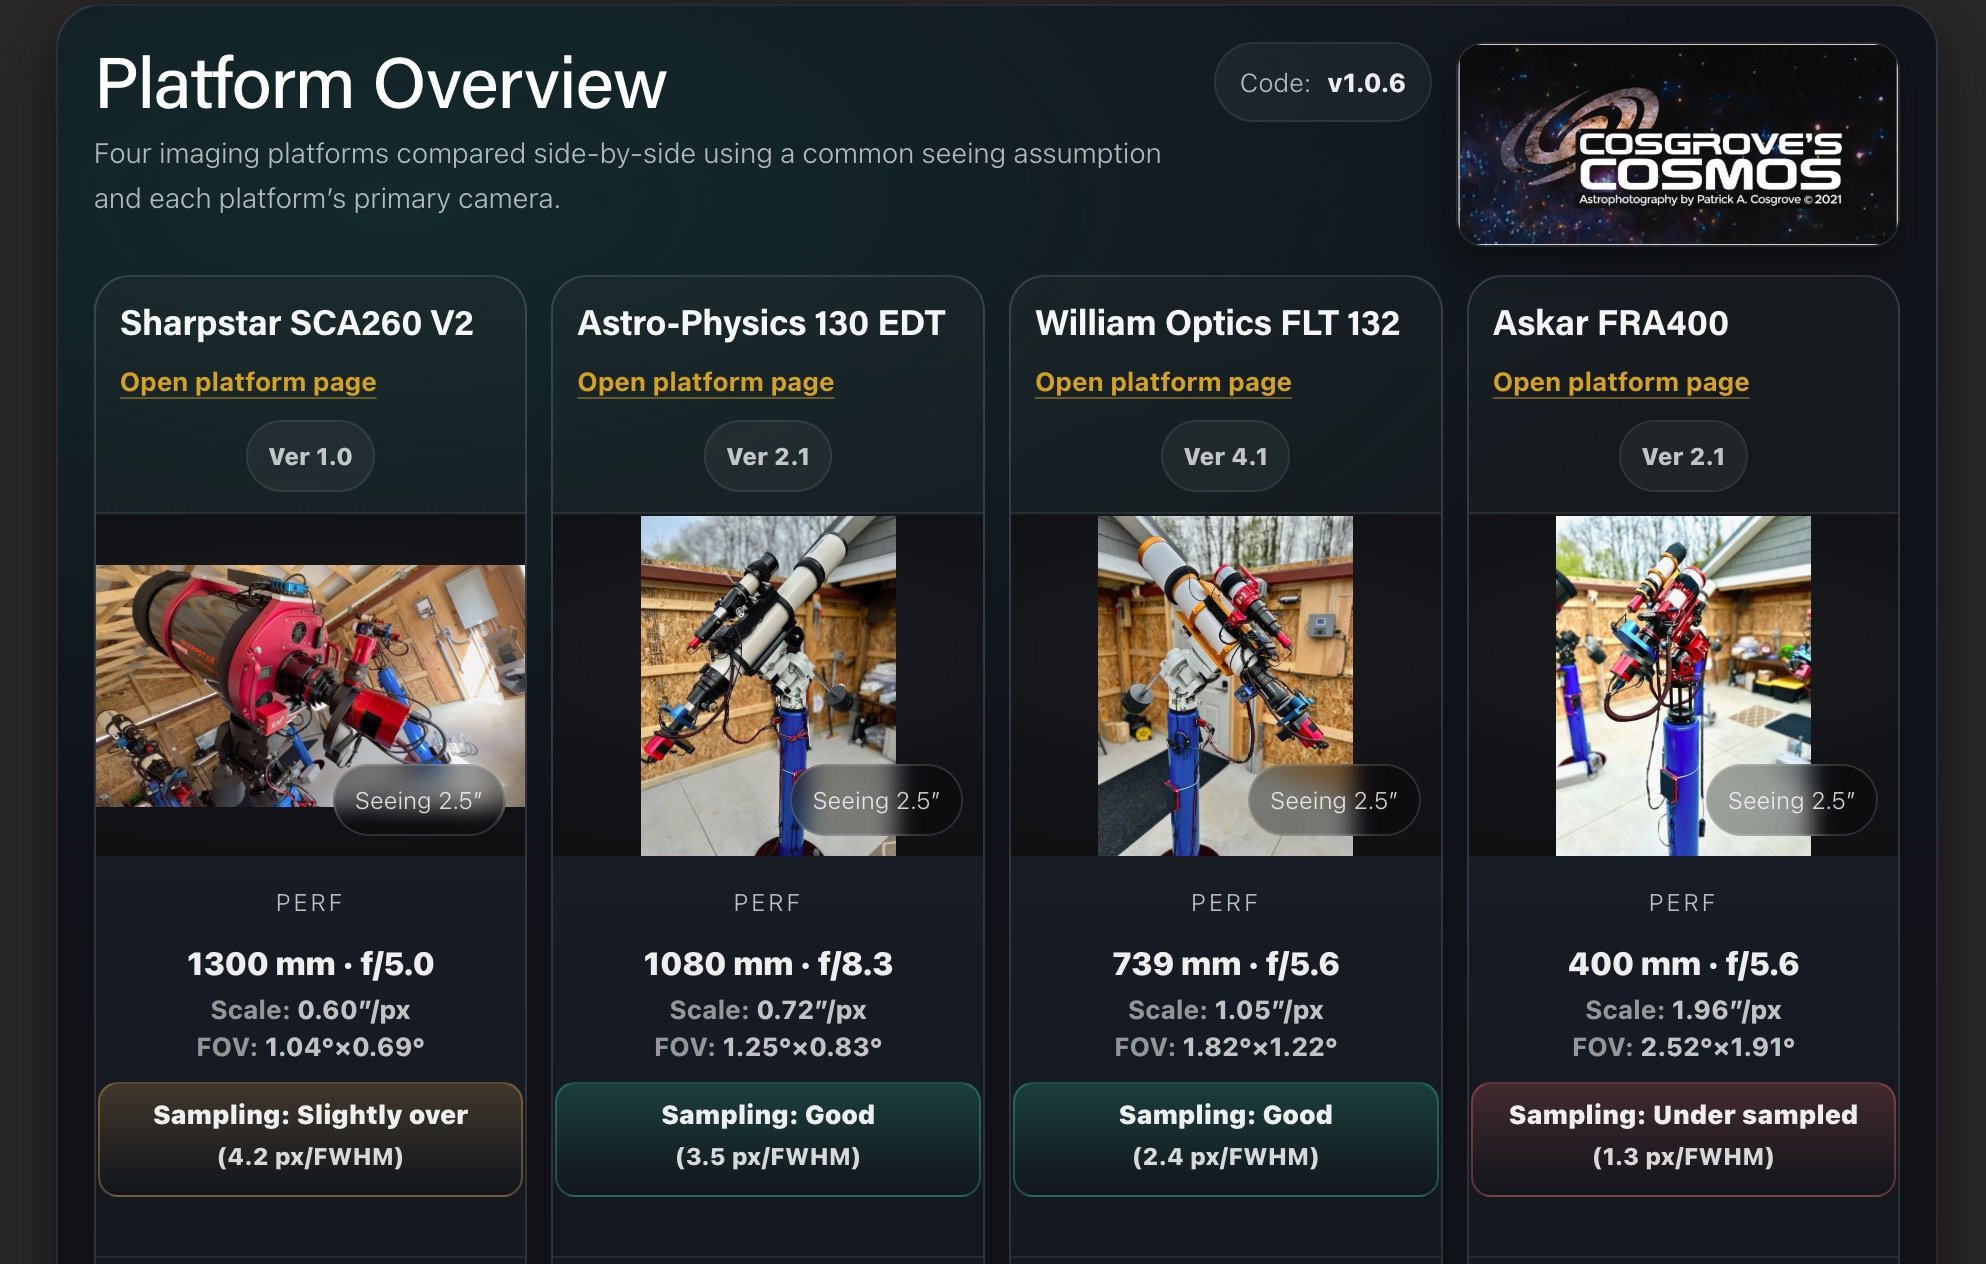
A detailed look at how I built a deliberate four-platform imaging system: FRA400 for wide-field context, WO132 for mid-scale general work, AP130 for refractor reach on smaller/brighter targets, and SCA260 for tight galaxy framing. Includes current pier assignments, rationale, and links to each platform’s live specs/configuration pages.
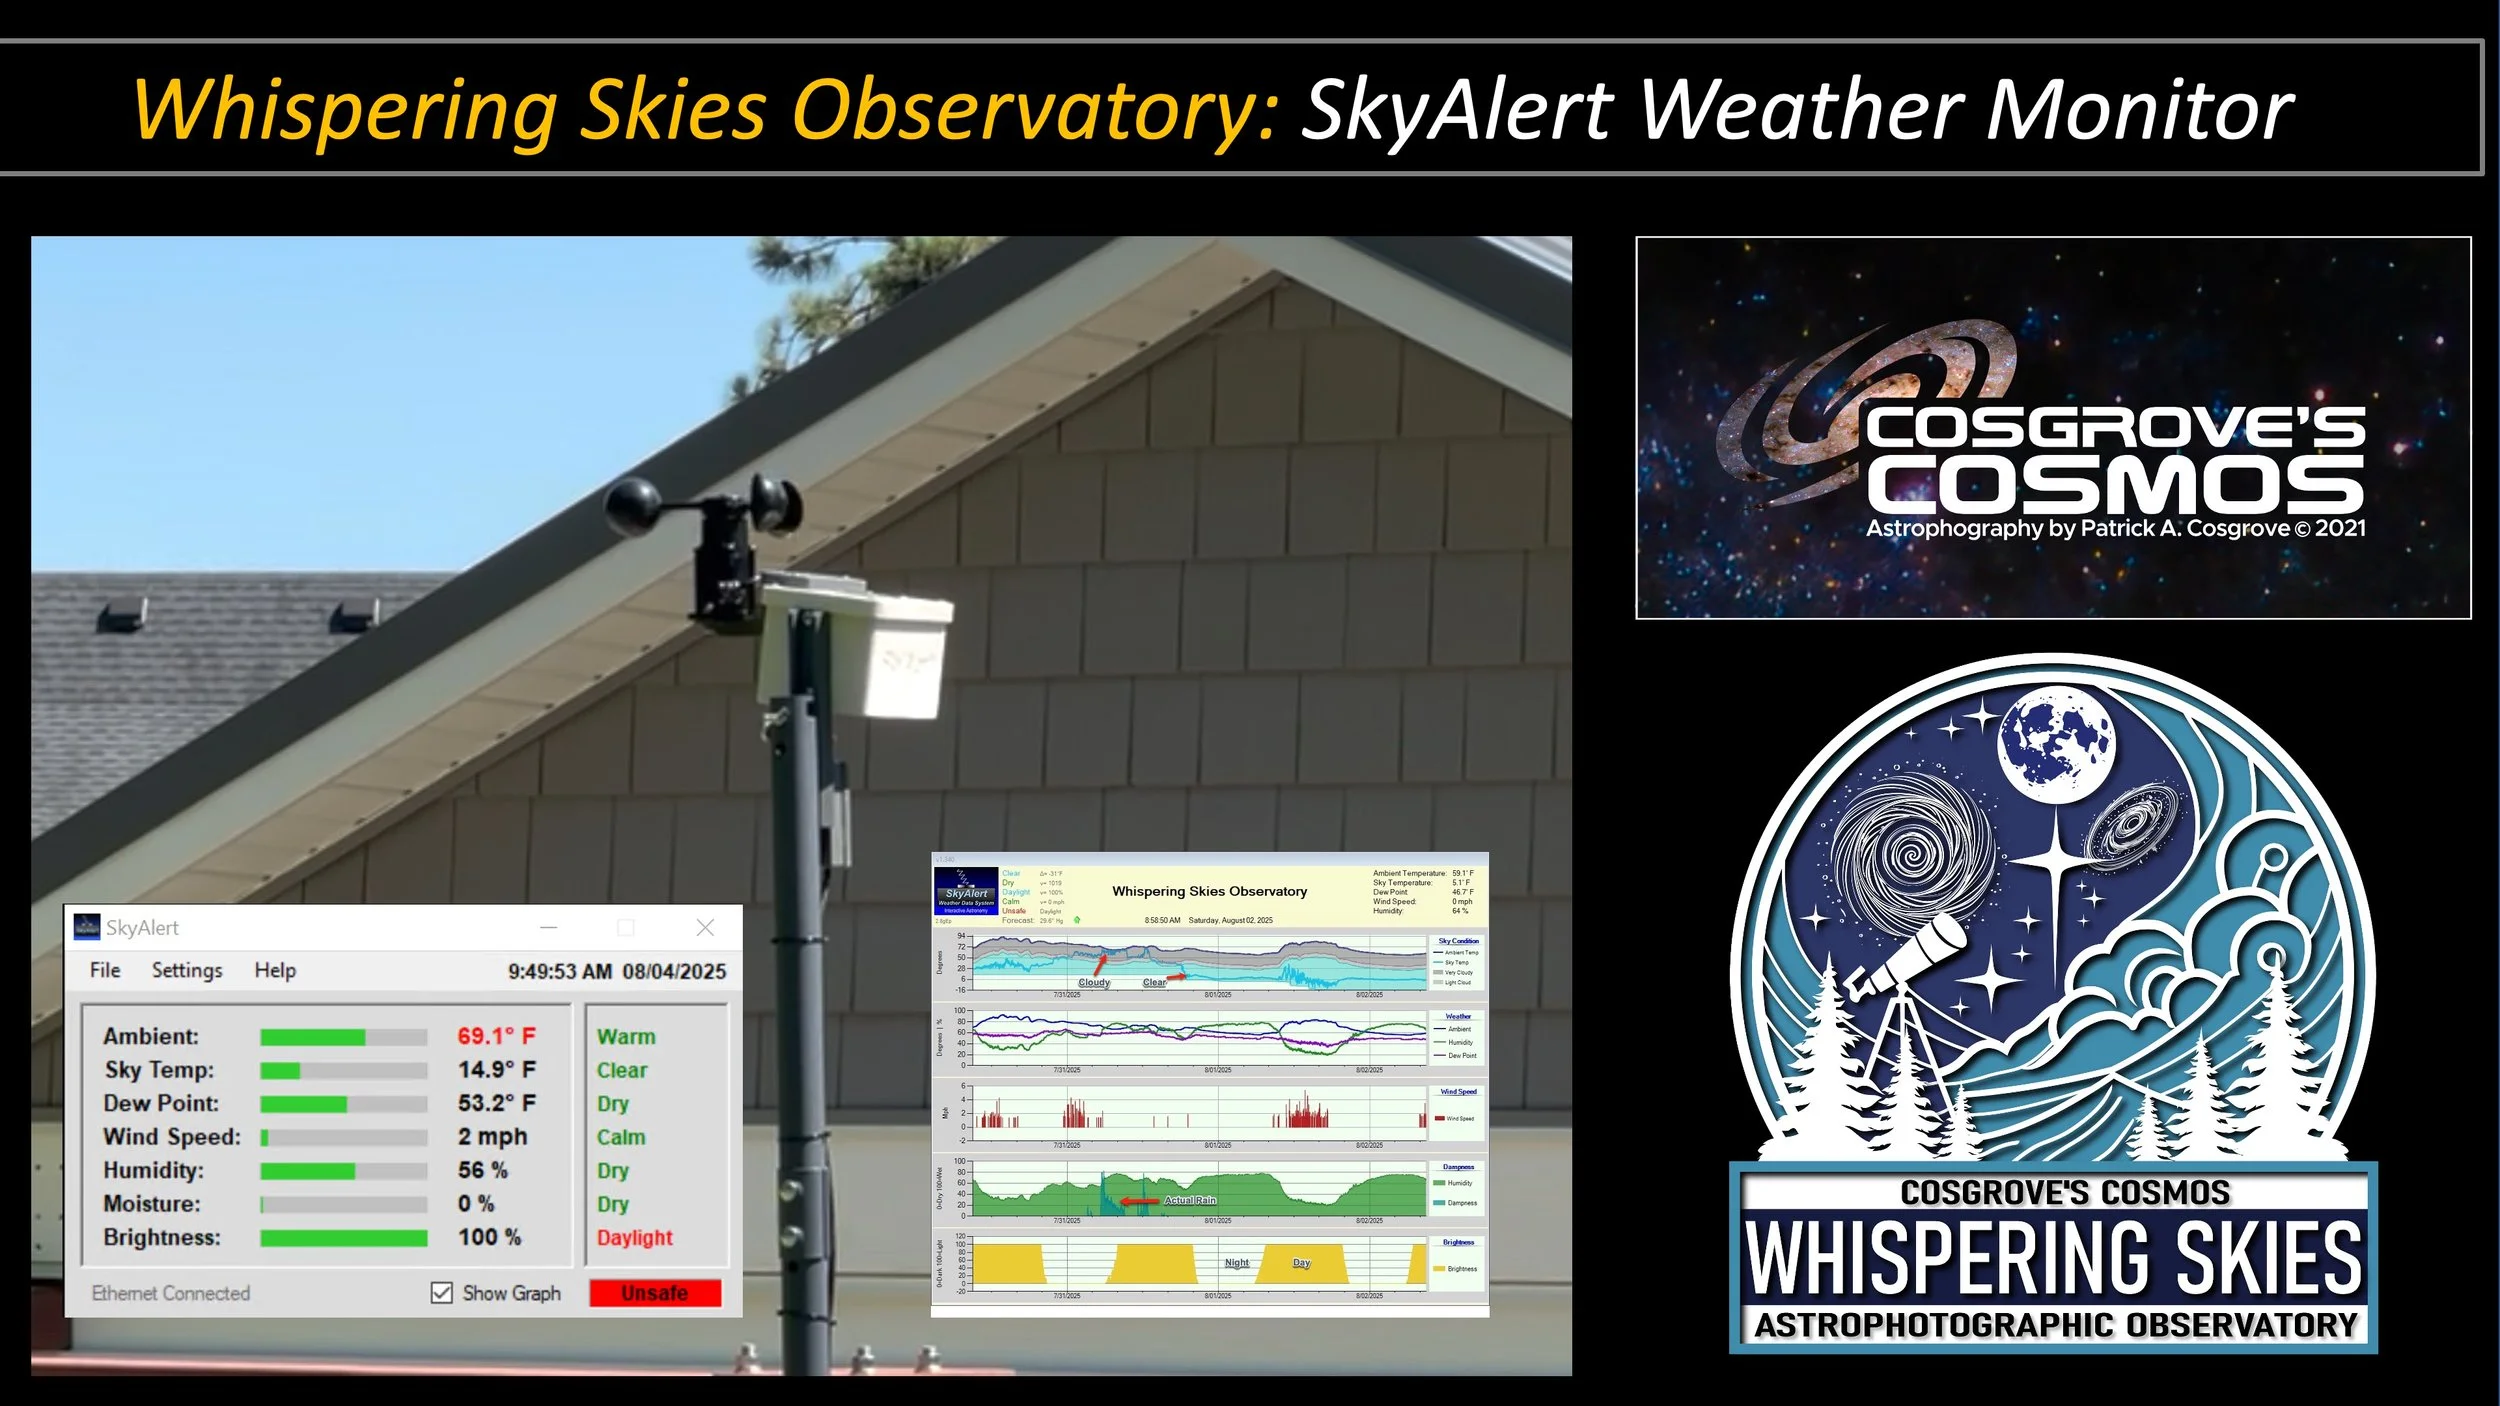
This post covers the SkyAert Weather Monitoring system but Interactive Astronomy. Combined with the SkyRoof motor and control system, this provides a lever of weather monitoring and automation to protect your gear during those long data collection cycles.

This post documents the setup and configuration of my New ‘Galaxy” scope, the Sharpstar SCA260 V2.
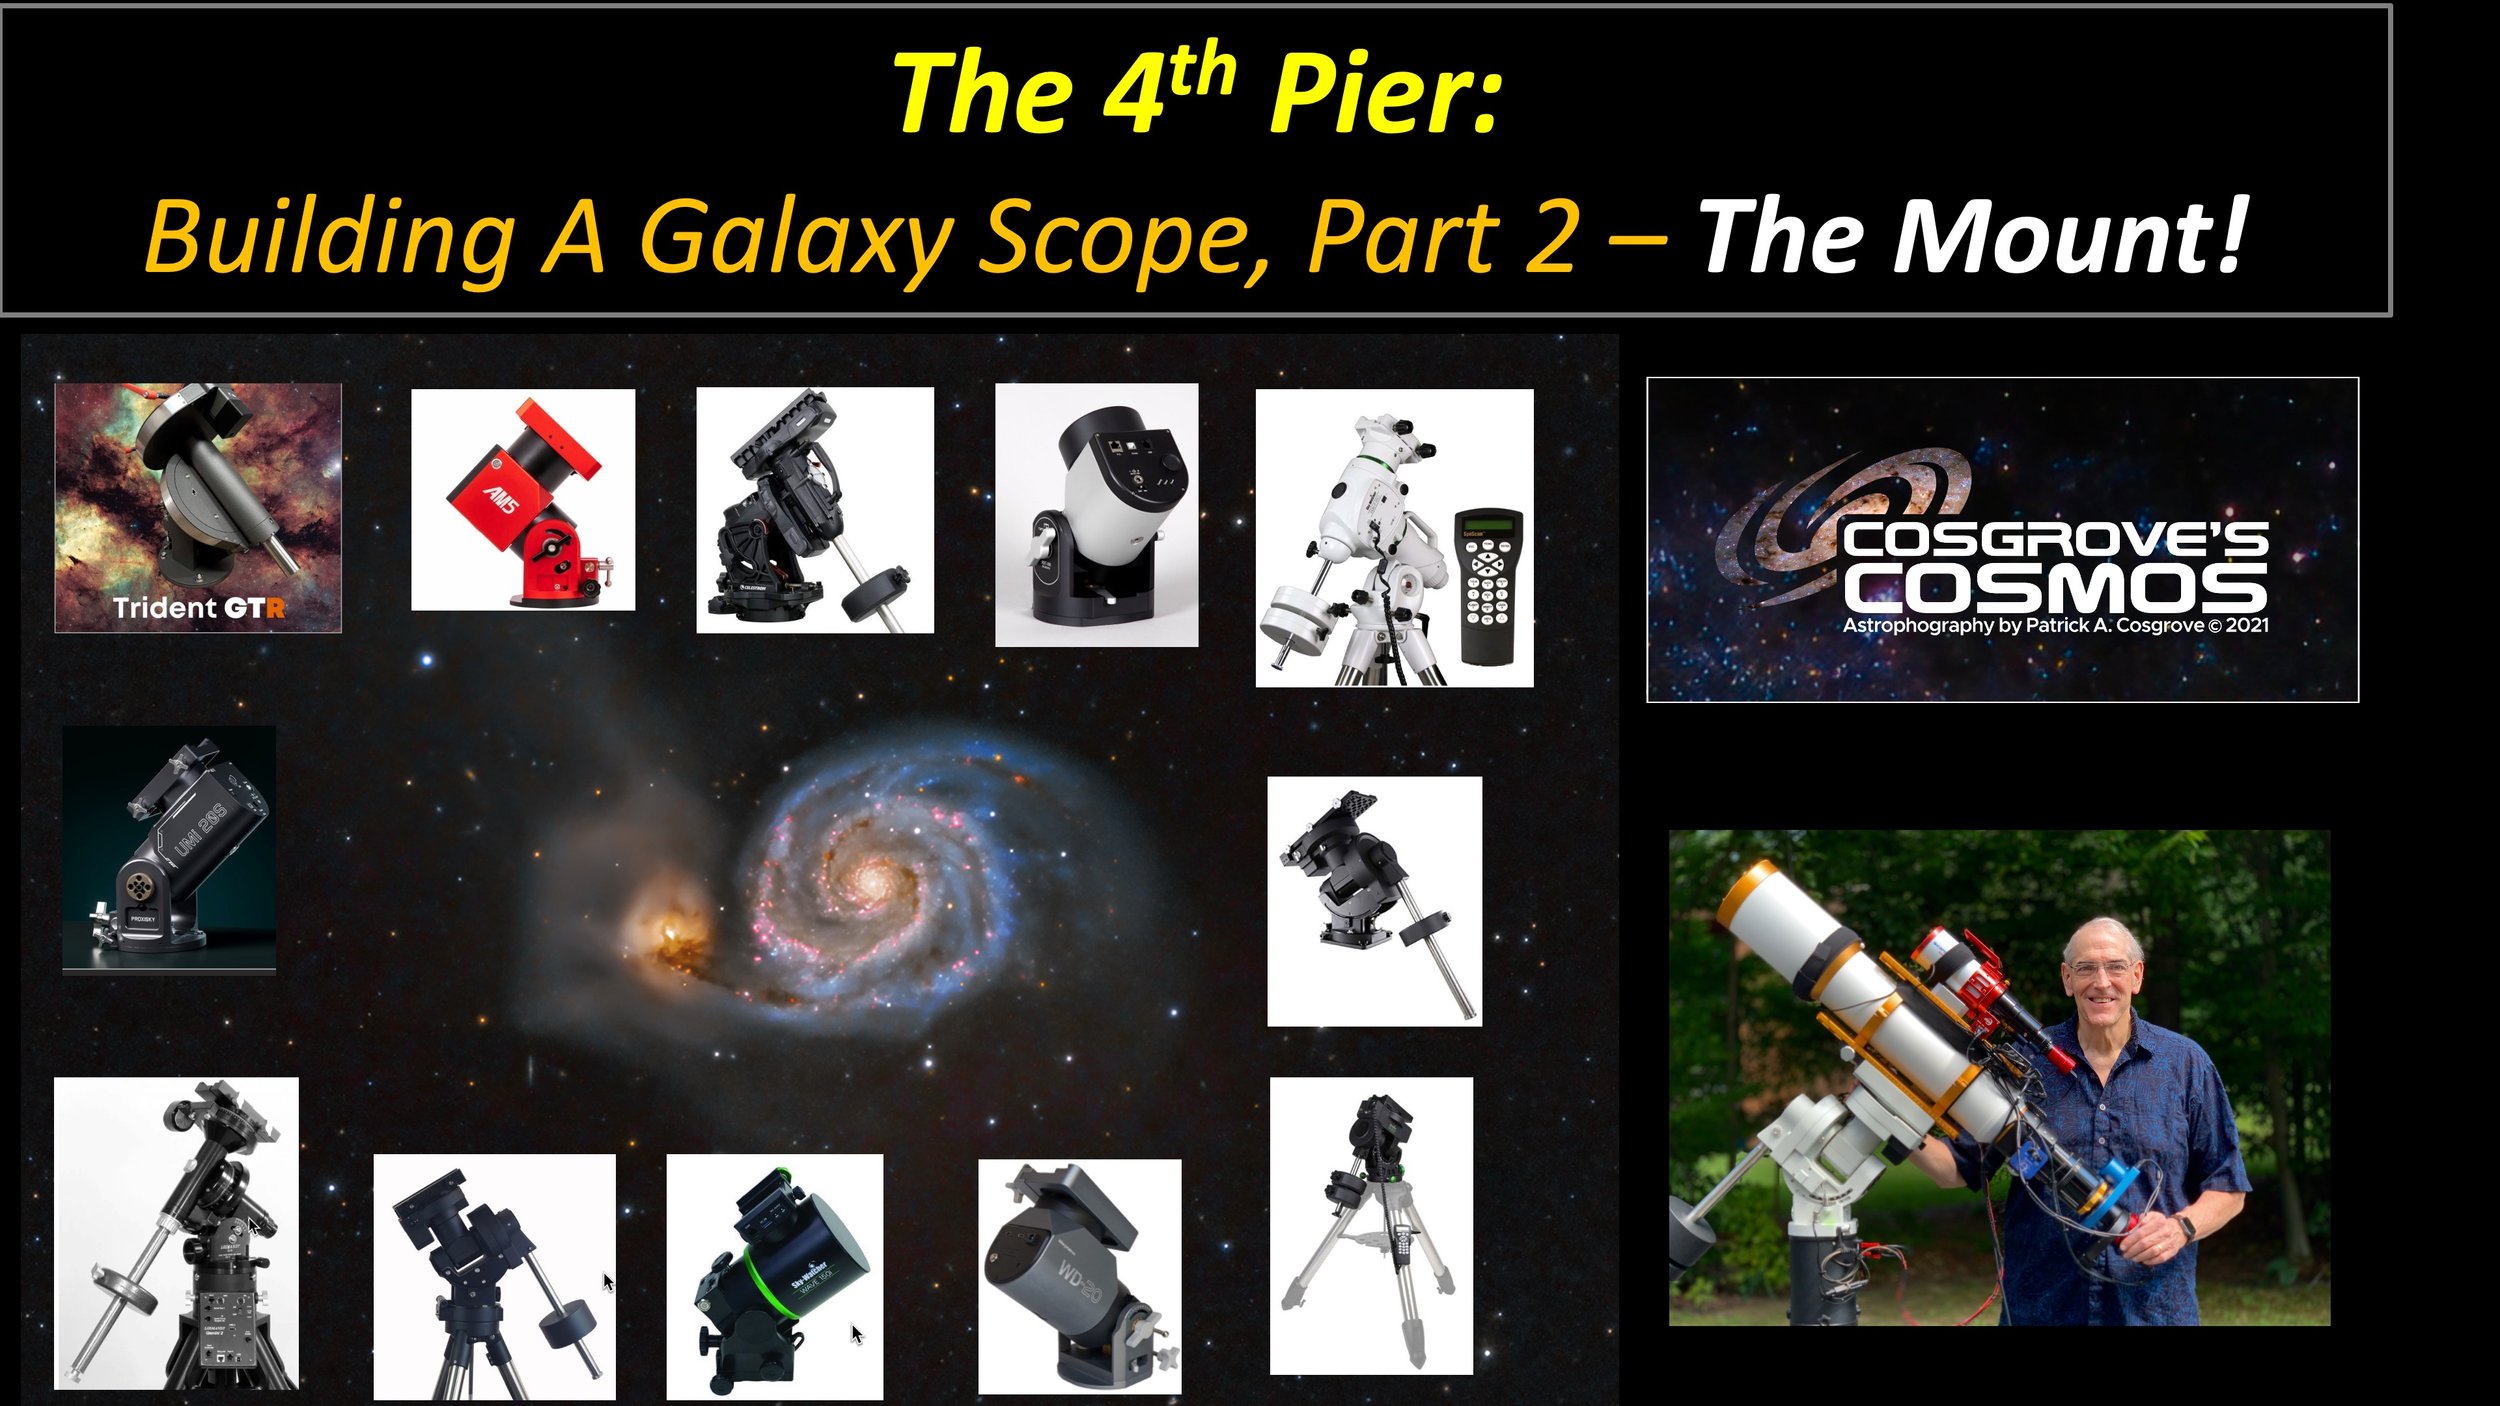
Part 2 of the series where I choose the element of my galaxy Scope platform.
In this post, I look at my Mount options and make a choice that I think will work best for me.
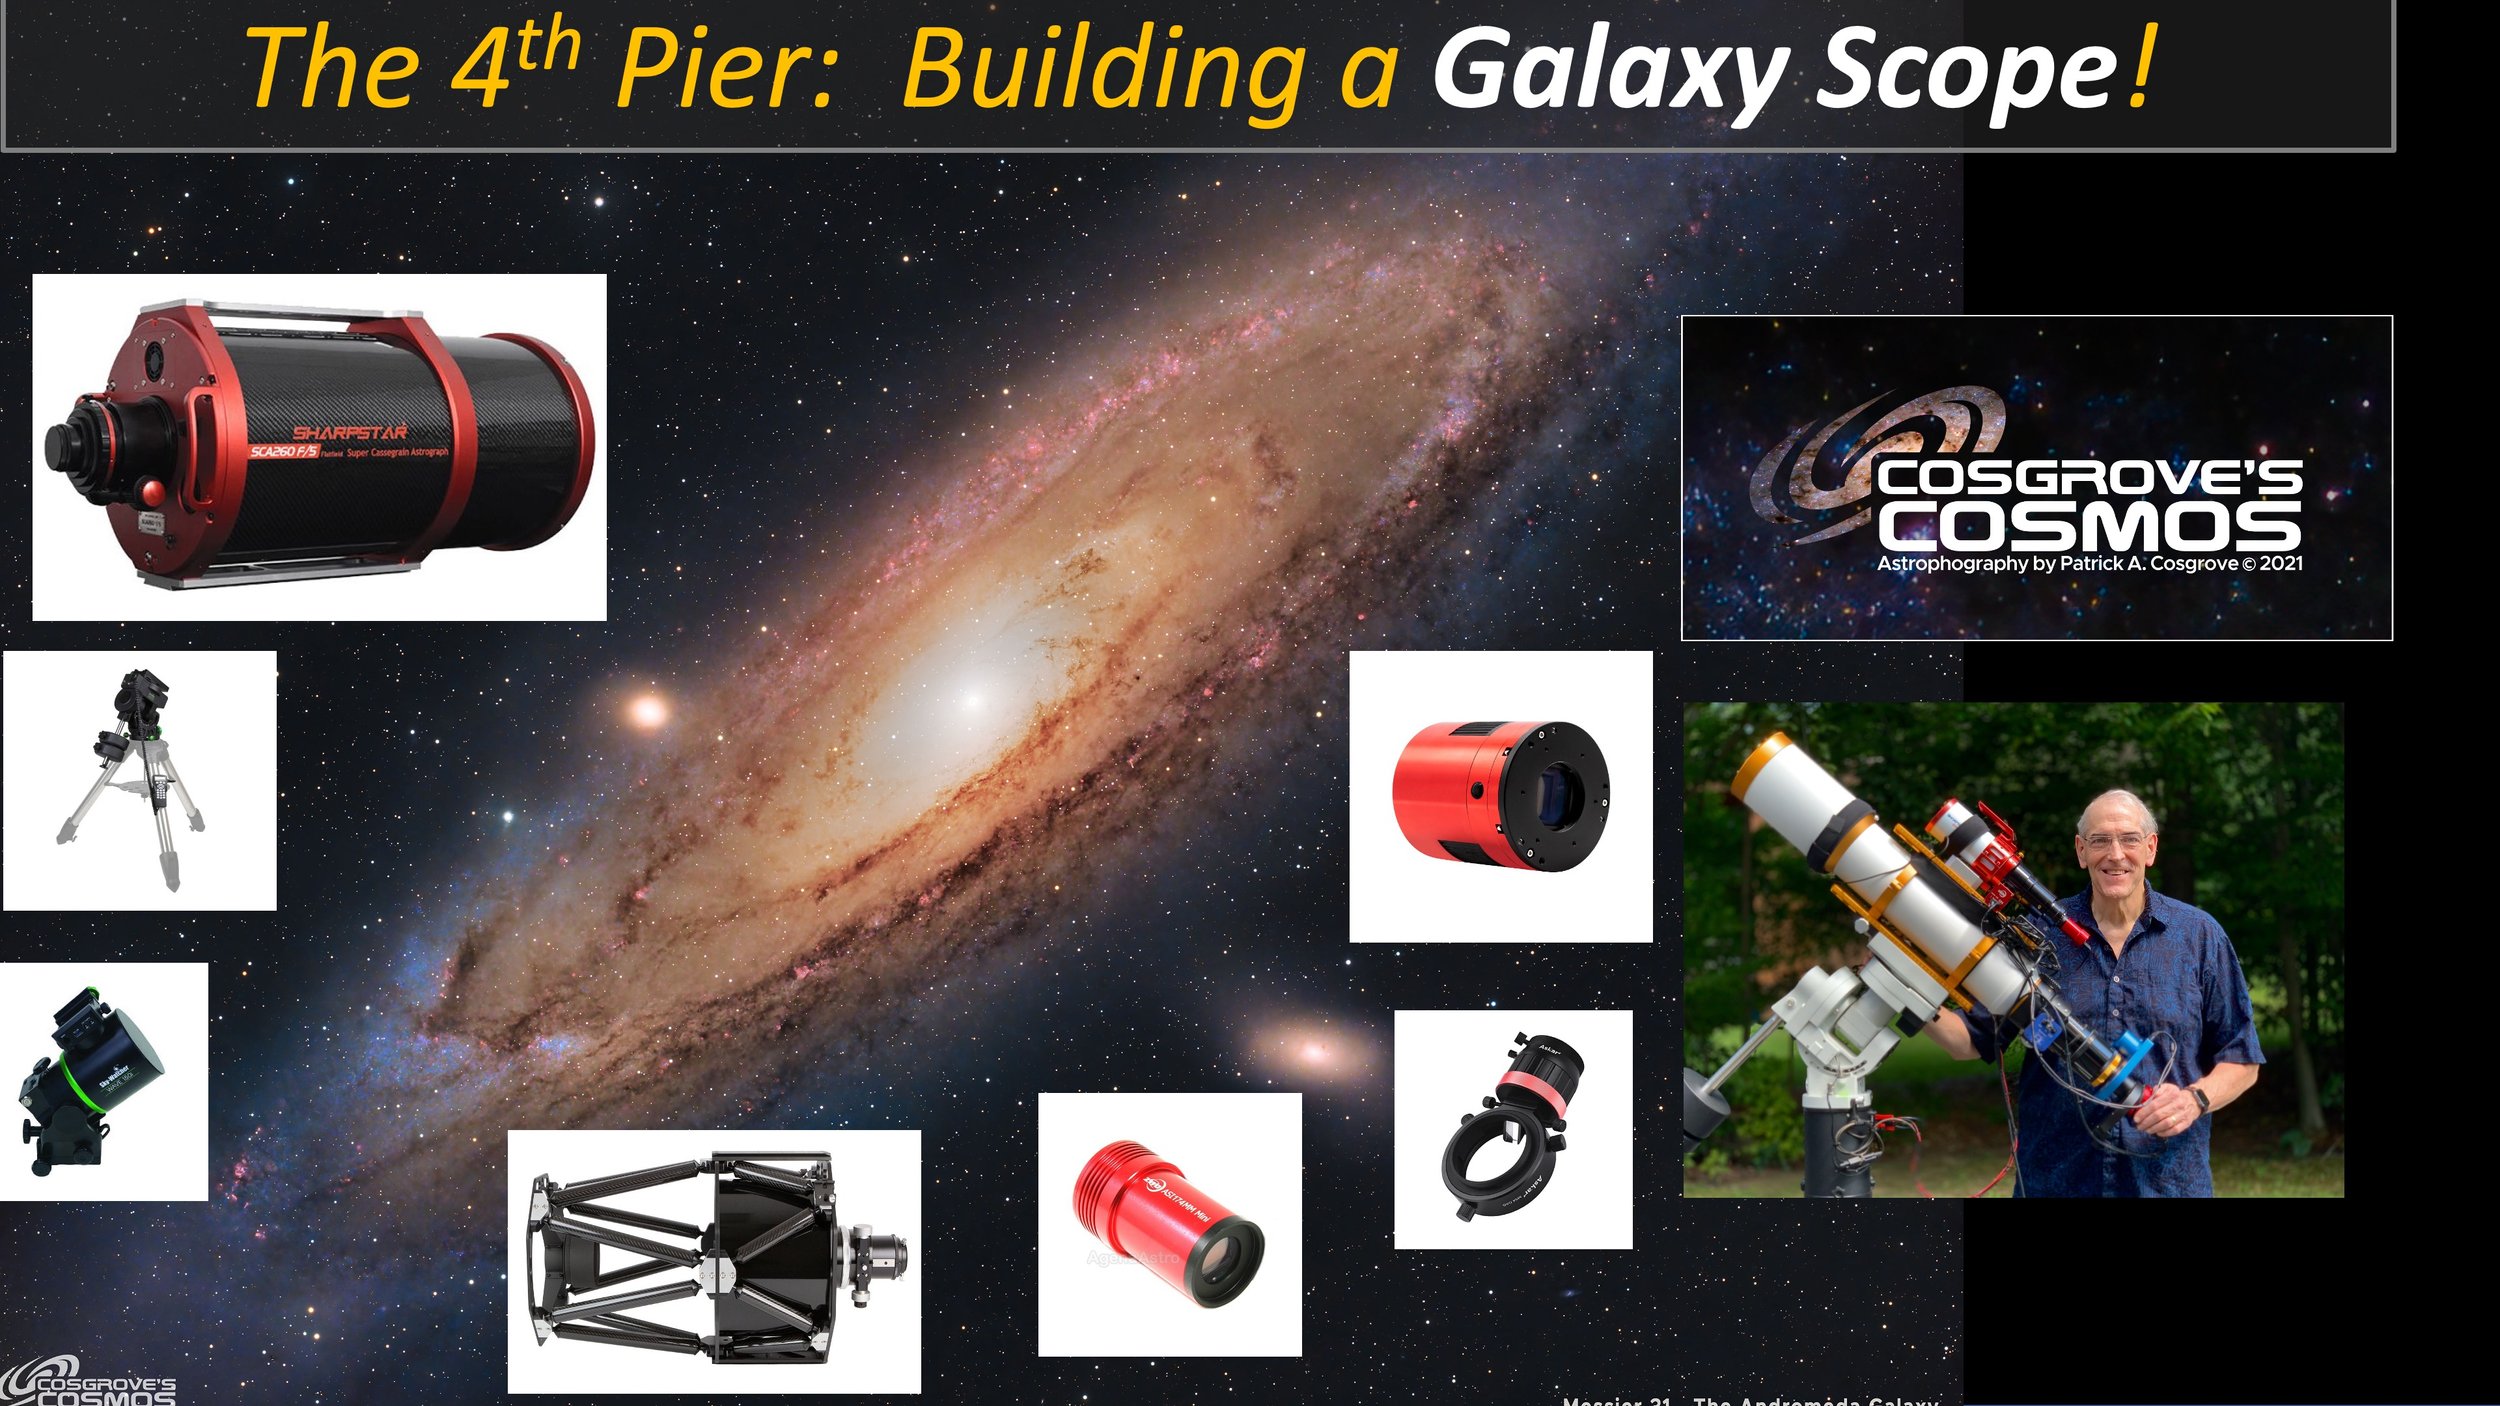
I need a telescope for the 4th pier of my new observatory! So, what kind of scope platform should I put together? I decided on a Galaxy Scope. This blog shares my thoughts on how to put this together - and it might just help you as well!
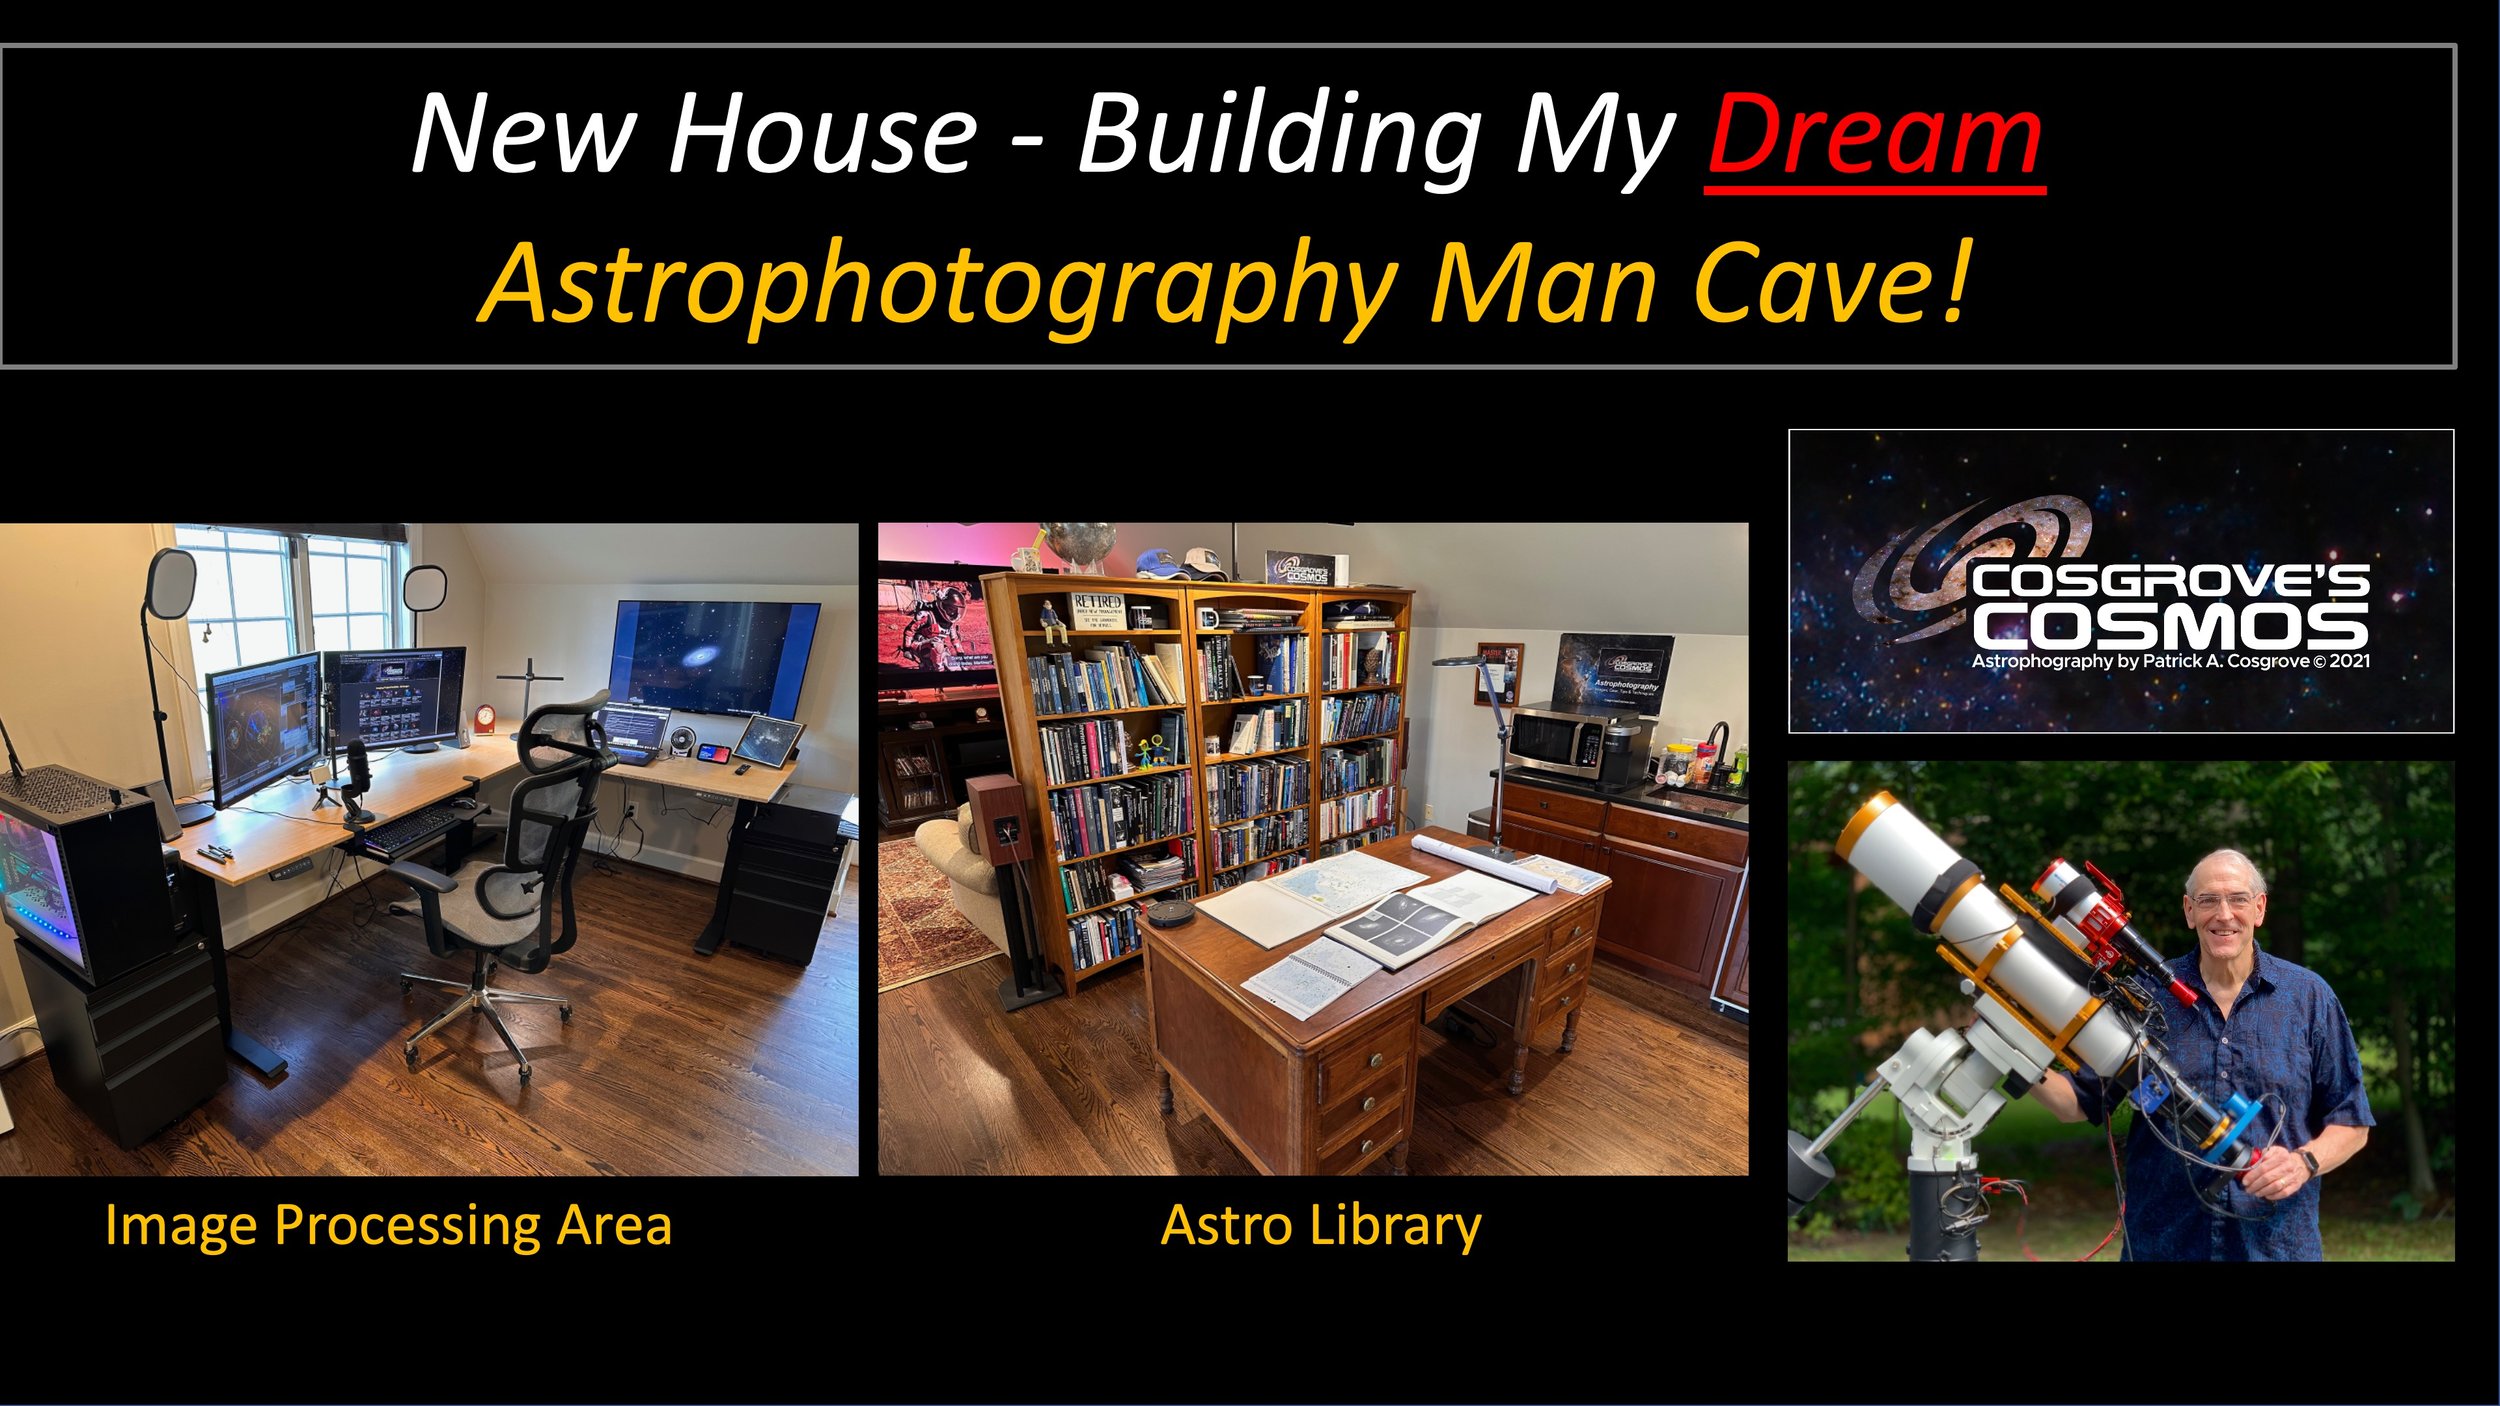
I just moved to a new house that will allow me to finally build the observatory that I have been wanting - and in the process, I ended up having a new large space where I could set up my office. So I used this unexpected opportunity to build my Dream Astrophotography Man Cave! See what I did and how it came together. Maybe you will find a few ideas for your own workspace!
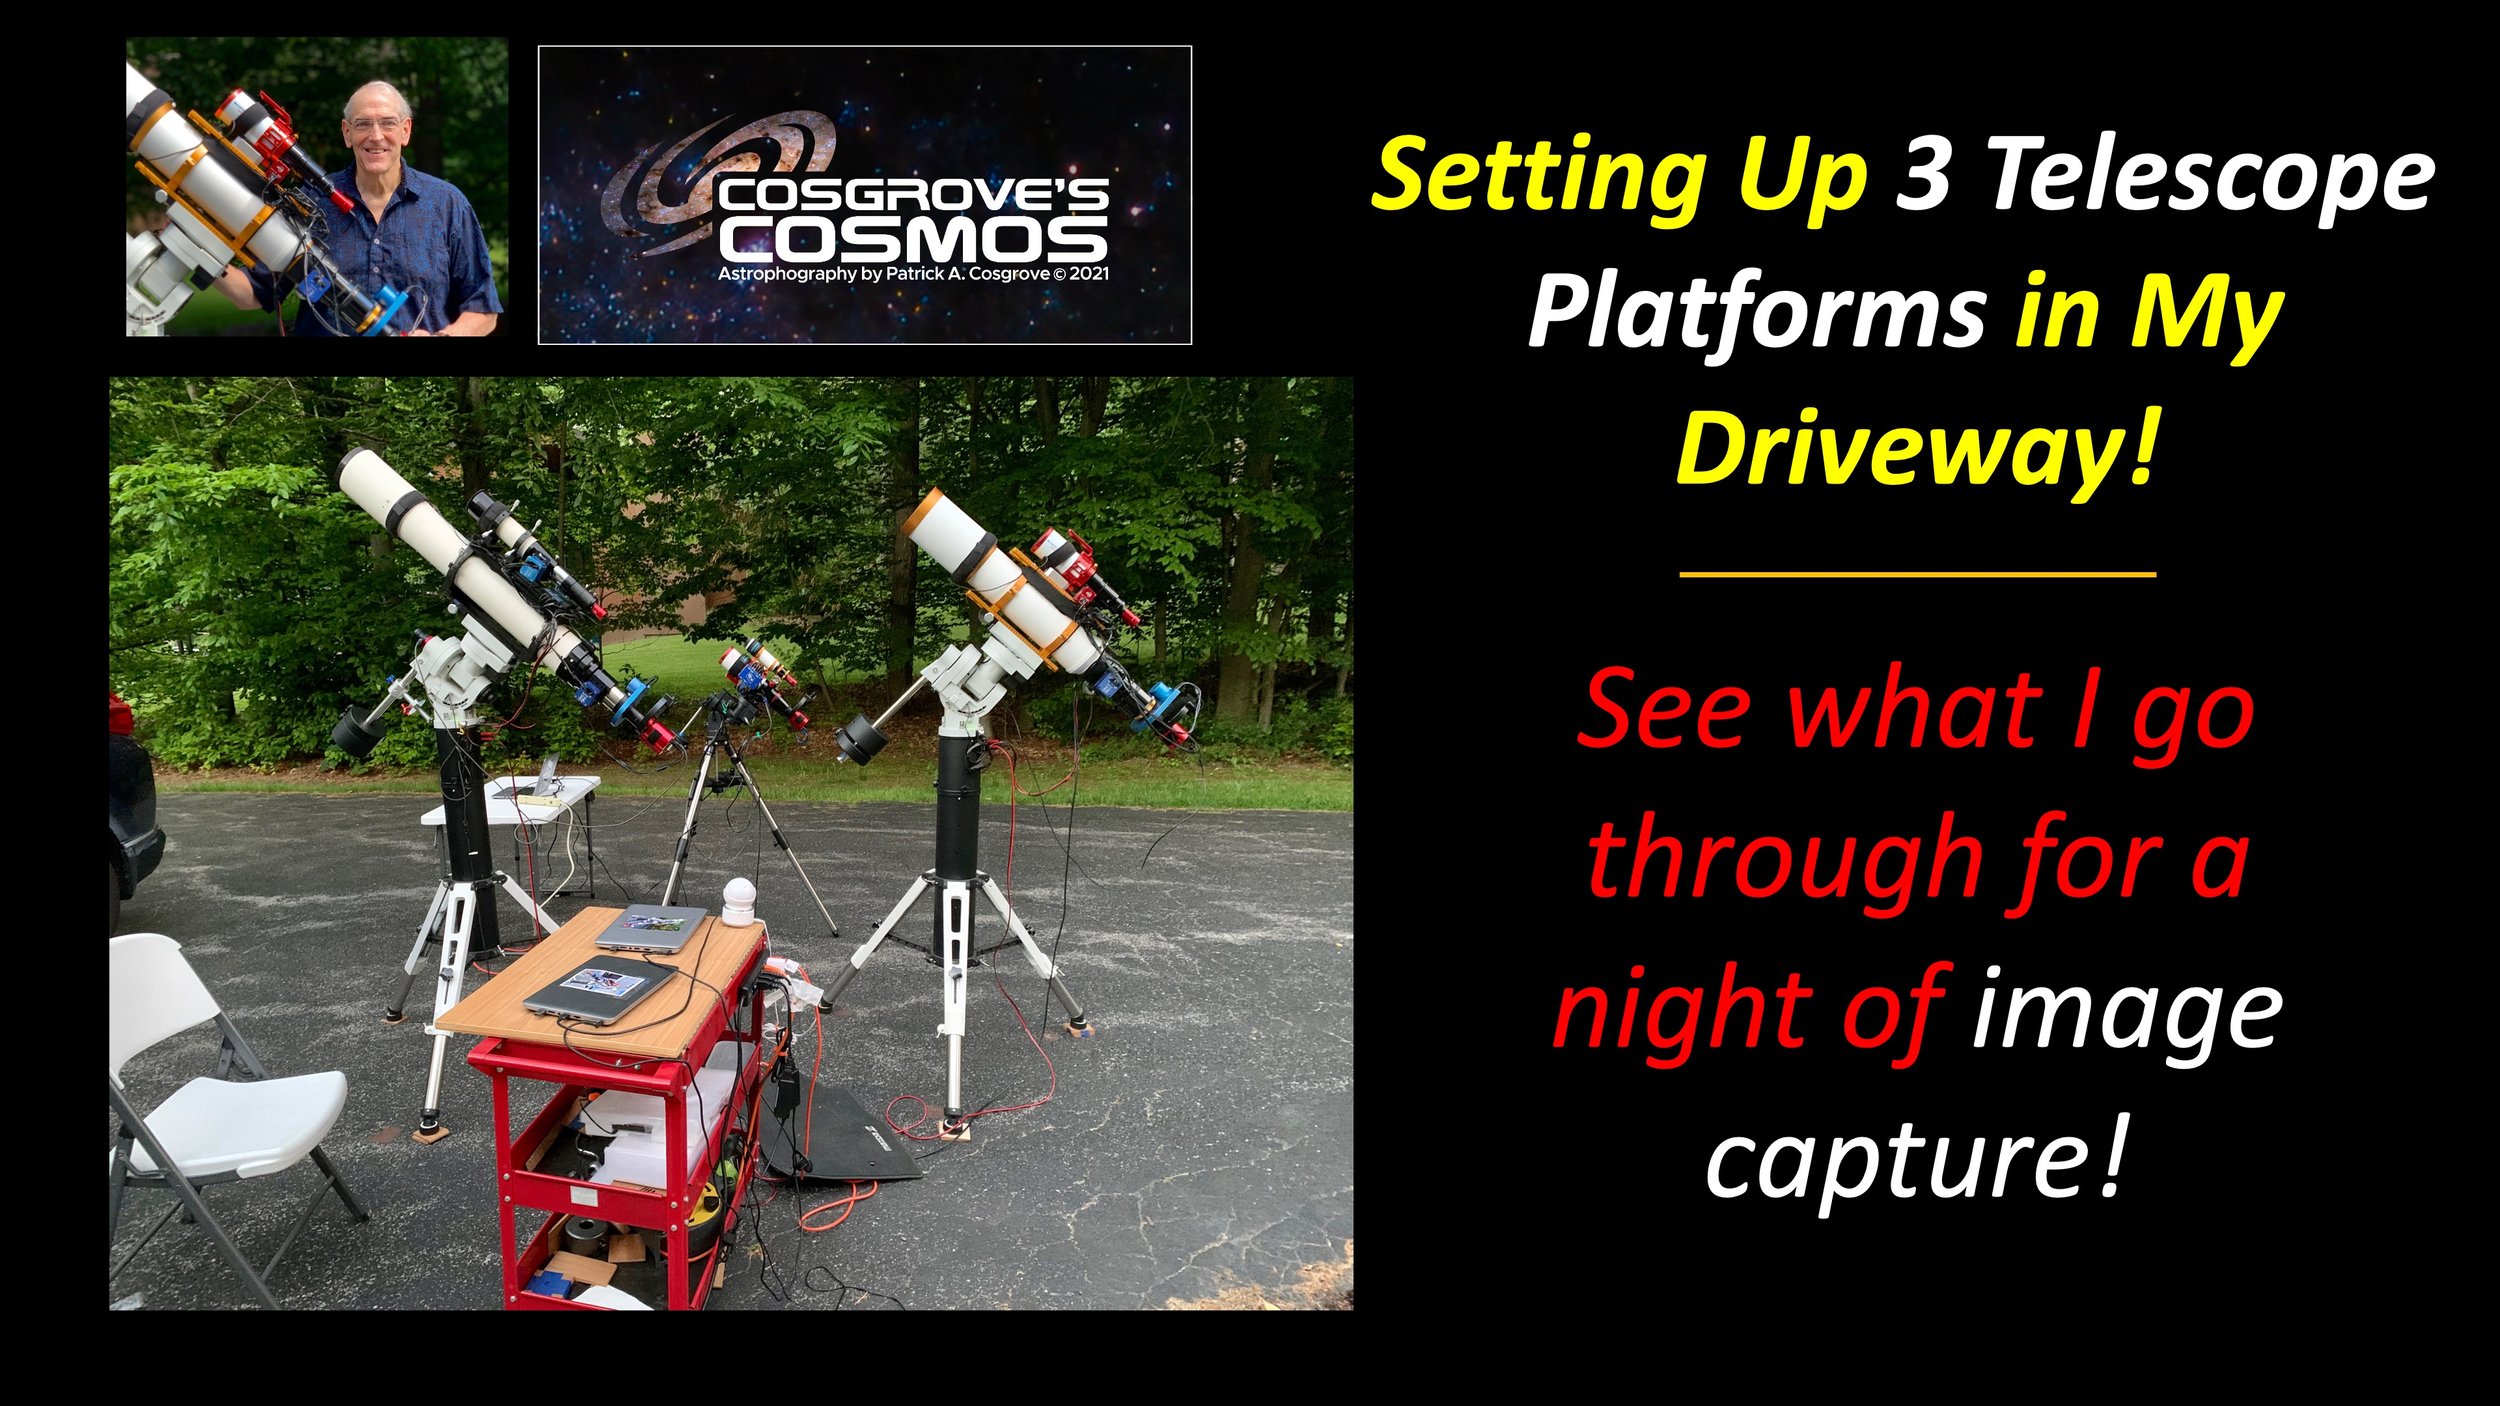
Ever wonder what I go through when setting three telescopes up in my driveway for each night of imaging?
Wonder no more!
I strapped on a GoPro Camera and captured my set up process!
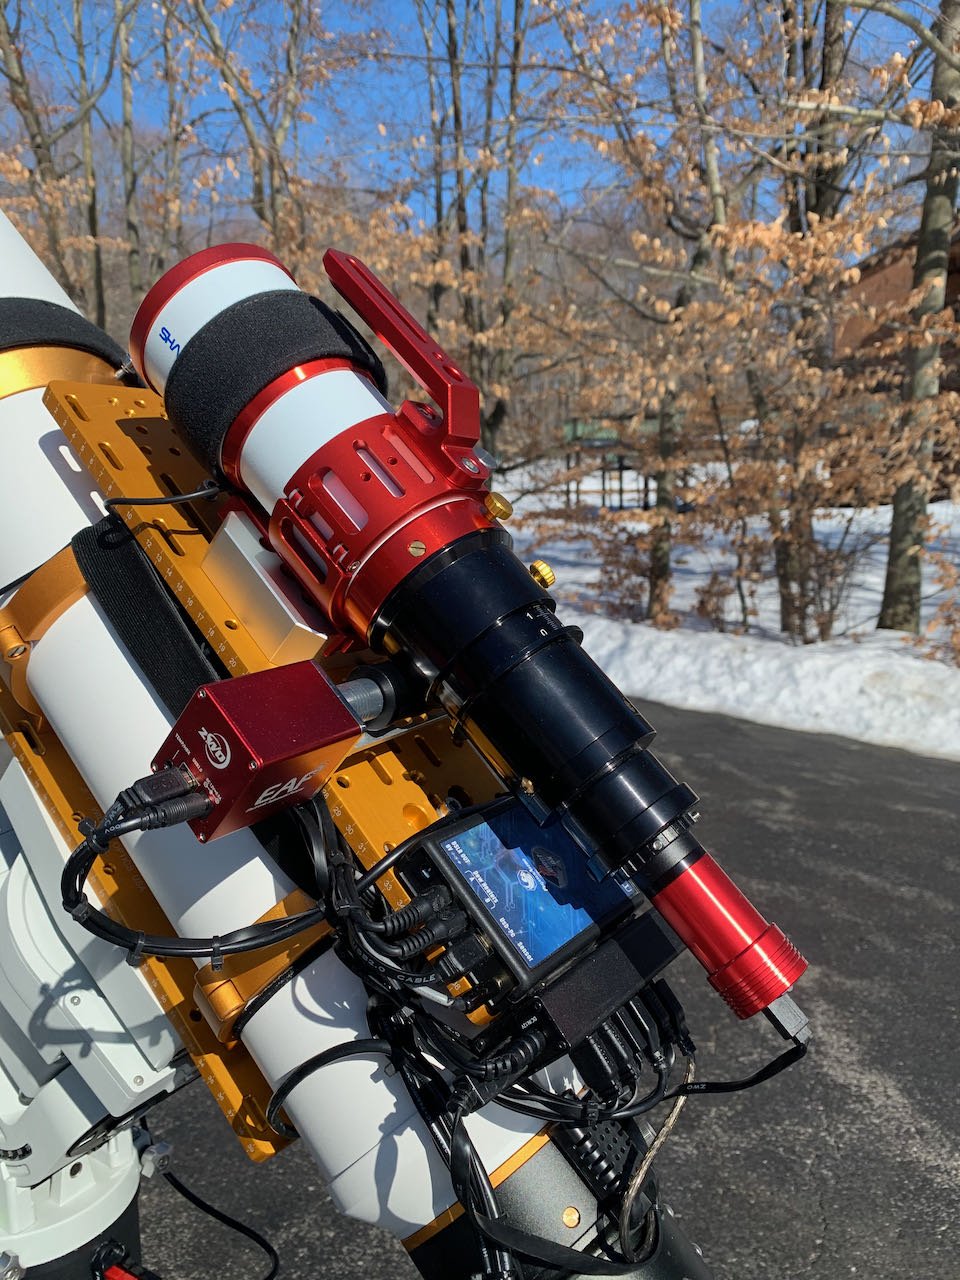
As you assemble and evolve your telescope platform, you can expect to have to deal with routing cables to feed power and USB connection. It’s easy to end up with a rat’s nest of cabling that can have a negative impact on your imaging. With this post, I share how I deal with this problem. Hopefully, it will give you some ideas as your wrestle with your cabling challenges.
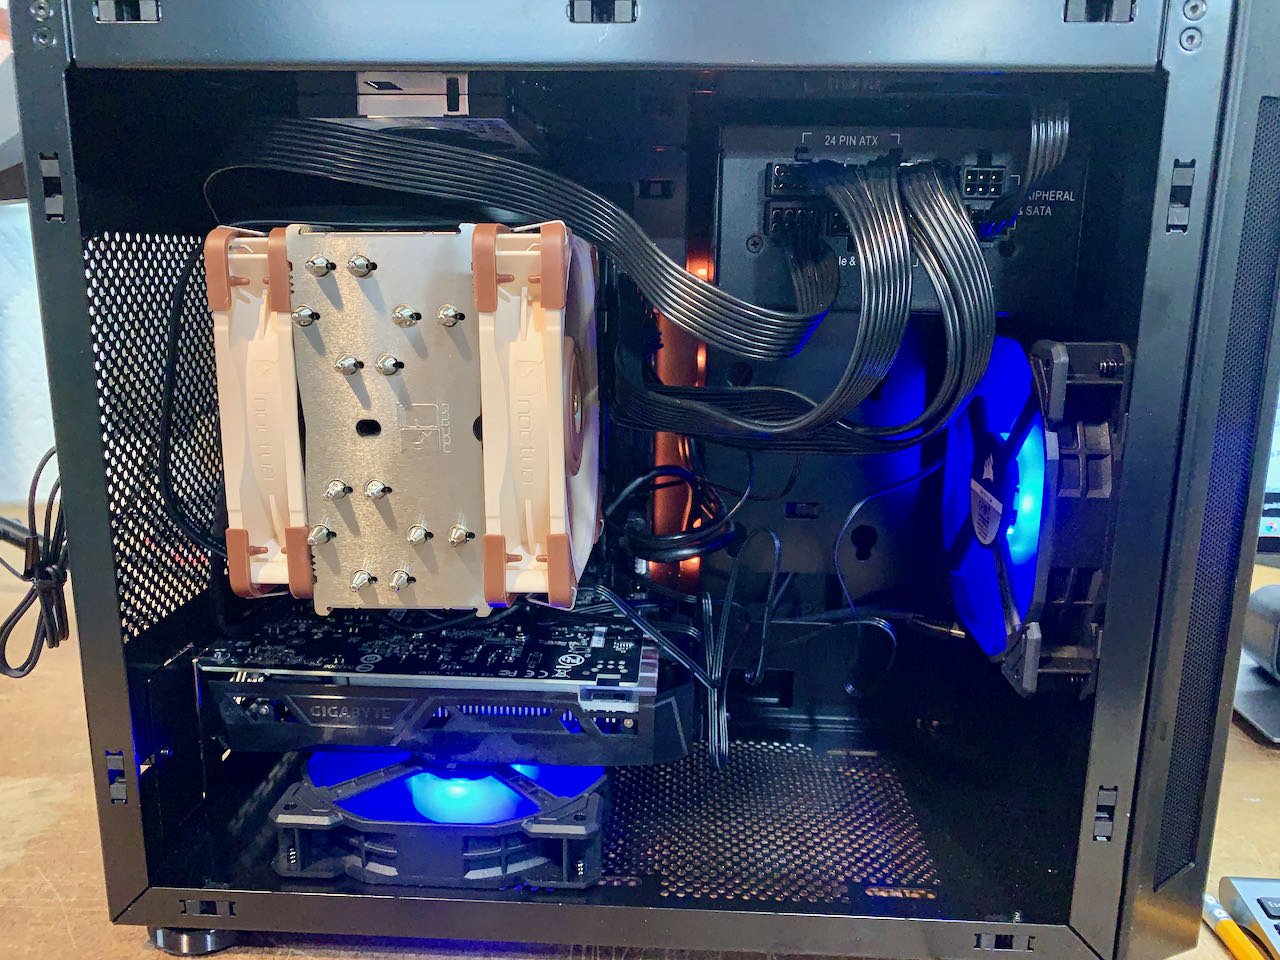
I have a powerful desktop computer that I custom-built expressly for Pixinsight image processing. However, I have been spending extended periods out of town and wanted to have a smaller form-factor computer for travel that was just as powerful. This post discusses that built.
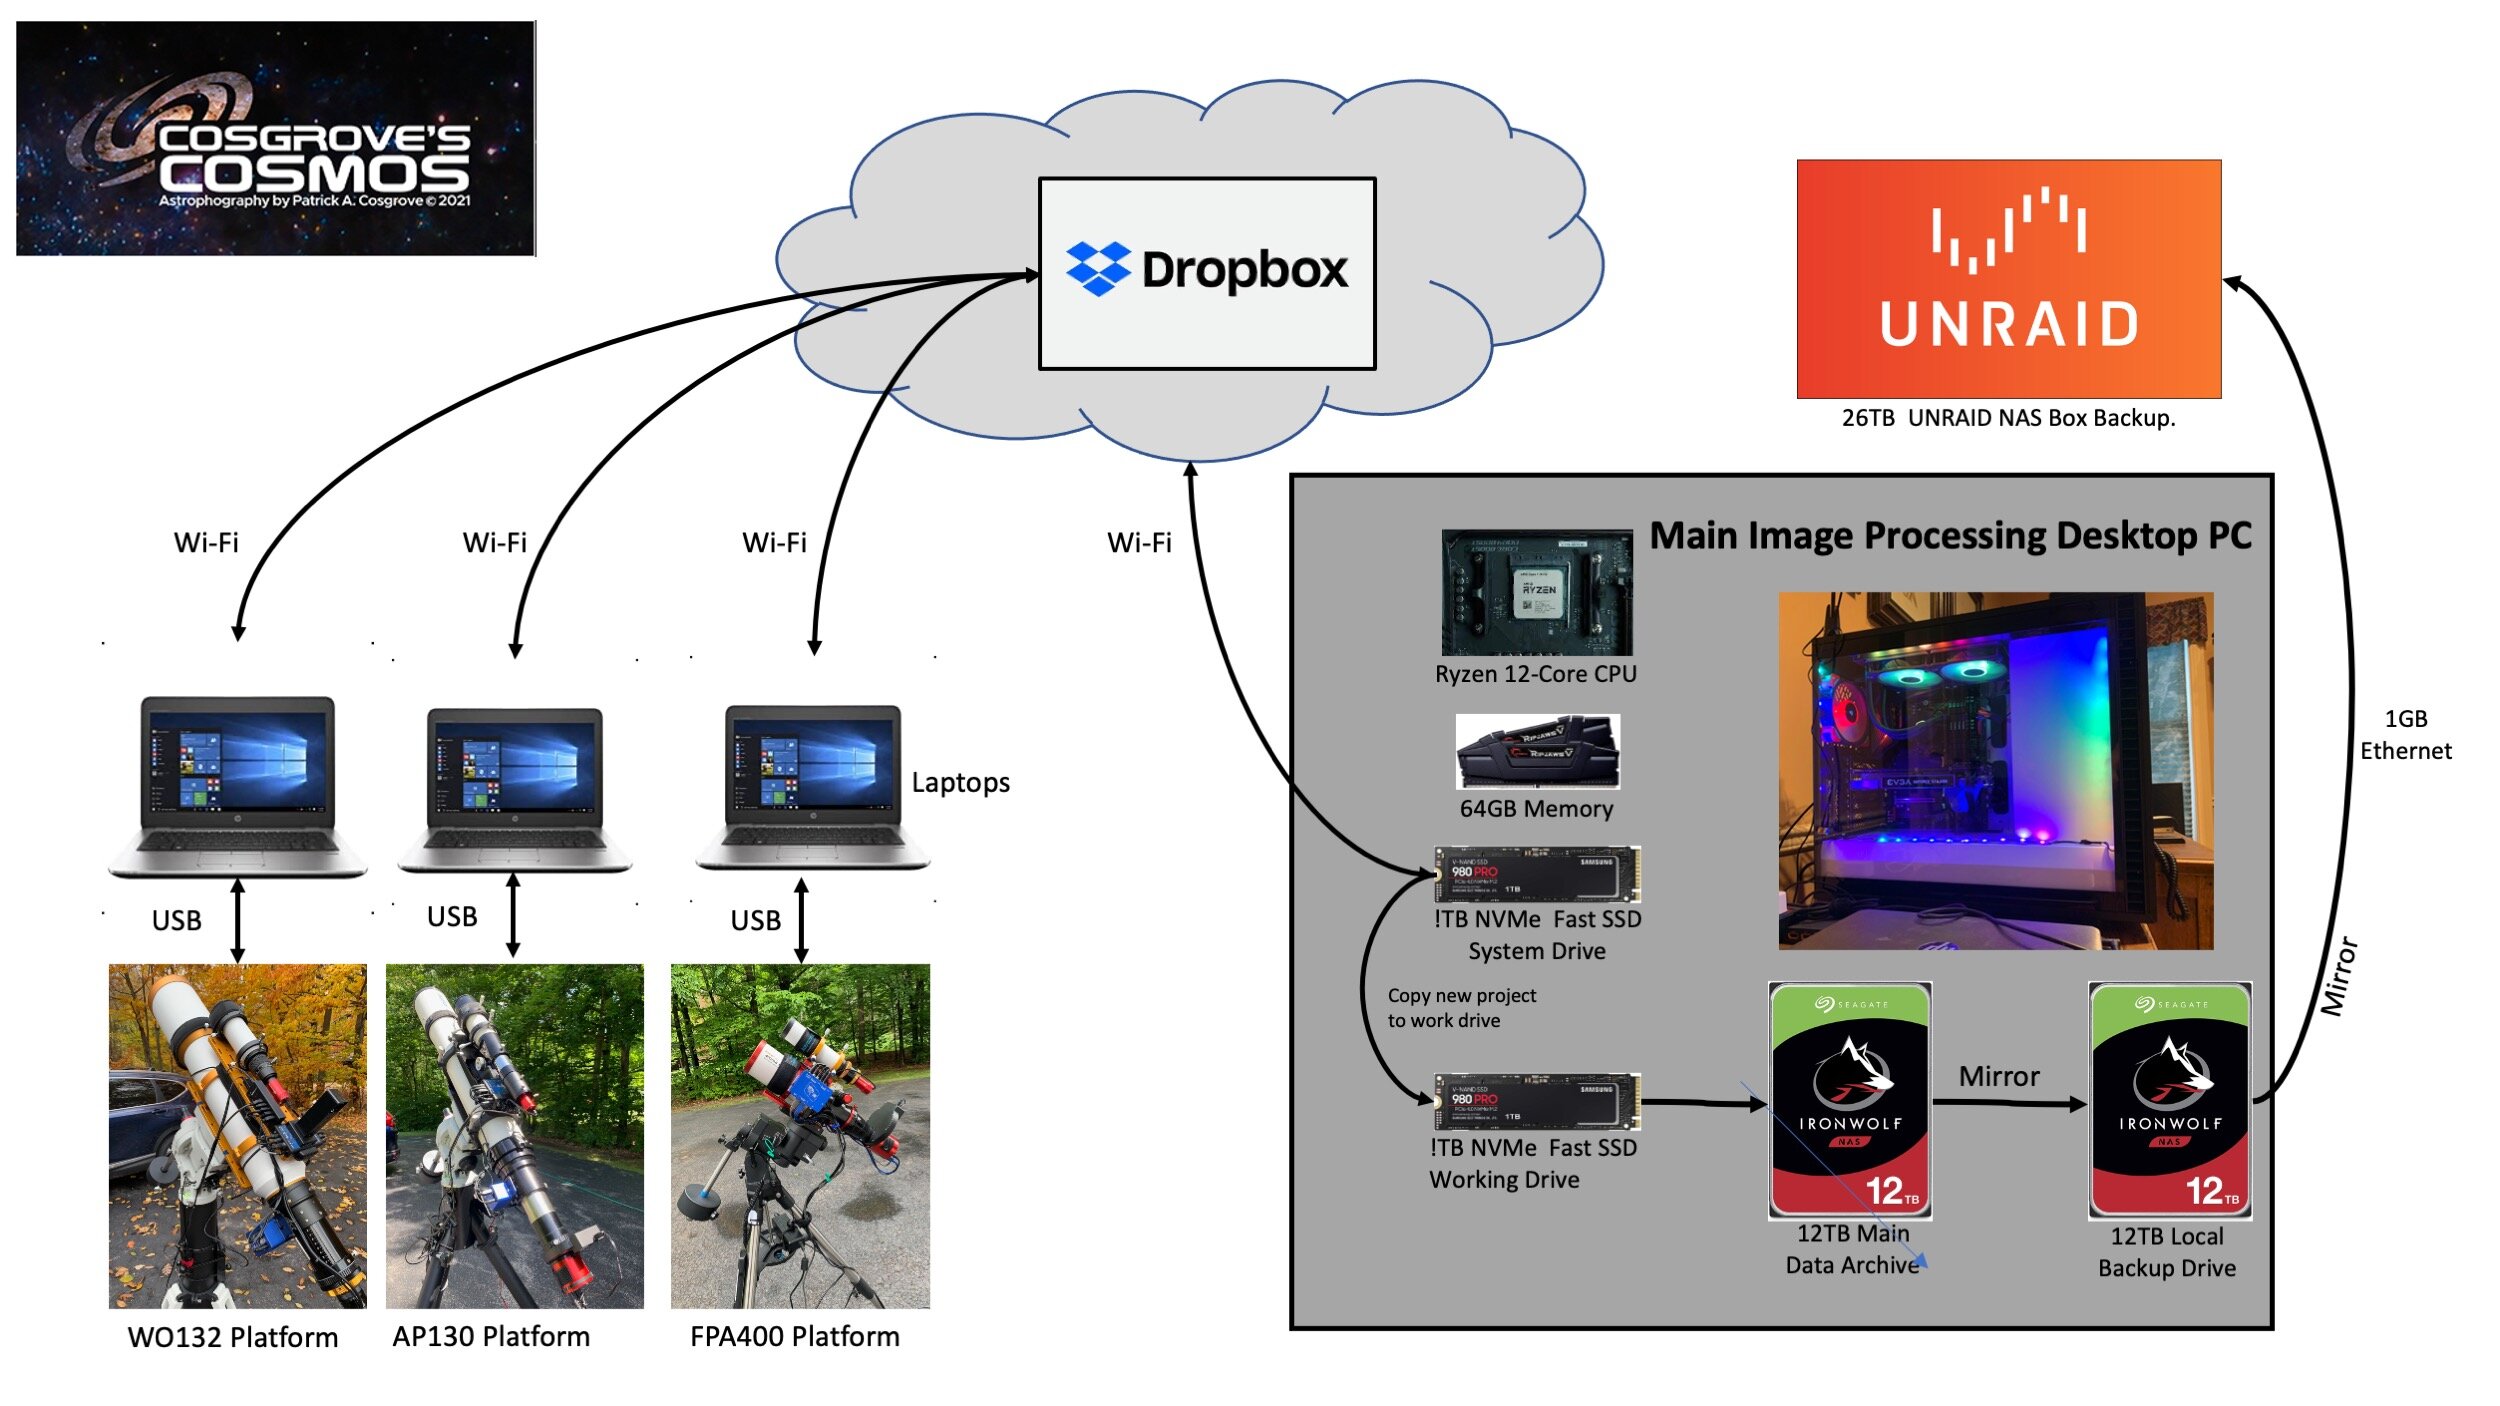
Running three telescope platforms at the same time can generate a lot of data. Processing that data with the some of the sophisticated algorithms used by Pixinsight can make great demands on your computer. In response to this, I built a new computer that would be better optimized for Astro image processing and storage and networking strategy that would handle the workflows, data loads, and demands of astrophotography.
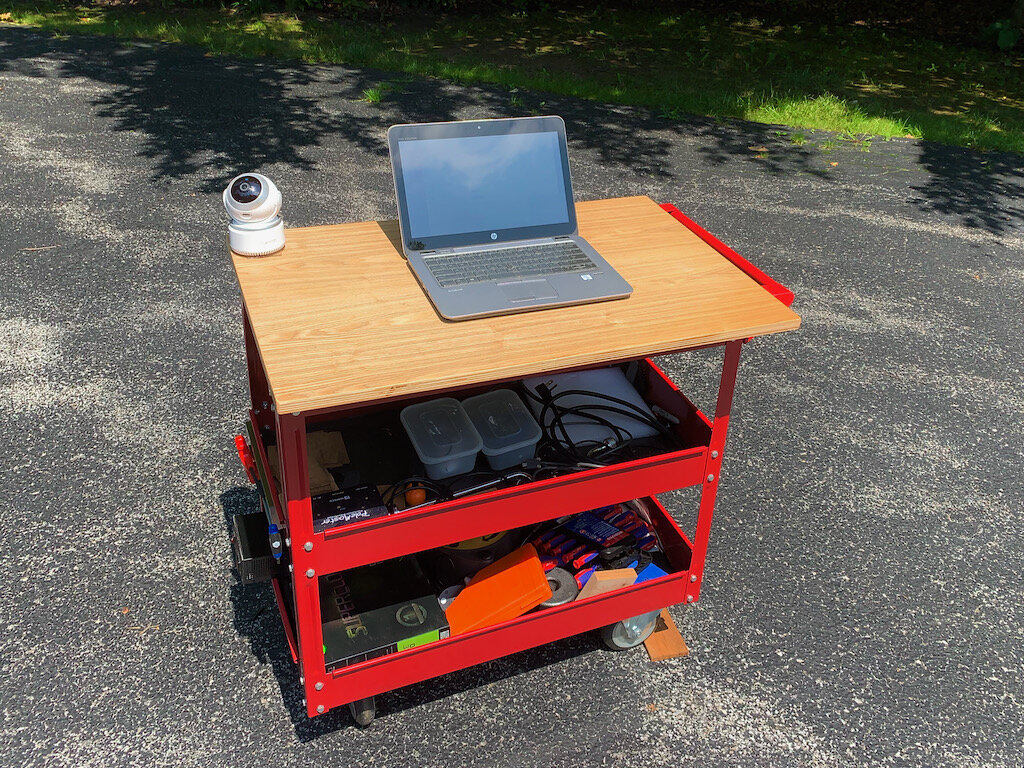
When you are running three astrophotography telescopes in the driveway at the same time, you have a lot of gear that has to be moved into position - plus I needed a place for the laptops that control my scopes. I built this Astro Cart and computer desk to help me deal with that. A very simple and useful project!
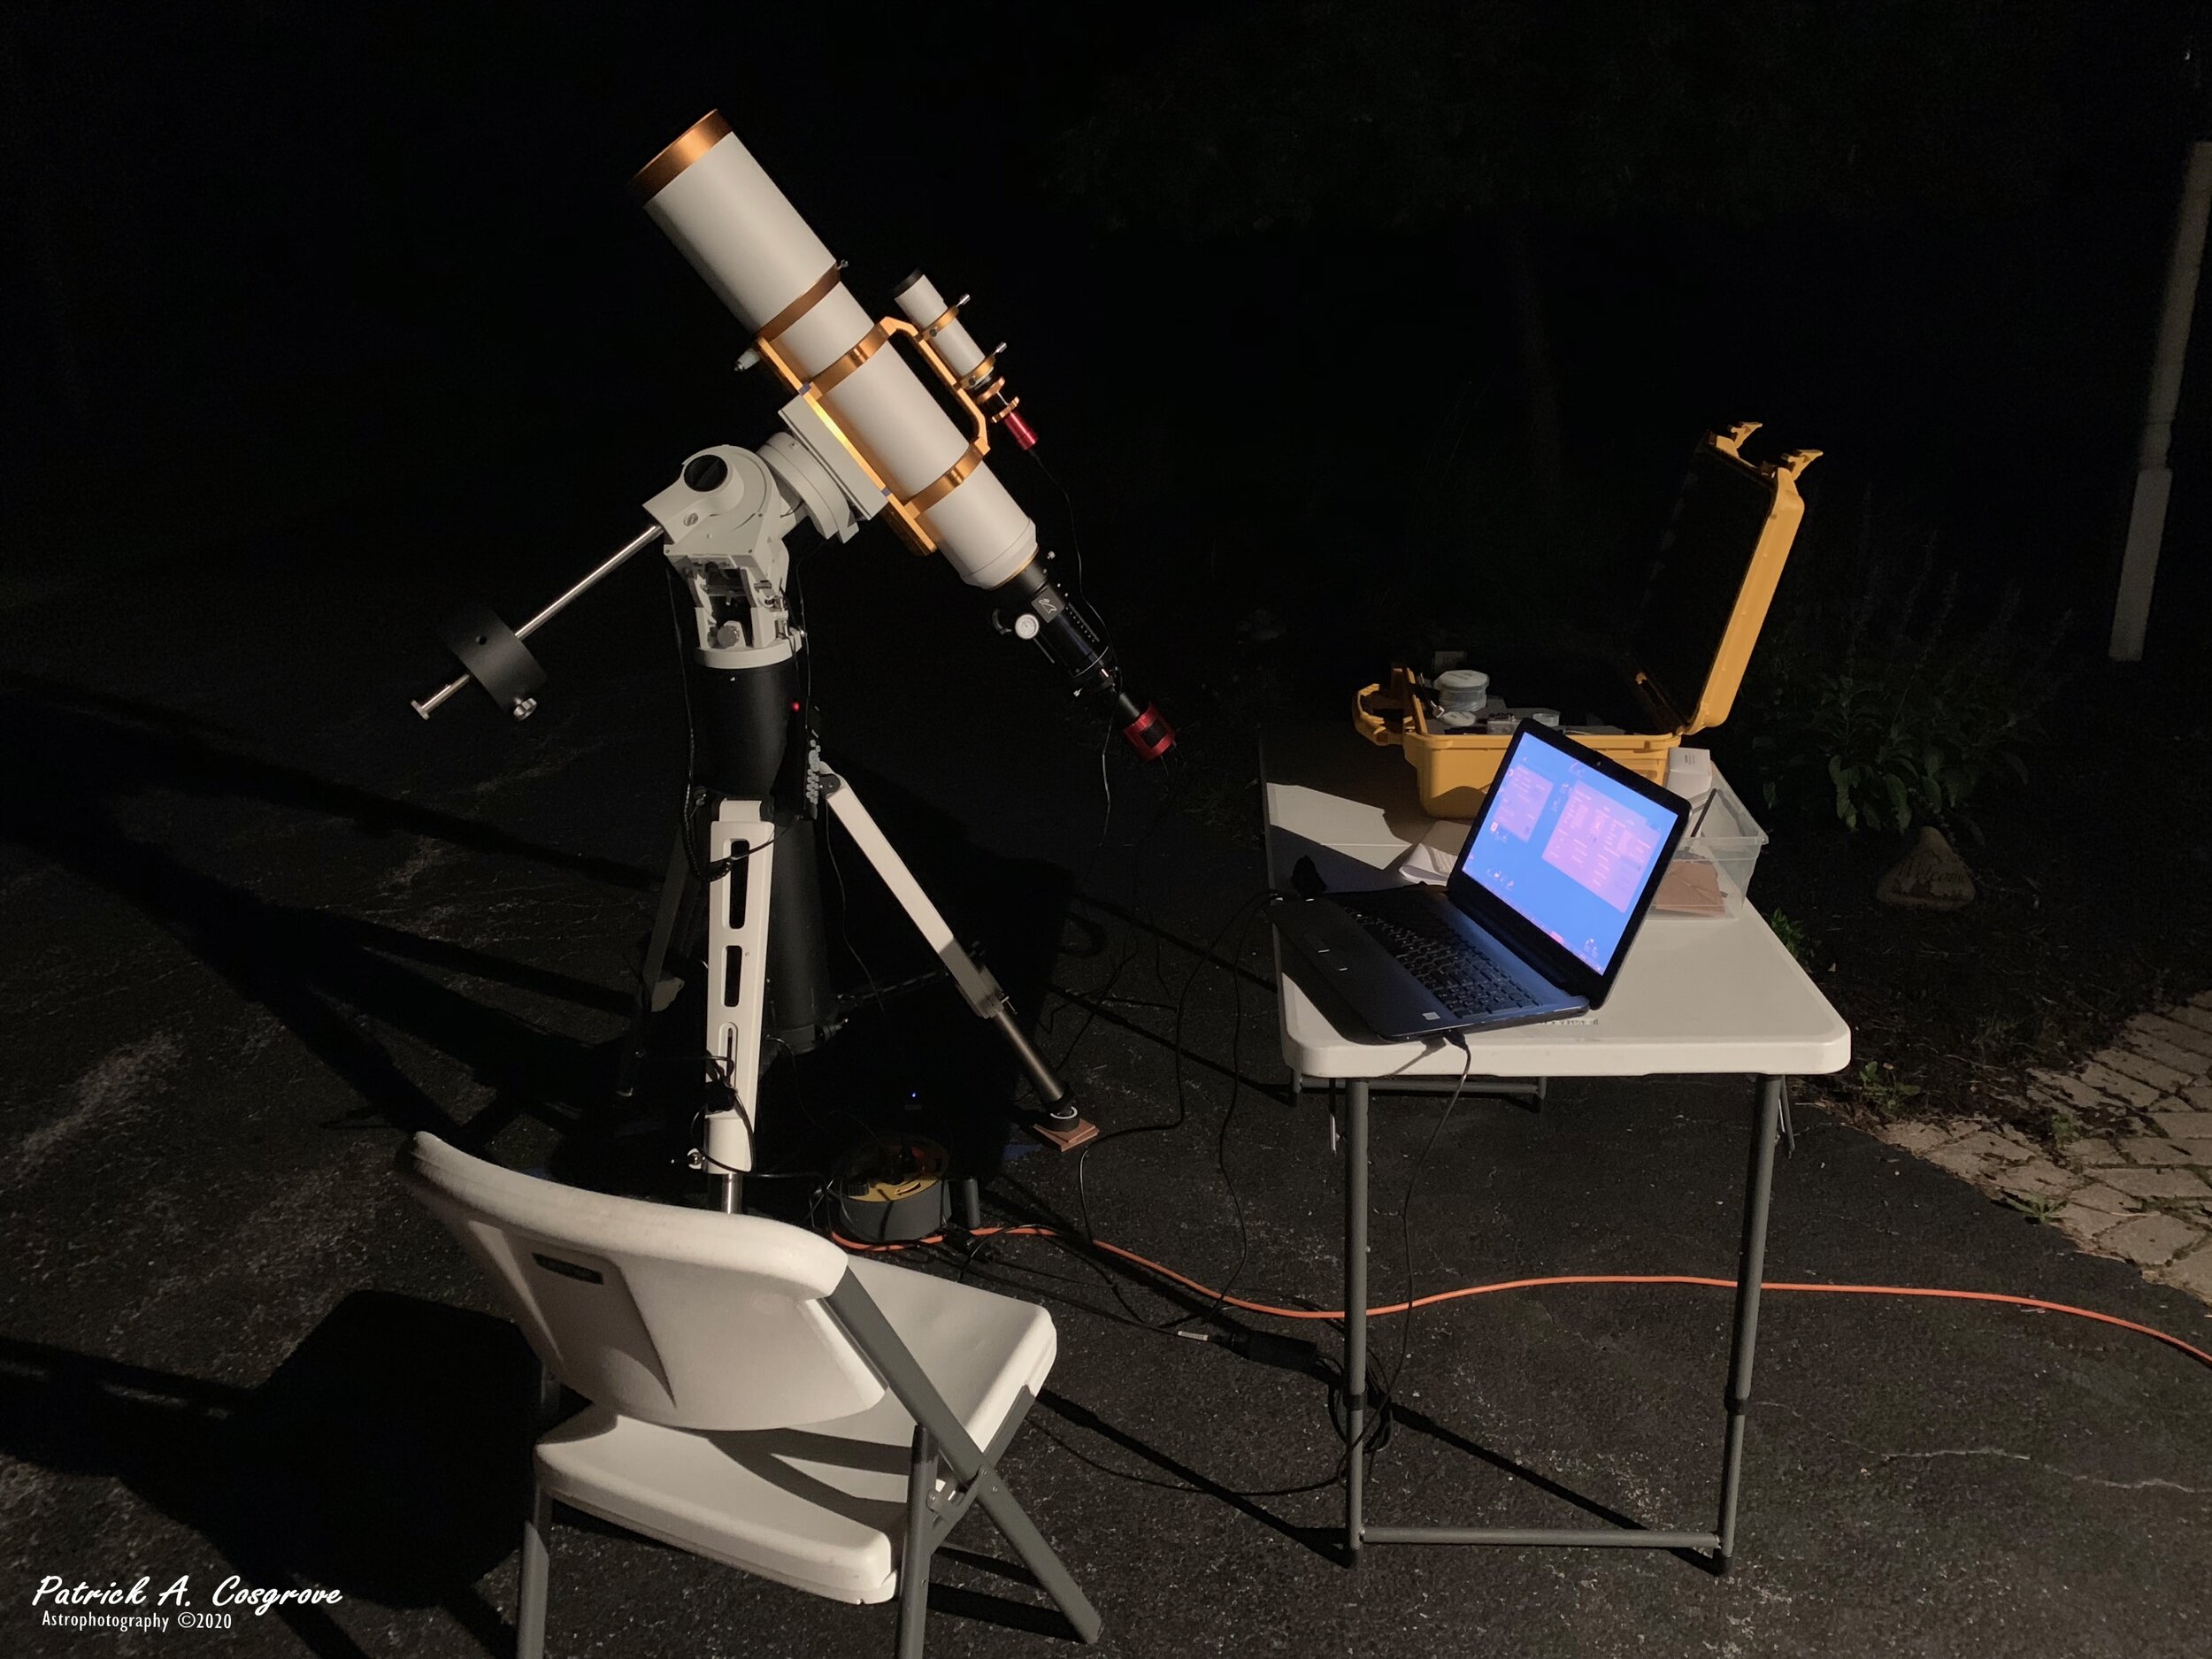
After much research, and a few phone calls to the helpful friendly folks at Highpoint Scientific , my first rig was on order! Within a week I had everything I needed to start doing astrophotography. But of course, I had no real clue how to actually do ANY of it. I barely knew how to put the pieces together much less make them work. This was the start of my journey.
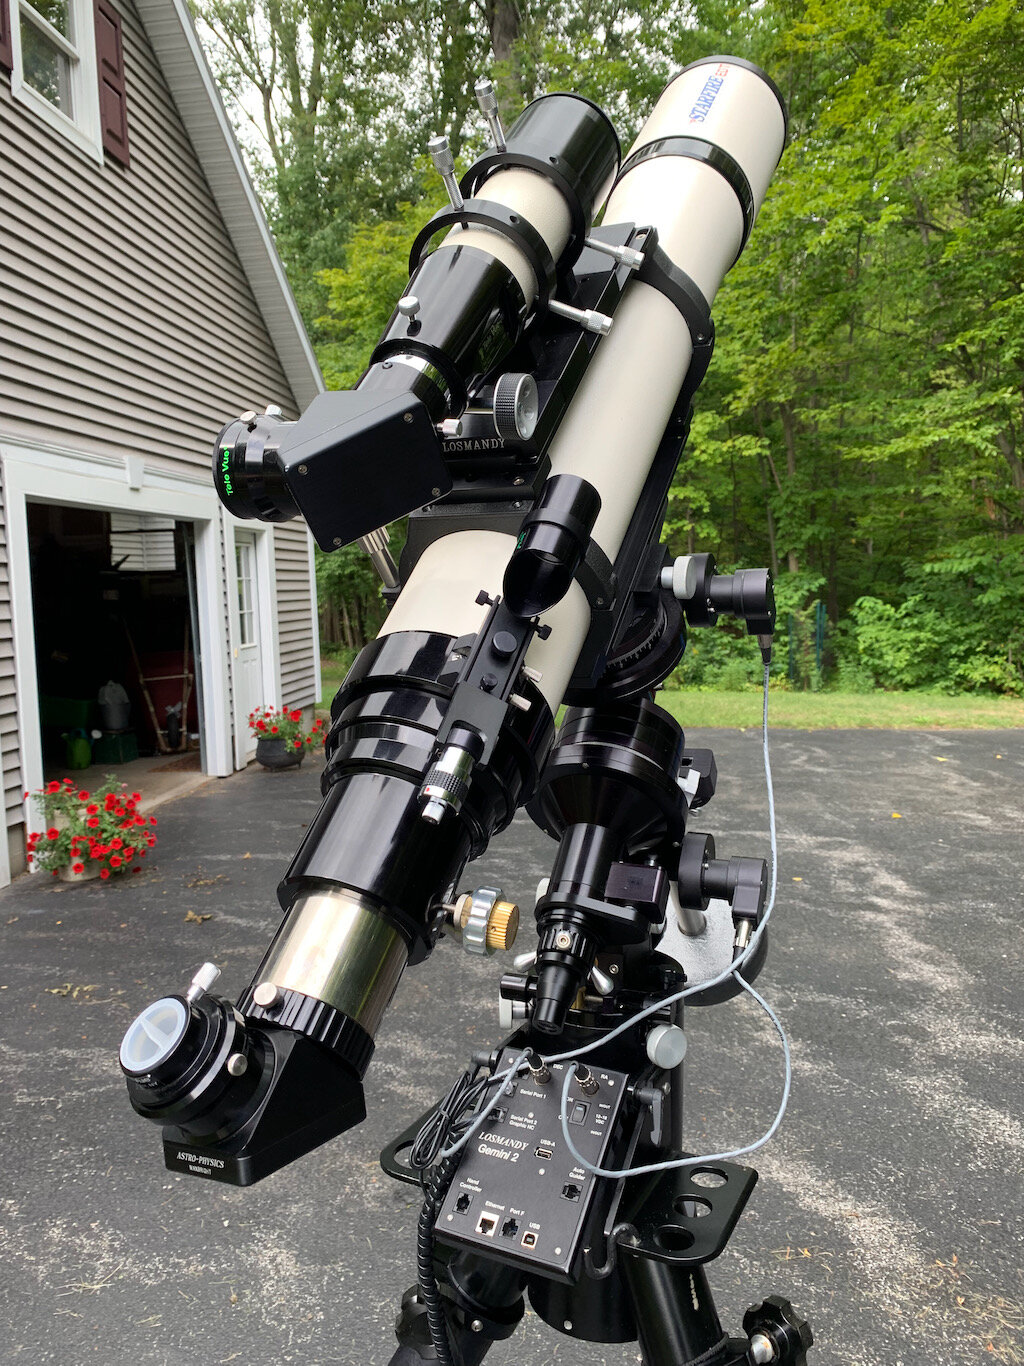
The start of a second imaging platform - or - how tripped into the deal of a lifetime !
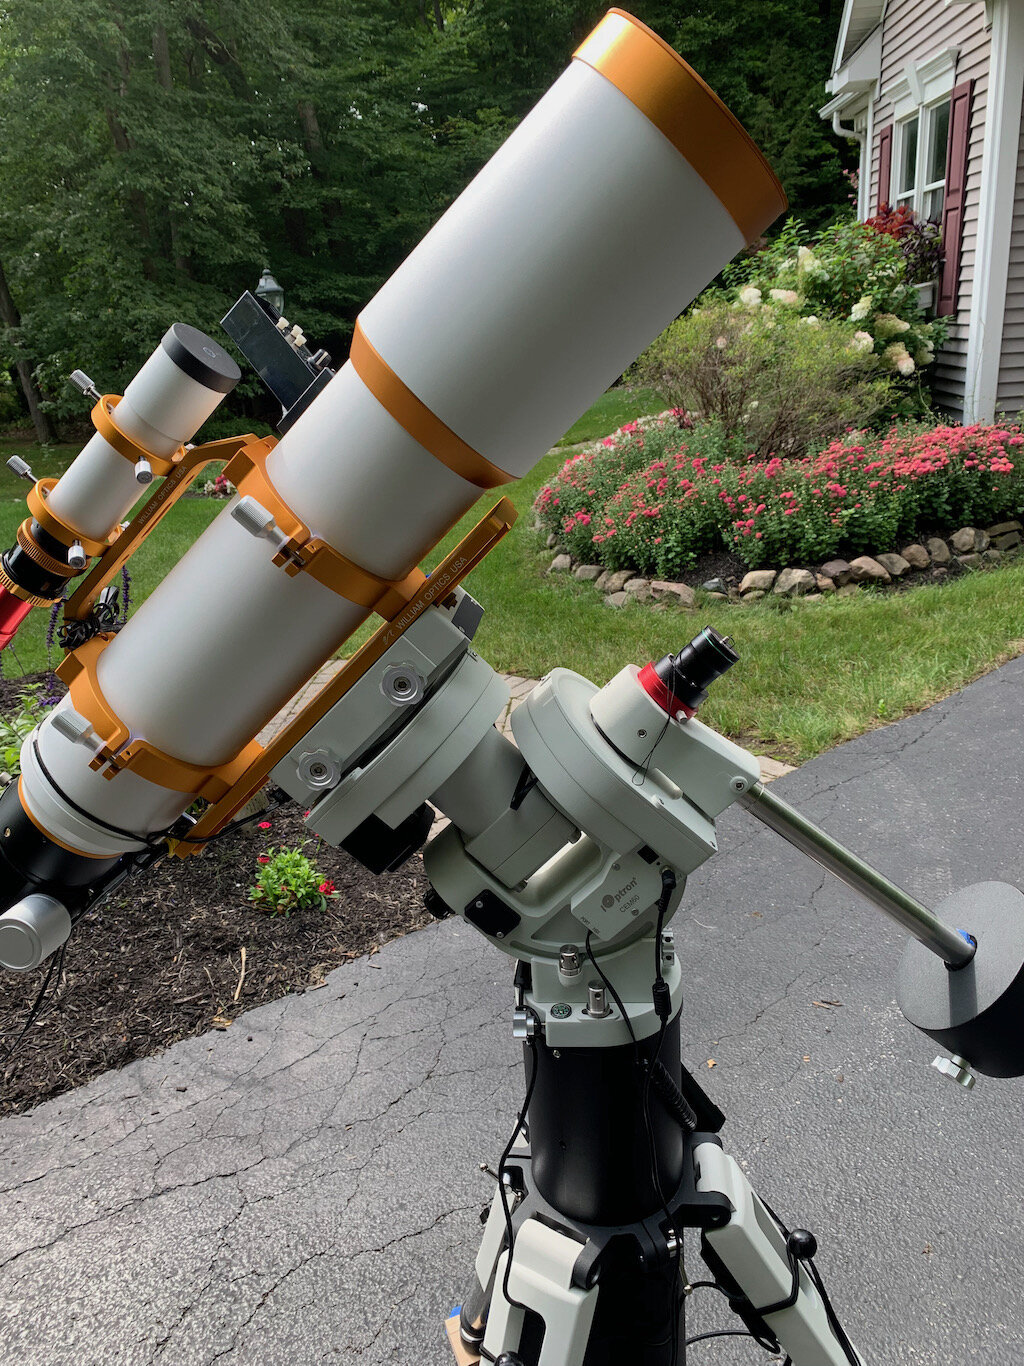
I was still learning to use the main rig, when I soon made my first modification. I was doing the Polar Alignment the old fashioned way - using an illuminated polar scope. This caused me to kneel down on the driveway and look up through the polar axis. This was killing my knees, my back and my neck! I hated it and I was sure I was not getting very good alignments with it…..
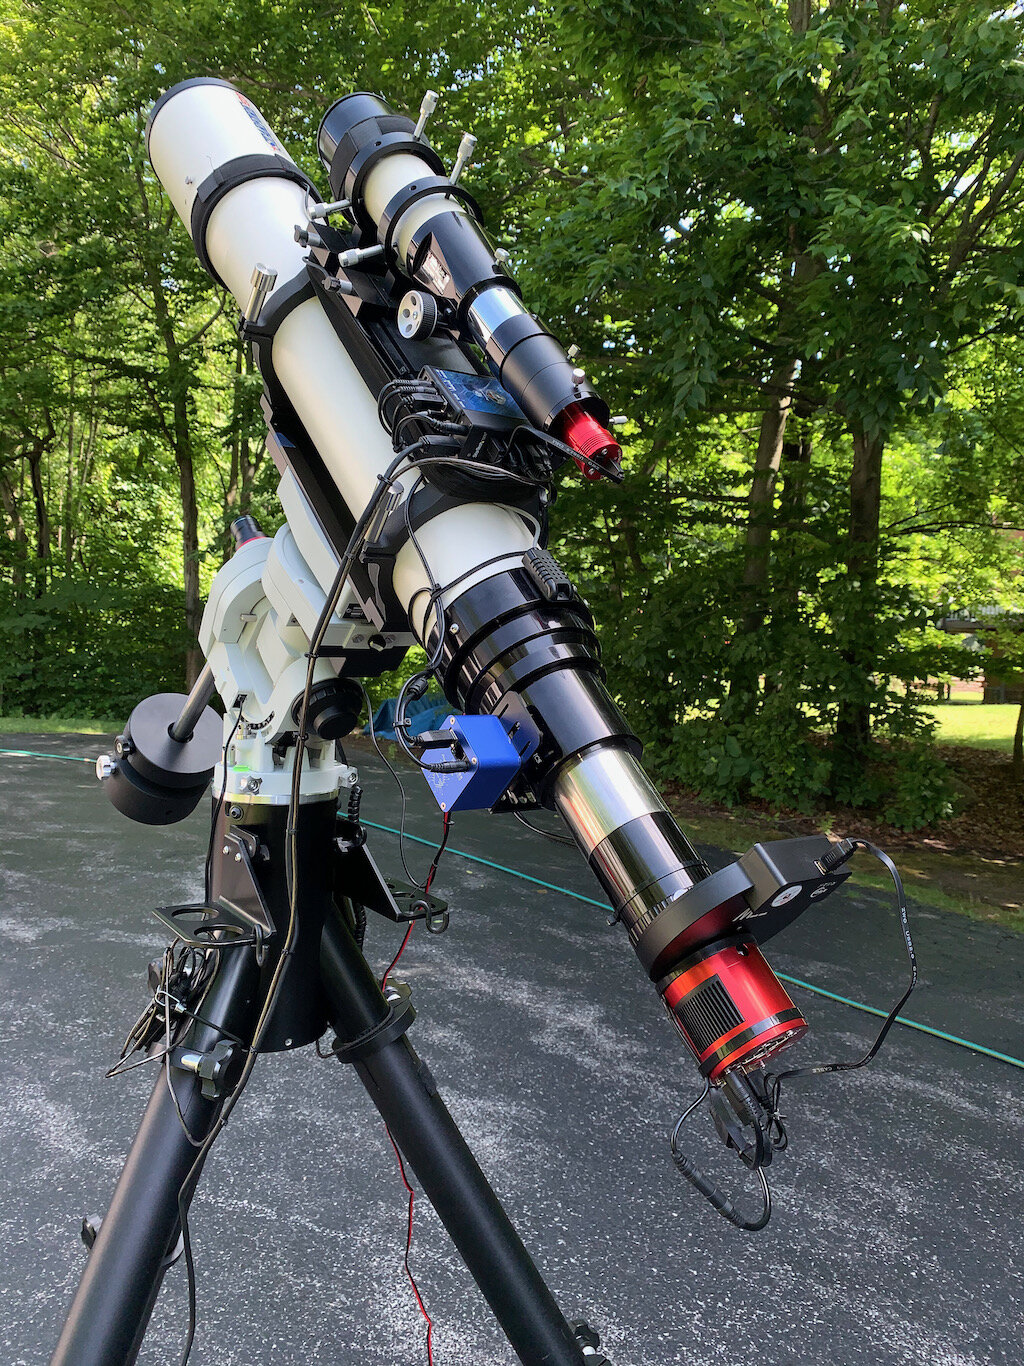
Over the winter, I began to get things ready for the second platform. Clearly I had some work to do. I needed to determine what I was going to do for a camera, and I needed to determine what to do get the mount functioning at the precision needed.
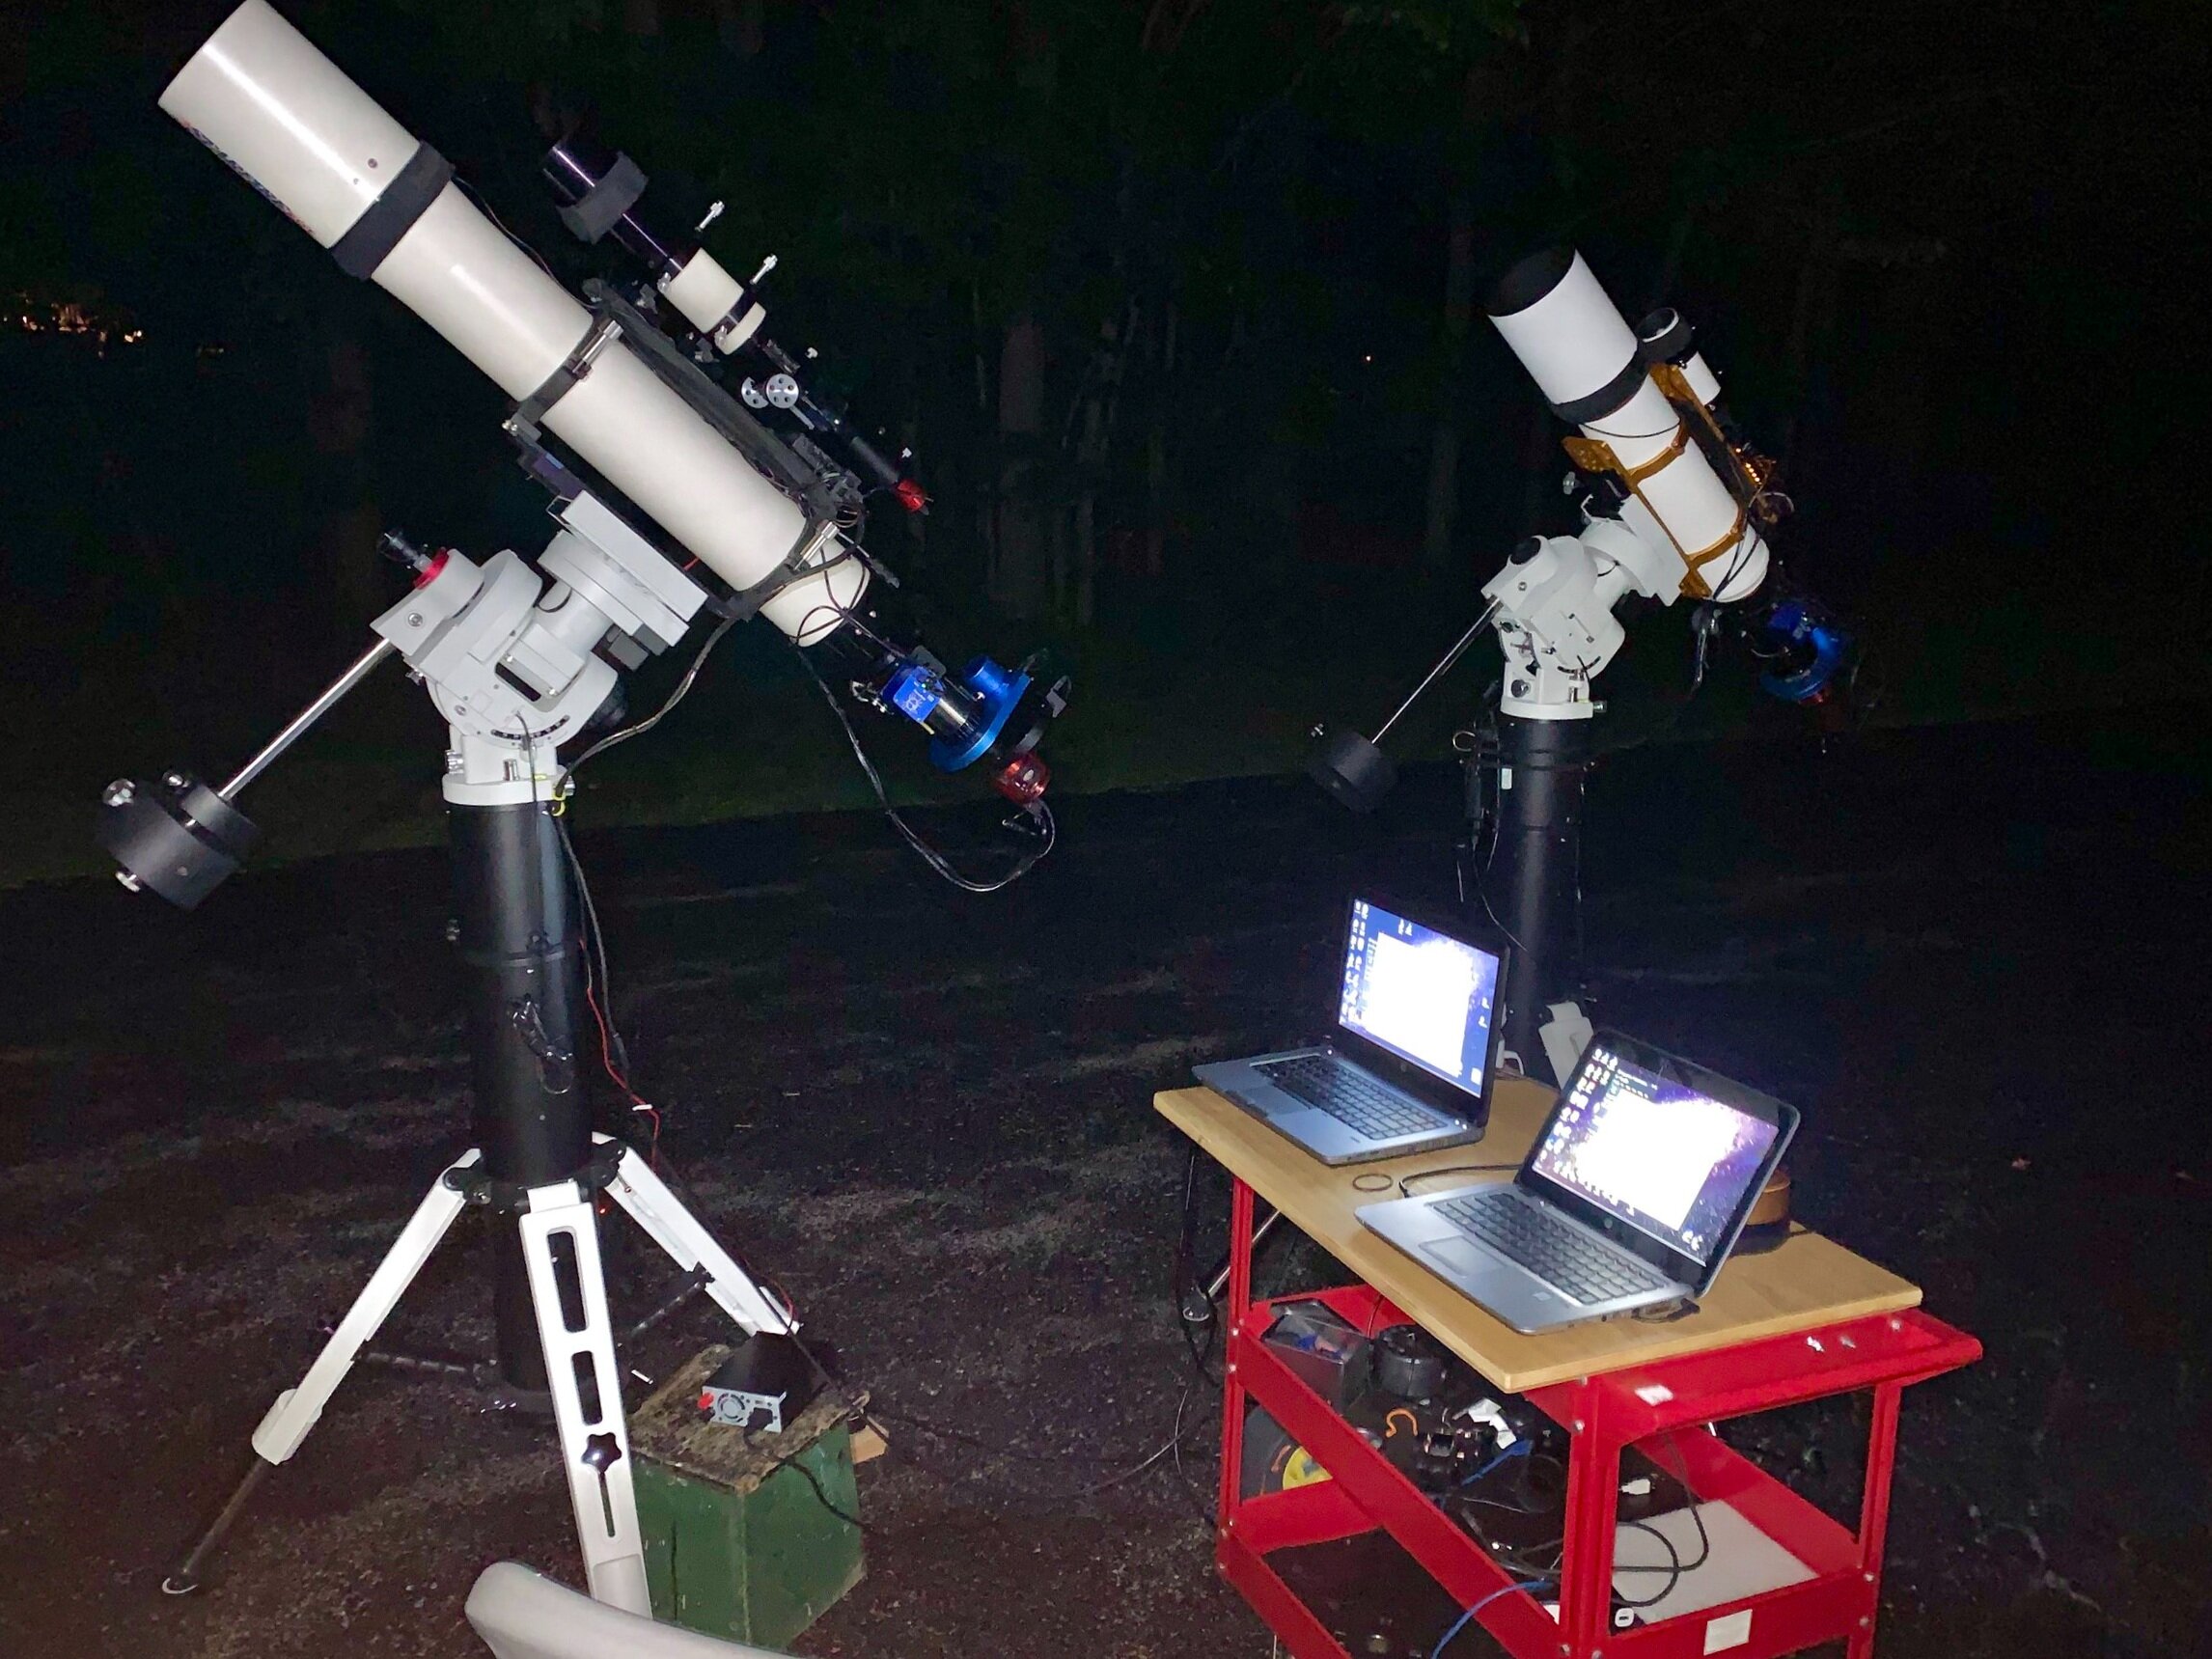
Standardizing the base
Finally, the Tri-Pier and the its extension column arrived. This allowed me to standardize the base of the two telescope platforms. There are several reasons that made this useful. First - everything is the same when you are handling things in the dark. And secondly, I was in the process of revolutionizing how I setup at night…..
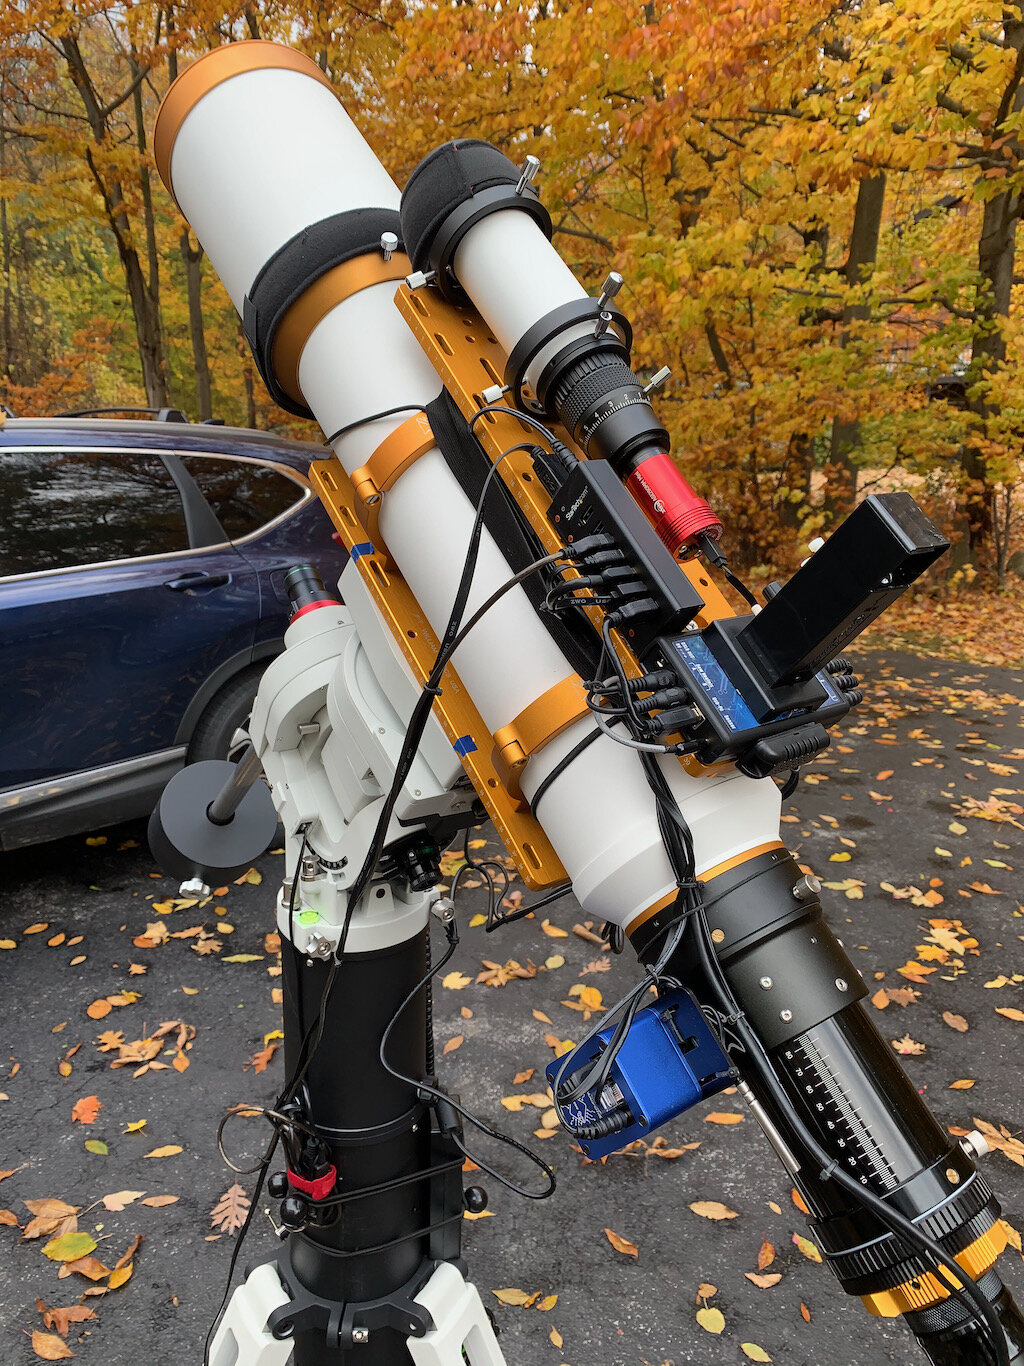
During August and September I was out shooting every clear night. I had learned a lot of things but I was also noticing several issues that were causing me problems as I did more imaging. I decided to do something to address those issues….
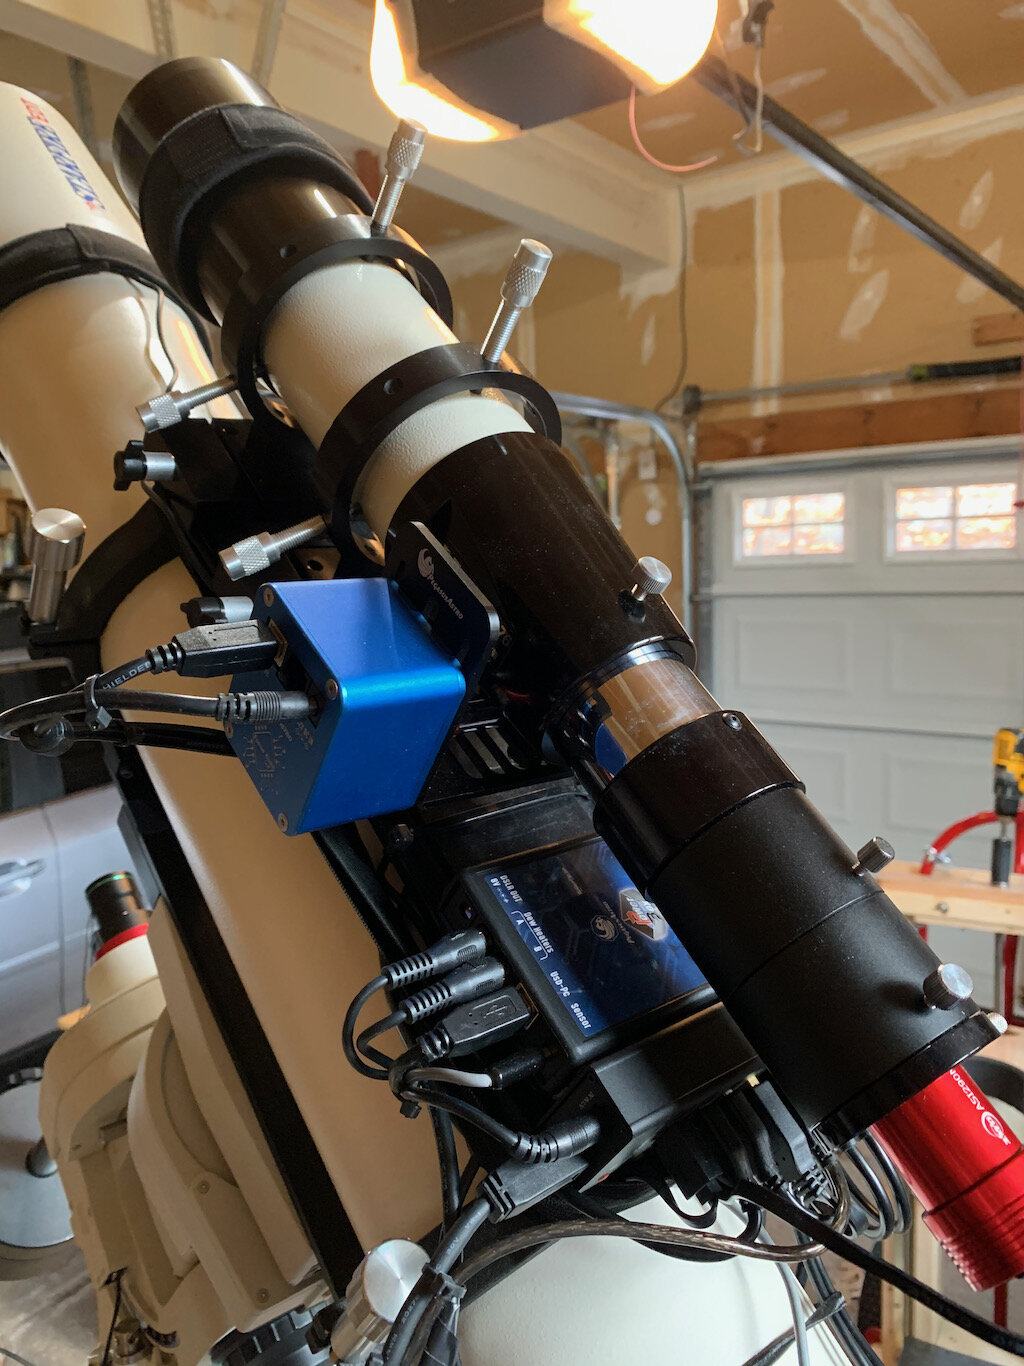
Why a focuser for the Guidescope?
Basically I am making this change to make the platform consistent with the WO132 platform. I would like to be able to focus the guidescope remotely under computer control. I would also like to have the ability to swap camera and use the TV76 as a wide field imager (using the AP130 as the guide scope.
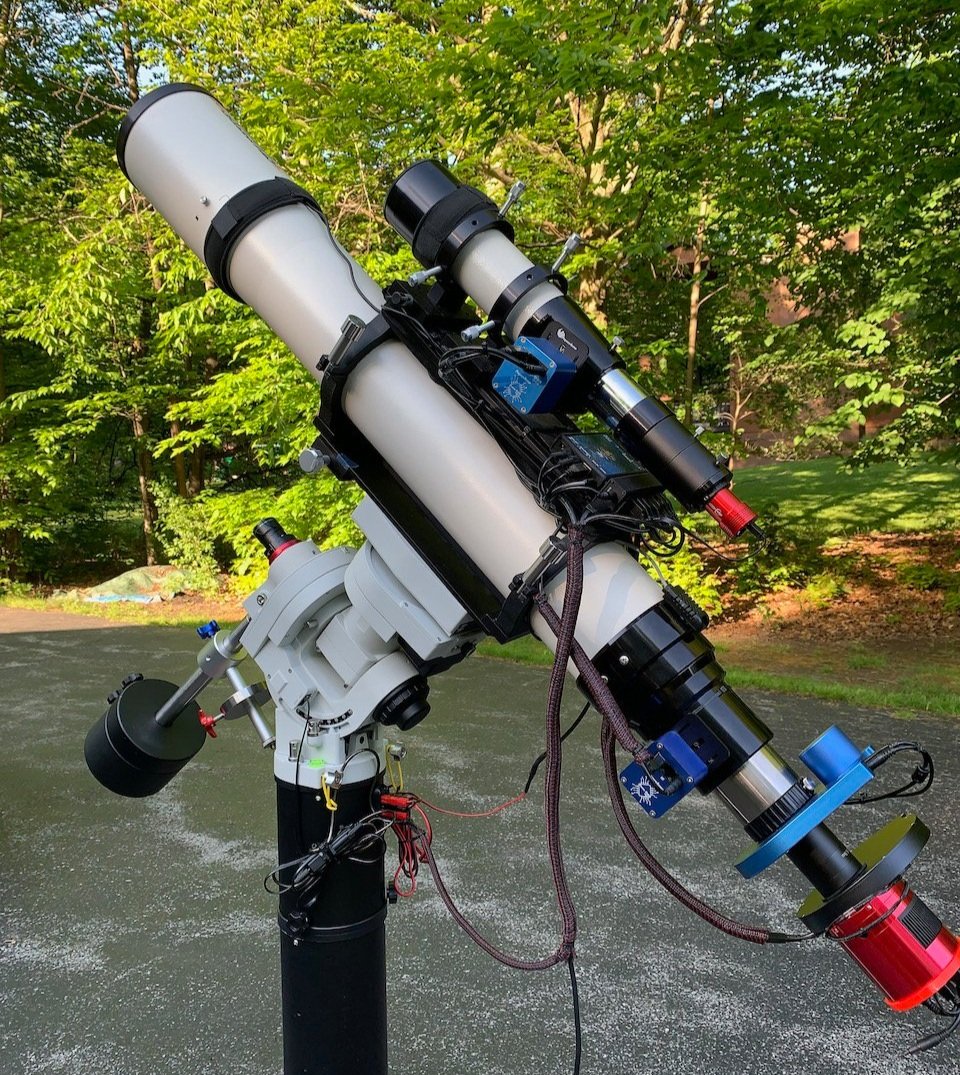
Adding the next generation ZWO ASI2600MM-Pro camera and ZWO EFW 7x36 II EFW to the platform…
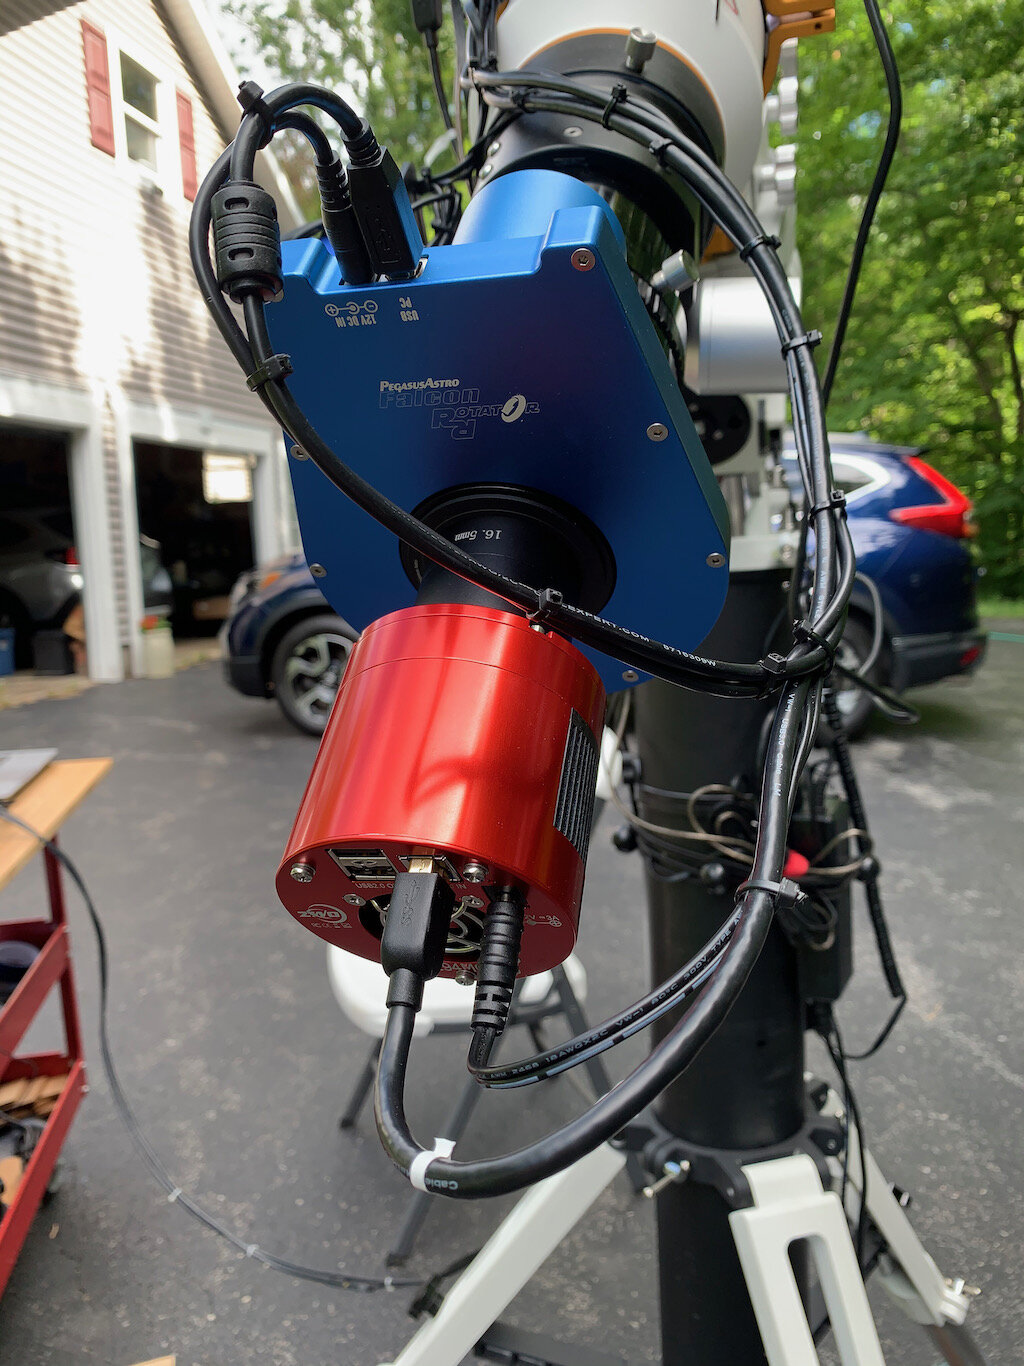
During the Summer of 2020, whilst stuck at home because of Covid I became very in improving the automation of the platform and achieving a more precise framing of the shots I made…
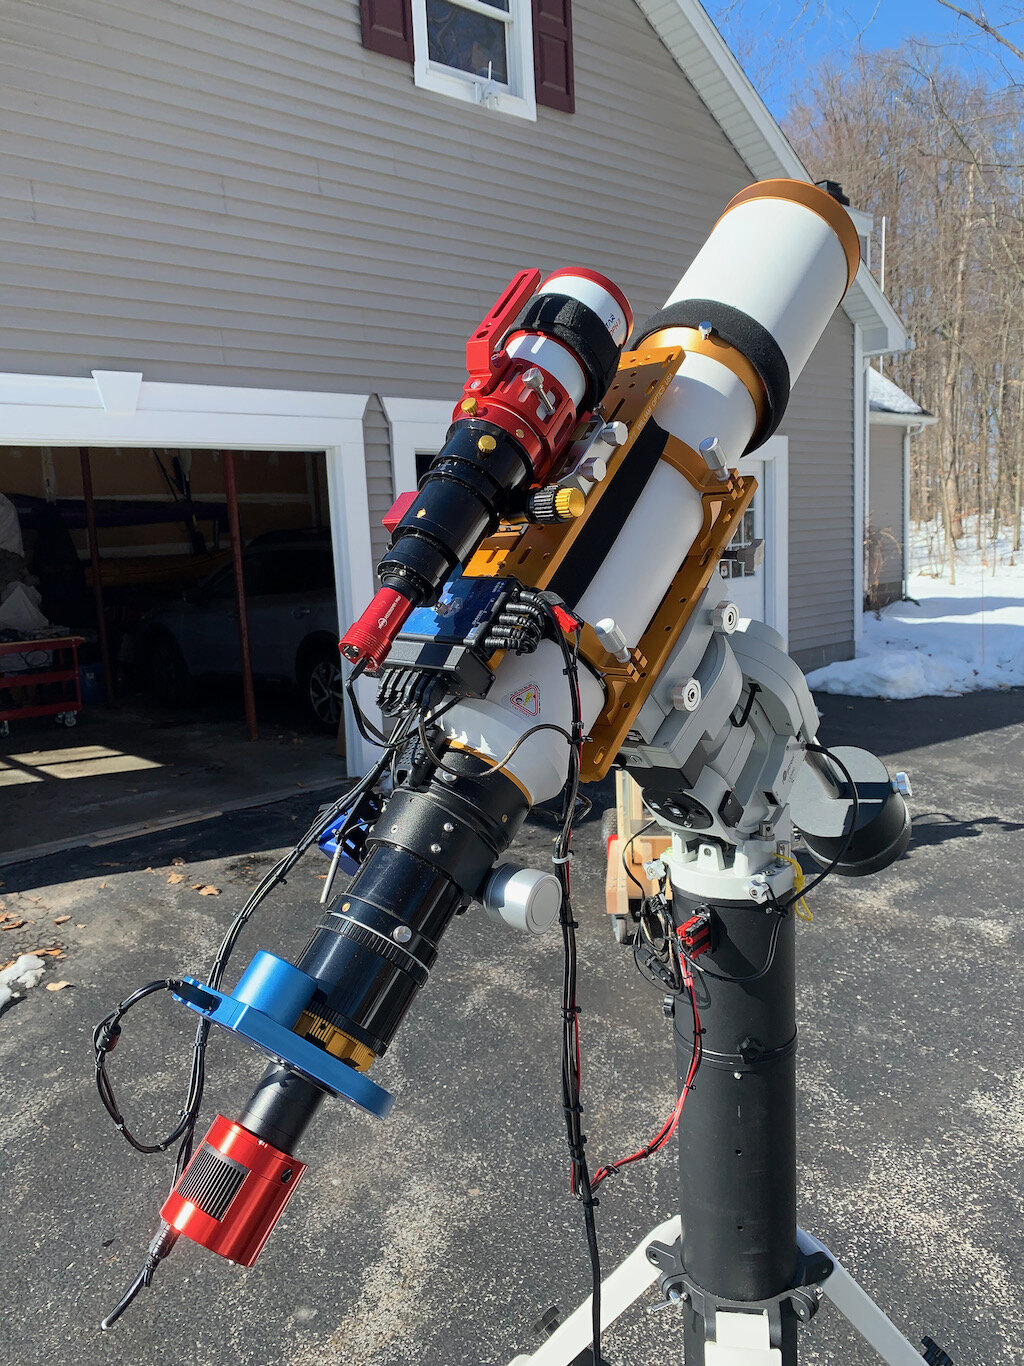
For Christmas of 2020, my wife gave me a neat little wide field scope - the Sharpstar 61EDPHII! This little scope came with a Reducer/Flattener and would make a great wide field Astrograph. So I thought about how to use it.
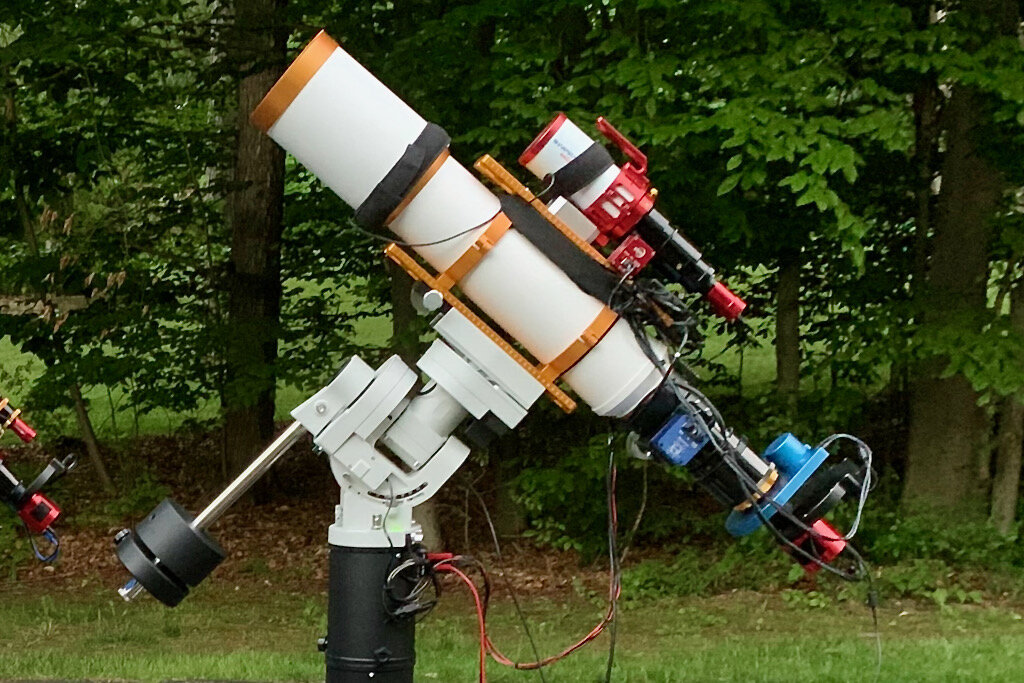
I was very excited to get the ZWO ASI2600MM-Pro camera a while back. I ordered it when it was announced and then prepared to wait a long time to get it. When I did get it - I decided to put it onto the AP130 platform. That meant that I could move the ZWO ASI1600MM-Pro, along with its filter wheel over to my William Optics Platform. This now means that all of the platforms have been moved over to a mono camera and my ZWOASI924MC-Pro is now not in use.
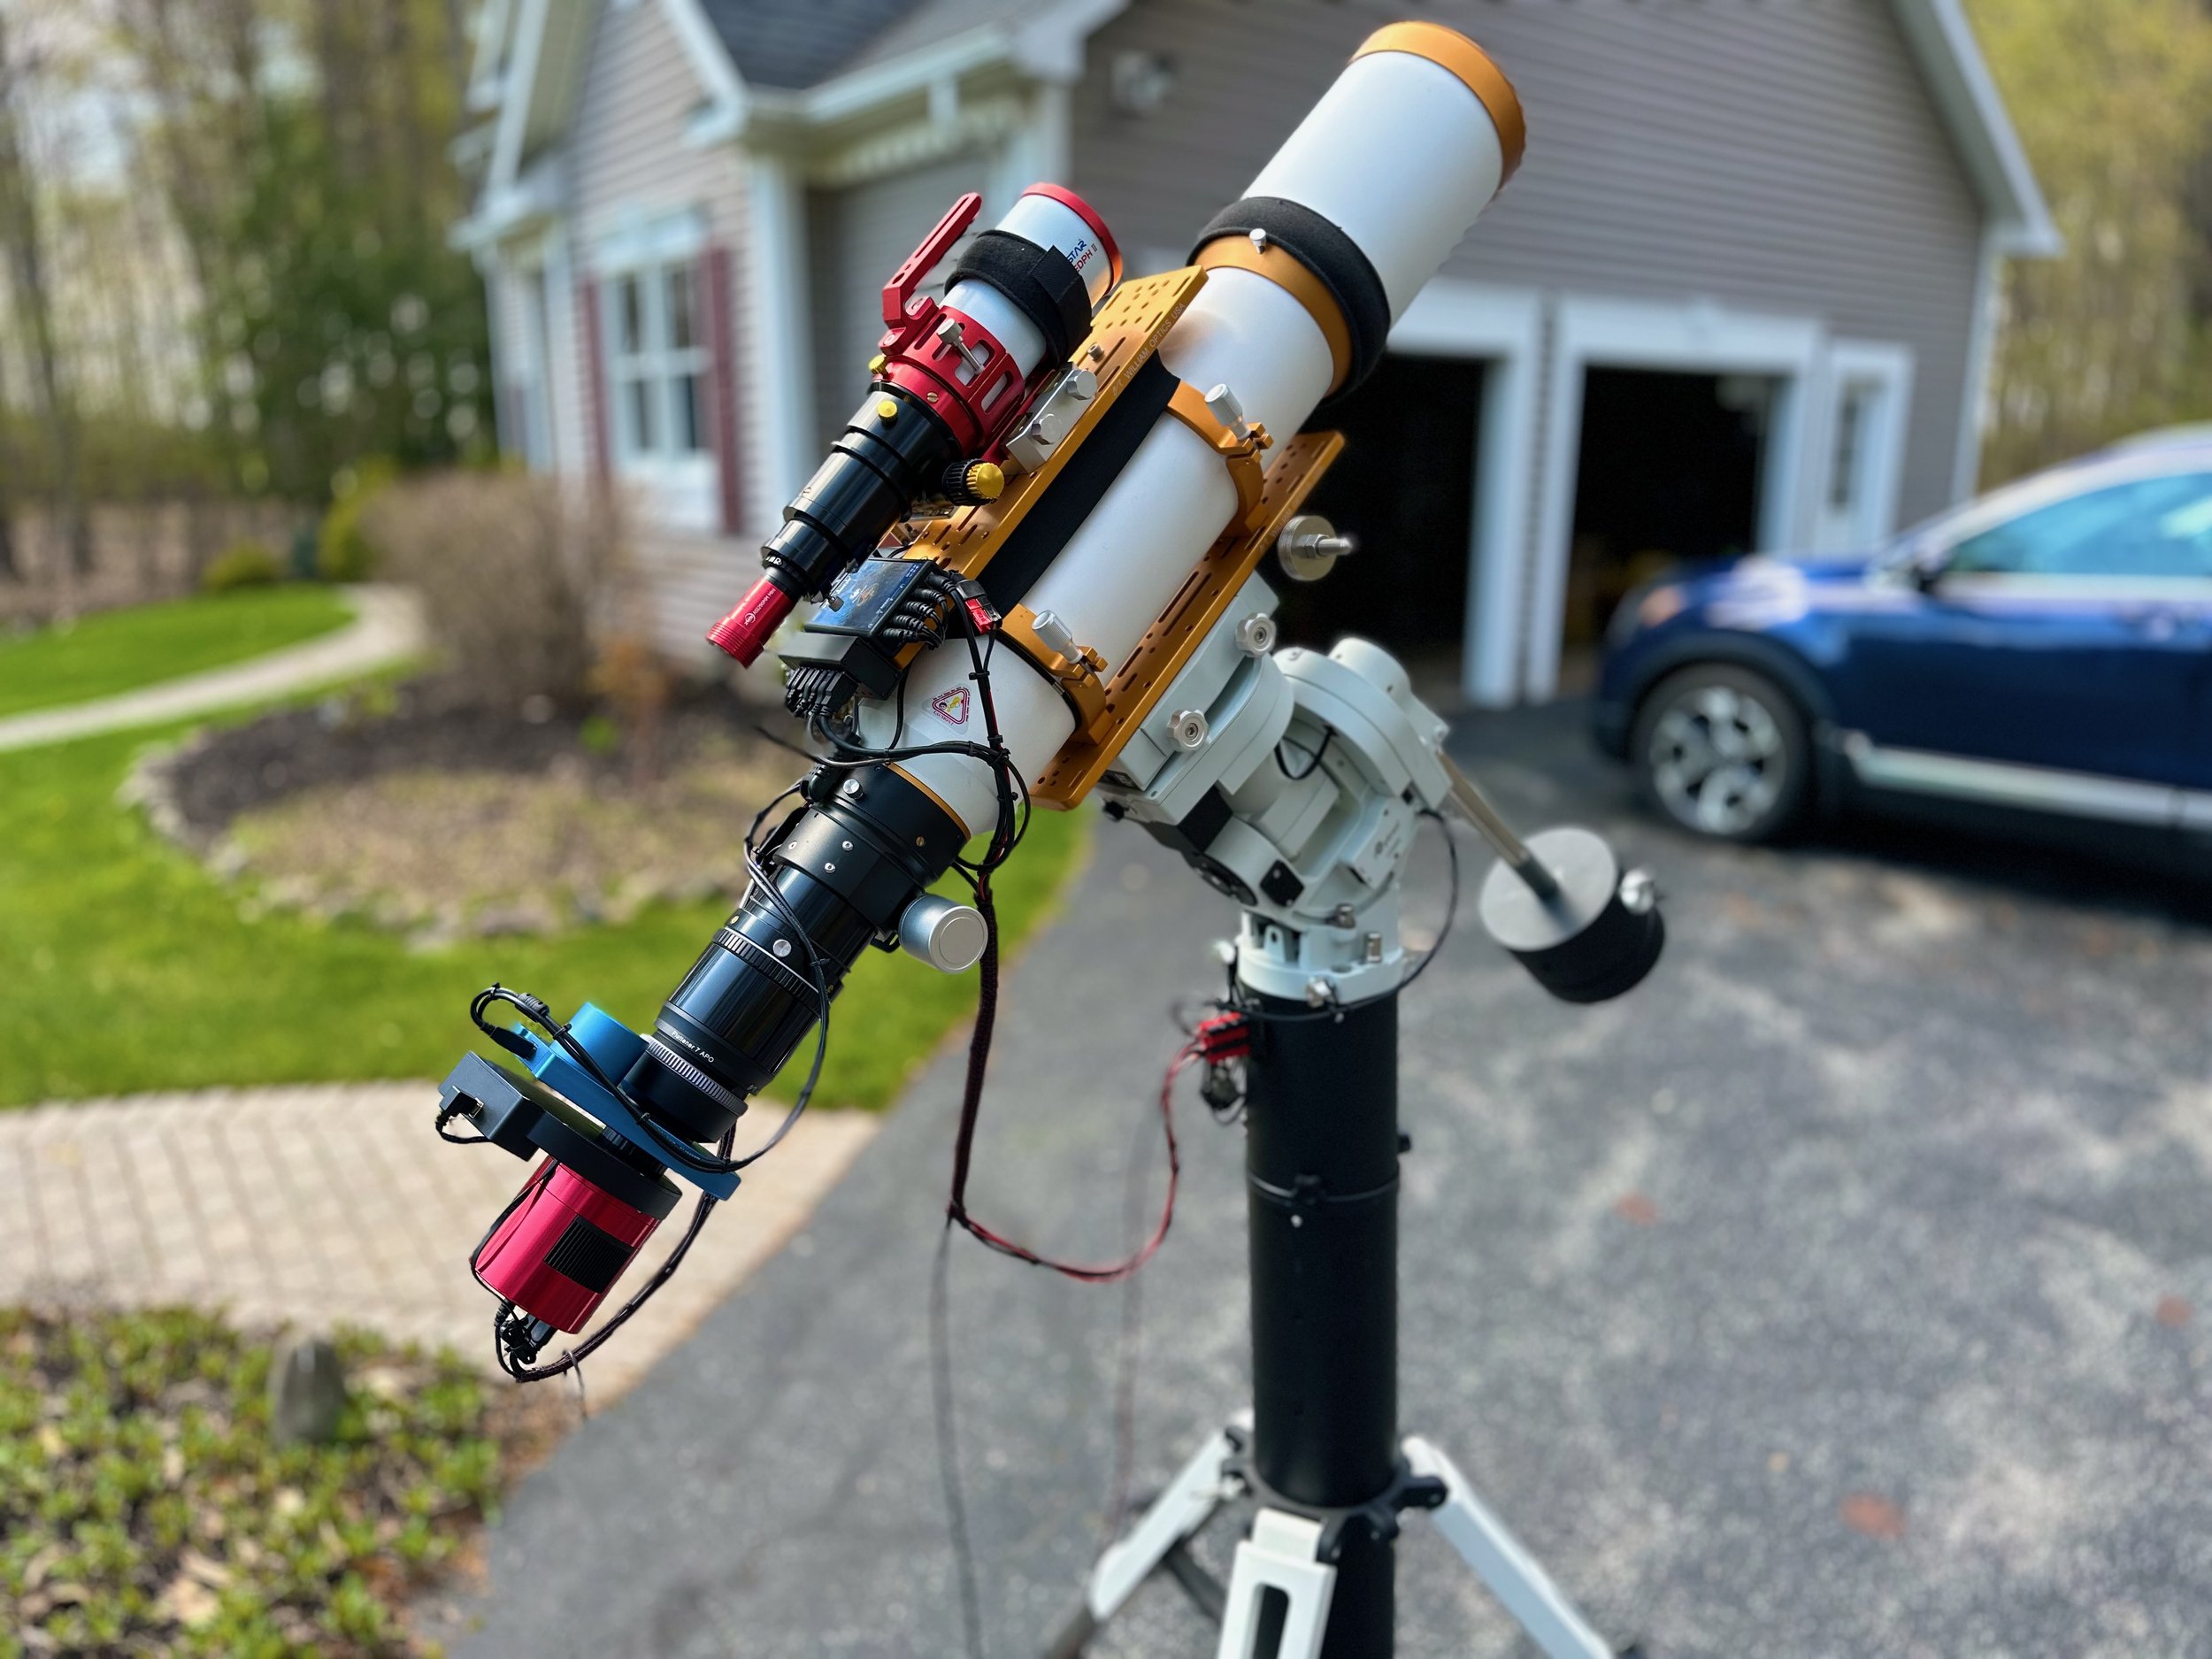
Version 4.0 of the Williams Optics 132mm platform is a major upgrade that involves adding a new 2600 series mono camera, a new 7x36mm EFW and filters, and a new WO Flattener and 0.8X Reducer that will support the larger format sensor and covert the scope to a much faster f/5.5 system.
This post documents the changes and discusses how I planned this change and how it was executed.

This is my third telescope platform - this one is specifically designed for portability and travel.


Version 4.1 of the Williams Optics 132mm platform is focused on moving into my newly completed Whispering Skies Observatory.
The upgrades include moving to a custom steel pier and shifting to a new Mele Quiter 4-C Micro Computer running Windows 11.
When my ASI2600MM-Pro suddenly developed a loud, vibrating fan, I pulled the camera apart to find the cause. What I found was a missing fan blade — and that kicked off a deeper search into the original fan specs, viable replacement options, and ways to reduce vibration without sending the camera back for service.