Askar FRA400 Platform Version 1.5: Adding a Camera Rotator!
Dates: Aug 27, 2022 - Now
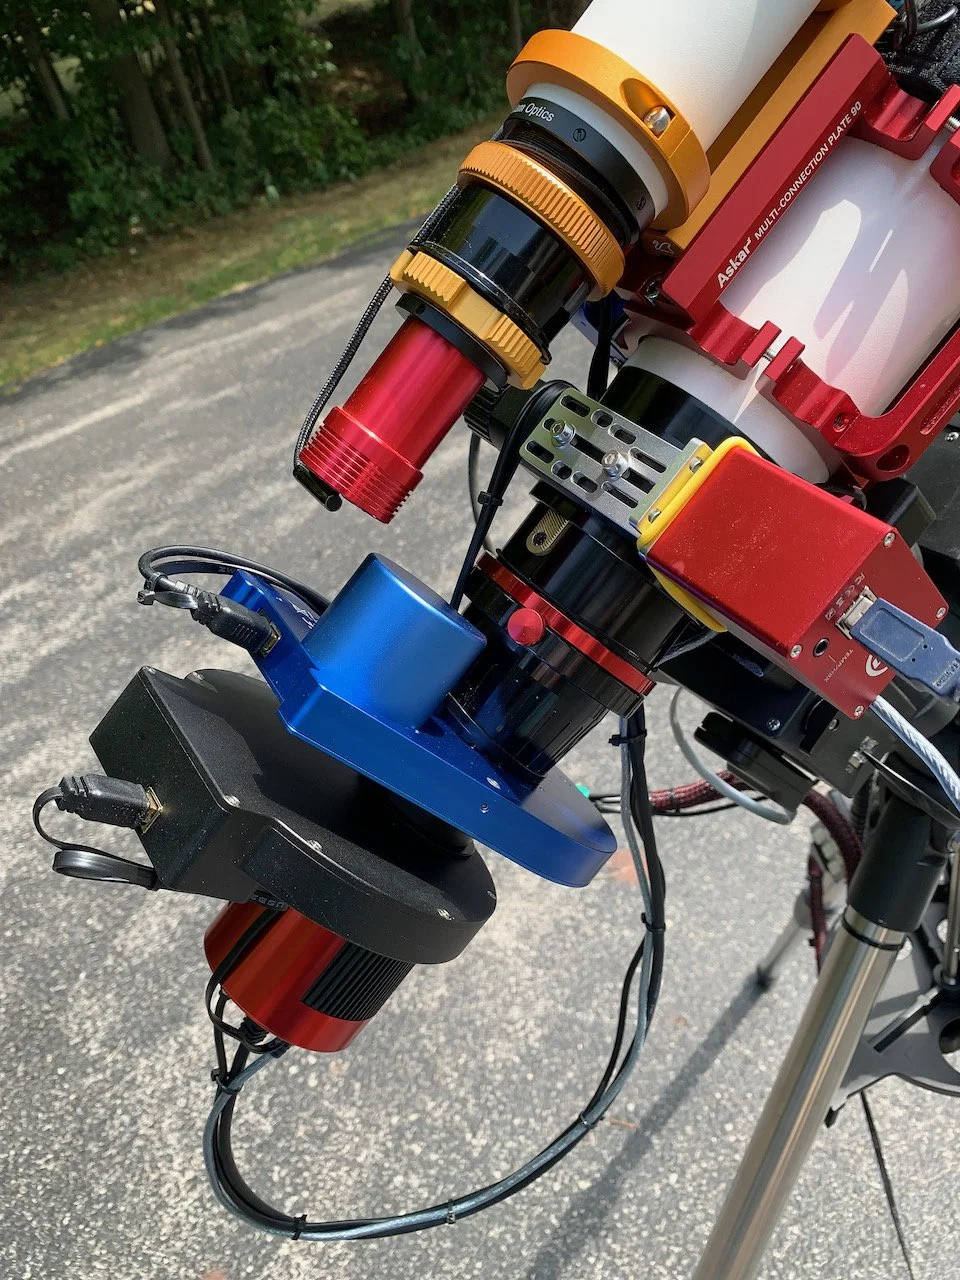
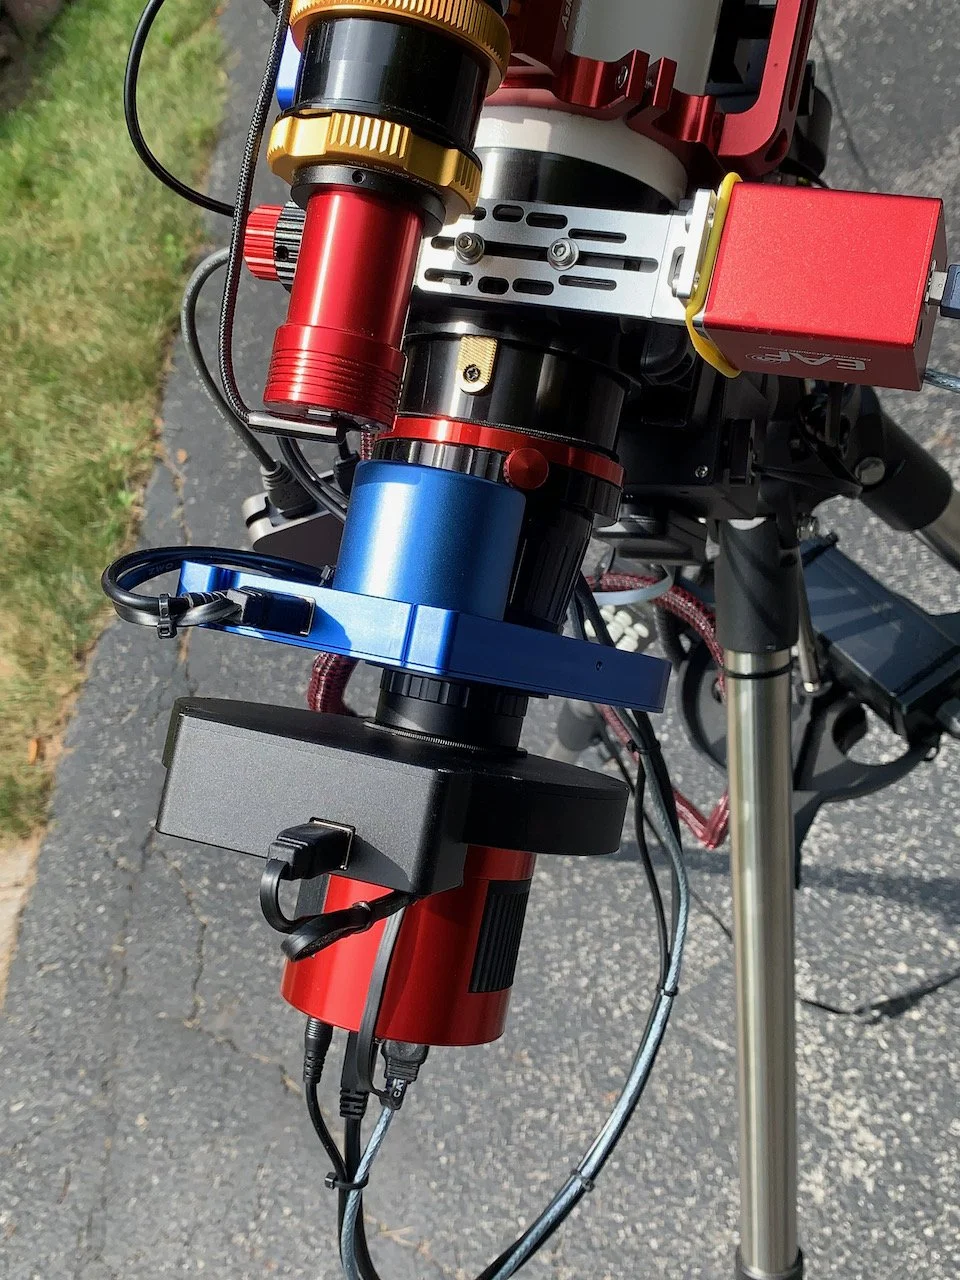
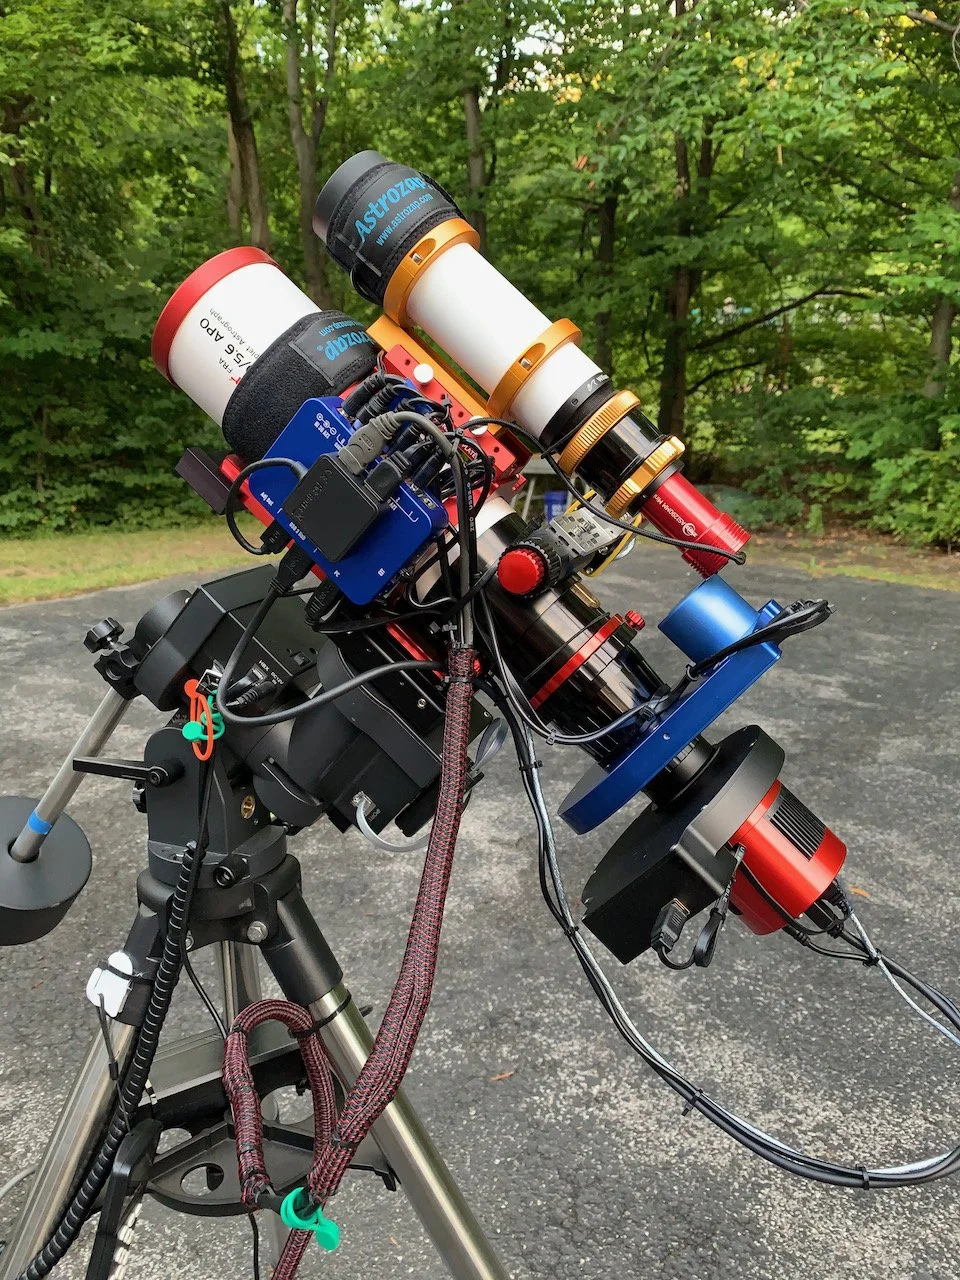
The new configuration! The Falcon Camera Rotor can be seen in blue at the back - mounted just in front of the Filter Wheel. Note the small square USB hub I added to support the extra USB connection needed.
Table of Contents Show (Click on lines to navigate)
A Video Overview!
I am still experimenting with the creation of video content for these posts. In this video, I was trying out the use of iPhones as the primary camera for the speaking parts, as well as trying Picture-in-Picture overlays.
Still learning - and I would appreciate any feedback!
Changes Needed!
I have been using Ver 1.1 of my FRA400 Platform for about a year now. While my experience has been quite good with this combination, I have begun to run into two issues that I decided needed attention:
Camera Rotation
Declination Axis backlash.
Let’s look at both issues.
Camera Rotation
My other two scopes have a Pegasus Astro Falcon Camera Rotator on them, and I think these are great devices!
You can see the Falcon Rotator on AgenaAstro.com, HERE.
The Rotators allow me to do two things well:
Use SGP’s Framing and Mosaic Wizard to determine precise compositional framing, and once established for a sequence, dial it in during the telescope centering process. This has helped me to up my compositional game considerably!
Allows me to handle multiple targets a night and return to the precise rotation over several nights or when I am ready to collect Flat cal frames.
SGP’s Manual Rotation Screen.
The first item is a bit of a luxury. I can - and have been - setting things up so that I can do manual rotations during the centering process. As centering and plate-solving occur, SGP will stop and ask me to rotate the camera by some specified amount - clockwise or counterclockwise - from where it currently is.
But since I do not have fiducial markings on the scope’s rotation ring, this rotation is an estimate at best. You are unlikely to get the right rotation on the first try. So as you go through the next cycle, you will repeat the process. Sometimes I undershoot. Sometimes I overshoot. This will continue until the rotation is within some specified limit (that you can set).
While this does work - it does mean that:
I am forced to run out to the scope and manually engage in this process - braving the cold or mosquitos.
I am subject to an iterative and an ad hoc game of guessing rotational angles until I dial it in
I waste time!
I lose sleep!
With a camera rotator, all of this is automated and is done quickly and efficiently. This means that I waste less time and can spend time doing infinitely more important things - like capturing subs and capturing some Zs!
Automation means more subs…. and more sleep!
The second item is much more critical. Since I can only get ~3 hours on a target each night (damn those trees!), I often shoot several targets in one evening. As I shift from one target to another, I need to engage in this rotation guessing game for each target, for each night that I am capturing subs. It also is important when I am capturing flat cal frames. I need to reposition the camera precisely so the flat images are taken at the same rotational angle used when capturing the light frames for that given image target.
I was getting tired of doing this by hand and wasting sub-capture time while doing it. With the Camera rotator on my other rigs - rotation and plate-solving can take less than a minute. By hand, it could take five or more minutes of fooling around. I’d rather be capturing subs!
In the past, I had decided to go without the camera rotator:
this made the OTA smaller - which helped in portable applications
this made the OTA lighter - which helps in tracking and guiding.
I finally decided that it was better to add the rotator back in and get its benefits. It also standardizes my telescope use protocols across all of my scopes now.
Installing the Rotator
The Falcon Rotator is 19mm thick, and so you mount it, I needed to remove that thickness from the mounting stack of adapters that currently exist between the camera and the telescope.
I removed the outermost ring of the mounting cone that SharpStar provides with the scope, and this brought me almost exactly where I wanted to be. I still needed to find the right adapter rings in my collection to mate the threads - I found the combination I needed on hand this made the mounting easy.
The Camera Adapter Segment of the Askar FRA400 scope that was removed to make room for the Rotator.
I also needed to provide 12v power and a USB 2.0 connection to the Rotator.
The power was easy, and the Pegasus Astro Pocket Power Box Advanced still had two power output feeds available, so that took care of that.
However, the only USB port available on the Pocket Power Box Advanced was USB 3.0 - offering no support for USB 2.0 functions (this is the only port that is that way).
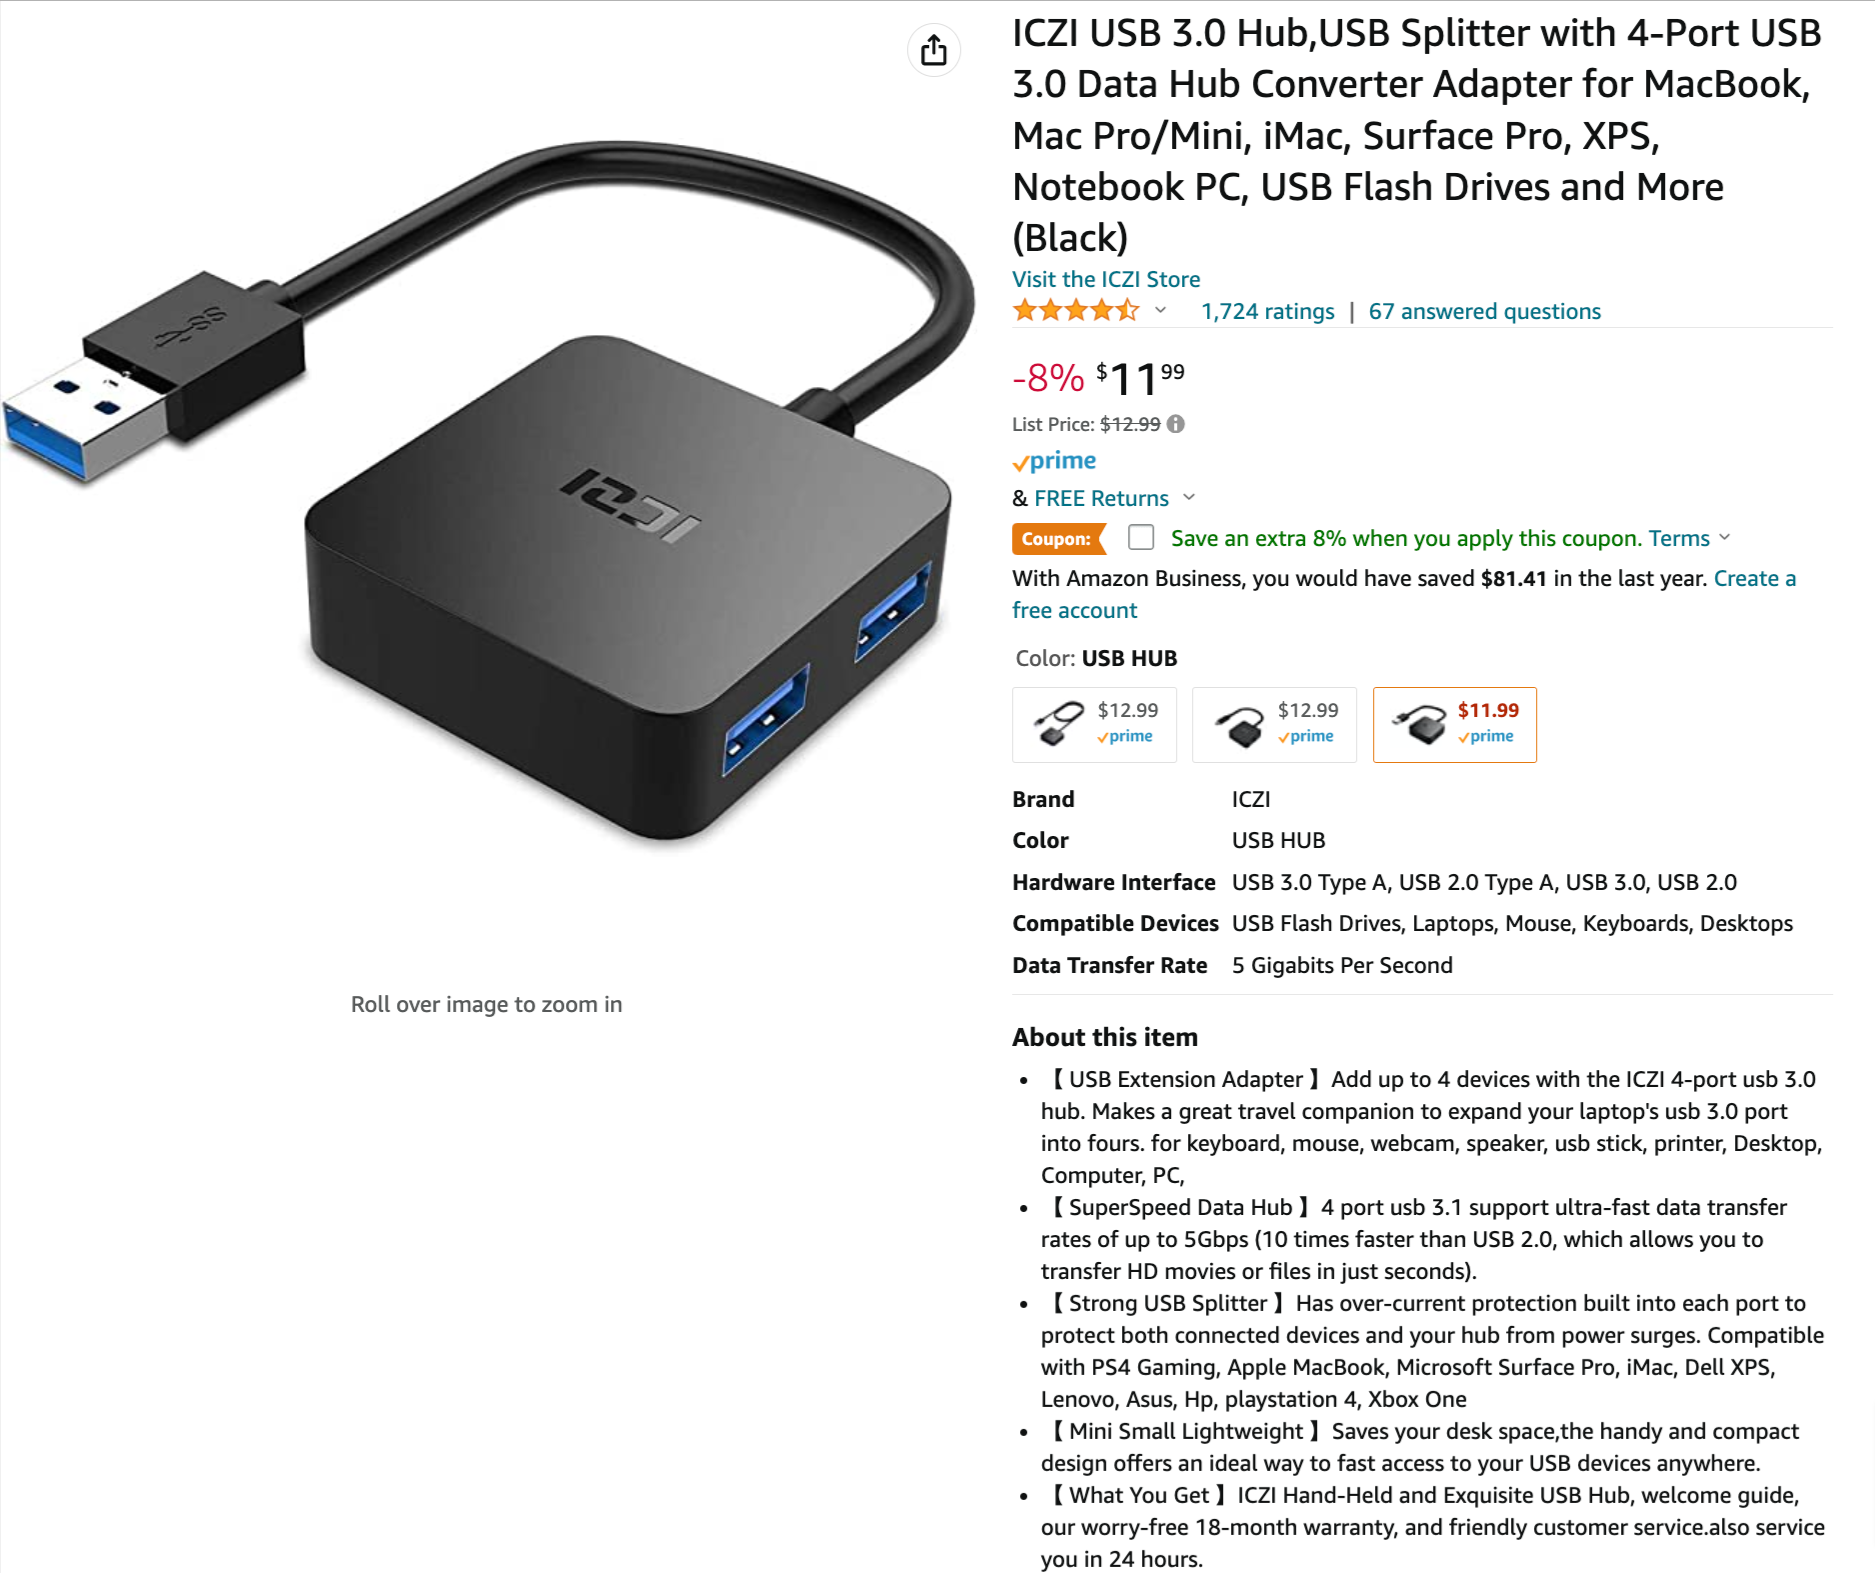
So I got a small USB3.0 4-port USB hub:
The small USB hub that I used to support the extra USB connection. This was small, light, and worked perfectly!
On Amazon.com, you can find it HERE.
I used sticky gel tape to mount it to the outside of the Power Box Advanced and rearranged my cables, and touched up my cable management.
Declination Backlash
Recently I had two imaging projects that ran into guiding issues. I was forced to throw out a number of subs due to star elongation. A subsequent investigation discovered that the Backlash Compensation Enables check box in the PHD2 declination guiding parameters has been disabled. No idea how this occurred. Once it was restored, the problem seemed to be resolved. But as part of that investigation, I noticed that my backlash changed from under 1 second to 2.5 seconds!
When I first got the CEM 26, the backlash on the Declination axis was about 5 seconds! I contacted IOptron, and they promptly replied with a procedure that tightens the tension on the declination belt drive. They indicated that this should help the situation. I followed that procedure and reduced my backlash to under 1 second - not great but still a huge improvement. I was then able to tune the PHD2 declination guiding parameters to deal with it, and I found I was getting great results.
The new measure of 2.5 seconds of backlash meant that things had shifted, and I probably needed to do that procedure again. Since I was going to strip down the rig to install the rotator - this was a perfect time to try and improve the backlash again.
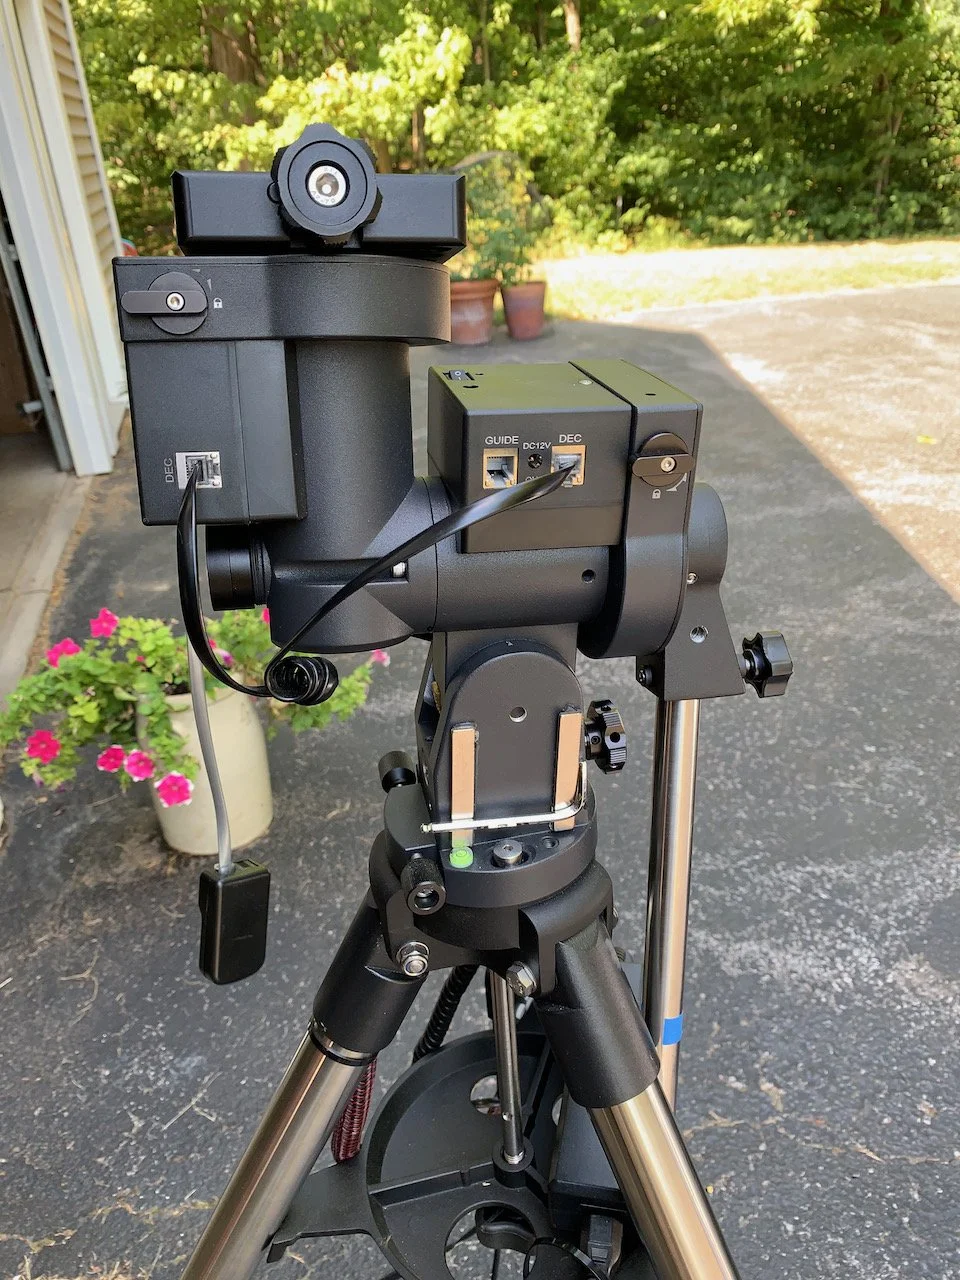
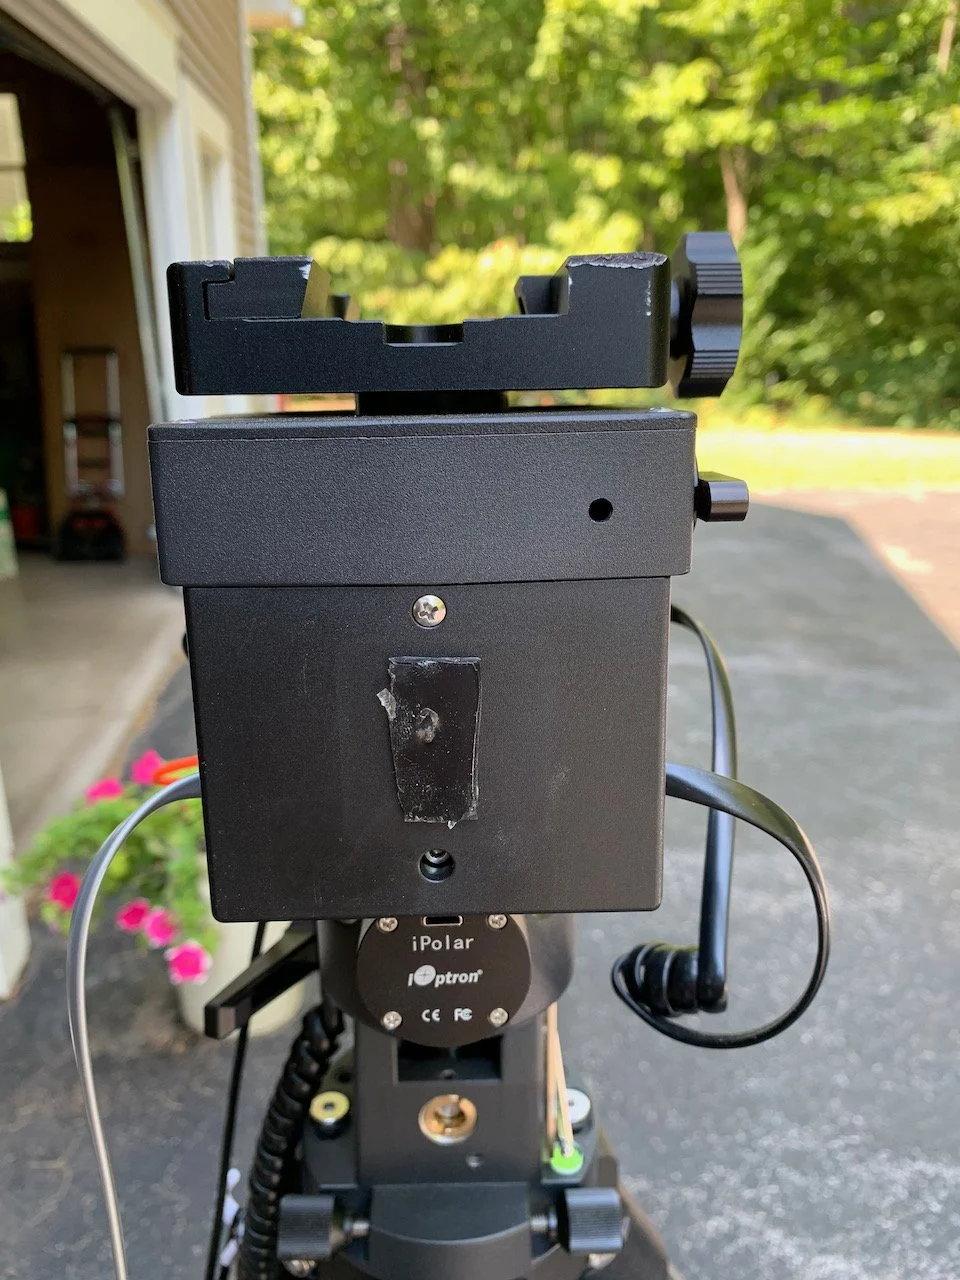
So I stripped the OTA off of the mount and then positioned things so I could better see the panel that covered the declination drive belt and motor. I removed the screw and the Allen bolt, and this allowed the cover to be removed
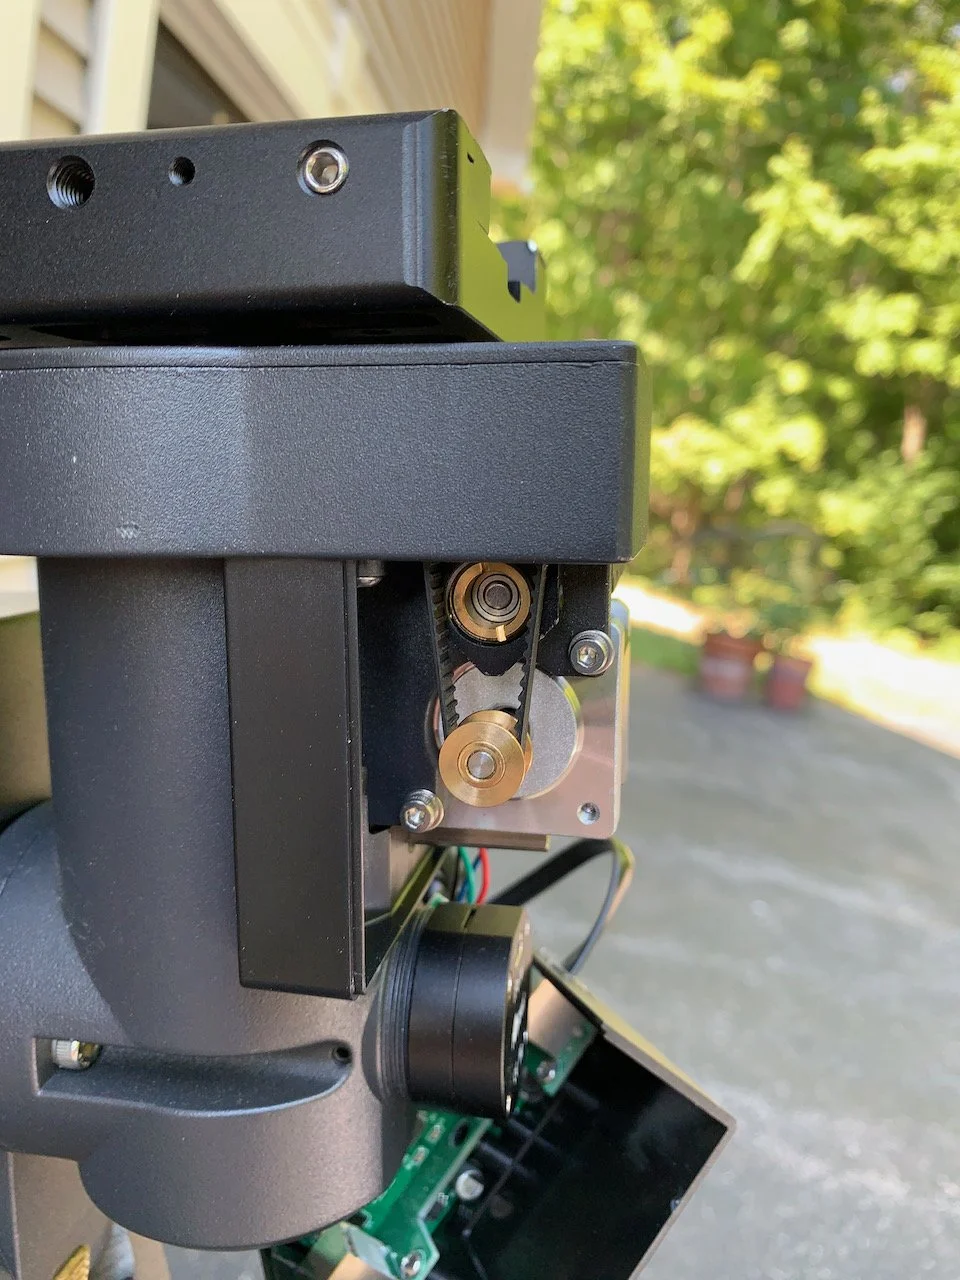
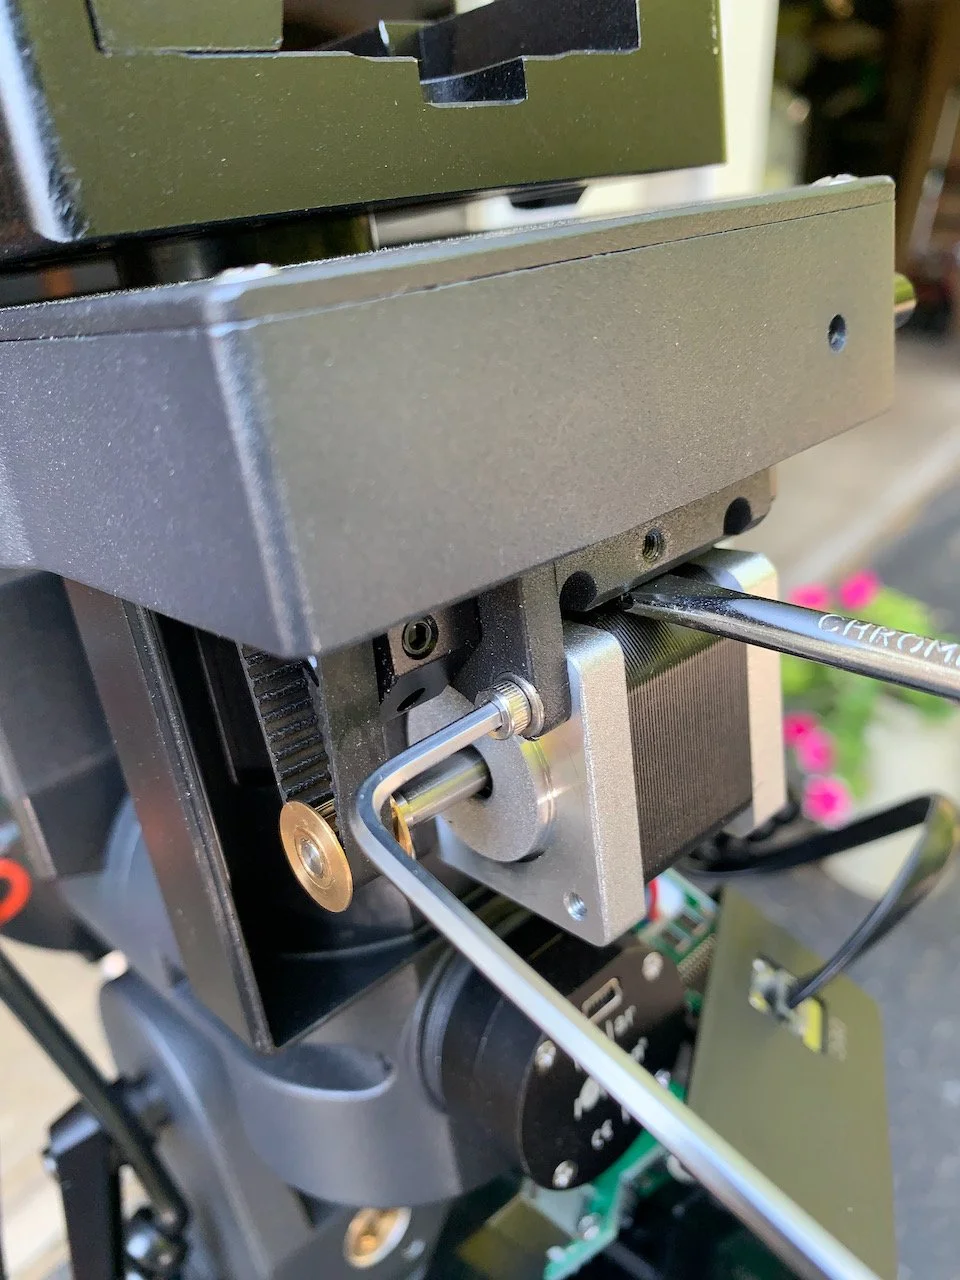
I then loosened the two screws on the motor mount, levered the motor down with a screwdriver to increase the belt tension, and then tightened things up. This should have done the trick - but I will not know until the next clear night!
The CEM26 mount with the OTA was removed and positioned for better access to the declination belt location.
The cover is now off an dangling by wires. The drive motor can be seen in the center and teh the drive best is to the left in this view.
This is the cover for the declination belt drive. You remove the top screw, and then the lower allen-head bolt to remove the cover.
Looking directly at the declination drive belt. The two bolts at rouggly 2 o’clock and 7 o’clock relative to the drive shaft hold the motor in position. Loosening these allows the motor to be shifted - changing the belt tension.
A screwdriver is leveraging between the motor housing (upper-right) and an allen wrench is used to tighten the mounting screws (left).
The Final Version 1.5 Configuration:
Scope: Askar FRA400 72mm f/5. 6 Quintuplet Air-Spaced Astrograph
Focus Motor: ZWO EAF 5V
Guide Scope: William Optics 50mm guide scope
Guide Scope Rings: William Optics 50mm slide-base Clamping Ring Set
Mount: IOptron CEM 26
Tripod: IOptron 1.5” Tripod
Camera: ZWO ASI1600MM-Pro
Camera Rotator: Pegasus Astro Falcon Camera Rotator - new
Filter Wheel: ZWO EFW 1.25x8
Filters: ZWO 1.25” LRGB Gen II, Astronomiks 6nm Ha, OIII,SII
Guide Camera: ZWO ASI290MM-Mini
Dew Strips: Dew-Not Heater strips for Main and Guide Scopes
Power Dist: Pegasus Astro Powerbox Advanced
USB Dist: Pegasus Astro Powerbox Advanced
Polar Alignment
Cam: Iplolar


