
Observatory Project: Final Roof Track System Hardware Selection
Date: July 16, 2024

Table of Contents Show (Click on lines to navigate)
NOTICE!
This post shares my preliminary design thoughts for a Roll-Off-Roof Observatory.
I make NO representations regarding the fitness or soundness of the designs and design decisions discussed.
Use this information at YOUR OWN RISK!
If you decide to build your own version of this project, you ASSUME ALL LIABILITY for your efforts and their results.
Earlier Posts in this Series
I have been thinking about building an observatory for a while now - below are previous posts leading up to where I am today.
Observatory Project: Designing Custom Steel Piers - Part I June 2024
Observatory Project: Galvanic Corrosion and a Change in Track Selection! June 2024
Observatory Update: Designing the Roll-Off-Roof Track System! May 2024
The Move is Complete, Now Pivoting to the Observatory Project! April 2024
An Observatory Project Update: Success! We Just Bought A Property and Will Be Moving! Nov 2023
An Observatory Project Update - One Year In Feb 2023
Goals for my Observatory Project March 2022
Here is the Video Companion to this post
In the Most Recent Posts…
The last two posts have been dealing with the design and fabrication of the four custom steel piers I am building for the observatory.
The one before dealt with Galvanic Corrosion, which caused me to change some of my hardware selections to materials that would not be subject to this issue.
Since then, I have continued to overthink everything obsessively. :-)
Continued research caused me to find some new selections:
Which were lower in cost!
And had a better or equivalent performance.
Based on these findings, I placed my orders, and now I have most of that hardware in hand.
So, I thought it was time to provide an update on where I came out.
The Track
I went with the same Galvanized Steel Track as I talked about in the last post:
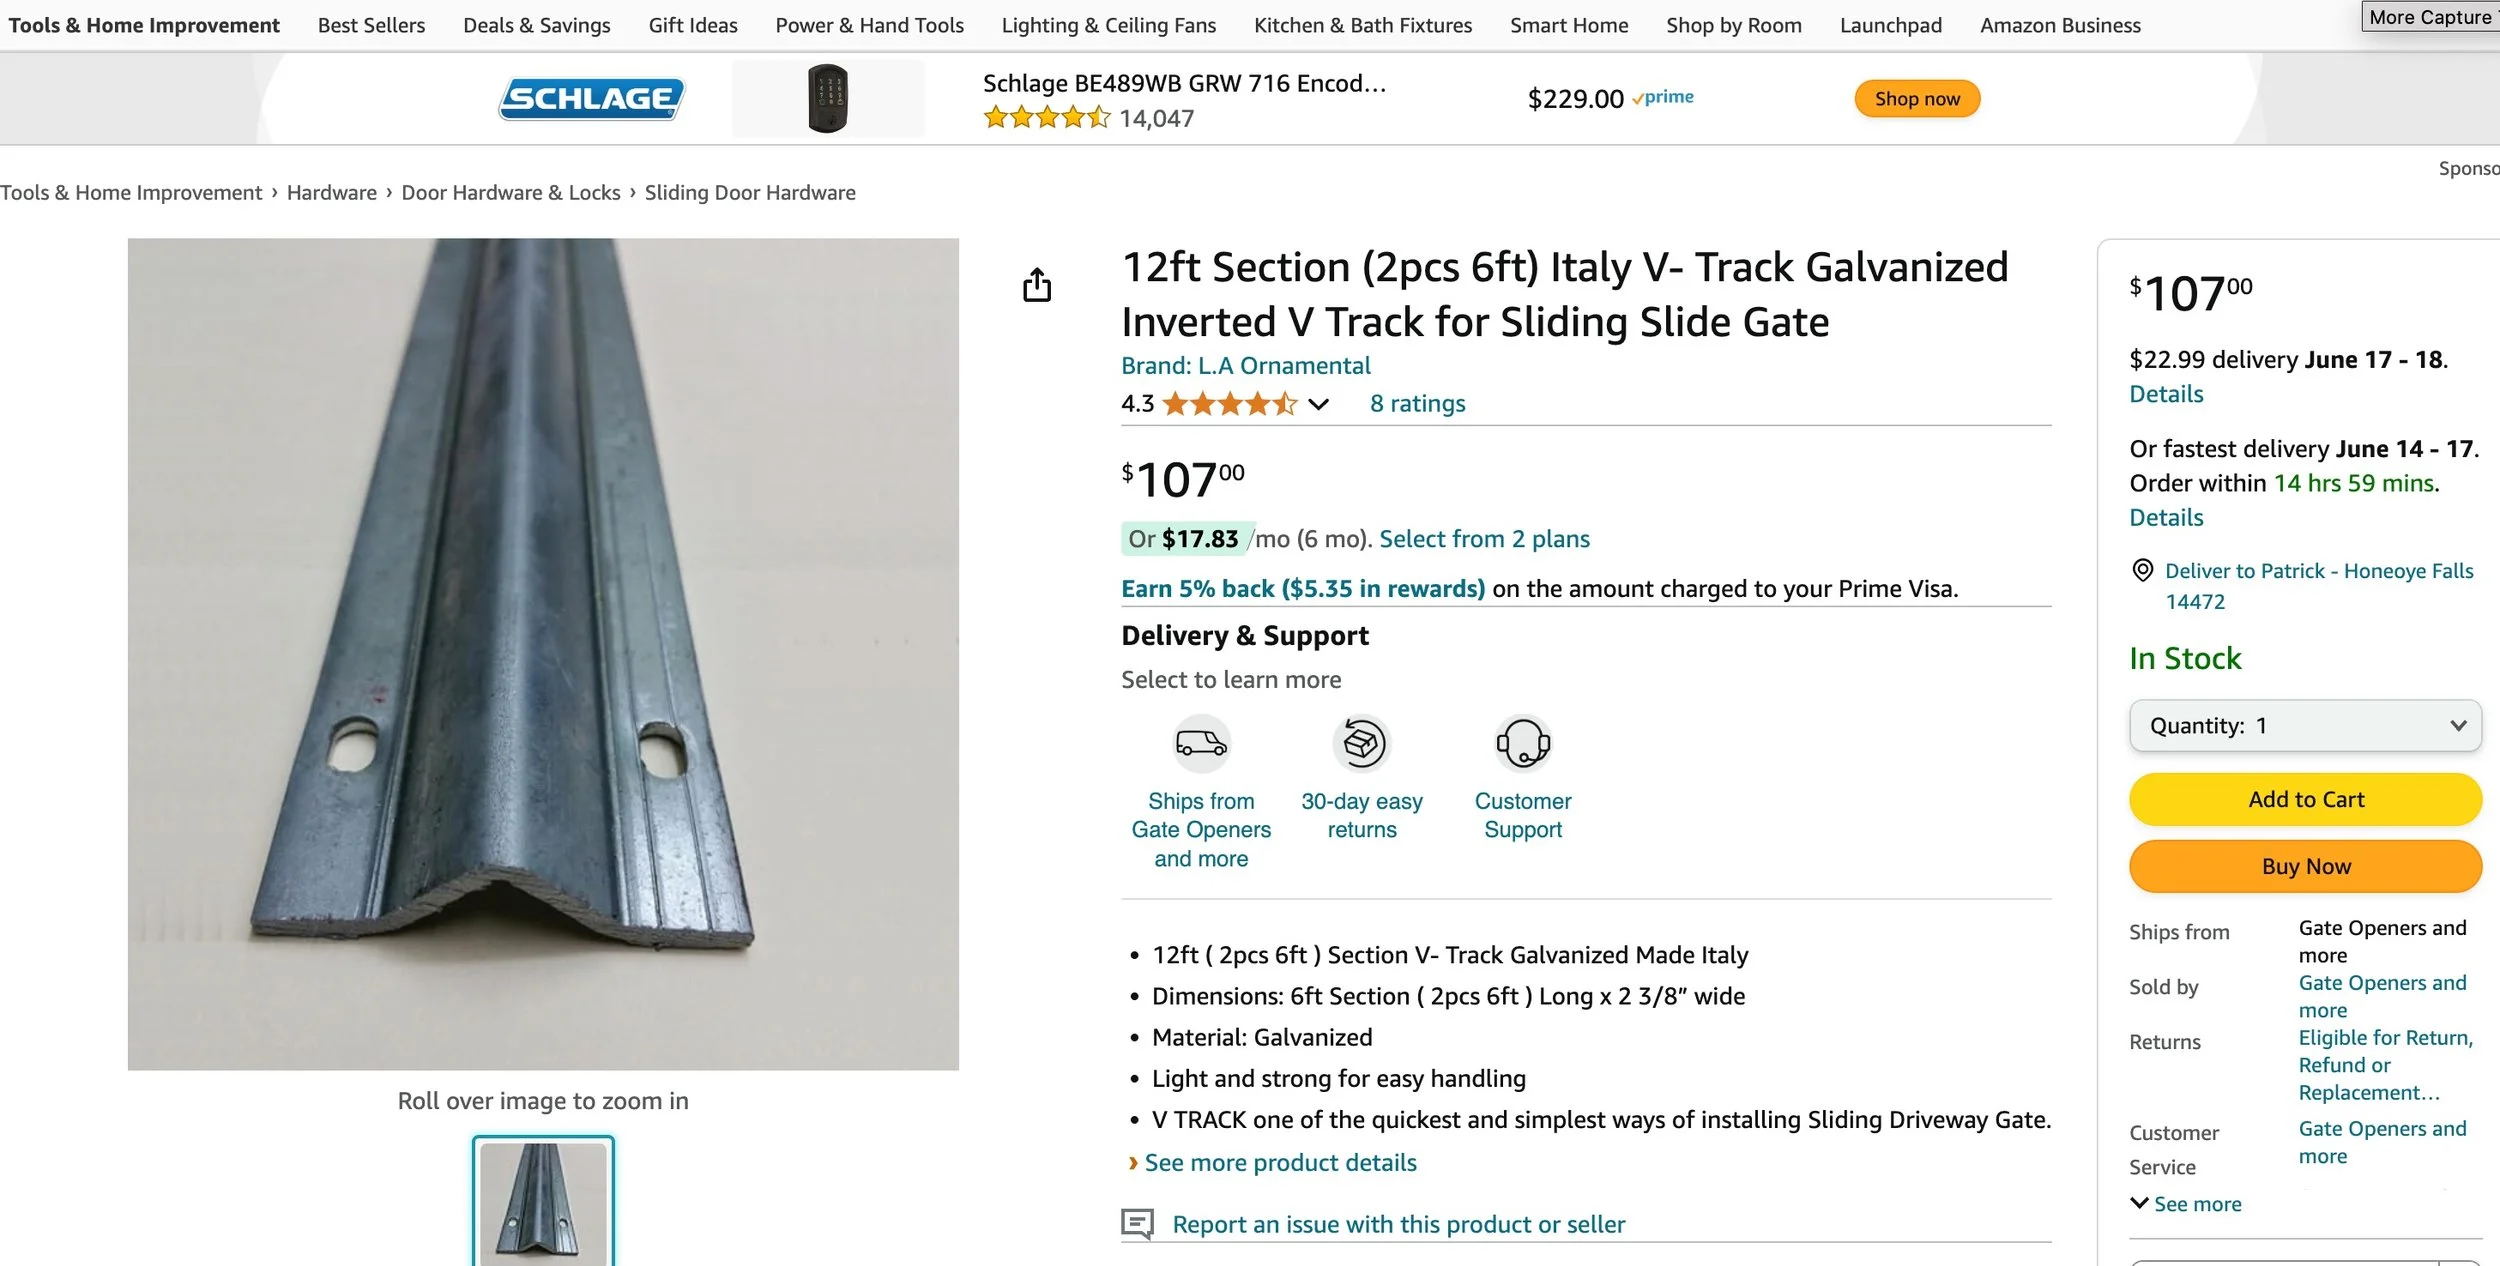
From Amazon.
You can see this at the Amazon URL HERE.
It came pretty quickly and was extremely well packaged to protect it during shipment.
It seemed very heavy-duty and well-made. I think this will work out great!
I bought 48 feet to cover the top of the west wall of the observatory.
The V-Groove Wheels
My original V-Grove wheels were about six inches in diameter, made of iron, had open bearings, and had a 1000 lbs load capacity. These went for about $50 a pop, and I needed six of them. I wondered if I could find something better/cheaper.
Then I came across these wheels on Amazon:

From Amazon.
You can see the Amazon URL HERE.
These were smaller and narrower wheels.
But they were made of Zinc Galvanized Steel, which made them more weatherproof.
They also had a heavier load rating at 2200 lbs and sported closed bearings.
The best part was the price - they cost about $19 a piece (sold in sets of four).
Two things concerned me about these wheels: They were 3.7 inches in diameter and about half the width.
So, I talked to Rick Abreacht about this.
As long as they engage the V-Groove Track well, the size should not be an issue in this application. One thing to consider is that the V-wheel is the main mechanism keeping the roof on the walls. If there is a lateral wind, the V-wheels must deal with this. Given that the base was narrower, Rick thought it would be a good idea to create some 3” x 5” x 1/4” thick plates that have the same hole pattern as the wheelbase. The wheels would then be bolted into the roof through the plate, and the plate would reinforce things and help distribute lateral loads.
So Gary Villa going to cut some plates for me. (Thanks again, Gary!).
Also - to strengthen things for lateral loads, I decided to go from using five wheels to seven. These extra wheels will help enhance the engagement of the V-Track.
The Wheels looked pretty nice when they showed up.

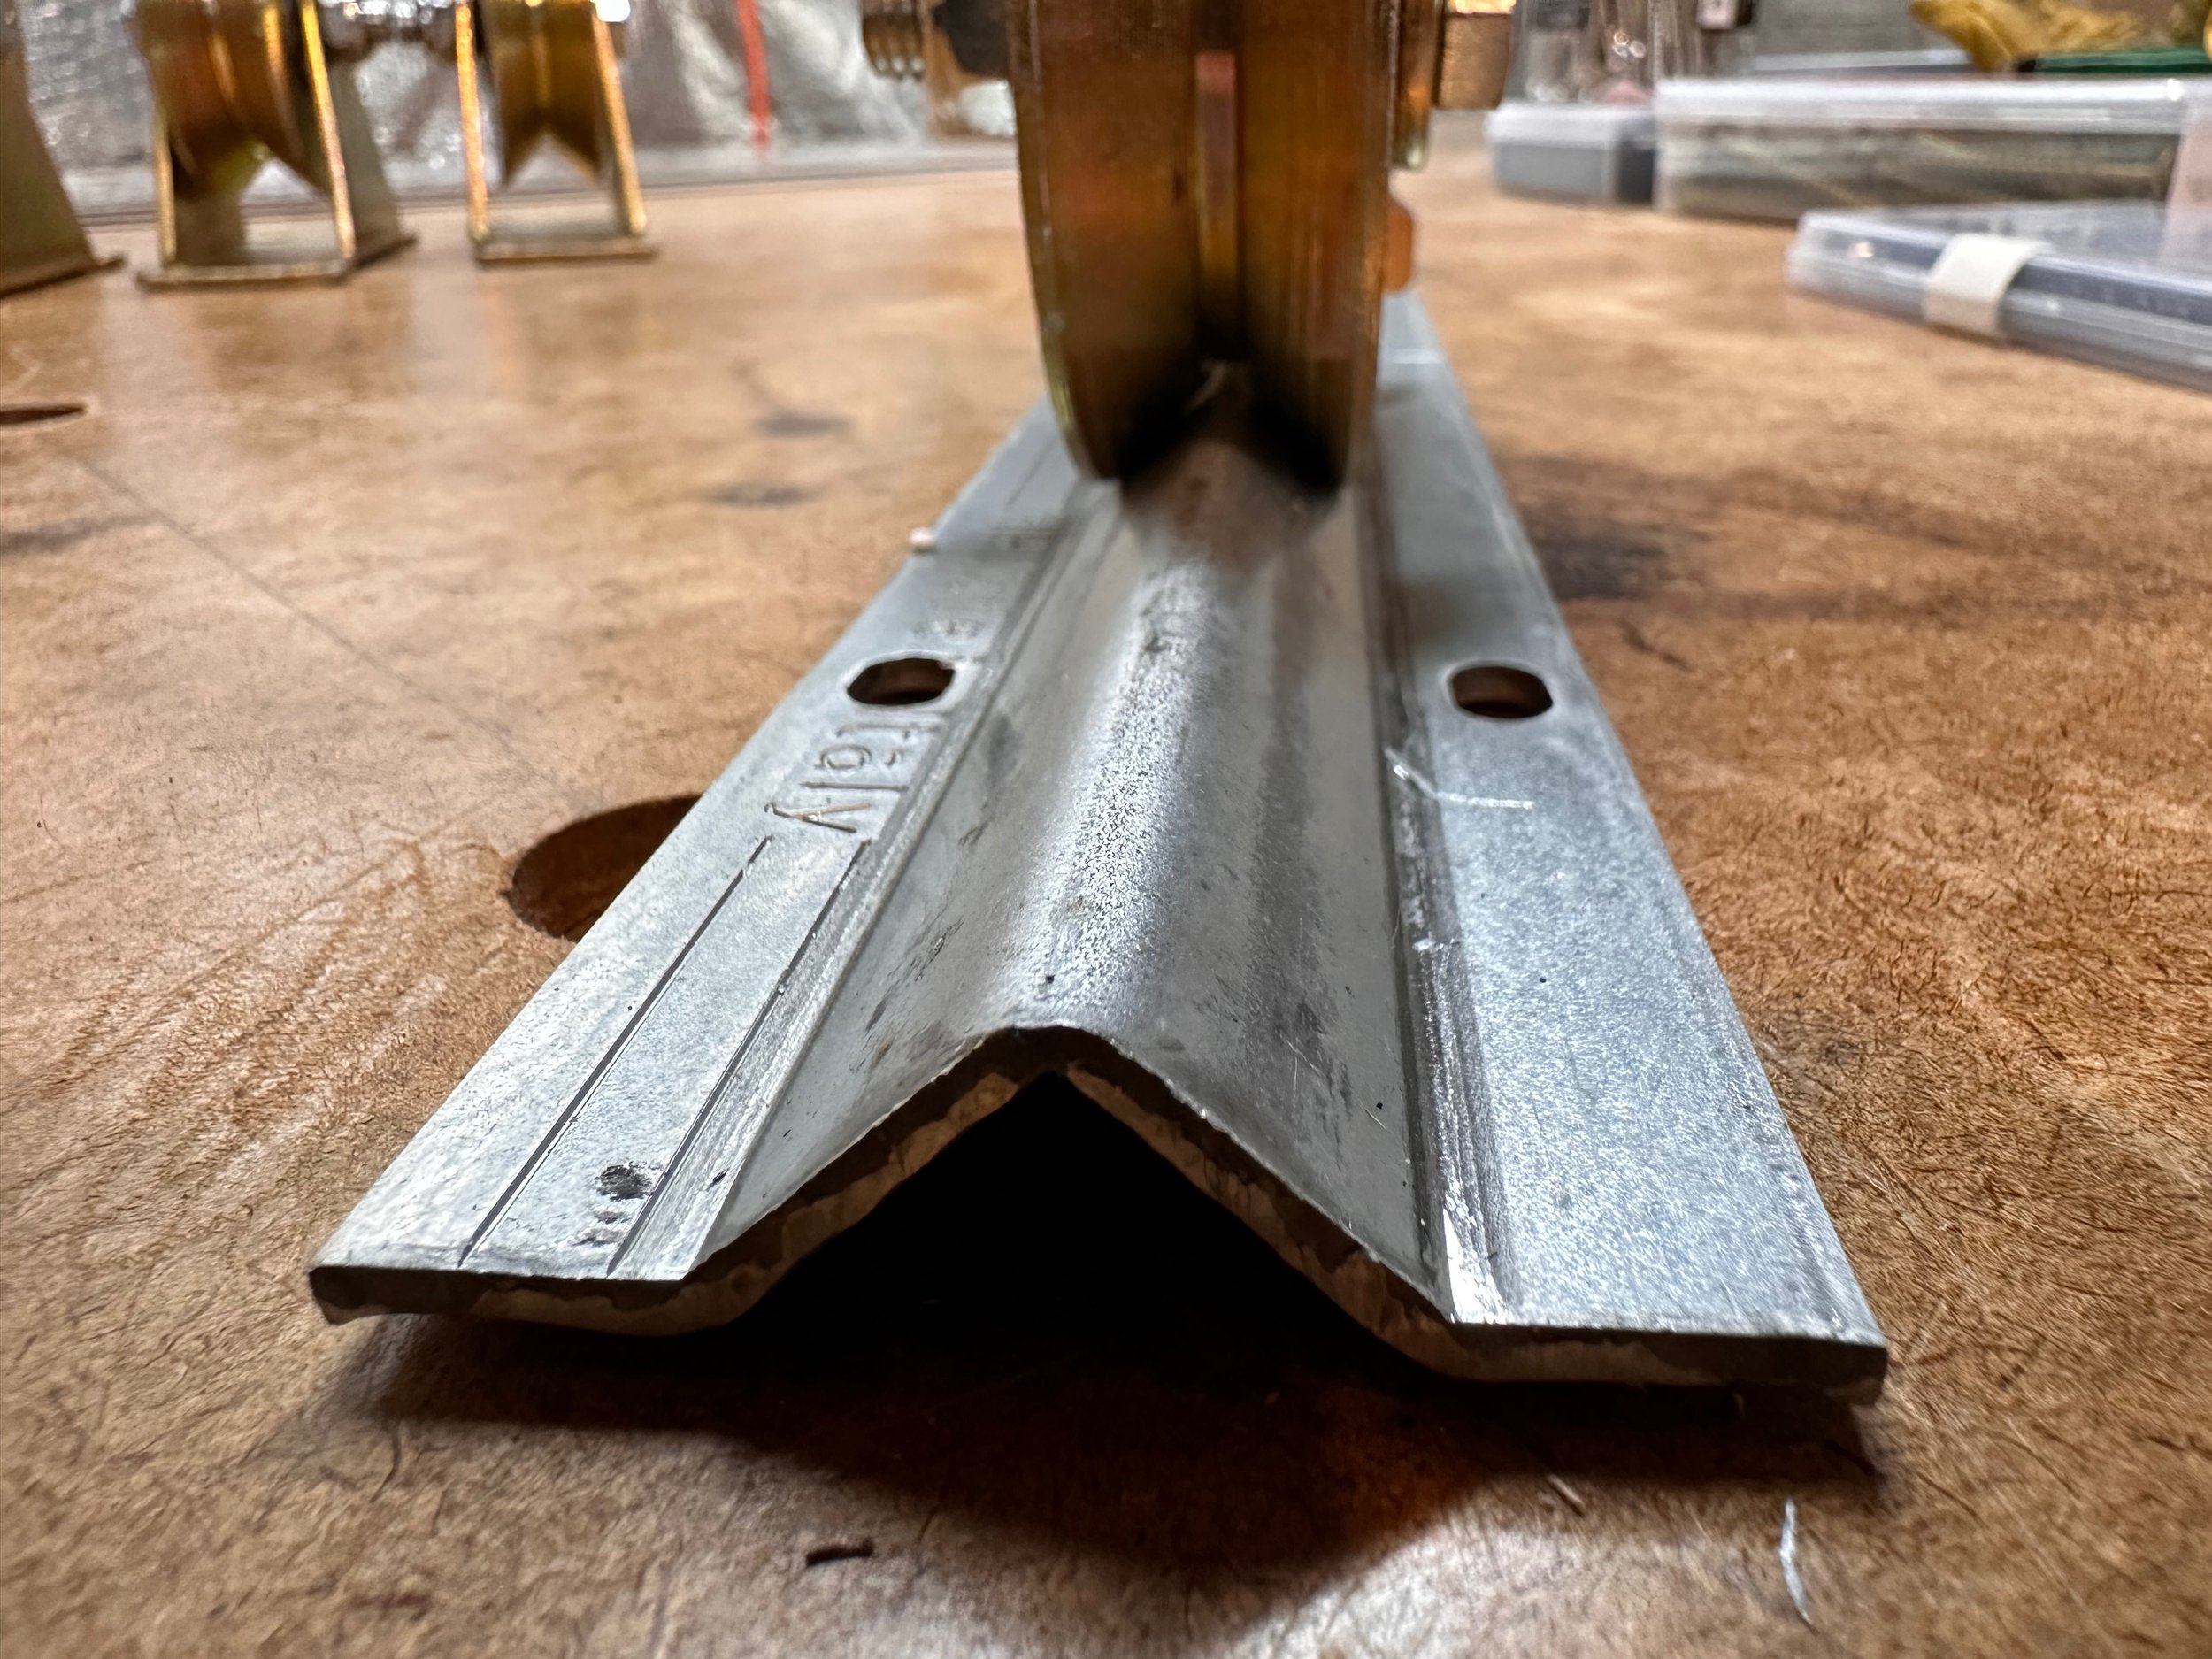
The V-Groove Wheels I recieved.
They seemed to fit the flat track well - and they narrower wheel width meant that the mount holes for the track would not place screw heads in the way.

The V-Groove Wheel sitting on the track. A pretty decent fit!
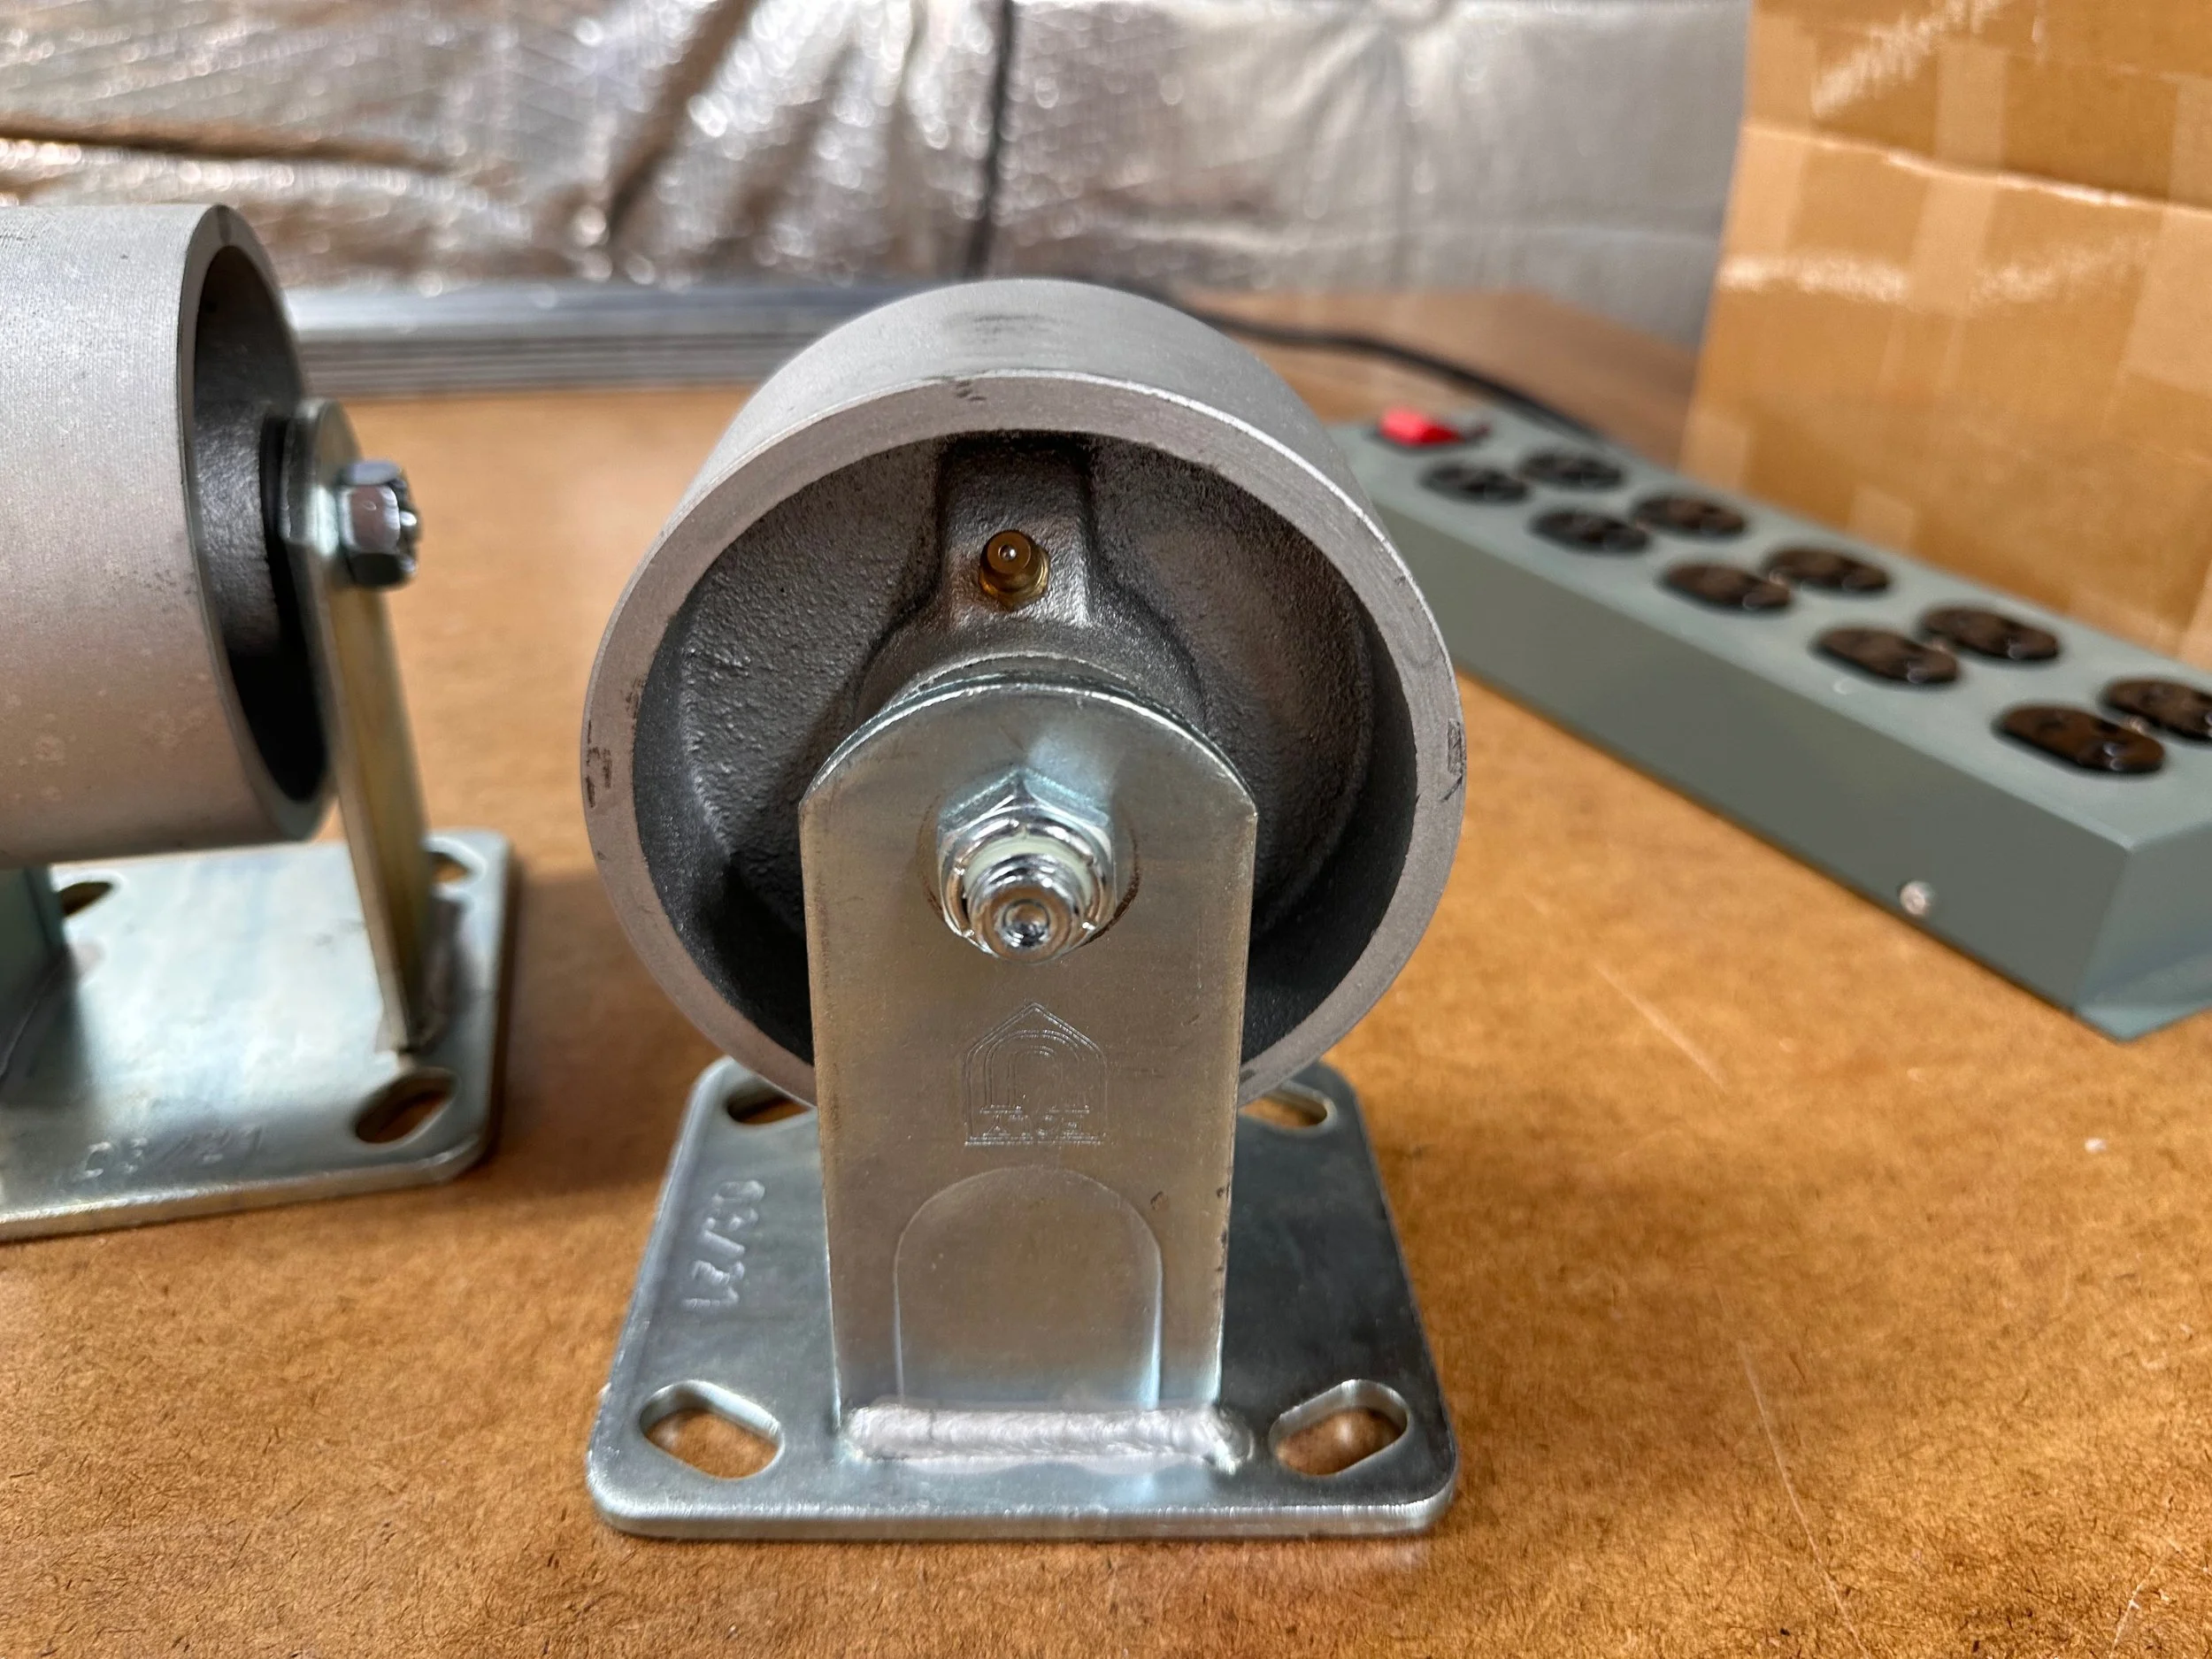
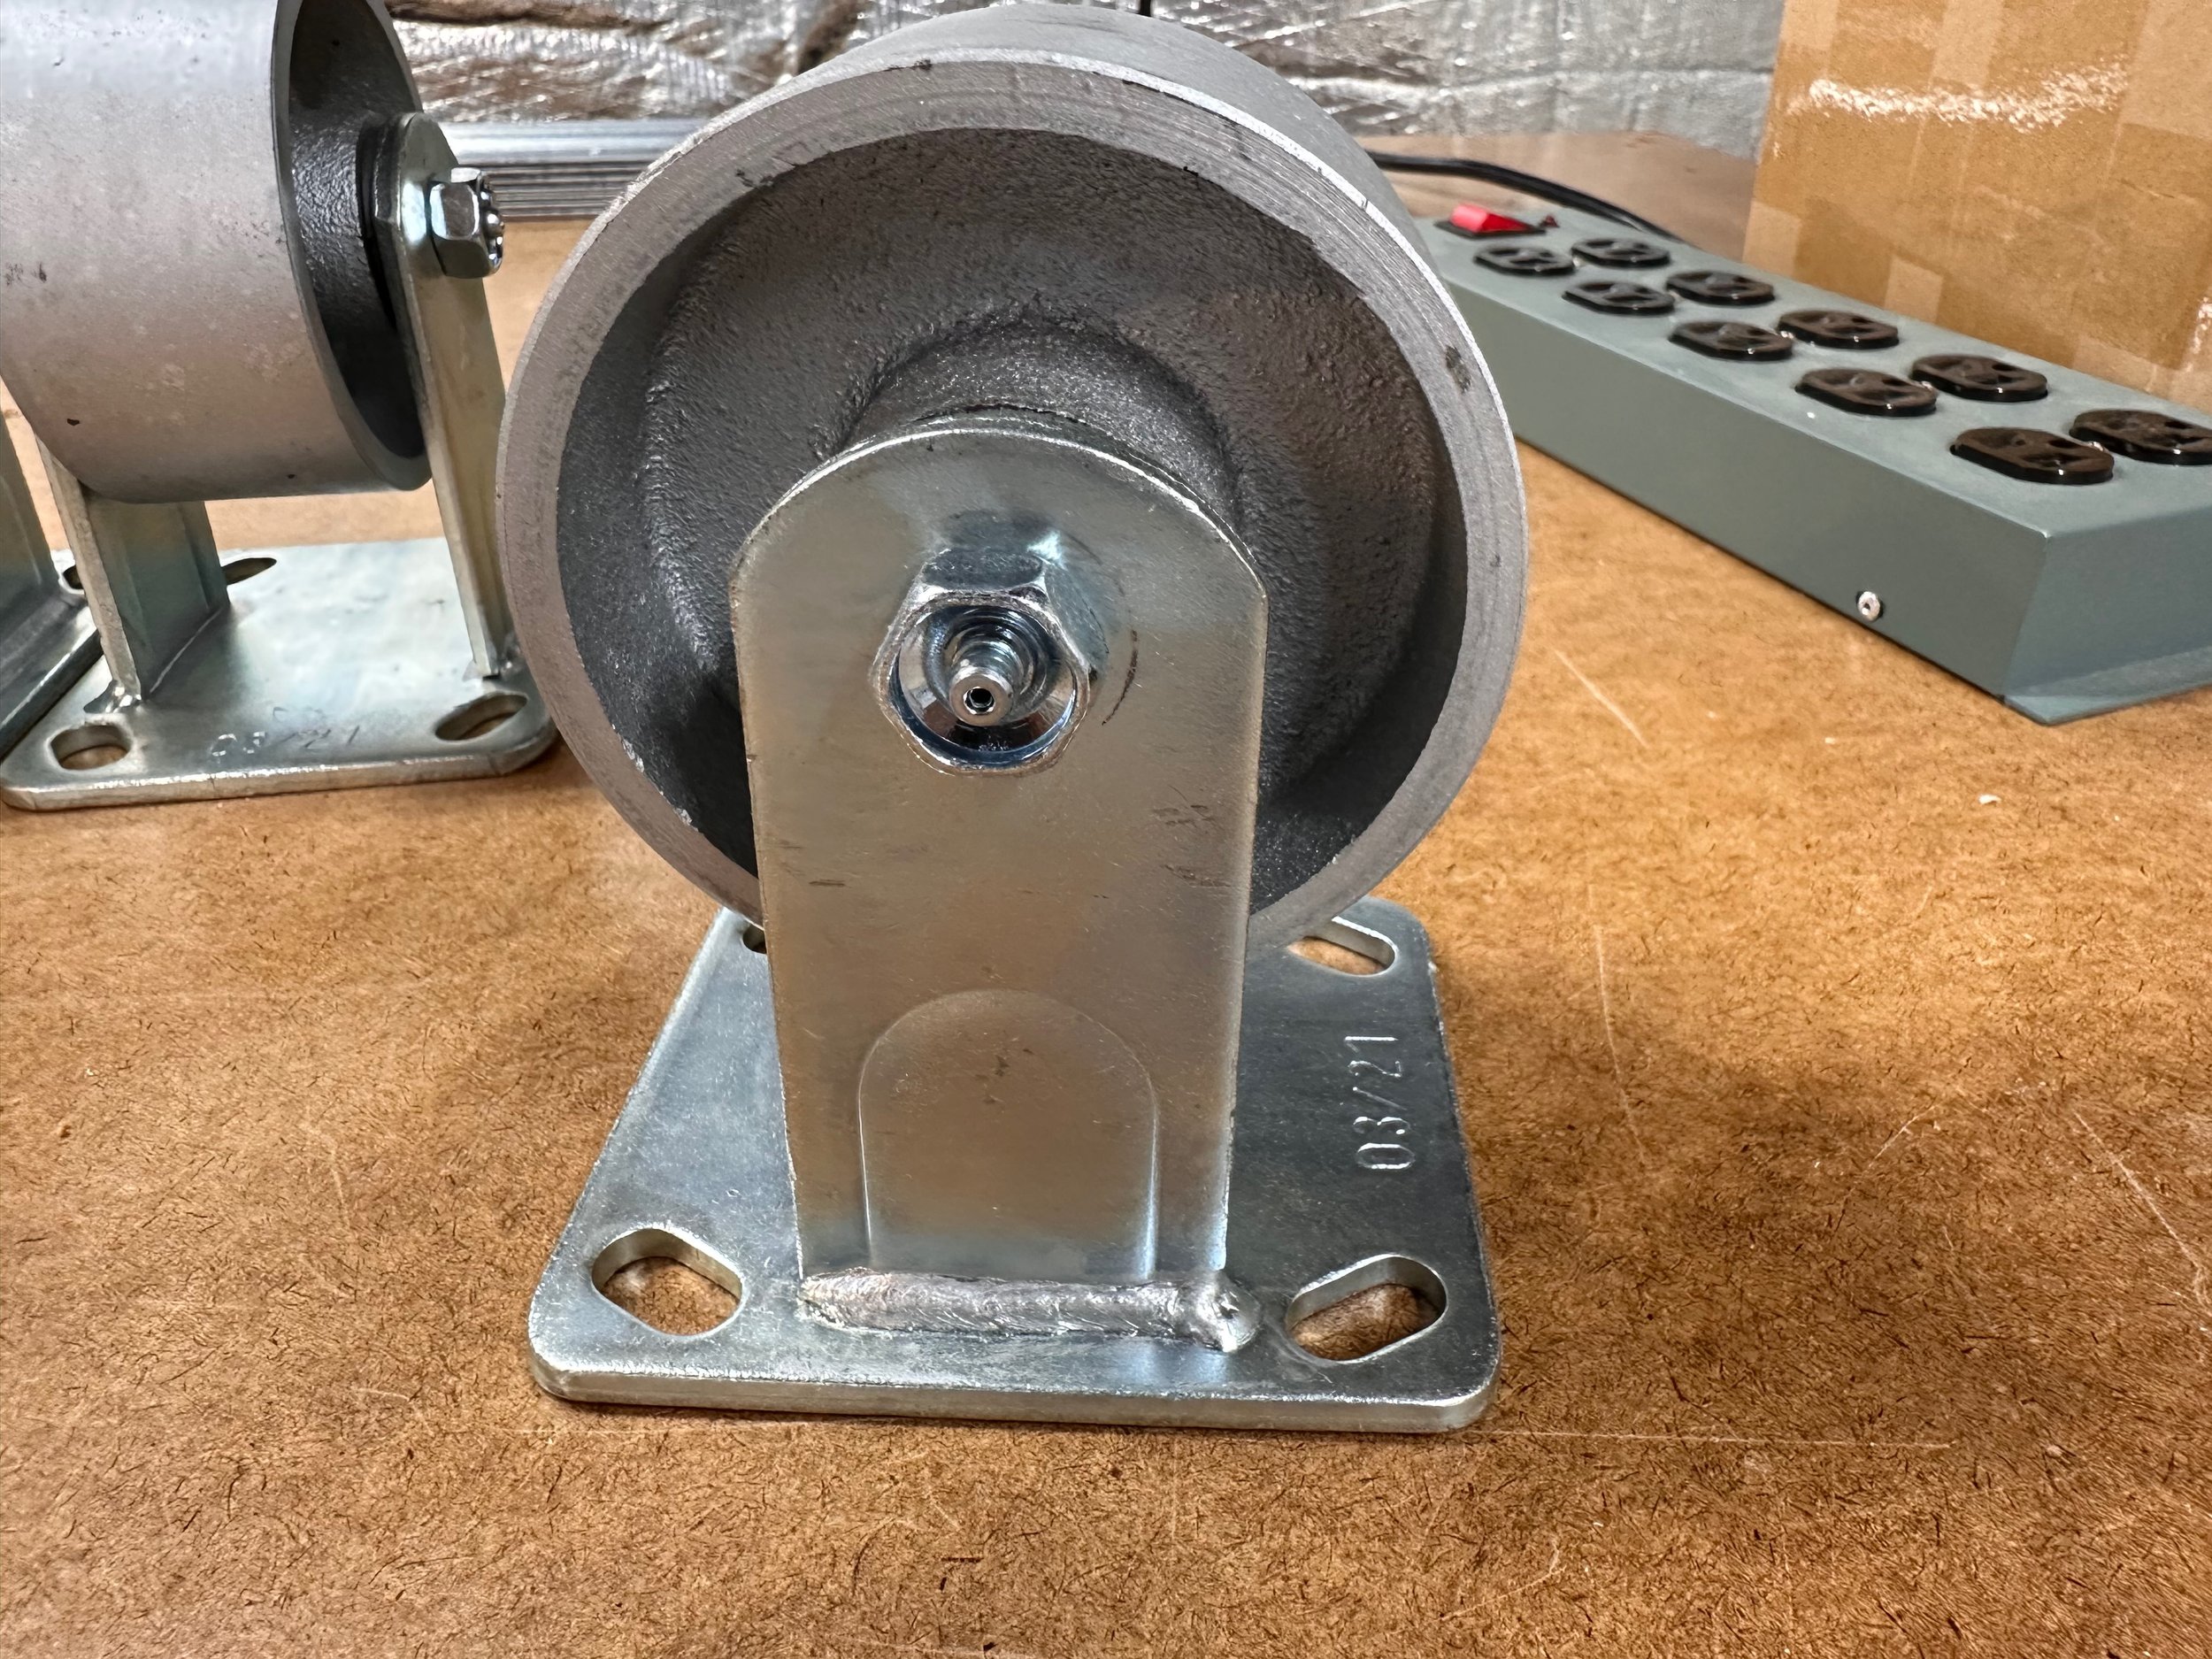
Here is the bottom of the wheel mount. A 3x5 plate with this hole pattern will reinforce things!

Here is the bottom hole pattern. We will duplicate this on a 3x5x1/4 inch steel plate for each wheel.
These will be used on the West Wall.
Flat Track
As indicated in my last post, I will be using a 3/16th-thick stainless steel track for the flat track. Gary Villa will help source this. Originally, we were going with a 3-inch wide strip, but after looking at the flat wheels (coming up next), we decided to go with a 3.5-inch width.
I don’t have this yet, so there is nothing to show you - stay tuned!
Flat Wheels
Orignally, I was going with a 6-inch Iron wheel that was two inches wide and had a 1000 lbs load rating.
Now, I was going with a 3.7-inch wheel, so I needed to find something similar that was closer to that size. I found flat wheels that were 4” x 2” and that was as close as I could get. Those wheels, however, were about $45 each. I did some more looking and I found wheels with the same specs but better grease access points on Amazon for only $25 each!

From Amazon.
These can be seen at the Amazon URL HERE.
I initially ordered 6 of these. These also looked quite good when they came in:

The flat wheels.
In this view you can see the grease nipple inside the wheel.
Flip the wheel around and you can see the grease nipple on the wheel axel.
These wheels really don’t have to deal with lateral loads—they just need to handle the weight of the roof pushing down. Based on this, I only needed five wheels. But I was a little concerned about the flat track only being 3/16th thick.
Was this too thin?
Going thicker really increases the cost of the stainless steel.
Rick suggested using some hardwood backing so that the track was not sitting on soft pine, thus giving it a better foundation. This could easily be done, but then the hardwood on the outriggers would be exposed to the weather, and they would need to be painted or something to protect them.
Instead, I decided to add just more wheels. More wheels would distribute the roof load more evenly and be more robust to the elements, So I decided to mount seven of these as well.
These will be mounted on the East Wall.
Manual Lock Downs
My goal is to make the observatory as automated as possible.
To support this, we have described a passive lockdown that will cause the roof to engage the wall when it is in the open and closed positions.
But I also wanted some strong manual lockdown latches. These could be used to secure the roof to the walls actively.
After doing a search I found these Latches and ordered them:

From Amazon.
These can be found at the Amazon URL HERE.
These cost $42 for a set of two, and I was planning on using a total of six—two at each end of the roof and one in the middle.
These handle a 7700 lbs load per latch, so they are very hefty. But the U-rods are just not long enough for my application. So Rick Albrecht saved me again by offering to make a set. He would order the same or a slightly heavier rod, bend it in the “U” shape, and then tap the ends. This would allow the latches to span the wheels and roof and wall top plates.

Rick Abrecht’s first cut of determing the lengths for the U-Rod for the Manual Latches.
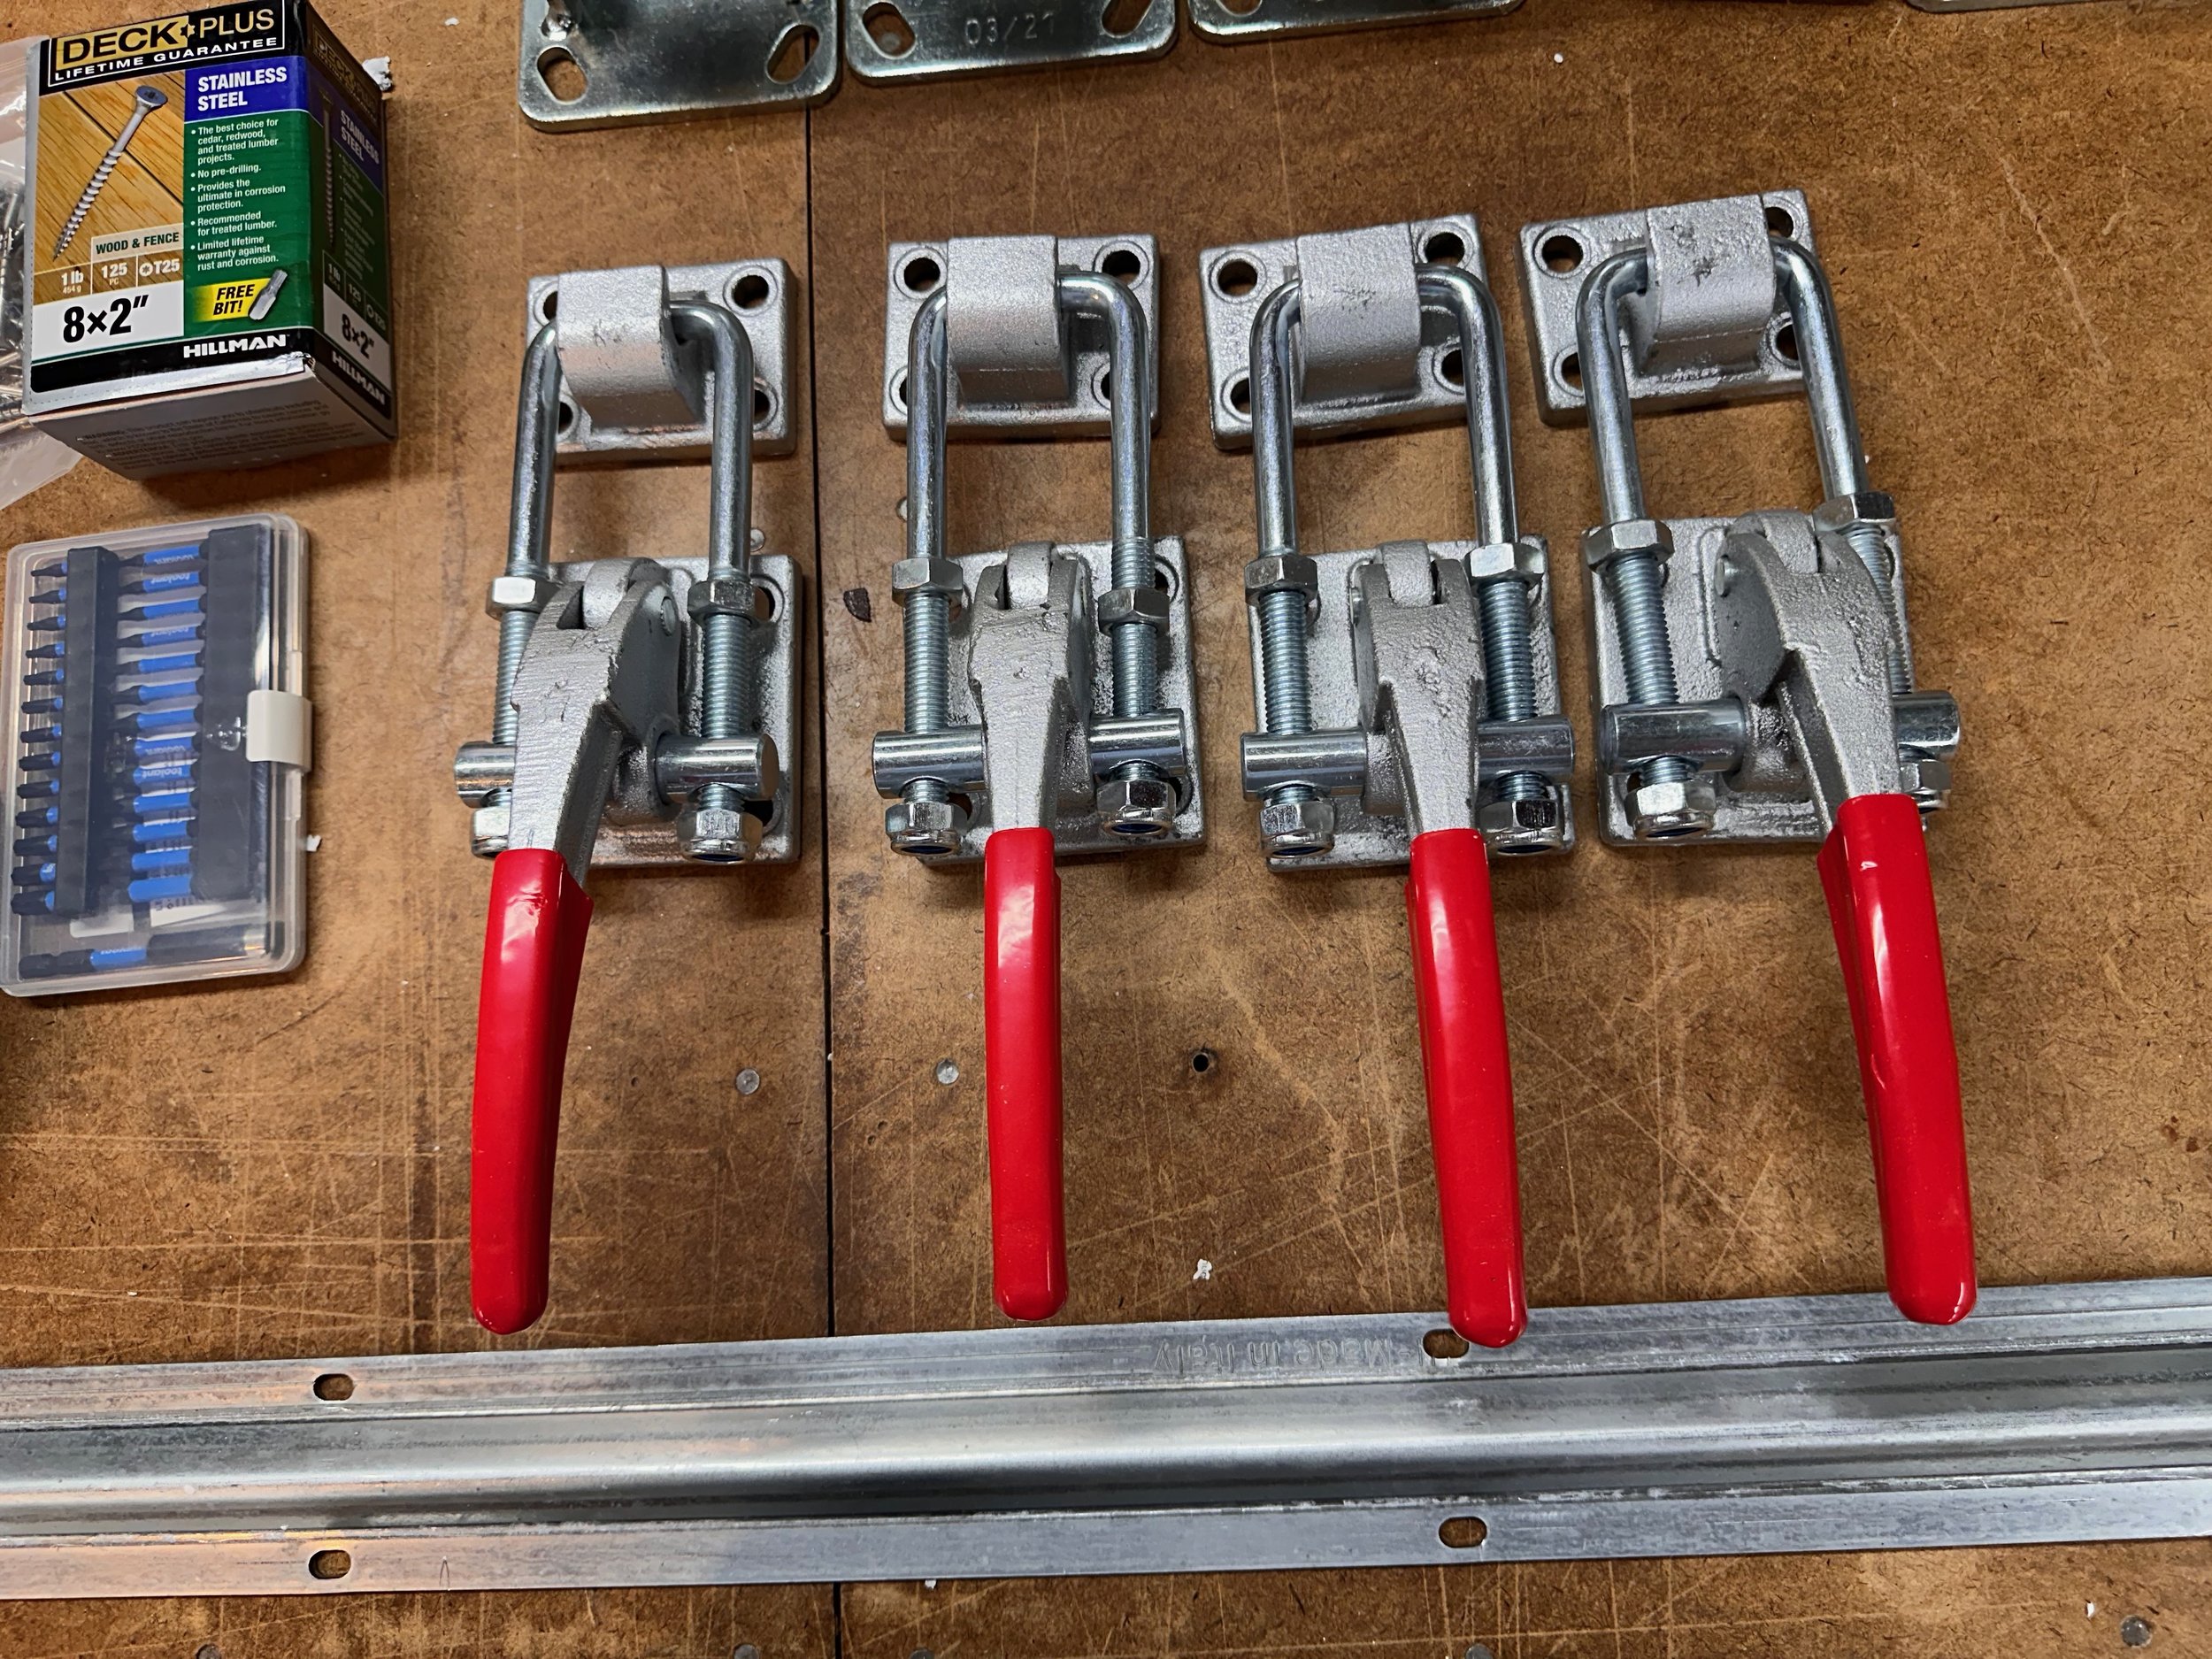
The Latches I received. They are massive and very sturdy!
Initial Mounting Screws
I also have picked up some galvanized screws for mounting the V-track and stainless steel screws for mounting the flat track. I also have stainless steel screws of various sizes for various projects I am planning.
I still need to find bolts for mounting the wheels and the latches….

Gathering together the Fastening hardware I will need.
A Sign for the Observatory
I wanted to have a sign to mount on the observatory.
Part of what I wanted to do was use my Website Logo.
So Gary Villa helped me there, and I have three sheets of aluminum cut so that when I painted and stacked them, it would create a version of my Logo;

My Logo in Aluminum!
I think I will paint the top sheet gloss black, the letter sheet gloss white, and then the “galaxy” part will be gold.
Under those, I will hang another plaque with the observatory's name.
I don’t have this plaque yet because I don’t have a name yet!
Or rather - I have MANY names, but not THE name. I have not found that one yet!
Conclusion
Progress is good!
I still have to order the IAA Skyroog Motor System for the roof, and I am planning on doing that this week…
The steel pier parts are out to the welder for assembly…
Next week, the tree work starts!
The ball is now rolling!
Clear Skies,
Pat