Whispering Skies Observatory Update: Siding and Trim!
Date: March 29, 2025
Table of Contents Show (Click on lines to navigate)
Earlier Posts in the Observatory Series
I have been thinking about building an observatory for a while now. Below are previous posts that have led up to where I am today.
Whispering Skies Observatory: Developing a Computer and Networking Strategy! Jan 2025
Naming Your Observatory Jan 2025
Observatory Update: Powering Up the Observatory! Dec 2024
Observatory Update: Roughing In the Electric and Pouring the Slab Floor! Dec 2024
Observatory Update: Building the Structure! Nov 2024
Observatory Update: Laying the Foundation Nov 2024
Observatory Update: Custom Telescope Piers Part 3 - Painted and Complete! Sept 2024
Observatory Project: Breaking Ground! Excavation Complete! Sept 2024
Observatory Project: A Final Update Before We Break Ground! Aug 2024
Observatory Project: Opening The Roof! Aug 2024
Observatory Project: Final Roof Track System Hardware Selection July 2024
Observatory Project: Designing Custom Steel Piers - Part I June 2024
Observatory Project: Galvanic Corrosion and a Change in Track Selection! June 2024
Observatory Update: Designing the Roll-Off-Roof Track System! May 2024
The Move is Complete, Now Pivoting to the Observatory Project! April 2024
An Observatory Project Update: Success! We Just Bought A Property and Will Be Moving! Nov 2023
An Observatory Project Update - One Year In Feb 2023
Goals for my Observatory Project March 2022
Observatory Status
This year's tough winter put a major pause on observatory construction.
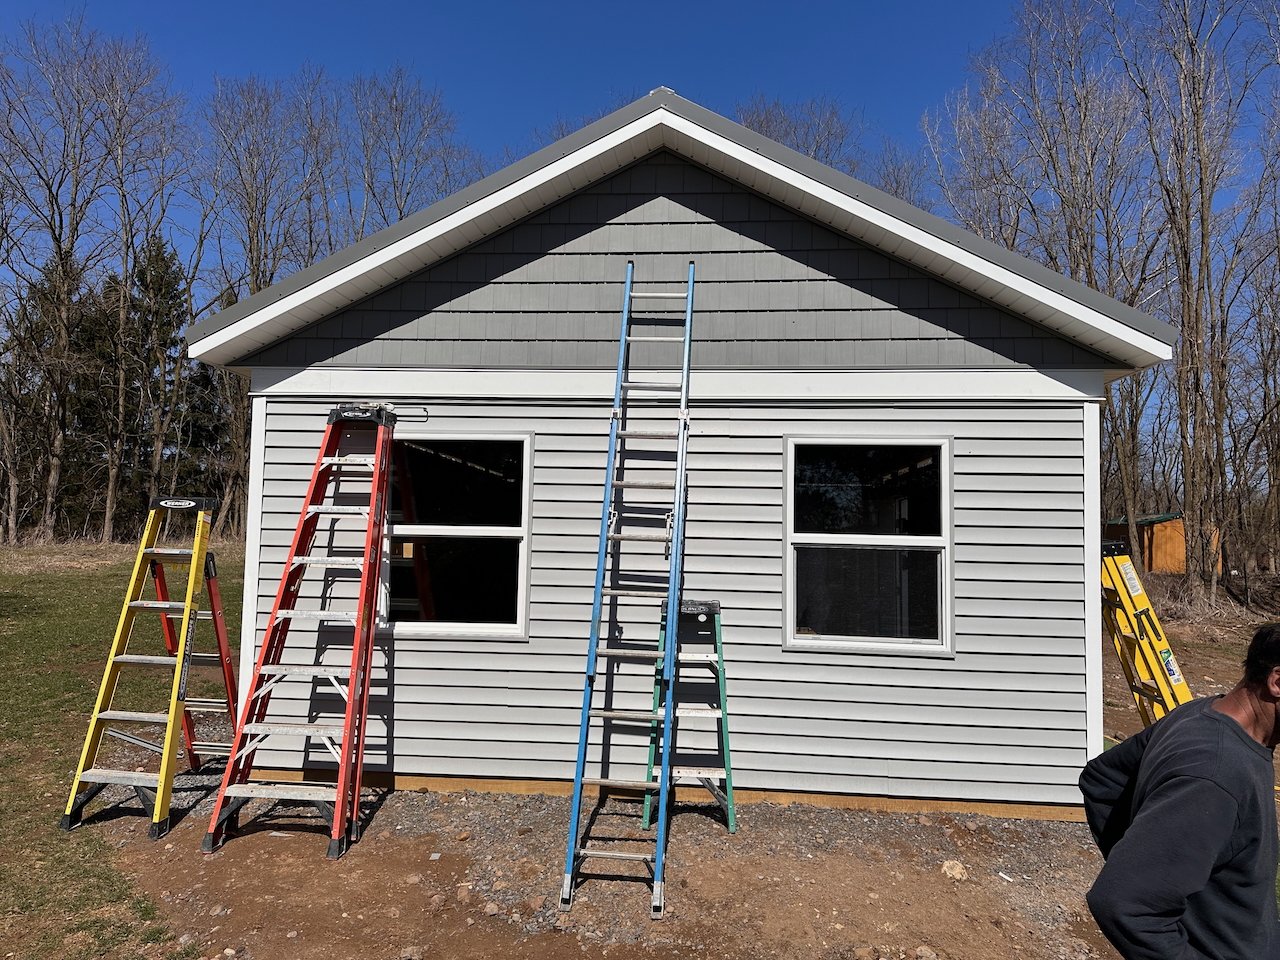
The main part we had to finish up was the vinyl siding and trim. The temperatures were so low that you could not work with the vinyl for fear of it cracking.
So we had to wait until some warmer weather arrived. That finally occurred in mid-March, and we had two days of contractor effort that made some real progress.
Progress - yes -but we did not finish.
Why?
We ran out of time and critical materials.
For the gables of this roof, we chose to use vinyl “cedar shake” style siding in a darker gray. This was custom-ordered, and we found that it ran just a little short. Now, to finish off, we needed to order more materials. It is frustrating, but estimating these things with all of the angles on the gables is hard.
But we finished most of it, and one more day - once the materials are in - should complete the work!
The last shake has gone in on the gable. I kind of like the darker gray on the gable contrasting the lighter gray of the slates. Not the nice trim jom at the wall-roof interface - very well done.
The flat wheel section of the roof. The green board is a spacer so the trim is offest form the wheels and the track a bit. The Brown primer of the steel framework will be painted with the same darker gray as the gable shakes. This should tie things together and make the framework less obvious from the house.
Installing the custom aluminum flash over the top of the wall near the flat track.
With the trim on, you can’t see any aspect of the wheel and track system from the outside. Brush gaskets will seal the gab between the trim and the wall to keep out weather and bugs.
Watching The Work
The best way to get a sense of how this part of the job went is to view the video below. I shot video all day while the work was being done and then spliced it all together and sped it up so you can see two days of work in about 5 minutes:
Finishing Off the Outside
A full square of material for the gable shakes was ordered. Each 1/2 square came in its own box and so there was one box for each gable. The guys doing the work were super careful not to waste any material because we knew it would be tight. But in the end, we needed to dip into the second box to finish the front gable. So we would run short. Since this was a special order, it would be a couple of weeks before we could get more.
To finish things off, we need to:
Install the trim on the West side.
Install the trim on the Roof/Gable interface on the South wall.
Install the shakes on the South gable.
Shutters and Door Color
The only reason we have windows in the observatory is that we want it to look nice from the house. Adding windows and shutters would help the building look more like a cottage than a shed.
This was done to make my wife happy, so she is involved in the selection of the shutters and the color for them and the door. I think our current choice is to make them the same color as the darker gray in the shakes on the gable.
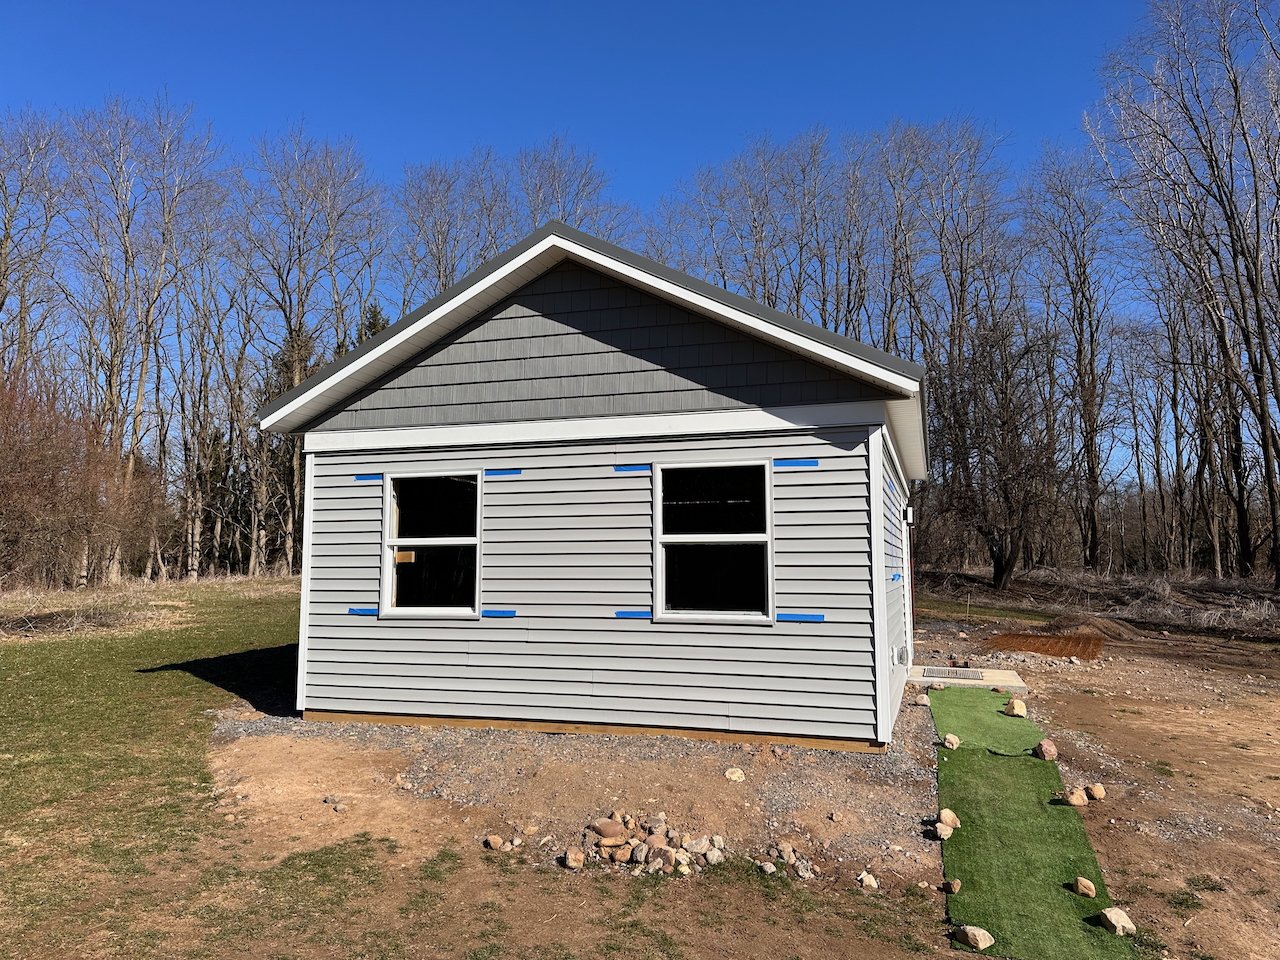
The shutters are ordered, but in preparing to do that, we marked the building with painters' tape to get a feel for how the shutters' sizing would work out. We also taped off the proposed size for the observatory, as you can see below.
The shutter size and location taped off for assessment!
Trying out a location for the wood sign we are making for the observatory. I think we wil mount it a bit lower than shown here.
We stuck up some section of the Gable Shakes to se how the color would look for the shutters.
Here is what the sign will look like.
Sneak Peek of the Inside
While this has been going on, I have been working hard to get the piers and scopes set up in the Observatory. This effort will result in two other blog posts - one covering getting the piers and scopes in place and setting them up, and another dealing with how I am outfitting the new Sharstar SCA 260 V2 scope.
But I will give a sneak peek as to the interior setup here, and you can learn more in future posts.
Facing south - all four piers and their scopes can be seen here.
Looking back towards the north wall.
What Remains to Be Done?
Well, we already talked about finishing the siding and trim. But what else needs to be done?
In the Short Term (the next two months):
Finish the siding and trim
Mount the shutters
Paint the door and trim
Mount the sign
Install the security system
Remove all of the builder debris in the yard
Lanscaping!
Handle drainage flow
French drains around the building
Decorative gravel around the footprint of the building and under the outriggers
A walkway to the observatory from the house
Grass!
Install the Passive Interlock System for the Roof
In the Longer Term (in the next 6 months):
Expoxy the floor
Build countertops and cabinets on the north wall
Finish and paint the interior walls
Install the weather system and allsky camera


