
Whispering Skies Observatory: Making the Sign!
Date: July 13, 2025
The Sign mounted….
Table of Contents Show (Click on lines to navigate)
Earlier Posts in the Observatory Series
I have been thinking about building an observatory for a while now. Below are previous posts that have led up to where I am today.
Whispering Skies Observatory: Drainage and Lawn Restoration July 2025
Whispering Skies Observatory: Construction Completed! June 2025
Whispering Skies Observatory: Construction Completed - Drone View of Results! April 2025
Whispering Skies Observatory: Installing Piers and Scopes! April 2025
Whispering Skies Observatory Update: Siding and Trim! March 2025
Whispering Skies Observatory: Developing a Computer and Networking Strategy! Jan 2025
Naming Your Observatory Jan 2025
Observatory Update: Powering Up the Observatory! Dec 2024
Observatory Update: Roughing In the Electric and Pouring the Slab Floor! Dec 2024
Observatory Update: Building the Structure! Nov 2024
Observatory Update: Laying the Foundation Nov 2024
Observatory Update: Custom Telescope Piers Part 3 - Painted and Complete! Sept 2024
Observatory Project: Breaking Ground! Excavation Complete! Sept 2024
Observatory Project: A Final Update Before We Break Ground! Aug 2024
Observatory Project: Opening The Roof! Aug 2024
Observatory Project: Final Roof Track System Hardware Selection July 2024
Observatory Project: Designing Custom Steel Piers - Part I June 2024
Observatory Project: Galvanic Corrosion and a Change in Track Selection! June 2024
Observatory Update: Designing the Roll-Off-Roof Track System! May 2024
The Move is Complete, Now Pivoting to the Observatory Project! April 2024
An Observatory Project Update: Success! We Just Bought A Property and Will Be Moving! Nov 2023
An Observatory Project Update - One Year In Feb 2023
Goals for my Observatory Project March 2022
Every Observatory Needs A Sign!
So you now have an observatory! Congratulations!
If you are like me, this came after years of effort. Think of the time that went into the design and construction. All of the little details. All of the effort. You put a big part of yourself into that build! This is no shed in the backyard - this is the stuff of dreams!
If you are going to go through the effort of building your own observatory, that observatory deserves a name. And if you have a name, why not have a sign?
The sign can be simple or elaborate.
But how do you get it made and mounted on the building?
I thought that by sharing my own efforts to make a sign, it might offer something helpful to your own efforts.
So let’s get started!
A Name and a Design
In a previous post, I shared the ridiculous efforts I went through to come up with a name for my observatory and an initial design for the sign. You can see that here:

Click to go to article….
A logical prerequisite for having a sign is having a name to put on it, and a design for the graphics of your sign.
As I described in that post, there are a lot of ways to get there.
I used ChatGPT to design the graphics. This was not simple because ChatGPT struggles to spell correctly when creating images. After more tries than I care to admit, I ended up with a design that was “close.”
But ChatGPT cannot yet create a vector graphics file. And that is what you really want to have.
Why?
Simply because it is scalable.
You can print a much larger version of your graphic and have it sharp and crisp. If you scale up a raster-based image, it can get pixelated and have very ragged edges.
I did an inexpensive Fiverr.com contract to have someone convert the raster file to a vector graphic (in this case, an SVG file) and fix the text along the way.
Once I had the file, I could not help myself - I made some changes to it. As a vector graphics noob, I encountered some issues that I'll discuss later.
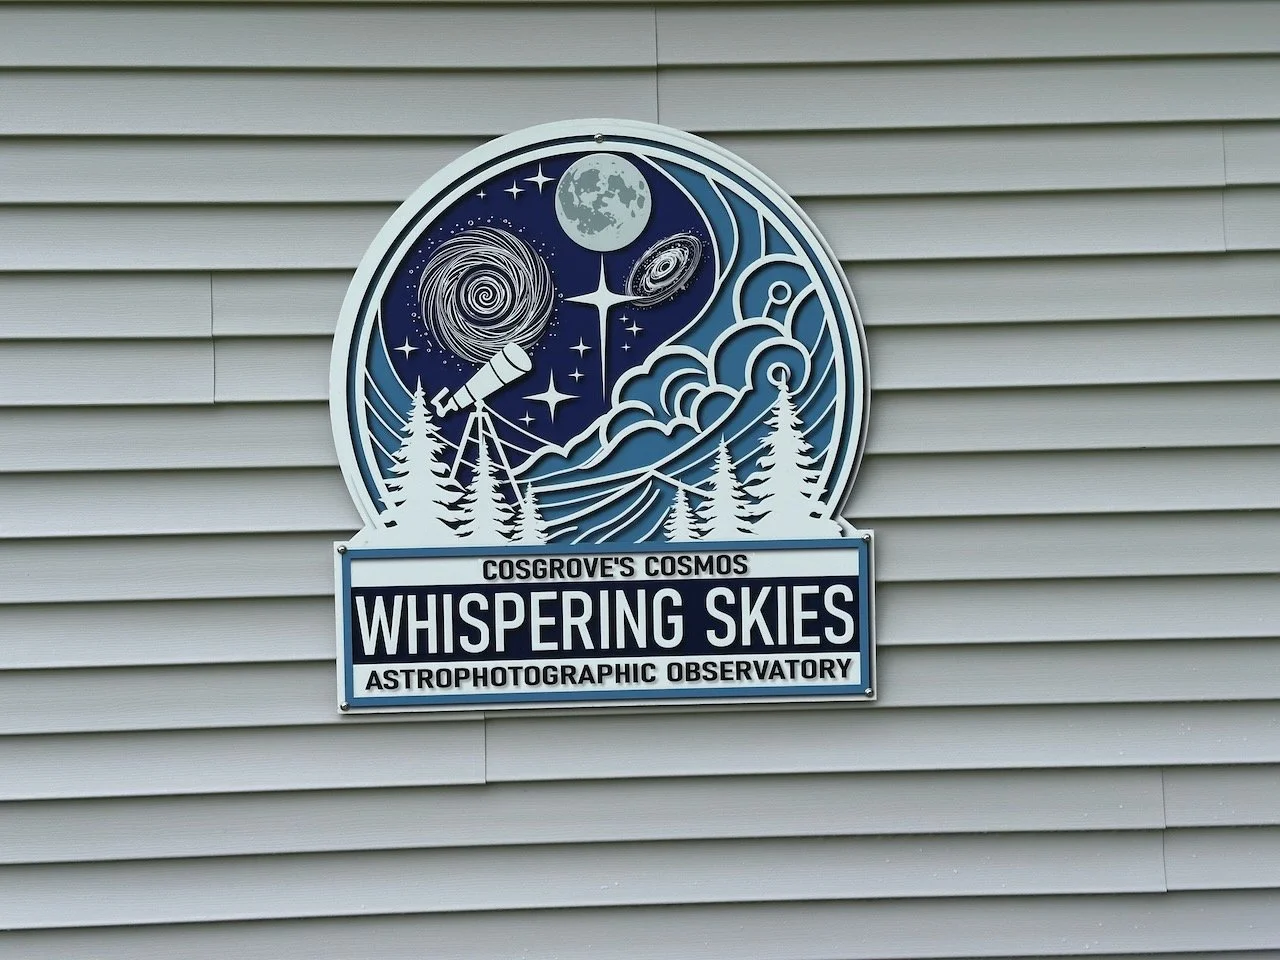
But - here is the final sign that I came up with:

My Final Sign
Where? How Big?
The next question to consider is where on your observatory are you going to place the sign. This positioning will also determine the size of the sign.
Most often, I have seen signs mounted on the side of the observatory near the door.
This makes some sense if you want people entering your observatory to see the sign. In fact, taking it a step further, I have seen some people mount them on the door itself.
I opted to mount the sign on the wall of the observatory near the door.
To get an idea on the size and exact placement, my wife and I took some painters’ tape out and played with different options.
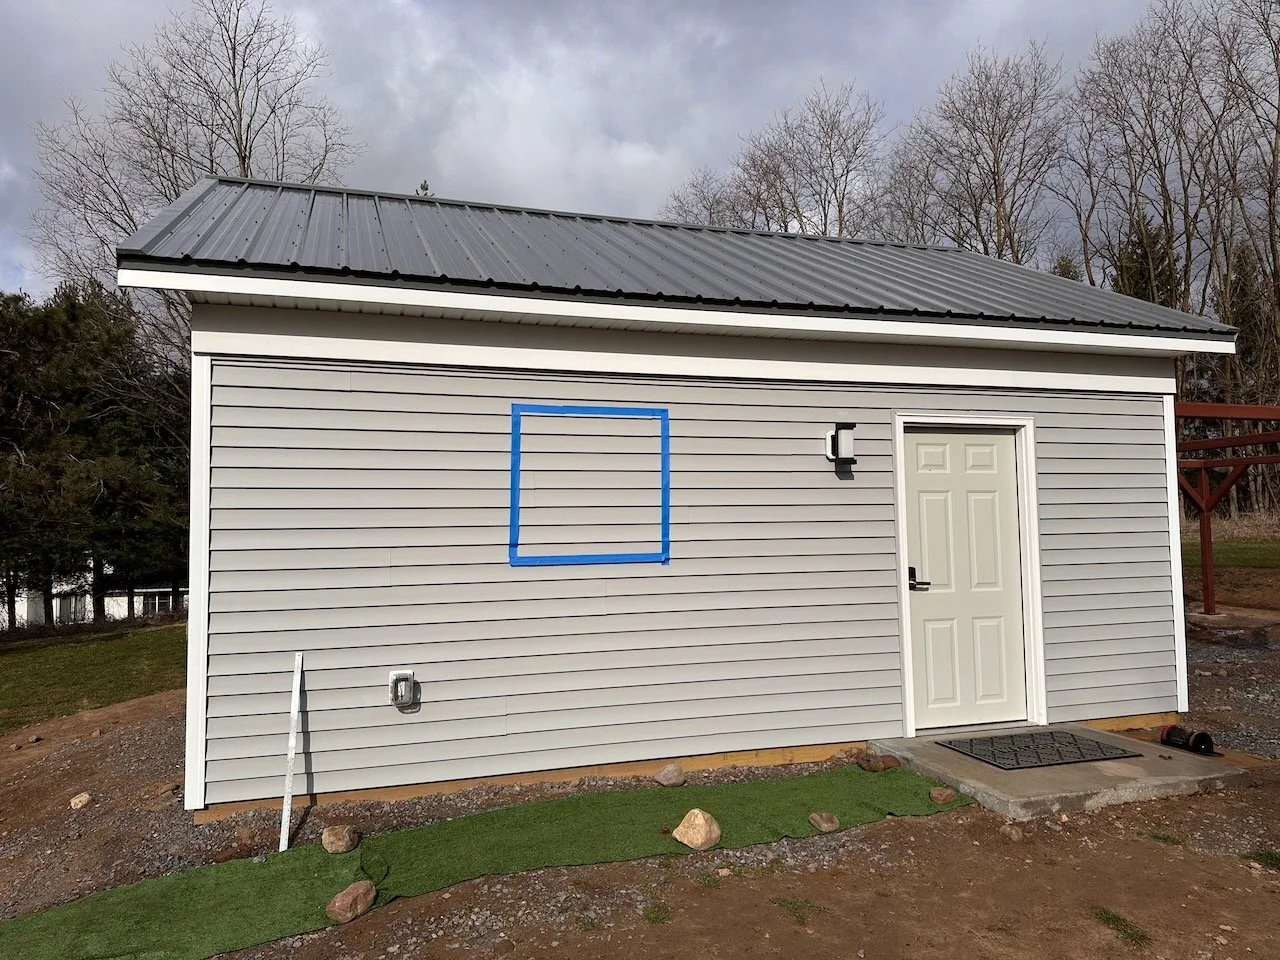
Tape marking off the size and location of one possible sign option.
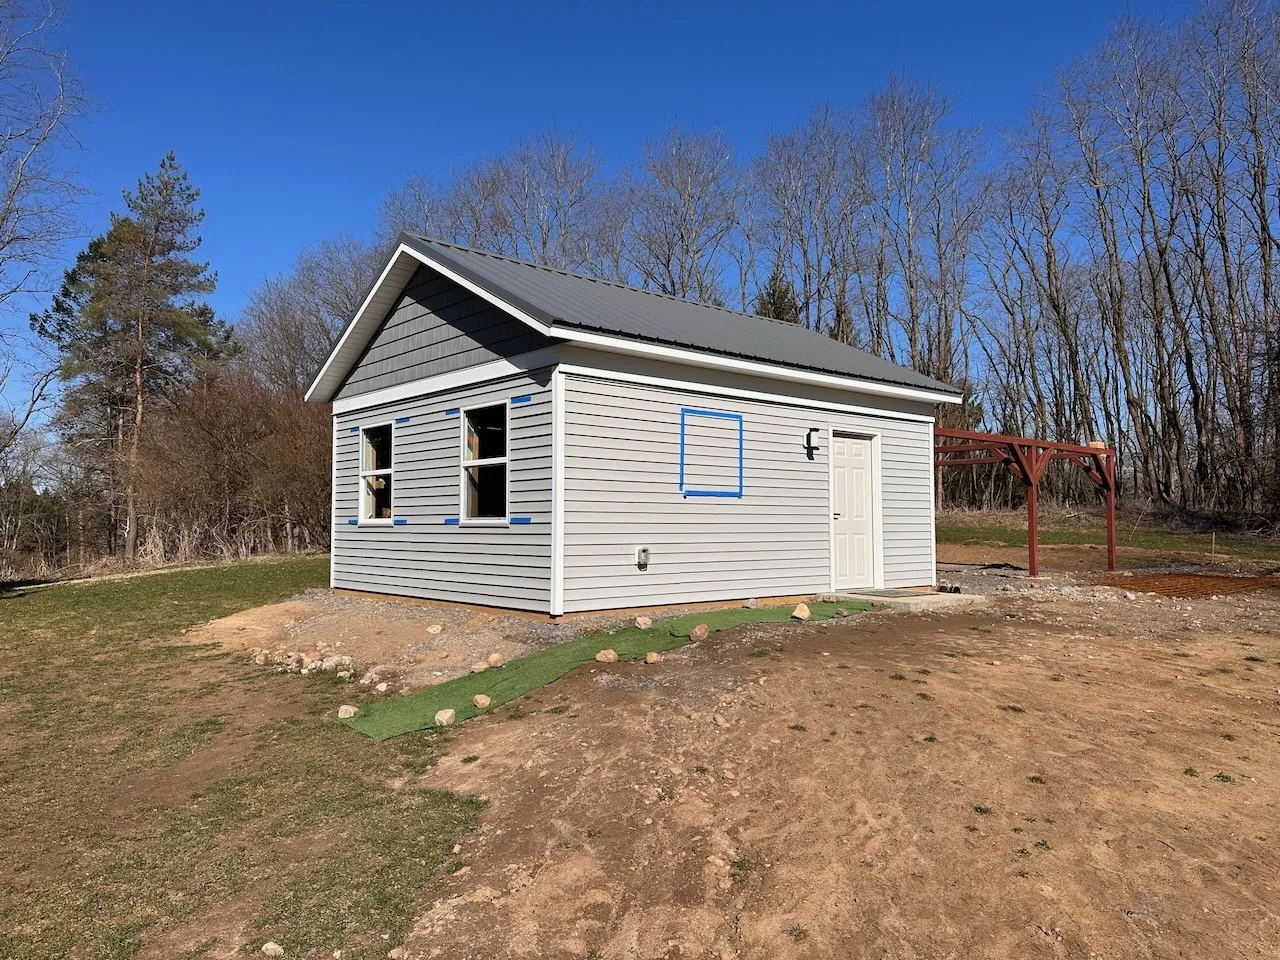
Another view - you can also see tape on the size of future window shutters here as well.
Our first take was that the sign should be right in the middle of the wall between the door and the south end of the structure, and that the size should be roughly 40” x 40”.
We finally decided that it would look better if it were centered between the porch light and the outside outlet, and that the height would be even with the top of the light.
In the end, we went with a size of 36” x 36”. This turned out to be a VERY important dimension - and it will be for you as well if you have your sign sourced online. More later on that.
How to Make the Sign?
I’ve seen a lot of nice observatory signs that were either made from wood or steel. This can work out great if your design is simple, but my sign was not:
It had a specific color scheme
It had elaborate areas of shading to make it look 3D
It had a curved shape at the top.
To get this sign made, I was probably going to need some form of printing process.
As I dug into it more, it sounded like a large inkjet-printed version of the sign was possible. These are printed with UV-resistant inks, and you can also add extra covering layers that filter UV as well.
After doing some more research, I found that a good material for printed inkjet signs was something called DiBond.
Dibond, also known as aluminum composite material (ACM), is frequently used for signs due to its durability, rigidity, and weather resistance. It's a composite material made of two thin aluminum sheets bonded to a polyethylene core, making it lightweight yet strong.
This combination of materials makes Dibond ideal for both indoor and outdoor signage applications, including traffic signs, directional signs, and shop signs. This was a sandwich of two sheets of aluminum with a stiff plastic core.
These were available in either 3mm or 6 mm thicknesses.
It can be cut or routed, so custom sign shapes were feasible using this material.

A little more research suggested that I might get the best price for this with an online sign service.
After looking at several online options, I chose one. It could create my sign in 3mm DiBond for about $185, with free shipping. Sounded good.
Down the Rabbit Hole
I am not going to name the first printing company I dealt with. I don’t like to speak ill of others, but the interaction I had here did raise some issues I had not considered when I started down this route.
I am going to summarize my experience here, but I will also describe it in more detail in the insert for those interested.
The Summary
I downloaded the design and specified the size - so far, so good.
Then I needed to specify the shape I wanted the sign cut to. The online tools would not work right to get the shape I liked. So I used their chat service for help.
After several interactions with four different agents that had no access to the previous interactions. This meant that I had to start from scratch each time. Each iteration needed 24 hours to process the next proof. After many days if this I was not closer to my goal and I so I gave up on that company - after one of the most frustrating customer interactions I have ever had!
As part of this, I discovered that shipping for a 40” sign was not free after all - sizes over 36 inches have to be shipped freight. And the freight shipping cost was $389!!! That’s more than the cost of the sign!
So the actual details below.
Vendor #1: A Master Class in How Not to Win Customers
1. The Upload Loop
I uploaded my carefully crafted sign design.
The site bounced back: “We need a vector outline of the sign’s shape.”
I had no clue how to generate that, so I got help from my son Brian—who whipped one up.
2. Preview Panic
With both files finally in place, their online preview warped the design beyond recognition.
I hopped on live chat, explained the distortion, and was assured a corrected proof within 24-48 hours.
3. Proof #1—Close, But No Cigar
The proof arrived: my own graphic flaws (my fault) plus an outline still off-center.
Their website urged, “Need changes? Leave feedback.”
I did—and then heard nothing for three days.
4. Chat Déjà Vu
I started a new chat. Rep #2 had zero access to the previous transcript, so I retold the saga.
Promise: new proof in 24 hours.
Result: a nearly-acceptable proof lands the next day… right as the checkout screen shows
$189 sign + $379 shipping. Wait—wasn’t shipping supposed to be free?
5. Size Matters (Apparently)
Back to chat. Rep #3 (again, no history) explains: “Free shipping for signs ≤36″ × 36″; yours triggers freight cost.”
Fine. I request a resized 36″ × 36″ proof, “expedited” in two hours.
Nine hours later: nothing.
6. The Final Straw
Chat attempt #4. Rep #4 informs me expediting isn’t possible; standard 24-36 hour wait.
A day later, the new proof arrives—and it’s wrong again.
At that point, I pulled the plug. Four chats, three proofs, shifting policies, and no internal hand-off? I’m done.
My Experience with SquareSigns.com - How Customer Service Should Work!
After my fiasco with vendor number#1, I did some searching and came across SquareSigns.com.
They had good reviews, and when it came to cutting out shapes for the signs, they had a few simple options that sounded like just what I needed.
I was unsure if they would do a proof first, waiting for approval before starting the job.
I emailed support; they replied within an hour. I received a reply outlining three different and easy ways to request proof while ordering.
I uploaded my design files and waited.
The first proof arrived missing a few elements in my design. But I noticed that the file I sent them was missing these too.
It turns out that this had to do with how I did the exports from Affinity Designer 2. (too many format/option combos, some dropping layers).
I sent them an email indicating that I was a noob with vector graphics, and they gave me a few suggestions for output files that might work better. I tried this and sent them all versions of what I had - each seemed to have one problem or another.
I expected that this was just not going to work out right. Then I got this reply from Dave M @SquareSigns.com:
Don't worry, we'll figure it out with the other files we have.
I'll send you the proof once it's ready.
What? Instead of me jumping through hoops, they would look at the various files and pull together what I was trying to do?
And that is just what they did!
They rebuilt the file and returned a spot-on proof the same day.
I approved, paid, and the sign was shipped two days later.
It arrived in a wood-reinforced cardboard crate—zero damage.
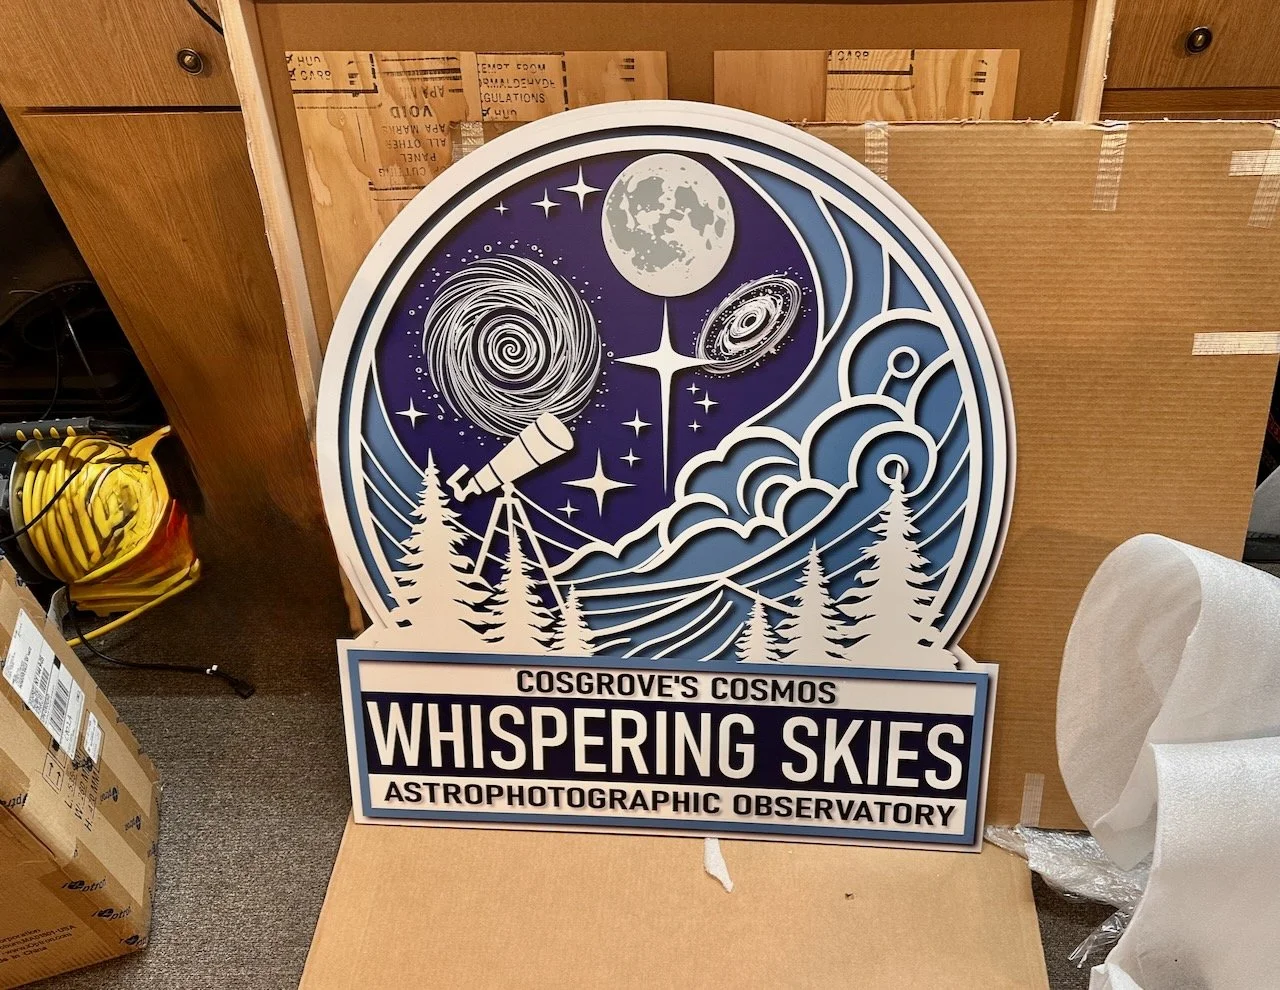
THe sign arrives - the heavy duty packaging can be seen behid it.
My notoriously detail-oriented wife took one look: “Wow—they nailed it.”
From first email to flawless product on my doorstep, SquareSigns delivered the polar opposite experience of Vendor #1—and won my business in a single order.
Mounting
I carefully drilled holes where I wanted the screws to go through the sign. I started with a very tiny pilot hole first, and then followed by the size needed to clear the screws I was going to use.
I bought stainless steel screws and washers for the mounting.
My wife held the sign in position, and then I marked the top hole position on the vinyl siding. I drilled a hole through the vinyl and then a smaller pilot hole through the siding. I put in some clear caulk in the hole and then scored the top screw in loosely.
Using a level to make sure the sign was hanging correctly, I marked the remain holes. I tipped the sign up slightly and this allowed to drill where the other holes were going. More caulk, and the sign was up.
Here is the sign as it waited for ti to be mounted.
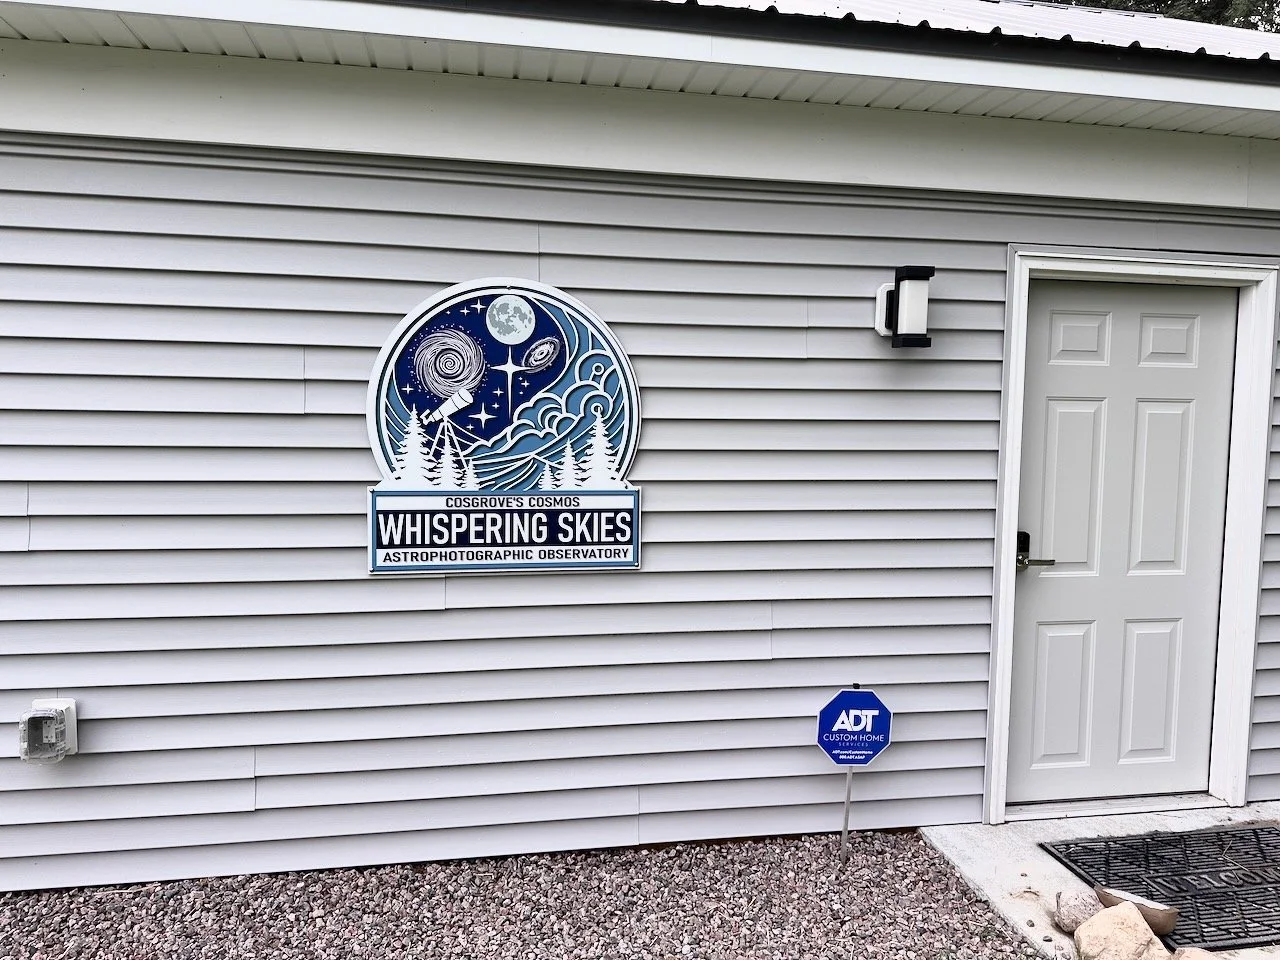
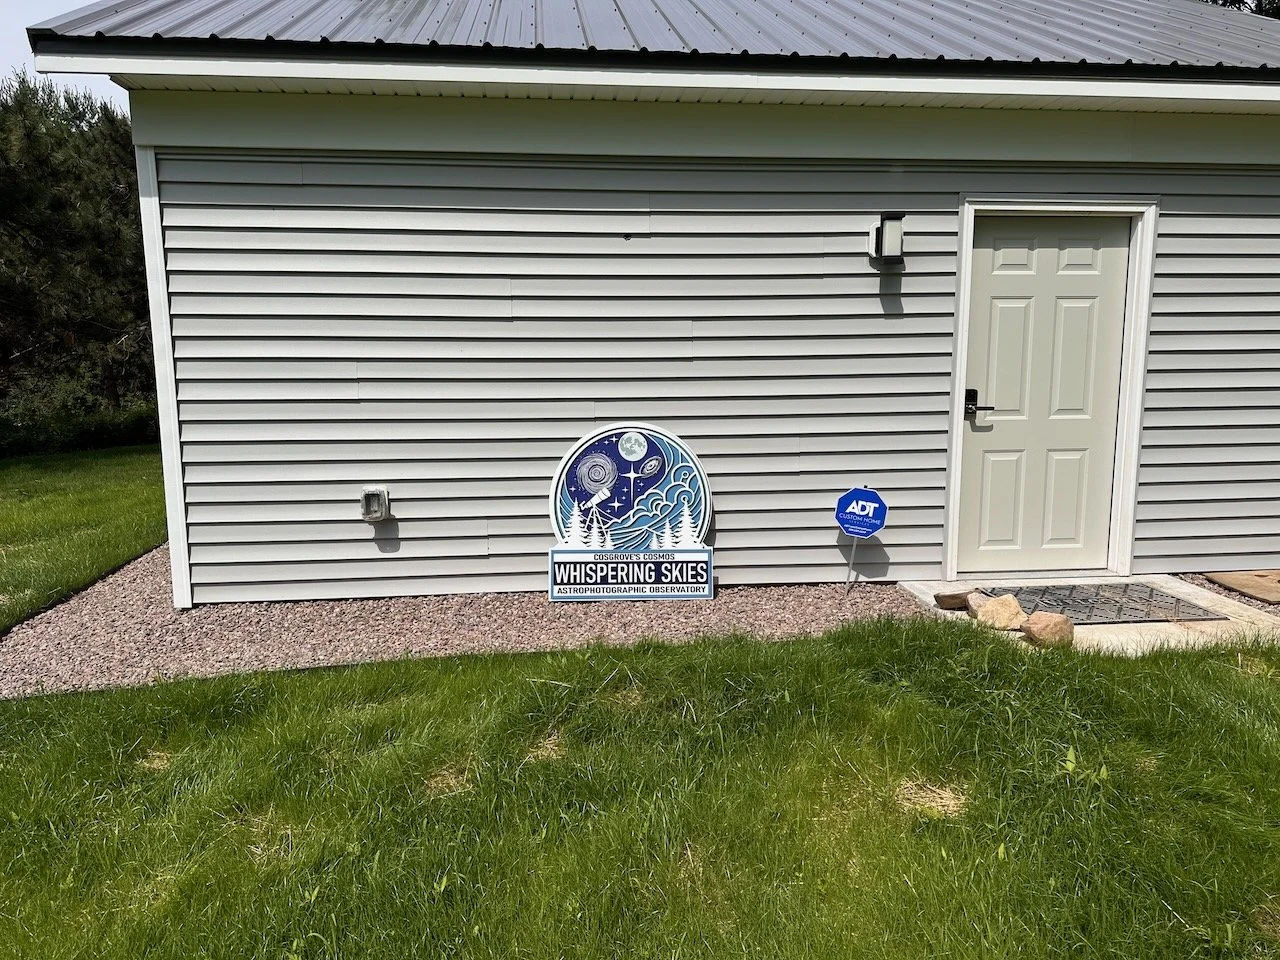
The installed sign.

Looking god!
The Final Result
I am delighted with the sign and think it looks great on the observatory!
The colors pop against the gray siding. The security system sign even seems to match as well.
The original plan was to paint the shutters a dark gray, but after seeing the sign, my wife and I decided to go with a blue color that would be compatible with the sign!