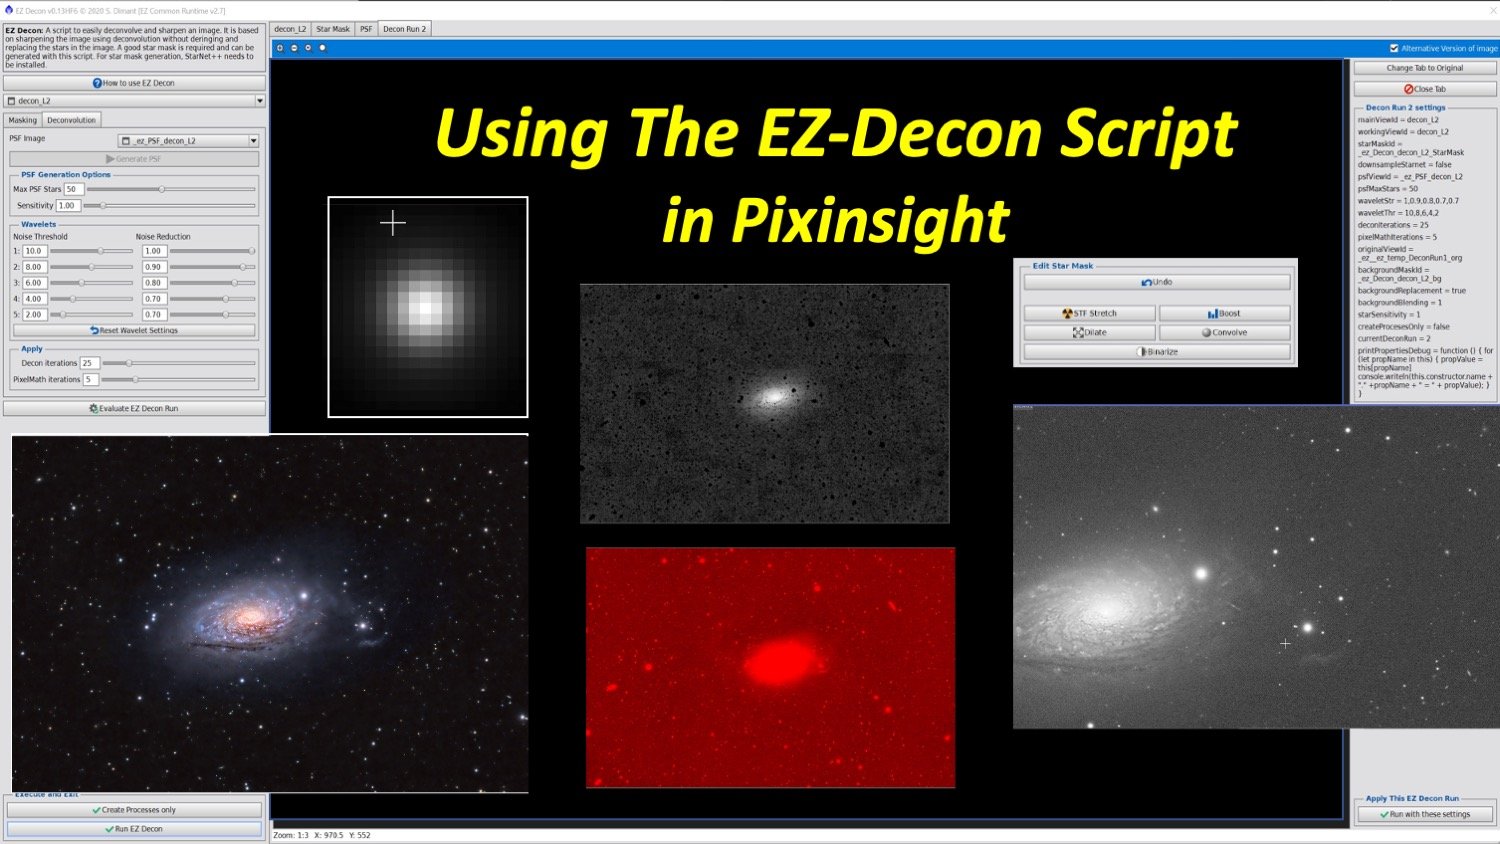
Using The EZ-Decon Script in Pixinsight
As a follow on to my “Using Deconvolution in Pixinsight” series, I have written a new post exploring the use of the EZ-Decon Script. This powerful tool offers an alternative way to apply deconvolution to your images - a way that is easy and convenient compared to the traditional method. In this post I will cover what is different in EZ-Decon’s approach and how to use it effectively to enhance your images!
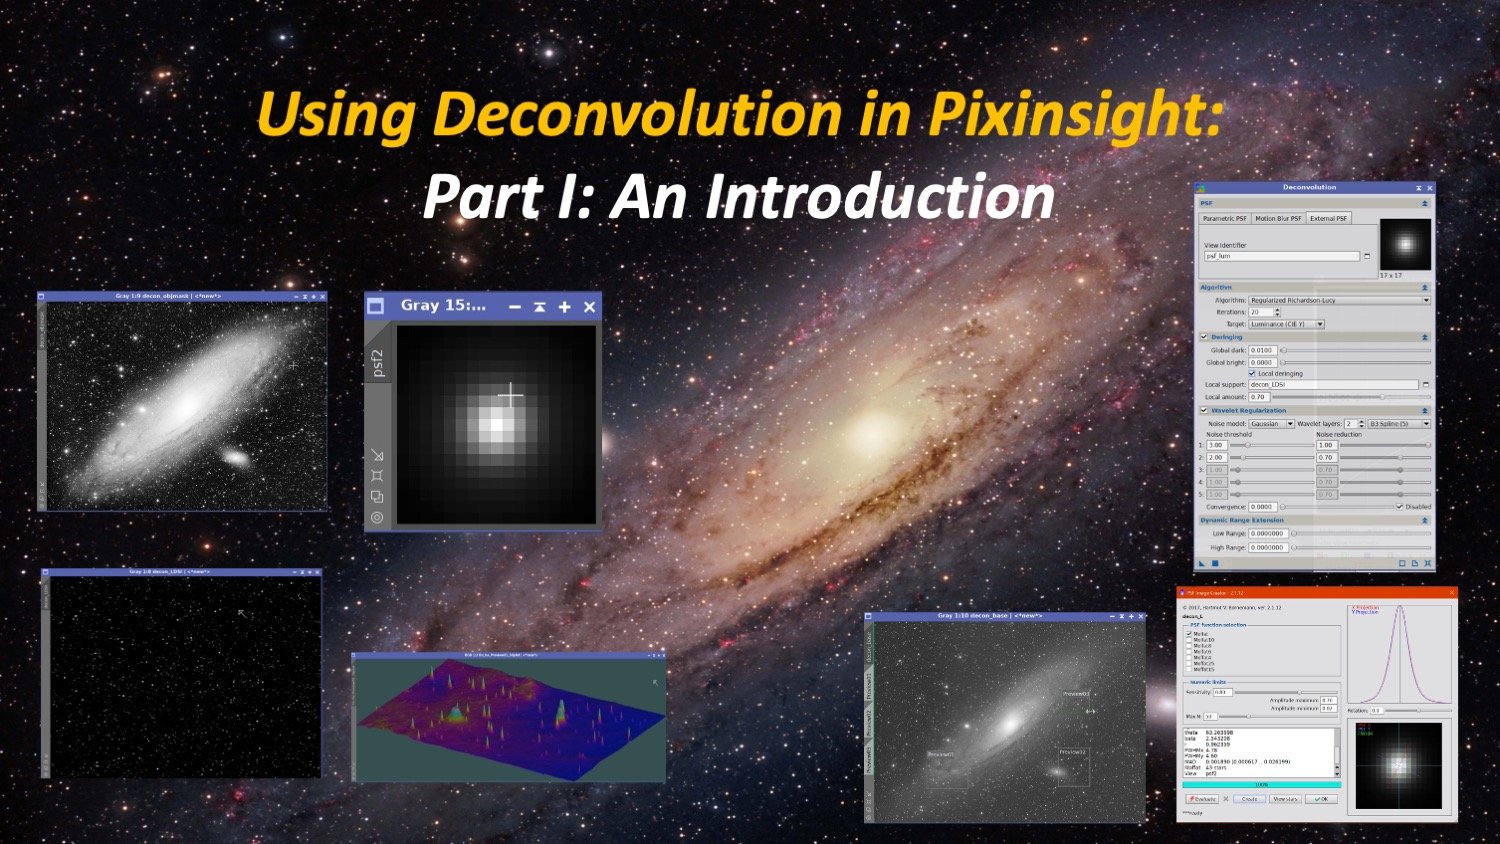
Using Deconvolution in Pixinsight - Part I: An Introduction
Deconvolution in Pixinsight is a very powerful tool for restoring lost sharpness in a system - but it is not the easiest tool to learn to use. When I started, I hard time coming up to speed - but with time, I finally learned to use the tool to use it to improve my images. In this seven-post series, I share what works for me, and get into the background of the problem domain so you can understand not just WHAT and the HOWs but also the WHYs as well. This is Part 1- An Introduction.
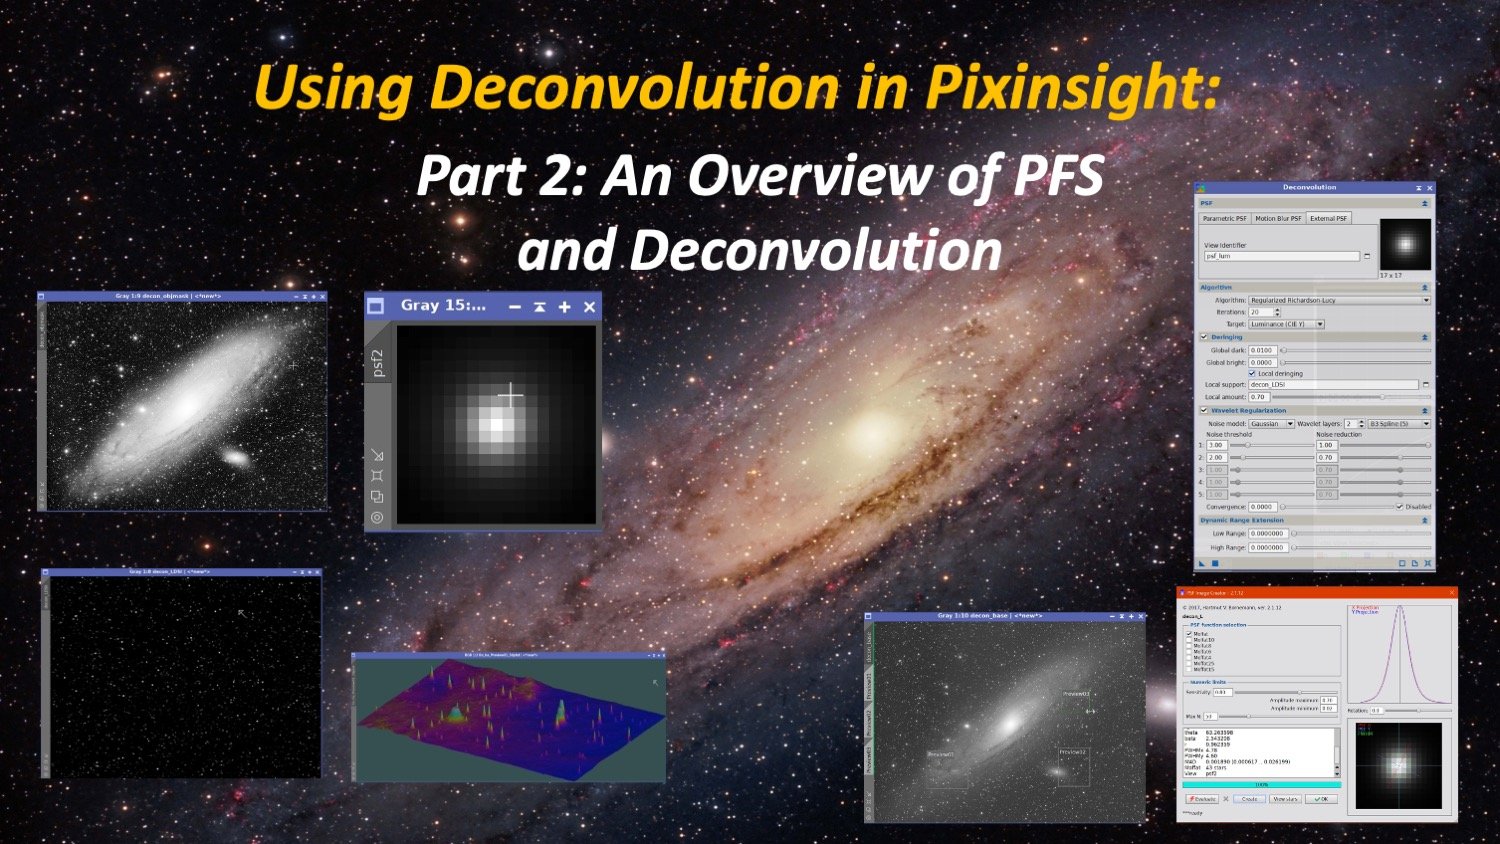
Using Deconvolution in Pixinsight - Part 2: An Overview of PFS and Deconvolution
“Deconvolution in Pixinsight - Part 2 - An overview of PFS and Deconvolution” is a deeper dive that coves the concepts of Airy Disks and Point Spread Functions, Estimating PFS model for an image, and the first overview of Deconvolution and what it does. This is Part 2 of a 7-Part Series.
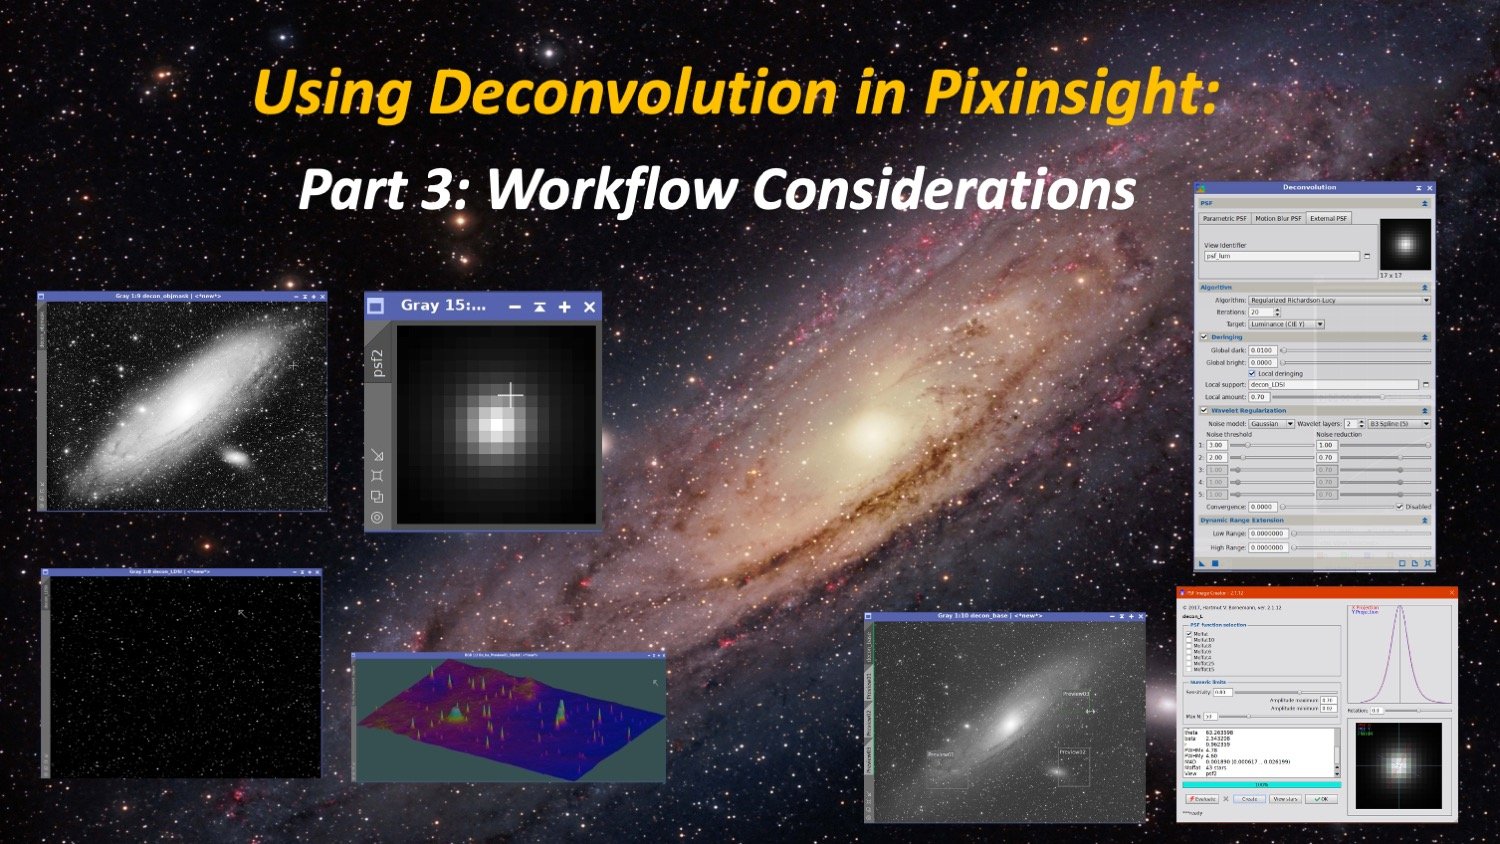
Using Deconvolution in Pixinsight - Part 3: Workflow Considerations
“Using Deconvolution in Pixinsight - Part 3 - Workflow Considerations” explores how Deconvolution fits into your workflow, what images should have Deconvolution Applied to, and how the workflow changes based on image type. This is part 3 of 7-part series.
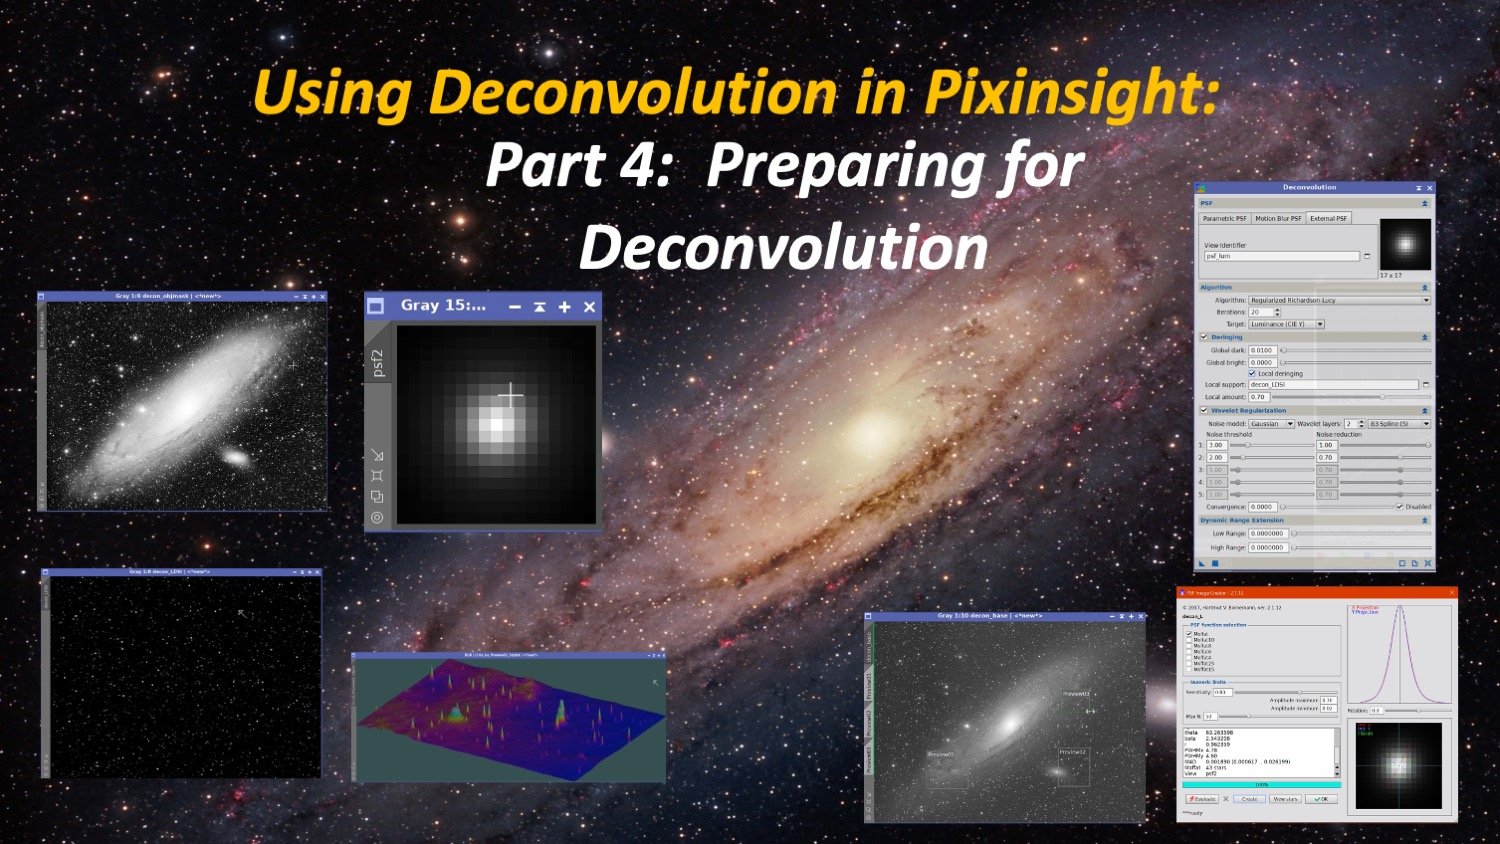
Using Deconvolution in Pixinsight - Part 4: Preparing for Deconvolution
“Using Deconvolution in Pixinsight - part 4 - Preparing for Deconvolution” covers the steps you must take in preparing to use Deconvolution. How to create masks and support images, image previews fields, and setting up the Deconvolution Tool panel for the initial testing is all covered. This is part 4 of a 7-part series.
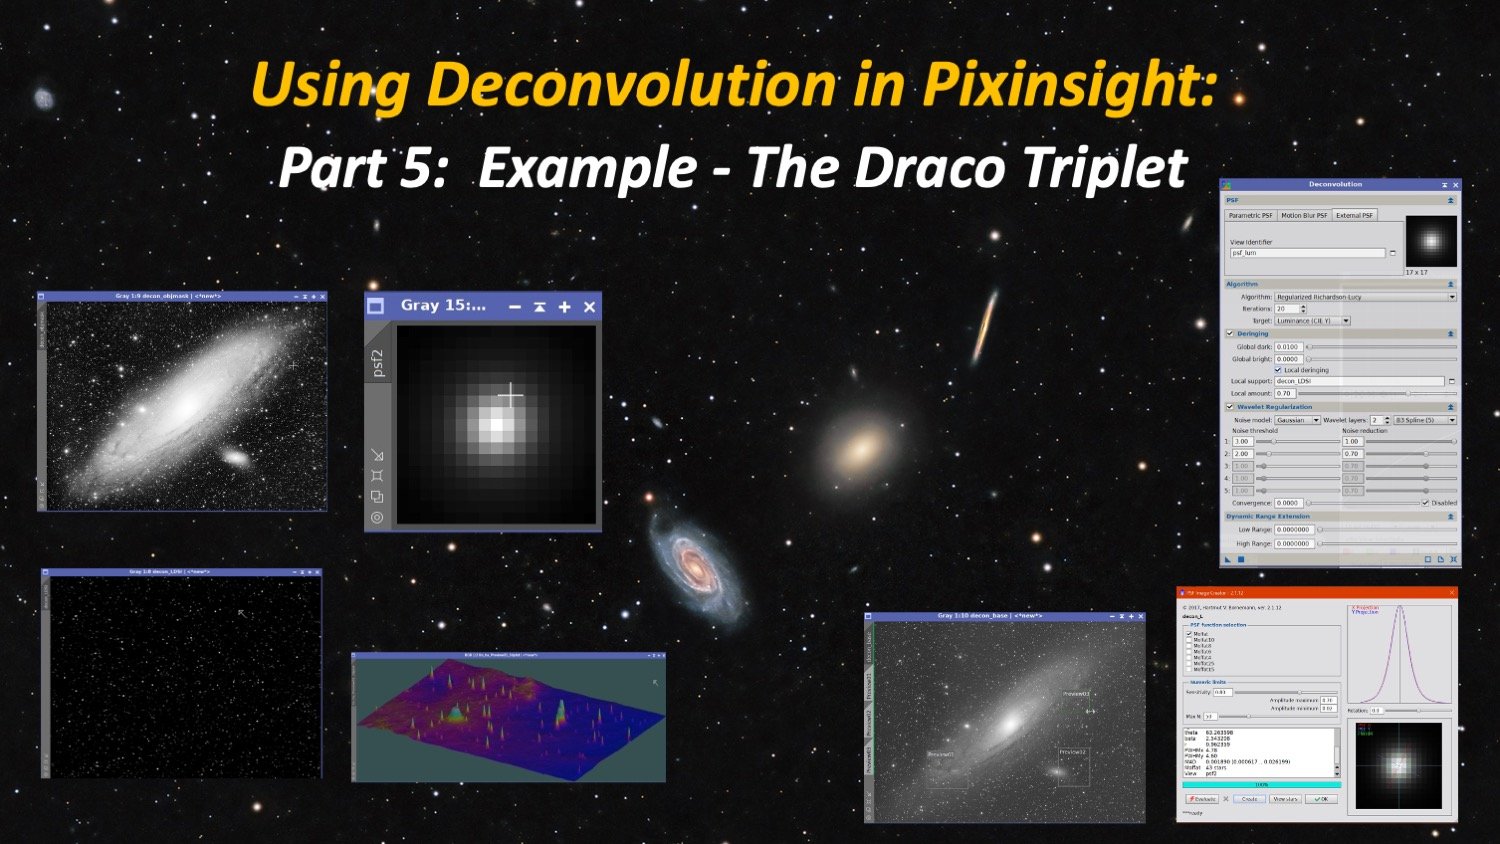
Using Deconvolution in Pixinsight - Part 5: Example - The Draco Triplet
“Using Deconvolution in Pixinsight - Part 5- Example - The Draco Triplet” demonstrates the application of Deconvolution for the first example image, consisting of The Draco Triplet taken on my Williams Optics 132mm APO. All steps are shown. This is part 5 of a 7-part series.
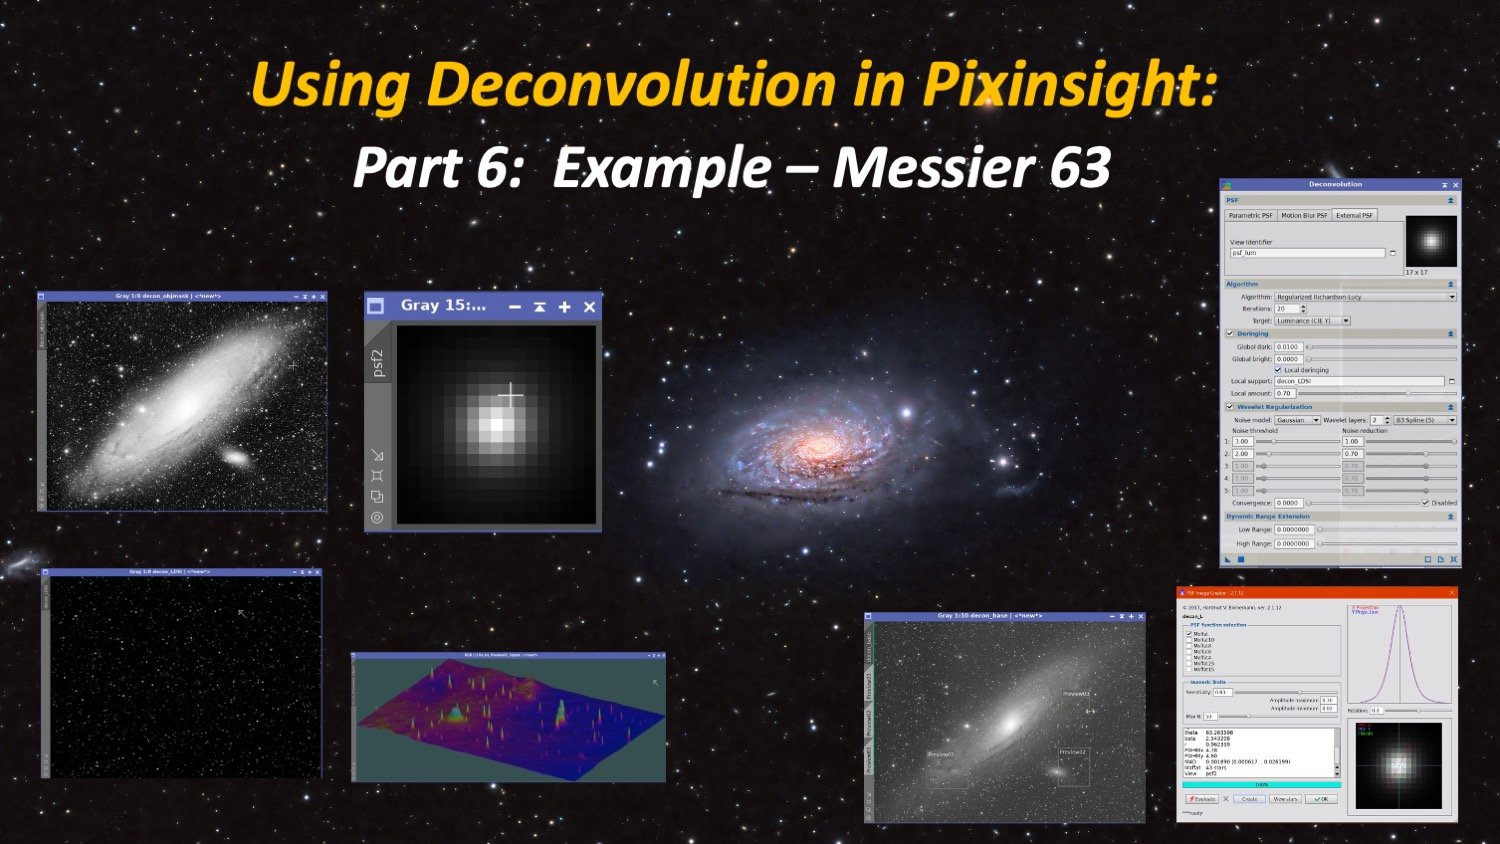
Using Deconvolution in Pixinsight - Part 6: Example - Messier 63
“Using Deconvolution in Pixinsight - Part 6- Example - Messier 63” demonstrates the application of Deconvolution for the second example image, consisting of Messier 63 - The Sunflower Galaxy. This was taken on my Astro-Physics 130mm APO. All steps are shown. This is part 6 of a 7-part series.
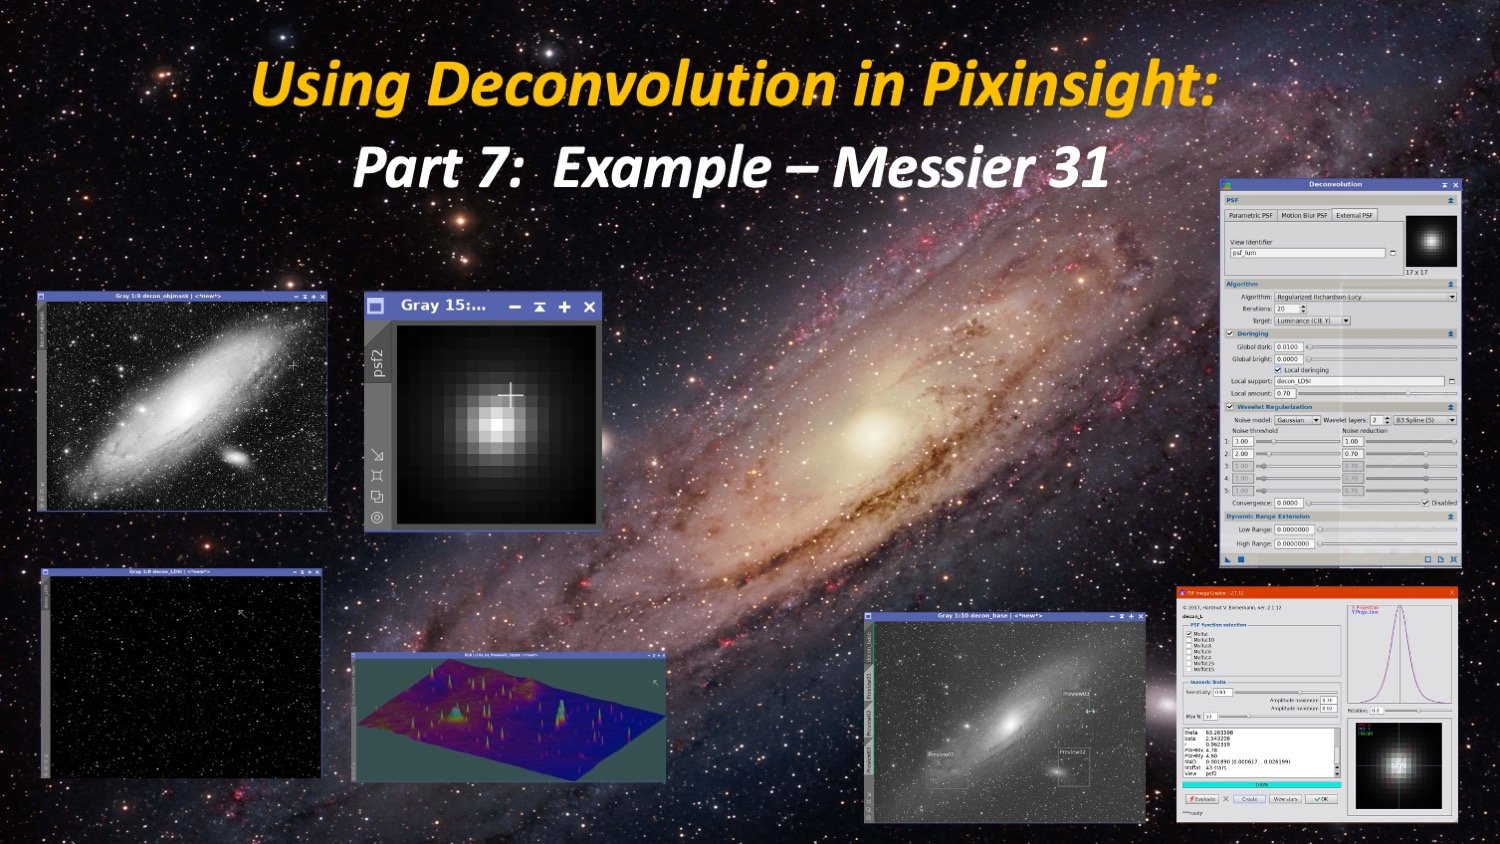
Deconvolution in Pixinsight - Part 7: Example - Messier 31
“Using Deconvolution in Pixinsight - Part 7 - Example - Messier 31” demonstrates the application of Deconvolution for the third and last example image, consisting of Andromeda Galaxy taken on my Askar FRA400 scope. All steps are shown. This is part 7 of a 7-part series.
