
A Reprocess of SH2-157, The Lobster Claw Nebula - 4.25 hours in SHO.
Date: Feb 20, 2024
Cosgrove’s Cosmos Catalog ➤#0131

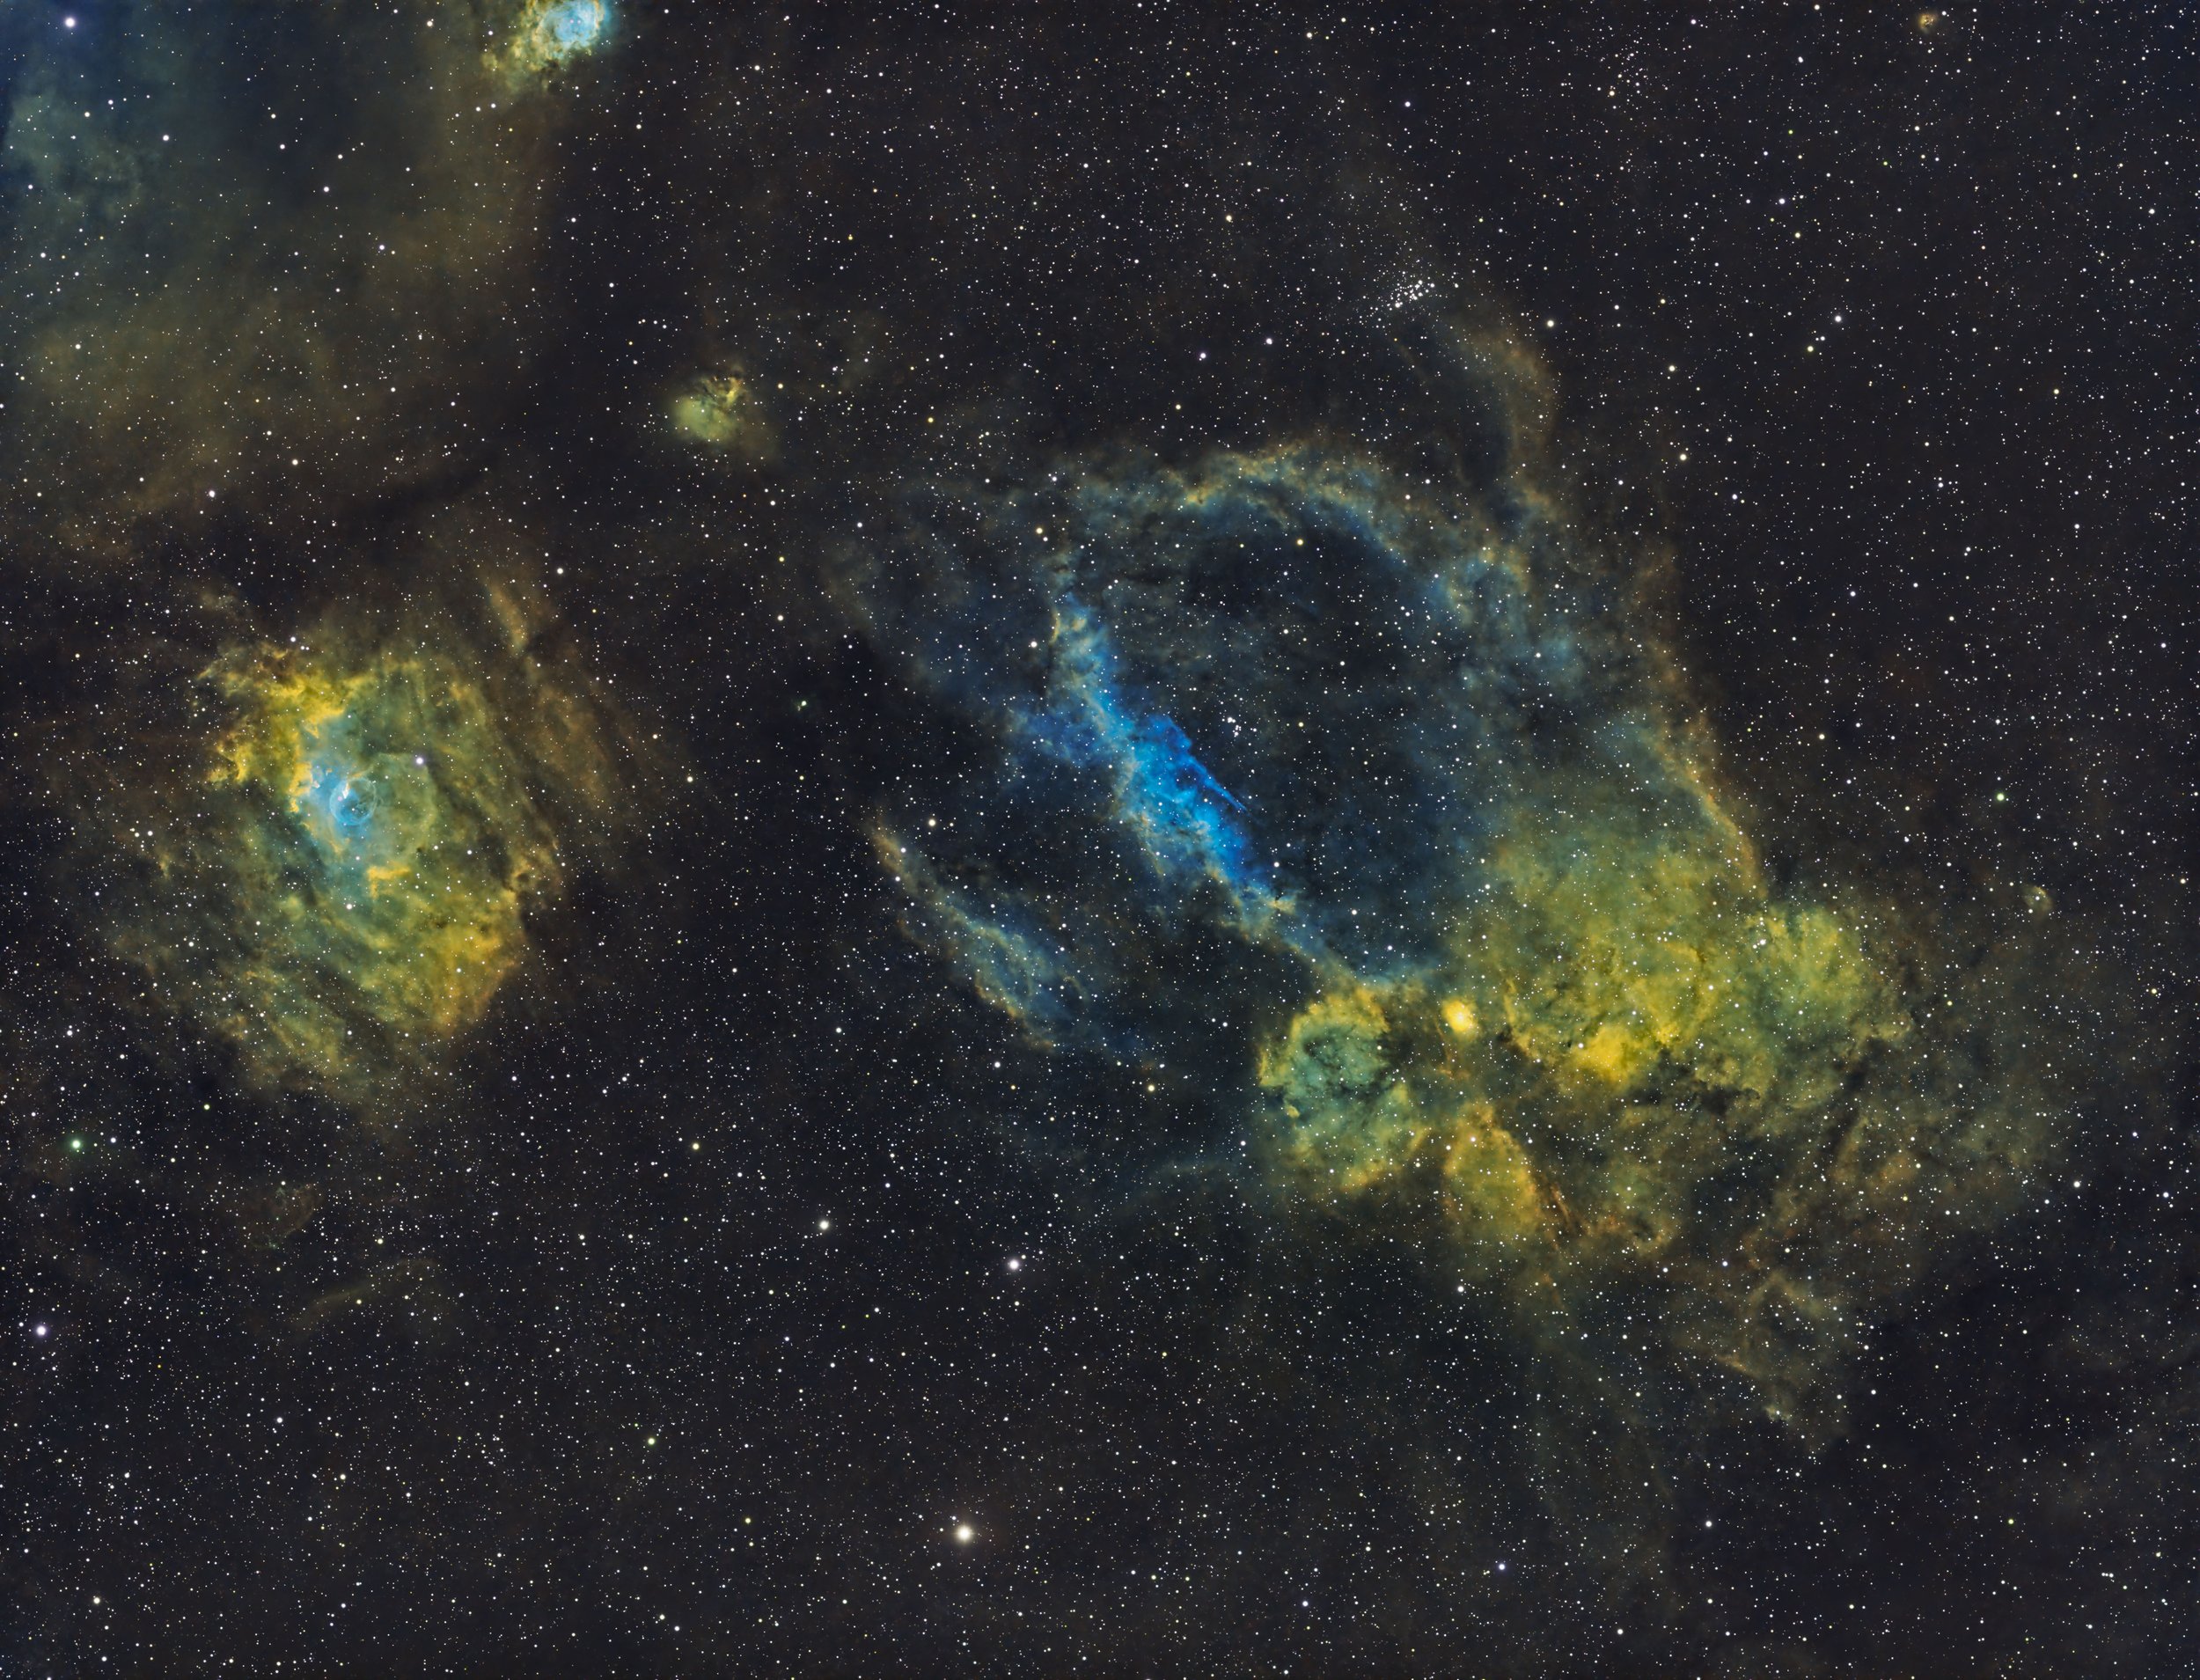
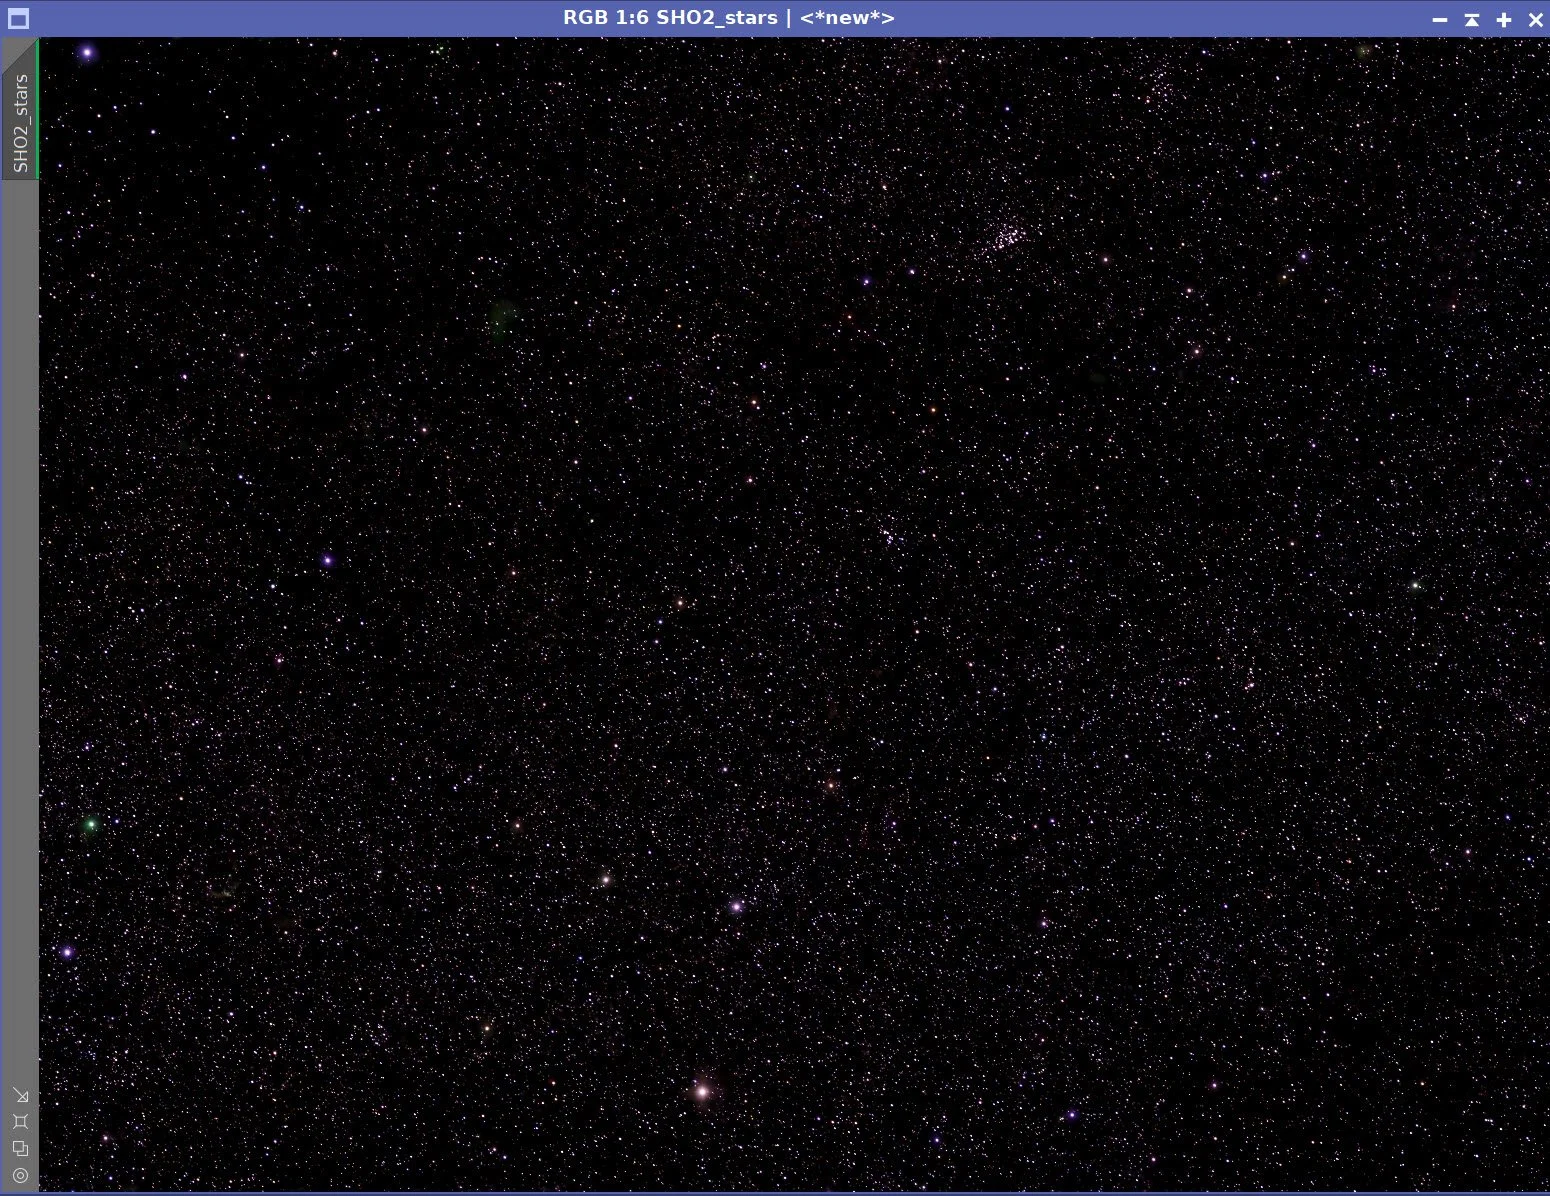
Time to revisit my SH2-157 - The Lobster Claw Nebula project from 2021 (Click for high-res version via Astrobin.com)

Awarded Flickr Explore Status on Feb 20, 2024!
Table of Contents Show (Click on lines to navigate)
About the Reprocessing Project
Let’s face it: 2023 was a terrible year for me when it came to astrophotography. I had a record-low number of new captures due to weather, smoke, and health issues.
I passed the time and kept my sanity by doing technical posts and reprocessing old data. One of the images I very much wanted to revisit was SH2-157 - The Lobster Claw. I thought this was a very interesting target, but I was never very satisfied with the final image I pulled from the data. So, this was next on my list to work on.
Then, in October - after a two-year search - we bought a new house, and every waking moment was consumed with closing on the house, packing up our current house, preparing to move, and getting some work done on both the new and old houses!
As I sit here writing, we have finally made the move, and the most critical boxes have been unloaded.
My new Astro/Man Cave is everything I hoped it would be, and I decided to take some time and finally work on the Lobster Claw image!

The new image processing area….

The astro library area…

The mini theater with 75” screen and 7.1 sound!
While it feels good to be back to image processing, after a few months of being away from it - I was a little rusty!
About the Target
SH2-157, also known as the Lobster Claw Nebula, is an emission nebula located about 11,000 light-years away in the constellation of Cassiopeia. The red/orange portions of the nebula are made up of strong HII regions. The predominantly yellow part of the nebula is a vast H II region. The blue-colored regions are from the emission of light from molecular oxygen.
In this wide-field image, you can see several objects of interest!
To the left of the image, you can see NGC 7635 - the Bubble Nebula, which is both popular and much more widely known.
Also visible is the star cluster NGC 7510, seen at the top right of the image.
SH2-159 can be seen slightly above and between the Bubble and the Lobster Claw.
Towards the top edge off to the left, you can see NGC 7538.
Annotated Image

THis annotated image was created in Pixinsight using the ImageSolver and Annotate Image processes.
Location in the Sky

This chart was created with the new Pixinsight FindingChart Process. This Image of the Lobster Claw Nebula is show in the red region above.
About the Project (from the original posting)
The Lobster Claw Nebula is not as well known as many Astro targets - but I have seen some really nice images of it before, and because of its unusual nature, I added it to my target wish list.
I thought I had my chance to grab it on November 8th this year (2021). Many of my most recent projects have come from a spate of wonderful clear skies with no moon that happened from Nov 5th through Nov 8th. With almost 12 hours of darkness, I shot as much as I could! On November 8th, I decided to try for a few new targets. I had heard that the clear weather that we had been having was due to continue for 2-3 more nights. As a result of this, I started a few new targets on the 8th and planned on continuing as long as the weather held out.
Well - the weather did NOT hold out, and the 8th turned out to be the end of the clear skies!
As a result of this, I ended up with a few projects that were a little - shall we say - “lean” on integration time. The last project I published, IC 1848, was in the same boat. So, I have been processing these and seeing what I could do with the data.
On one hand, I must say that the resulting images are much better than I expected, given the short integration times. On the other hand, I must admit that these are not examples of excellent results that I would like to show.
So, for now - these projects will show what can be done with shorter than optimal total exposure times. They are also placeholders. One day, I hope to get back to these images and add more data to them. Then perhaps I will have a new version that I can be unashamed of!
This image was shot with my Askar FRA400 Platform, which has a focal length of 400mm and an f-ratio of 5.5. This rig sports an ASI1600MM-Pro mono camera, and I shot 300-second subframes using Ha. O3 and S2 narrowband filters.
The lower focal length of this rig allowed me to capture the entire area of the Lobster Claw while still having enough coverage to grab the Bubble Nebula.
Bubble Nebula Included!
I have shot the bubble nebula before with a rig with a much longer focal length. That project shows this interesting area of sky with far better details This project can be seen HERE.
A larger scale version of the Bubble Nebula shot last year. (click to enlarge)
A Critique of the Original Image
The original imaging project can be seen HERE.
When I look at the individual Ha, O3 & S2 images, I see a very strong signal in the Ha image and very weak images in the O3 and S2 signals.
This makes perfect sense - this is, after all, primarily an HII emission nebula. However, the O3 and S2 images contribute important color information for the Hubble Palette SHO rendering. The relatively short exposure integration means that these layers are starved for photons, and the resulting images are very noisy and not all smooth.

As a result of this, I had to be very aggressive with noise reduction. I did my normal Linear Noise reduction step using MLT and a Nonlinear Noise reduction step using ACDNR using pretty aggressive terms. Finally, I used Topaz AI Denoise and Photoshop NR on certain spot areas.
When looking at the whole image - it came out reasonably well. However, if you do a deep dive and look at the image at the pixel level, you can see some mottling in the background sky and some distortion around small stars. These would not likely happen if I had a lot more integration time.
Also, the orange color of the main part of the “Claw” lacks some variation in color that I think I would have had if the O3 and S2 images had more integration time on them.
So, my final verdict? It's not bad for a relatively short exposure to a faint object, but it's far from a great image. I will save all of my raw data, and I hope to collect more data someday and create a better version of this image.
The Reprocessing Effort
Given the relatively short integration time, this image was challenged by noise, and I think the color position is not very effective in springing out some of the details of the nebula.
I was looking forward to using the suite of AI tools from RC-Astro on this image. I was also interested in trying a lot of the new methods I have developed since first processing this image. I wondered where I could take this image with new tools, a starless workflow, and the use of color masks.
This was the workflow I would be using:

The workflow used for this Reprocessing Project
Another issue had to do with the Green Channel.
In the past, I have been very aggressive about removing the dominant green balance that one gets with the initial SHO image. It’s not a surprise - the Ha filter data dominates the other two and is mapped onto the Green channel, so you get a lot of green. Since green does not naturally appear in Astro images - it has to go - right?
Well - for a while, I have suspected that I have been too aggressive in removing the green bias. I have begun exploring leaving a bit greener and seeing how this impacted the final color of the image.
I tried that here and shared an early and much greener version with friends and on X(formally Twitter). Most people thought they were too green - and I had to agree with that perspective, But I also saw much greater differentiation in the areas of bright nebulae - so that was a positive result.
I went back to the drawing board.
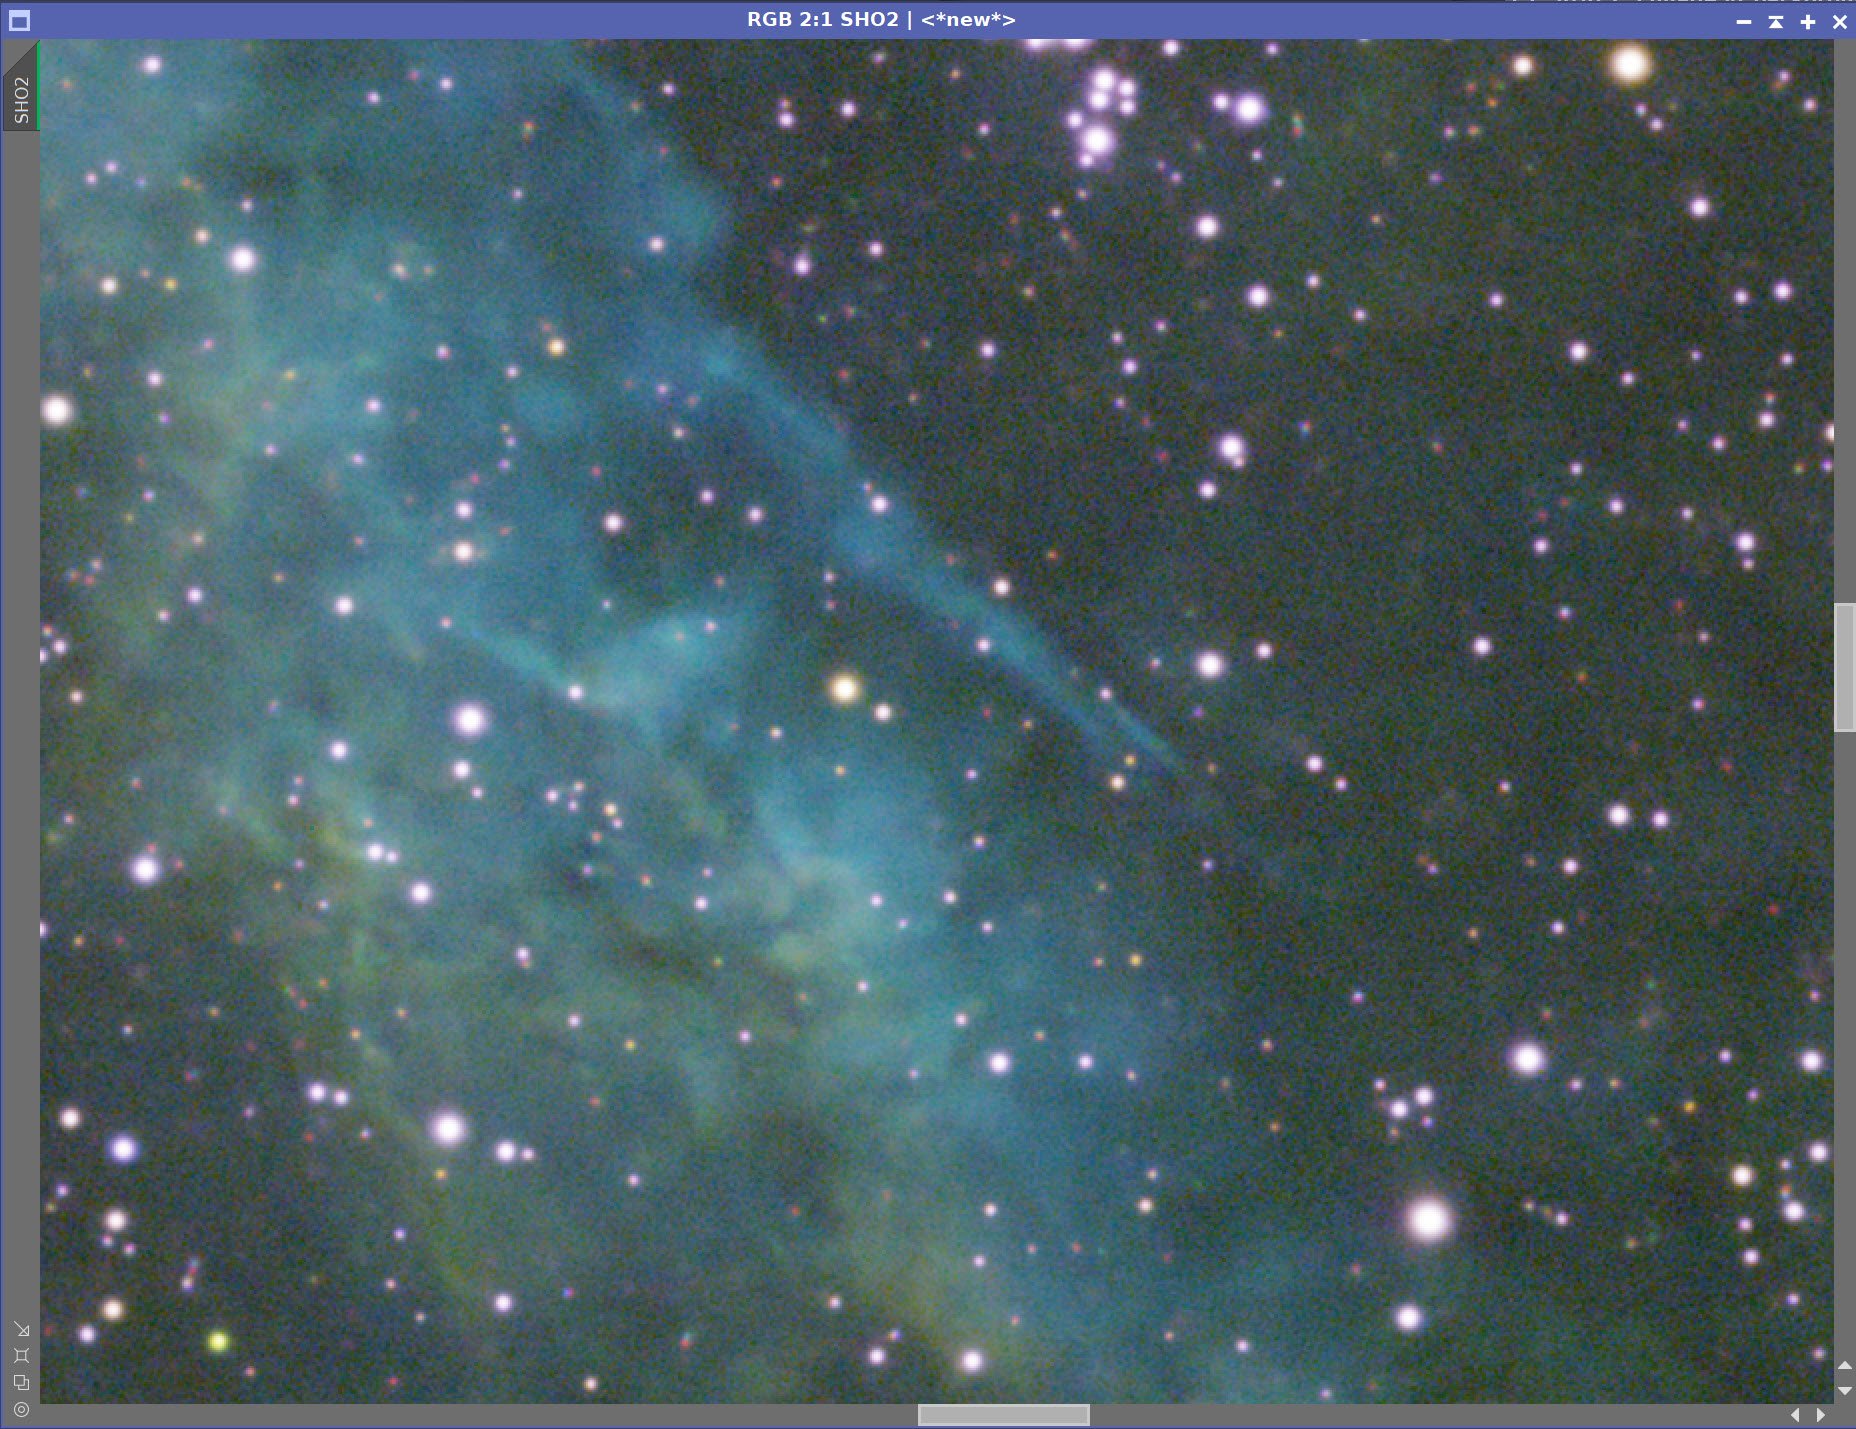
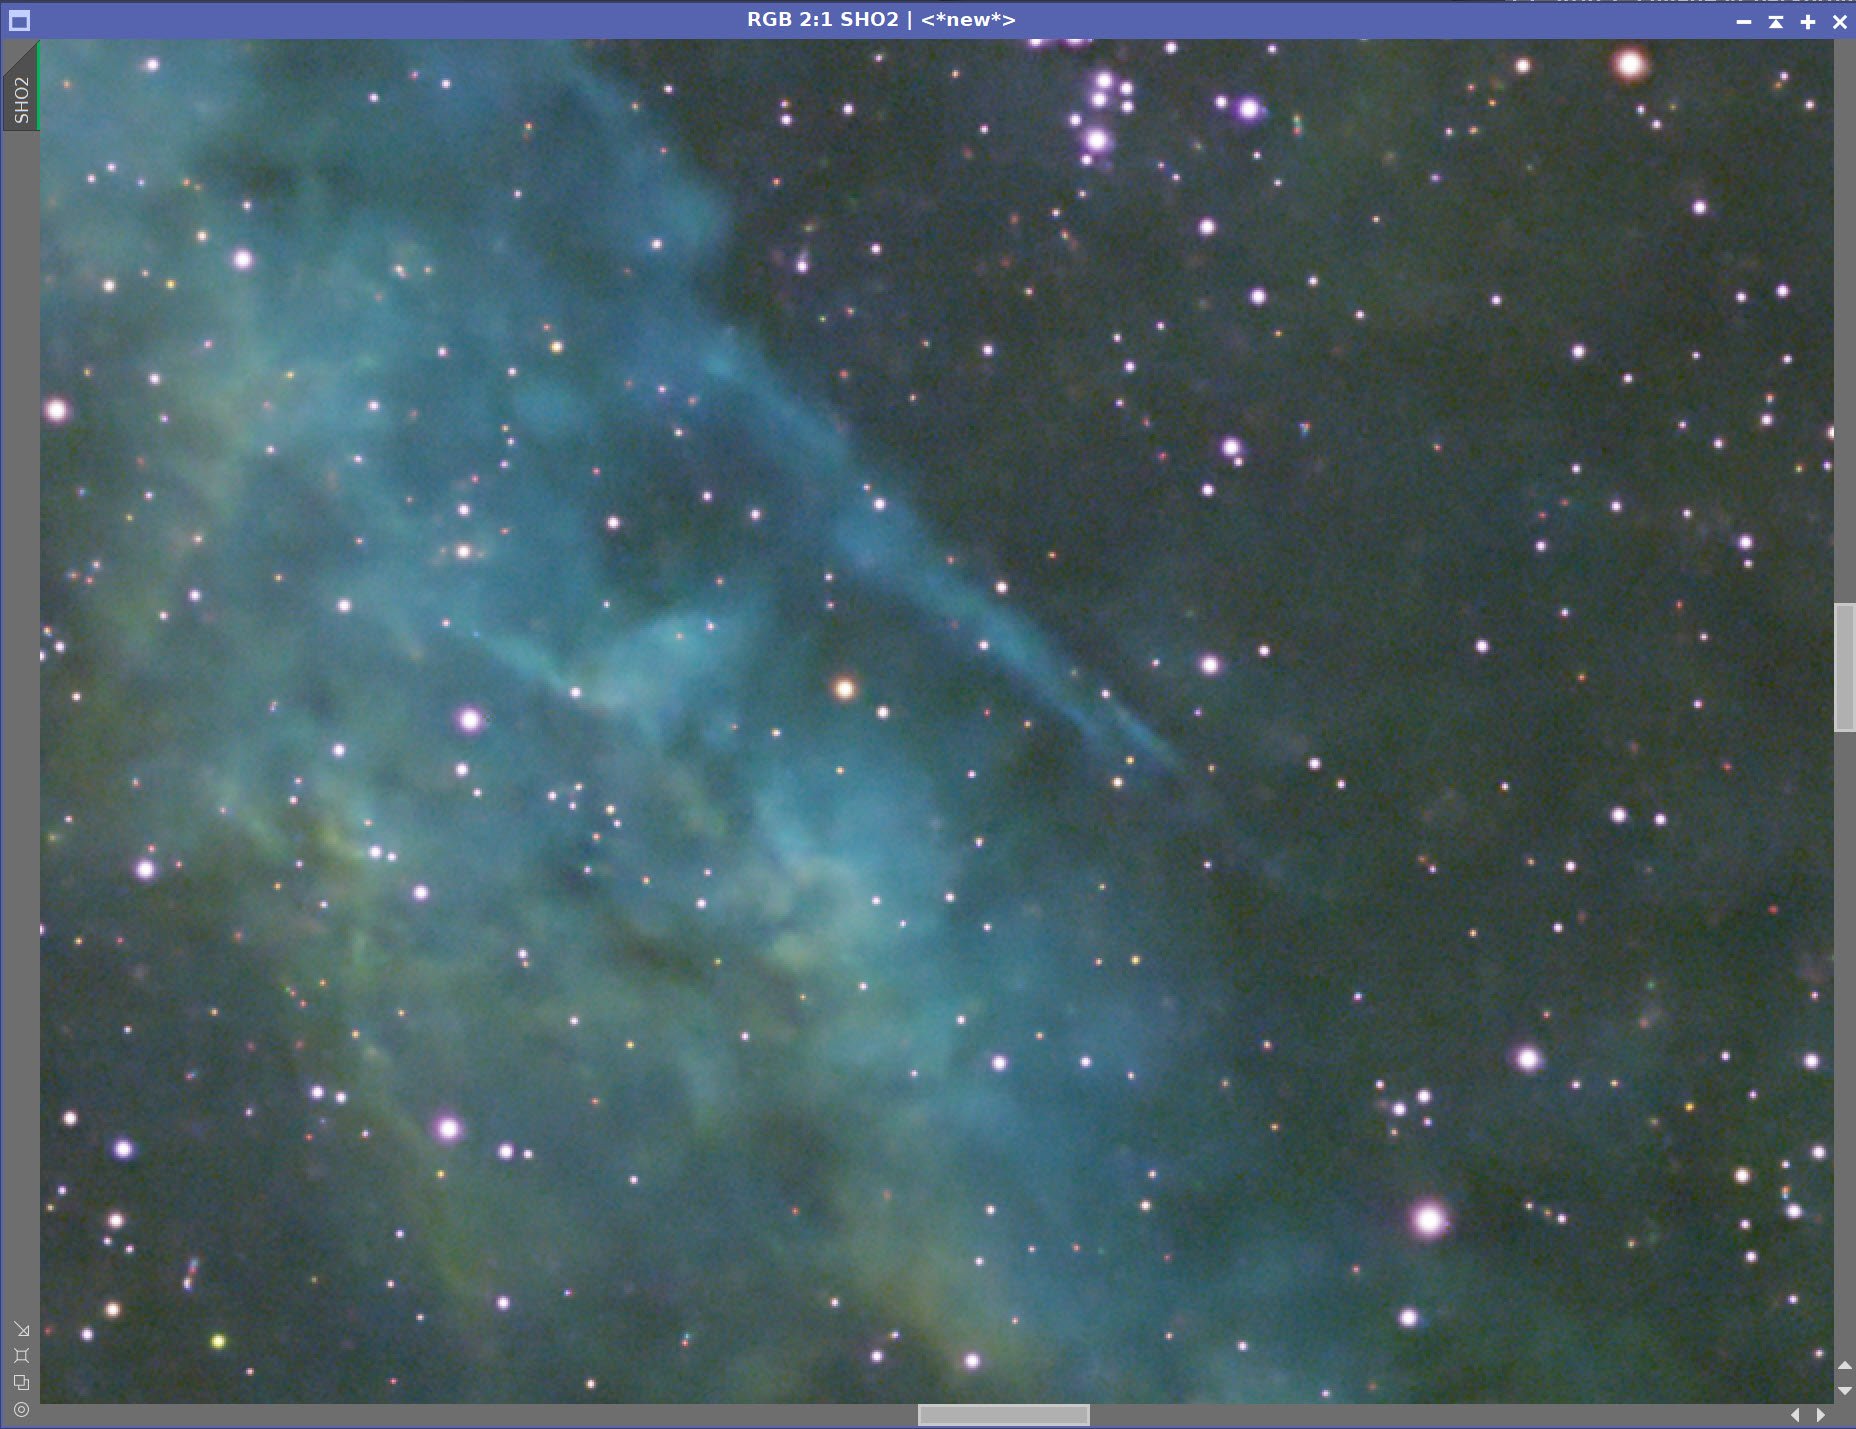
The original Image (click to enlarge)
My first color position with too much green (click to enlarge)
My final color position (click to enlarge)
The final position still leaves little green in, but I think the balance is better and still allows much better detail in the bright areas of nebulosity. I think I was able to bring forward a much greater level of detail and a much more pleasing color position (at least to my eye!) than what I had before.
Details on the processing can be seen below!
Image Reprocessing Detail (Note this is all mostly based on Pixinsight with some polished in Photoshop)
1. Images Begin with the Master Images from the Initial effort
These images were drizzle processed 2X
I wanted to begin with exactly the same data so I could see the difference just the process made.

Master Ha, O3, and S2 images.
2. DBE
The last time I did no DBE operations - this time I thought I did see some slight gradients so I decided to go ahead and do them.
Ha Before DBE (click to enlarge)
O3 Before DBE (click to enlarge)
S2 Before DBE (click to enlarge)
Ha DBE Sample pattern used (click to enlarge)
O3 DBE Sample pattern used (click to enlarge)
S2 DBE Sample pattern used (click to enlarge)
Ha after DBE (click to enlarge)
O3 after DBE (click to enlarge)
S2 after DBE (click to enlarge)
Ha background pattern removed (click to enlarge)
O3 background pattern removed (click to enlarge)
S2 background pattern removed (click to enlarge)
3. Create Initial SHO Color Image
I wanted to balance the three images a bit before combining them. I used the O3 image as the reference and ran LinearFit on the Ha and S2 images. I could have used the S2 image as a reference - I tend to choose the weakest image - but this time, I decided to grab the O3 image.
Then I ran the ChannelCombination tool to create a color image that I promptly renamed SHO
The initial color SHO image after LinearFit was used to balance the images a bit.
4. Run Deconvolution and Linear Noise Reduction
I first used PFSImage to measure the star sizes. FWHM was about 2.7 ( I tend to use the smallest dimension)
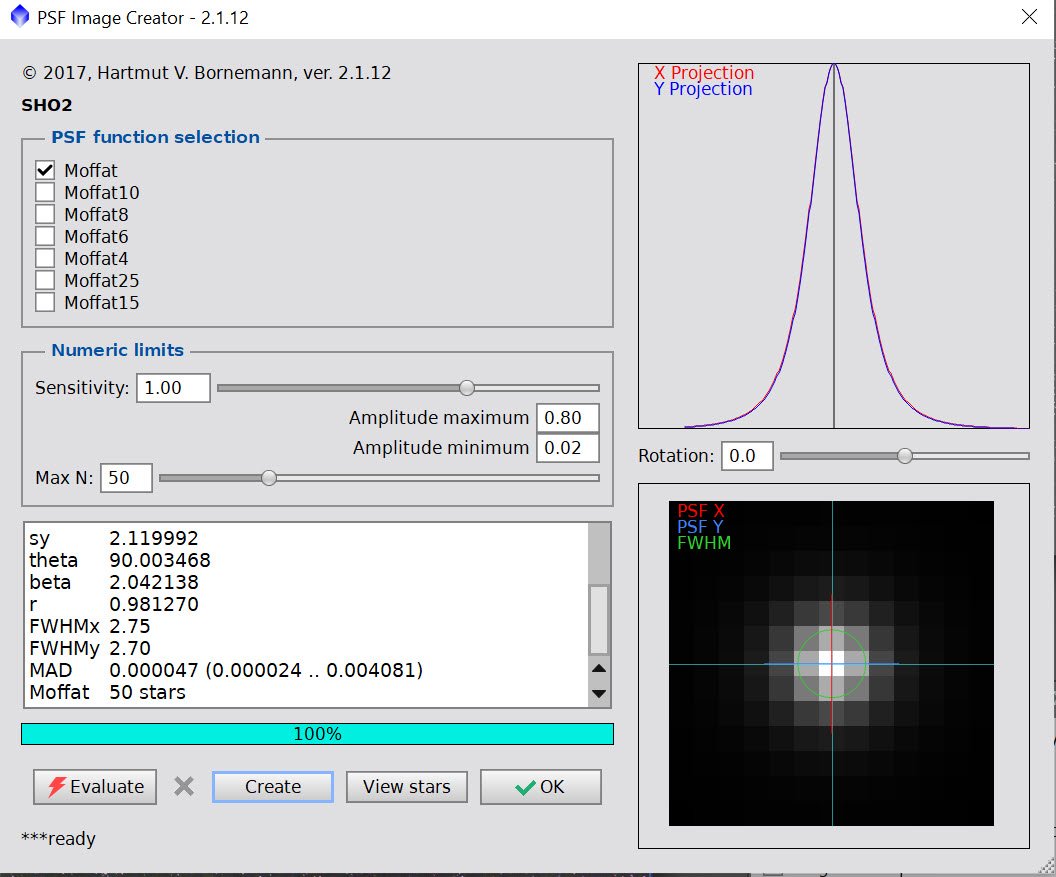
PFSImage Results.
I then ran BXT twice. The first time I ran it in the correct only mode. This was to correct any aberrations found.

BXT first run in “Correct Only” mode.
Then I ran BXT for restoration, using the setup shown below:

BXT run for restoration of sharpness.
Finally, I ran NXT with 0.55 to “knock the fuzz off”

Before and After BXT and NXT=0.5
5. Go Starless
Run SXT, creating a star image and using the unscreen method
Starless Image (click to enlarge)
Stars Image (Click to enlarge)
6. Go Nonlinear
Take both images nonlinear using the STF->HT method. The nonlinear images will now be referred to as nSHO and nStars
7. Do Initial Color Adjustment of nonlinear nSHO Starless Image
Adjust the tone scale with the CT tool
Apply SCNR to the Green with an amount of 0.7
Invert the image
Apply SCNR to the Green with an amount of 0.7 - this will resolve any magenta star or background issues.
Invert the image
Apply CT to tweak tone and color
The initial nSHO image (click to enlarge)
After SCNR at 0.7 (click to enlarge)
Apply SCNR at 0.7 once again (click to enlarge)
Adjust tone scale with CT (click to enlarge)
Invert the image (click to enlarge)
Invert the image once again. (click to enlarge)
Apply CT to adjust tone and color (click to enlarge)
7. Create Color Mask and Process the Image Further
Adjust the image using ColorSaturation - boost red and blues and reduce greens.

Color Sat profile used to adjust the image colors.

After ColorSatuation Adjust
Create a Cool Mask
Use ColorMask_Mod using hues 169 to 270
Boost contrast with CT
Use BillBlanshan’s Blur script to soften

The initial CoolMask (click to enlarge)
After a contrast boost with CT (click to enlarge)
After blurring - the final mask (click to enlarge)
Create a Warm Mask
Use ColorMask_Mod using hues 330 to 69
Boost contrast with CT
Use BillBlanshan’s Blur script to soften

The initial Warm Mask (click to enlarge)
After CT Boost (click to enlarge)
After Blur (click to enlarge)
Adjust with the CoolMask Applied
CT to boost blue colors
Apply LHE with a kernel radius of 64, a contrast limit of 2.0, an amount of 0.2, and an 8-bit histogram - this will accentuate blue details. Some experimentation was necessary to get the right effect.

adjust CT with the CoolMask Applied (click to enlarge)
Apply LocalHistogramEqualization to bring out blueish details.
Adjust with WarmMask Applied
CT to adjust warmer colors and contrast
Apply LHE with a kernel radius of 64, a contrast limit of 2.0, an amount of 0.4, and an 8-bit histogram - this will accentuate blue details. Some experimentation was necessary to get the right effect.

Apply CT with the WarmMask in place to adjust warm colors

Now enhance warm details with LocalHistogramEqualization
The highlights are looking a little blown out at this point, so we will run HDRMT with levels=7 and apply to lightness to bring the thing in a bit.
CT follows this to bring back some of the lost contrast.
Next, we will apply NXT with a value of X to reduce the noise a bit.
I am concerned here that the blue colors are more saturated than I like, so I am going to run ClorSaturation with a profile to reduce the blue sats
After HDRMT with levels = 7 (click to enlarge)


Before and After NXT at 0.66

A saturation profile to reduce blue sats
After the ColorSaturation operation (click to enlarge)
8. Process the Stars Image
The stars look al little magenta. To fix this, we will
Invert the image - causing the magenta stars to appear green
then we will run SCRN for green with amount =210. This will eliminate the green.
Then we invert again.
Then we run a final CT to tweak the colors and reduce the luminace and thereby reduce the stars a tad.
The initial Stars image (click to enlarge)
The Inverted Star image - not a lot to see here! (click to enlarge)
After a final inversion - our magenta star problem is fixed. (click to enlarge)
After running SCNR for green with amount=1.0 - Again - not a lot to see here (click to enlarge)
A final CT reduced the star images and finalized things (click to enlarge)
9. Recombine Stars and Starless Images
Run the script ScreenStars to recombine the images
The final starless image (click to enlarge)
The final Stars image (click ot enlarge)

The ScreenStars Script panel

The recombined image!
10. Final Adjustments to the Recombined Image
Two nebulae seem really blasted out. I should have taken care of them before I combined the image, but I am just noticing it now.
I will create two gradient masks to cover these areas using the GAME Script.
Then with each mask in place, I will run HDRMT with levels = 7 and do a final tweak with CT.
These are small tweaks, but I think the two blown-out area were distracting, and I am glad to have addressed them!
The more central mask (click to enlarge)
The edge mask (click to enlarge)
Central area before Adjustment (click to enlarge)
After HDRMT levels = 7 with center mask (click to enlarge)
After a final CT adjust (click to enlarge)
Edge area before adjustment (click to enalrge)
After HDRMT levels = 7 with edge mask (click to enlarge)
After a final CT adjust (click to enlarge)

FInal image after these two regional adjustments.
11. Export as 16-bit tiff
Open in Photoshop
Use Camera Raw filter to tweak color, tone, and Clarity
Select regions of interest with the lasso and a feather of 150 and tweak using the Camera Raw filter
Add watermarks
Export various versions of the image
Capture Details
Lights
Taken on the night of Nov 8th, 2021
20 x 300 seconds, bin 1x1 @ -15C, unity gain, Astronomiks 6nm Ha filter
16 x 300 seconds, bin 1x1 @ -15C, unity gain, Astronomiks 6nm O3 filter
15 x 300 seconds, bin 1x1 @ -15C, unity gain, Astronomiks 6nm S2 filter
Total of 4 hours 15 minutes
Cal Frames
25 Darks at 300 seconds, bin 1x1, -15C, gain unity
25 Dark Flats at each Flat exposure times, bin 1x1, -15C, gain unity
15 Ha, O3, and S2 flats
Capture Hardware:
Scope: Askar FRA400 72mm f/5. 6 Quintuplet Air-Spaced Astrograph
Focus Motor: ZWO EAF 5V
Guide Scope: William Optics 50mm guide scope
Guide Scope Rings: William Optics 50mm slide-base Clamping Ring Set
Mount: ZWO AM5
Tripod: ZWO TC40 Carbon Fiber tripod with 160mm Extention
Camera: ZWO ASI1600MM-Pro
Camera Rotator: Pegasus Astro Falcon Camera Rotator
Filter Wheel: ZWO EFW 1.2 5x8
Filters: ZWO 1.25” LRGB Gen II, Astronomiks 6nm Ha, OIII,SII
Guide Camera: ZWO ASI290MM-Mini
Dew Strips: Dew-Not Heater strips for Main and Guide Scopes
Power Dist: Pegasus Astro Powerbox Advanced
USB Dist: Pegasus Astro Powerbox Advanced
Polar Alignment
Cam: PoleMaster
Software:
Capture Software: PHD2 Guider, Sequence Generator Pro controller
Image Processing: Pixinsight, Photoshop - assisted by Coffee, extensive processing indecision and second-guessing, editor regret and much swearing…..
The portable scope platform is supposed to be, well, portable. That means light and compact. In determining how to pack this platform for travel, I realized that the finder scope mounting rings made no sense in this application and I changed them out with something both more rigid and compact - the William Optics 50mm base-slide ring set.