
Overcoming Barriers: Polar Alignment
Date: Oct 5, 2021
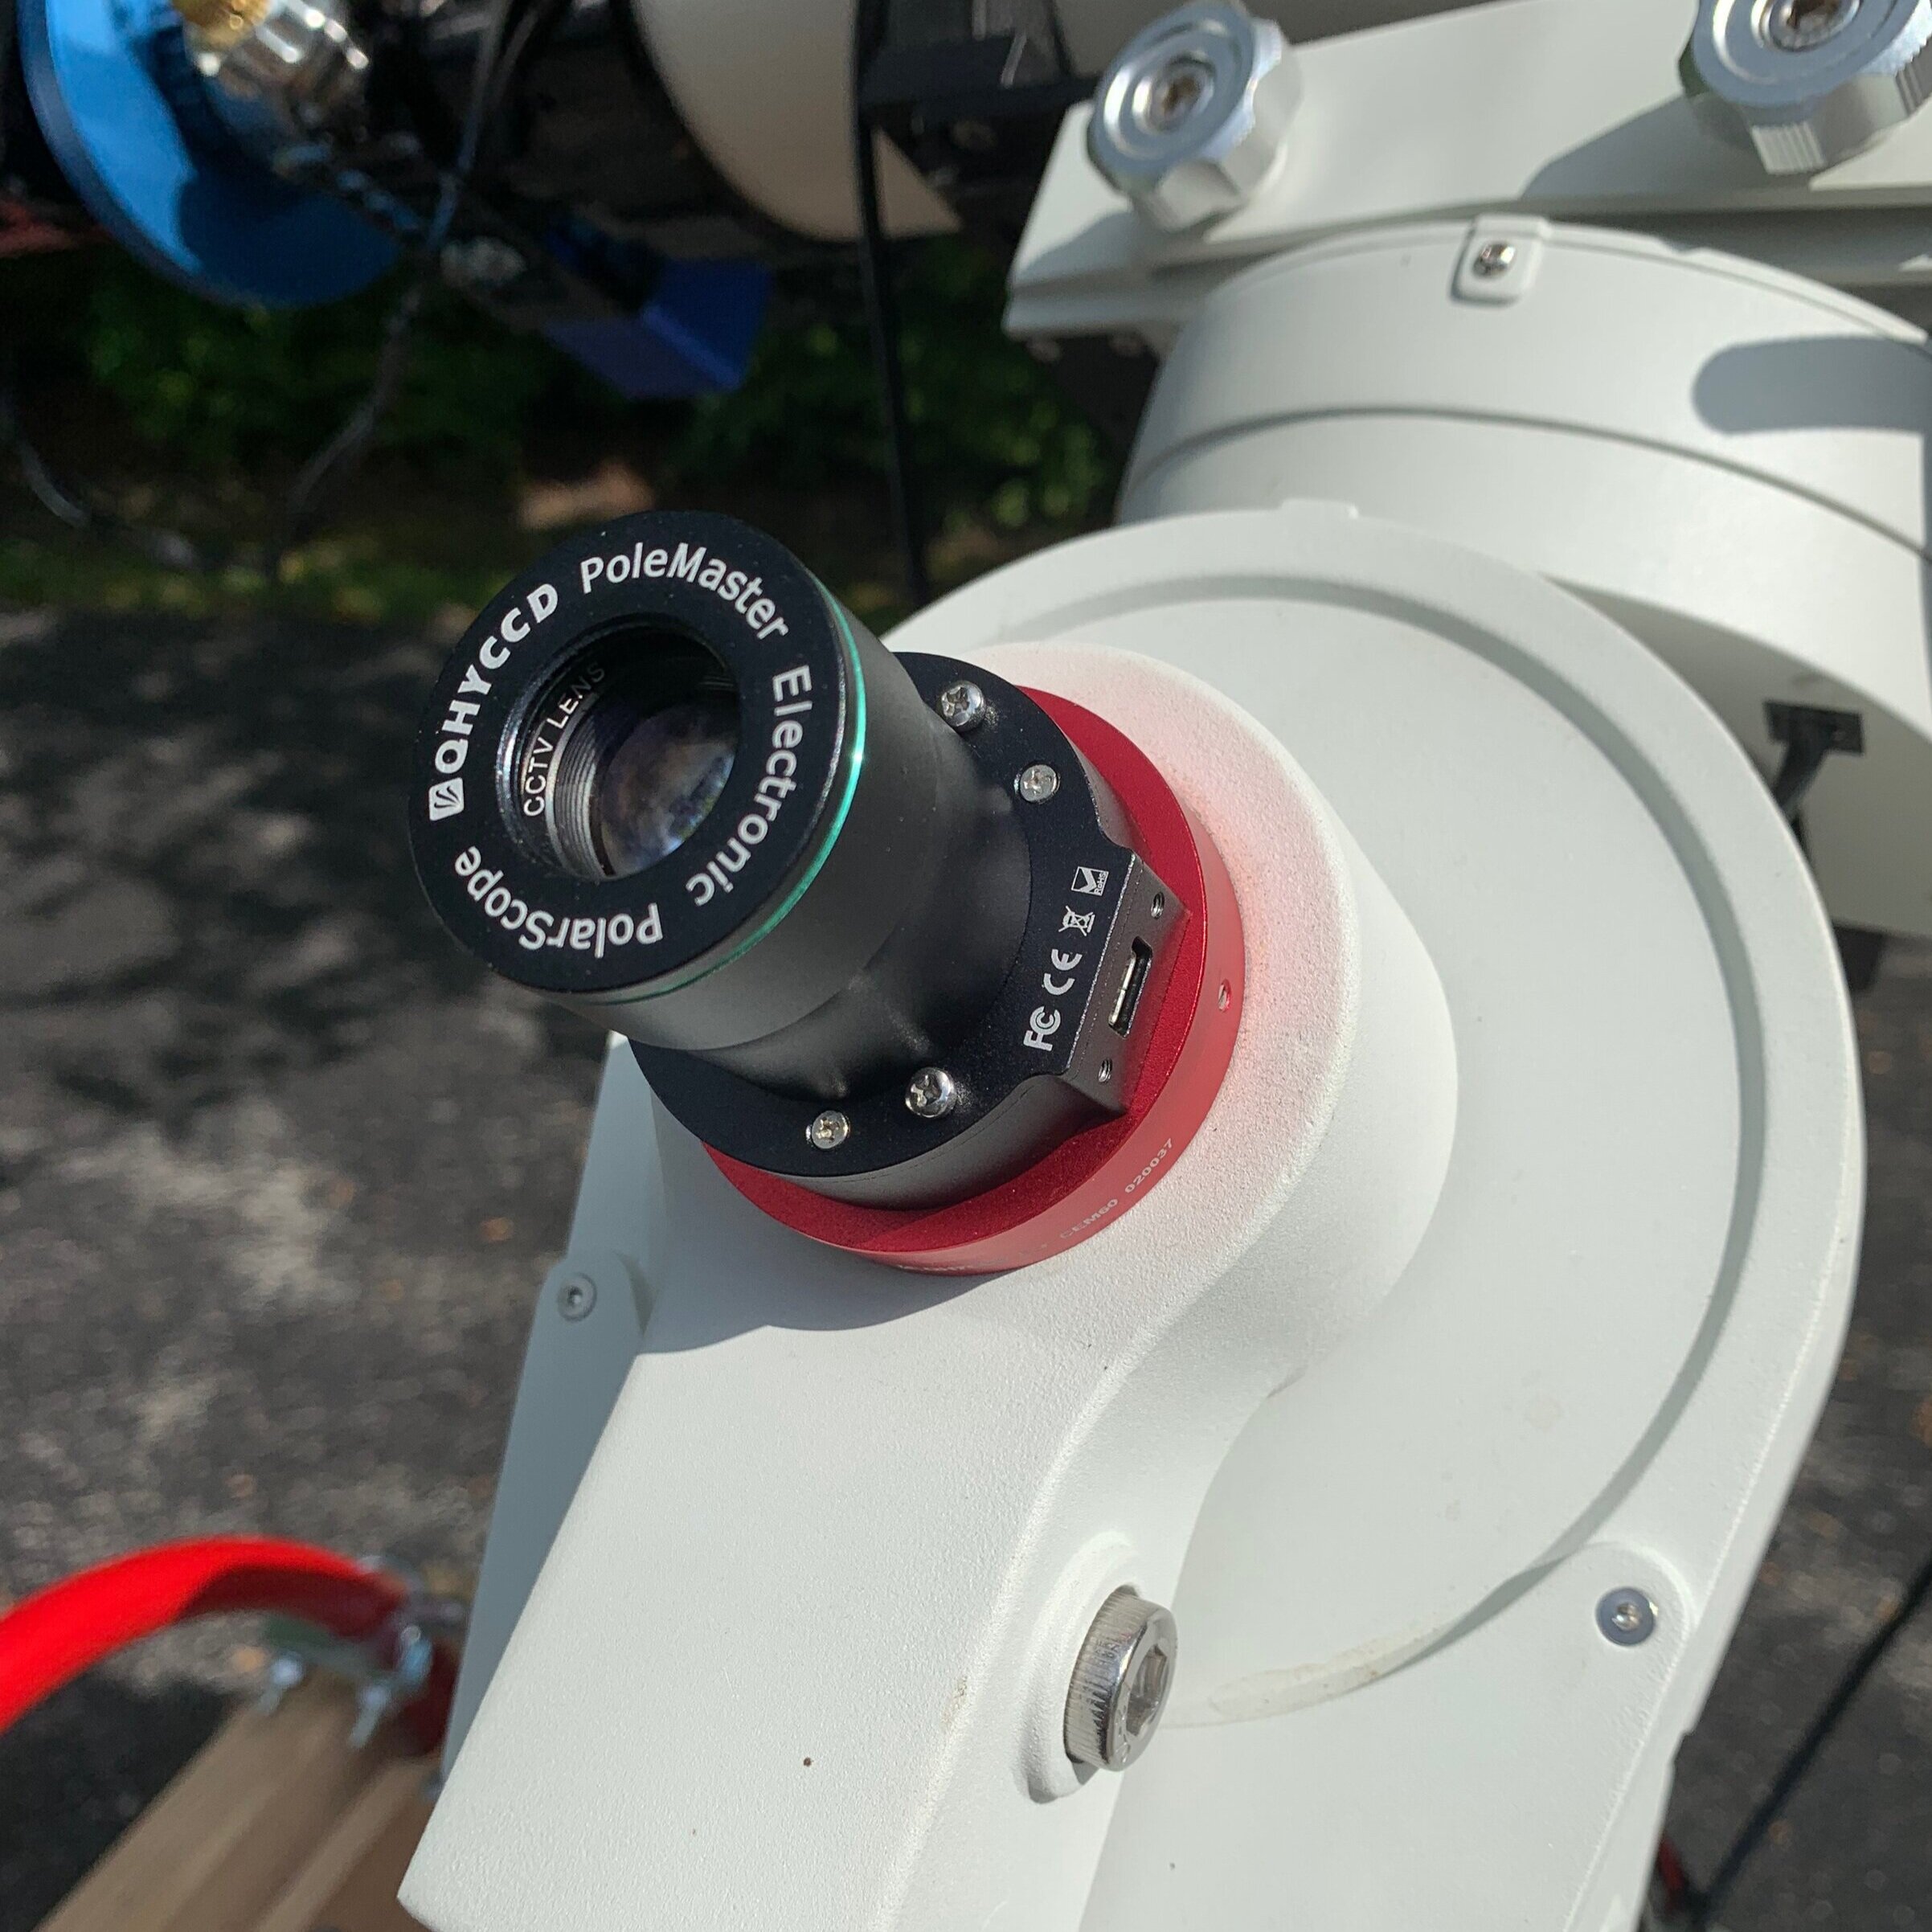
The QHY Polemaster Polar Alignment Camera mounted on my first IOptron CEM 60 mount.
I remember placing my order for my first photo rig, and waiting - impatiently - for it to finally arrive.
Once it got here, I had to figure out how to set it all up. The directions that came with the equipment were fairly straight forward and soon I had a rig assembled and ready for first use. With some fumbling, I was able to get my computer connected and I even was able to use the scope in the daytime and do a rough focus with it on a faraway tree.
I was ready for the night sky.
The Problem
The first step was to align the mount so the polar axis was pointing to the north. My scope mount had a handy-dandy little compass mounted on it so that was simple!
Step two was to level the mount. Once again my scope has a bubble level mounted on it, so leveling was relatively easy.
Finally, I had to polar align the mount. This should be easy - after all, my mount had a polar axis scope with a listed. alignment reticule. Just look through it and line up Polaris on the grid using the mount’s alt-az controls. Simple right?
Wrong.
I am located at a latitude of 43 degrees. With the mount so adjusted, I discovered that just looking through the polar alignment scope was a form of medieval torture. I am a 6'6" guy with bad knees. So I have to kneel on the driveway and crane my head up at an awkward and uncomfortable angle and try to peer the polar scope. My knees are screaming in pain, my neck is cricked, I can barely focus my eyes in this position - and then I still had to precisely position Polaris on a grid whilst working the alt-az controls on the mount.
If that was not enough, I still had to figure just where I should be positioning Polaris on the reticle grid.
I found there was a neat polar alignment app - “PS Align Pw” - that would tell me this. This app supports different polar scope reticles used by various manufacturers and will tell you where precisely to position Polaris on the grid for your given location and time. Nice!

And so I would assume my uncomfortable position, look at the phone, try to look through the scope,, work the mount controls and line things up. And I had to do this for each night I went out
I did make some changes to make this more comfortable. I got a nice piece of closed-cell foam to protect my knees. I used the phone app and figured out where I needed to be before I started kneeling. But it was never comfortable or natural for me.
But as long I got good results it was all worth it - right?
Well - unfortunately - the results were not really all so good.
Using PHD2, I could measure the PA error of the setup. I was finding that my error was 10-20 arc minutes off! Not at all suitable for astrophotography!
The Solution
Then I saw a video on YouTube about the QHY Polemaster. You could put a camera on the polar axis? You could do polar alignment while comfortably sitting in a chair looking at a laptop screen? No more contortionist poses and neck cricks? SOLD!!

The QHY Polemaster Camera

The QHY Polemaster Software Screenshot
I ordered one, along with a mount adapter for my scope. Once installed I waited for the first clear night to try it out.
Polar alignment was done quickly. It seemed to be a simple, comfortable, and civilized way to doing your alignment!
But was it accurate? The first night I tried it, I ran Guide Assistant on PHD2 and let it go for 4 minutes. The reported PA error was 0.4 arc minutes! Quite a change from over 10!
A Real Game-Changer
This was clearly a game-changer for me. Setups could be done quickly and accurately each night. Since I dropped my telescope mount on the same painted spots on my driveway each time, I always started off pretty close and just had to tweak things to do the final alignment.
I loved my Polemaster and made it a key part of my nightly setup.
Over time I added two more scopes that I used each night. Setting up three scopes in the driveway would not be possible without using a polar alignment camera.
My first Polar Alignment camera was the PoleMaster - which I really liked. The other two were built-in iPolar Systems that came with my IOptron mounts. The cameras are very similar between the two systems but the apps are very different. While I find the IOptron software to be a bit clunky, I also find the platesolving approach they use to be very simple and intuitive to use and I find that I can polar align even more quickly using their methods.

iPolar built-in to the IOptron CEM60 mount

This is the other side of the mount, showing the central USB plug that is used to connect the camera to the computer or a USB hub.

This is the IOptron CEM26 with the central cap removed showing the camera deep inside the fixture.

Ipolar on the CEM26 mount. This is the other side of the mount showing the UB plug that is used to connect the camera to a computer of USB hub.

iPolar - the main app screen - all you have to do is adjust the crosshairs over the red circle.
I understand that the Sharpcap app has a polar alignment method that is very similar and uses the existing guide scope and camera - so you don't have to buy a separate polar alignment camera. I have never used it myself, but I have heard from folks that do use it and have had great results from it.
Polar Alignment is one of those things that was an early challenge for me and a barrier to getting to where I wanted to be. The Polar Alignment Camera solved this problem for me and allowed me to get the polar alignments I needed comfortably, quickly, and easily.
If you are wresting with Polar Alignment, I would heartily recommend trying this approach!