
Overcoming Barriers: Flat Calibration Frames
Date: Oct 5, 2021

The QHY Polemaster Polar Alignment Camera mounted on my first IOptron CEM 60 mount.
This article was published in Amateur Astrophotography Magazine, Issue #96, Jan 2022!


When I first started capturing images of the night sky, I did not bother with calibration frames.
Why? I barely figured out how to capture subs - I had no idea what was involved in calibration frames. I knew that I should do them. I knew they could be important. I just did not know how to capture them - and once they were captured - how to use them.
I slowly started to get a clue about this.
Darks came first. Basically - cover up the lens and then shoot subs - same camera configuration, same exposure time, same camera temperature in regards to cooling.
Then Bias frames. Same as darks really - just with a very short exposure time.
The Problem with Flats
Then comes flats. I understood what flats could do for you, but felt very unsure about some of the methods I had seen for capturing them. Specifically - how do you get a flat, reliable, repeatable light source for your exposures?
White T-shirts over the scope dew shell pointed high in the sky? That did not sound very convenient or repeatable to me.
I had seen some light panels being sold expressly for the purpose of exposing flats, but these could run into the hundreds of dollars and my budget was too depleted just getting the telescope gear together.
The Solution
Then I saw an article in Cloudy Nights talking about using inexpensive LED Tracing panels from Amazon as the light source. Hmmm - that sounded doable!
I bought an A4-sized one from Amazon that had continuously variable brightness levels. I sandwiched it in some 2" closed-cell foam that I had on hand, and I cut out a hole for the scope dew shield and an access hole to the "on" button. The unit would hang securely off the end of the scope and I could plug in the USB cable to a free slot on my USB hub mounted on the OTA to power it.
The brightness level could be changed by simply holding down on the power button. The panel would cycle through a range of brightnesses and I would pick one that seemed to work. Once set - in theory - I should get the same brightness each time by simply hitting the power button quickly to power it up.
I then used Sequence Generator Pro Flats Calibration Wizard to set the exposure and then the Flats Wizard to add flat events to my sequences. I had pretty good results with this but I also ran into some problems.
When I turned on the unit, I did not always get the last brightness I had set. So I have to start all over again to set the brightness and exposure. This was a pain. Since the brightness levels were continuous, there was no way to go back to a specific brightness level.
This caused me to make a change. I ordered a new A4 tracing panel that had only 5 discrete brightness levels. With 5 levels, it was easy to toggle through the various levels and pick one of the 5 that you wanted to use. Each time I used it, I was able to turn it on and set the same brightness level. This made this much more repeatable and simplified setting the exposures and collecting good flats session after session.
The new panel was packaged in closed-cell foam the same way as the old one. Here is the unit that I bought at Amazon:
https://www.amazon.com/gp/product/B08BNRVGVH/ref=ppx_yo_dt_b_search_asin_title?ie=UTF8&psc=1
When I brought my small portable rig online I decided to build a similar unit but in a smaller size to be used with this smaller scope. For this version, I ended up getting this smaller A5 panel at Amazon:
https://www.amazon.com/gp/product/B08QJ2JMHZ/ref=ppx_yo_dt_b_search_asin_title?ie=UTF8&psc=1
This panel only offered three discrete brightness levels and I found that the lowest brightness was still too bright for my f/5 FRA400 astrograph so I added several pieces of heavier bond typing paper as an additional diffusing element that did the trick!

The two flat light sources, side-by-side. On the left is the smaller A5 based panel and on the right is the larger A4-based panel. The Dew shield cut-outs are in place in this view protecting the panel itself. The closed-cell foam protects the panels very well.
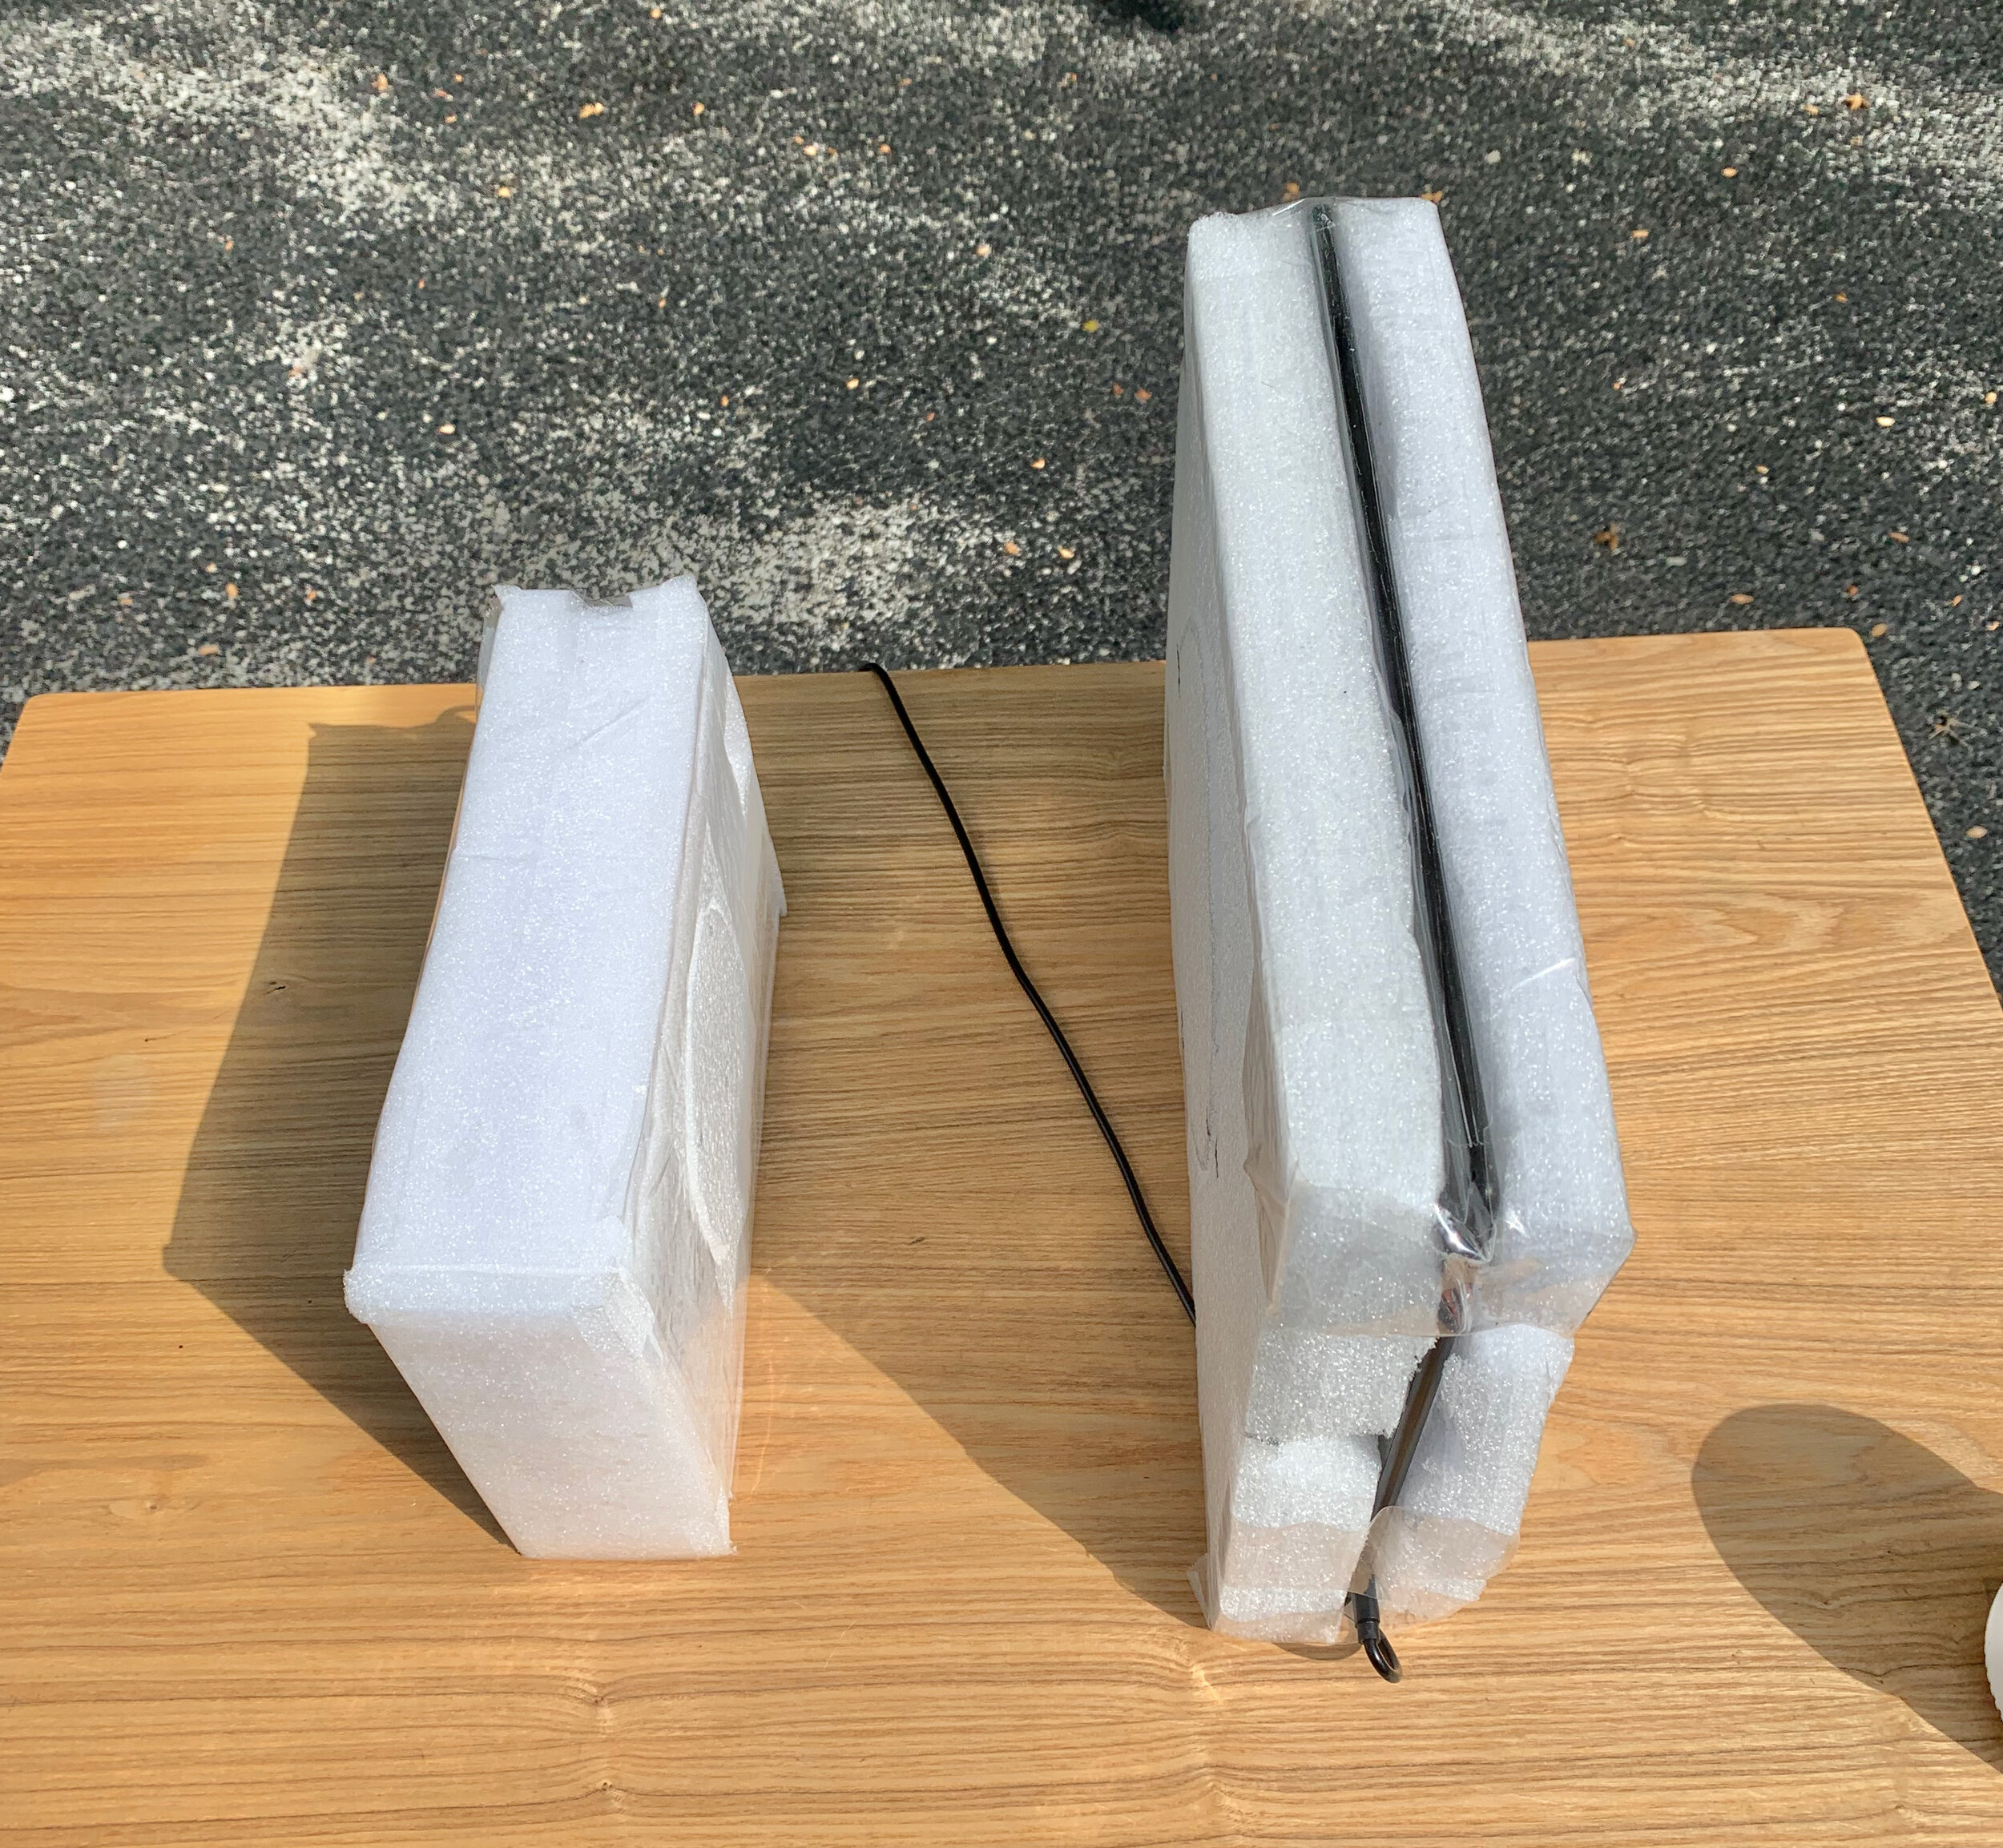
A side view of the two flat sources.

A close-up view of the A5-based panel showing the cut-out for the power switch.

A view of the larger A4-panel showing the cut-out for the center-edge power switch.
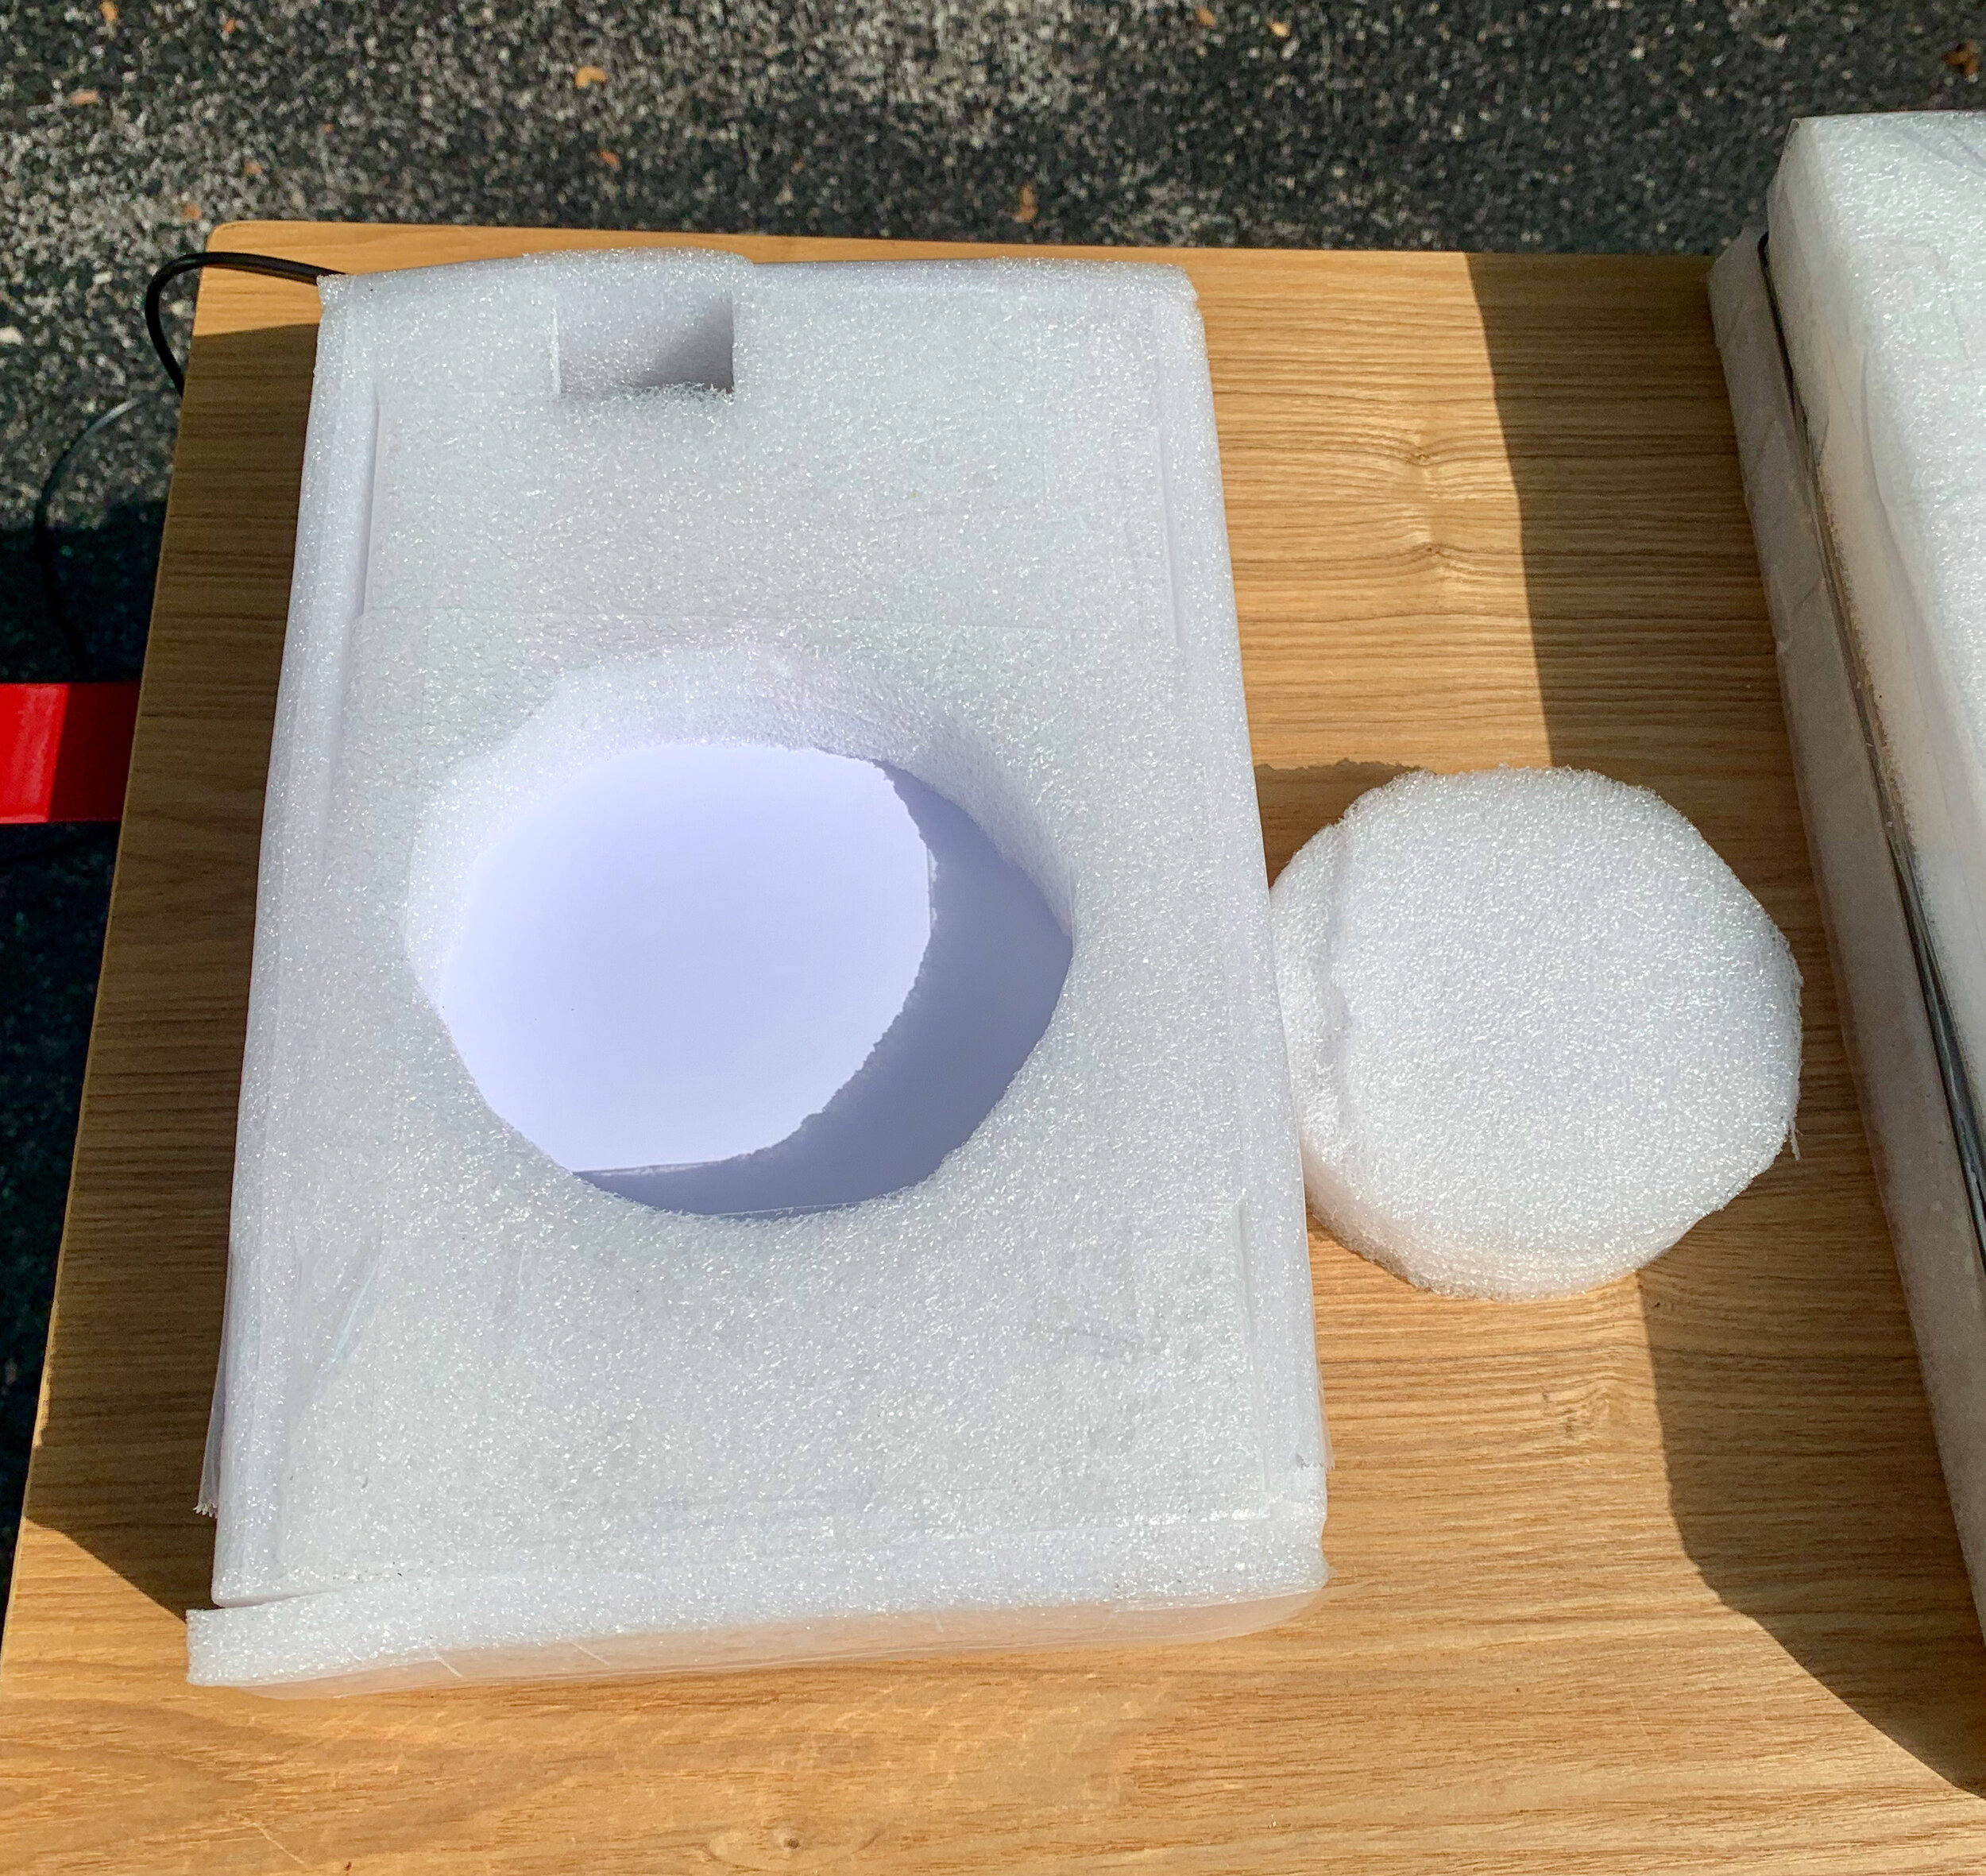
The dew shield cut-out is removed showing access to the A5-5 panel itself.
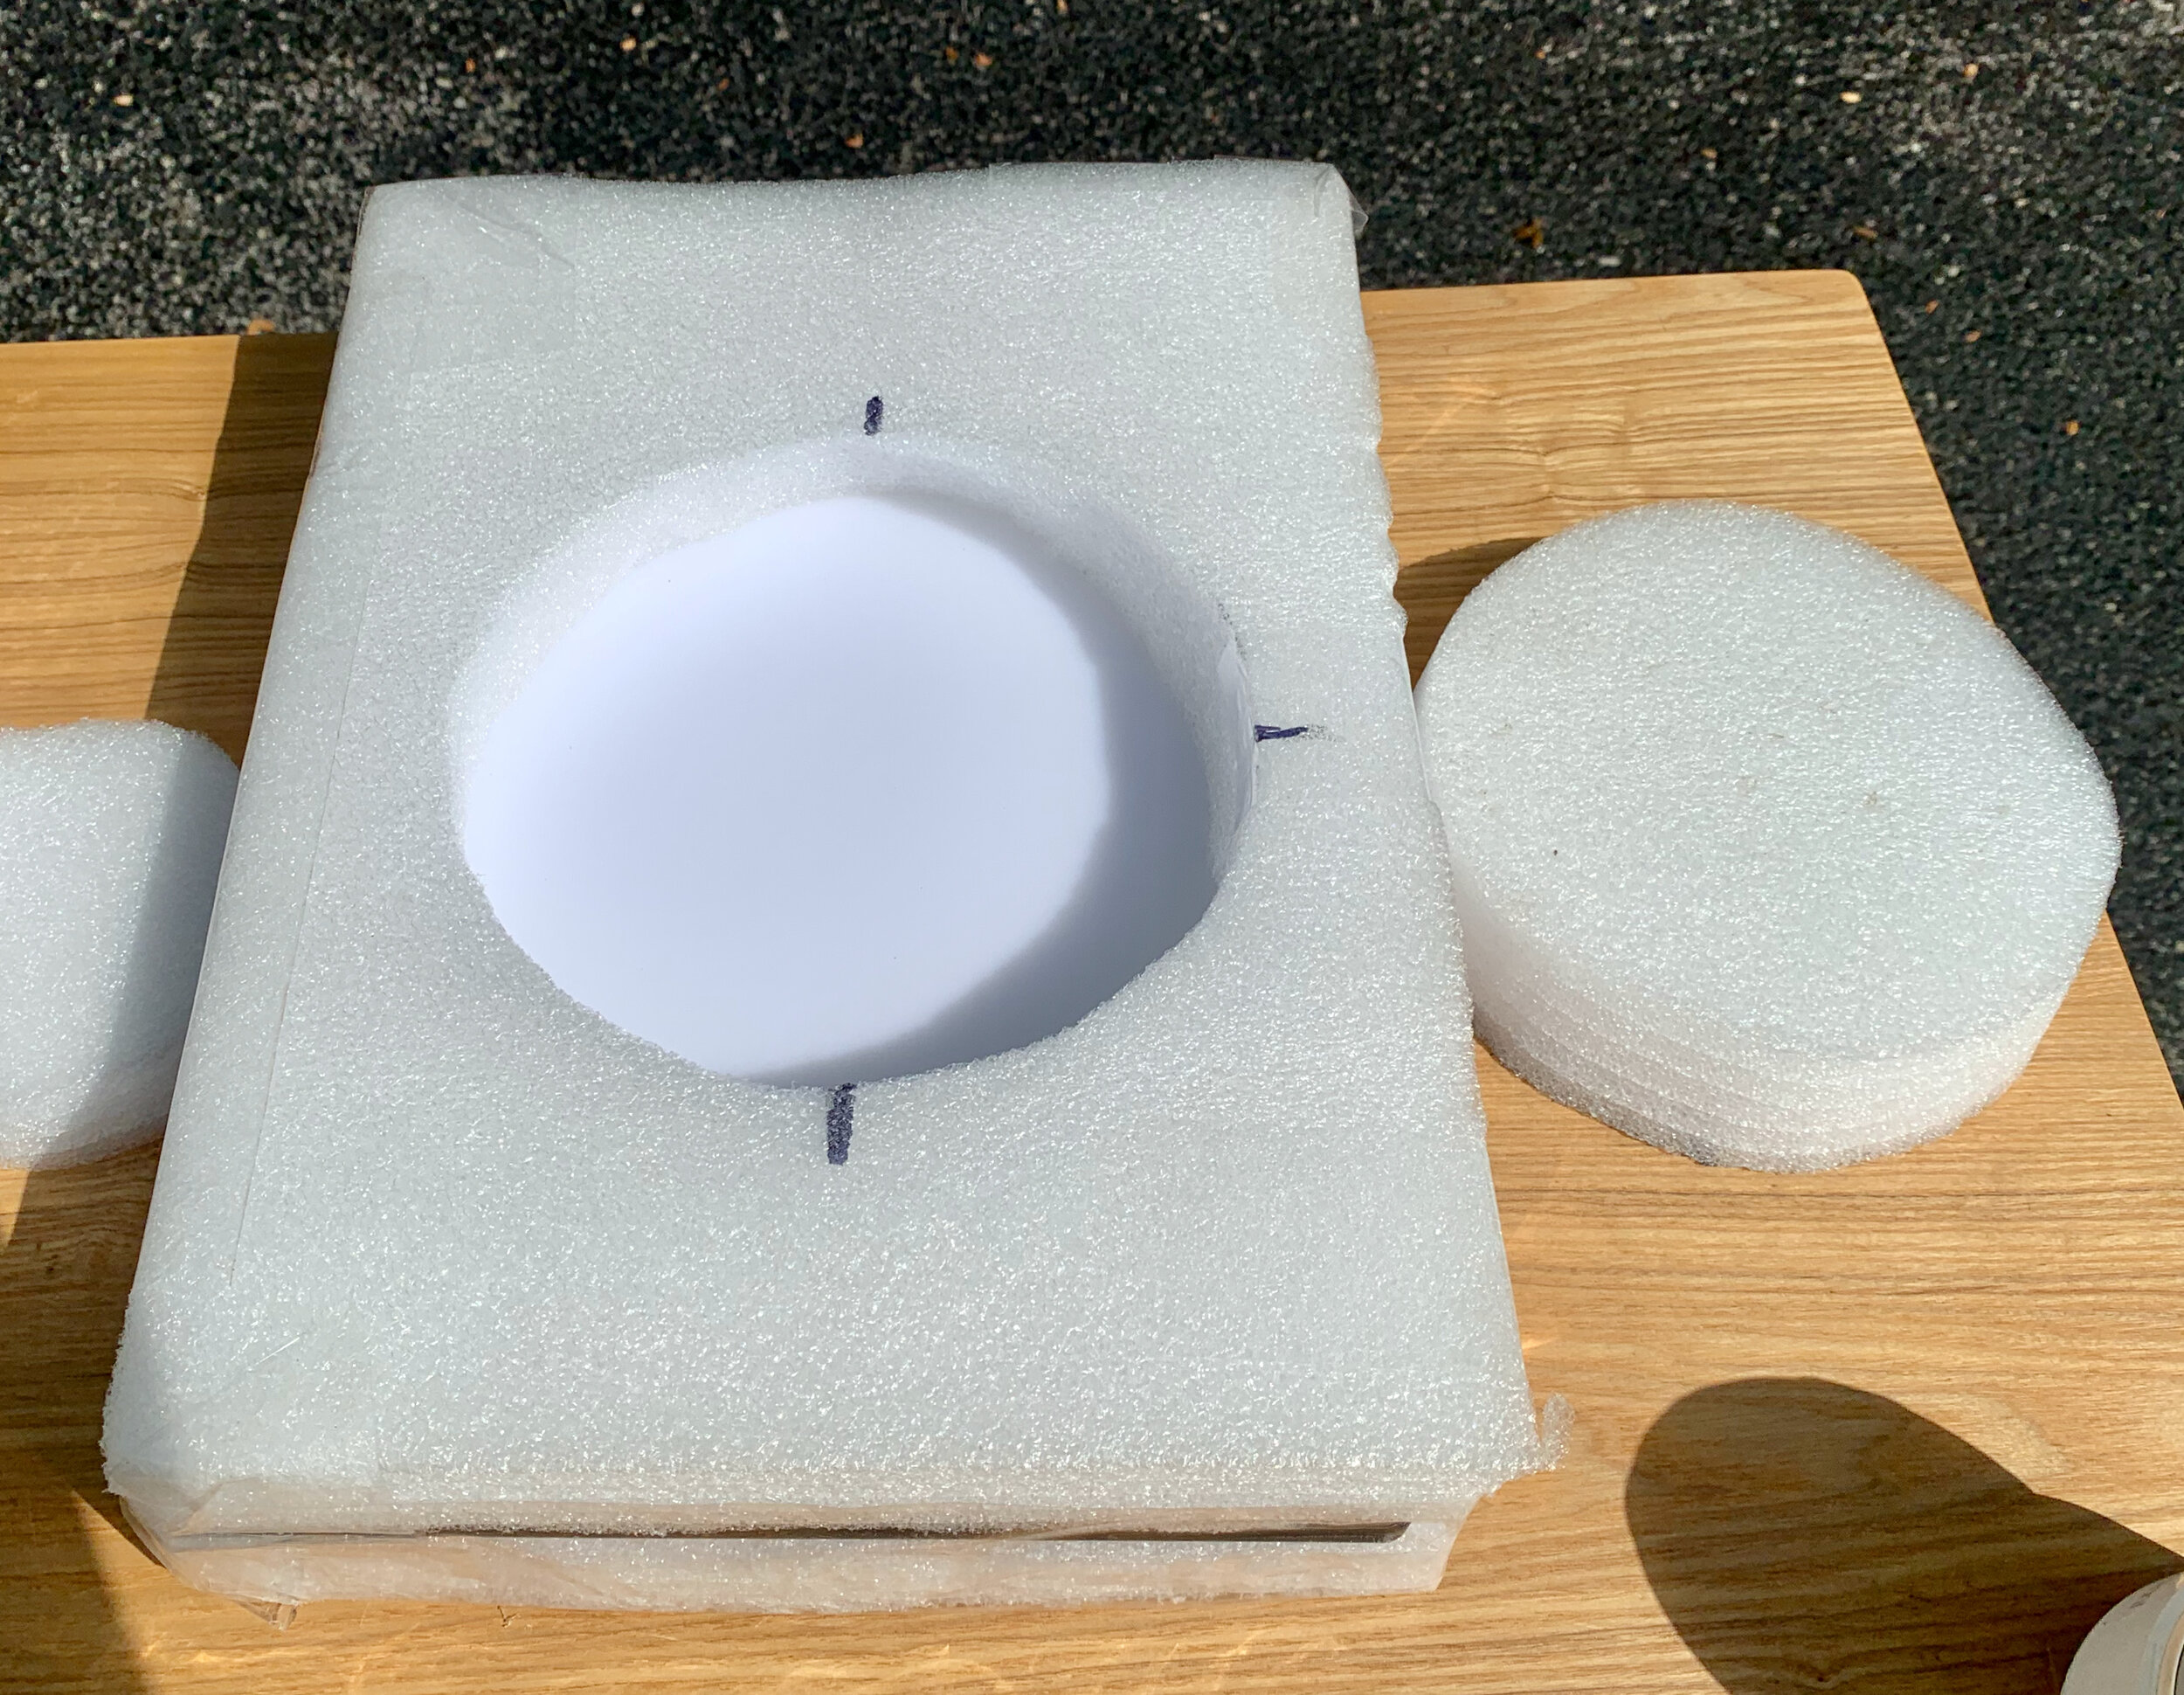
Here you can see the dew shield cut-out removed from the larger panel.
These panels may look a little on the rough side - the foam was not precisely cut - but they are well protected and very functional. I now use these devices to capture flats for all of my imaging projects and they have worked out great!

The larger panel in use.

The smaller flat light source in use!
Here are some further tips to help with getting good quality flats:
1. These cheaper panels may have some flicker to them, so I tend to go with lower brightness levels and drive longer exposure times and this seems to create a nice uniform pattern.
2. I tend to drive my flats to have an average value of 30,000, and this seems to produce good results with the cameras I am using.
3. I collect flats every night and use this data to calibrate the lights that were taken the same night. This prevents mismatches due to dust displacement or angular rotation errors in framing from night to night.
4. Before I mount the panel light source, I always brush any fibers or dust that may accumulate on the panel. This does not really have much impact on the generated flat itself, but it does prevent this dust from falling off and settling on the objective.
5. how many flats do you need? I see people that are routinely collecting 30, 50, or even 100 flats. Personally, I subscribe to the view promoted by Adam Block:
Darks are a statistical measure of the electronic noise characteristics of the sensor and sensor circuitry. What does the sensor do when long exposures are made with no light? This is fundamentally a statistical measure of noise, and, in this case, larger samples are better than smaller ones.
Flats are a measure of the optical characteristics of the system - as such they are relatively static and unchanging. These are fundamentally “light” frames with a lot of signal and very little noise. A smaller sampling here is acceptable. Adam suggests 12 - I tend to use 15. This approach has given me good results and reduced the task and data loading for projects that use several filters (i.e. narrowband and LRGB).
Conclusion
I found early on how important it was to have decent flats as part of your image preprocessing. It handles the typical fall-off in intensity seen in most optical systems and even more importantly, it handles dust that always seems to work its way into your sensor and filters! Done well, these artifacts disappear! In fact, I would be so bold to say that flats have the largest impact on the ultimate quality of your final image than any other cal frame!
I wish I had started using them earlier in my Astro imaging and I encourage you to use them as soon as you can in your journey! You will be glad you did.