
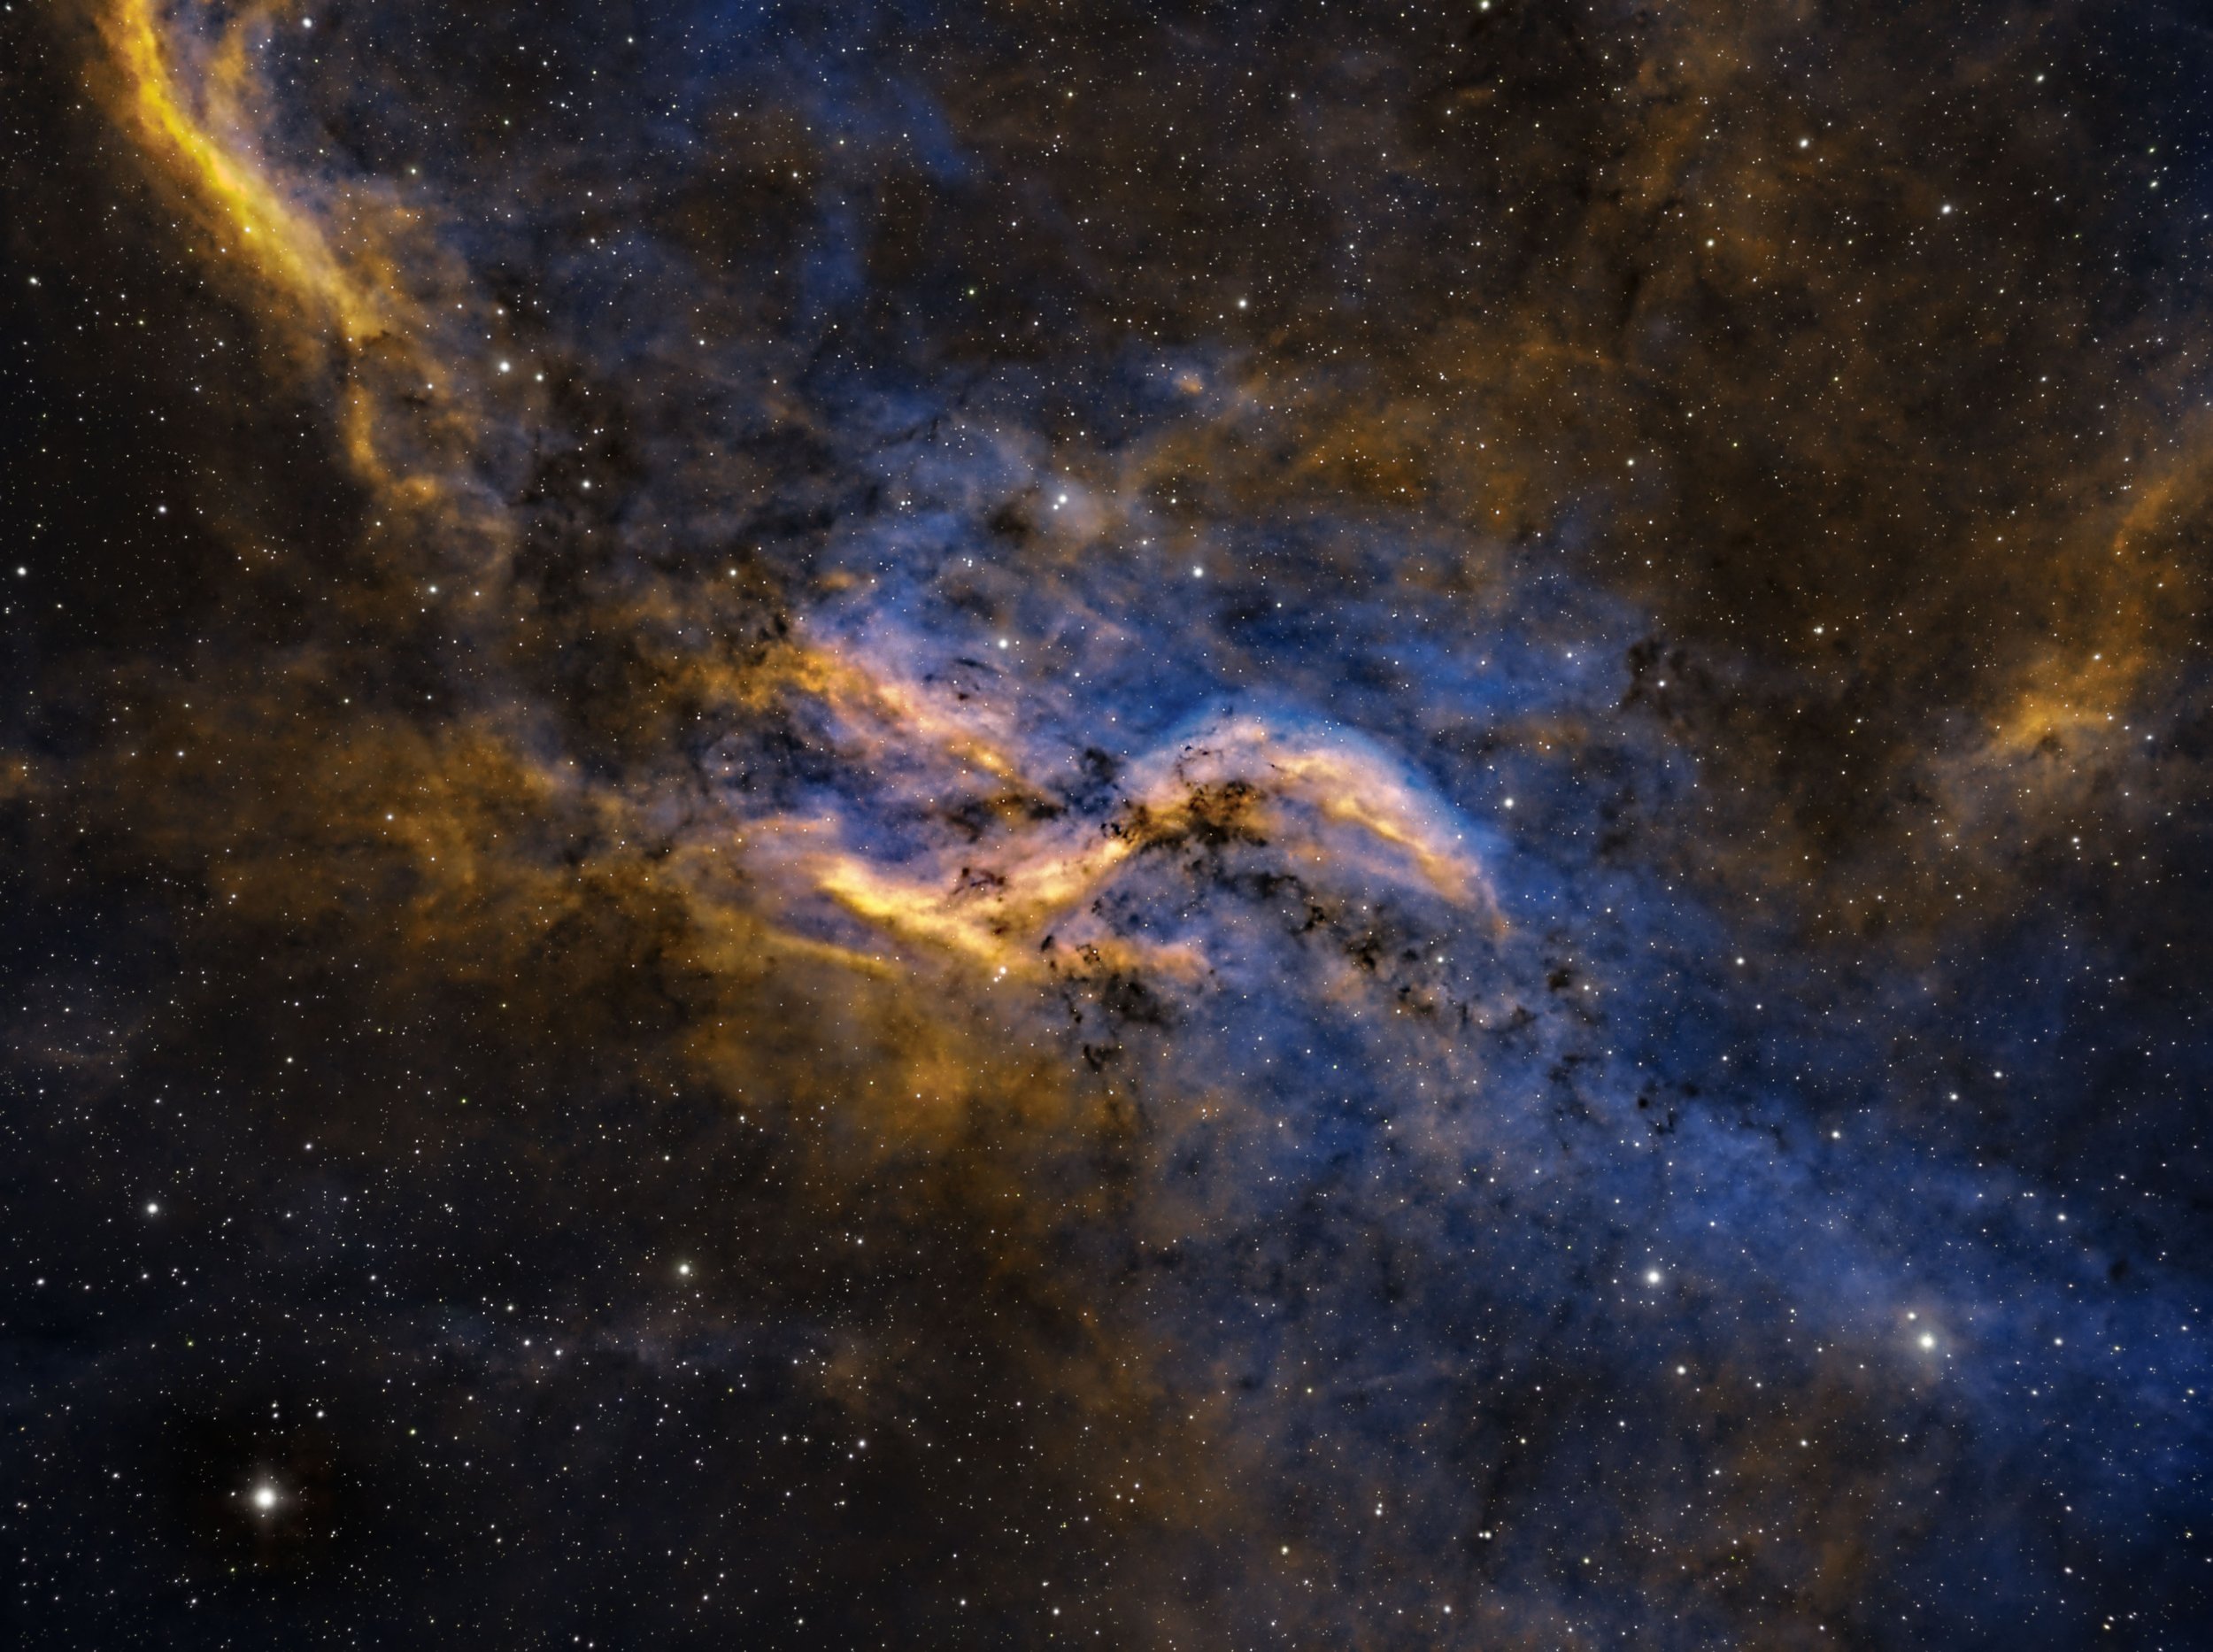
DWB 111/119 - The Propeller Nebula in SHO - 11.9 hours
Date: Sept 19, 2021
Cosgrove’s Cosmos Catalog ➤#0085

DWB 111/119 - taken with a mono camera and rendered using the Hubble Palette (click image for full resolution va Astrobin.com)
Table of Contents Show (Click on lines to navigate)
Special Note:
This image data was the subject of a reprocessing project in Aug 2023, which took the original data and processed it again using advanced tools and techniques that I did not have when this image was originally done. That Project can be seen HERE.
The reprocessed and improved image (click to go to this new post)
About the Target
The Propeller Nebula is part of a vast and rich region in Cygnus known as Cygnus X Complex. The Propeller is often designated as DWB 111; however, this is incorrect, as we will see. The proper designation is Simeiz 57.
DWB and Simiez designations are not so commonly known, so first, a little history.
The Simeiz Catalog was created in the 1950s by the Crimean Astrophysical Observatory in Simeiz, Ukraine. This catalog is focused on HII regions and documented 306 of them. The Propeller Nebula is item 57 in this catalog.
The DWB catalog was created in the 1960s by H. R. Dickel, H. Wendker, and J. H. Bieritz, and it cataloged the HII regions they were studying in the Cygnus X Complex. While DWB 111 is often used as the designation for the Propeller, it only deals with the southern arm of the Propeller, while DWB 119 deals with the northern arm.
So you can call it DWB 111/119 or Semeis 57. I will follow the standard convention and call it DWB 111 in this posting.
HERE is the best link I found dealing with the designation for the Propeller. It also shows all designations and how they relate to one another.
While we don't really know how far the Propeller is from the earth, the Cycgus X Complex, in general, has been determined to be about 4,600 light-years away.
This object is primarily known by Astrophotographers. It is a faint object that shines with a feeble red light - which your eyes are not all sensitive to. To see it visually, you will need a larger aperture telescope - perhaps 14” or larger in diameter - and probably use a filter to enhance contrast. Astrophotographers have the advantage of being able to store light over time and integrate it - making such faint and tenuous objects visible. Even so, I needed 12 hours of integration under good conditions to get this image!
The Annotated Image

Annotated image of DWB 111/119 - Pixinsight ImageSolve was failing on this image, so this is screensnap from my Astrobin Account. They use basically the same method, but not a lot of annotation is available for this region I guess!
The Location in the Sky

IAU/Sky & Telescope Constellation Map for Cygnus - DWB 111/119 is indicated with the yellow arrow.
About the Project
This is the third and final image from data collected in the early portion of September - specifically the nights of September 1st, 6th, and 8th.
So why did I choose this one? I try to keep tabs on what is happening on Astrobin, and I saw a few images come through for the Propeller Nebula. This caught my attention as I had never heard of it before and this put it on my radar. Since Cygnus is currently so well-positioned overhead, I added it to my list of targets I wanted to go after one day. September 1st was the day!
I was looking for a third target to shoot on the William Optics 132mm Platform. Most of the recent images I had seen of the Propeller were taken with an OSC camera. This caused me to wonder about what a narrowband image would look like.
A Developing Auto Focus Problem?
During the actual capture, I noticed something odd was occasionally happening, The sequence would be running fine, and then I would check the incoming subs. To my surprise, I saw that the image was not focused correctly. Now, this was strange because I am set up to run the SGP autofocus routine at the following times:
When the run is starting
Anytime that the filter is changed.
Anytime the ambient temperature has changed by 1 degree.
Every 40 minutes.
Something had happened. Either the autofocus routine had not run, or it did run but somehow failed. This was concerning as I have never run into this before. Over those three nights, I found subs not focusing on two occasions, and had to stop the sequence and fire off the autofocus routine manually. Once it had run successfully, I continued the sequence.
When I inspected the data, I found 12 out-of-focus images, and I had to remove these frames. That’s an hour of data! I need to get to the bottom of this!
The Blink Review of the Cal Data
In my article on the Top 10 Most Common Beginner Errors, I suggested that you really should review your data in Blink before processing it. I mean all of your data - even the cal frames. This only takes a little time and it is a great way to find problems. As I reviewed my Flats and Darks, I found that my 300-second dark frames had some bright artifacts along one edge. How did this happen?
My William Optics 132mm Platform has a light leak. I don’t know exactly where it is. During the summer - when it’s hot out, I typically do my calibration runs during the night when it is cooler. Why? During the heat of the day, I can’t get the camera cooler to my operating temperature. Yes I know some people take their cameras off, put them in plastic bags and stick them in the fridge for this - but I don’t do that. Since I do my Dark cals at night - the light leak does not cause any issues. But we are now getting into cooler fall weather and in the mornings it is cool enough that I have no problems getting the camera temperatures that I want. So I do my calls during the day. This is where the light leak comes in. To avoid this, I cover the camera area with thick black plastic. I must not have done that well this time around as I could see the light leaks on one edge. Blinking the frame made this very easy to detect. Now I could have grabbed an older set of cal data without the light leak, but I decided to go ahead with this data and see how it impacts my image. I figured I would just rerun it afterward with the older data.
I ran WBPP 2.1 and then did the integration by hand. I found that two of the Dark Master images had light artifacts on the edges - not a surprise really. I was going to rerun it - but I decided that my final crop will likely eliminate this area anyway so I chose to continue with the processing.

This is the Master 300 second Dark for -15 degrees C, gain unity. Note the light leak coming in on the right, and a tiny bit on the left.
New Processing Steps
Below you will find a copy of my processing log and all of the steps I went through in processing this image. But for now, I wanted to highlight one change I made to my normal color mapping steps when using the Hubble Palette.
Typically, I create the SHO image, remove the green with SCNR, invert the image and run SCNR again. This gets rid of the green from the predominate Ha signal and also gets rid of the magenta stars. It produced the nice blue-gold Hubble images that I love. BUT - I have been reading some critiques of this method, suggesting that it purges too much of the color that was captured. So this time around I followed another process - one that looks like this:
BackgroundEqualization to make the sky background gray - It also makes the image even greener in this case.
Use SCNR to get the green out.
Use ColorMask to create a mask of the Magenta areas
Apply the mask and tweak saturation to get the Magenta areas where I want them
Create a Blue mask and adjust the blue areas for lightness and sat, and even hue adjustment
Create a Green mask and use this to adjust the gold are - for lightness, stat, and hue adjustment
The RAW SHO image - you can see the preview chosen for the next step (click to enlarge)
After BackgroundNeutralization is applied. The small amount of sky background in this image is now neutral where it was magenta before. (click to enlarge)
After SCNR has taken the green out (click to enlarge)
Now CT is used to adjust the neutral contrast and saturation. But we still have some Magenta areas and Magenta rings around the stars. (click to enlarge)
Here we have created a Magenta Mask using the ColorMask script. (click to enlarge)
Here is a close-up of the magenta fringes around the stars. (click to enlarge)
We then apply the mask and use CT or ColorSaturation to reudce the sat of the stars. (click to enlarge)
Here is the Blue Mask we created to adjust blue tones in the image. (click to enlarge)
And this is the Green mask - which works well for the golden colors of the image.
After adjusting with the blue and green masks, this is where we end up. (click to enlarge)
This seemed to work out well for this image, and I may use this more in the future.
The other issue I had to deal with for this image was the fact that the Cygnus X Complex is such a busy area of the sky. There is an emission nebula everywhere along with dark filaments and knots. Balancing those out and deciding how to adjust those can be tricky. But that is what makes it interesting. I was pretty happy with how it came out.
I hope you like it too!
Processing Log
1. Bink all Data
HA:
Removed 6 frames for focus
Removed 1 frame for strange electronic
Removed 1 frame for cloud
O3 : no rejections
S2:
Removed 1 frame for weird electric noise
Removed 12 frames for bad focus!
Something seems to be going wrong in autofocus on the platform - most of these I caught and forced autofocus run during the session
Flats - all look good
Cal: 300 second Darks have a light leak on one edge
2. Run WPBB 2.1
load all files
set to calibrate only
set Pedestal image of 50 counts
Add Cosmetic Correction Method
Add “Night keyword” so flats will be used to call each night’s lights.
Run
3. Run ImageIntegration
HA - rejection method: ESD with defaults
O3 - rejection method: ESD with defaults
S2 - rejection method: ESD with defaults
Renames Master Image
Note: O3 has light corners - will try to fix with DBE
4. Rum DynamicCrop for all 3 image
5. Run DBE for each image
Ha: does not seem needed - gradients evident
O3:
sample evenly avoid the center
add extra sample boxes on the light areas on the edge and corners
run twice with addition as the fix method
S2: Same as O3
6. Deconvolution Prep
For all images
Object mask created
A nonlinear version of the image was created using STF->HT
Use HT to clip blacks and push stars and nebula to white
Create Local protection images
Run StarMasks with layers = 6, all else default
Adjust star mask with HT to boost star size - move the middle arrow to the 25% point
Create PSF image with PSFImage Script.
These are samples of the images created for preparation for Deconvolution. This example happens to be Ha. On the left is the Object mask. Often this looks more binary but since everything in this is image is mostly nebula and not background sky, I opted for a more grey level object mask. The next image is the Local support image. Basically a map of the bright stars - telling decon what to avoid working on. Finally, we have the PSF image - created by the PSFImage script. (click to enlarge)
6. Apply Deconvolution
For all images:
Apply Object mask to the image
Set psf to the right one for the image
add the right local support image
Create 3 preview sections on the image
Test different global dark settings until optimal found
Ha global dark = 0.006
O3 global dark = 0.005
S2 global dark = 0.004
Close up of a region before Deconvolution is run (click to enlarge)
After Deconvolution is run. Note that the stars are smaller and sharper looking, and even the diffuse nebula looks a little sharper. This can be a subtle effect but is well worth doing! (click to enlarge)
7. Run a Light NR pass to take the “fizz” off each image.
Tested and compared MLT vs Mure Denoise
Mure Denoise was superior
Pull in two flats and two darks for each image
Computer Mure Denoise model for each image
Apply Mure Denoise, using a flat that has had the crop used in step 4 applied
8. Take images Nonlinear:
Ha:
put a preview box on sky background areas with no stars
run MaskedStretch
then use CT to tweak by eye
O3:
same Ha
S2:
did not like results of MaskedStrech, so did EZ-Stretch target median of 0.23, expand low of 0.11, and aggressiveness 93, zero in white point
9. Adjust Ha Layer contrast on the bright end
Run HDR-MT with 7 layers
Run CT to tweak neutral s curve
The Top Row is the Linear Ha, O3, and S2 image masters. The bottom row is the Nonlinear version of each image. Note the light leak problems on the left side of the S2 images - this will be cropped out. (click to enlarge)
10. Create Color Image
Use ChannelCombination to map SHO image
12. Initial Color Processing of the color image
Select preview of the sky background
Run Statistics on it and find the max of the selection area
Run BackgroundNeutralization selecting preview and setting an upper limit to slightly above max from preview.
Run SCNR to remove green
Run Colormask - create a magenta mask
Apply Mask
Run CT and reduce Sat and run twice to kill magenta rings on stars
13. Run NR on Color image
ACDNR: chrom Stddev to 2.5, use lightness mask; lightness stddev 2.0 use lightnest mask
14. Refinement of Color Image
Bring out a bit more detail on larger scale features
Run LHE RADIUS 200, Contrast 2.0, AMT 0.1, 10-bit histogram
Run ColorMask and Create a blue mask
Tweak Blue Mask:
Soften it a bit:
run Convolution with stddev: 8
run CT and boost the high end of the mask
Apply Blue Mask
Run CT - blue curve and neutral tone scale tweak on the blue
Run Color mask and create Green Color mask - this will cover golden areas
Tweak Green Mask
run Convolution with Stddev of 8
Run CT bost high-end neutral contrast
Apply Green Mask
Run CT and tweak Sat, “C”, and neutral
15. Enhance Dark Structures
Run DarkStrucurenhance with an amount of 0.3
Before the DarkStructureEnhance Script is run -ignore the preview boxes. (click to enlarge)
After - not how the dark filaments are much better defined in this version. (click to enlarge)
16. Reduce Stars
Run EZ-StarReduction - default parameters
17. Move to Photoshop
Save as tiff image - 16-bit unsigned
Launch Photoshop

This is the image sent to Photoshop.
This is the final image, showing what was accomplished with Photoshop.
18. Global PS Tweaks
Run Camera Raw filter - Global Curves tweak, clarity and texture tweak, Color mix - adjust sat and luminance on orange and blue
Run filter: StarShrink for large stars (size 45, strength 7, sharpening -1)Run Filter: Starshrink for small stars (size 2, strength 6, sharpening -1)
Add watermarks
20. Export jpeg Image
21. Send out copies for feedback
Feedback received: Propeller arms are too saturated and blocked in
Response to feedback: local PS tweaks
Select each lobe of propeller with a feather of 100
Run Camera filter -> color mix - adjust orange sat and luminance - darken it, tweak clarity and texture
22. Finalize Image
Save
Export clean, watermarked, and web versions of images.
More Information
Cloudy Nights: A nice write-up about DWB 111/119 for a visual challenge
Wikipedia Entry: The Cygnis X Complex
Distant Lights: Overview of the Propeller Region
Astronomy & Astrophysics: The Science article for the study of HII regions in Cygnus X COmples that includes the DWB Catalog.
Capture Details
Light Frames
Taken on the night of September 1st, 6th, and 8th, 2021
Ha Filter: 50 x 300 seconds, bin 1x1 @ -15C, gain at unity
OIII Filter: 48 x 300 seconds, bin 1x1 @ -15C, gain at unity
SII Filter: 45 x 300 seconds, bin 1x1 @ -15C, gain at unity
Total of 11.9 hours
Cal Frames
Darks: 30 x 300 seconds, bin 1x1 @ -15C, at unity
Flats: 12 Ha, OIII, & SII for each night,
Flat-Darks: 30 for each night
each night’s lights calibrated with that night’s flats and Flat Darks
Capture Hardware
Scope: William Optics 132mm f/7 FLT
APO Refractor
Focus Motor: Pegasus Astro Focus Cube 2
Cam Rotator: Pegasus Astro Falcon
Guide Scope: Sharpstar 61EDPHII
Guide Focus Motor: ZWO EAF
Mount: Ioptron CEM 60
Tripod: Ioptron Tri-Pier
Camera: ZWO ASI1600MM-Pro
Filter Wheel: ZWO EFW 1.2 5 x8
Filters: ZWO Gen II 1.25” LRGB,
Astronomiks 6nm 1.25” NB
Guide Camera: ZWO ASI290MM-Mini
Dew Strips: Dew-Not Heater strips for Main and Guide Scopes
Power Dist: Pegasus Astro Pocket Powerbox
USB Dist: Startech 8 slot USB 3.0 Hub
Polar Align Cam: Polemaster
Click below to visit post about the Telescope version used for this image
Software
Capture Software: PHD2 Guider, Sequence Generator Pro controller
Image Processing: Deepsky Stacker, Pixinsight, Photoshop - assisted by Coffee, extensive processing indecision and second guessing, editor regret, and much swearing….. Given the problems on this image, more than the usual whining….
I was very excited to get the ZWO ASI2600MM-Pro camera a while back. I ordered it when it was announced and then prepared to wait a long time to get it. When I did get it - I decided to put it onto the AP130 platform. That meant that I could move the ZWO ASI1600MM-Pro, along with its filter wheel over to my William Optics Platform. This now means that all of the platforms have been moved over to a mono camera and my ZWOASI924MC-Pro is now not in use.