SH2-173 - The Phantom of the Opera Nebula Image Processing Walkthrough
October 8, 2026
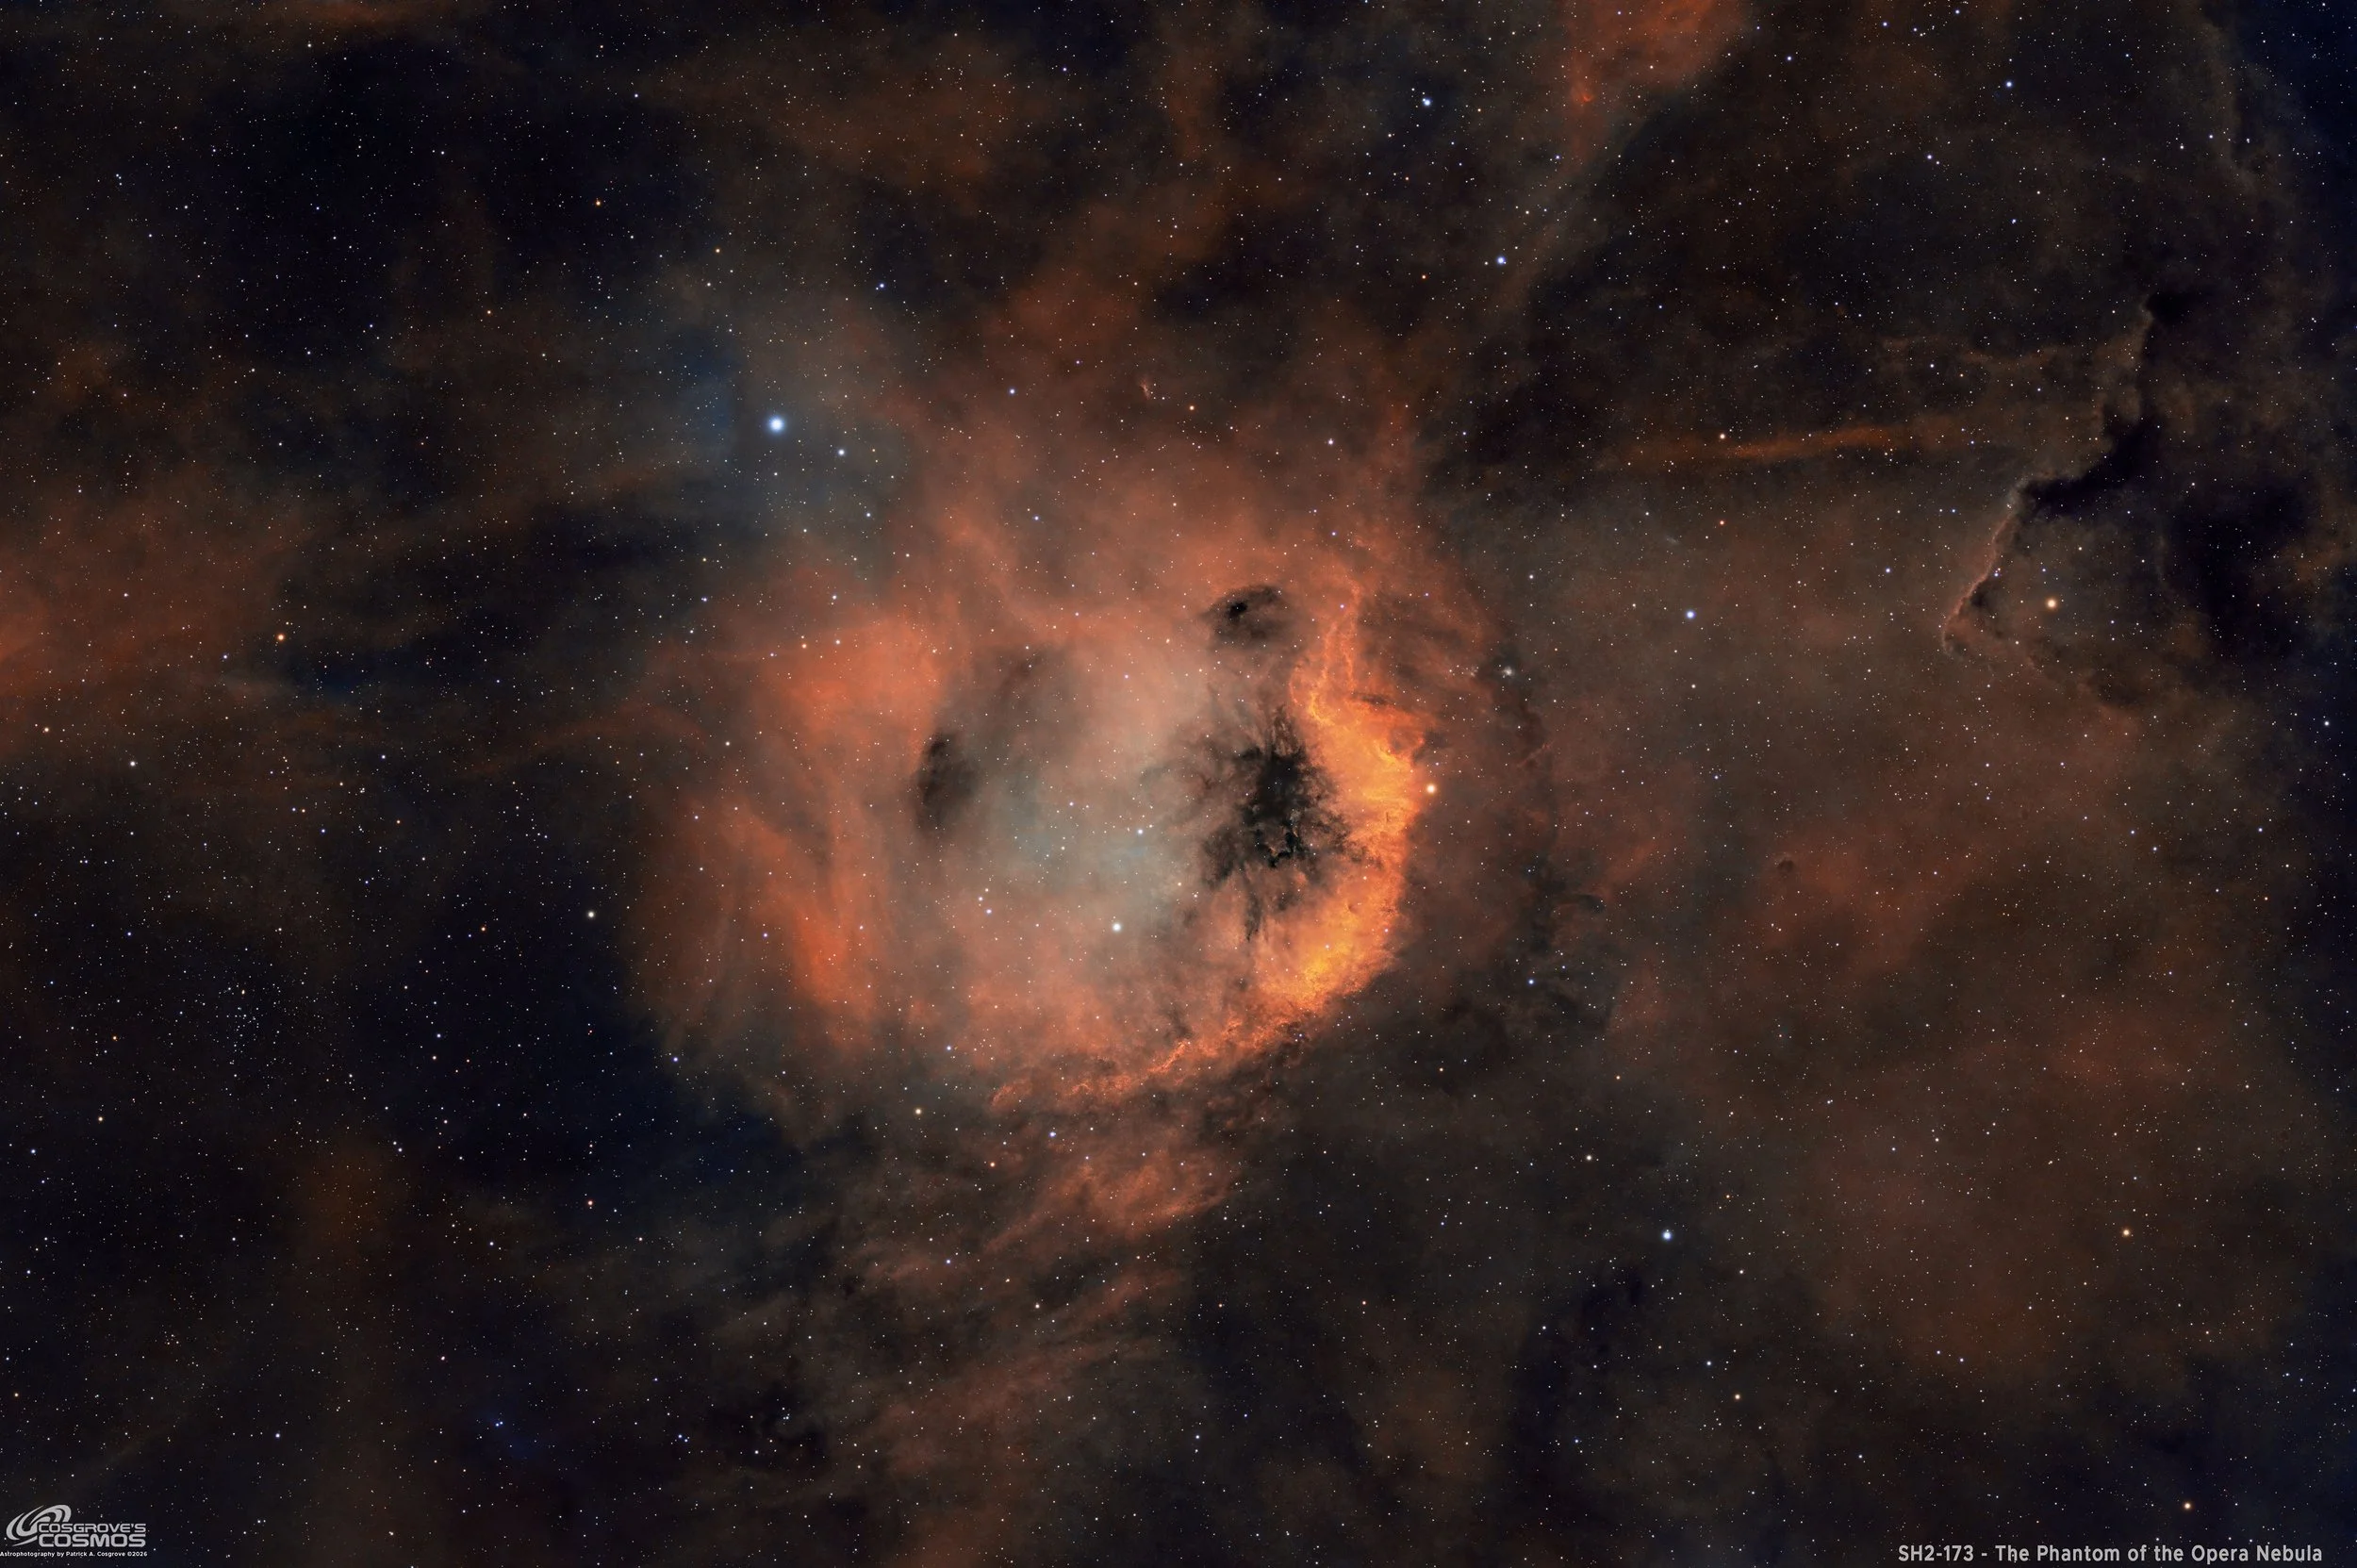
My Image of the SH2-173 region.
This page is the mage Processing Walkthrough page for the SH2-173 2026 Imaging Project
🔭 Project Summary
Target: Sh2-173 — The Phantom of the Opera Nebula / Sharpless 173 / Simeis 21 / LBN 593
Principal Ionizing Star: BD+60 39 (ALS 6151), an O9V star
Capture Dates: September 6, 11, and 14, 2026
Constellation: Cassiopeia • Distance: ≈ 8,200 light-years (± 1,600 light-years)
Type: H II emission nebula associated with molecular clouds and young stars in the Milky Way’s Perseus spiral arm
Imaging Period: September 6–14, 2026 • Total Integration: 15 h 46 m 00 s (SHO narrowband + RGB)
Filters: Ha · OIII · SII (Astronomik 36 mm 6 nm) + R · G · B (ZWO 36 mm LRGB Gen II)
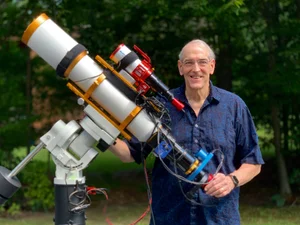
Telescope: Astro-Physics 155 mm Starfire EDFS f/5.3
Camera: ZWO ASI2600MM-Pro (−15 °C; Gain 100 narrowband, Gain 0 RGB)
Pier / Support: iOptron Tri-Pier with column extension on custom steel pier
Processing: PixInsight (SHO narrowband + RGB) & Photoshop
Location: Whispering Skies Observatory · Honeoye Falls, NY (USA)
Acquisition notes: Ha: 70 × 300 s; OIII: 39 × 300 s; SII: 69 × 300 s at Gain 100. R: 16 × 90 s; G: 16 × 90 s; B: 16 × 30 s at Gain 0. All exposures bin 1×1 at −15 °C; 226 light frames totaling 15 h 46 m 00 s after culling bad or questionable subs.
Image note: This SHO narrowband and RGB image captures Sh2-173, the Phantom of the Opera Nebula, with a bright orange-gold rim, a softly glowing interior, and intricate dark markings that suggest a ghostly mask. Faint surrounding emission and dark lanes extend across the Cassiopeia star field, placing the central nebula within a broader landscape of interstellar gas and dust.
Table of Contents Show (Click on lines to navigate)
Special Note
Welcome to the New Image Processing Page for this project! You got here by following a link in the main Image Project Report, and you can easily return to that by using the back button on your browser.
Abbreviations Used
ACM Astro Color Mixer Script
ACE Astro Contrast Enhancer Script
BXT BlurXTerminator by RC-Astro
CC Cosmetic Correction
CT CurvesTransformation Process
DBE DynamicBackgroundExtraction Process
ET Exponential Transformation
HT HistogramTransformation Process
NXT NoiseXTerminator by RC-Astro
MLT MultiscaleLinearTransform Process
PI PixInsight
PS Photoshop
SCNR Subtractive Chromatic Noise Reduction Process
SFS SubframeSelector
SPCC SpectroPhotometric Color Calibration
STF ScreenTransferFunction
STF->HT method – Drag the STF triangle to the base of HistogramTransformation, then apply it to the image to take it nonlinear.
SXT StarXTerminator by RC-Astro
WBPP Weighted Batch Preprocessing Script
🔭 SH2-173 — SHO + RGB Stars Processing Flow
Summary of the actual SH2-173 image-processing walkthrough: calibration and integration, separate narrowband and RGB processing, development and comparison of HSS and SHO versions, final SHO refinement, RGB-star stretching and recombination with Astro Star Crafter, and Photoshop output.
Processing this Image
(All Processing was done in PixInsight, with some final touches done in Photoshop)
1. Blink
Ha
5 frames removed for clouds
OIII
4 frames removed for clouds. Almost no signal
SII
7 frames removed for clouds. Weak signal.
Red
1 frame removed for trees
Green
1 frame removed for trees
Blue
1 frame removed for trees. Oops! I discovered the blue frame was 30 seconds, and the R and G filters were 90 seconds.
Darks
All looks OK
Dark Flats
All looks OK
Flats
All good
2. WBPP 3.01
Reset everything
Load all lights
Load all flats
Load all darks
Select - maximum quality
Reference Image - auto - the default
Select the output directory for the WBPP folder
Enable CC for all light frames
Pedestal value - auto
Darks - set exposure tolerance to 0
Lights - set exposure tolerance to 0
Lights - all set except for a linear defect
Set for Autocrop
WBPP ran for 41:14. No errors.
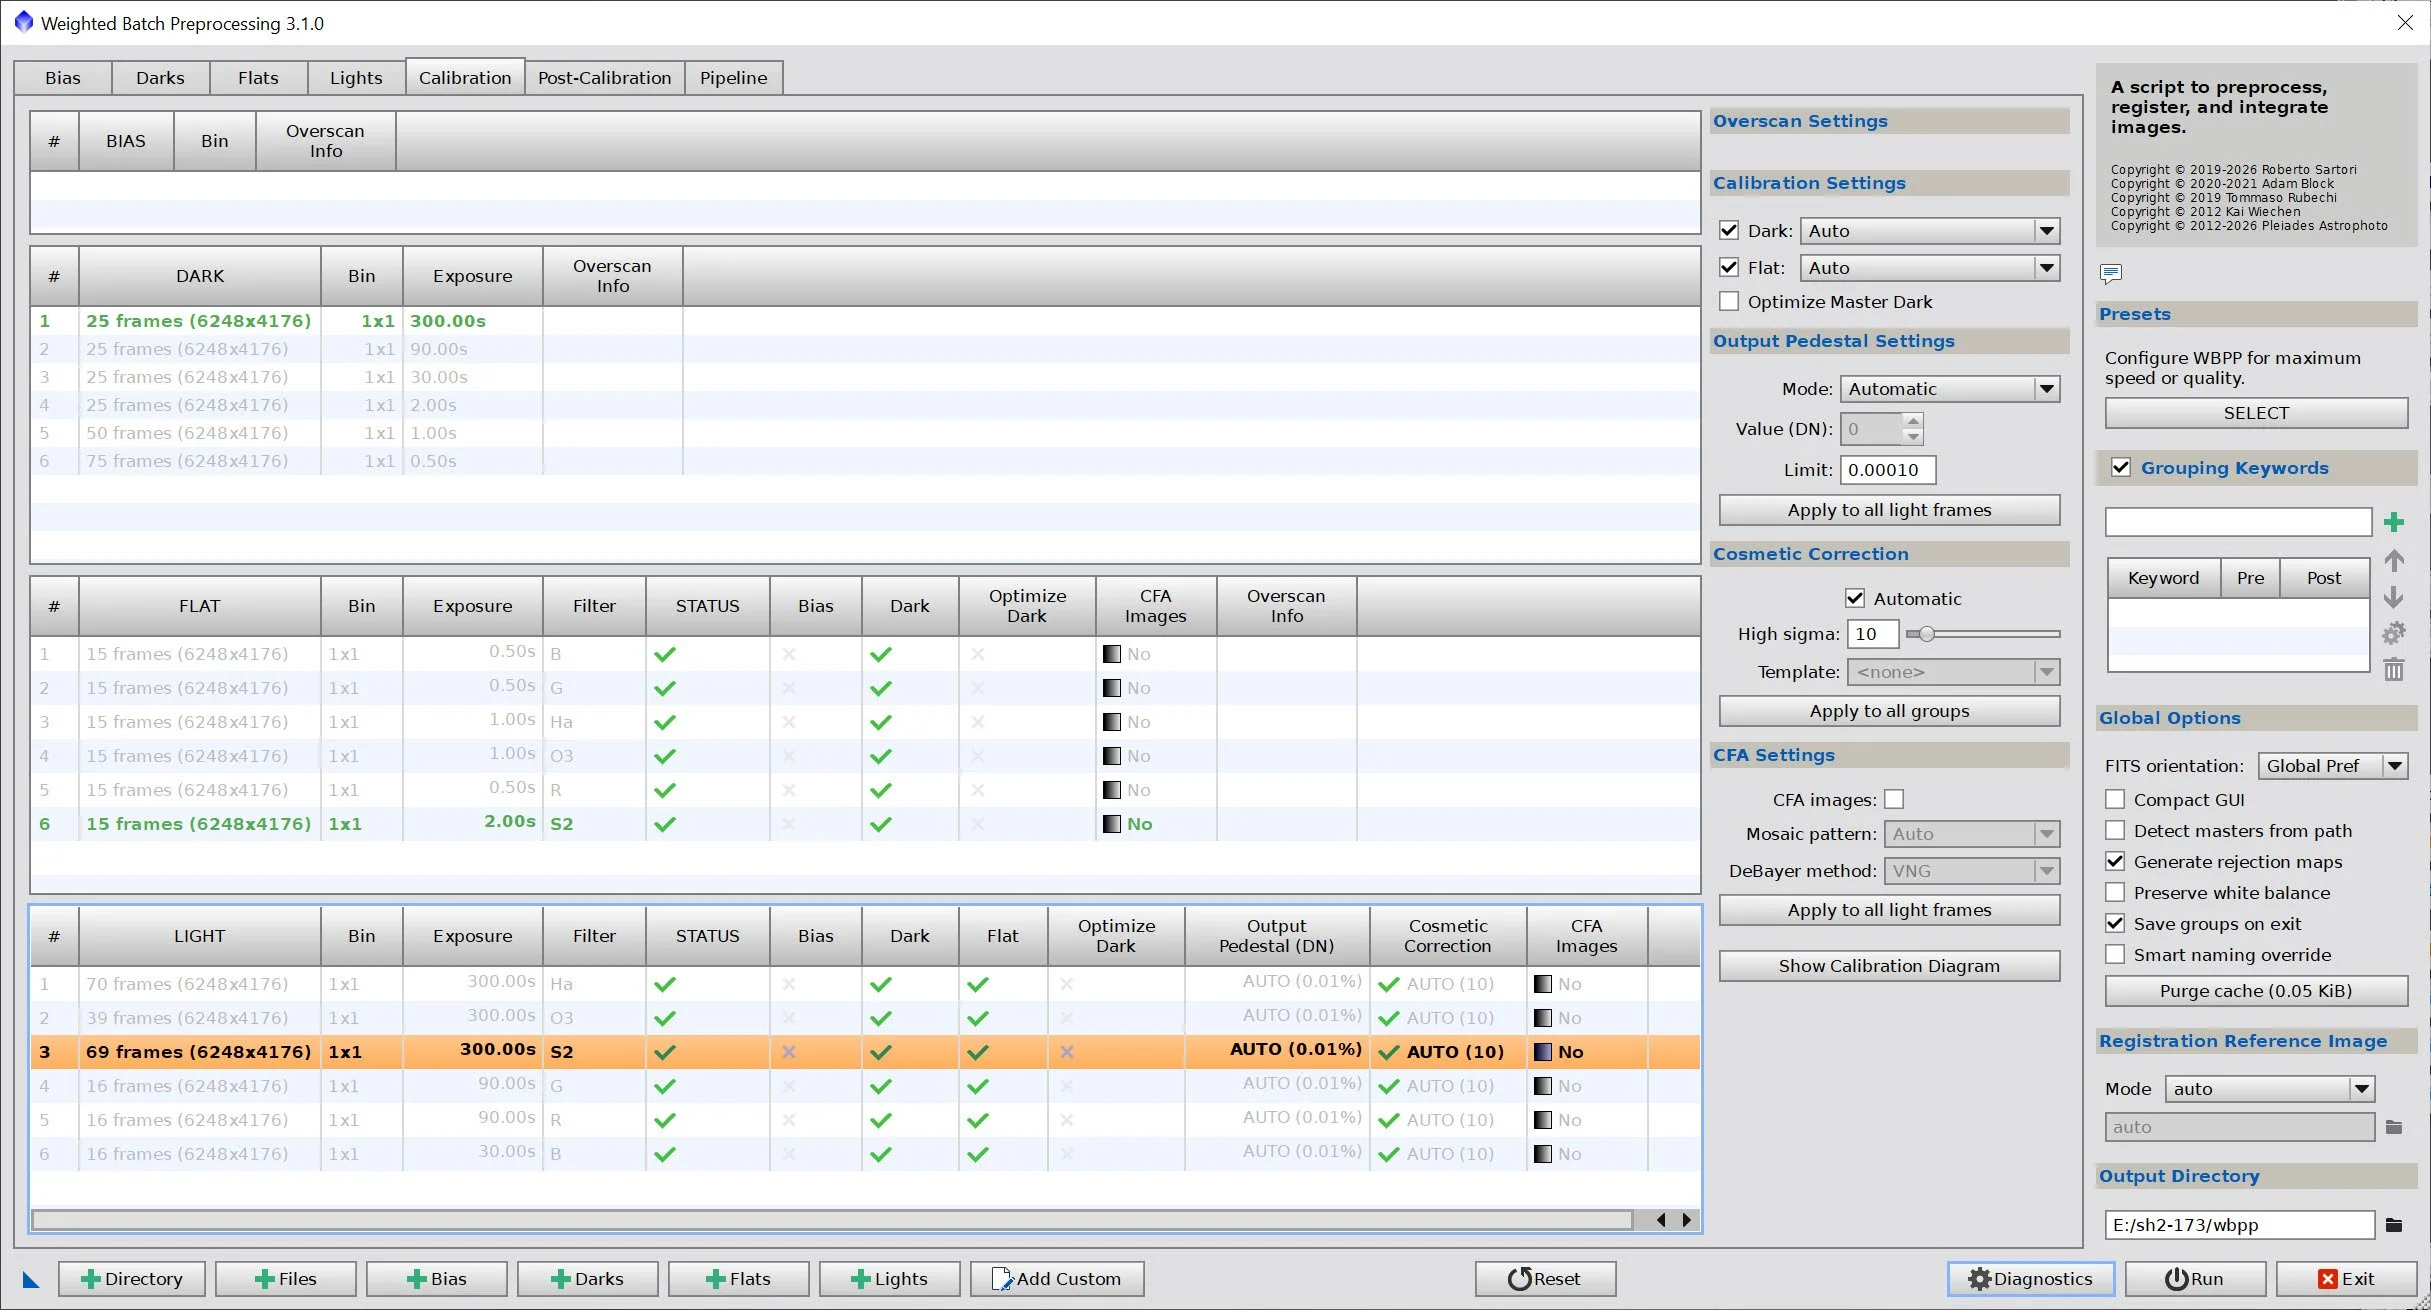
WBPP Calibration View
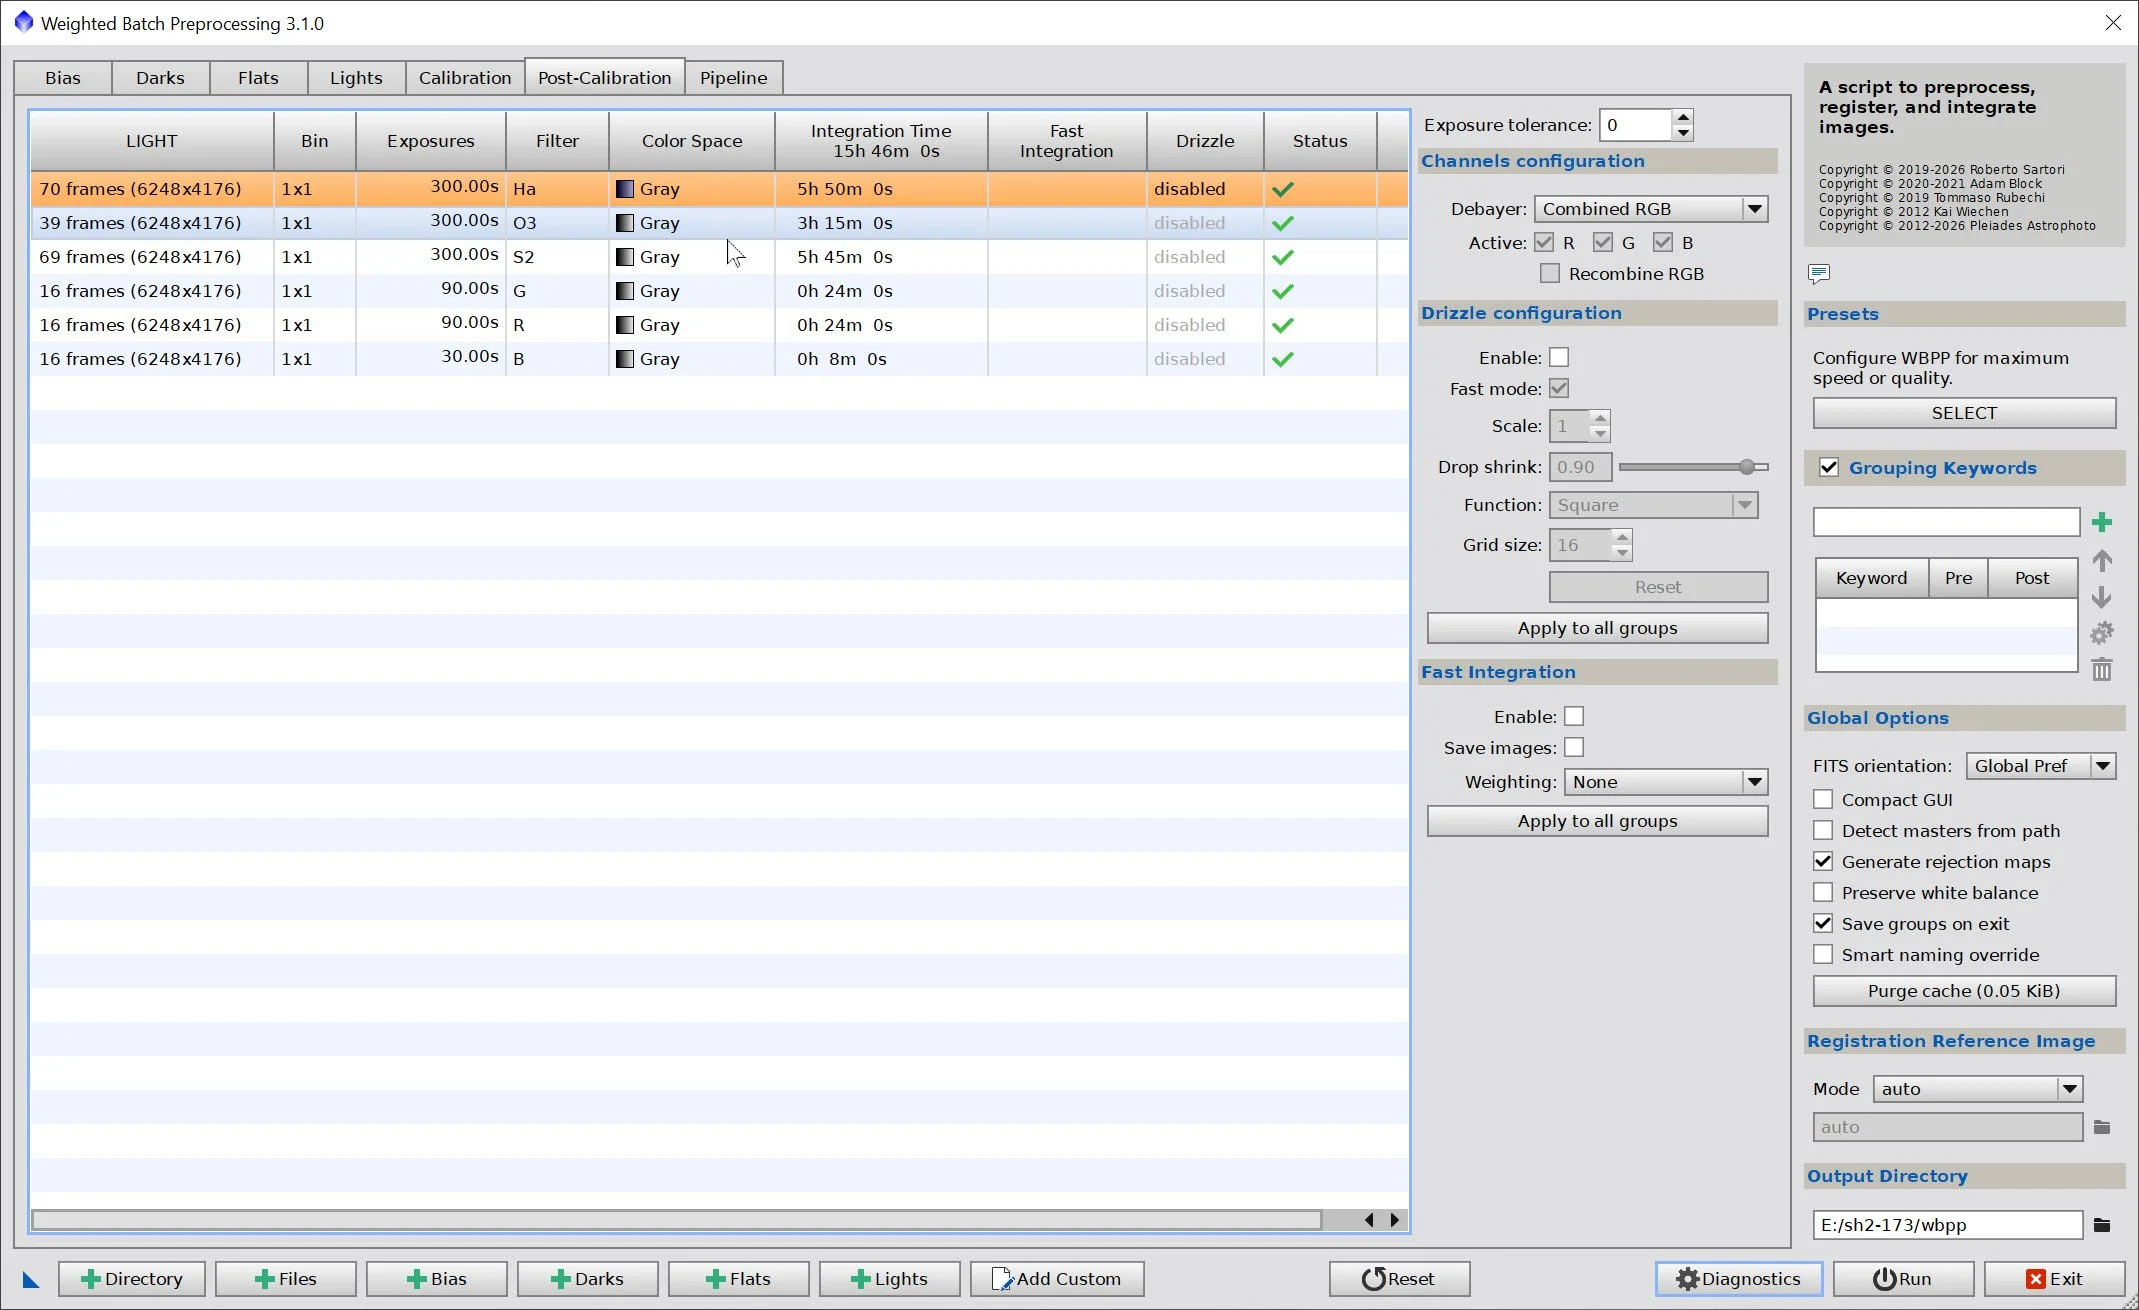
WBPP Post Calibration View
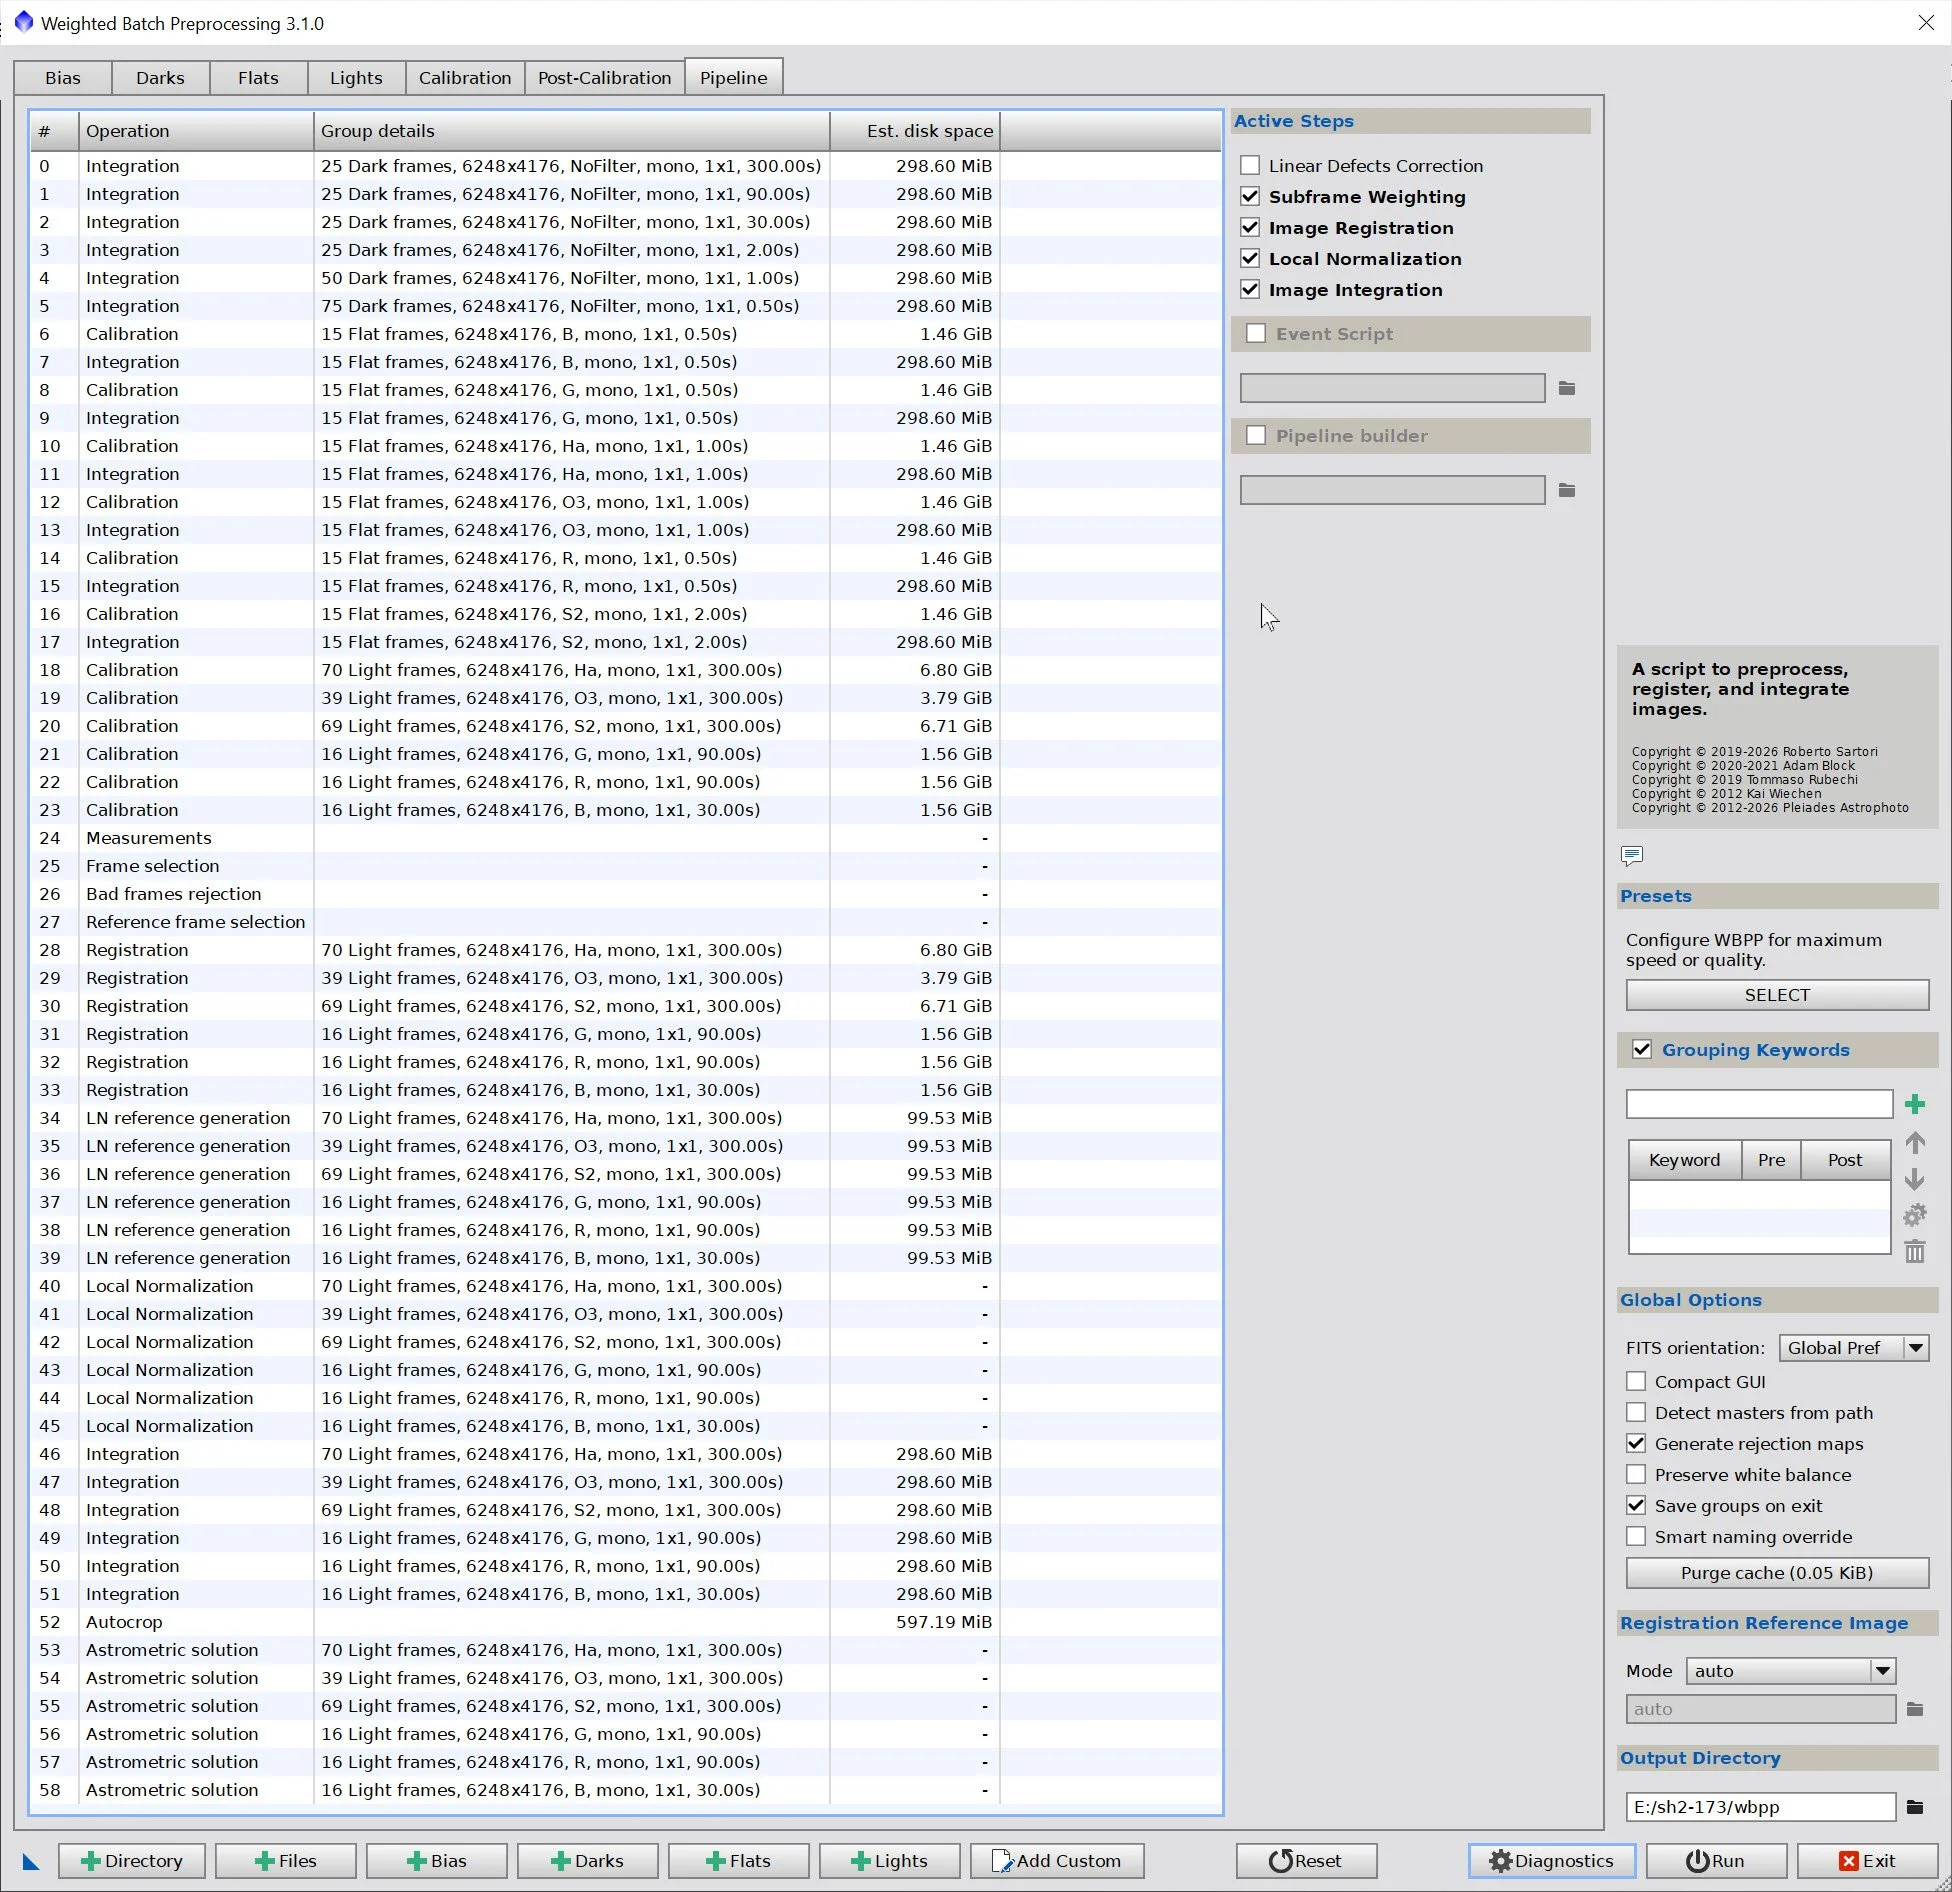
WBPP Pipeline View
3. Load Master Images and Create Color Images
Load all master images and rename them.
Use ChannelCombination to create the Master Color images. Since I don’t yet know whether I am going the SHO or HSS route, create one of each.
Note the weird color of the RGB image. This is caused by the imbalance in the RGB filter times - a mistake made in setting up the sequence in NINA.
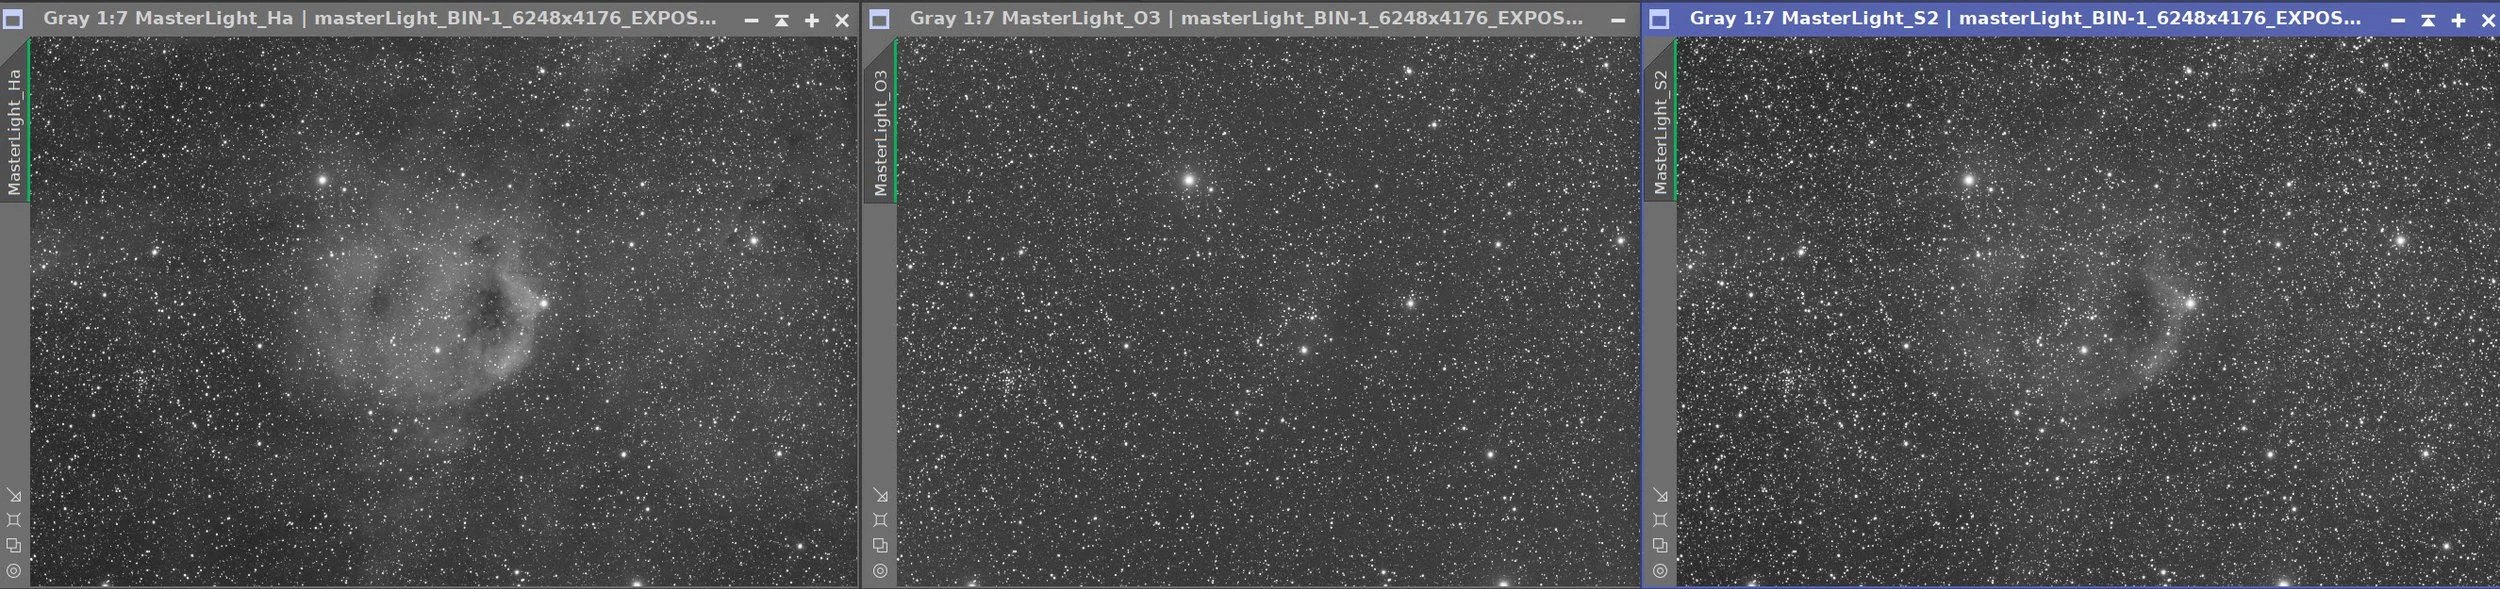
Master Ha, OIII, and SII Images
Master HSS image. (click enlarge)
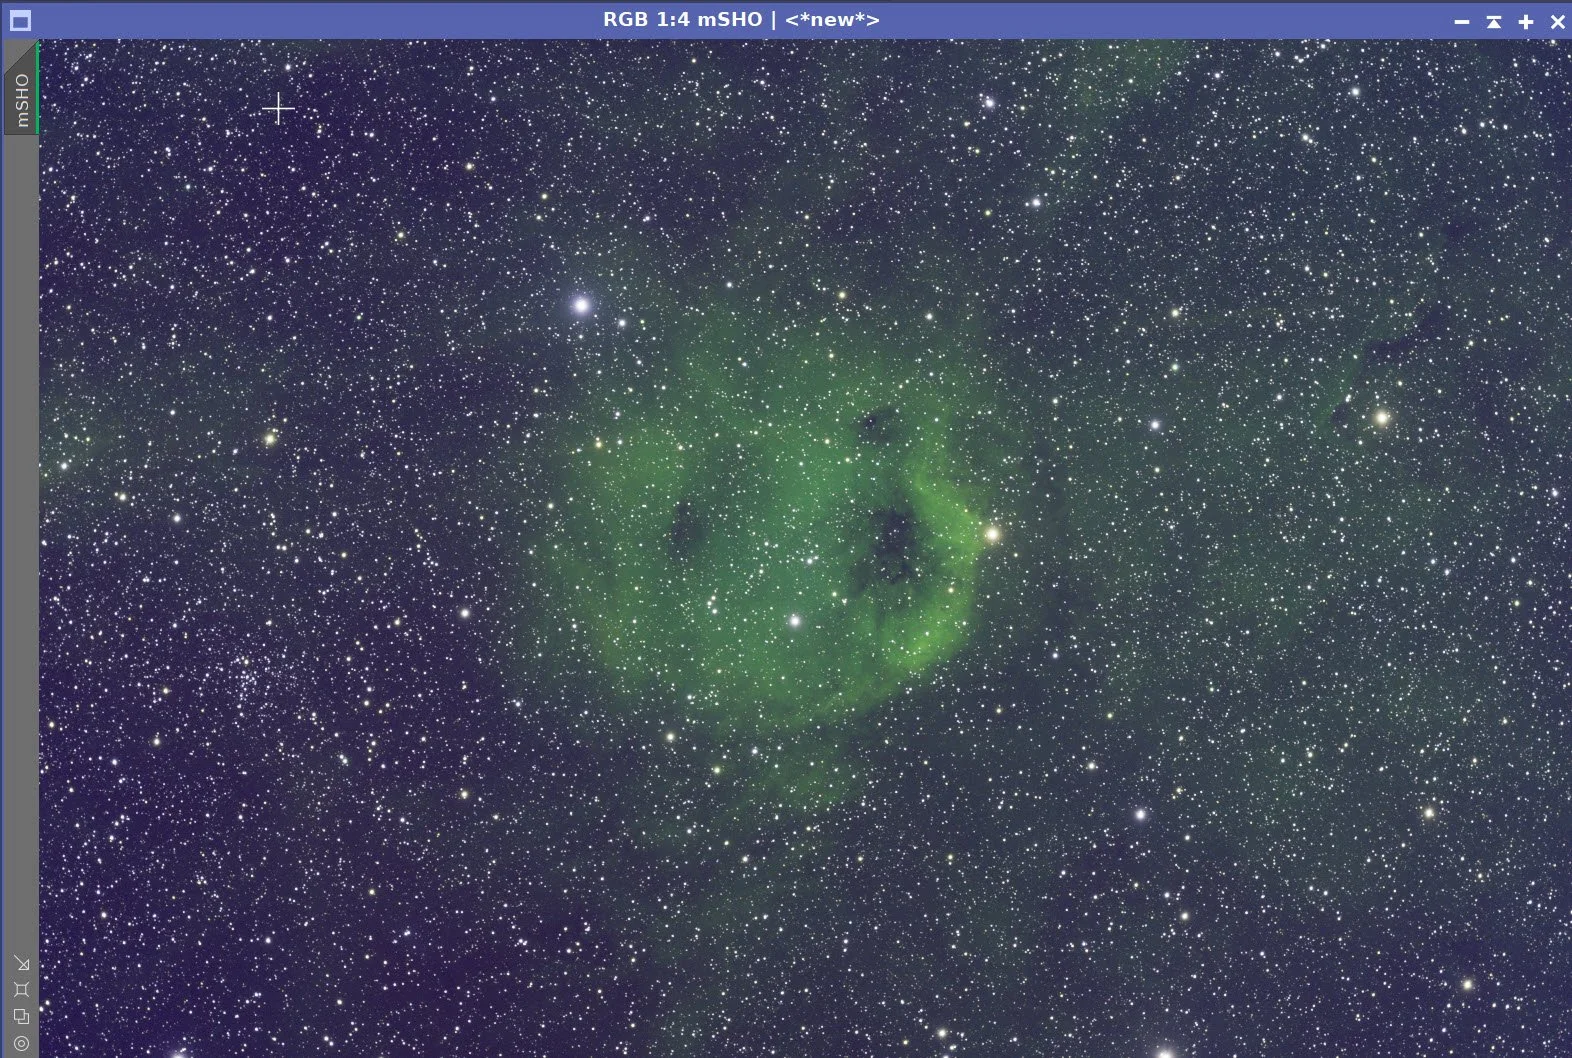
Master HSS image. (click to enlarge)
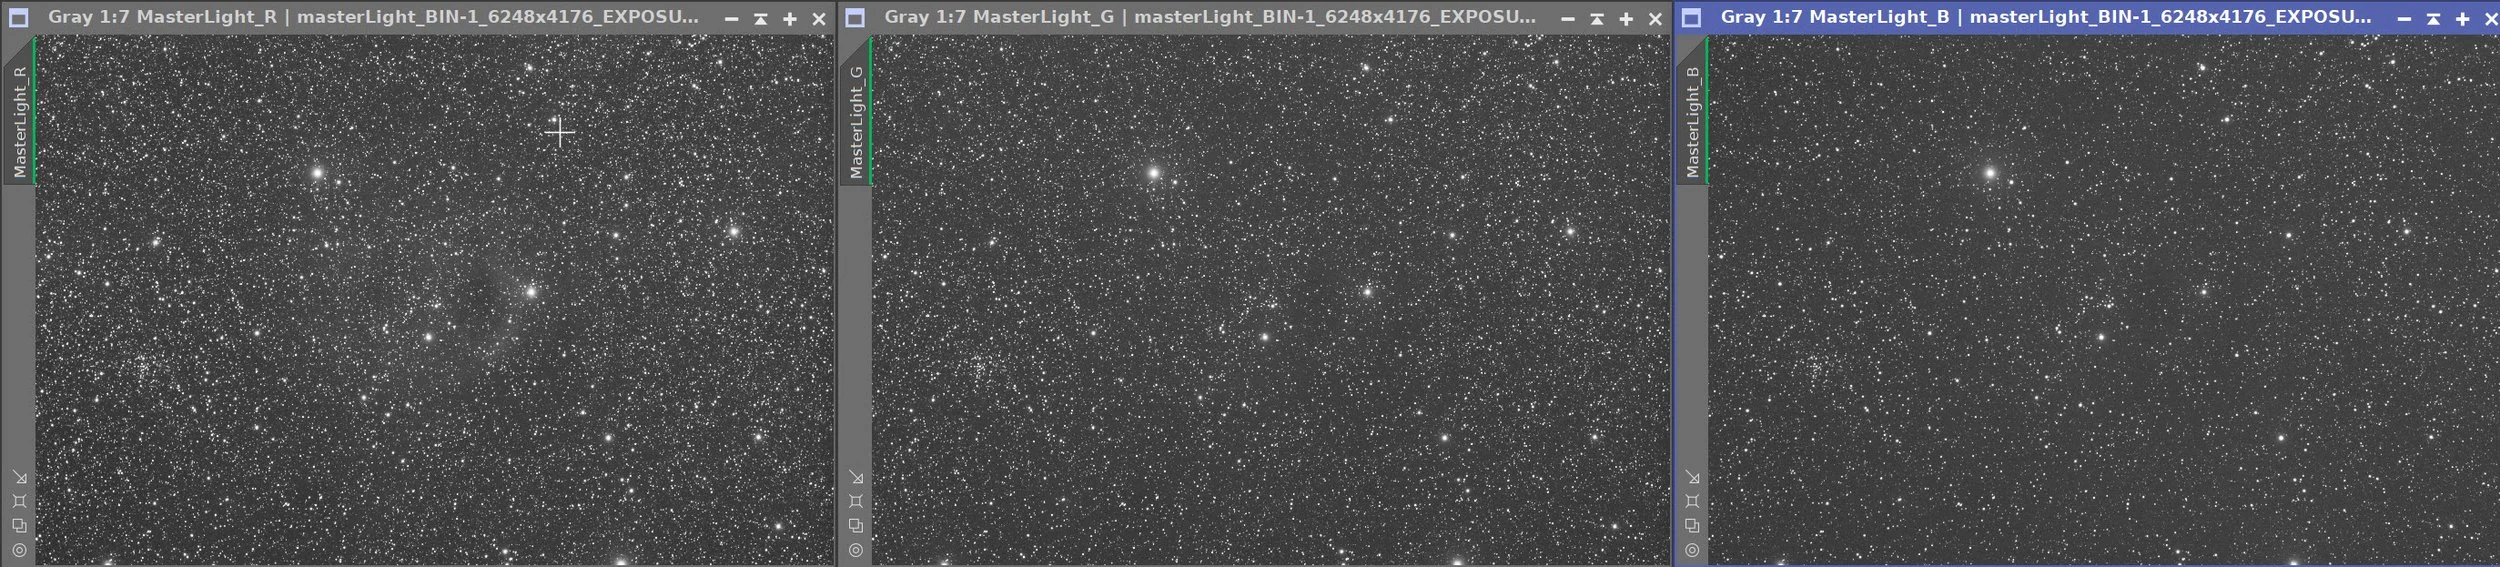
Master R, G, and B images
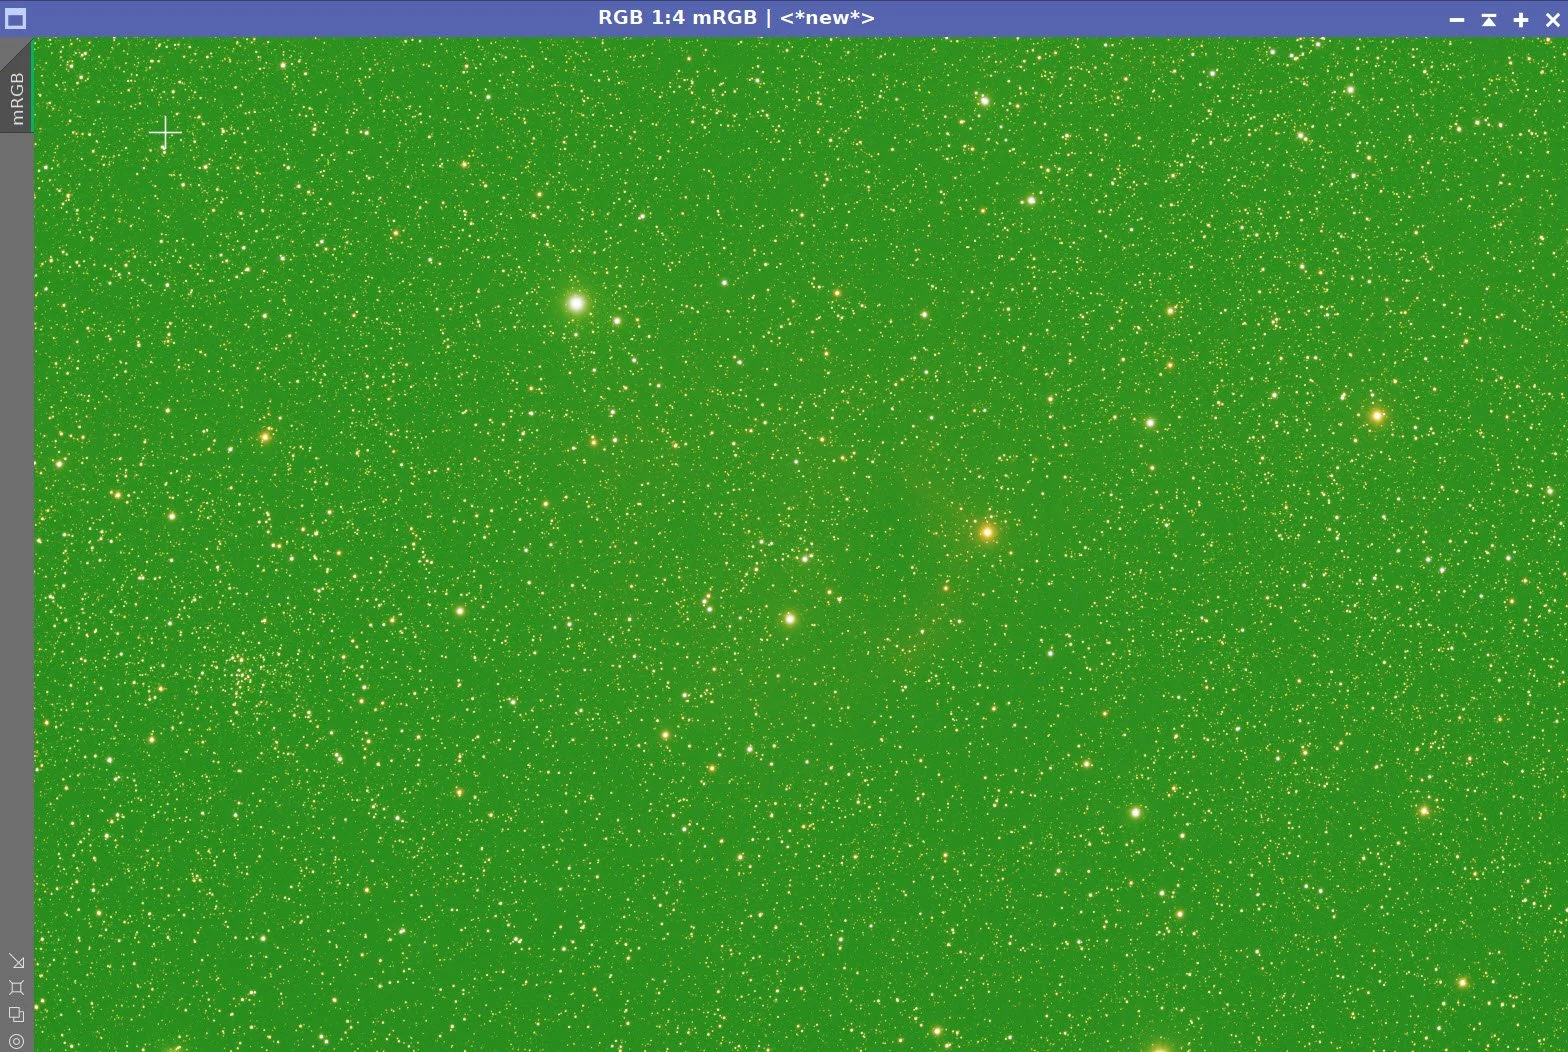
Master RGB color image.
4. Initial Process of Linear SHO and HSS data
\Note how it cleared up much of the balance problem o
Run BXT for both images- correct only. This cleans up the stars at the corners. Not much to do in this image as the scope is very crisp.
I just upgraded to Pixinsight 1.9.5, and for some reason my PFSImage script is no longer showing. So I usually use it at this point to extract star sizes for my BXT runs. This time I will go without it and try to determine what I need iteratively. Note the same BXT and NXT params were used on each image.
Run Full BXT on both images- I experimented and got what you see below. See the BXT Panel Snapshot below.
Run NXT V3 on both images - see params from snapshot below.
Run SXT and remove stars for both images - we are not going to use the narrowband stars, so no need to save them.
SHO DBE Sampling Plan (click to enlarge)
SHO DBE before image. (click to enlarge)
SHO After DBE (click to enlarge)
SHO DBE Background (click to enlarge)
BXT Settings Used. (click to enlarge)
NXT Panel used. (click to enlarge)
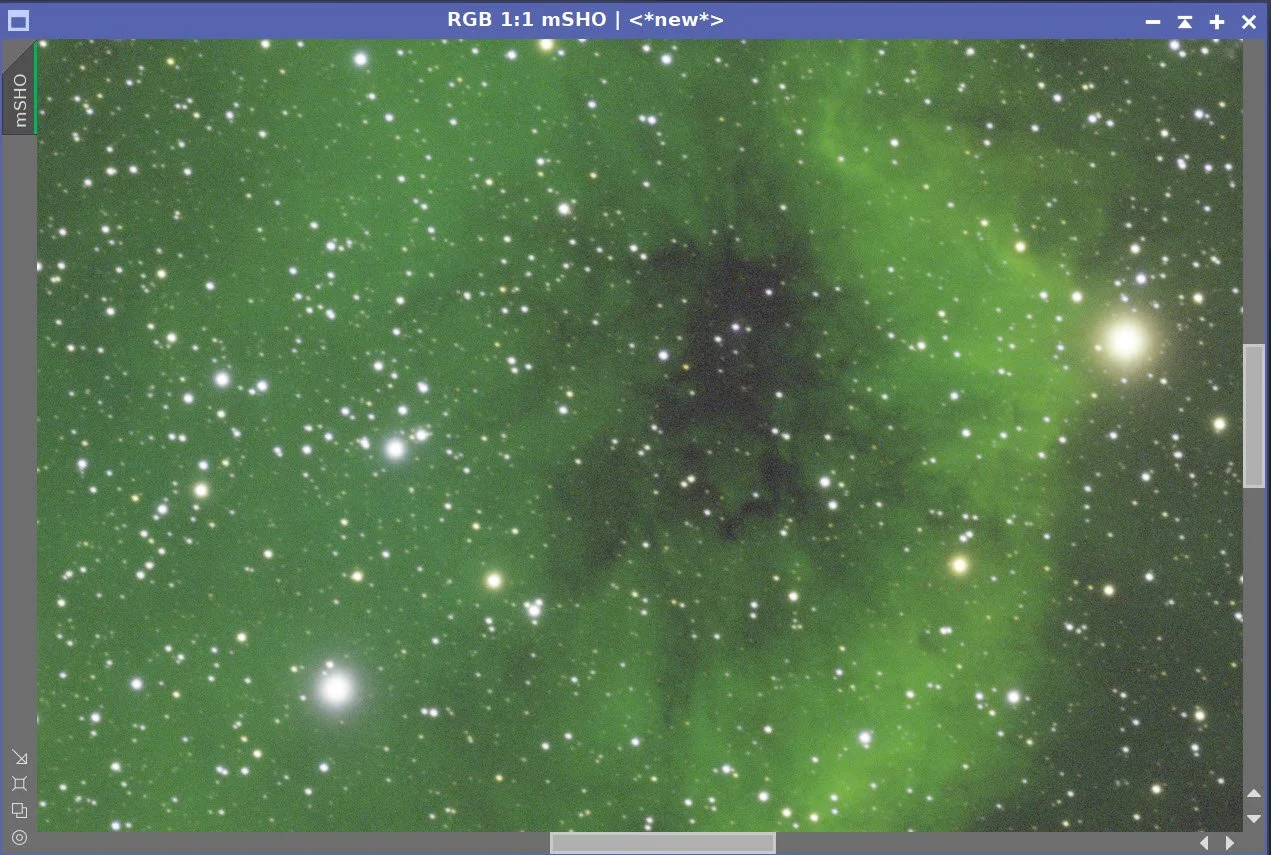
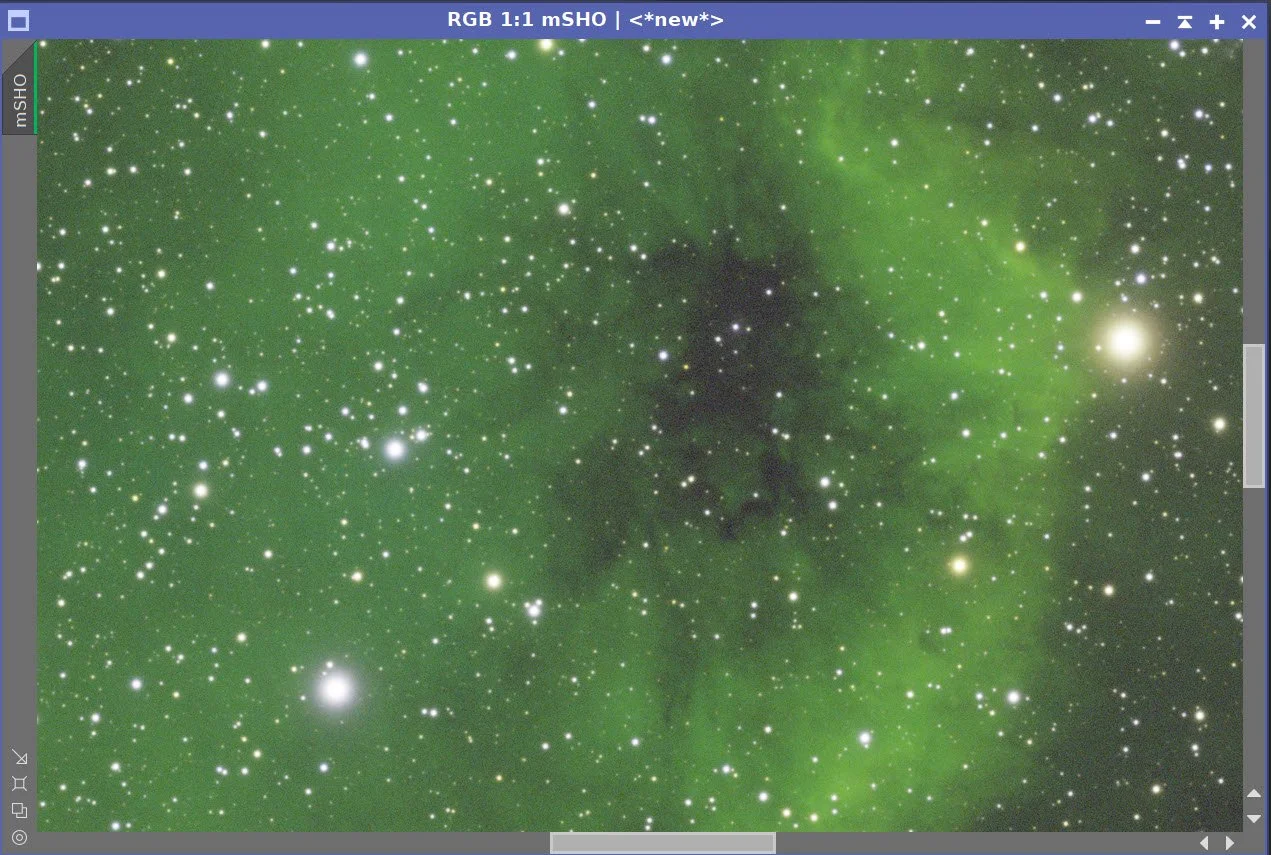
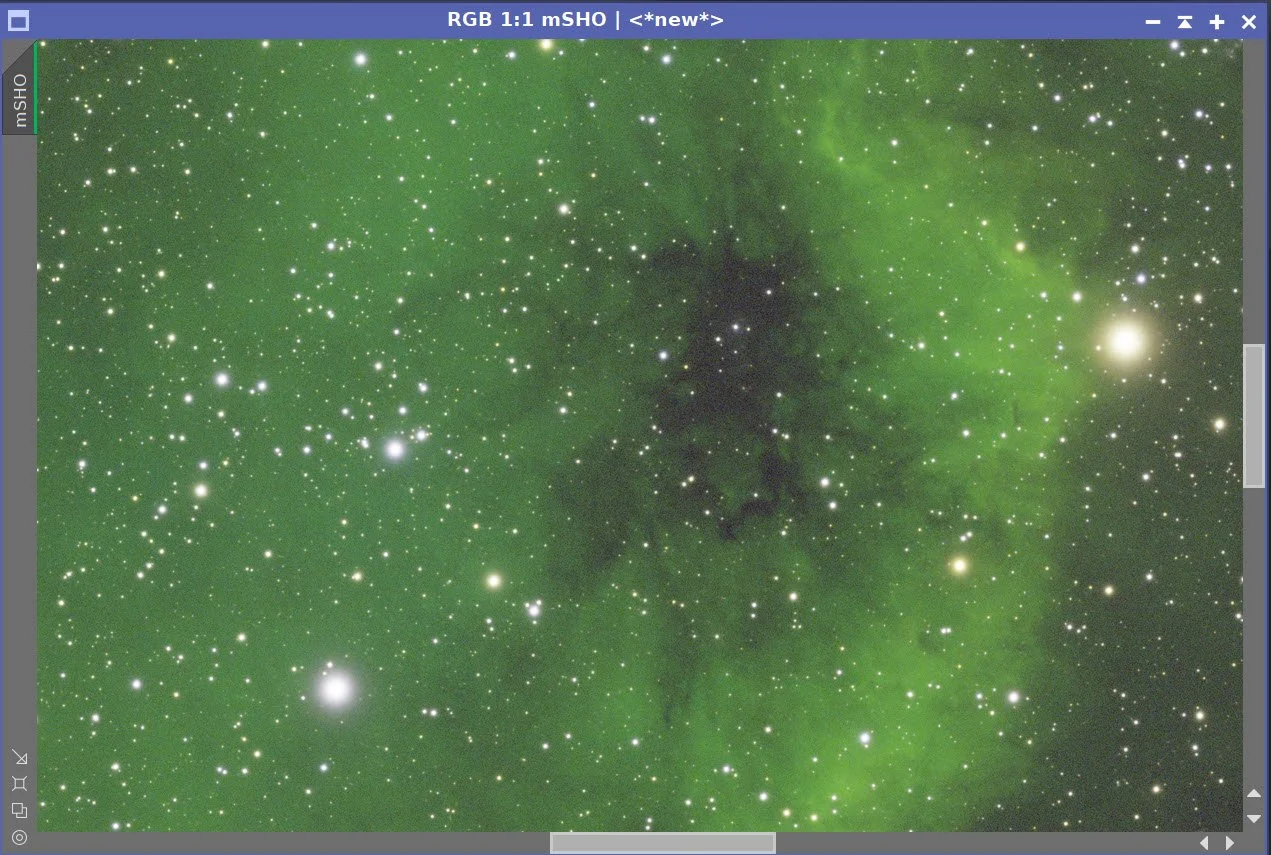
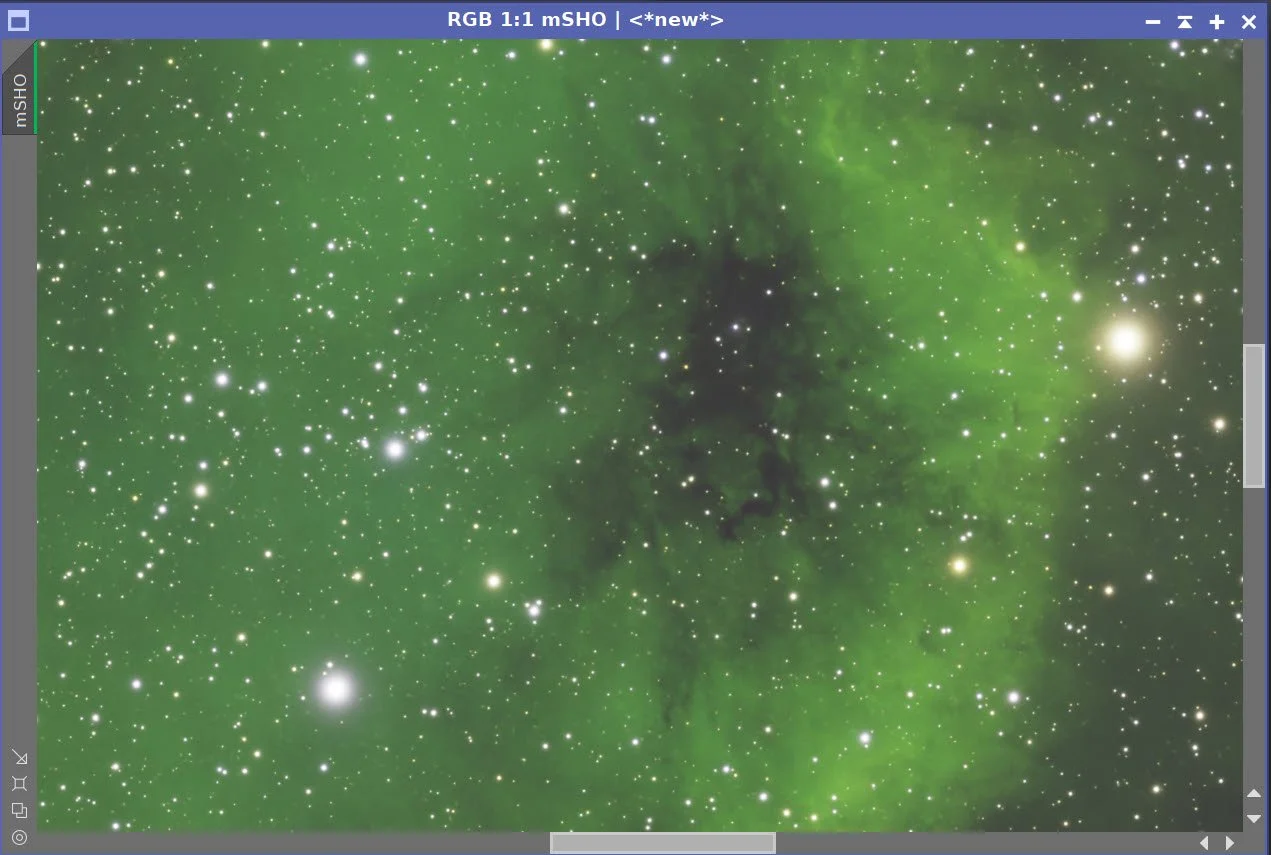
Master SHO comparison: before BXT, after correct-only BXT, after full BXT and after NXT
Master SHO Image (click to enlarge)
After SXT (click to enlarge)
HSS Sample pLan (click to enlarge)
HSS Before DBE (click to enlarge)
HSS After DBE (click to Enlarge)
HSS Background (click to enlarge)
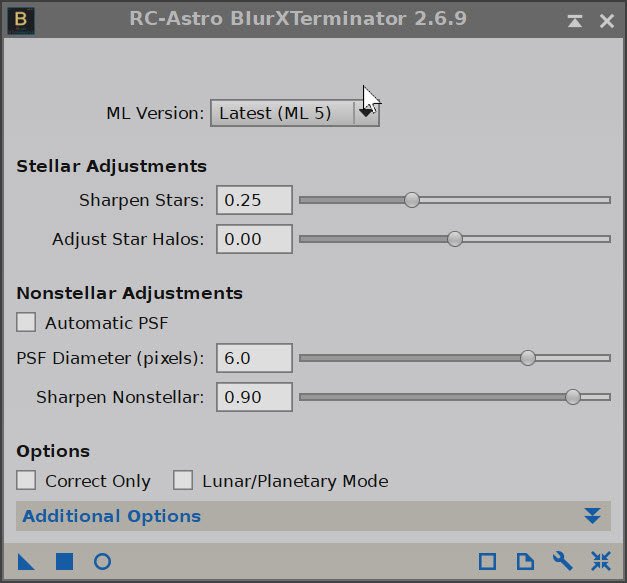
BXT params used - same as for the SHO imag.e
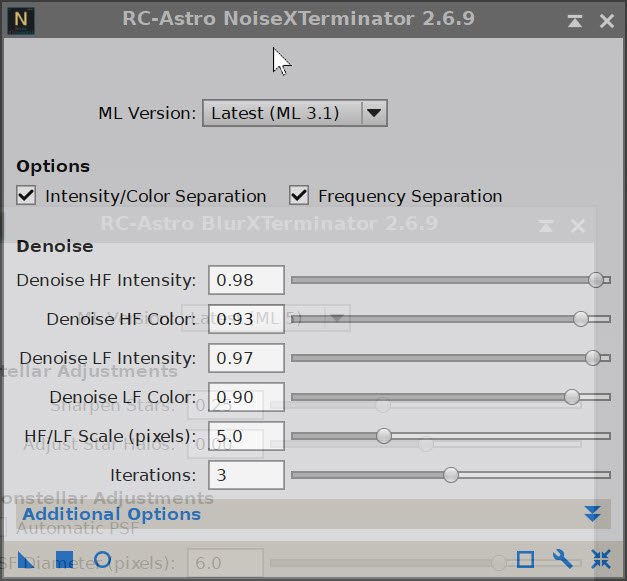
NXT params used - same as for the SHO image.
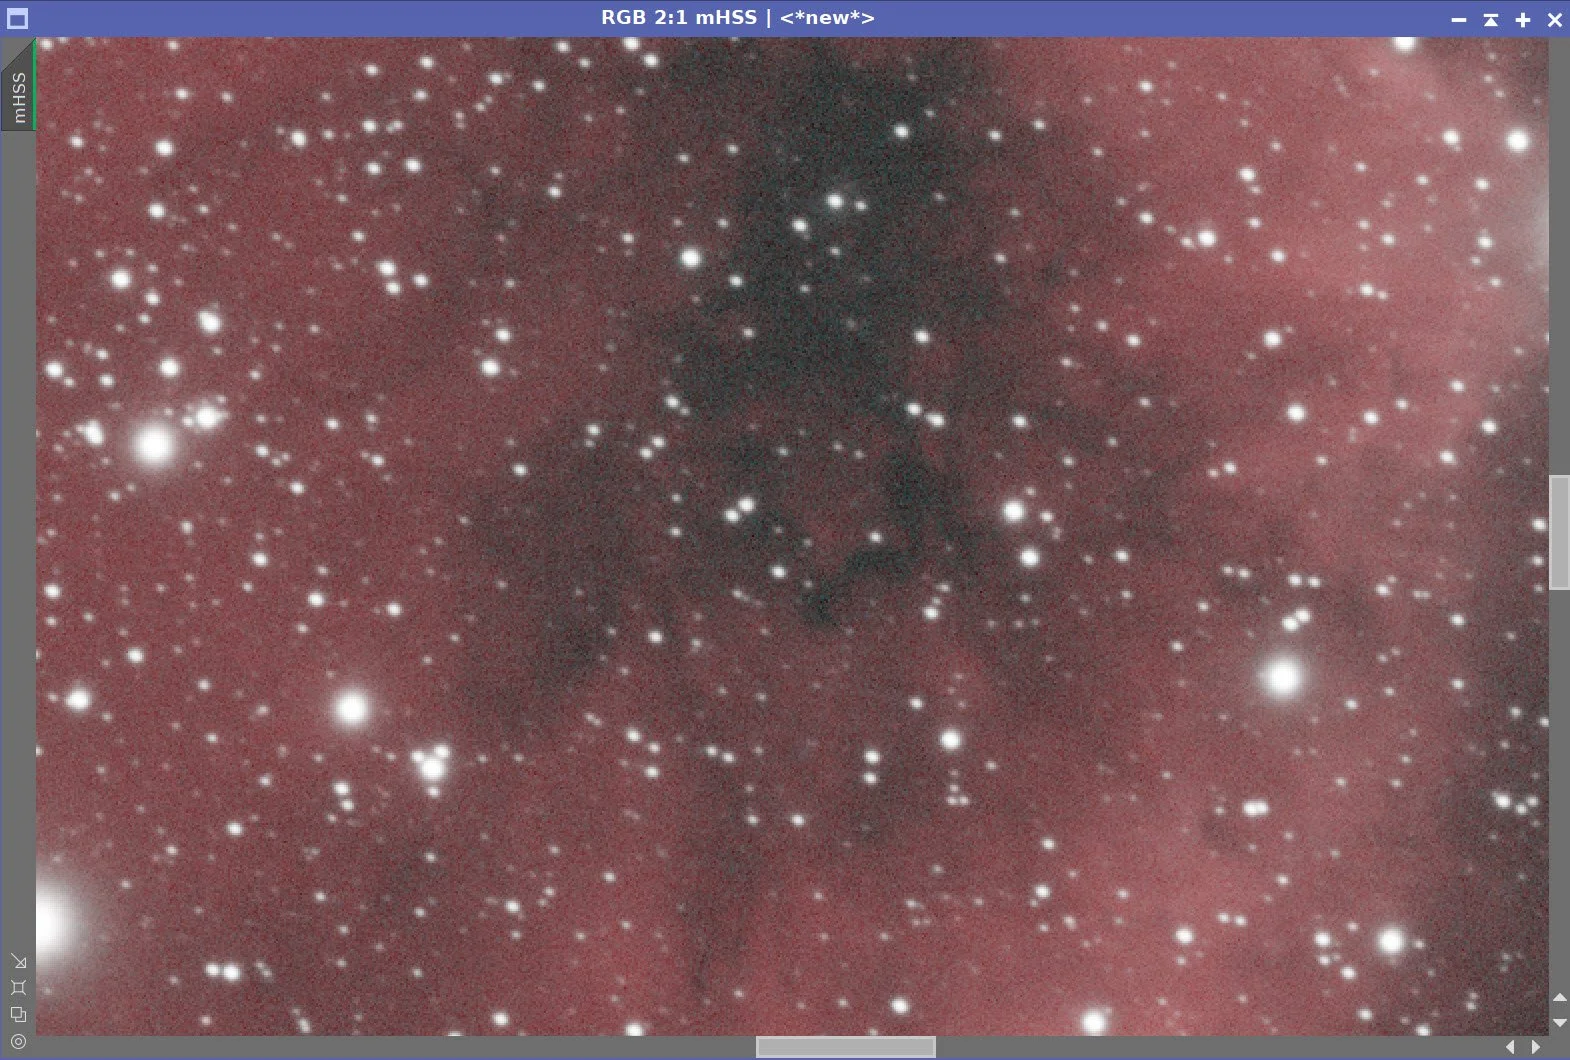
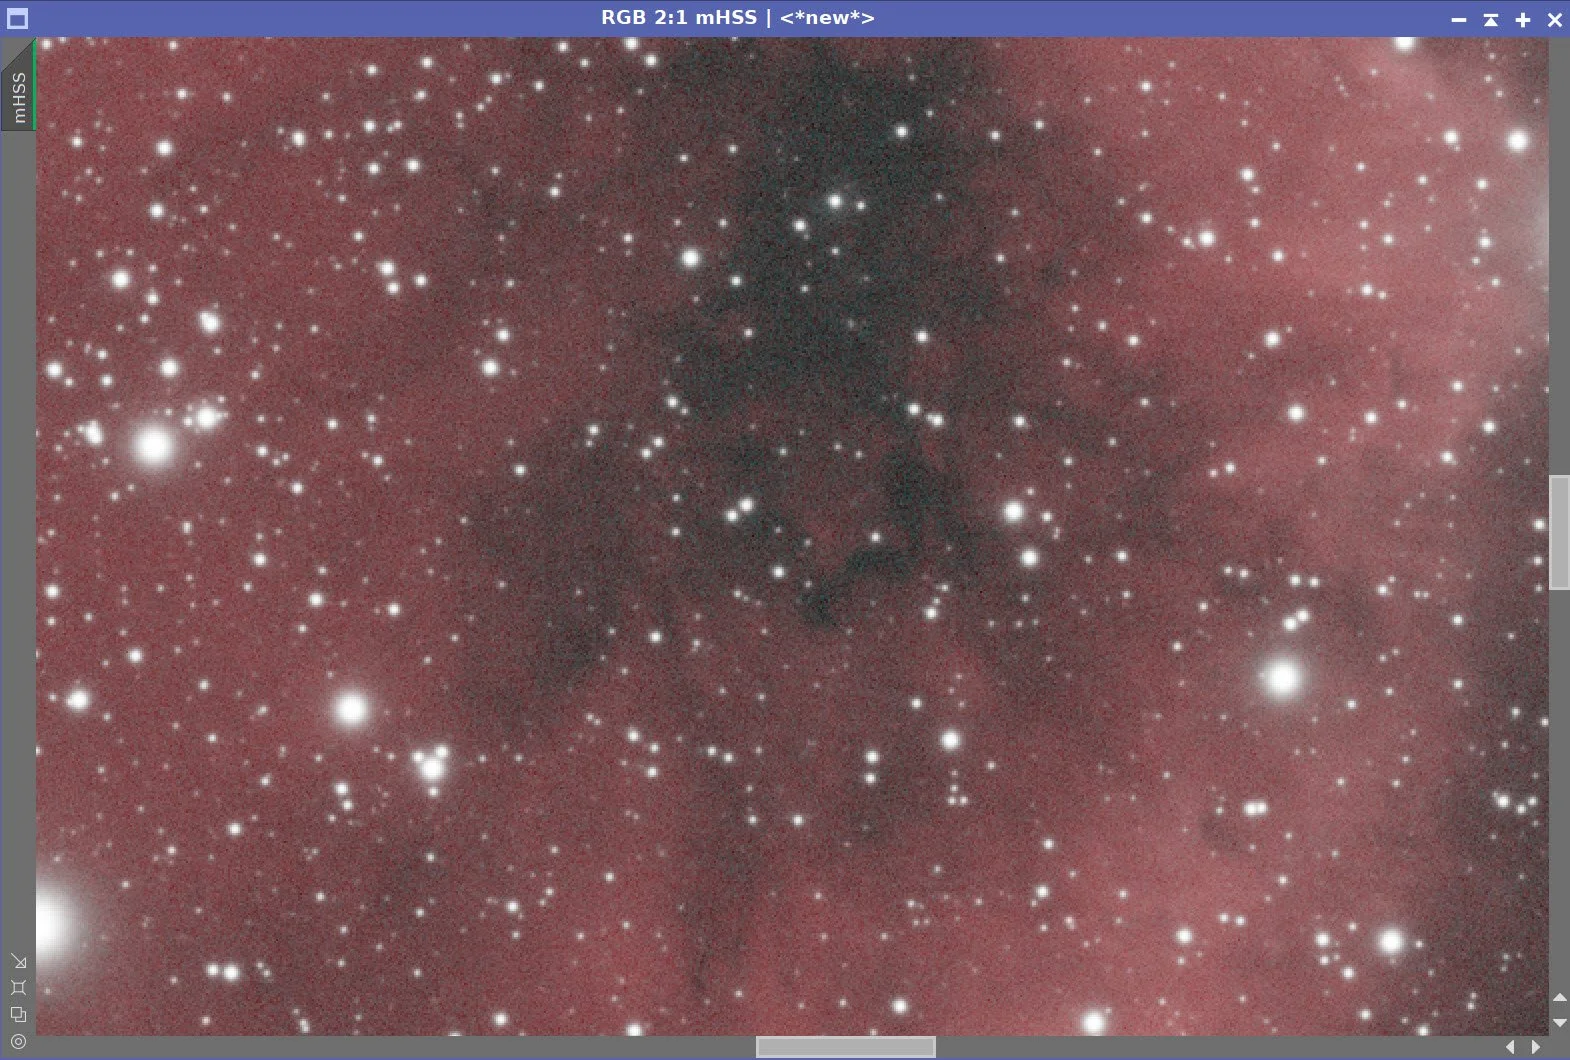
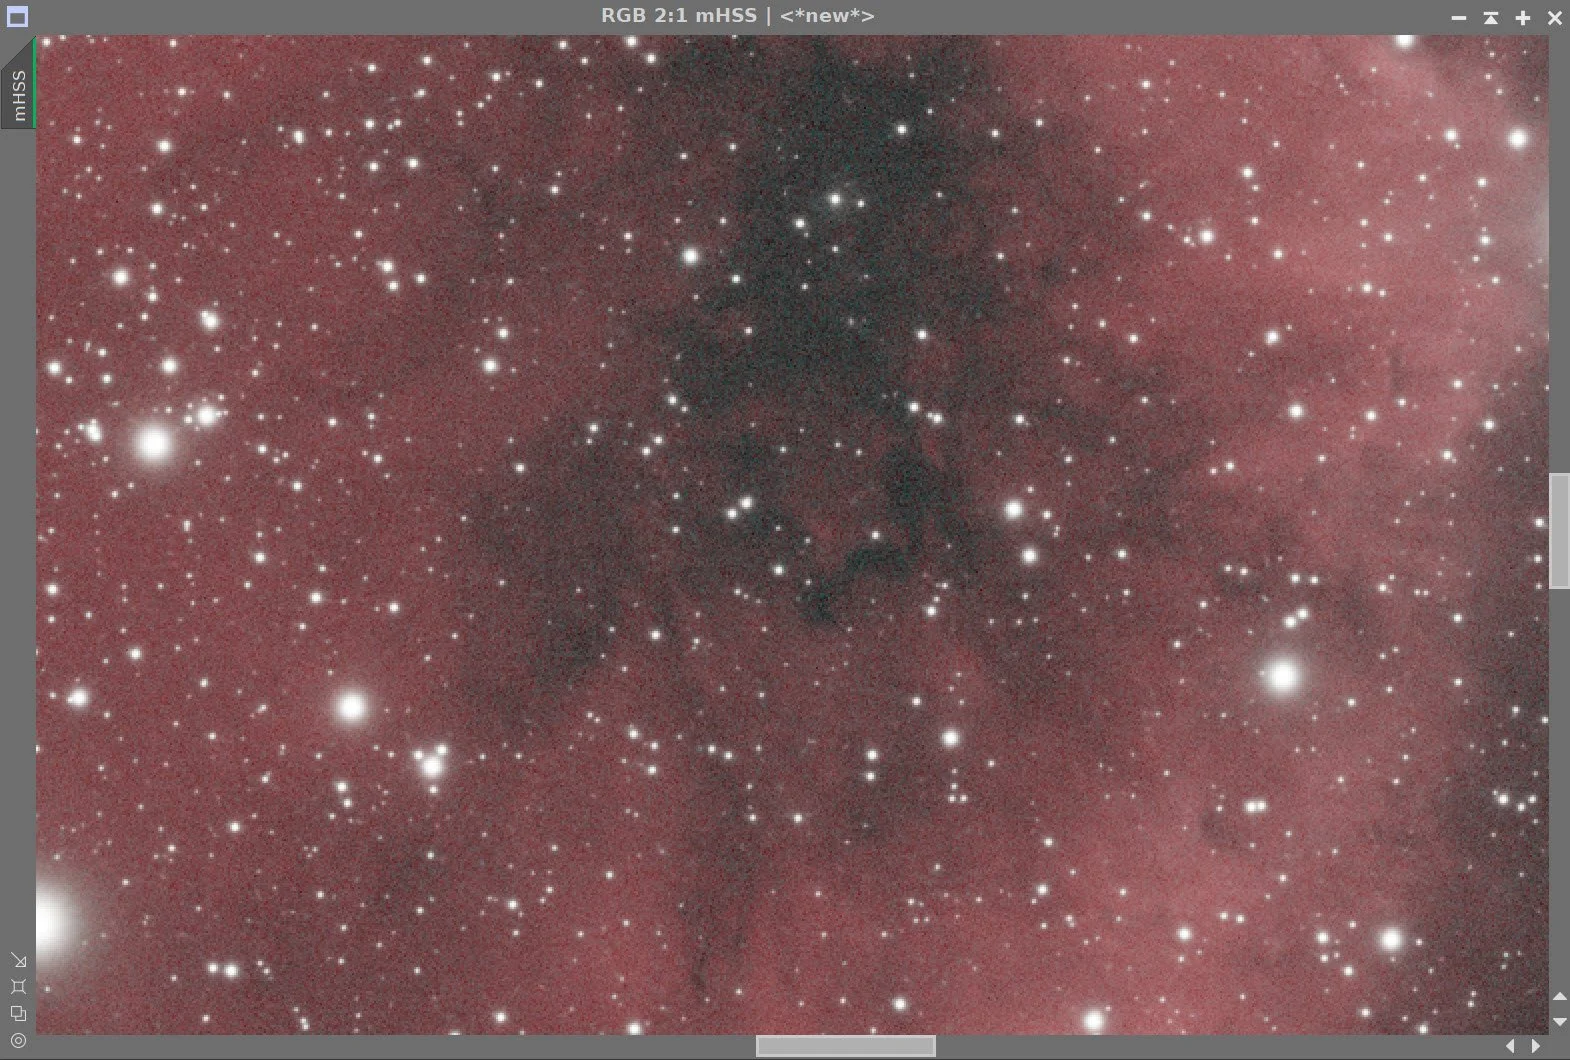
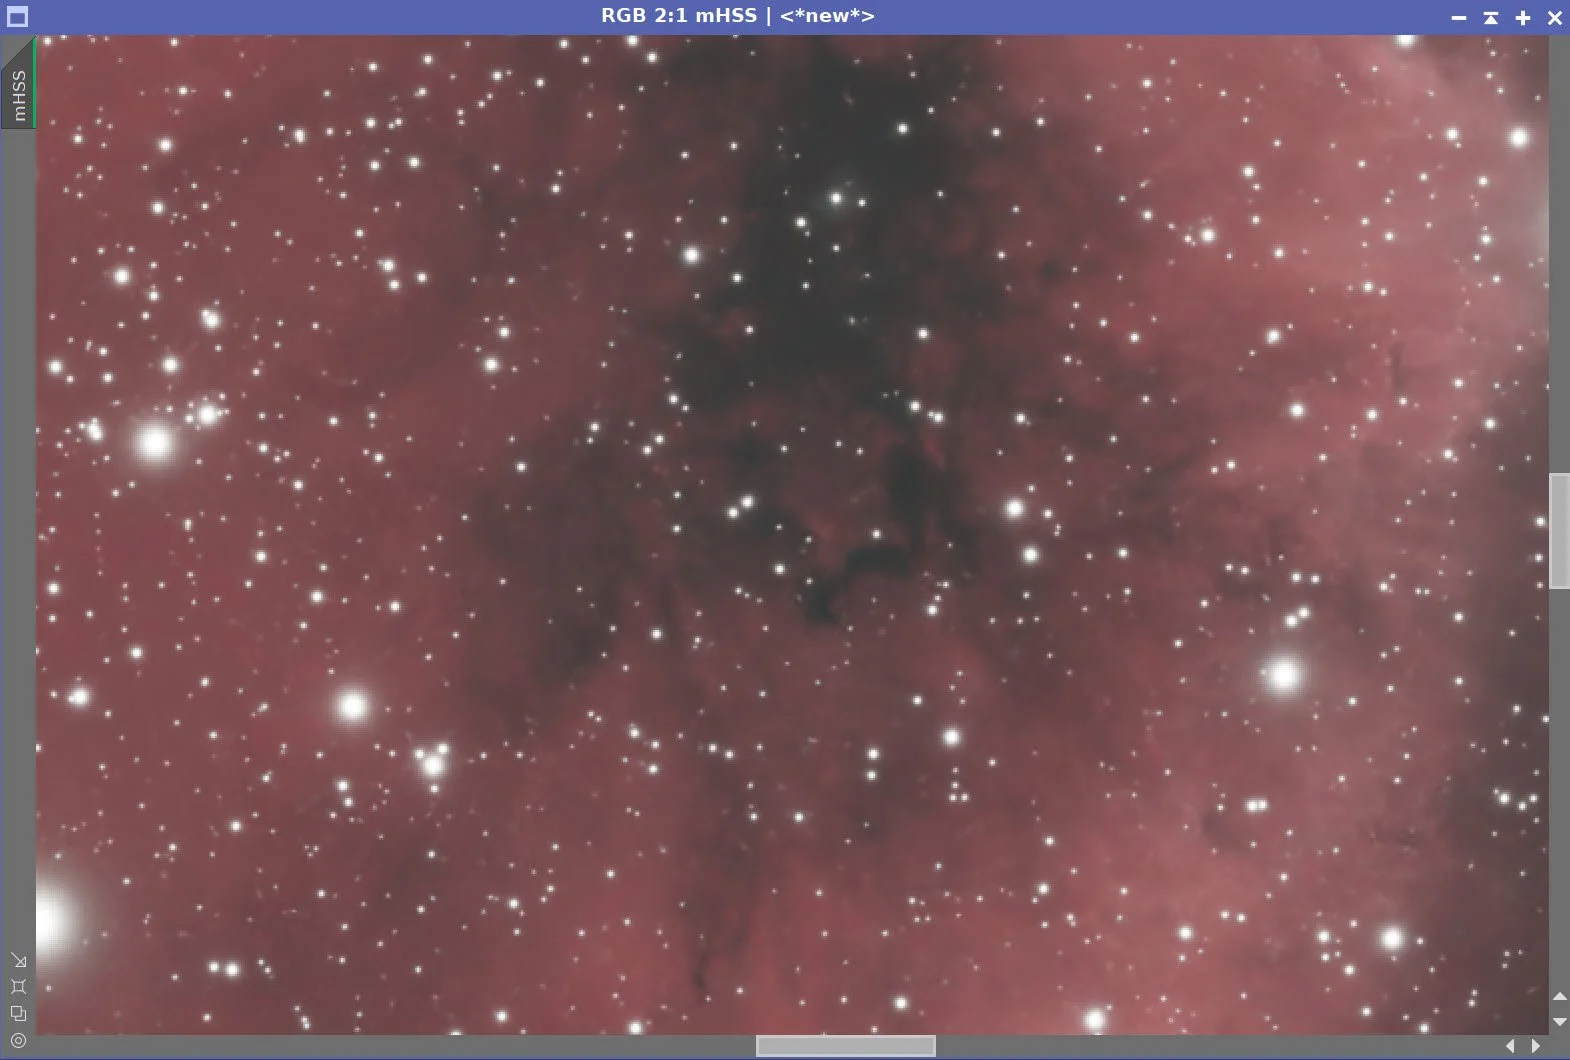
Master HSS comparison: before BXT, after correct-only BXT, after full BXT and NXT
After BXT/NXT Operations (click to enlarge)
HSS Starless Image after SXT
5. Process the Linear RGB Data
Run DBE for the RGB linear image. Use subtraction for the correction method. Choose a sampling plan that avoids any nebulae (see below). You will notice that DBE removes a great deal of the strange color balance due to the RGB subs accidentally having different exposure times.
Run BXT - correct only. This cleans up the stars at the corners. Not much to do in this image, as the scope is very crisp.
I just upgraded to Pixinsight 1.9.5, and for some reason my PFSImage script is no longer showing. So I usually use it at this point to extract star sizes for my BXT runs. This time I will go without and just try to iteratively determine what I need.
Run Full BXT -Final params determined by iterative testing. See the BXT Panel Snapshot below.
Run NXT V3 - see params from snapshot below.
Normally I run SPCC before the BXT operation, but for some reason I did it after this time. Select a preview rectangle that samples the background sky, and then set up and run SPCC.
Use the Ideal curve
Use ZWO R, G, & B filter curves,
Run SXT and don’t save the RGB starless image - we are not going to use that one.
Master RGB DBE Sampling Plan (click to enlarge)
Before DBE (click to enlarge)
Master RGB after DBE (click to enlarge)
Master RGB Background subtracted (click to enlarge)
Params used for BXT
NXT Params used.
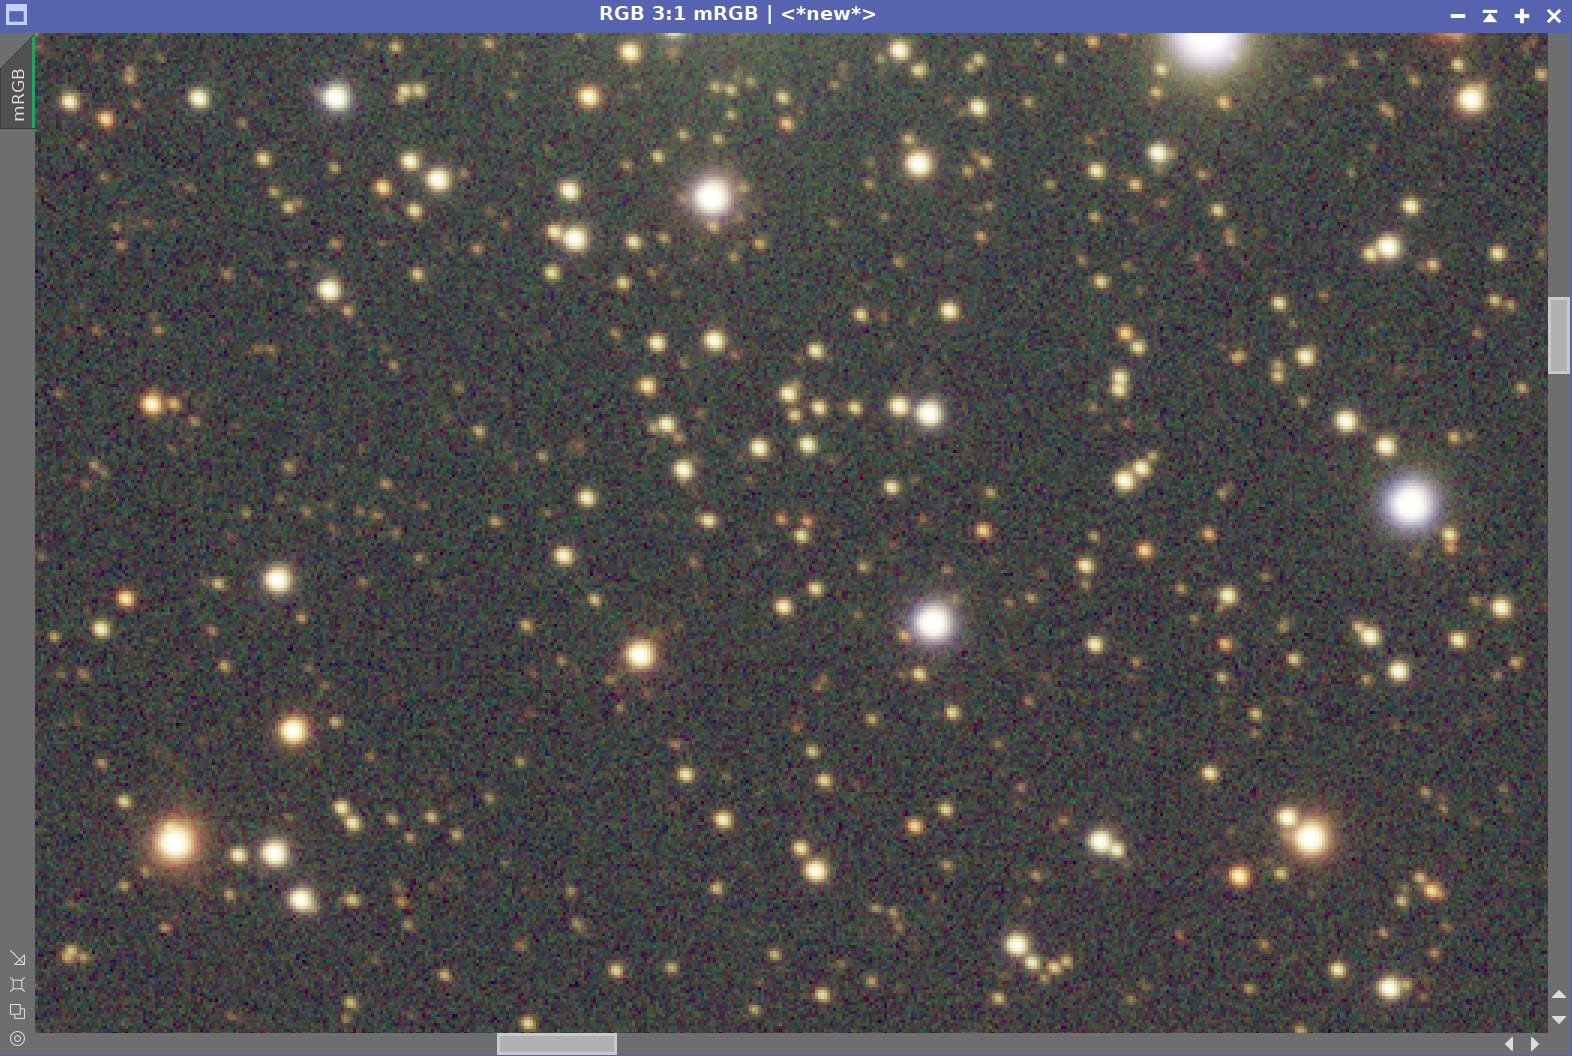
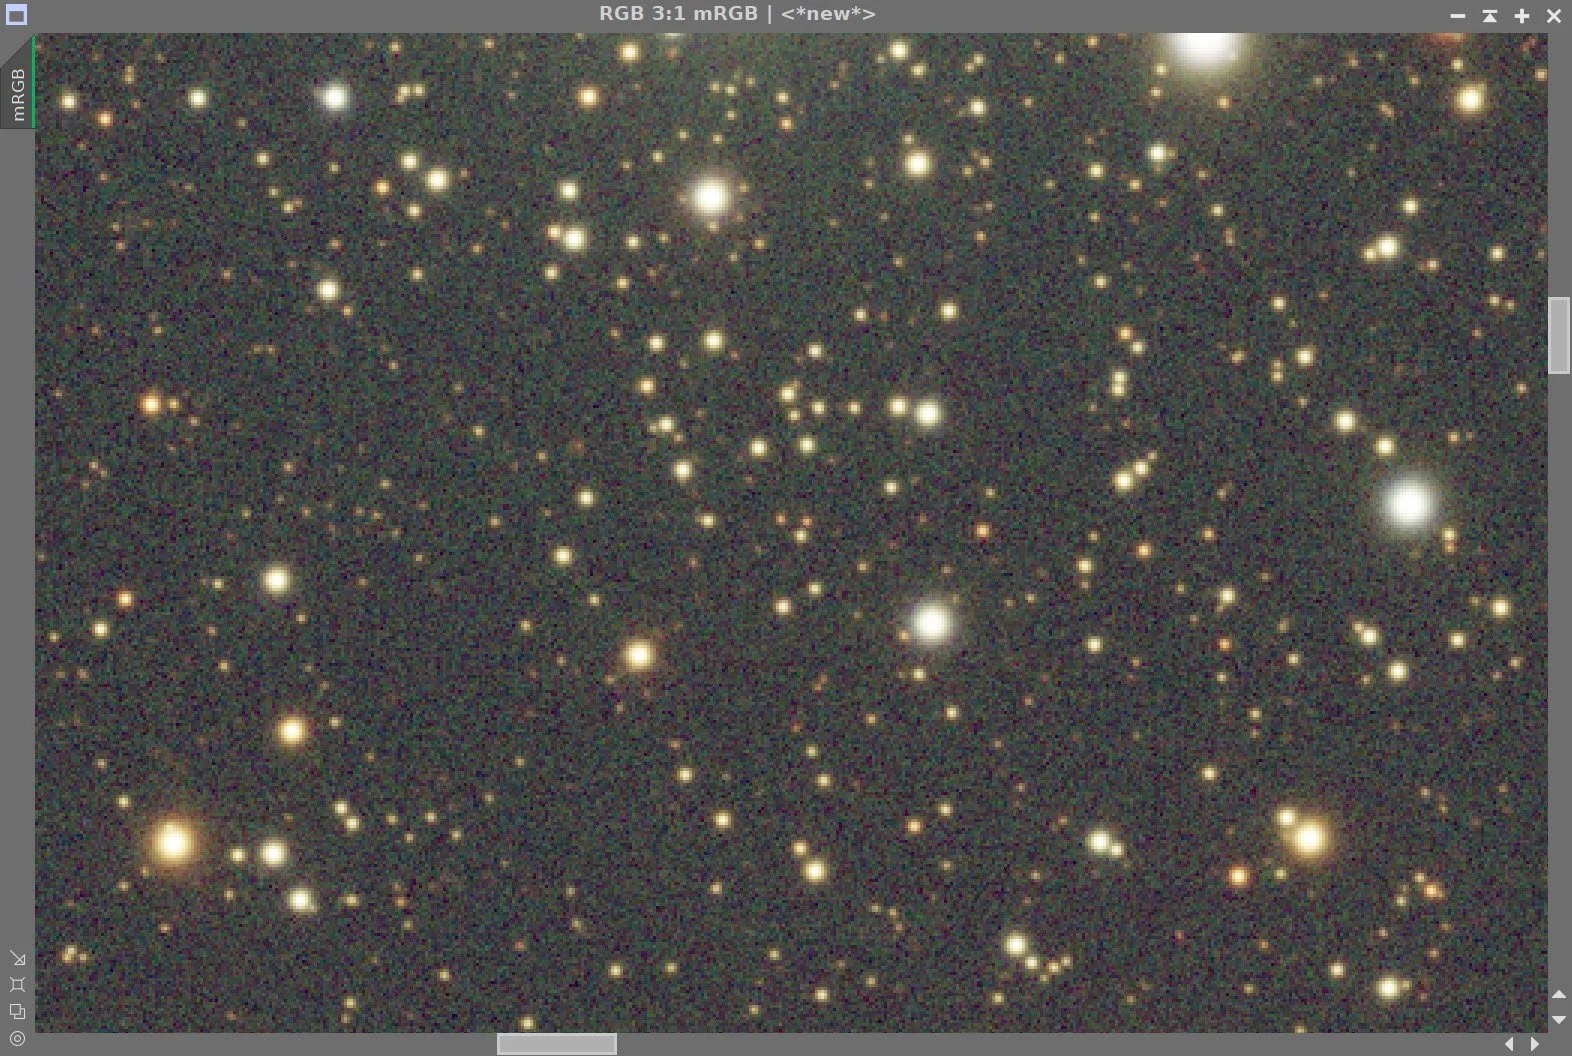
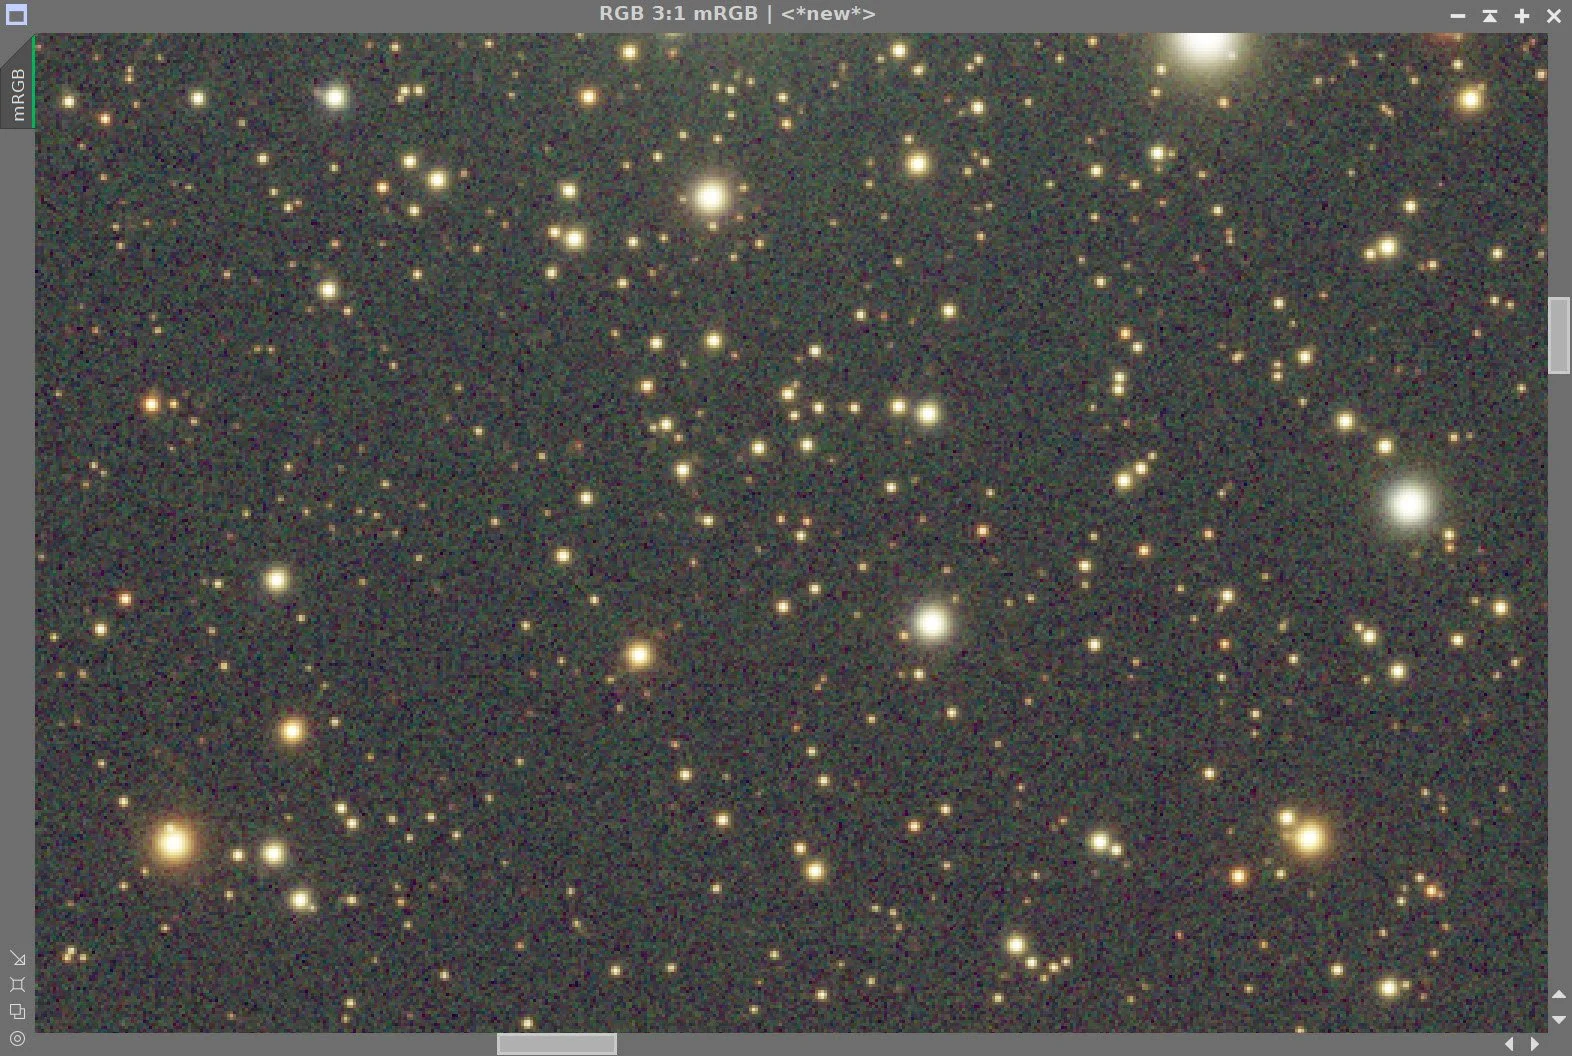
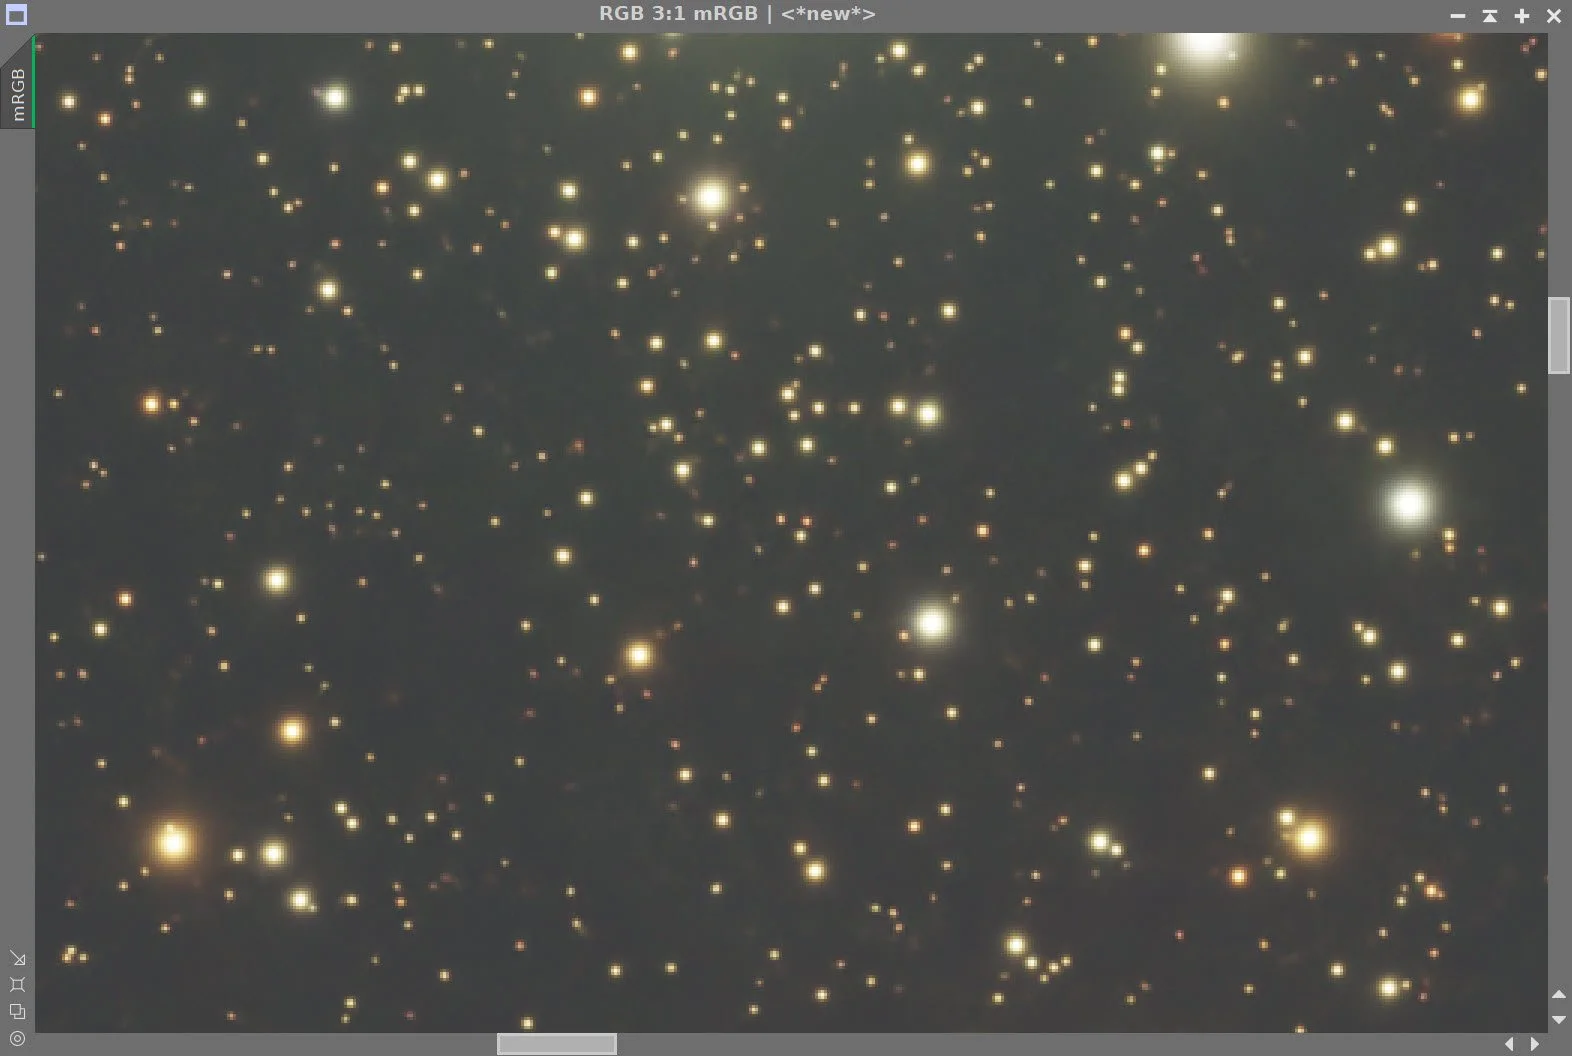
Master RGB before BXT Correct Only, After BXT Correct Only, After BXT Full, After NXT V3
RGB Image before SPCC (click ot enlarge)
SPCC Panel settings. (click to enlarge)
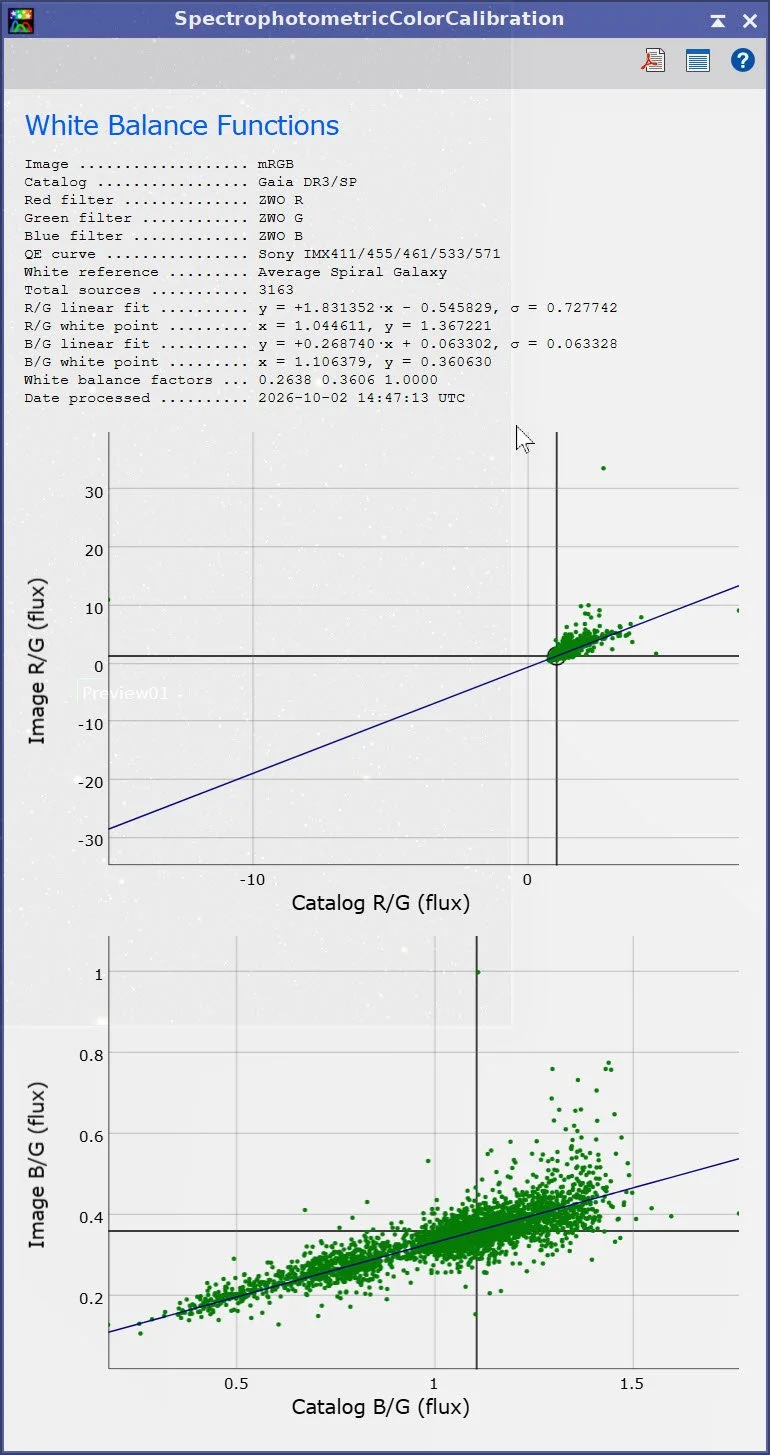
SPCC Regression Results.
After SPCC (click to enlarge)
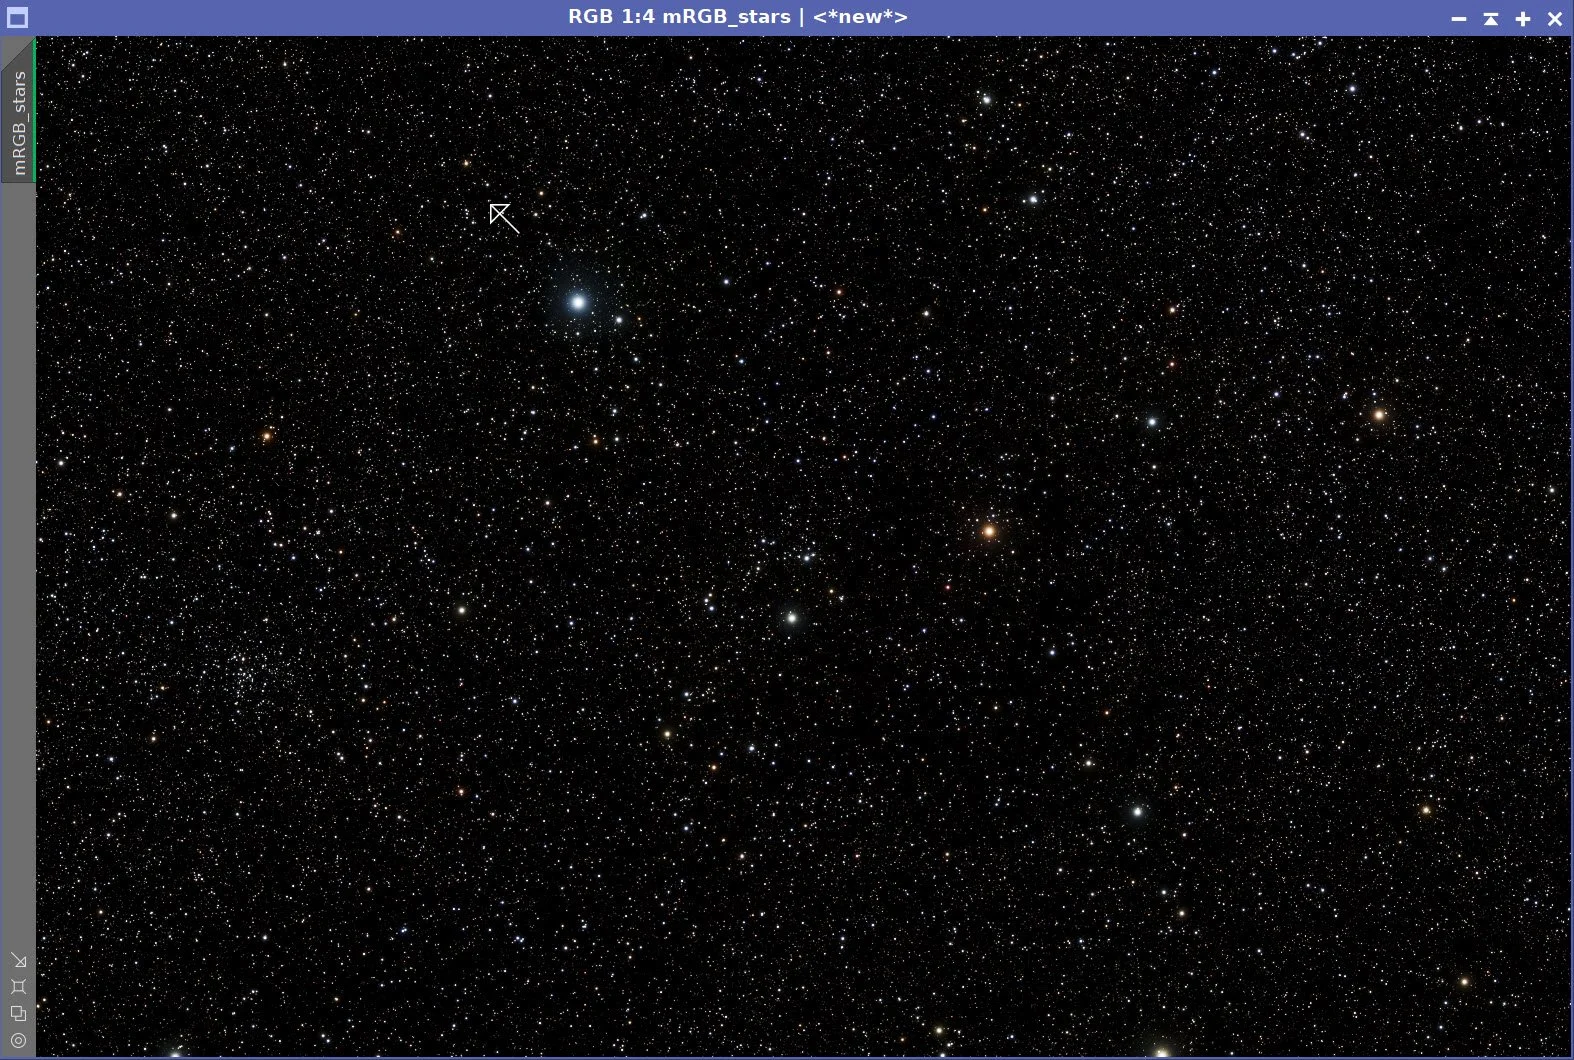
Master RGB Star image after SXT.
6. Take RGB Stars Nonlinear - But Not Yet!
In my last project, I introduced a custom star-stretching utility, and I used it to take the RGB stars nonlinear. This tool has evolved. I added the ability to stretch the stars in a way that preserves their structure and color, and now I can add my starless image to the tool and see how a particular star rendering looks combined with it.
In the past, I often made three versions of the stars: a targeted stretch, one that made the stars smaller, and one that made them bigger. Later, I would create three versions of the final image and pick the one that looked best.
With the new preview capability, I no longer have to do this, and I can now do this kind of exploration within the tool itself. So now I will leave the stars in their non-linear form and, at the end of the process, integrate them with their starless masters.
Since I can preview what this combination looks like, it was a simple task to also write out the final stars+starless image.
I will show a few screenshots of the prototype later in the process so you can see what this looks like!
7. Take the Starless SHO and HSS Images Nonlinear
Apply the STF-derived stretch to create the initial nonlinear SHO image using the STF→HT method
Do the same with the HSS image
Nonlinear SHO image
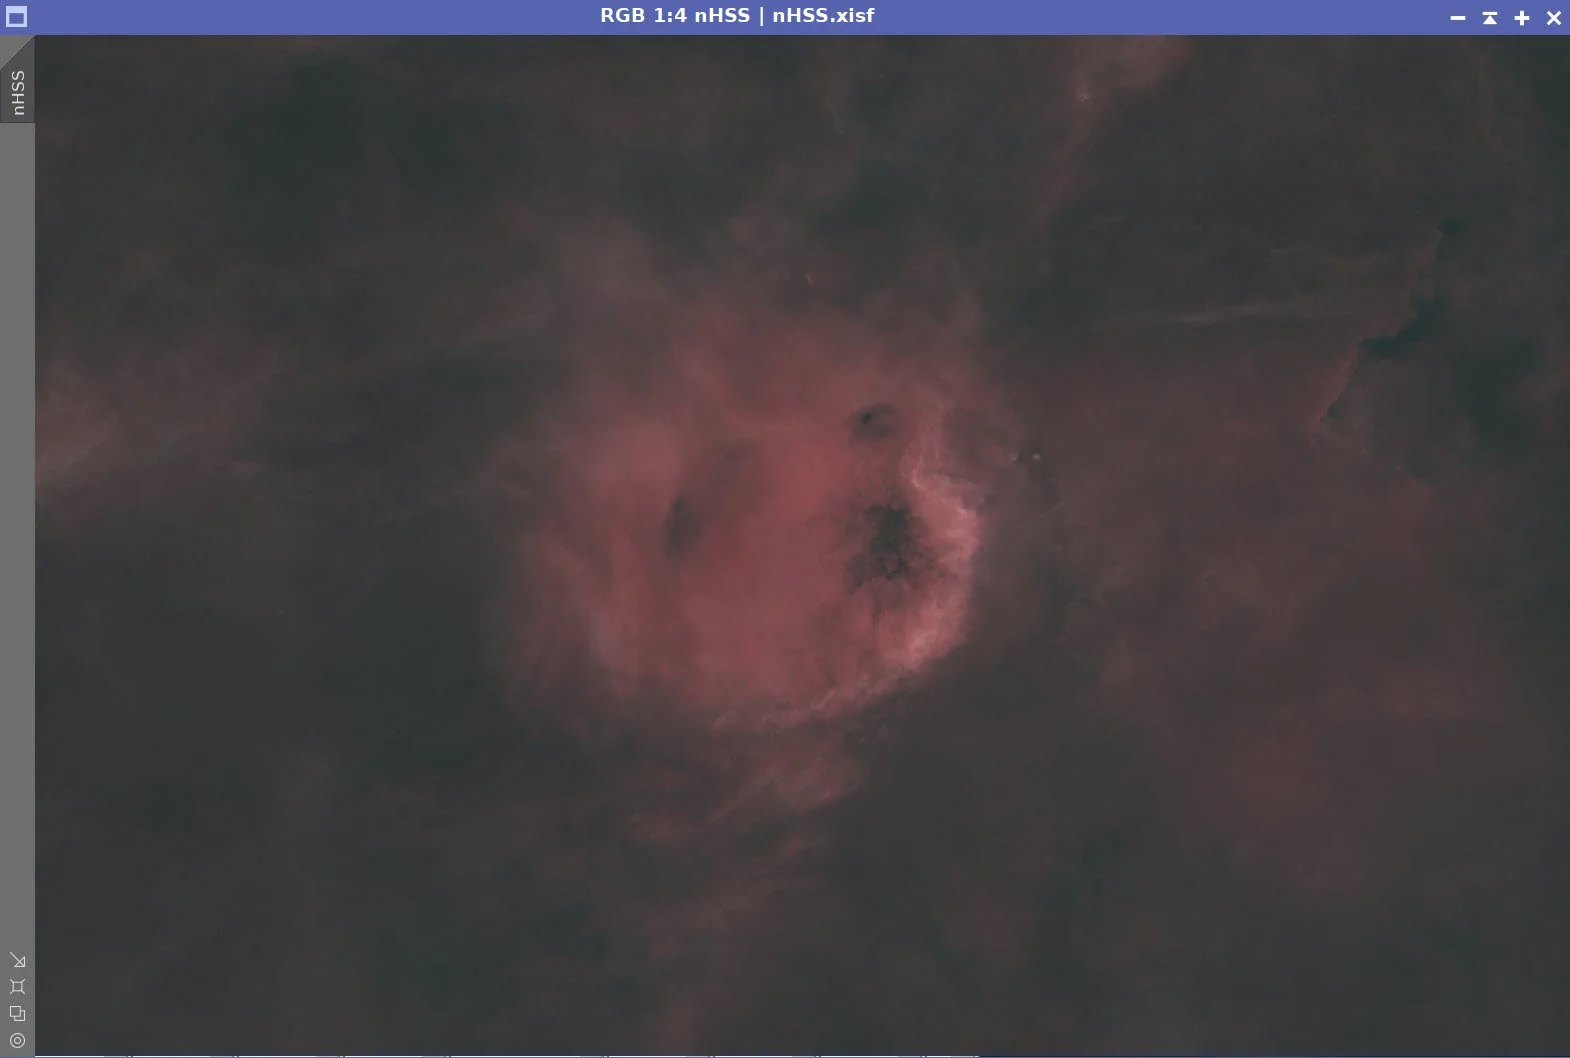
8. Do an Initial Process of the Nonlinear HSS Starless Image
Apply CT to set the basic tone scale and color saturation
Use ACE to adjust global Texture, Clarity, and Dehaze (see screenshot below)
Use ACE to adjust a lasso-selected portion of the image on the left side (see screenshot below)
I then used another new tool I am developing called the Astro Tone Recovery tool. This is designed to recover detail from shadow and highlight regions. I used this to recover detail from the saturated red region. This is more sophisticated than just a curve adjustment; it also shaped detail of various scales to recover textures as well.
Apply NXT (see params).
Export Image to Photoshop - I wanted to work on specific areas with the lasso tool
Use my new Astro Star Crafter to do a default adaptive star stretch and then add the starless version for a preview. I opted to boost the star color as shown in the screenshot slider below and then create the final Starless+stars image.
This image will be used for a head-to-head conparision with the SHO image when it is partially processed as well.
Initial HSS image(click to enlarge)
Apply CT (Click to enlarge)
Do global ACE adjustment (sees slider positions)
Use ACE lasso to isolate th (click to enlarge) structure in the upper left and ehance it (click to enlarge)
Invert the image (click to enlarge)
Use ATR to recover detail from highlights (click to enlarge)
NXT Parameters Used (click to enlarge)
After PS polish run (click to enlarge)
After Tone REcovery (click to enlarge)
After NXT(click to enlarge)
Use Astro Star Crafter to establish the star stretch. . (click to enlarge)
After ACM (click to enlarge)
9. Process the SHO image
Apply SCNR to green at 0.85. This removes most of the dominant green color.
Invert the image so magenta tones are now green
Apply SCNR to green at 0.85 again.
Invert the image again. Now green and magenta excesses are reduced.
Apply CT to get the basic tone and color where I want it.
At this point, I still think there is too much green in the image. So I applied SCNR again.
This was followed by another CT adjustment.
This looks better! I then used Astro Color Mixer to finalize the color position I want.
I thne added th stars back in using the Astro Star Crafter - using the default stretch and 85% color boost.
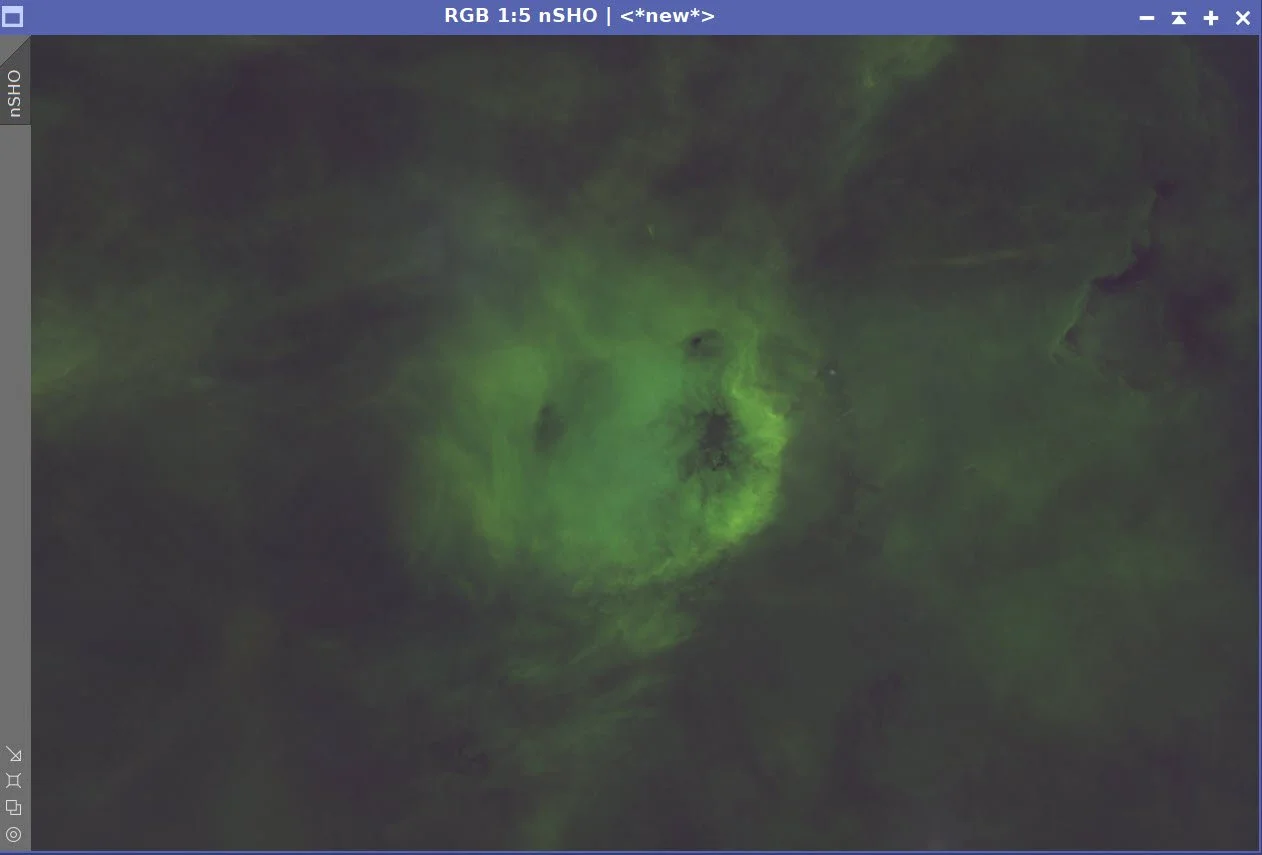
Stars #1: The smaller stars just don’t work here - they are lost in the complexity of the region.
Invert the image. (click to enlarge)
Another image invert. (click to enlarge)
Another hit with SCNR to control redisual grreen produces this. (click to enlarge)
ACM used to optimize color. (click to enlarge)
Stars #2: The middle-sized stars are not bad.
SCNR on Green with 0.85 (click to enlarge)
After CT (click to enlarge)
ACM used to dial in color (click to enlarge)
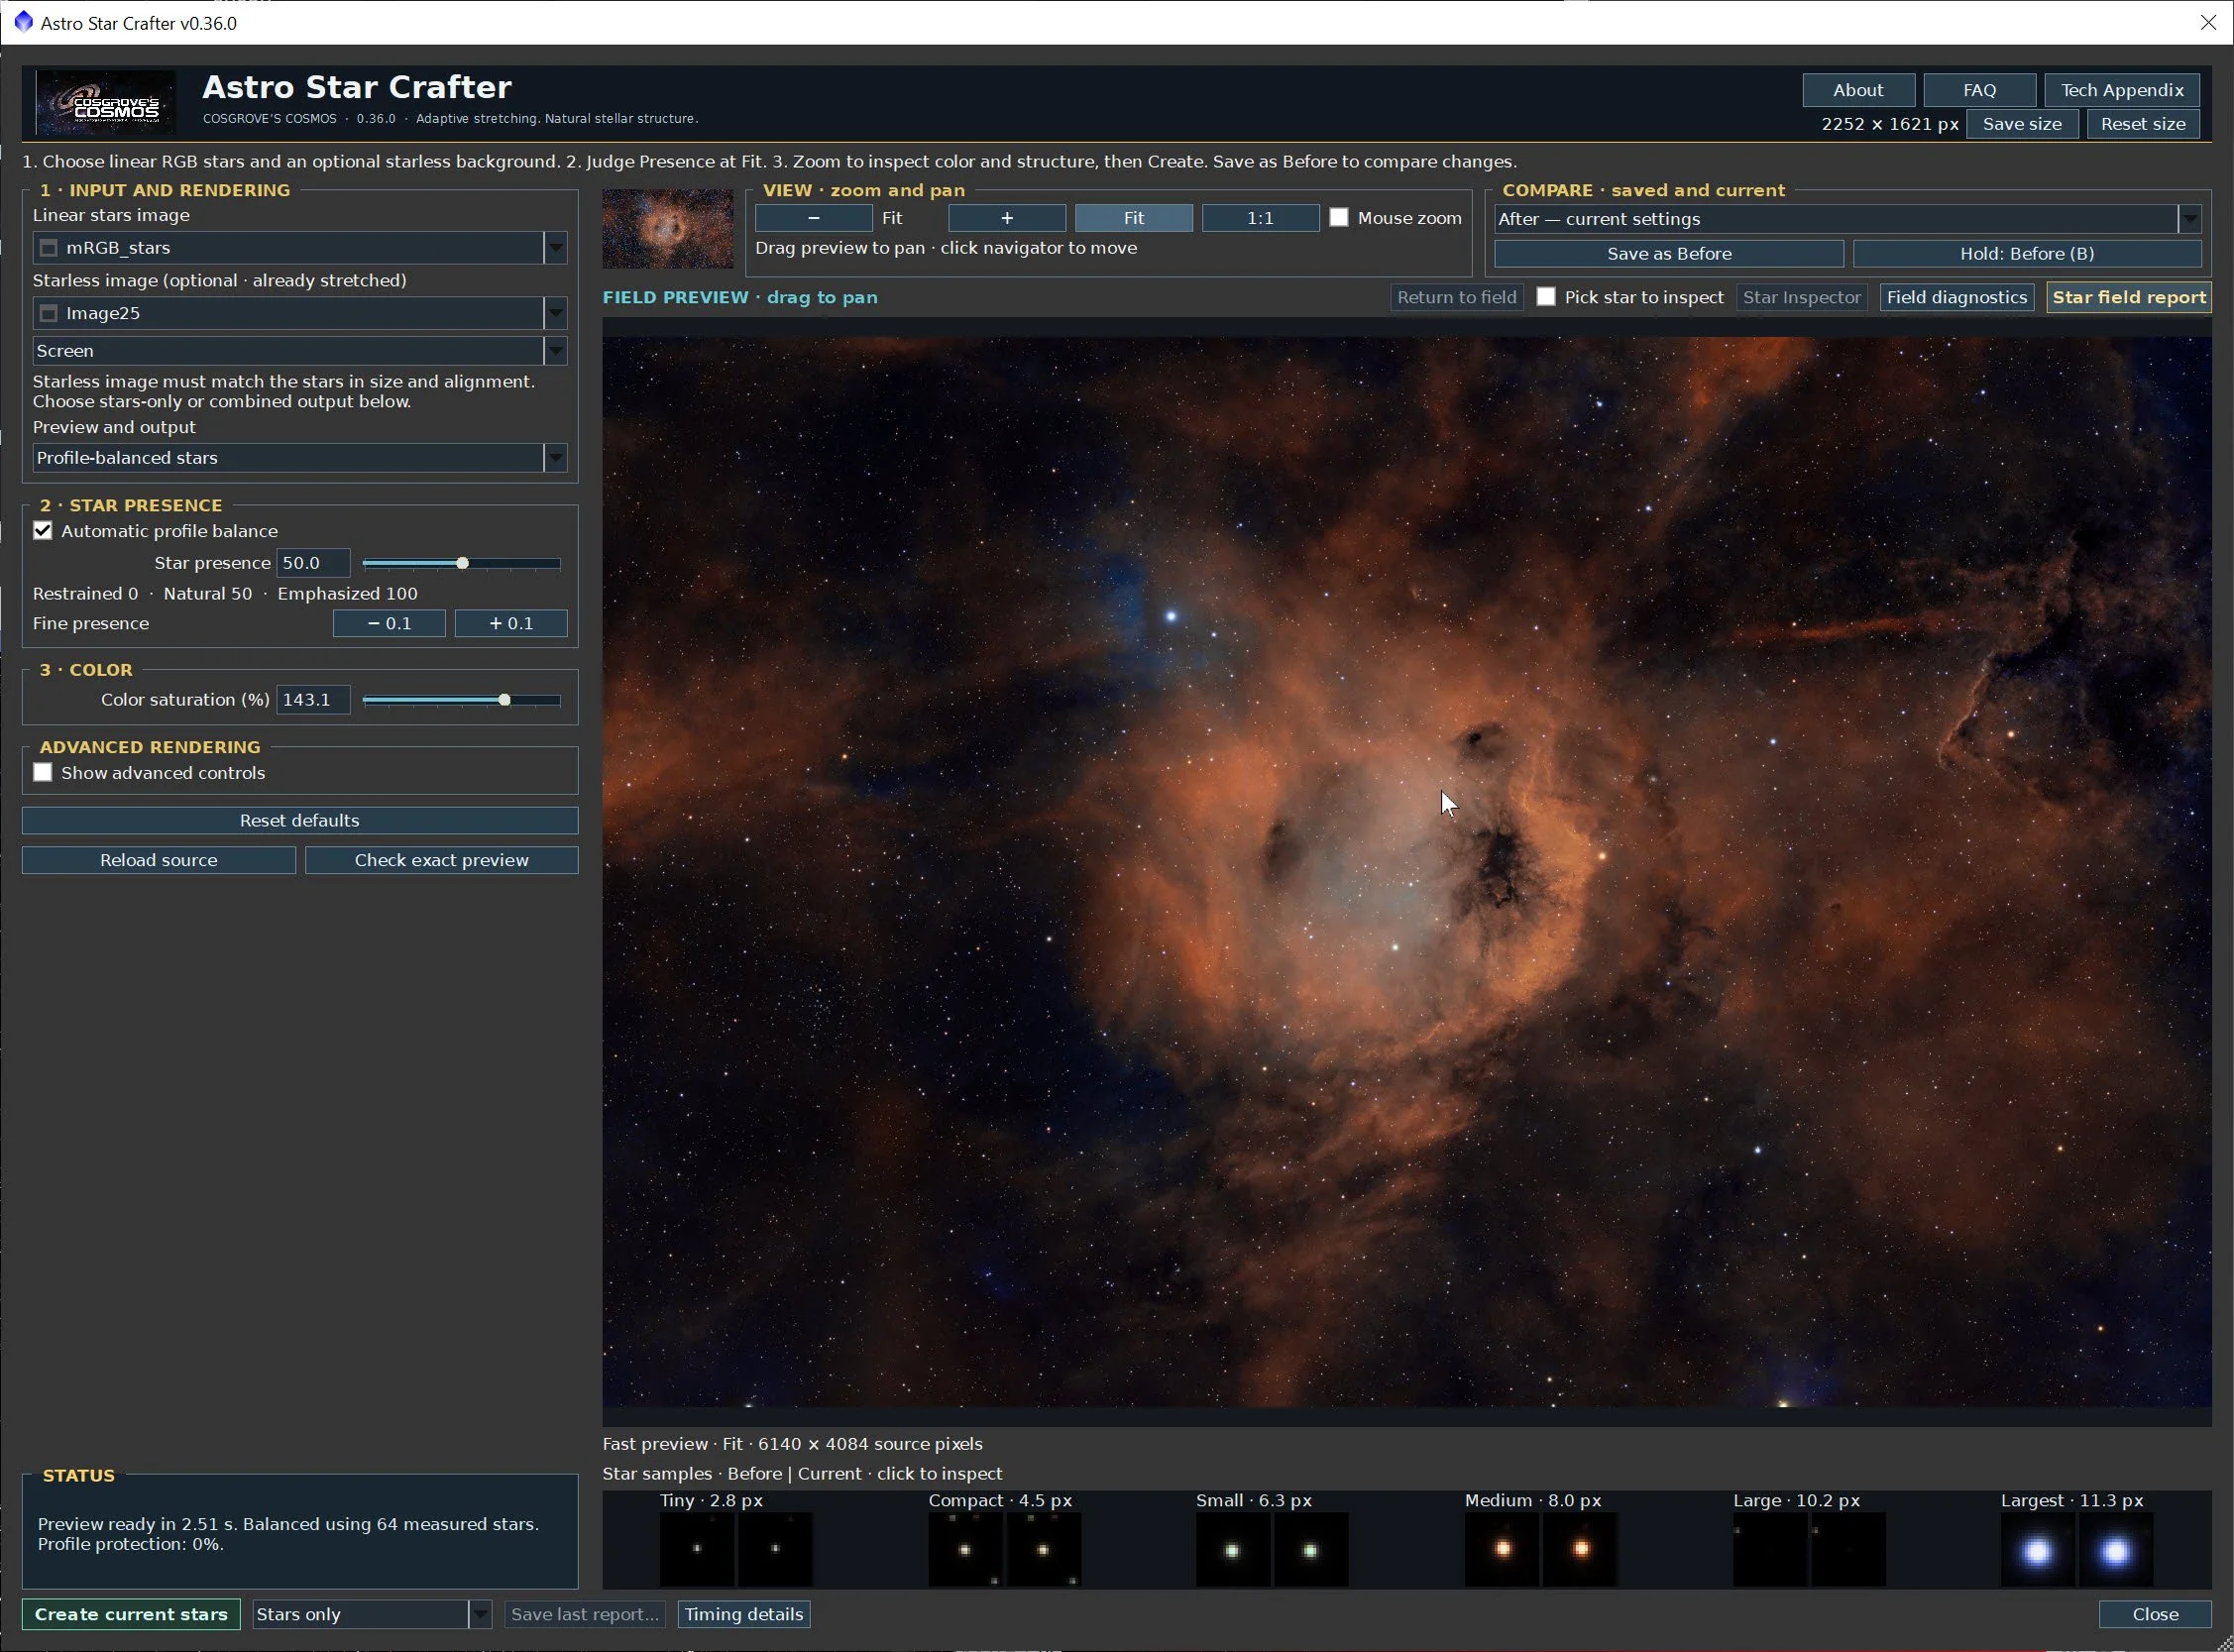
Astro Star Crafter stretching and adding stars back in. (click to enlarge)
Initial image for the HSS/SHO decision,
10. Compare SHO and HSS and determine the path forward
I shared the image comparison with several of my astrophotography colleagues, and everyone thought that the SHO version, with its greater color variety, was more interesting. While it doesn't use the full SHO palette you typically see, it was still more interesting to look at.
Initial HSS Image. (click to enlarge)
Initial SHO Image (click to enalege)
11. Finish Processing the SHO Starless Image
I used my prototype Astro Tone Recovery tool to bring down the bright orange areas a bit and restore some lost texture there. I took a screenshot of the tool before and after the change, but for some reason the after shot didn't save. That should have shown that I had the recovery slider up near the red zone and the Local Texture Slider up about as high.
Do a CT to fine-tune color and tone a bit
Use ACE with a lasso on the main nebula, add a bit of texture, and slightly boost Clarity.
Do a final NXT run - see params in the screenshot below.
Export the Starless image to Photoshop and polish - the main thing I used here was the lasso with the Raw Camera Color Mixer since I don’t have a lasso in my own ACM tool.
The Astro Tone Tool use to recover the orange high-end. This screenshot was befor I changed the sliders unfortunately. (click to enlarge)
After CT (click to enlarge)
After ACE (click to enlarge)
After a final NXT (clickto enlarge)
After Ton Recovery - the brght area on the left is now tamed a bit. (click to enlarge)
ACE adjustig the main nebula. (click to enlarge)
NXT Param used on the next step.
Do a PS Polish run (click to enlarge)
12. Add the Stars
Use the Astro Star Crafter Prototype to establish a baseline stretch for the stars. Then I added the Starless image in and experimented with a few different positions of the Star Presence and Color Sliders. I ended up with the same mix I chose for the original HSS/SHO prototype images: the default stretch and a higher color boost.
Using the Prootype Astro Star Crafter Tool to establish the star stretch and then output the final image.
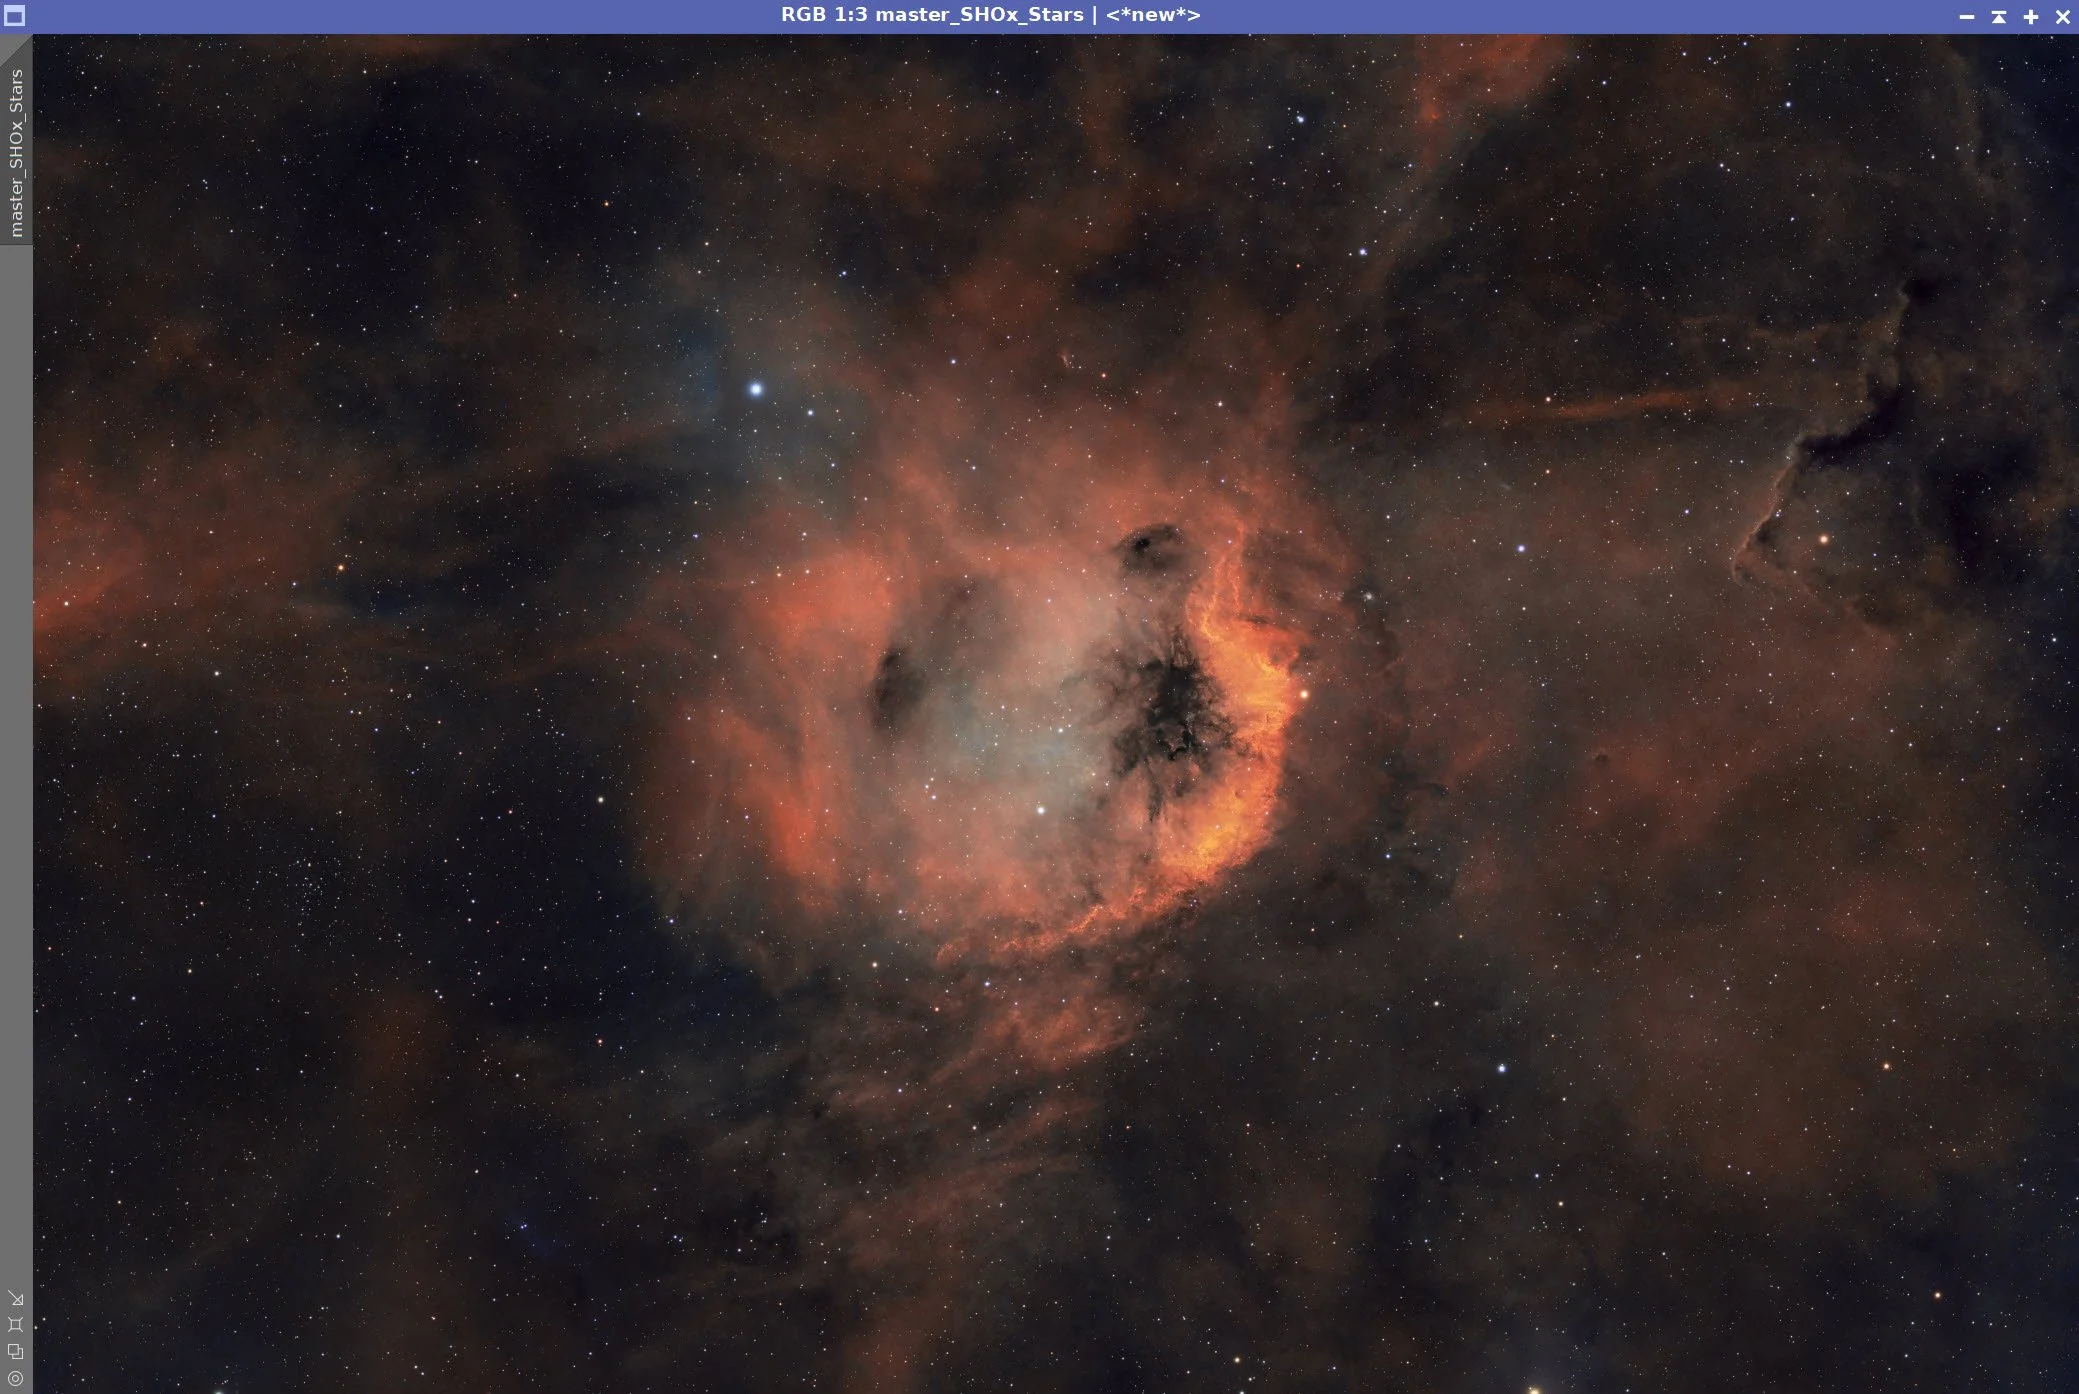
The Stars and Starles images are reunited!
13. Export the Image to Photoshop for Polishing
Exported the combined image from PixInsight as a 16-bit unsigned TIFF
For the final image, I did little to no polishing.
I did do a slight crop - I did not like the star on the bottom being split by the edge of the frame. I cropped the bottom of the frame and a bit of the left side of the frame
Added the watermark
Exported the final JPEG versions: Clear, Watermarked, and Web-sized image.
14. The Final Image!
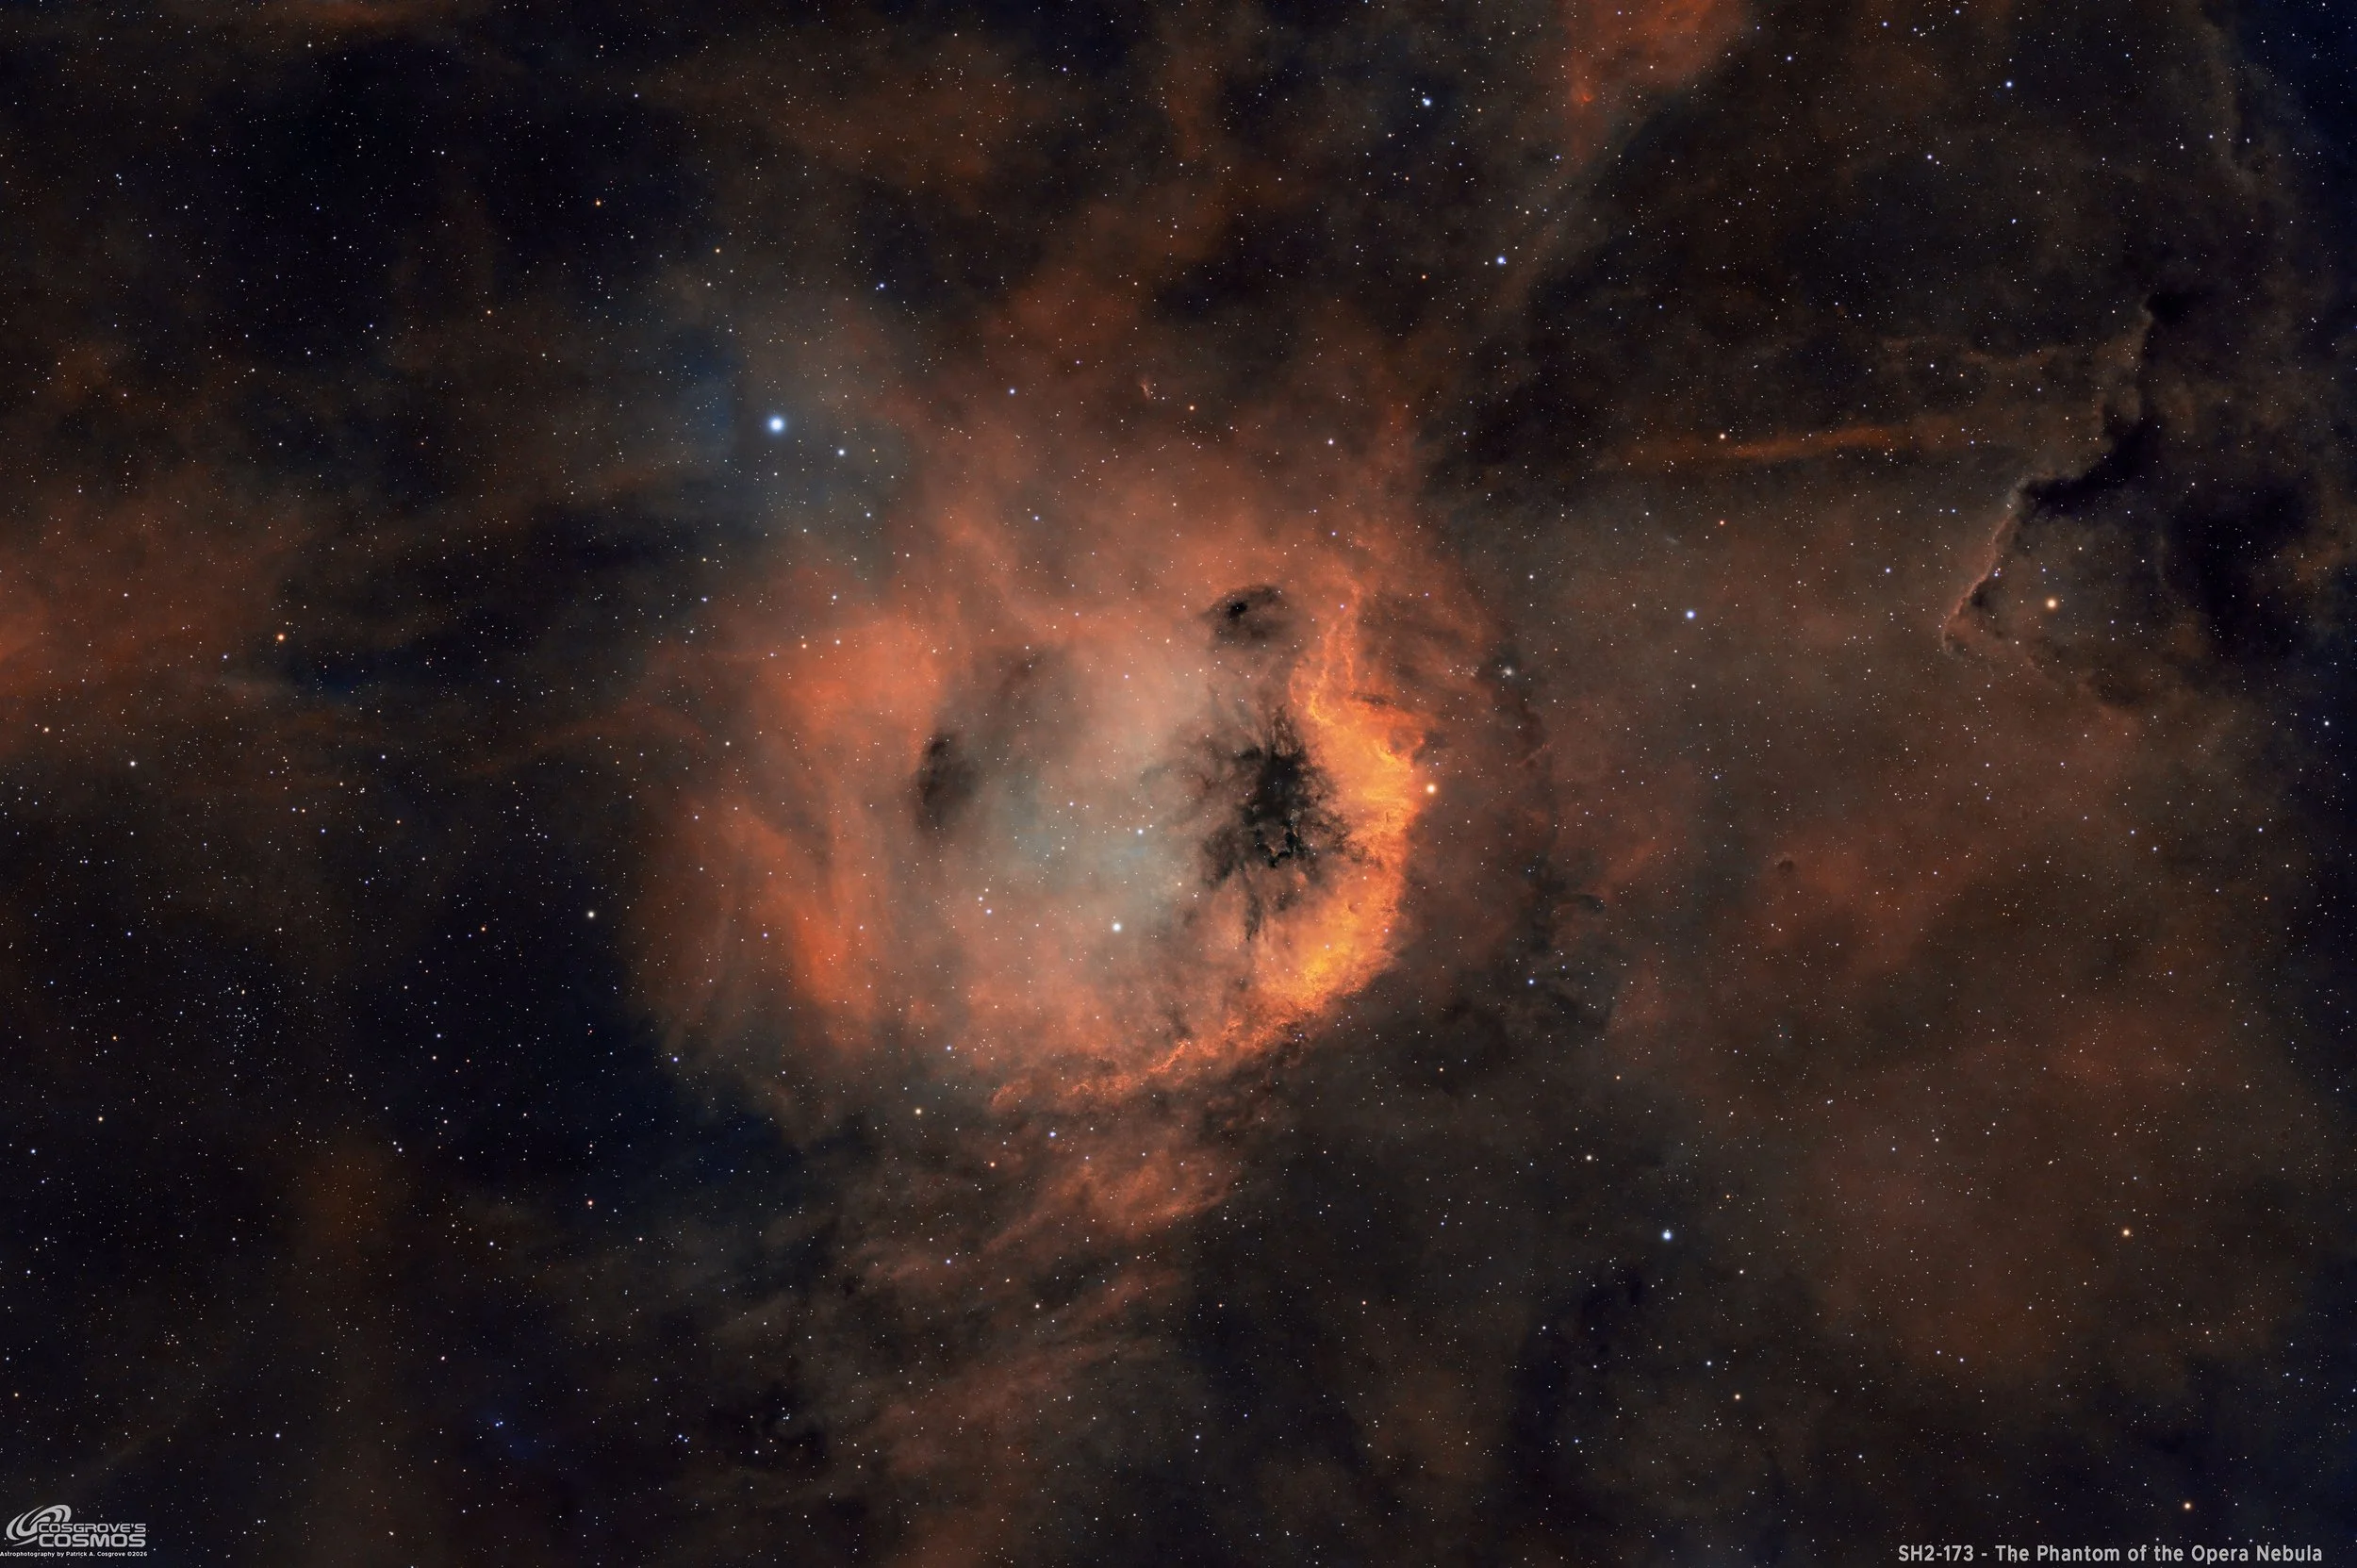
The Final Image!
15. Final Comments
This image is unusual for a typical SHO narrowband image. It seems somehow softer and more muted. But I like images that surprise me a bit when I finish them.
I still have a hard time seeing the Phantom’s Mask here, but I sure do see a puppy dog, so maybe my kids will like this image!
I found this to be a fun project, and I was pretty happy to see how my Astro Star Crafter prototype is coming together. It really simplified my handling of RGB stars and reduced the steps it takes for me to finish an image!
Back to the Main SH2-173 2026 Page
Alternatively, you can use the back arrow to return to the Main SH2-173 Region page, or you can use the menu at the top of the page to continue your navigation.
Thanks,
Pat