
SH2-73 - An Integrated Flux Nebula in Hercules - 9.8 hours in LRGB
Date: July 18, 2022
Cosgrove’s Cosmos Catalog ➤#0106
SH2-73 - Taken with the William Optics 132mm FLT scope and the ZWO ASI1600MM-Pro camera. (Click for the full-resolution version via Astrobin.com)
Table of Contents Show (Click on lines to navigate)
About the Target
Sh2-73 is located in the constellation of Hercules and is listed in the Sharpless Catalog as an emission nebula. This object is also known as LBN 105, MBM 40, and IREC 53.
We now know that this classification was a mistake. Emission nebulae glow from excitation by a local star associated with the region. This is not the case for Sh2-73.
SH2-73 is a molecular cloud located high over the galaxy's core with a galactic latitude of about 45 degrees. In this case, the cloud is seen by the reflected light from the entire Milky Way Galaxy! As such, this object is properly classified as an Integrated Flux Nebula, or an IFN!
SH2-73 contains 20 to 40 solar masses of gas. There are no signs of star formation at this time.
The Annotated Image

This annotated image was created in Pixinsight, using the ImageSolver and Annotate Image Scripts.
The Location in the Sky

This finger chart was created in Pixinsight using the FinderChart process.
About the Project
Target Selection
If you have been following my projects, you will remember that I once attempted to capture the IFN found around the galaxies M81 and M82. In that effort, I failed miserably! Poor conditions, and WAY too little integrated time on target.
As I searched for possible targets for the most recent string of clear nights, I across SH2-73. I did not know much about it, so I did some digging. This is where I discovered that the target was one big IFN!
So would this target to super impressive and colorful? No.
Will this target create an image with a real wow factor? No.
But it did appeal to me because of what it was and the challenge it presented to me in trying to capture it.
So I added it to my shoot list.
Data Capture
I decided to use my William Optics platform for this shot. This would give me a good image scale, and it was available as I had already chosen targets for my other two platforms. It did appear that there were a few brighter stars in the field, which always causes some concern, as the ASI1600MM-Pro camera does not handle bright stars well. I have often encountered flare and sensor lenslet reflections in this scenario.
I figured I would deal with that later.
I used 120-second exposure times. Since this is a reflection nebula with no evidence of new star formation, it did not make sense to shoot any narrowband filters, so I stuck with the LRGB format.
Subs were captured on the nights of 6-23-22, 6-24-22, 6-25-22, and 7-03-22. I was able to get four full nights on target - not bad! We did have some thin clouds coming through, so I knew I would be losing some subs when I blinked the data.
I ended up with 9.8 hours of data. This is a nice long integration for me and my troublesome tree lines - but it is not particularly a great number for shooting an IFNs. Images of this target I saw on Astrobin often had 20 or even 30 hours of integration!
I was not sure what I would end up with, but it was the best I could do under the circumstance.s
Image Processing
WBPP Issues
I found that I was off to a rough start with the image very early on. I blinked the subs, removed frames that were compromised by cloud cover, and then got ready to run WBPP vers 2.4.5. I loaded up the script and configured it and found that I was getting a strange error when the flats were being integrated. In fact - every flat integration attempt failed! I have never run into this before. I inspected every flat, flatdark, and dark frame that I had shot and saw nothing amiss in the data. I checked over the settings I typically use when running WBPP, which also looked good.
I then stripped the data down to just 12 flat subs, and a bias master (I never use it this way, I just configured this for debug purposes as it was a very simple case). The error still occurred!
From the WBPP log:
************************************************************
[2022-07-10 18:27:45] * Begin integration of Flat frames
[2022-07-10 18:27:45] ************************************************************[2022-07-10 18:27:45] Group of 15 Flat frames (15 active)[2022-07-10 18:27:45] SIZE : 4656x3520[2022-07-10 18:27:45] BINNING : 1[2022-07-10 18:27:45] Filter : Blue[2022-07-10 18:27:45] Exposure : 0.05s[2022-07-10 18:27:45] Keywords : [][2022-07-10 18:27:45] Mode : calibration[2022-07-10 18:27:45] Color : Gray[2022-07-10 18:27:45] Rejection method: Winsorized Sigma Clipping[2022-07-10 18:27:45] Operation queue error: Error: ImageIntegration.largeScaleClipHighGrowth(): numeric value out of range: 100I went onto the Pixinsight forum and reported what I saw in their bug report area. A few hours later, a reply from a Pixinisight support staffer told me to reset the tool parameters with the reset button.
I did this, and my problem was resolved!
I typically reset WBPP between sessions by clearing the files but keeping all of the parameters that I have used before. The fact that something went astray and needed to be reset between sessions suggests to me that there may be a bug in the code that saves the configuration between sessions.
At any rate, Kudos to Pixinsight for their quick support and for solving my problem.
Two Processing challenges
I also found myself fighting two fundamental problems with this image.
Since the integration was not as long as it could be, the IFN signal was there on the luminance images, but I really needed to boost the contrast a lot to pull them in. When I did this, I ended up scaling the stars up a lot, and the brighter stars became huge, bloated, and showed clear signs of lenslet inter-reflections.
The other problem had to do with the image color.
The nebula had very little color, and when I tried to amplify saturation to bring out the colors, I found that I ended up with mottled regions of magenta and green. I don’t really expect those are natural colors. Since the IFN is shining from the light integrated from the entire galaxy, I expect the color of these reflections to be fairly neutral. I was just not seeing a lot of color in the nebula, and the color that was there - in the IFN itself - looked more like an artifact.

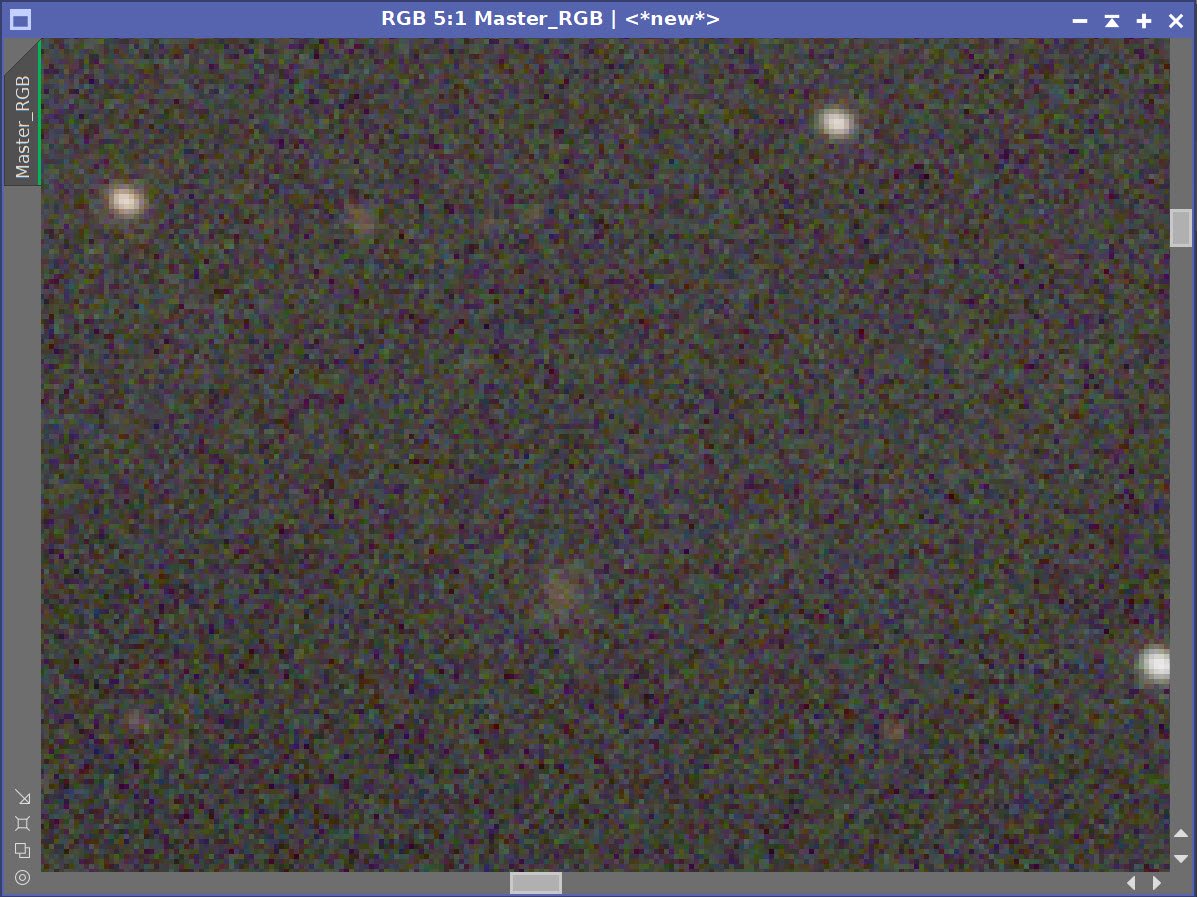
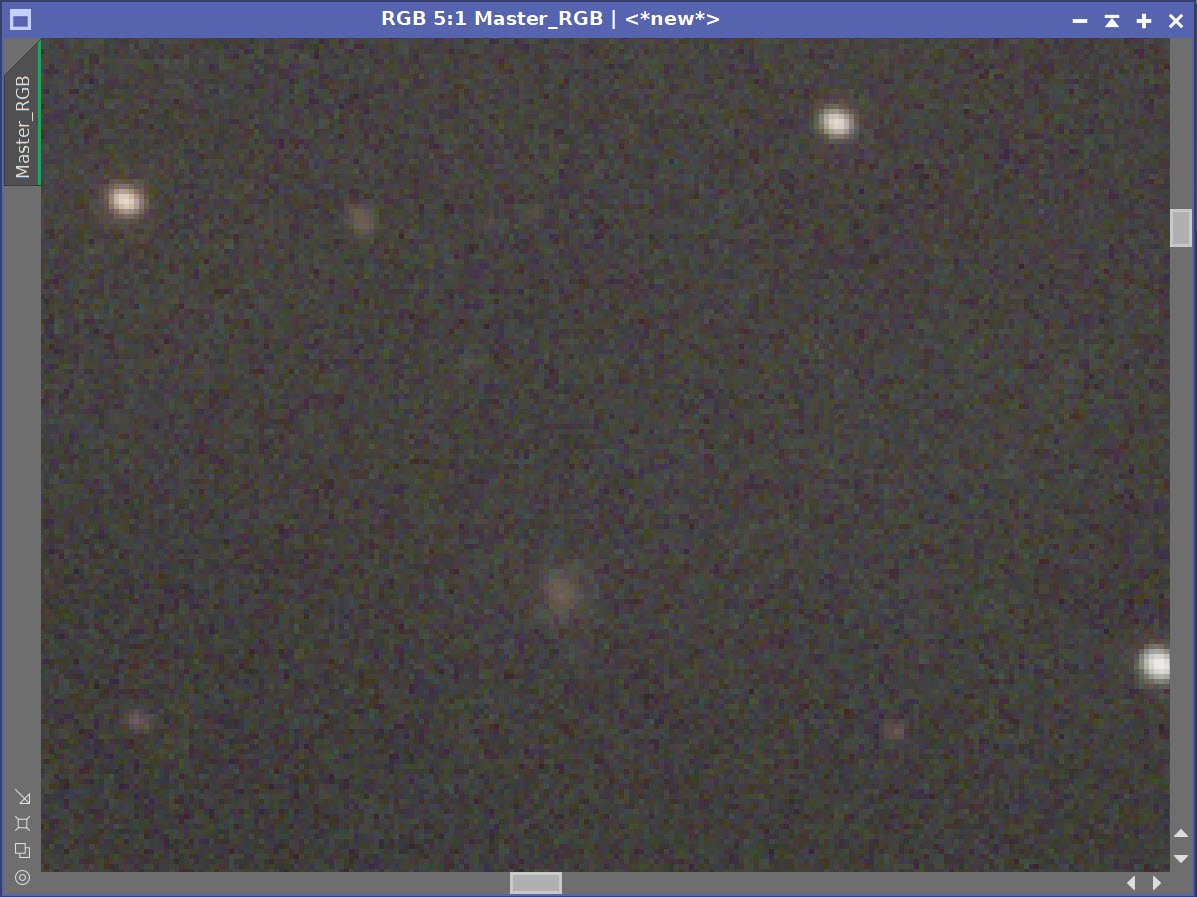
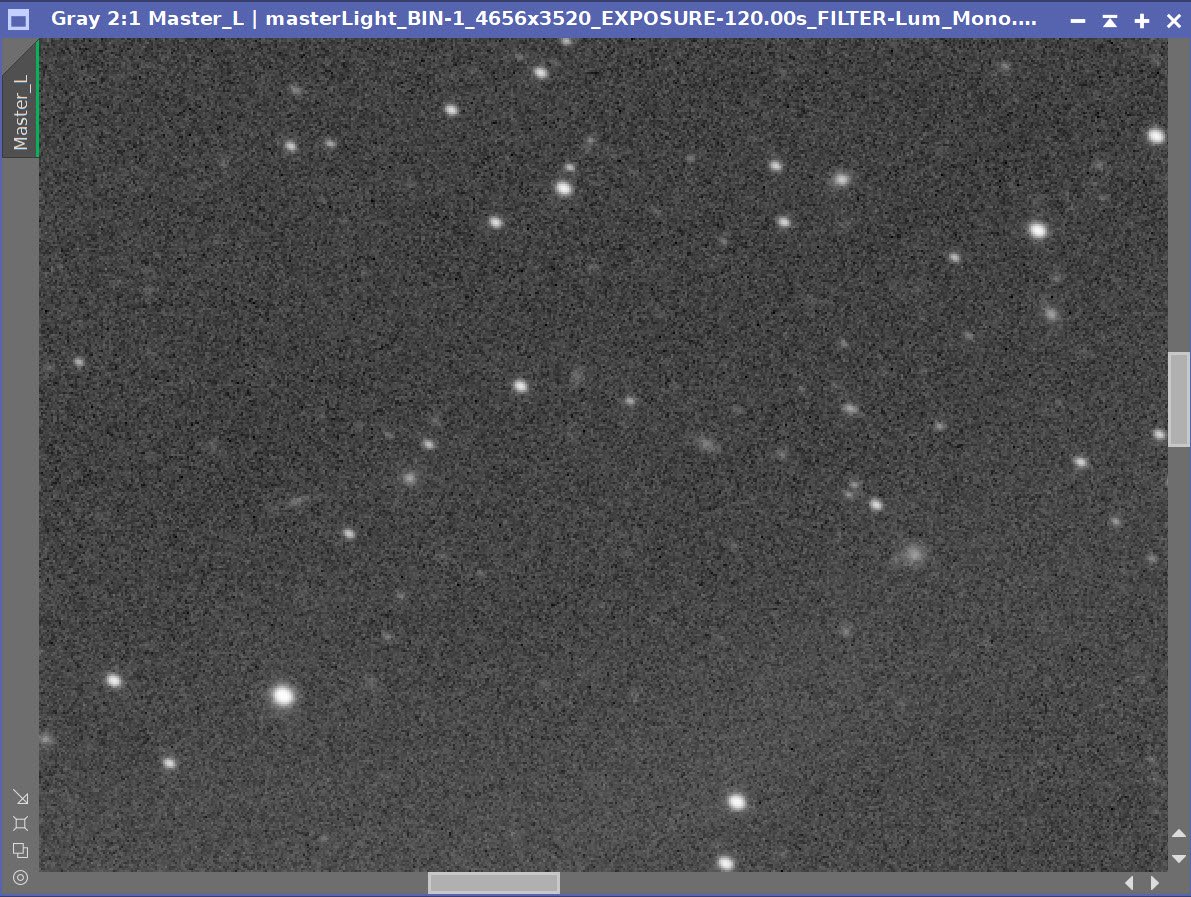
On the left is the L image and on the right is the color image before LRGBCombination. Note the star bloat and lenslet reflections on the bright stars in the L image, and the green magenta mottling on the green.

Here is the initial LRGB image - note the bloated stars and strange green-magenta coloration across the nebu;a.
To deal with these problems. I ended up playing around with many different ways of doing the processing:
I used my normal LRGB process (blah!)
I used Starnet2 to separate the nonlinear image into stars and starless versions, so that nebula processing did not impact the stars. (better - but the color was weird)
I also tried doing this in the linear domain - using the starnet2 “linear” feature. (better still but - still weird color)
These helped, but I was still not happy with the results.
Finally, I processed the starless linear Lum image for the nebula, and the linear RGB stars image and then added combined these to get my final result. This minimized the bloating of the stars while keeping the nebula more neutral in color.
The details can be seen in the detailed processing walkthrough at the end of this post.
The Final Result
So how do I feel about my final result?
Well - I am happy that I finally have an image that shows IFN, even if the integration was only a third or half of what it should have been.
But I don’t think it makes for a compelling or interesting composition or a very impressive image.
I spent WAY too much time processing this image. I processed it at least four times, trying to tame the problems I saw. I was very focused on this and am not sure it was worth the effort in the end!
In fact - I was so focused on this I did not notice or address other issues that were staring me in the face. The stars in this image are slightly elongated. I’ve been getting this as of late from images using one of my CEN60 mounts. I need to sort this out.
Usually, I fix this when doing deconvolution by doing an additional pass in the motion blur correction mode. I did not do that here, and the final image still suffers from this problem.
In the end, I was happy I took on this project.
I finally captured a type of nebula that had eluded me thus far, and it challenged my processing workflow and caused me to experiment with some variations that I might not have tried without the problems associated with this project.
But - is this an image that I am super proud of and eager to show off? - Hardly!
A detailed Processing Walk-Through is provided for this image at the end of the posting…
Capture Details
Lights Frames
Data was collected during the Nights of 6-29-22, 6-30-22, 6-31-22, and 7-03-22
113 x 120 seconds, bin 1x1 @ -15C, Gain Unity, ZWO Gen II Lum filter
66 x 120 seconds, bin 1x1 @ -15C, Gain Unity, ZWO Gen II Red filter
61 x 120 seconds, bin 1x1 @ -15C, Gain Unity, ZWO Gen II Green filter
54 x 120 seconds, bin 1x1 @ -15C, Gain Unity, ZWO Gen II Blue filter
Total of 9.8 hours
Cal Frames
25 Darks at 120 seconds, bin 1x1, -15C, gain Unity
25 Dark Flats at Flat exposure times, bin 1x1, -15C, gain unity
12 flats Flats at bin 1x1, -15C, gain unity, taken on each evening
Software
Capture Software: PHD2 Guider, Sequence Generator Pro controller
Image Processing: Pixinsight, Photoshop - assisted by Coffee, extensive processing indecision and second-guessing, editor regret, and much swearing…..
Capture Hardware:
Scope: William Optics 132mm f/7 FLT APO Refractor
Focus Motor: Pegasus Astro Focus Cube 2
Cam Rotator: Pegasus Astro Falcon
Guide Scope: Sharpstar 61EDPHII
Guide Focus Motor: ZWO EAF
Mount: Ioptron CEM 60
Tripod: Ioptron Tri-Pier
Camera: ZWO ASI1600MM-Pro - new
Filter Wheel: ZWO EFW 1.2 5 x8 - new
Filters: ZWO Gen II 1.25” LRGB, Astrodon 5nm Ha & O3 filters, Astronomiks 6nm S2 filer - new
Guide Camera: ZWO ASI290MM-Mini
Dew Strips: Dew-Not Heater strips for Main and Guide Scopes
Power Dist: Pegasus Astro Pocket Powerbox
USB Dist: Startech 8 slot USB 3.0 Hub
Polar Align Cam: Polemaster
Software:
Capture Software: PHD2 Guider, Sequence Generator Pro controller
Image Processing: Pixinsight, Photoshop - assisted by Coffee, extensive processing indecision and second-guessing, editor regret, and much swearing…..
Click below to see the Telescope Platform version used for this image
Image Processing Walk-Through
(All Processing done in Pixinsight - with some final touches done in Photoshop)
1. Blink Screening Process
Lum Images:
Some trails - not many
Five subs were removed because of trees
One sub removed for clouds
Some gradients
Red:
Some trails
Some gradients
Removed two subs for tracking issues.
Green:
Removed one sub for tree shadows
minor clouds - mostly from the last night
some trails, some gradients, none removed!
Blue:
minor trails
minor gradients
One sub removed for tree shadows
Flats: all looks good
Darks: all good
Flats: All look good
2. WBPP 2.4.5
Reset Files
Select Max Quality Preset.
ADD night keyword
Select output directory
Add all files
Enable CC for all files
All frames loaded, including darks, flats, and flat darks.
Set up for integration
Map nights with no flat to nights with flats
Interactive for Local Normalization
As mentioned, I had an error preventing flat integrations from completing successfully. After reporting the problem to Pixinsight Support, they suggested resting the whole tool - not just the files. This did solve the problem, but I NEVER had to do that before so I am unsure what happened here! I lost an entire day of processing trying to sort this out.

WBPP Calibration view.

Post Calibration View.

Rejection High Map: Lum

Rejection High Map: Green

Rejection High Map: Red

Rejection High Map: Blue

The initial Master images - after crop and DBE.
3. Crop all of the images
A common crop level was selected, and DynamicCrop was used to trim all of the master frames.
4. Dynamic Background Extraction
DBE was run for each image using the subtraction method. Below are the Sampling plans, the before image, the after image, and the removed background images.
DBE: L Sampling (Click to enlarge)
DBE: R Image Sampling (Click to enlarge)
DBE: G Sampling (Click to enlarge)
DBE: B Sampling (Click to enlarge)

L Image Before DBE (click to enlarge)
R Image Before DBE (click to enlarge)
G image Before DBE (click to enlarge)
B image Before DBE (click to enlarge)
L image After DBE (click to enlarge)
R Image After DBE (click to enlarge)
G Image After DBE (click to enlarge)
B image After DBE (click to enlarge)
L background removed (click to enlarge)
R background removed (click to enlarge)
G background removed(click to enlarge)
B background removed (click to enlarge)

Linear Master Images - after crop and DBE.
5. Create and Process the Color Image and Get a Final Nonlinear RGB Star image.
Use ChannelCombination process to create an initial RGB image.
Run PCC to color calibrate the image
Run DBE on the image to remove any color gradients. Use sampling similar to that used on the mono images, and use subtraction as the correction method,
Run Noise XTerminator with a value of 0.5 to “knock the fizz off”
Run starnet2 to create a starless version of the RGB linear image
Convert to nonlinear using HT and a modest boost to preserve star size.
Export this image to Photoshop and remove residuals from large stars using the healing brush. Export back to PI.
Create a lin RGB Star image by using pixel math to subtract the starless image from the RGB image.
Apply CT to create a star image that is darker and more saturated.
Initial RGB Linear Image (click to enlarge)

PPC was run and the following balance function were computed.
After PCC applied. (click to enlarge)

After a belated DBE pass.
Before and After application of RC Noise XTerminator with a value of 0.5

Nonlinar RGB Starless image before corrections for residual stars.
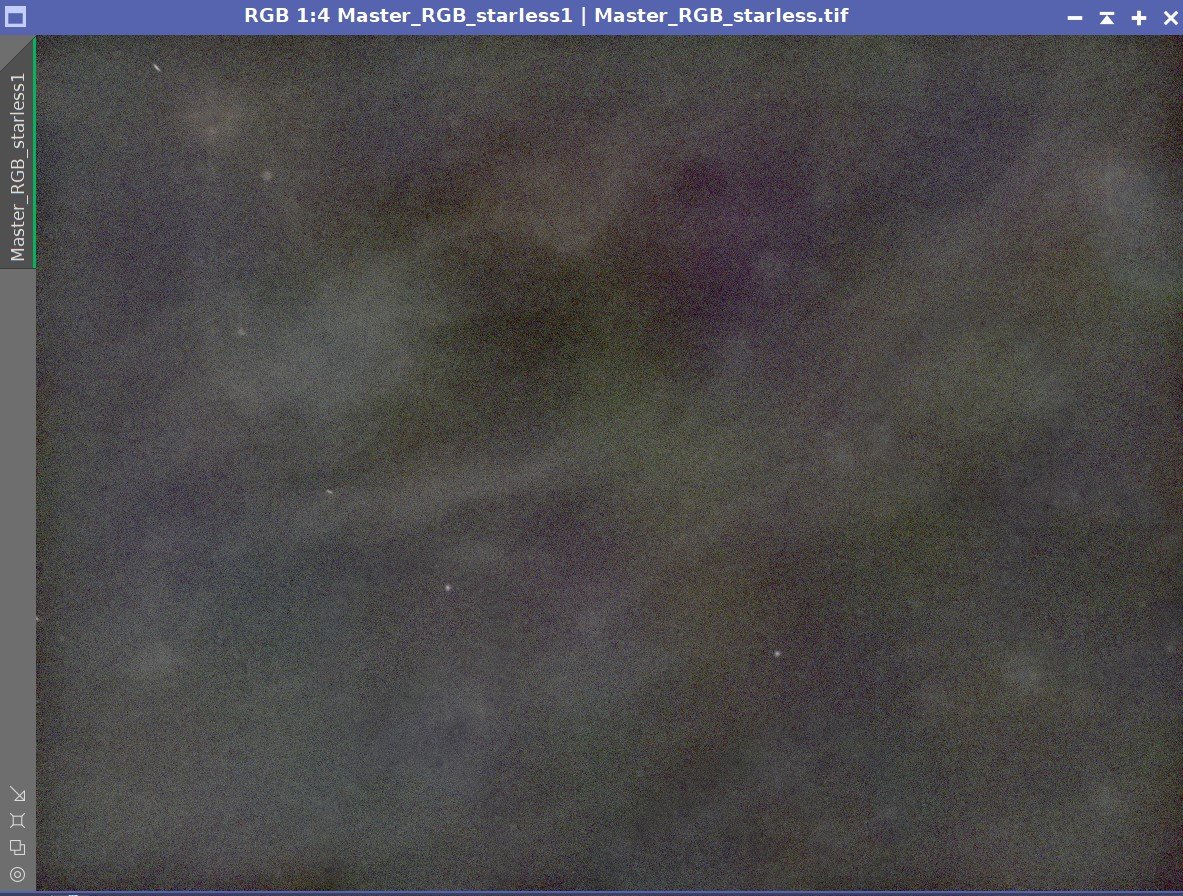
Nonlinear RGB Starless after being exported to Photoshop, where the healing brush was used to remove residuals from large stars.

The final Nonlinear RGB Star image.
6. Process the L Image and Produce a Nonlinear Starless Image.
Prep for running Deconvolution
Create a PSF image by running PFSImage Script
Note - I will not be using an object mask for this effort. Instead, I will use the Deregularization parameters to protect decon from noise.
Create the Local Deringng Support Image (LDSI)
Create a mask using the StarMask Process - with layers = 7 (there are some larger stars in this image, so I increased the layers by one)
Adjust with HT to boost stars a bit.
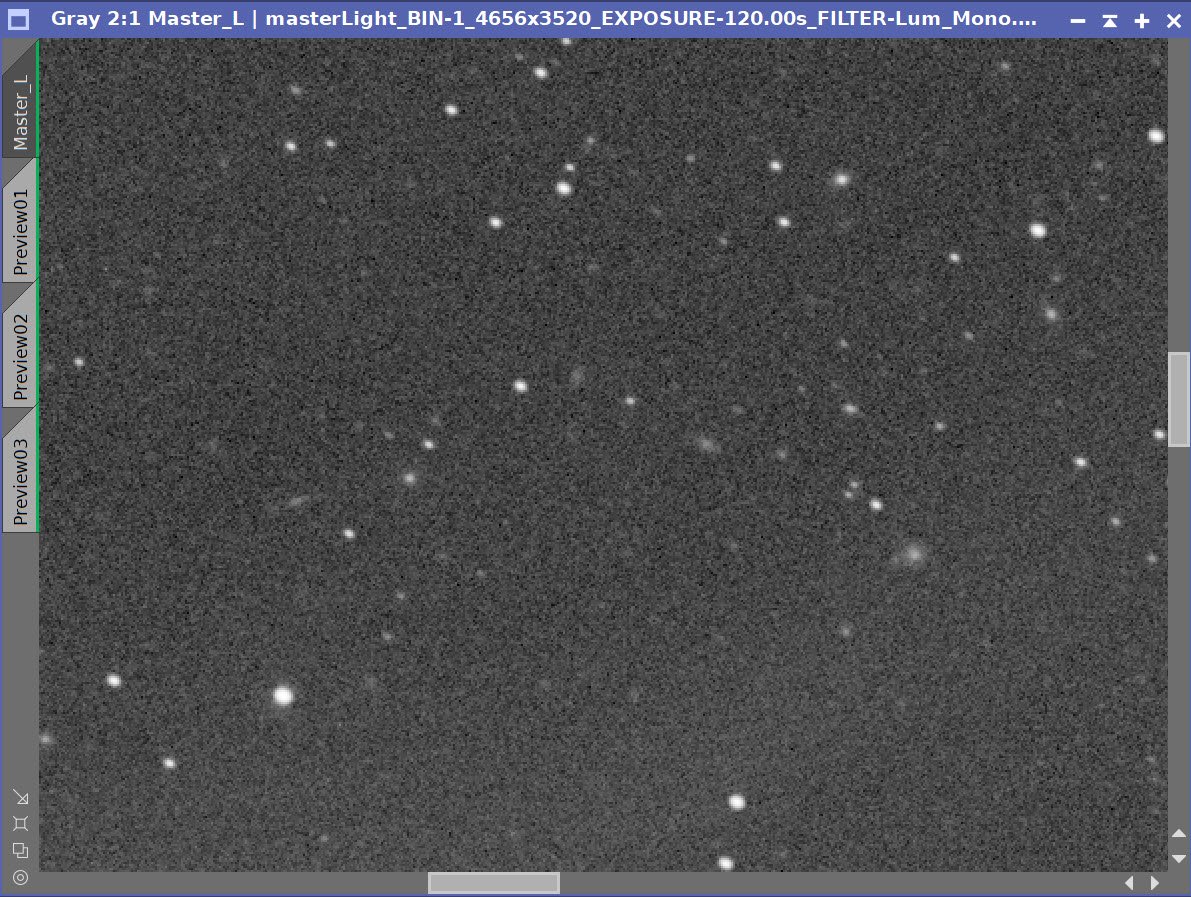
Establish previews on the L image to test deconvolution values.
Test deconvolution parameters iteratively, first determining Global Dark and Global Bright values, then iterations, and finally the Regularization values.
See the values used and results below.
Run Noise XTerminator with a value of 0.5
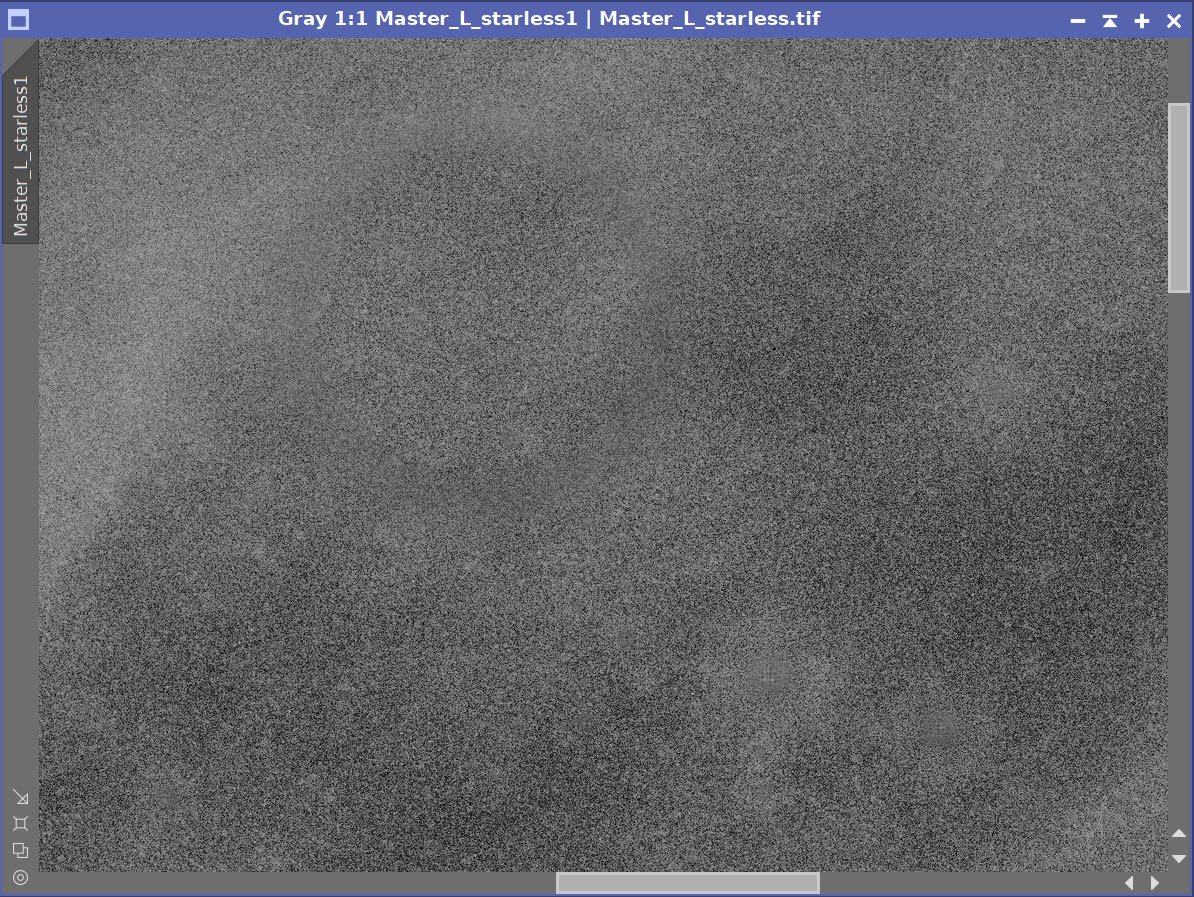
Use Starnet2 to remove stars.
Convert to nonlinear with the STF->HT method
Export to Photoshop and use the healing brush to remove residuals from bright stars. Export back to PI.
Run Noise XTerminator with term of 0.6

PFSImage Panel showing the computed PFS model.

The PFS Image used. Note that it appears a bit “blocky”.

Starmask Panel settings used to produce the LDSI mask.

Here is the HT curve I used to boost the stars size of the LDSI mask.
The final LDSI image used. (click to enlarge)
These preview areas were used to test various Deconvolution parameter values. (click to enlarge)

These were the final values for decon determined by testing.

Before and After Deconvolution is applied on the L Master Image, AND After Noise XTerminator is applied

Nonlinear Starless L image - before residual star fix.

Nonlinear Starless L image after residual star fix.
Before and After RC Noise XTerminator (0.7)

Before and After RC Noise XTerminator (0.6) on Nonlinear L image
7. Create the Initial LRGB Image
We are going to combine the starless image from the Lum image with the star image from the RGB image using PixelMath.
Apply CT and Color Sat to enhance color sat and tone scale
Run Noise XTerminator with a value of 0.5

Final L Starless image and RGB Star image image prior to pixel math combination with Max function.
Initial LRGB Nonlinear image after LRGBCombination. (click to enlarge)
LRGB Image - After CT. (click to enlarge)
8. Reduce Stars
Run EZ-Star Reduction with the Adam Block method.

Before EZ-Star Reduction
9. Export to Photoshop
Save images as Tiff 16-bit unsigned and move to Photoshop
Use Camera Raw Filter to adjust Global Clarity, Texture, and Color Mix
ColorMix is much easier to use to adjust hues in an image compared to the tool provided by Pixinsight, and I tend to do this final operation in PhotoShop
Use StarShrink to reduce the largest and medium stars further.
Use the Lasso selection tool with a feather of 80 pixels and select the right and left slightly darker edges.
Do another run of Noise XTerminator in PS to polish the image.
Add watermarks
Export Clear, Watermarked, and Web-sized jpegs.

The final image.
I was very excited to get the ZWO ASI2600MM-Pro camera a while back. I ordered it when it was announced and then prepared to wait a long time to get it. When I did get it - I decided to put it onto the AP130 platform. That meant that I could move the ZWO ASI1600MM-Pro, along with its filter wheel over to my William Optics Platform. This now means that all of the platforms have been moved over to a mono camera and my ZWOASI924MC-Pro is now not in use.