
IC 2177 - The Seagull Nebula in SHO - with just 2 hours!
Date: April 4, 2022
Cosgrove’s Cosmos Catalog ➤#0097
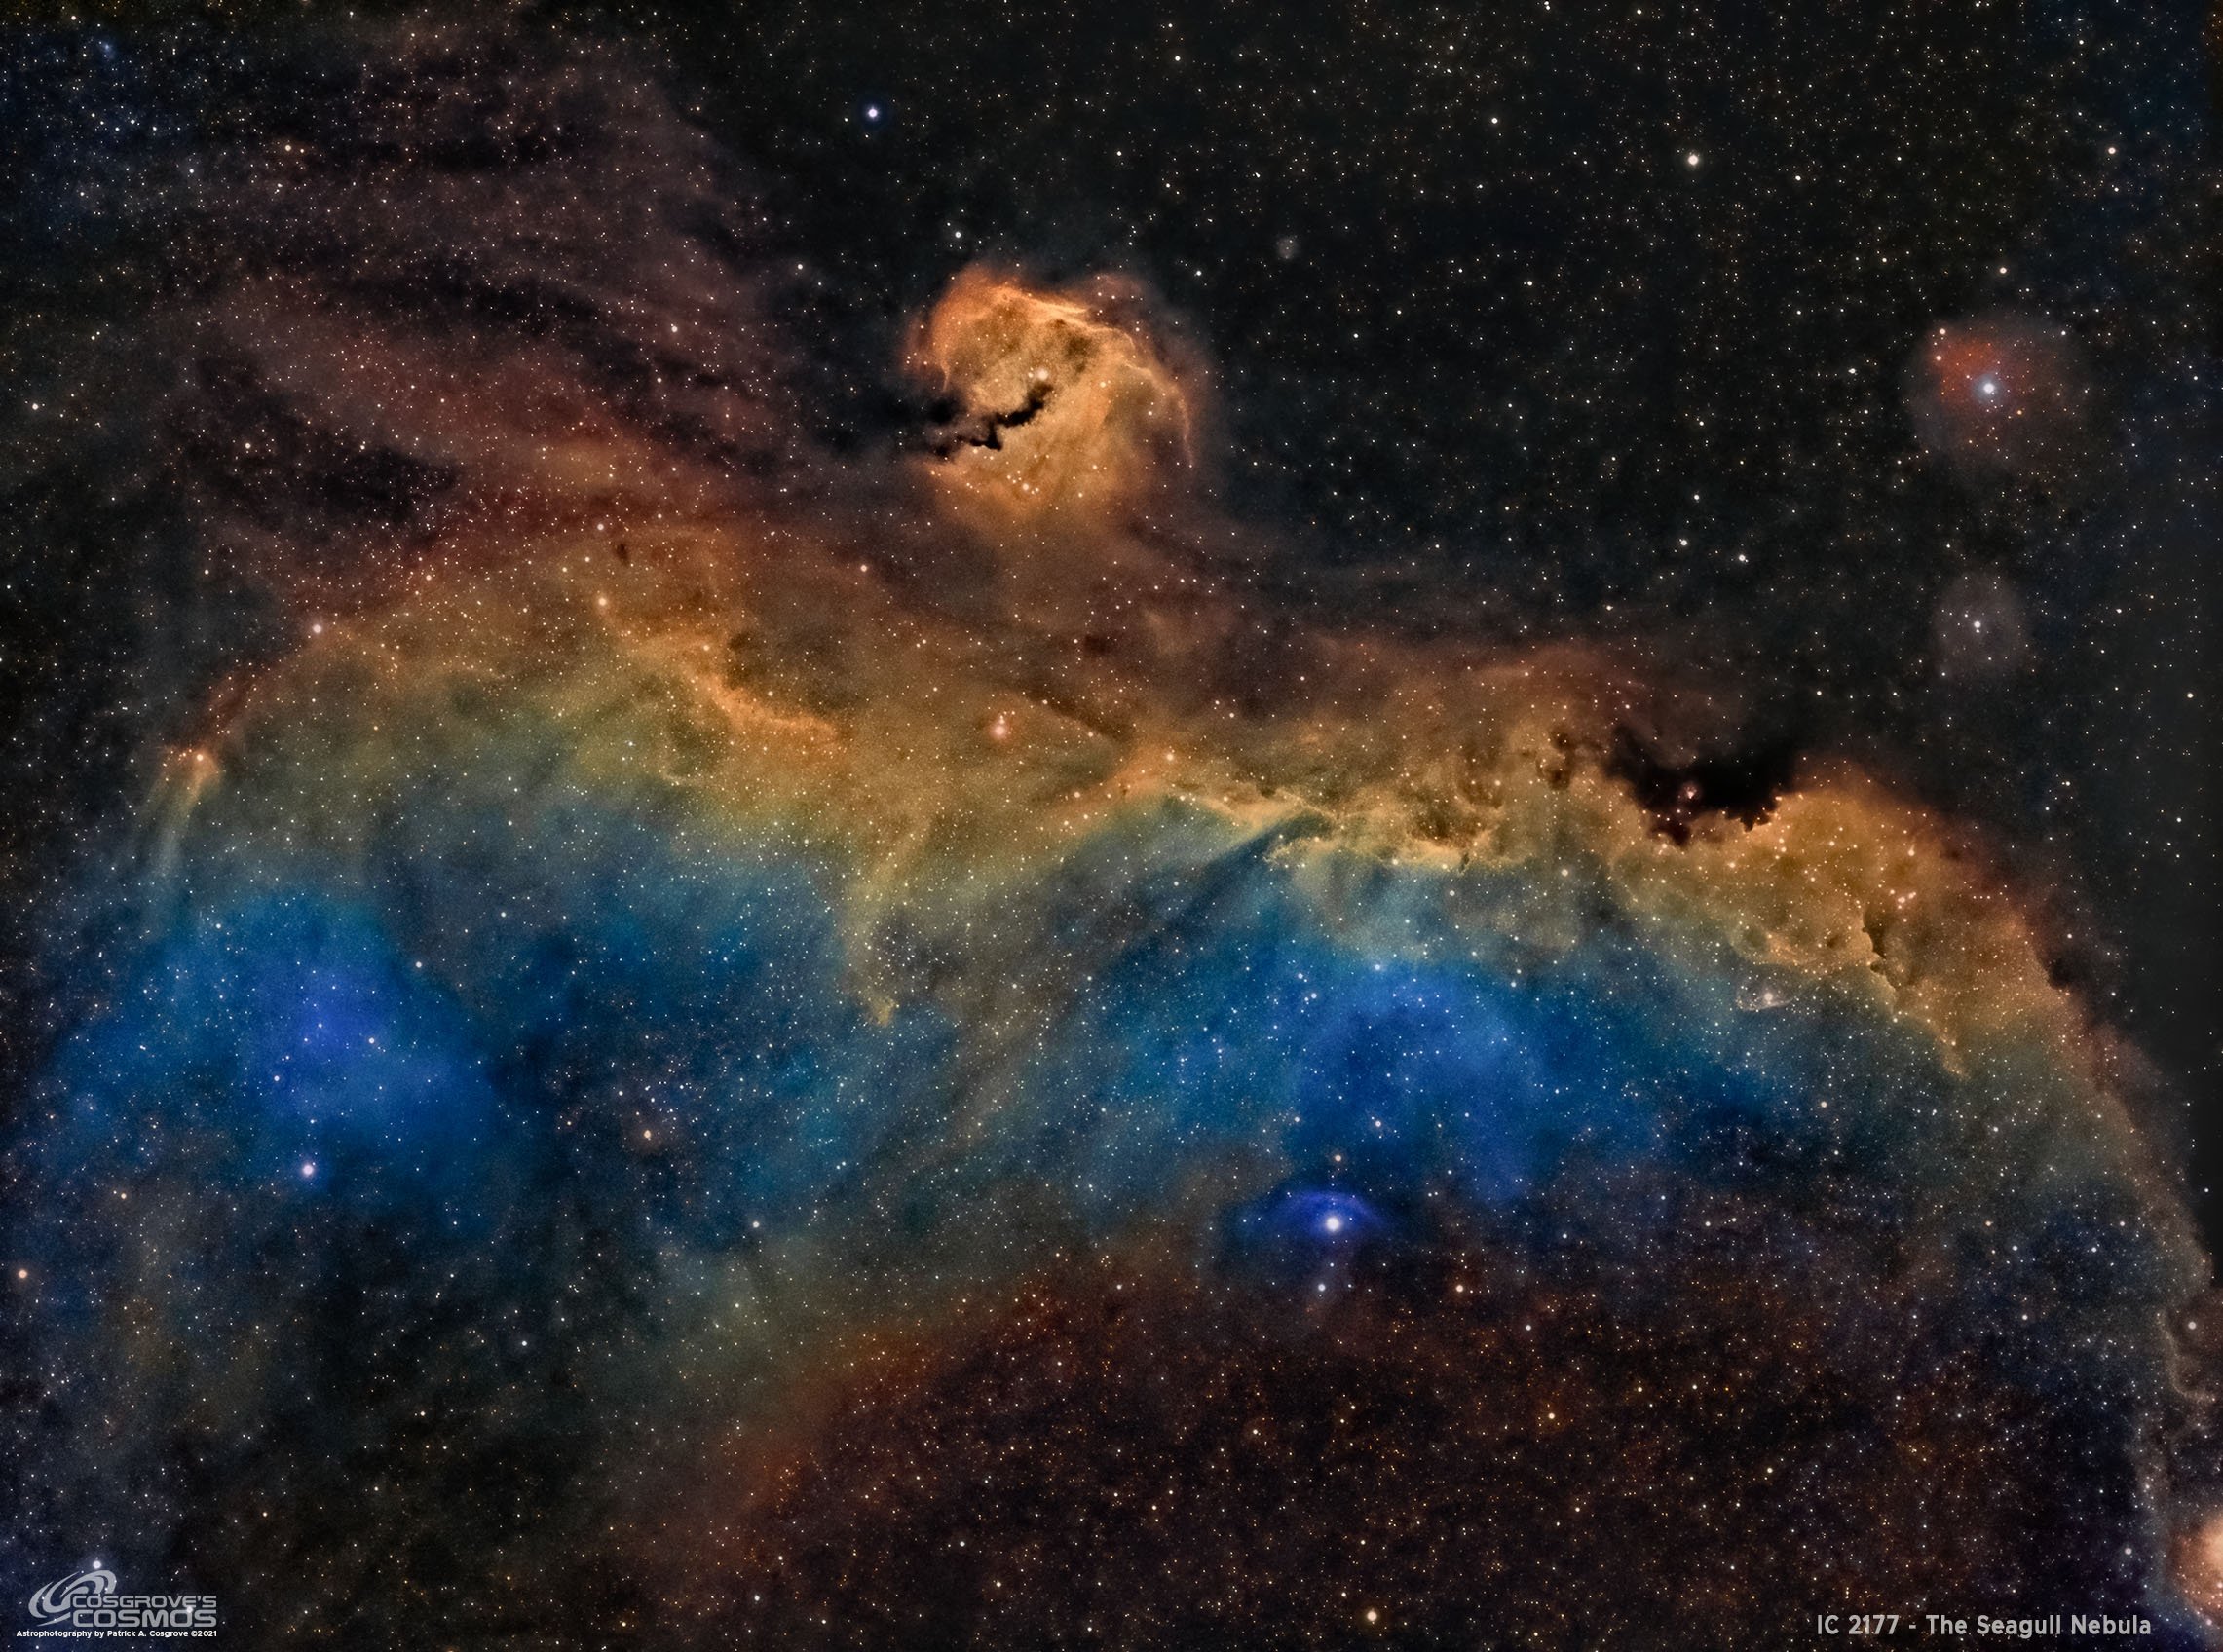
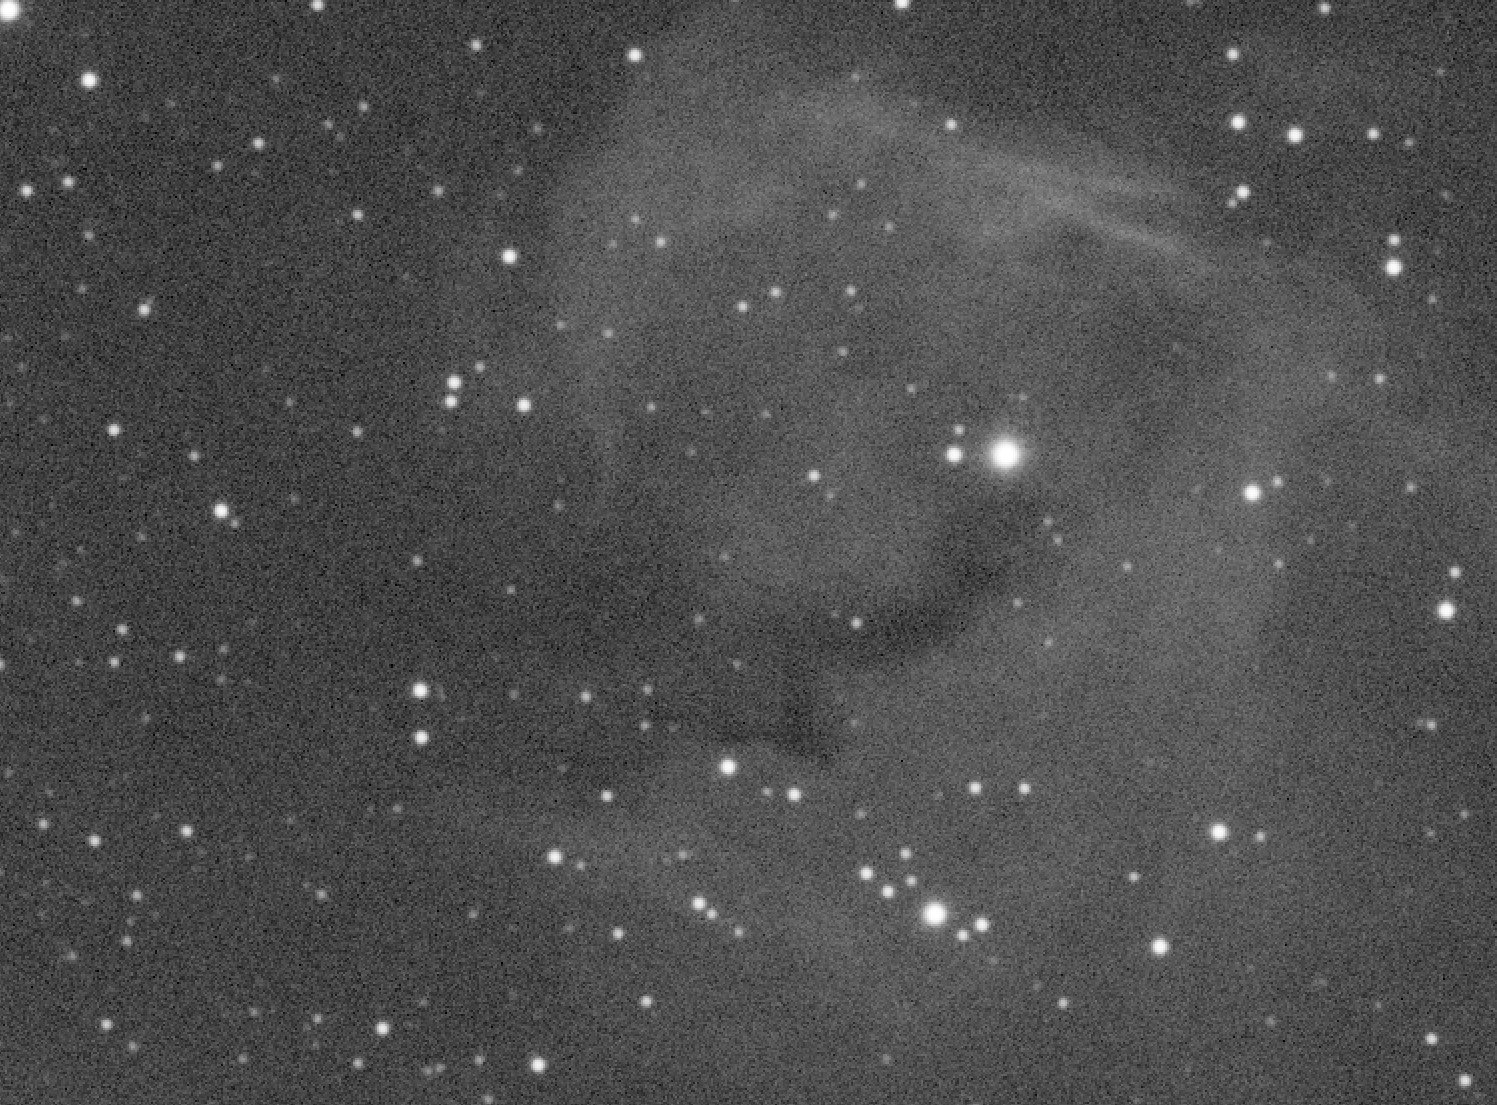
IC 2177 - The Seagull Nebula in SHO - this was the result of only 2 hours and 10 minutes of exposure! (click for the full resolution view via Astrobin.com)
Table of Contents Show (Click on lines to navigate)
About the Target

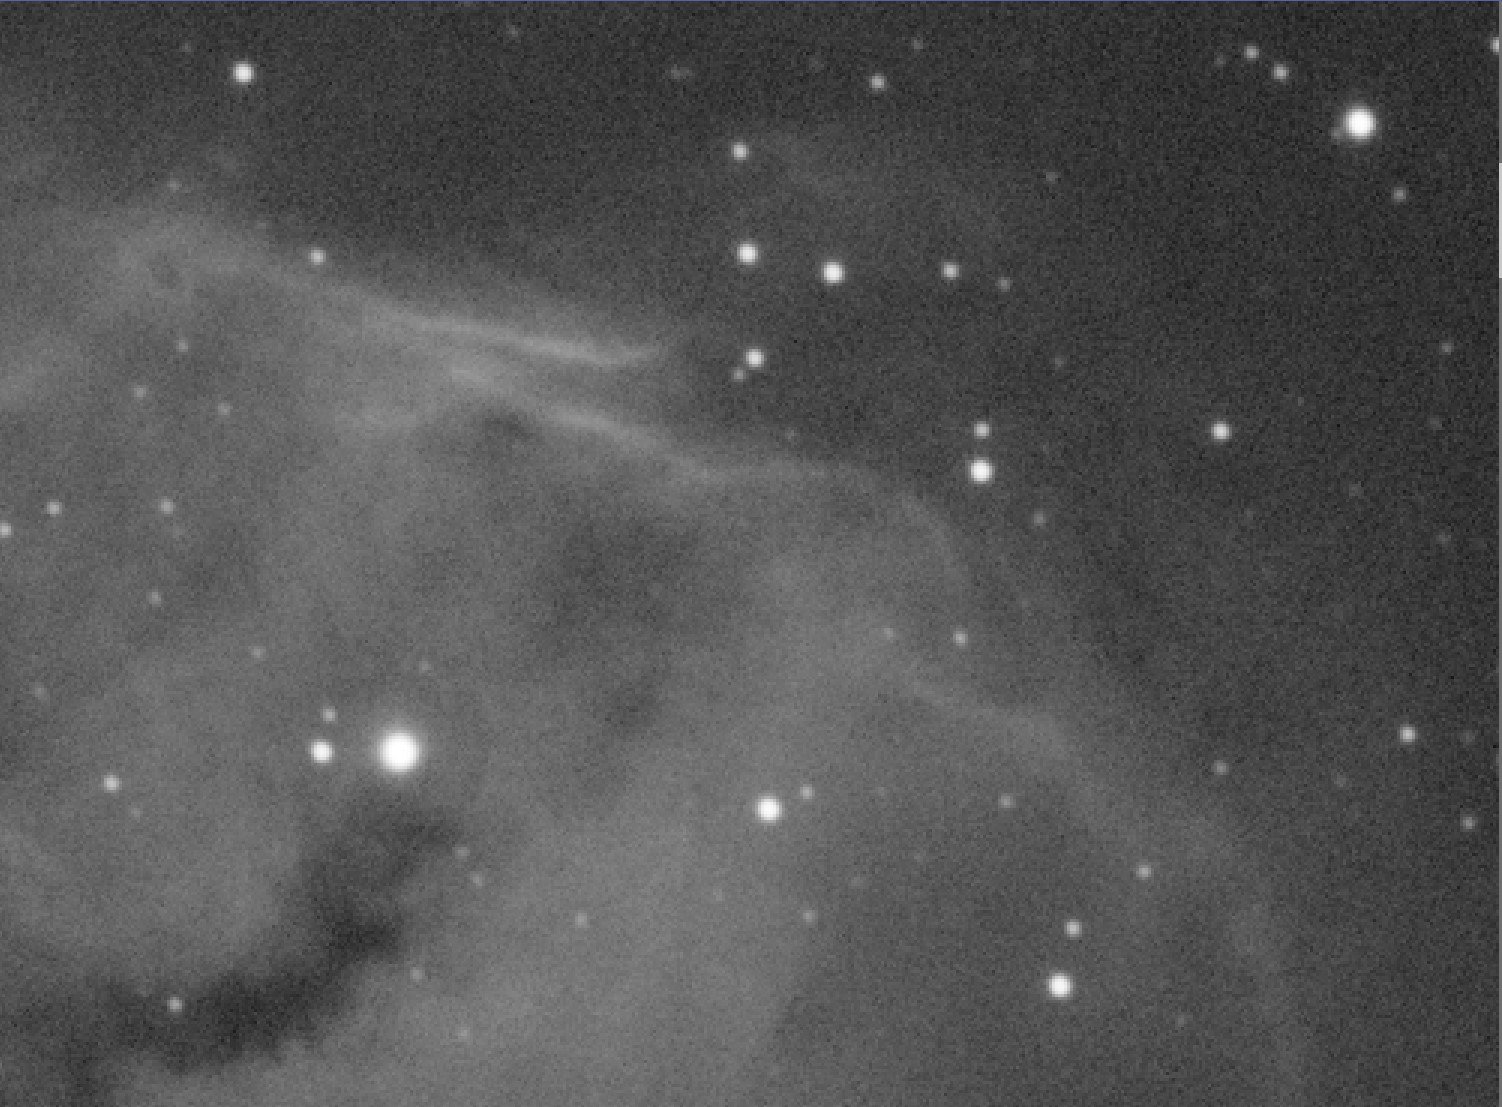
The Bow Shock Wave around FN CMa!
IC 2177, also known as the Seagull Nebula, is a large, roughly circular H II emission nebula situated at the borders of the constellations of Monoceros and Canis Major. Located 3650 light-years away, this target includes some reflection nebula and is illuminated by the bright star B0 subgiant HD 53367, a young 20 solar mass star with a five solar mass companion in a highly elliptical orbit.
The full form of the “Seagull” is quite large, measuring about 249 light-years across. This works out to about 20 arcseconds in angular size, requiring a telescope with a wider field of view to see the full field.
Also noted is the blue shock wave that can be seen in the image - just at the bottom edge of the right wing. This was created when radiation winds and outflowing gas from the runaway double star system "FN CMa" interacted with the interstellar gas of the nebula.
While I have listed this as IC 2177, It consists of a group of cataloged objects seen in the annotated image below.
Annotated Image

This Annotated version of the image was created with Pixinsight’s ImageSolver and AnnotateImage scripts.
Location in the Sky

This star chart was created with the FinderChart process in Pixinsight. The red box indicates the location of this particular image.
About the Project
This is my second image of 2022 and was taken on the nights of March 9th and March 29th.
This was taken simultaneously as my NGC2359 (Thor’s Helmet) image. And like that image, this one was also very low in the sky and tucked between groups of trees in my yard.
This means that my access time for this target was very limited, and I could only get between 1 and 2 hours of subs a night.
Given our weather, I have only had two opportunities to shoot this target so far, and now it is late enough in the year that I will no longer have further opportunities to capture subs this year.
As a result, this image has a total integration time of just 2 hours and 10 minutes - way short of what I wanted to end up with! This was true with the Thor’s Helmet image as well. Perhaps next year, I can gather more subs and get this image where I want to be. Maybe next year, I will also be in a new location and shooting from a new observatory, and I will be able to greatly expand my time on target (once can hope!)
In the meantime, I suppose this image and the one before it provides the motivation to develop my processing techniques further to make the best image I can.
With the last image, I was helped because I was using the ZWO AI2600MM-Pro camera - which does an amazing job.
With this image, I am helped because it was shot on the Askar FRA400 Scope rig - a fast F/5.5 system. The Seagull is so large that it just barely fits into the field of this 400mm focal length system.
Also helping:
the use of a synthetic Luminance image and a Luminance vs. Color processing approach
the excellent performance of starnet2, which allows me to process star images and starless images - making it much easier to manage noise.
The use of Topaz Denoise AI - which uses a neural network AI to do an amazing job on remaining noise in an image.
Even still - I am not sure how well this image will do. So I have decided to NOT do drizzle processing on this image - making the processing a bit quicker and easier to do.
Let’s see how far we can take it!
Image Processing Detail (Note this is all mostly based on Pixinsight)
1. Assess all captures with Blink
Light images
Ha
One frame not centered right - rejected
One sub seems dimmer - keeping
One with trees cutting in - leave
O3
Two frames with some clouds - reject
S2
One frame - clouds -reject
Flat Frames - look great!
Flat Darks - looks great!
Darks - taken from earlier cal files
2. WBPP Script 2.41
All images loaded into WBPP
Cosmetic correction enabled
Pedastal image of 50 used for all images
Local Normalization was engaged
Integration was enabled ( I was lazy - again wondering if this image would be worth the effort!)

The WBPP Calibration View (note: this was snapped before I added the pedestal values)

The Post Calibration view.
3. Dynamic Crop
Master Images were imported into Pixinsight, and a common best crop position was used and implemented with DynamicCrop.
4. Dynamic Background Extraction
There were no obvious gradients, so DBE was skipped at this time.
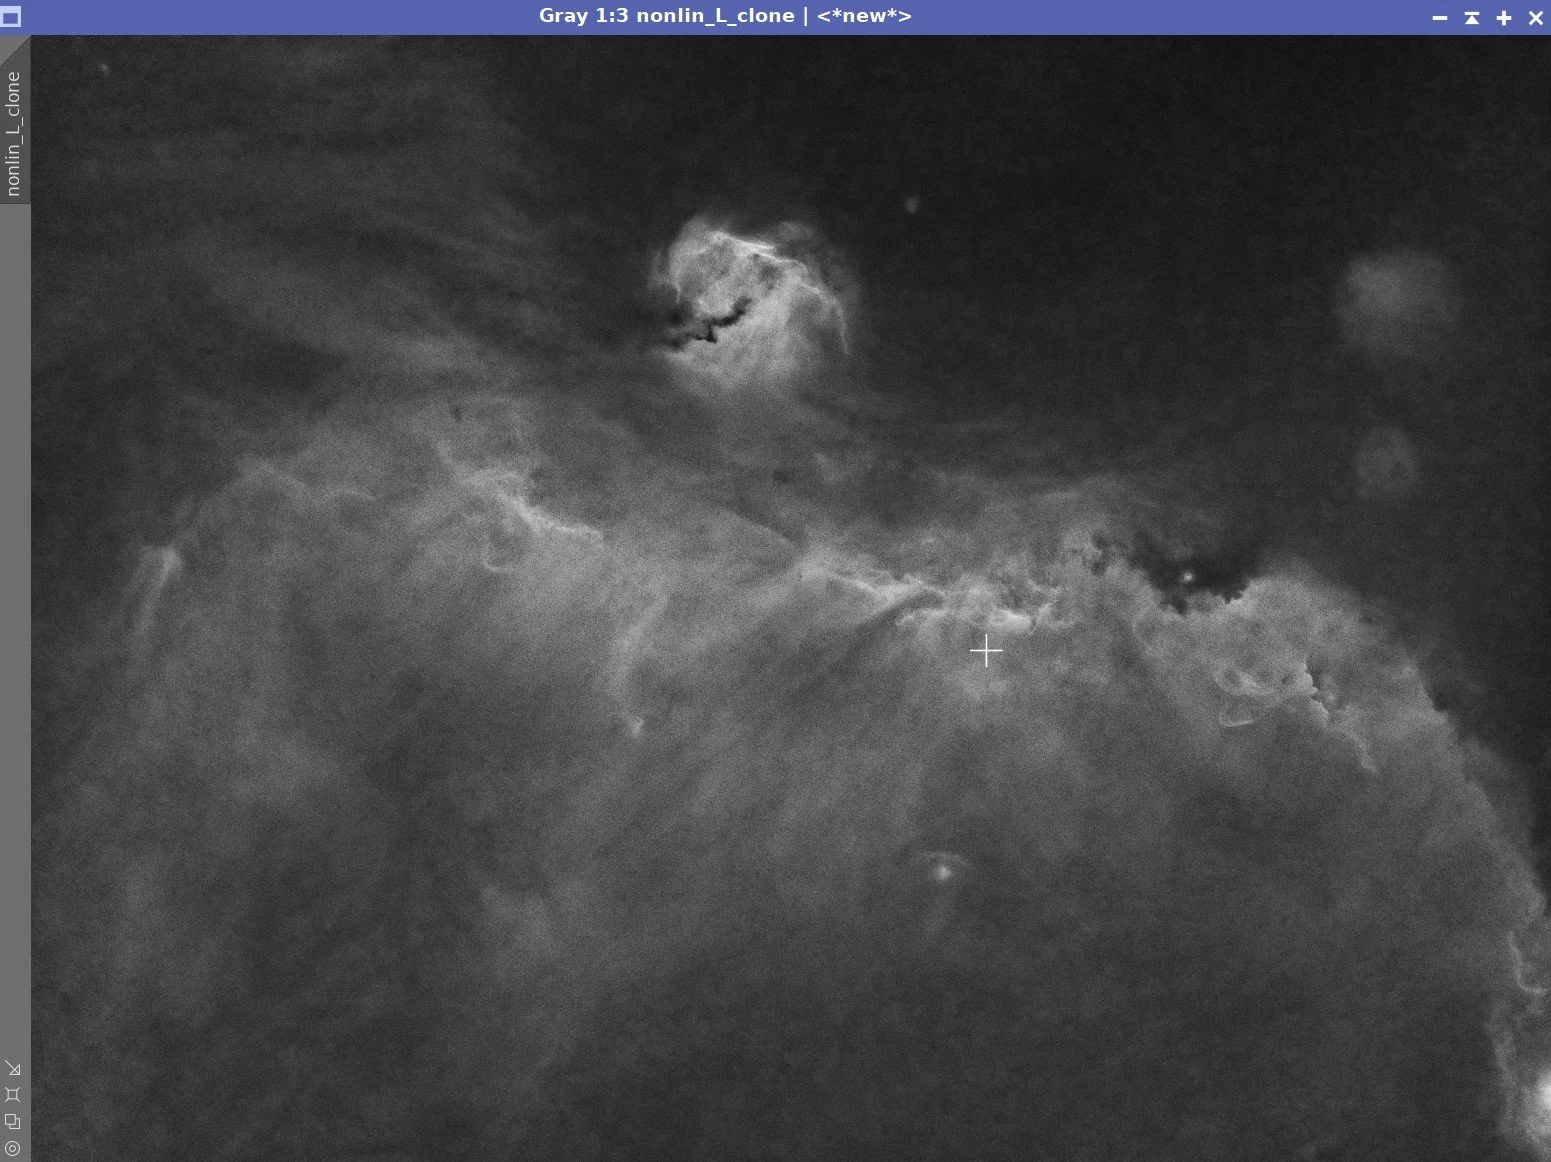
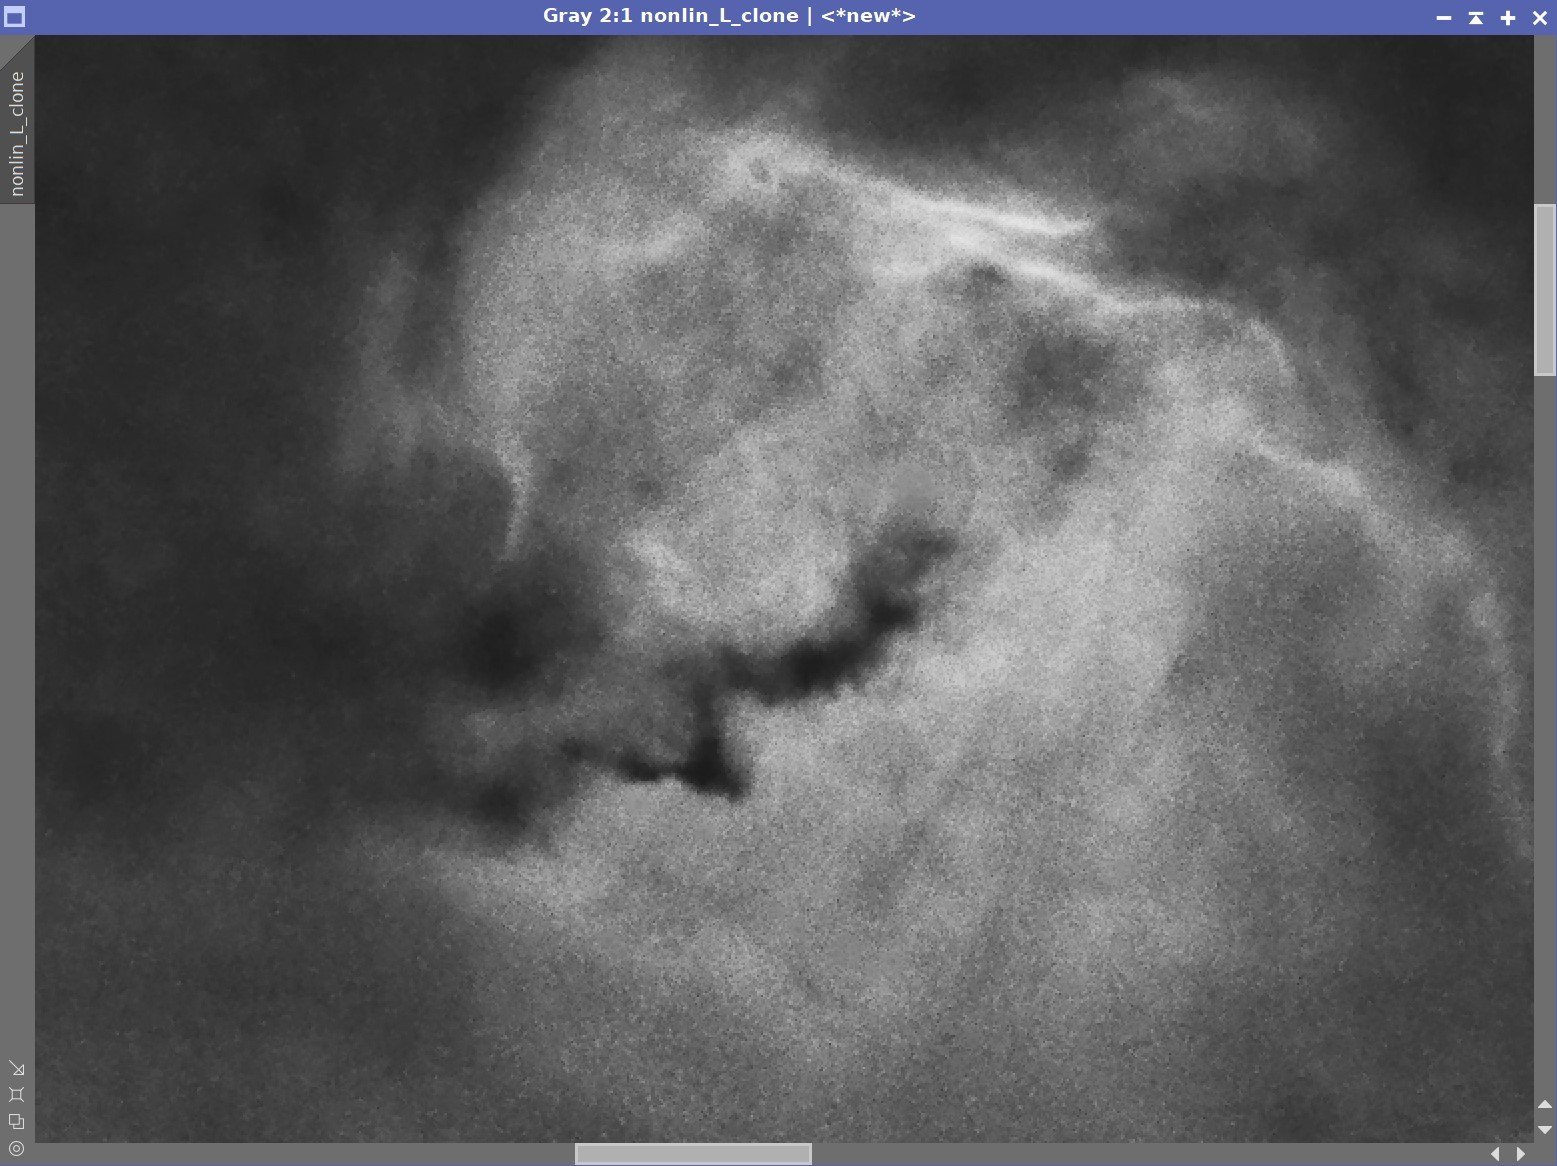
5. Create a Synthetic Luminance Image
Ha and S2 images have the strongest signal, so I will use them to build my synthetic L image
PixleMath was used. Three methods were tested:
80% HA + %20 S2
50% HA + %50 S2
Max(Ha, S2)
The %80 Ha + %20 S2 image looked the best and was chosen.
6. Process the L Image
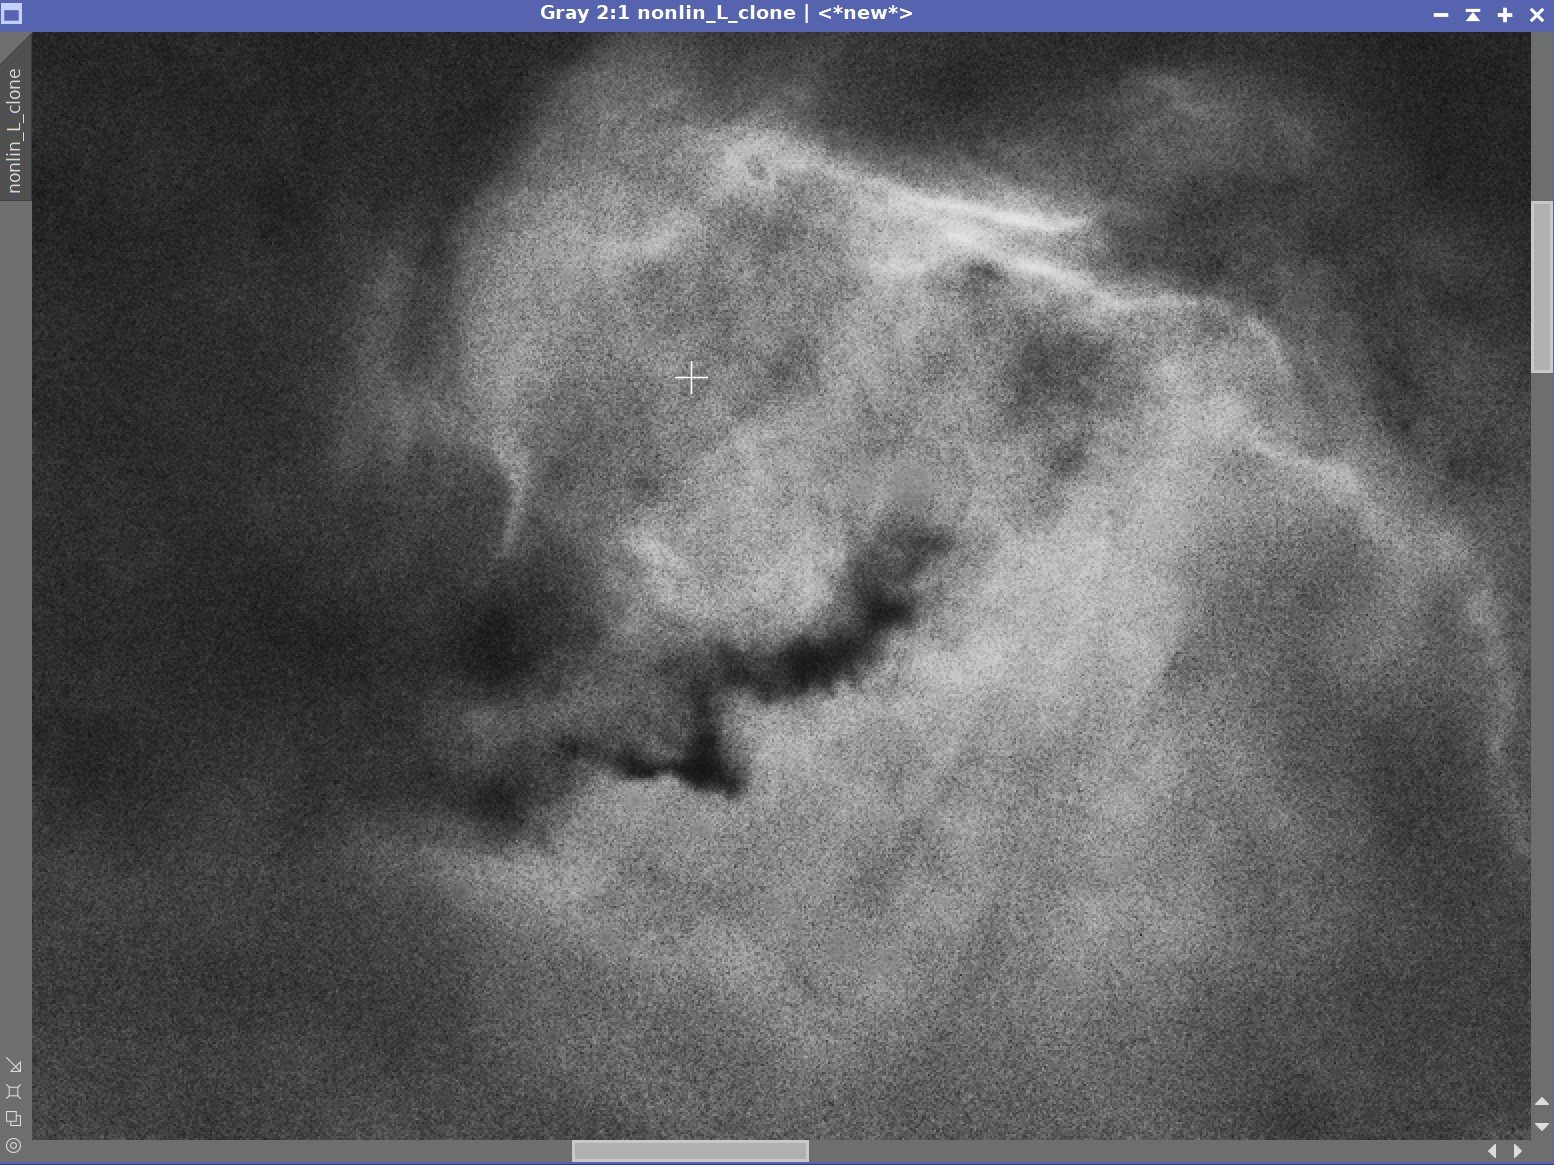
Chose a good preview for testing:

The Linear L image and the preview selected for use in Deconvolution testing.
Run EZ-Decon
Create the “Processed Star Map”. The resulting map looked good with no need to modify it.
Create the Background Mask
Create the PSF image
Test different iterations and see what worked best
Best iterations found where 100 with PM Iterations = 10
Results look good but VERY subtle - likely due to lack of drizzle processing probably.

EZ-Decon showing the Preview selected for the Synthetic Luminance image testing.

The Star Mask computed by EZ-Decon.

The Background Mask.

The computed PSF.
Do some Linear DeNoise to “knock the fizz off.”
Tested and compared the results from EZ-Denoise and MLT - and MLT was the best.
MLT was used with a Linear Mask with an Amplification of 250.

The MLT Panel showing parameters used.

The Linear Mask used with an Amplification of 250.

Before and After MLT Linear Noise Reduction
Take L Image Nonlinear:
Tried a new tool called GeneralizedHyperbolicStretch
I’m not super familiar with it yet, but I did the first stretch with it - need to learn how to better use this tool.
Then used HT to adjust the black point
Finally used CT to tweak it a bit more.

The GeneralizedHyperbolicStretch Tool Panel.

After the GeneralizedHyperbolicStretch.

After using HT to adjust the black clipping point.

After A final tweak with CT.
Create and Process a Starless Image:
Use StarNet2 to split the image into a starless version and a star map.
Run ACDNR on the Starless version to reduce noise without hurting the stars. This is a very light application of noise reduction to avoid losing any detail.
Use CT to tweak the tone curve.
Enhance features at three different scales using LocalHistogramEqualization:
run LHE 64 ,2, 0.2, 8-bit histograms
run LHE 126, 2, 0.15, 10-bit histograms
run LHE 420, 2, 0.2, 12-bit histograms
Process Star Image:
A run a very weak convolution, with the stddev = 0.7 to cleanup star edges a bit.
Using PixelMath, add the two images back together.

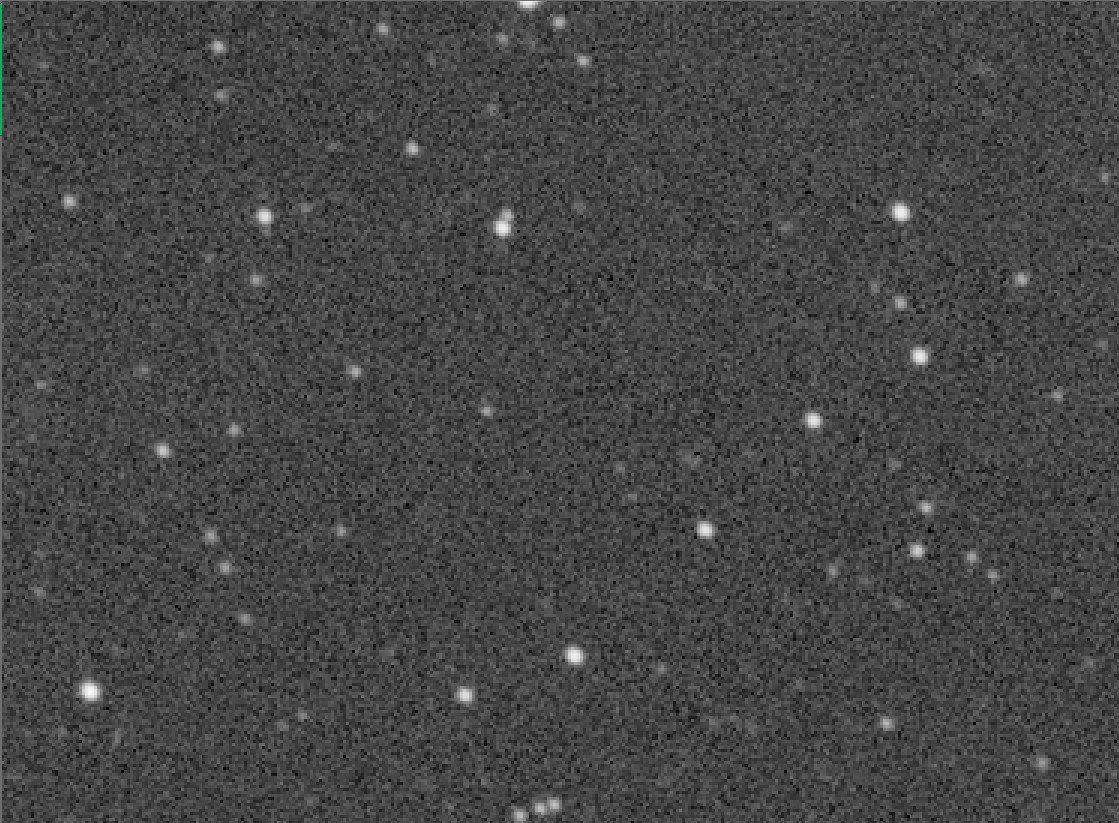
The Starmap produced by StarNet2.
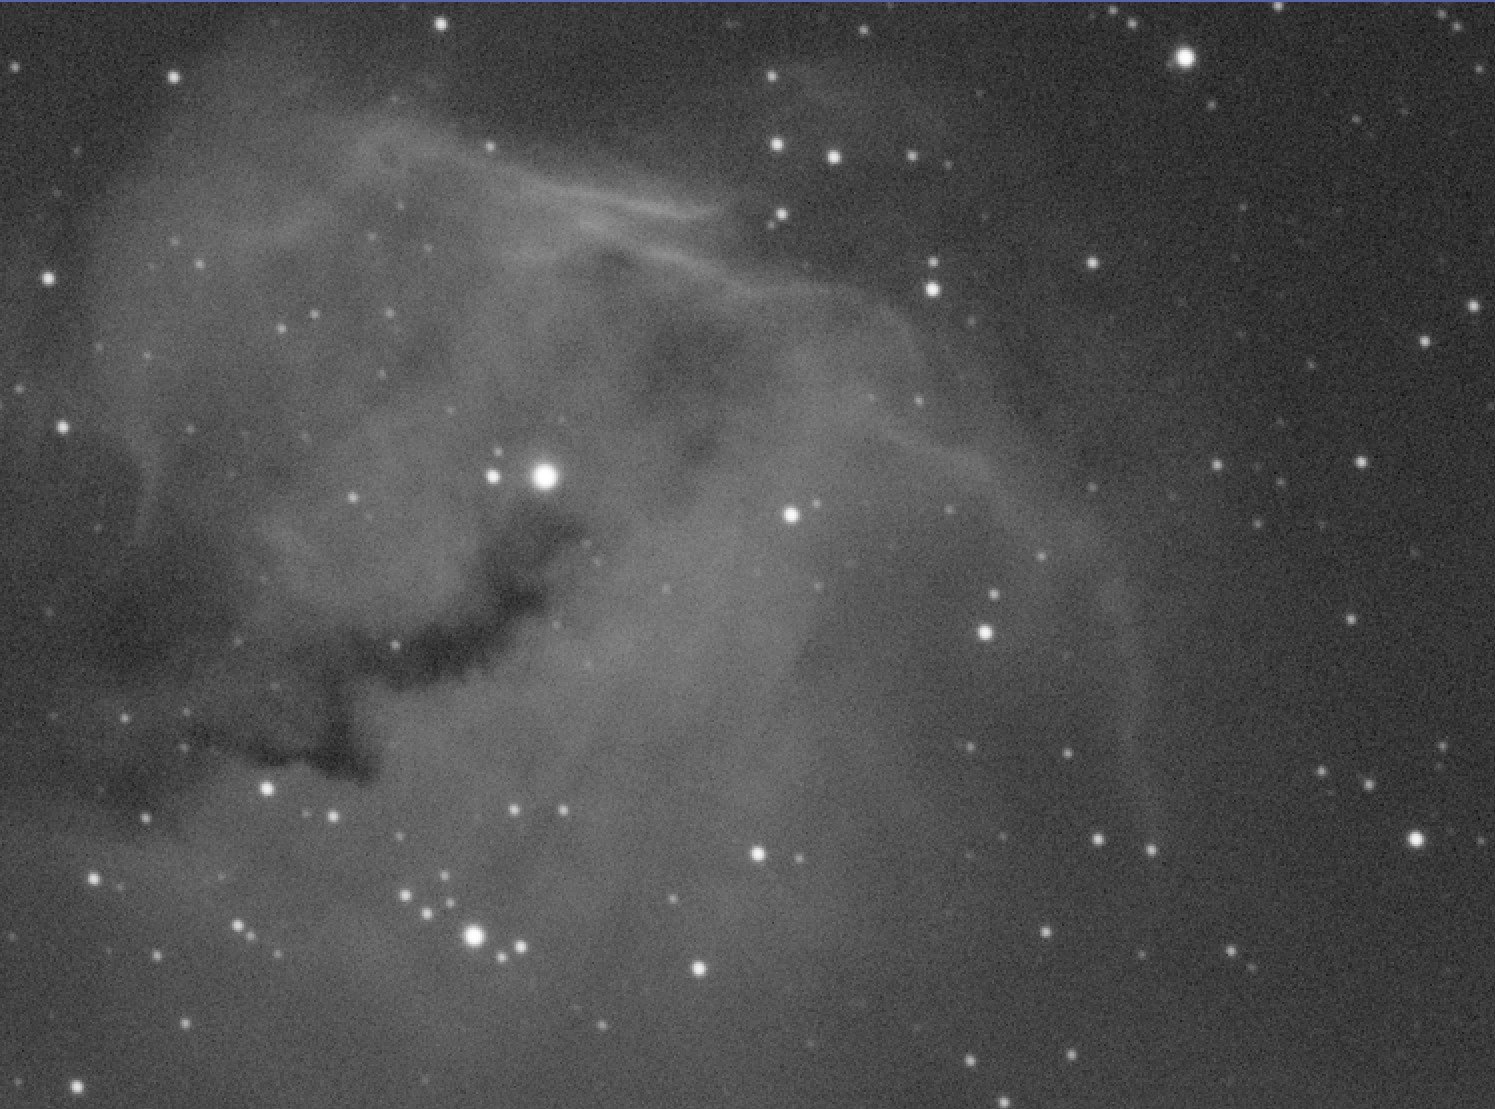
The Starless Version produced by StarNet2 - it does a MUCH better job than the original version of StarNet!
L-Starless Image - Before and After ACDNR
L-Starless, after a final CT Tweak and LHE enhancements. (click to enlarge)
The Final version of L with the Stars added back in. (click to enlarge)
7. Process the Color Image
Apply Linear Noise Reduction for all three images
Apply MLT set up for Denoise using a Linear Mask as follows:
Ha - amplification = 180
O3 - amplification = 50
S2 - amplification = 350


Comparisions of MLT Before and After for Ha, O3, and S2 Images
Use CT to adjust each linear color image to look balanced to the eye:

THe final balanced linear images for Ha, O3, and S2.
Use Channel Combination to Create the first color image
Apply SCNR to the green channel using the amount of 0.8
Invert the image and apply SCNR to the green channel with an amount of 1.0 to remove the excess magenta.
Invert the image again.
Use StarNet2 to break the image into a Starless and StarsOnly version
Initial Color Image. (click to enlarge)
After applying SCNR to the green channel. (click to enlarge)
Invert the image. (click to enlarge)
Apply SCNR to the Green Channel. (click to enlarge)
Invert the image back. (click to enlarge)
Use StarNet2 to create a Starless and StarsOnly Image. This is the Starless. (click to enlarge)
Using ACDNR, apply an aggressive level of Noise Reduction. Note the parameters used in the panels below.

ACDNR Lightness Parameters used.

ACNDR Chrominance parameters used.

Before and Afer ACDNR on the Starless Color Image
Adjust the color of the starless image using CT and ColorSat. Make the colors relatively dark - because when we add the L layer back in with LRGBCombinaton, it will lighten the image considerably!
Use PixelMath to add the Starless and the StarsOnly image back together again.
After adjusting colors, keep them on the dark side. (click to enlarge)
The Stars are now added back in. (click to enlarge)
Use LRGBCombination to add the L image back into the color image. Notice how much it lightens up!
Run DBE to take out any color gradients. See the DBE sampling pattern used below.
Adjust the image with CT to get the final tone scale.
Apply EZ-StarReduction
After the L image is folded back in. (click to enlarge)
Run DEB to remove any color gradients - here os the sampling plan used. (click to enlarge)
After DBE and final CT adjustment. (click to enlarge)
After EZ-StarReduction. (click to enlarge)
8. Enhance Dark Structure
Apply DarkStructuresEnhance script with defaults.
9. Move to PhotoShop
Export as 16-bit tiff
Open in Photoshop
Use Camera Raw filter to tweak color, tone, and Clarity
Use Starshrink to reduce small stars
Use Starshrink to reduce large stars
Carefully use Topaze Denoise AI to tweak the final noise and sharpens levels. See the parameters used and examples below

This was the original settings using the “Clear” model with High Noise Removal and Low Sharpness.

This was the final Topaz position - using the higher sharpening level.
Add watermarks
Export various versions of the image
Capture Details
Lights
The Number of frames is after bad or questionable frames were culled.
Images captured on March 9th and March 29th, 2022.
13 x 300 seconds, bin 1x1 @ -15C, unity gain, Astronomiks 6nm Ha Filter
9 x 300 seconds, bin 1x1 @ -15C, unity gain, Astronomiks 6nm O3 Filter
8 x 300 seconds, bin 1x1 @ -15C, unity gain, Astronomiks 6nm S2 Filter
Total of 2 hours 10 minutes
Cal Frames
25 Darks at 300 seconds, bin 1x1, -15C, gain unity
25 Dark Flats at each Flat exposure times, bin 1x1, -15C, gain unity
15 Ha Flats
15 O3 Flats
15 S2 Flats
Capture Hardware:
Scope: Askar FRA400 73MM F/5.6 Quintuplet Astrograph
Guide Scope: William Optics 50mm
Camera: ZWO ASI1600mm-pro with ZWO Filter wheel with ZWO LRGB filter set, and Astronomiks 6nm Narrowband filter set
Guide Camera: ZWO ASI290Mini
Focus Motor: Pegasus ZWO EAF 5V
Mount: Ioptron CEM 26
Polar Alignment: Ipolar camera
Software:
Capture Software: PHD2 Guider, Sequence Generator Pro controller
Image Processing: Pixinsight, Photoshop - assisted by Coffee, extensive processing indecision and second-guessing, editor regret and much swearing…..
The portable scope platform is supposed to be, well, portable. That means light and compact. In determining how to pack this platform for travel, I realized that the finder scope mounting rings made no sense in this application and I changed them out with something both more rigid and compact - the William Optics 50mm base-slide ring set.