
Barnard 150 - The Seahorse Nebula: Image Processing Walkthrough
October 2, 2025

My Image of Barnard 150 - The Seahorse Nebula
Table of Contents Show (Click on lines to navigate)
Special Note
Welcome to the New Image Processing Page for this project! You got here by following a link in the main Image Project Report, and you can easily return to that by using the back button on your browser.
Abbreviations Used
BXT BlurXerminator by RC-Astro
CC Cosmetic Correction
CT CurvesTransformation Process
DBE Dynamic Background Extraction Process
ET ExponentialTransformation
HT HistogramTransformation
NXT NoiseXerminator by EC-Astro
SCNR Subtractive Chromatic Noise Reduction Process
SPCC SpecttrometricColorCalibration
STF Screen Transfer Function
STF->HT Method - dragging the STF triangle to the base of the HistorgamTransformation tool and
then applying this to the image to go nonlinear
SXT StarXterminator by PC-Astro
WBPP Weighted Batch Preprocessing Script
Processing this Image
(All Processing is done in Pixinsight, with some final touches done in Photoshop)
1. Blink
General
Lots of satellite tracks - easy to handle
Evidence of a light pollution gradient towards the north
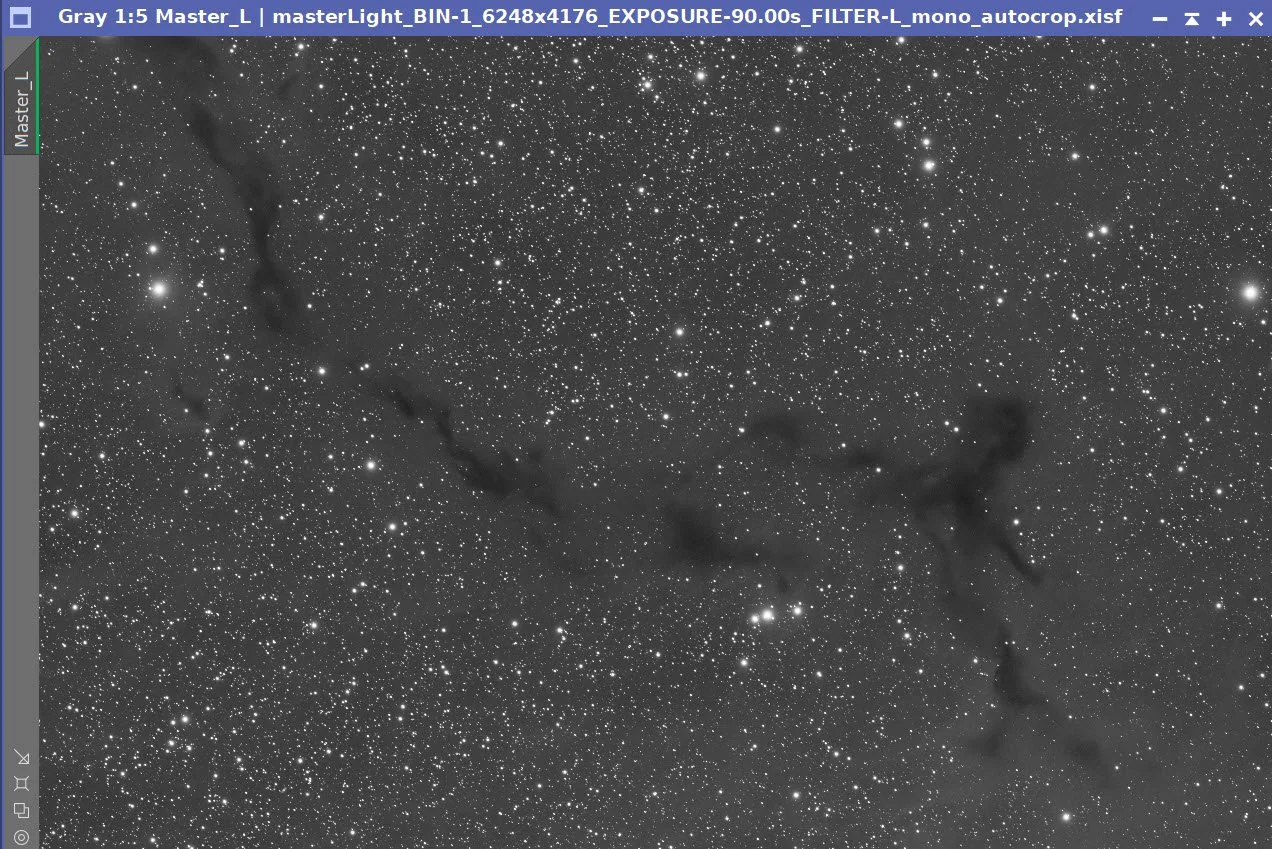
Lum
13 frames removed for thin clouds
Red
6 frames removed!
Green
7 Frames removed for clouds.
Blue
6 Frames removed for clouds.
Darks
All looks ok
Dark Flats
All looks ok
Flats
all good
2. WBPP 2.8.9
Reset everything
Load all lights
Load all flats
Load all darks
Select - maximum quality
Reference Image - auto - the default
Select the output directory for the WBPP folder
Enable CC for all light frames
Pedestal value - auto
Darks -set exposure tolerance to 0
Lights - set exposure tolerance to 0
Lights - all set except for a linear defect
set for Autocrop
WBPP run 2:42:08 - no errors
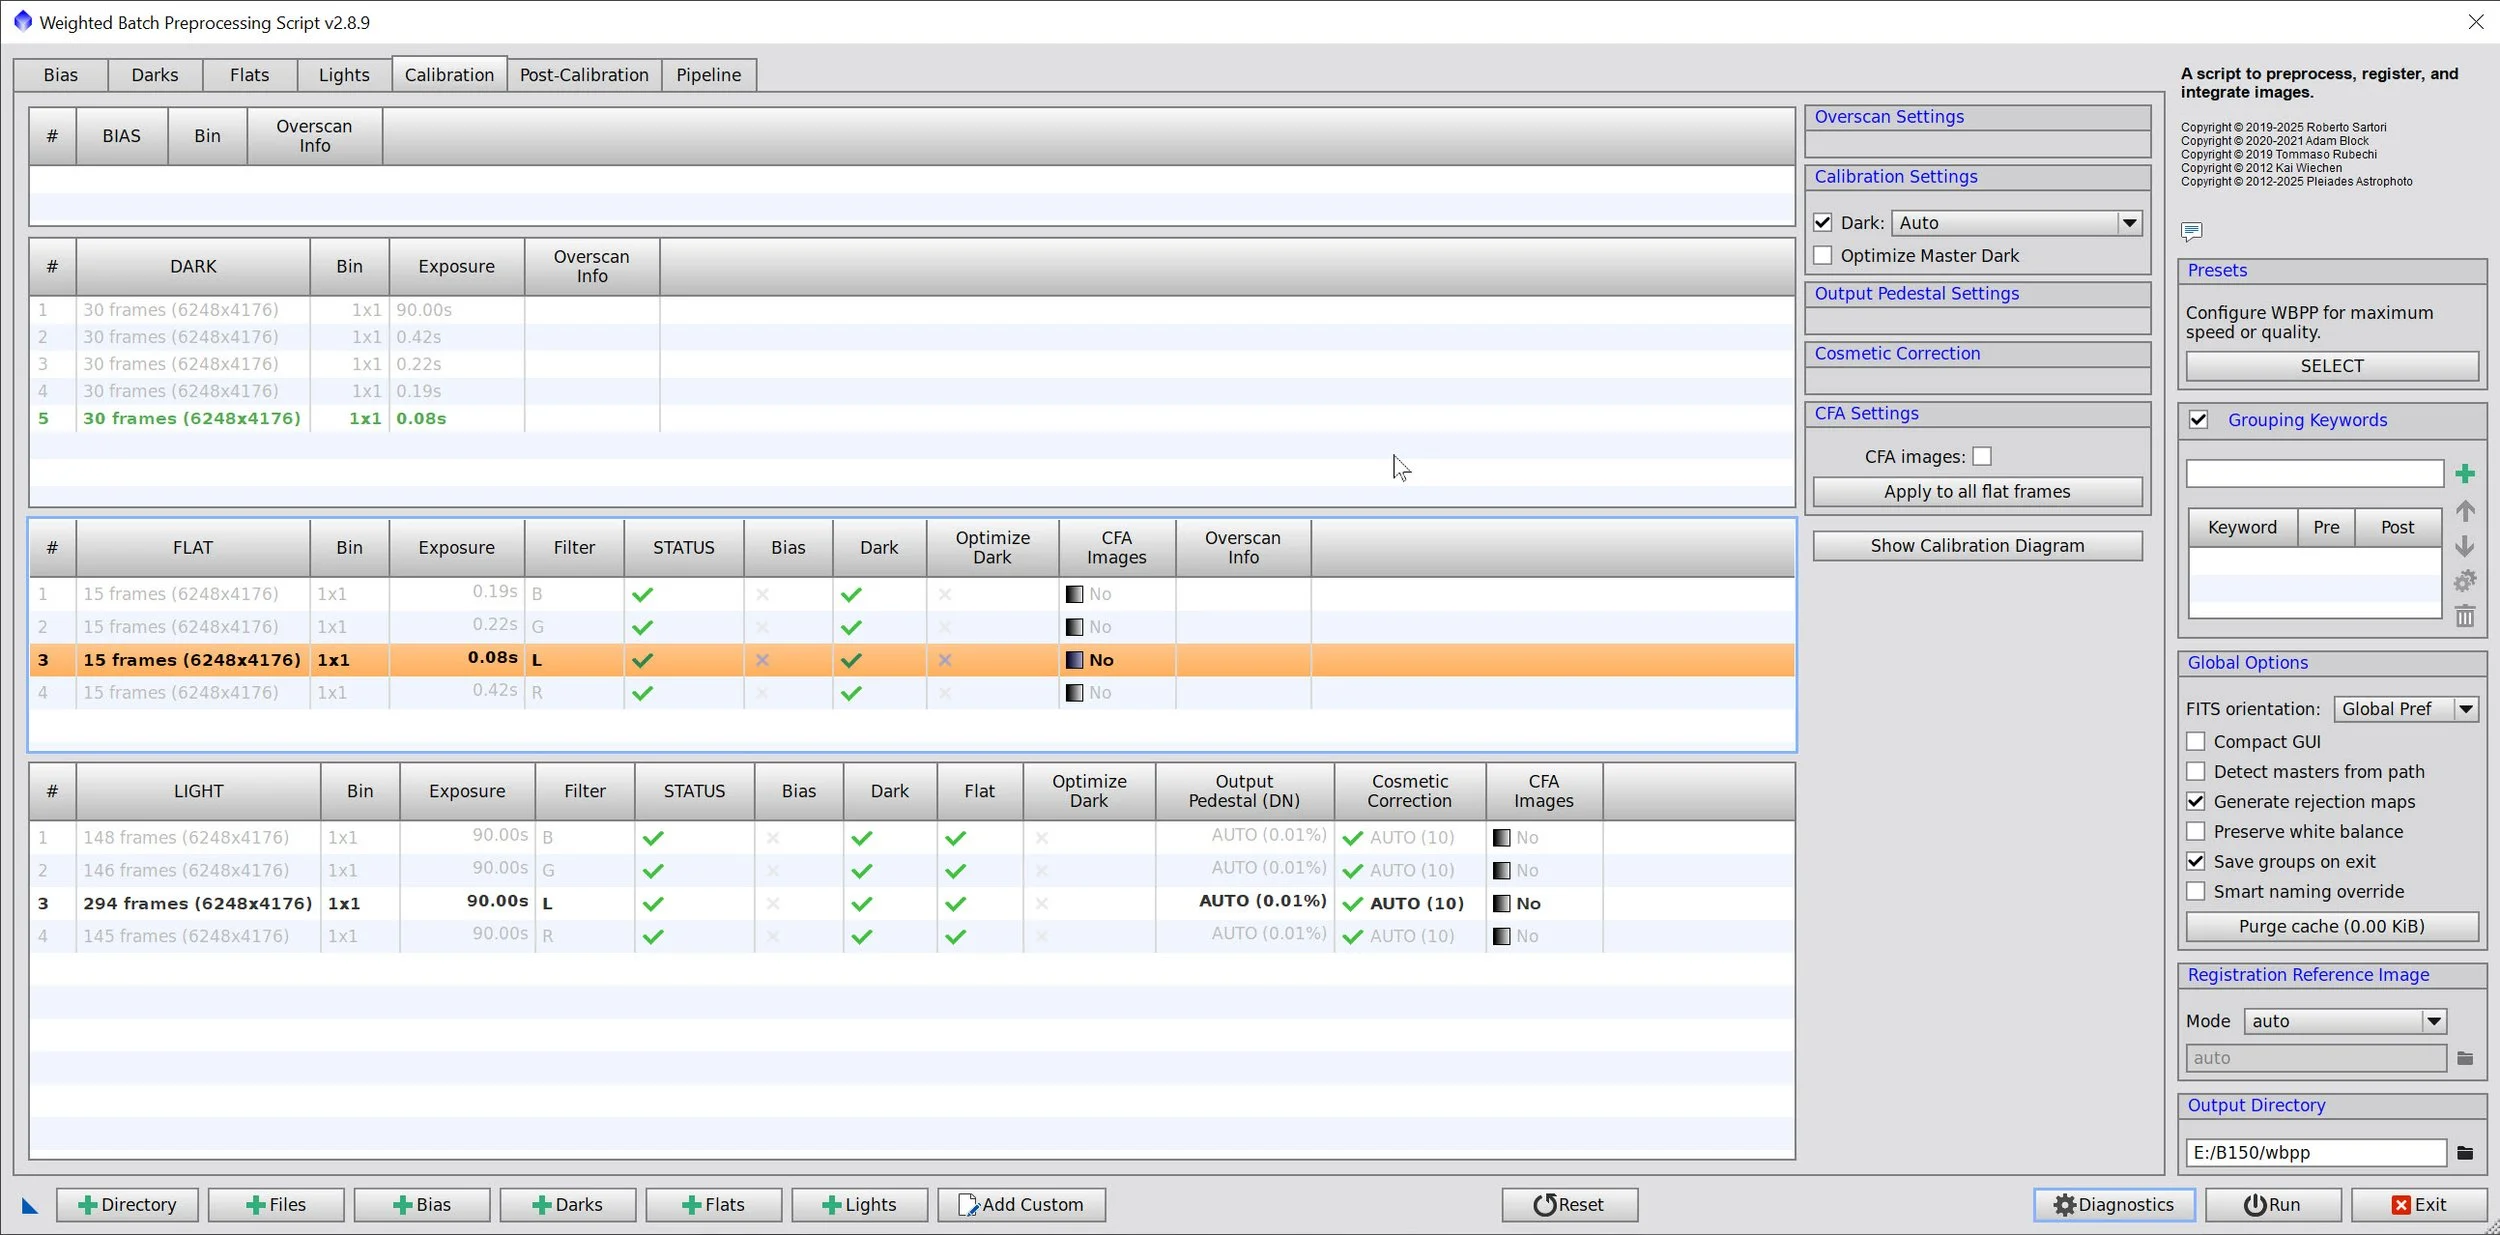
WBPP Calibration View

WBPP Post Calibration View

WBPP Pipeline View
3. Load Master Images and Create Color Images
Load all master images and rename them.
Using CombineChannels, create the Master RGB image

Master L, R, G, and B images.
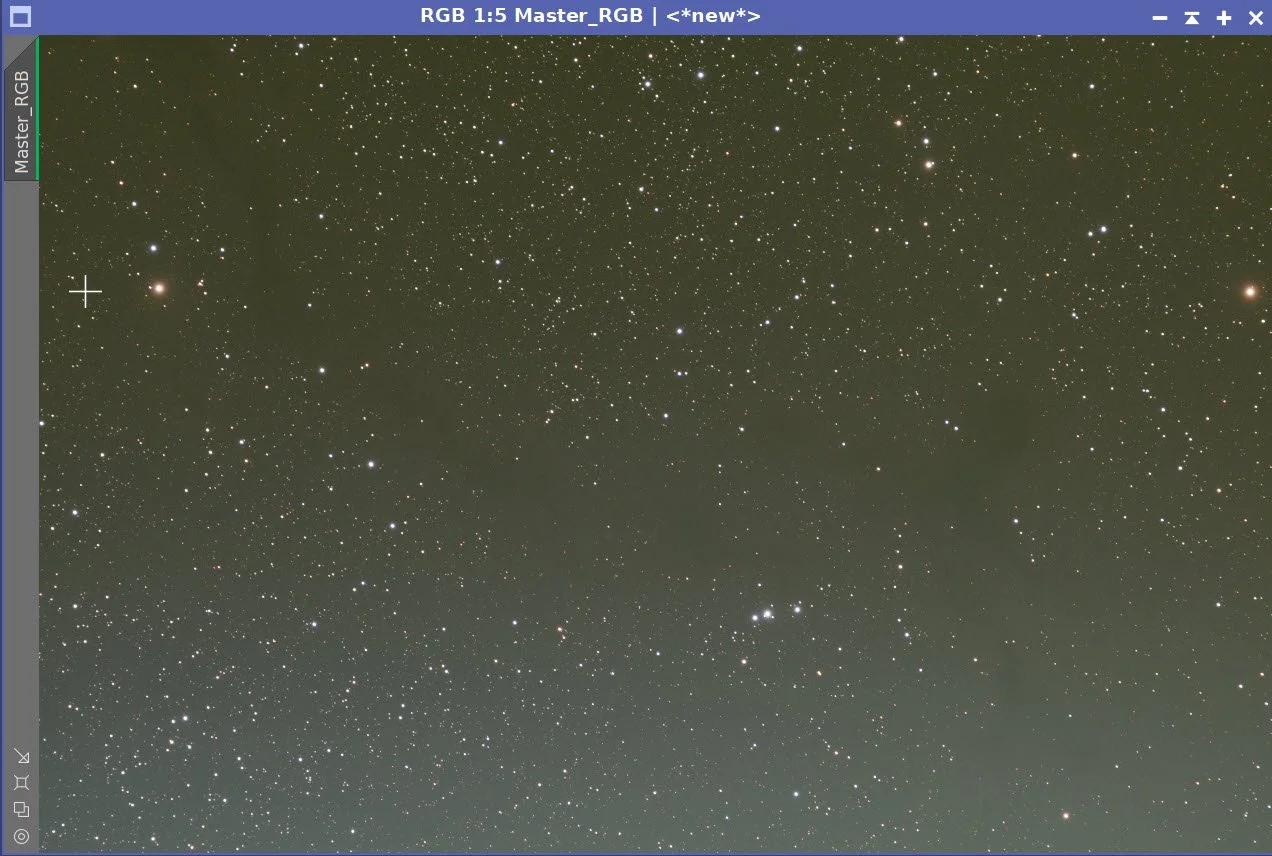
Initial RGB Color Master Image.
4. Initial Process of Linear RGB data
Run DBE for the RGB linear image. Use subtraction for the correction method. Choose a sampling plan that avoids the nebulae (see below)
Run BXT - correct only. This cleans up and stars at the corners. Not much to do in this image as the scope is very crisp.
Select a preview rectangle that samples the background sky, and then set up and run SPCC.
Use the 571 device curve
Use ZWO R, G, & B filter curves,
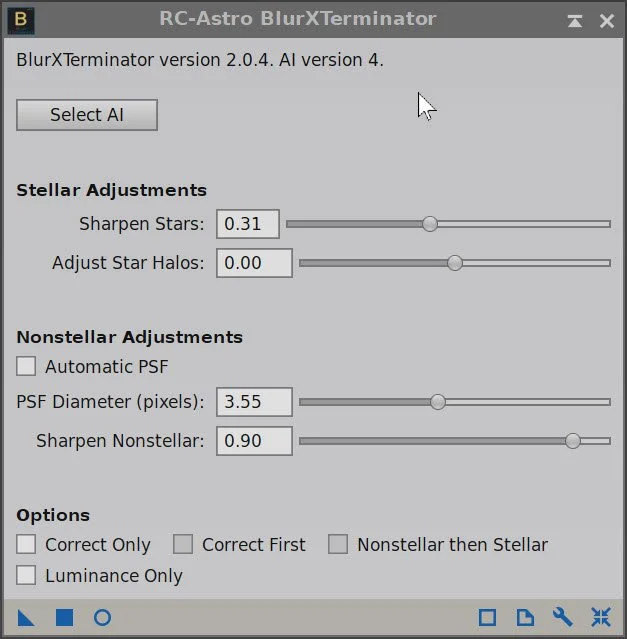
Run Full BXT - I am using default values here as I do not want to shrink the stars too much.
Run NXT V3 - see params from snapshot below
Run SXT and save the RGB stars.
Master RGB Image DBE Sampling Plan (click to enlarge)
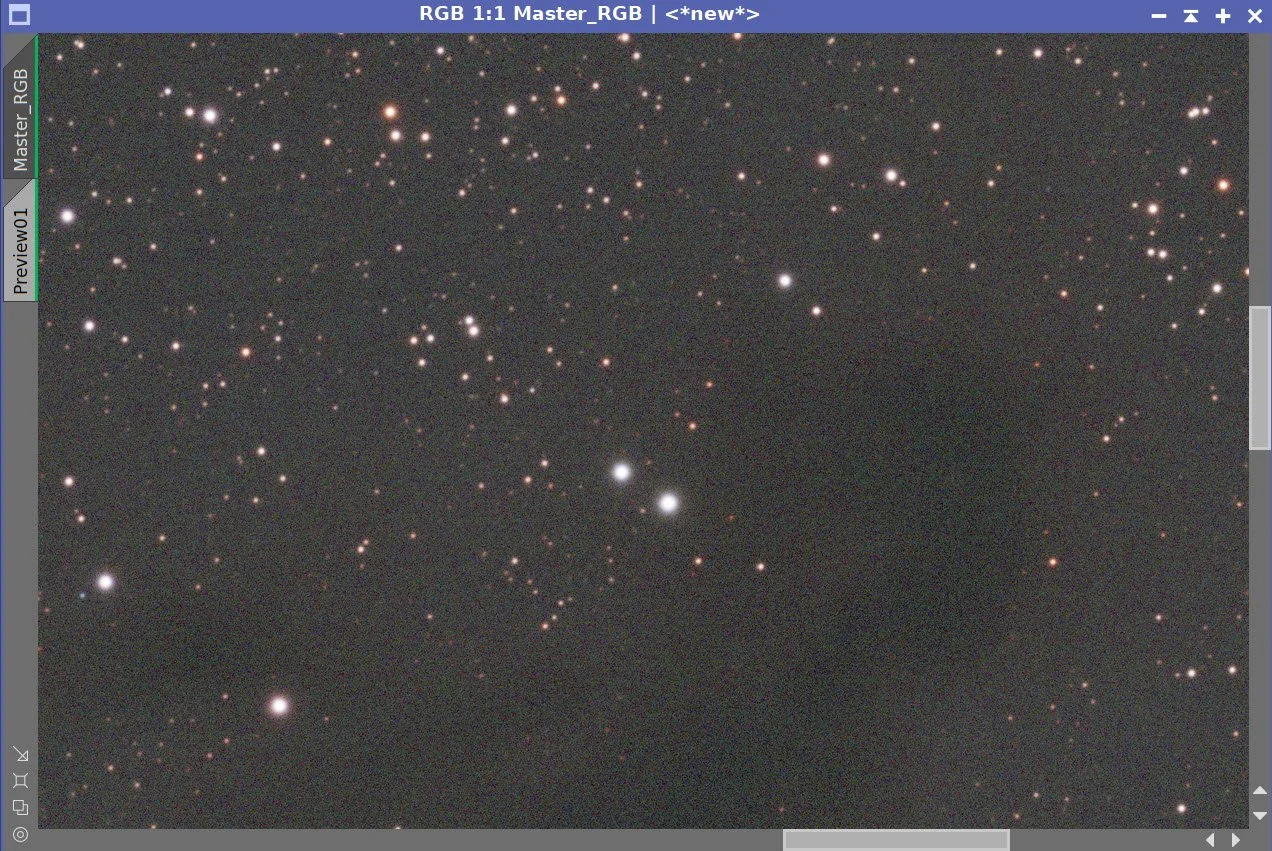
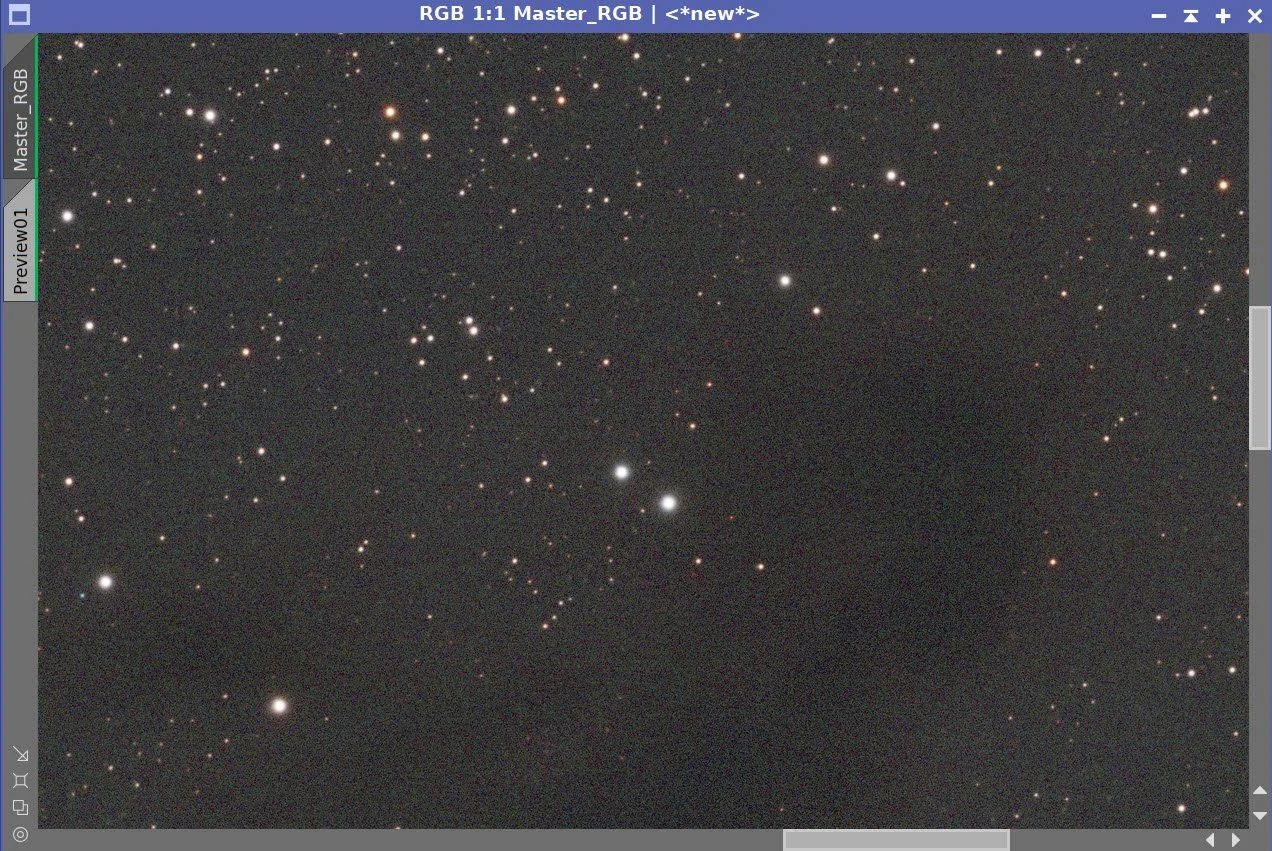
MasterRGB- Before DBE (click to enlarge)
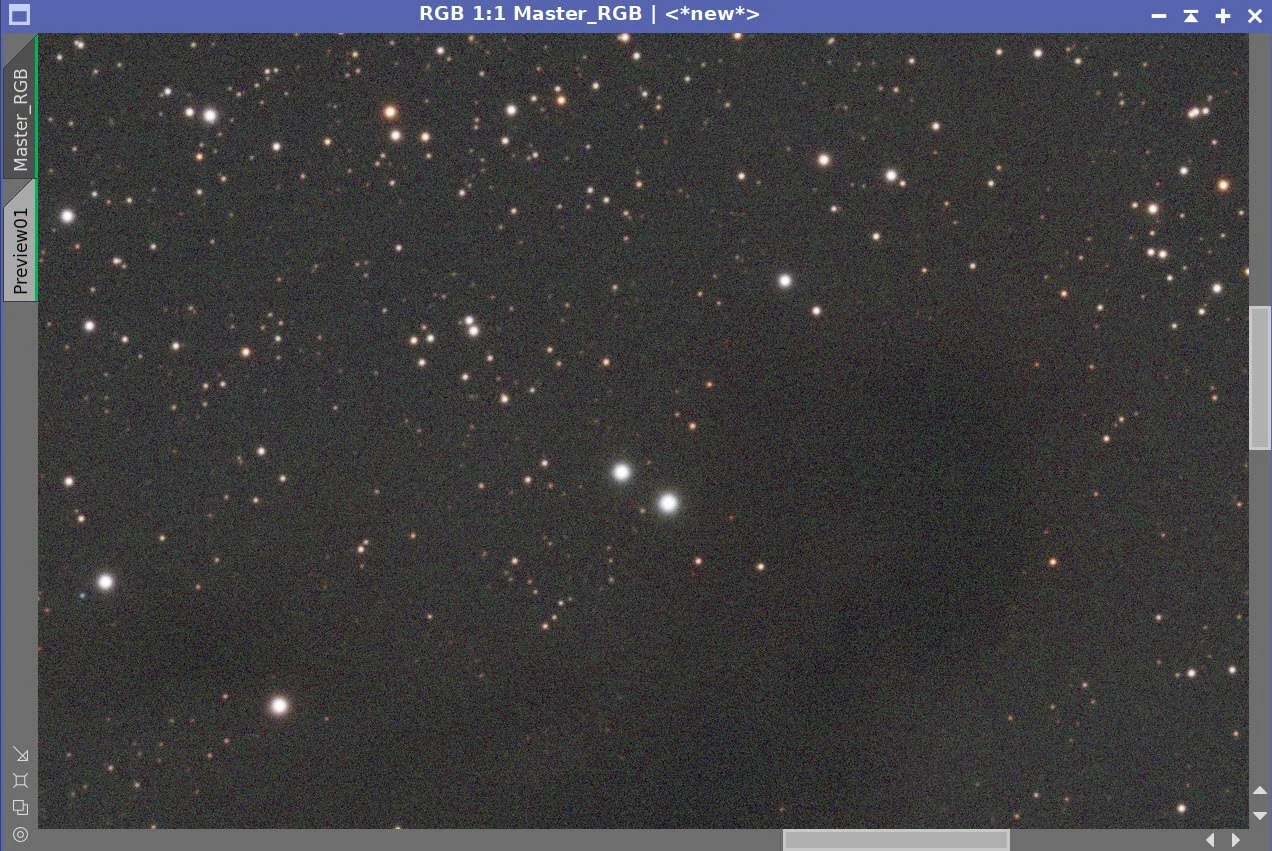
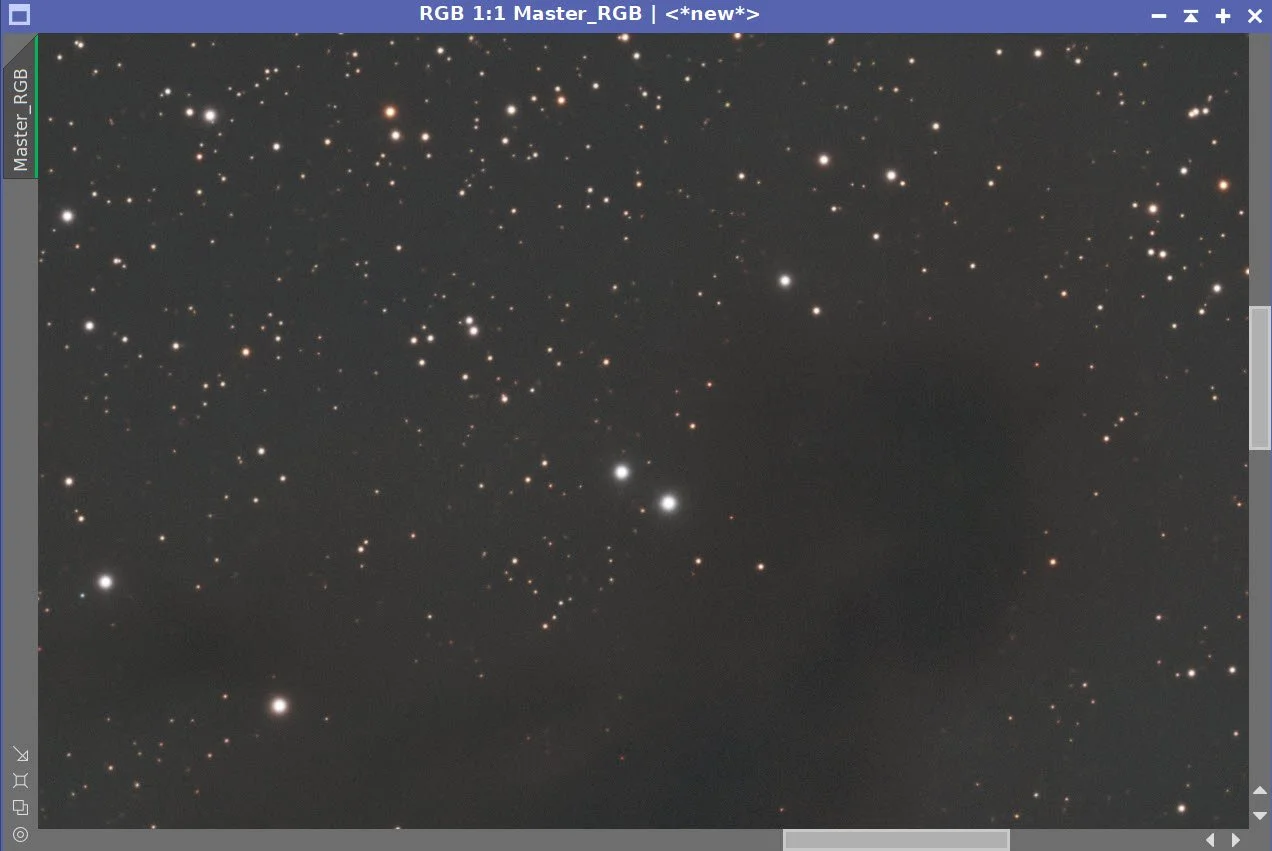
Master RGB after DBE (click to enlarge)
Background Subtracted by DBE (click to enlarge)

SPCC Panel Settings

SPCC Regression Results
Master RGB image before SPCC (click to enlarge)
Master RGB after SPCC (click to enlarge)
Measuring Star Sizes with PFSImage Script (click to enlarge)
BXT Settings Used. (click to enlarge)
NXT Panel used. (click to enlarge)

Master RGB Before BXT Correct Only, After BXT Correct Only, After SPCC, After BXT Full, After NXT
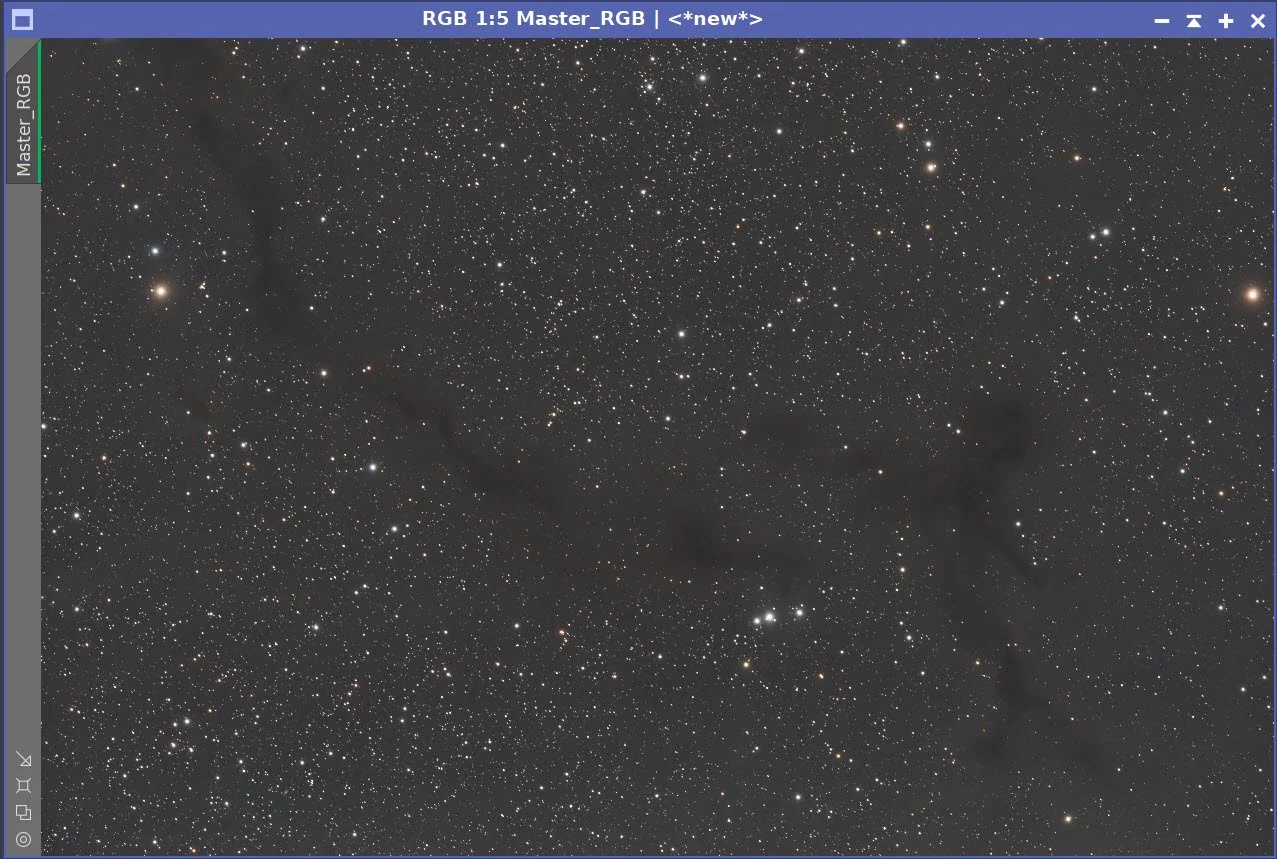
Final Master RGB Image
Master RGB Starless Image (click to enlarge)
Master RGB Stars Image (click to enlarge)
5. Process the Linear Lum Data
Run DBE for the Lum linear image. Use subtraction for the correction method. Choose a sampling plan that avoids the nebulae.
Run BXT - correct only. This cleans up and stars at the corners.
RUN PFSImage to get the star sizes. X = 2.49, Y= 2.59
Run Full BXT - I used values that were approximately 1/3 larger than the measured star size. I find this often works for me.
Run NXT V3 - refer to the parameters from the snapshot below.
Run SXT.
Master L DBE sampling Plan (click to enlarge)
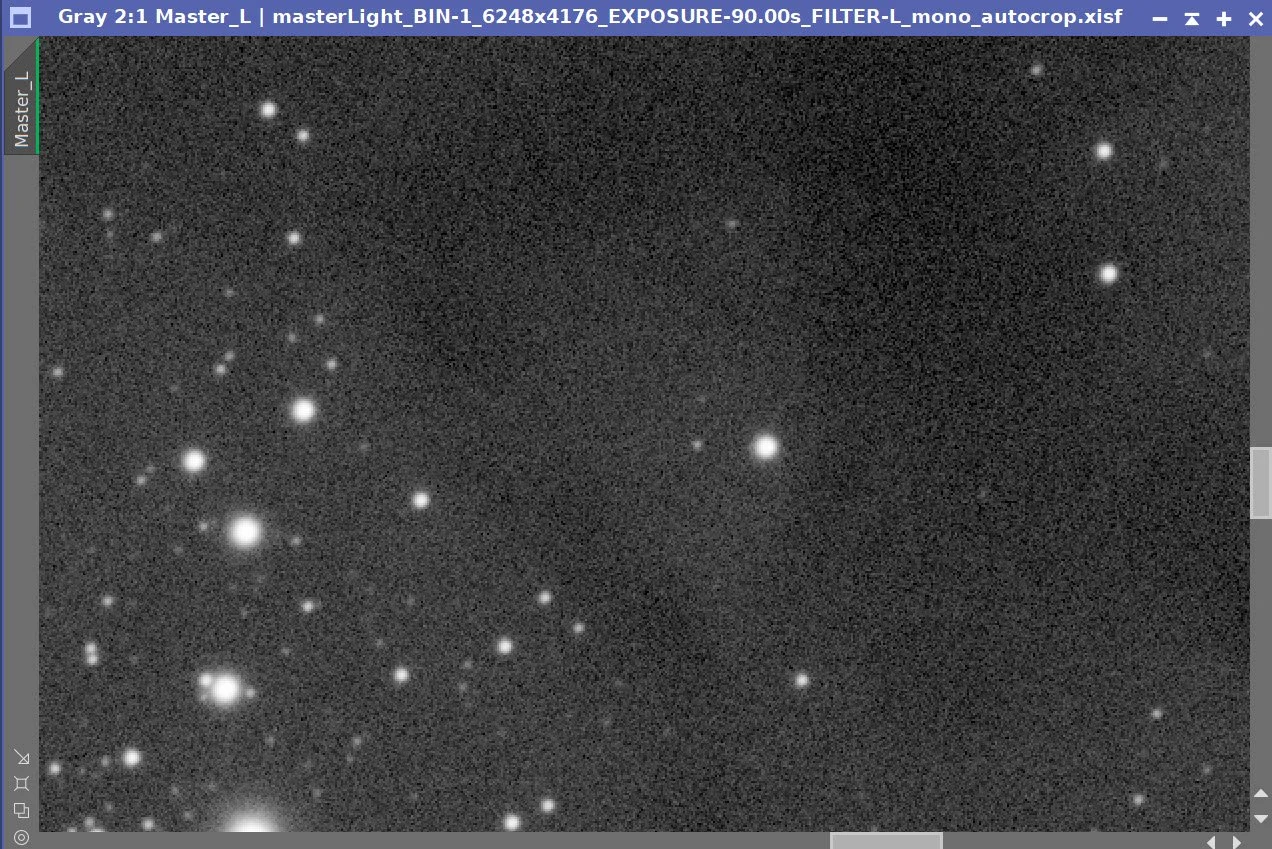
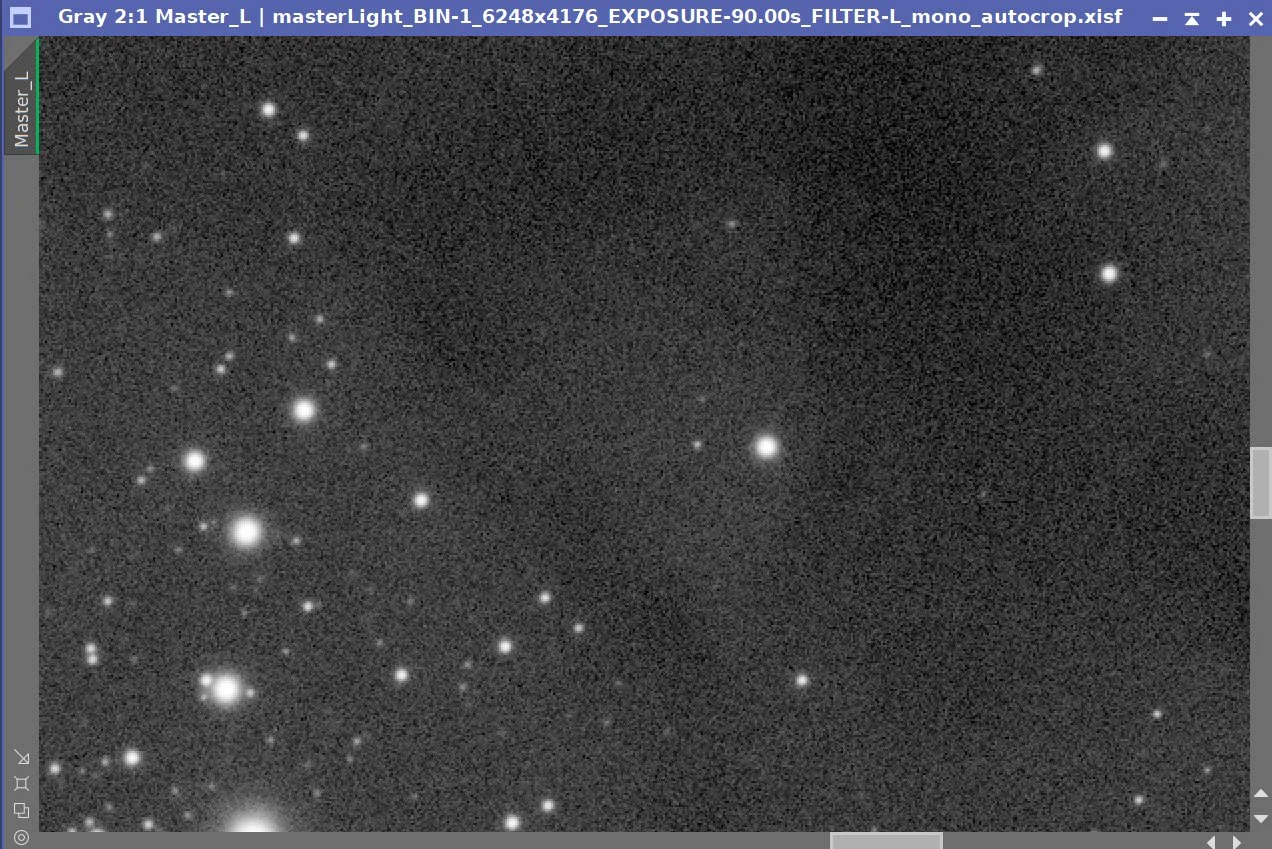
Before DBE (click to enlarge)
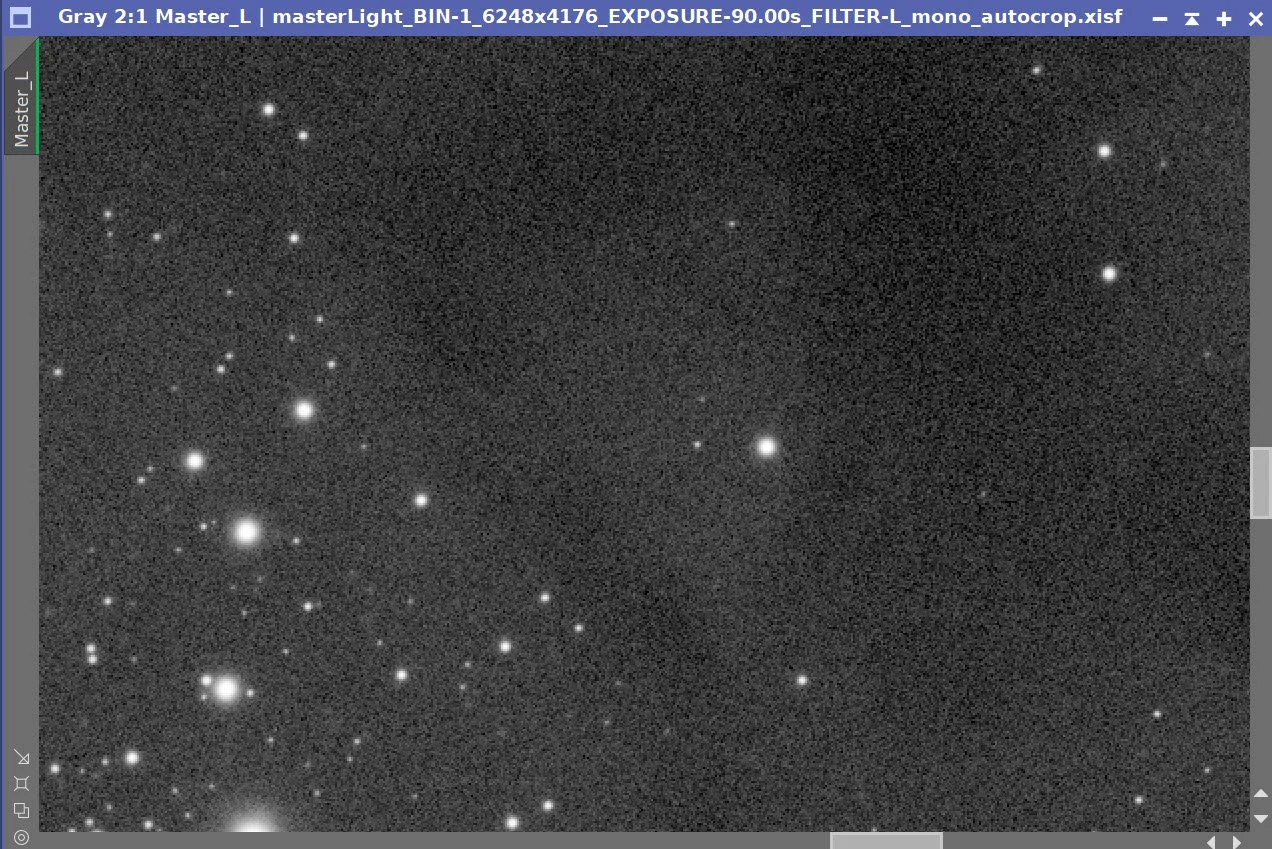
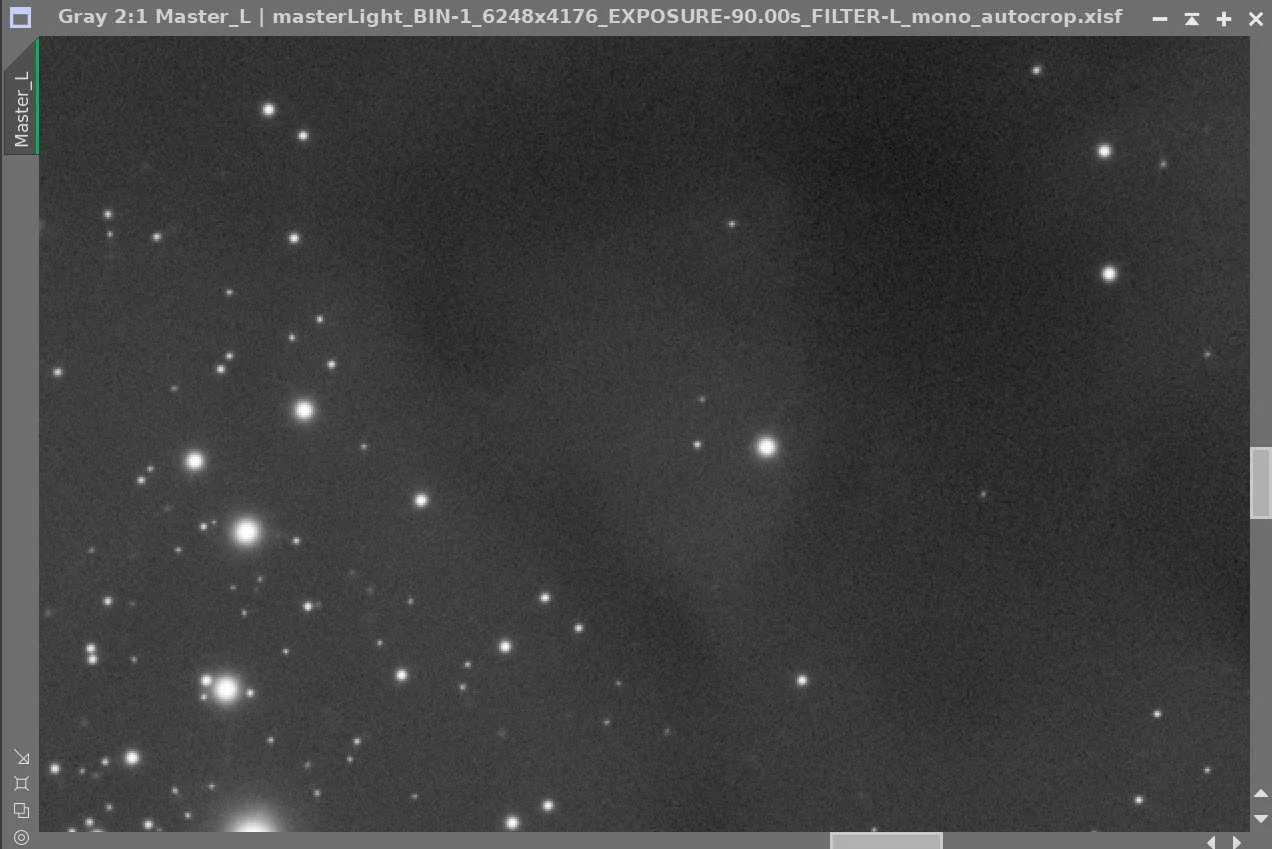
Master L after DBE (click to enlarge)
Master L Background subtracted (click to enlarge)

Measuring L star sizes.
Params used for BXT

NXT Params used.
Master L before BXT Correct Only, After BXT Correct Only, After BXT Full, After NXT V3
FInal Master L imge

Master L Starless image after SXT.
6. Go Nonlinear
Use Seti Astro Star Stretch Script to stretch Stars
Use STF->HT method to stretch the starless images.

Star Stretch Script panel and params used.

Nonlinear RGB Stars image
Nonlinear Lum image (click to enlarge)
Nonlinear RGB Starless image click to enlarge)
Starrting L image (click to enlarge)
7. Process the Lum Starless Image
Noise is a big issue. So I am starting with NXT to kill it at the start. See the params used.
Next is ExponentialTransform (ET) - this is to stretch the low levels of detail here. See screensnap for params used.
One more NXT is done, and that is all I am going to do. This brings out detail available in the Lum image without causing more noise or noise artifacts. I went really light on stretched here for the most part,
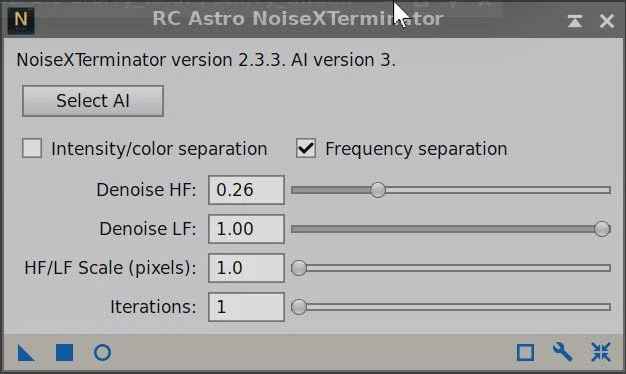
NXT Params used.
After NXT (click to enlarge)

ET Params used on this image.
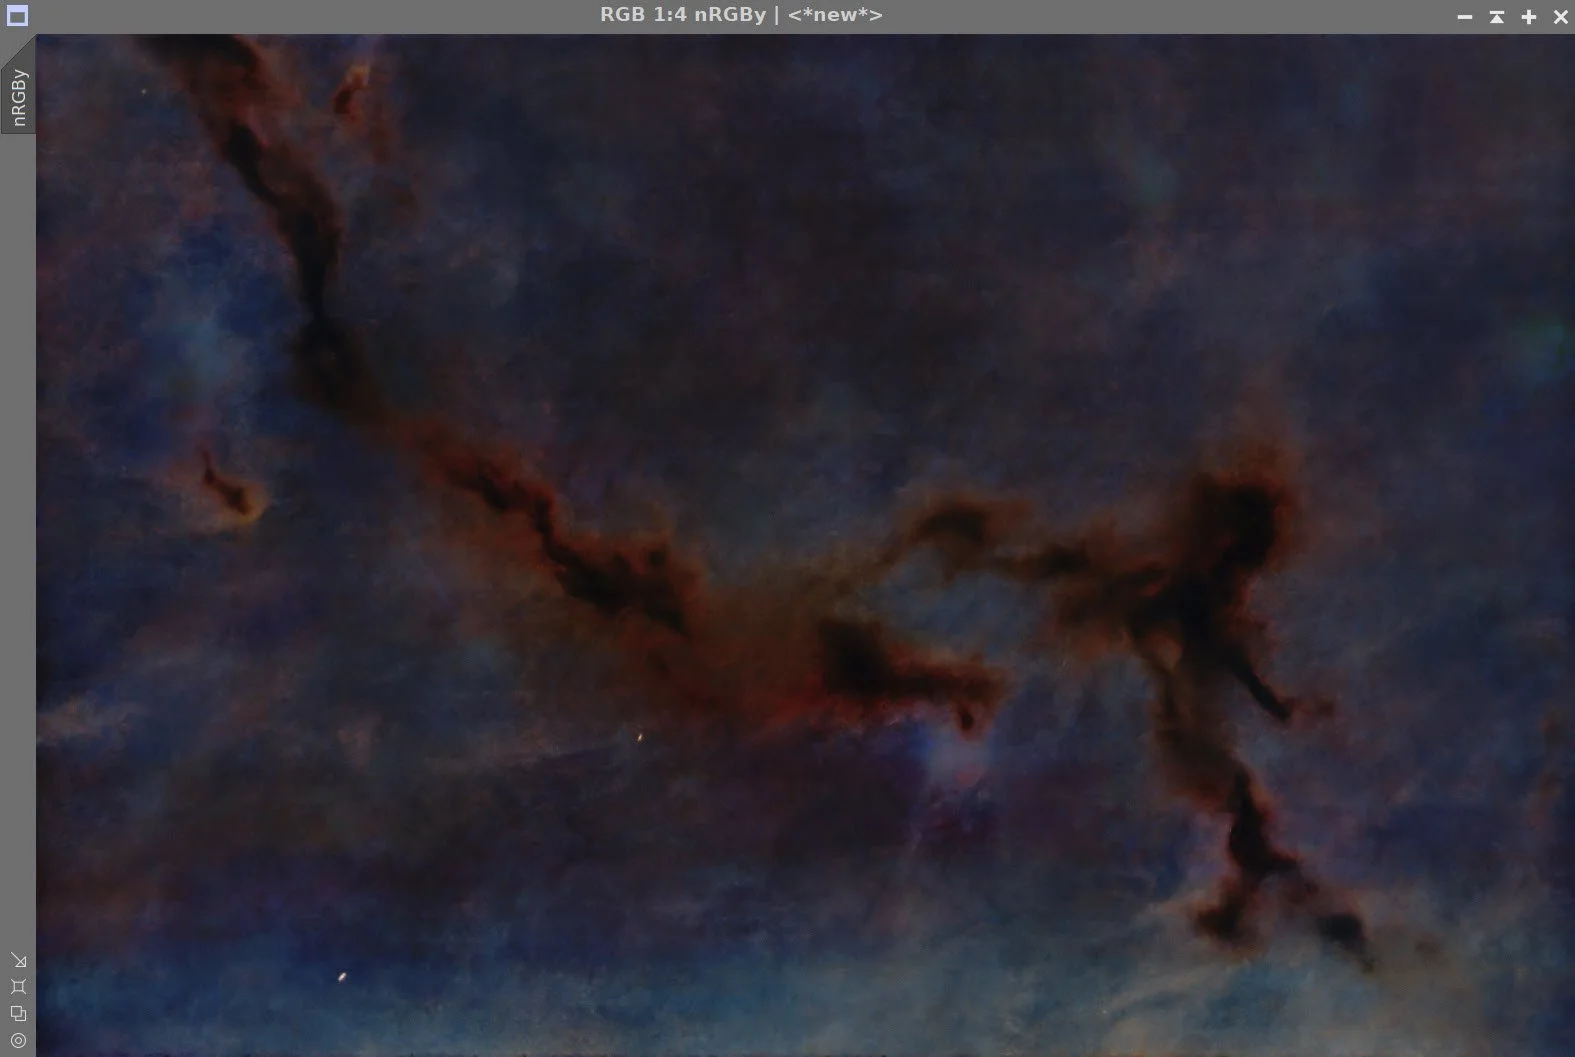
After ExponentialTransformation (ET) (click to enlarge)
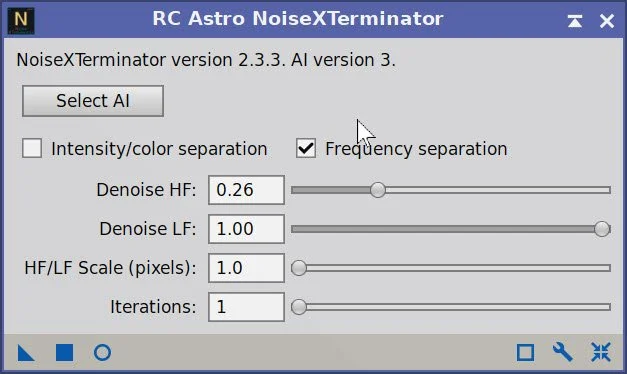
FInal NXT for Lum image.
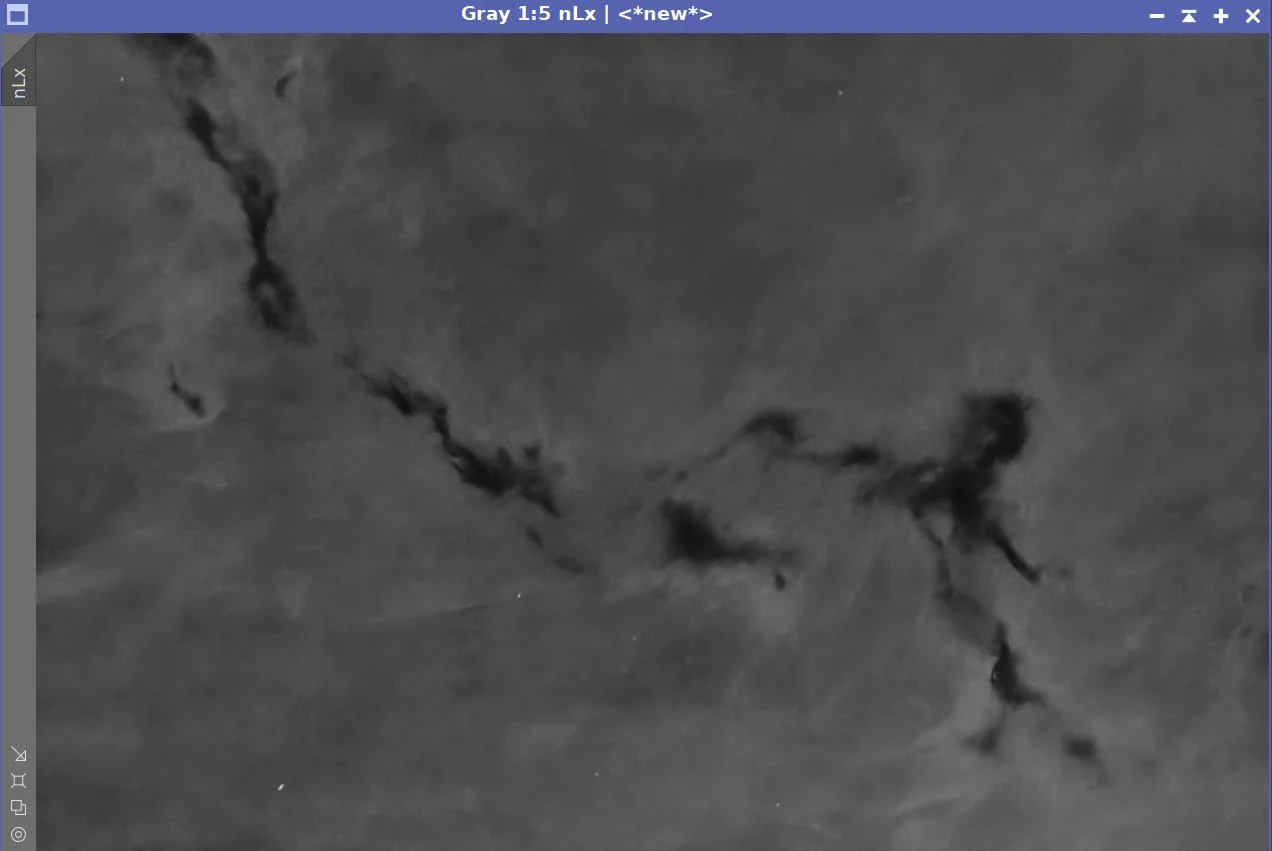
After final NXT - The final Lum image.
8. Process the Nonlinear RGB Image
Apply a modest CT boost for tonescale and color saturation. Treading softly to avoid ramping up noise
Next, ET is applied to boost low-level detail. See screensnap for params used.
CT to boost color and Tone.
Noise is popping up with that last change, so let’s do NXT again. See screensnap for params.
The image now is showing some magenta color biases after that last stretch. Best we fix this with the following sequence:
Invert (make magenta into green)
SCNR for Green at 1.0 (remove the green)
Invert the image again
Blend in the Lum image using the ChannelCombination tool in color mode and enable just the L channel - see panel screensnap below.
Do a CT to tweak the color and tones
I would like to adjust the background sky, so I will create a BlueMask
Use the ColourMask process to create an initial mask:
Hues from 158 to 148
Blur of 7.0
Use CT to boost the mast
Apply the mask and do a CT to darken and adjust the colors of these regions.
Do a final NXT run with the params shown in the screensnap
Apply Unsharp Mask to sharpen things slightly.
Initial nonlinear RGB Starless image (click to enlarge)
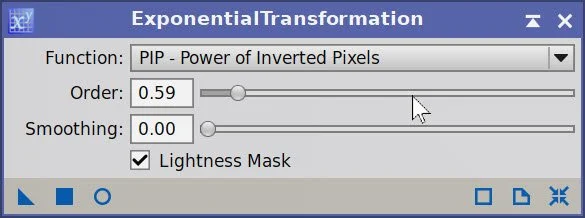
ET Params used.
After CT to boost tone and color (click to enlarge)
After NXT (click to enlarge)
Apply SCNR with Green at 1.0 (click to enlarge)

CT to adjust Tone (click to enlarge)
Initial BlueMask (click to enlarge)
After CT with the BlueMask (click to enlarge)
After CT Boost (click to enlarge)
After ET boost (click to en;arge)

Anotehr Application of NXT - these are the params used.
Invert Image (click to enlarge)
After Invert (click to enlarge)
Using the ColourMask Process to create a blue mask (click to enlarge)
After CT Boost on the mask (click to enlarge)

NXT Params used on the next step.

After NXT
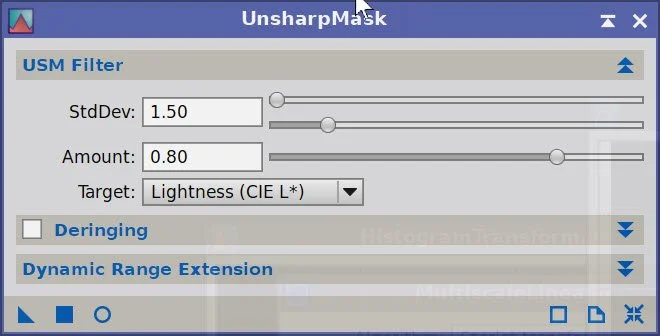
Unsahrp Mask Params used.
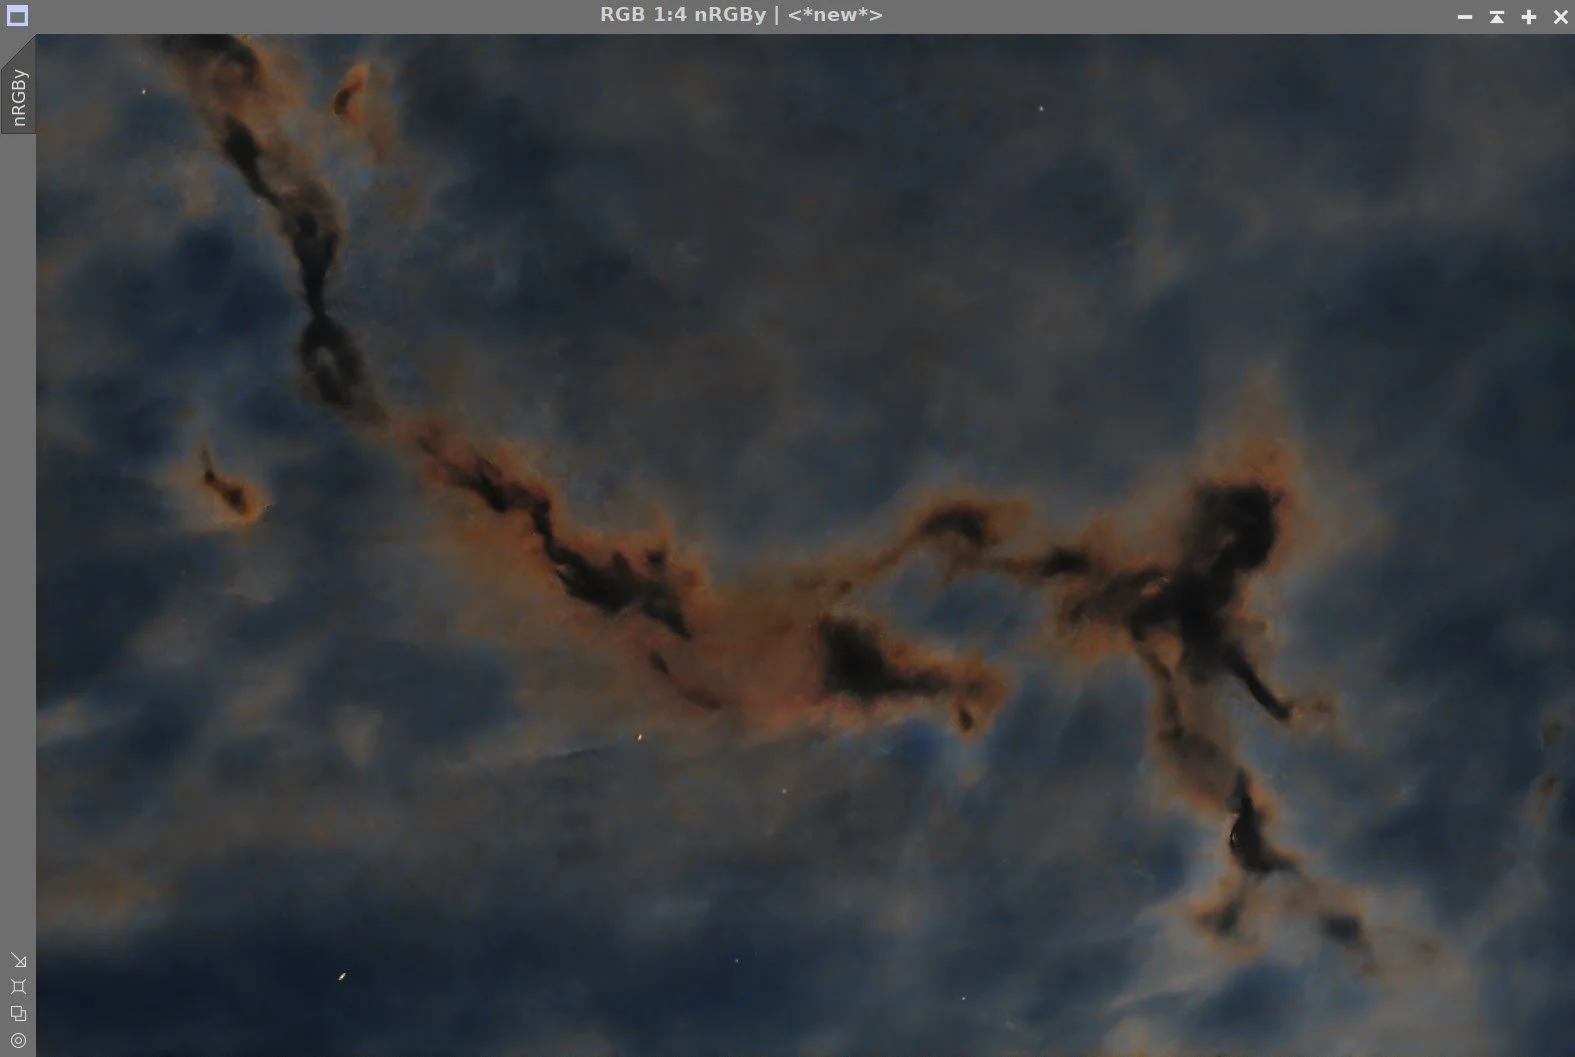
Final LRGB Starless image.
9. Add The Stars Back In
Do a slight CT to boost color sat on the stars’ image
Use the ScreenStars Script to add the stars back in.
Stars - after a slight color sat boost with CT (click to enlarge)
Final LRGB starless image. (click to enlarge)

ScreenStars App used to add the stars back in.

Final image, ready for polishing
10. Export the Image to Photoshop for Polishing
Save the image as a TIFF 16-bit unsigned and move to Photoshop
Make final global adjustments with Clarify, Curves, and the Color Mixer - slight tweaks really
Added Watermarks
Export Clear, Watermarked, and Web-sized jpegs.
The Final Image!
