
Blinking Between Two Images
This video deals with combining two or more masks into one single mask. In effect, it creates a "union" of masks.
This is handy if you have been working on aspects of your image with individual masks and now want to treat all of these elements in a common way.
A Simplified Narrowband Starless Workflow!
This video covers a simplified starless workflow for narrowband images.
I have had several requests for something like this. While it is not really a topic for the 2-Minute Tutorial Format, I thought I might share a simplified view that would cover some of the basic ideas.
Adding Ha Data to an RGB Image
This video deals with adding Ha data to an RGB or LRGB image using PixelMath.
It also shows a masking technique that can target the effects you are going for.
Using the GAME Script to Create Quick Masks
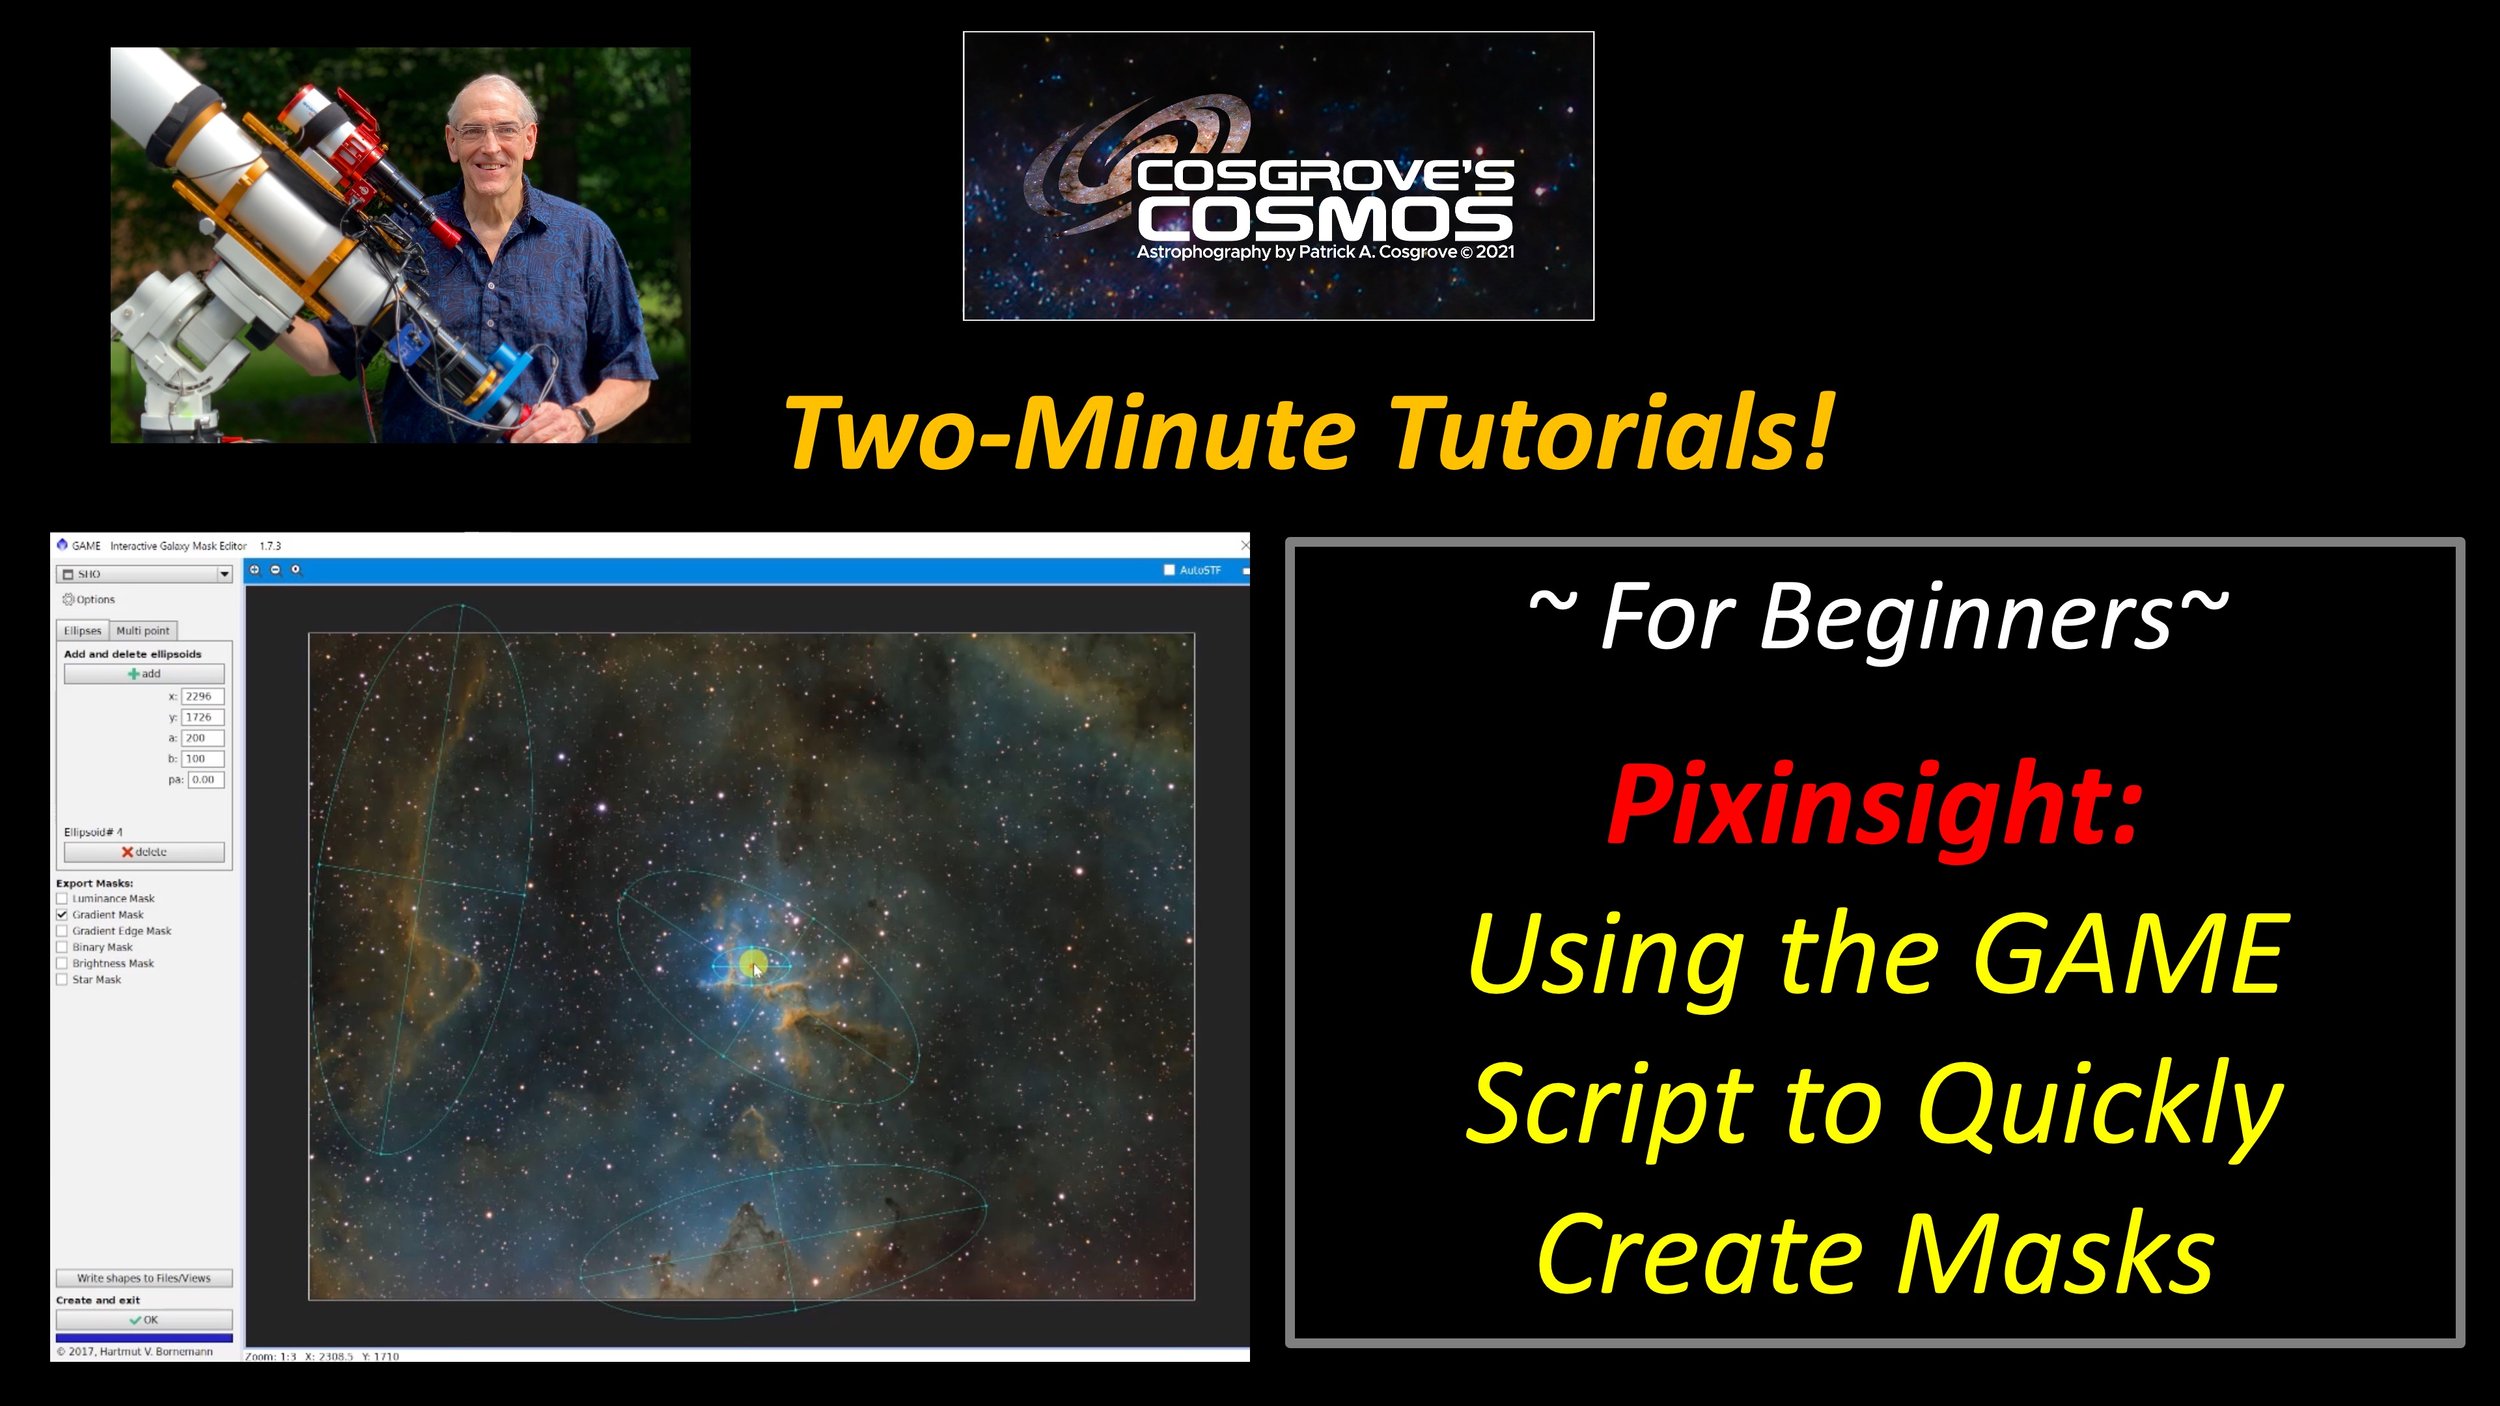
This video covers using the GAME script to create masks that create areas of focus for your image.
GAME is a free script that must be added to your Pixinsight install.
It allows you to create gradient and other forms of masks from ellipses or more complex shapes.
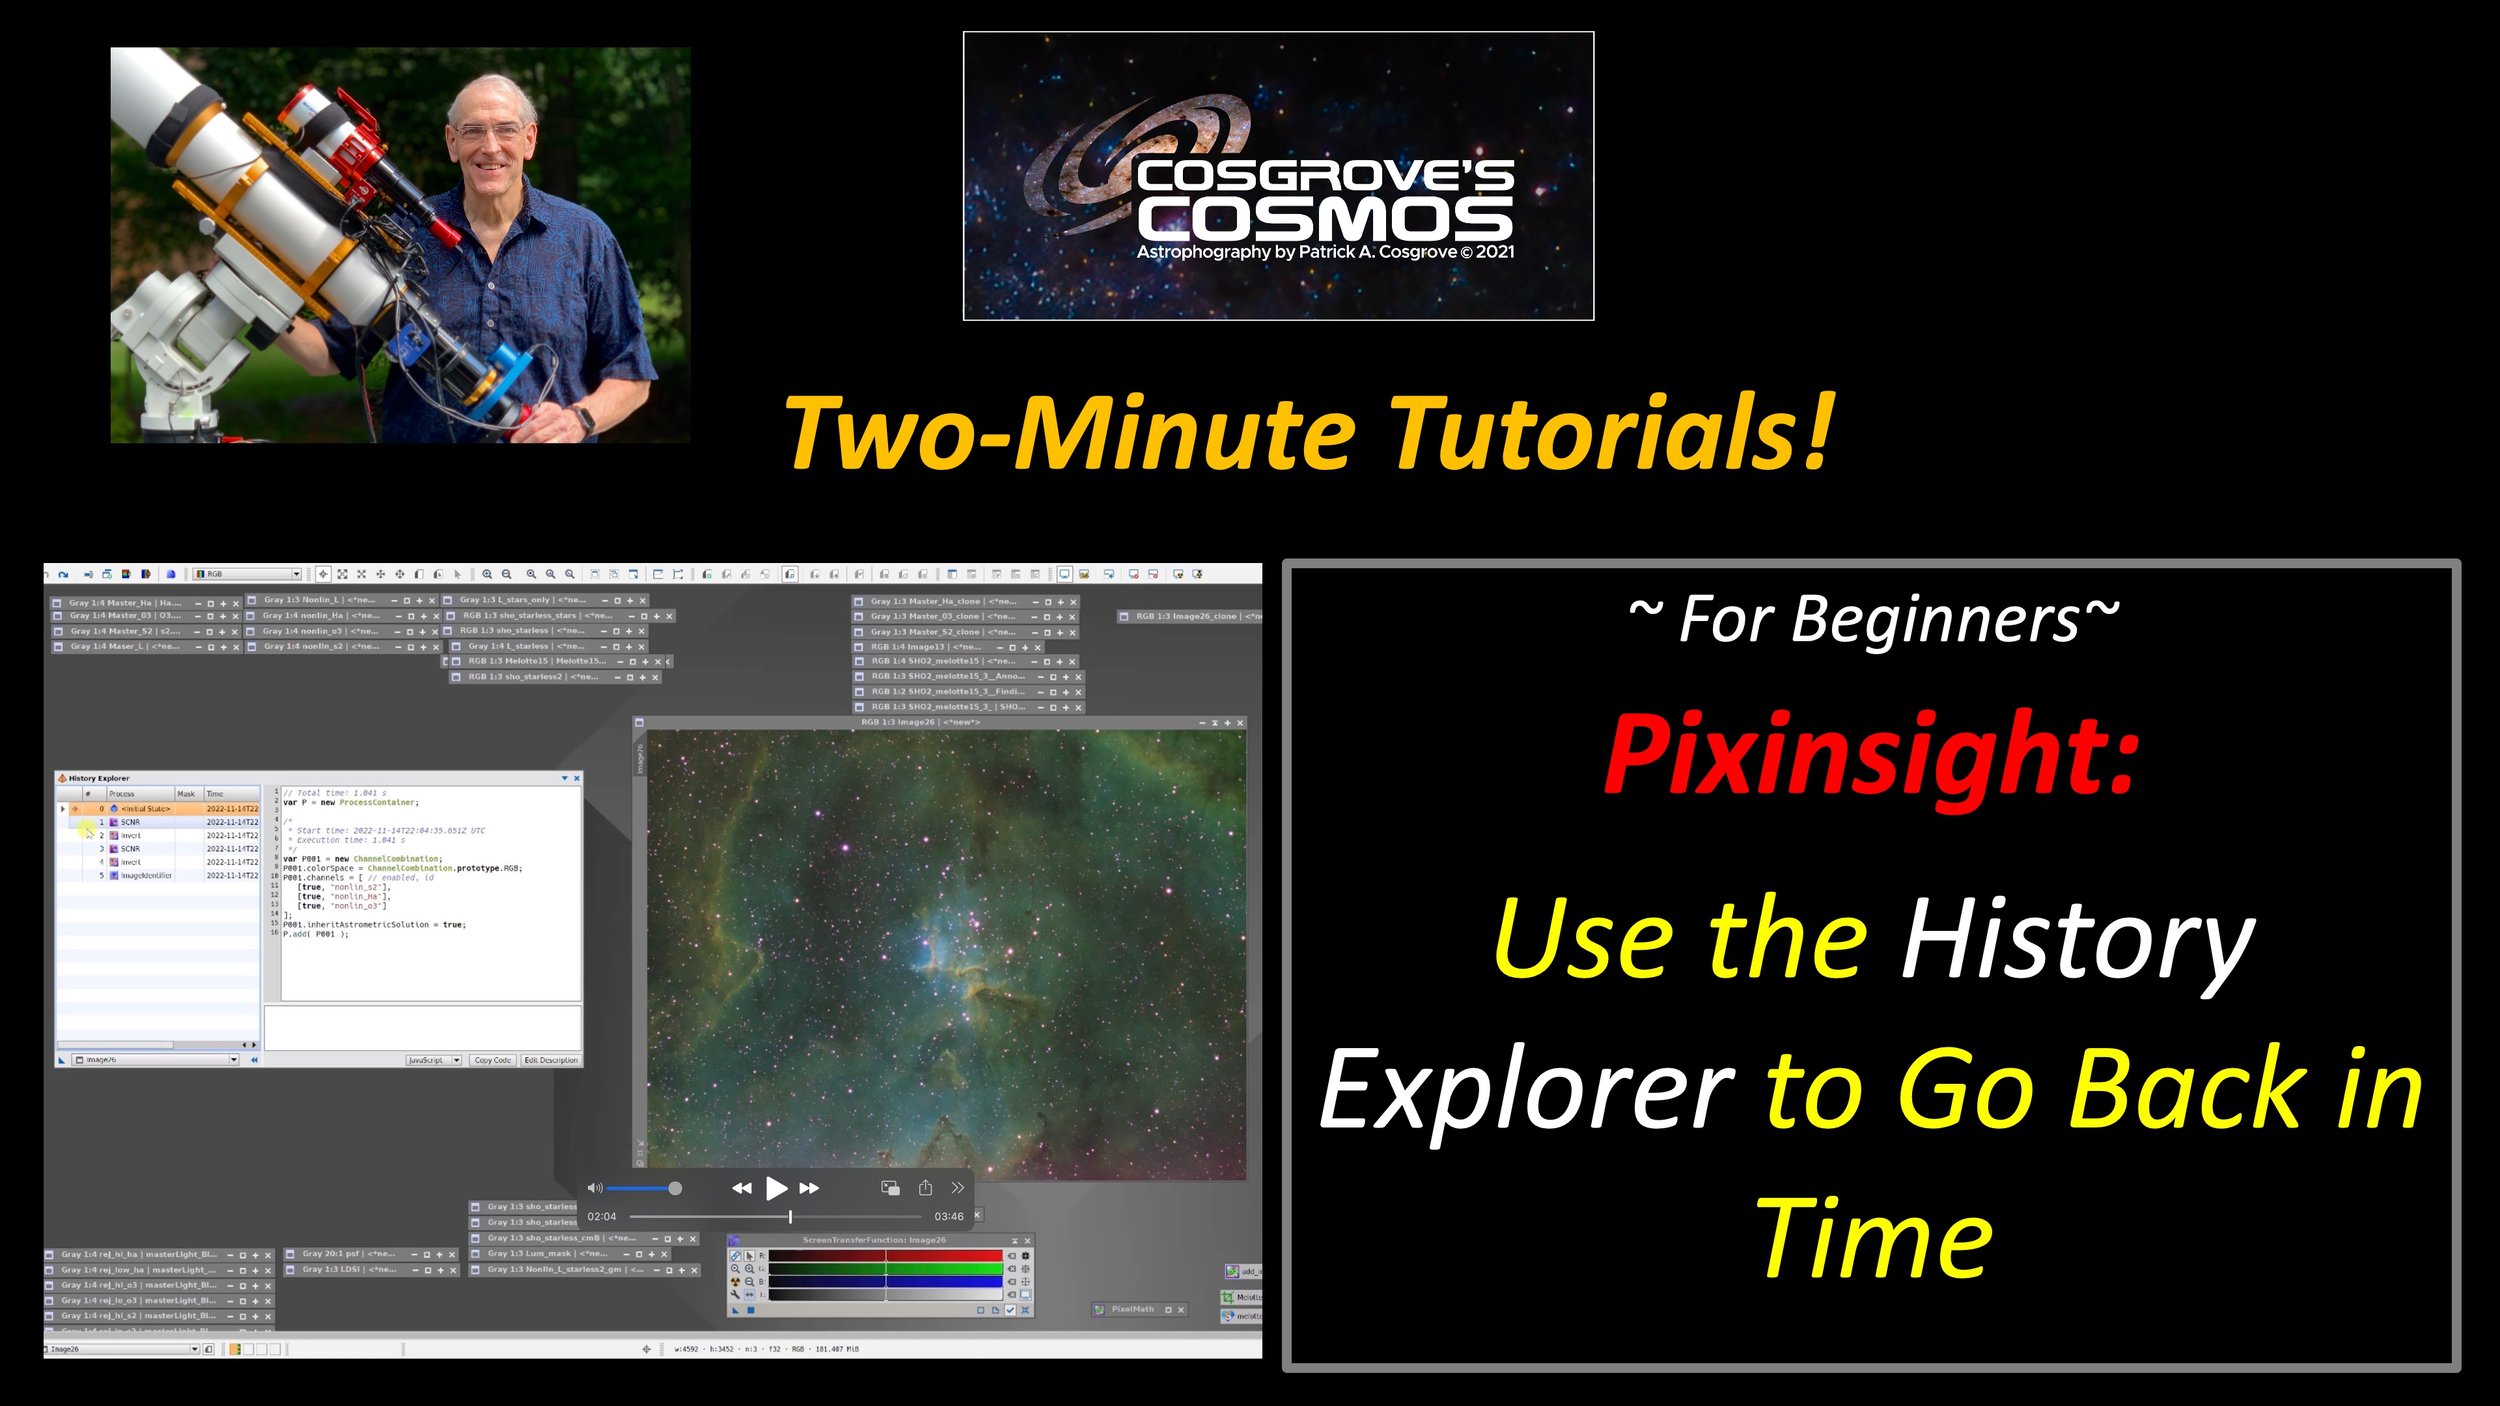
Using Image History in Pixinsight!
This video uses the Image History Explorer to go back in time!
Sometimes it is nice to review the processing chain that has produced an image.
Sometimes it is nice to grab an earlier version of an image so you can try an alternative processing method on it and compare it to what you currently have.
This video shows how you can use History Explorer to do all of this and more!
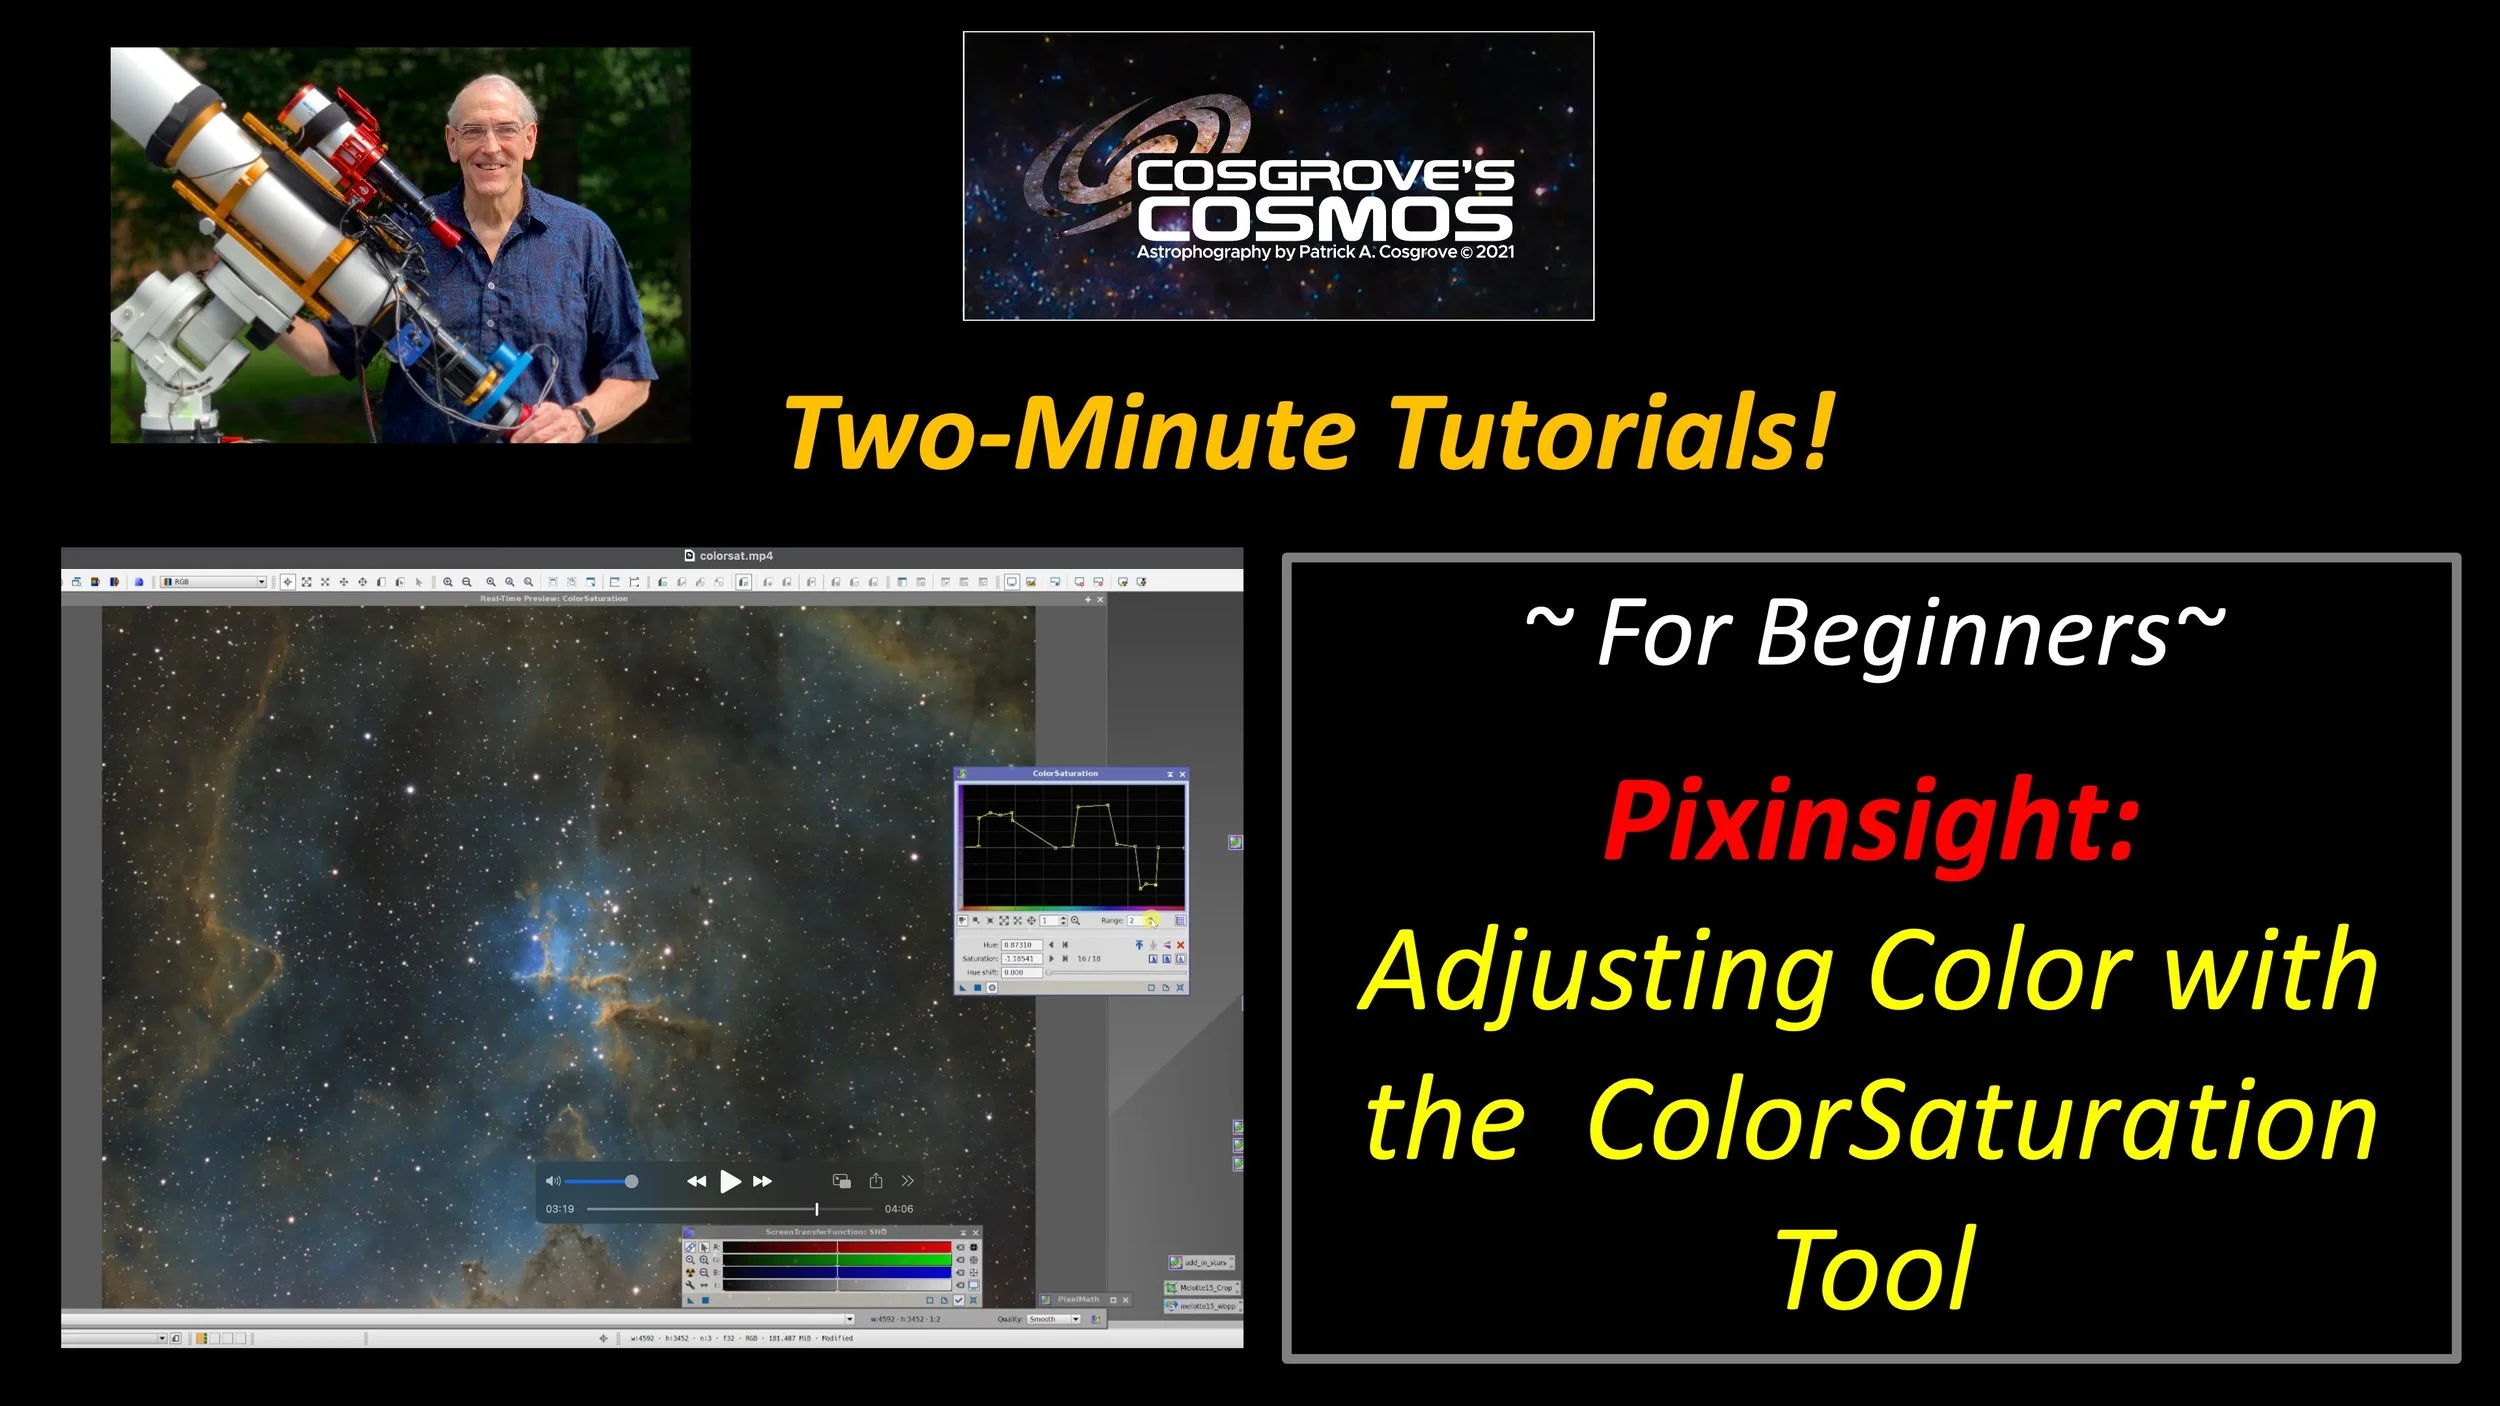
Adjusting Color with the ColorSaturation Tool!
This video uses the ColorSaturation Tool to adjust colors in your image selectively.
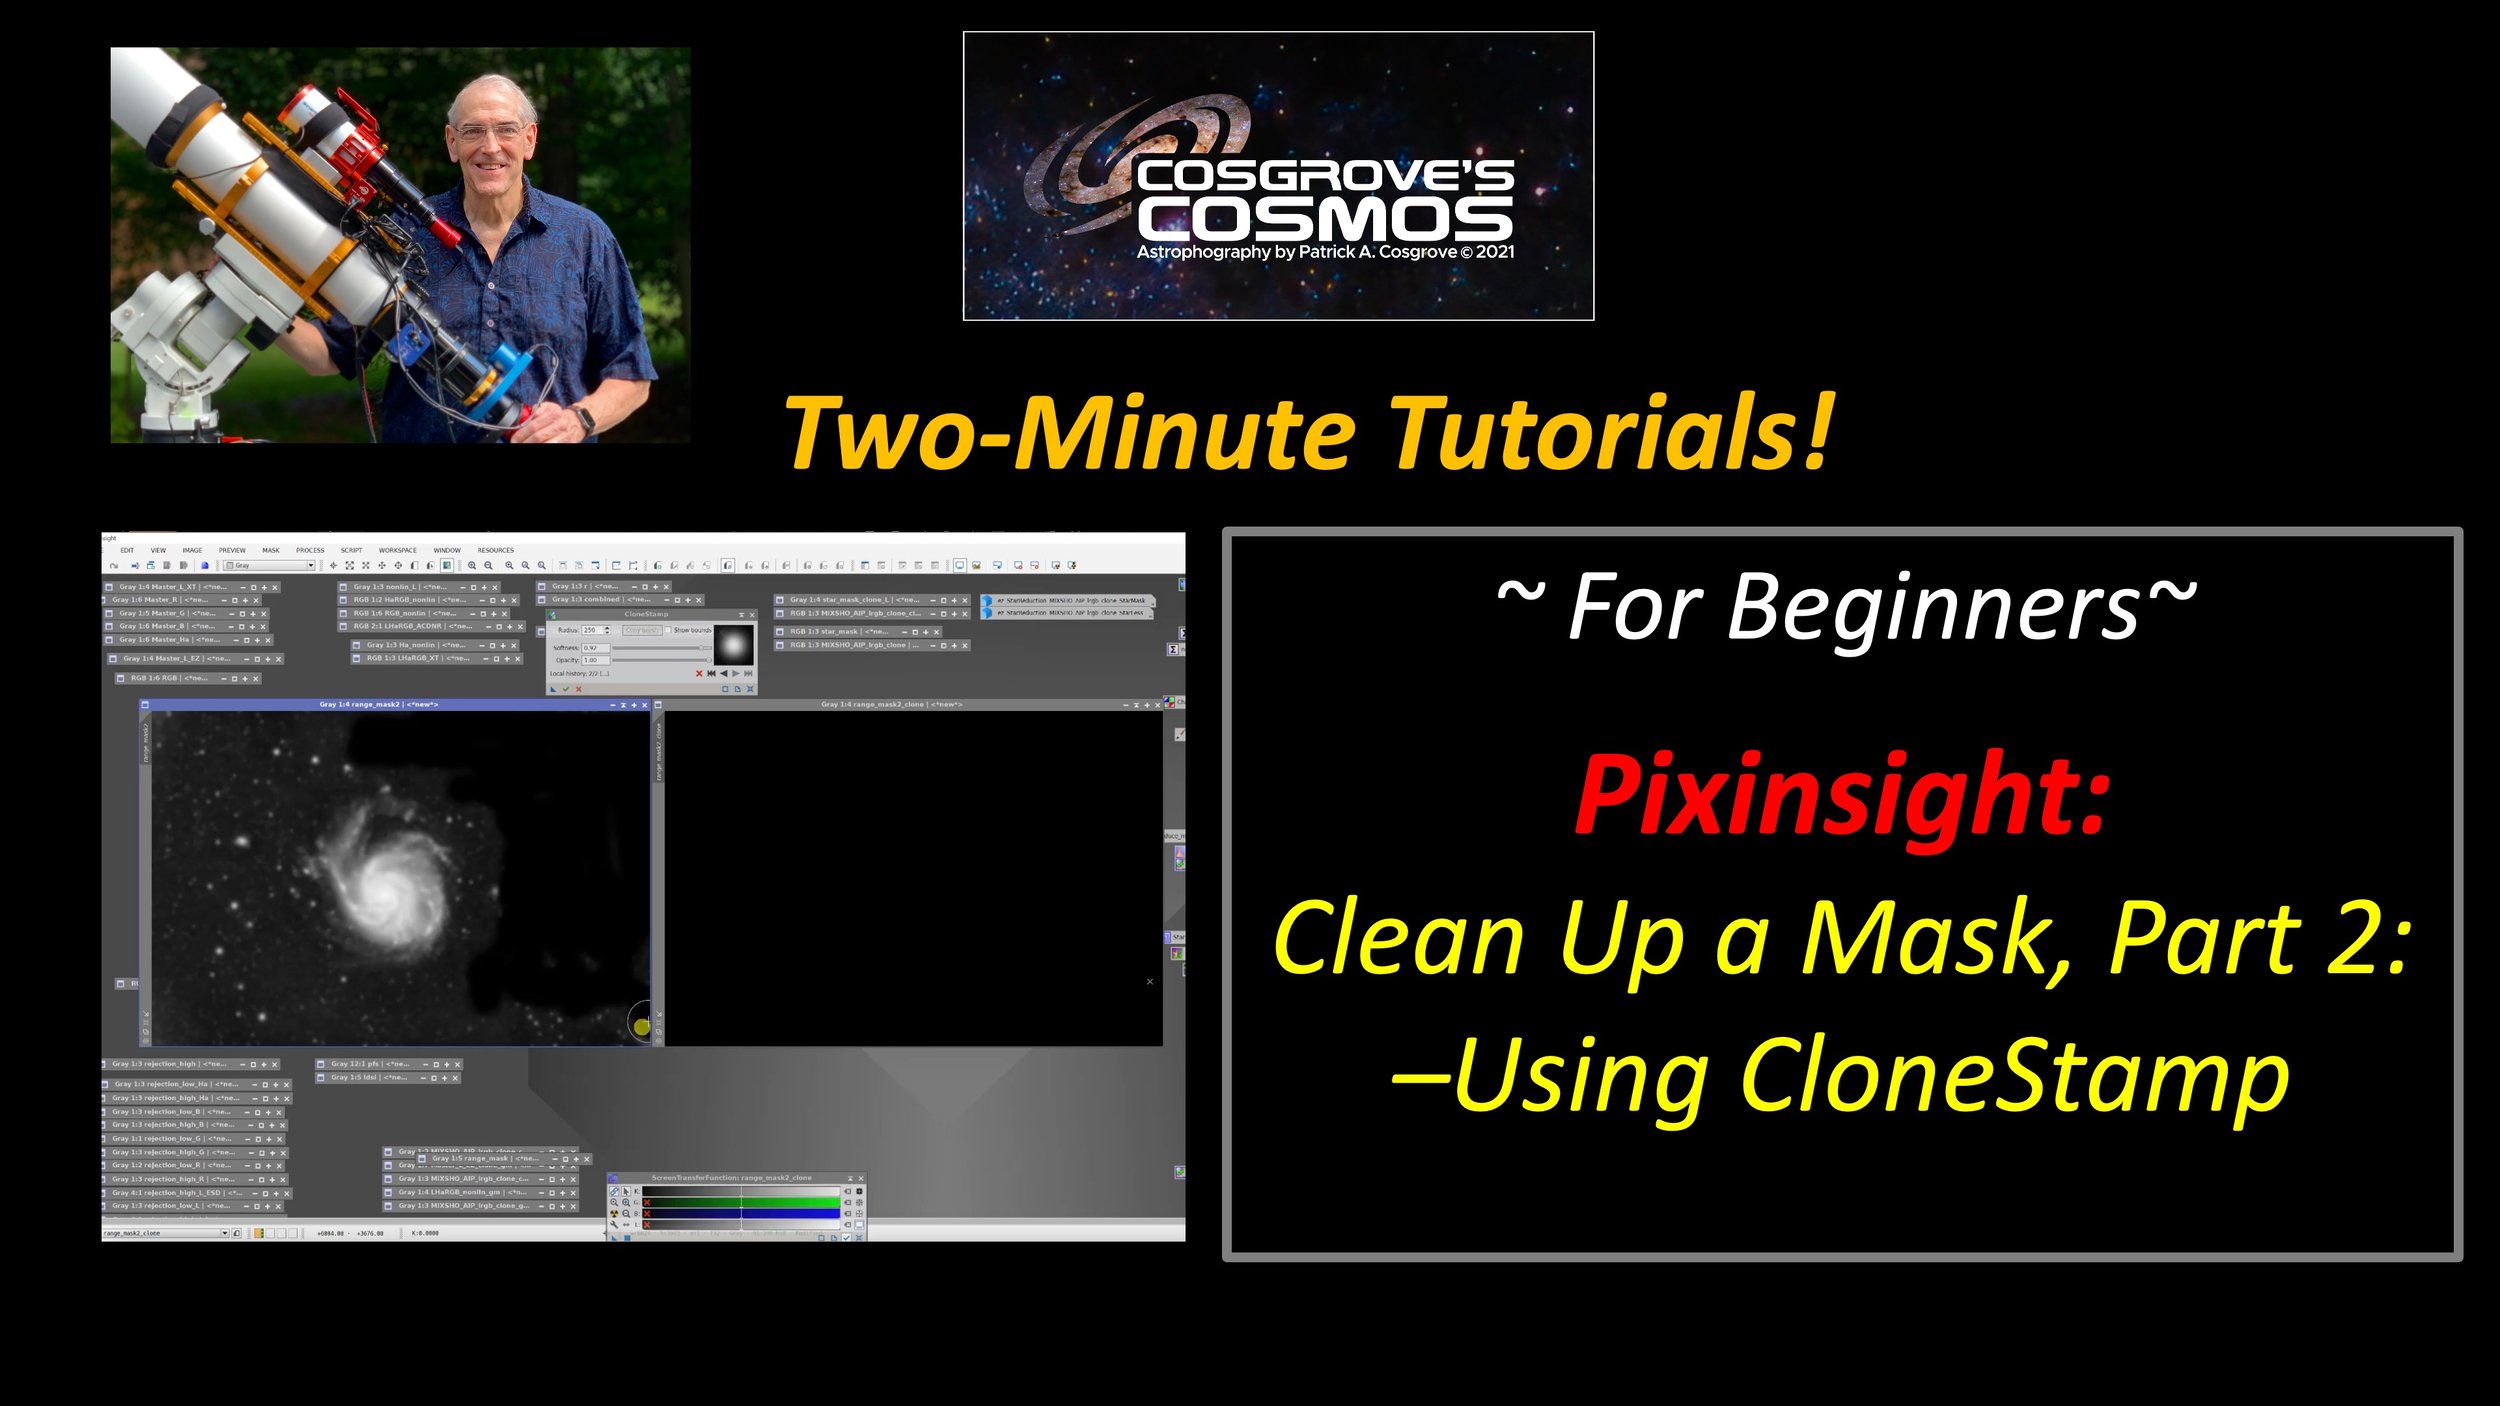
Cleanup A Mask Part 2: Using CloneStamp!
This video covers using CloneStamp to clean up or modify a mask.
In a previous video, I showed how to use DynamicPaintBrush - a $5 premium tool - to modify a mask. Since that tool is only available for Windows platforms, I created another video showing how you could use CloneStamp to do the same thing.
CloneStamp is a standard tool in Pixinsight and part of each installation regardless of platform.
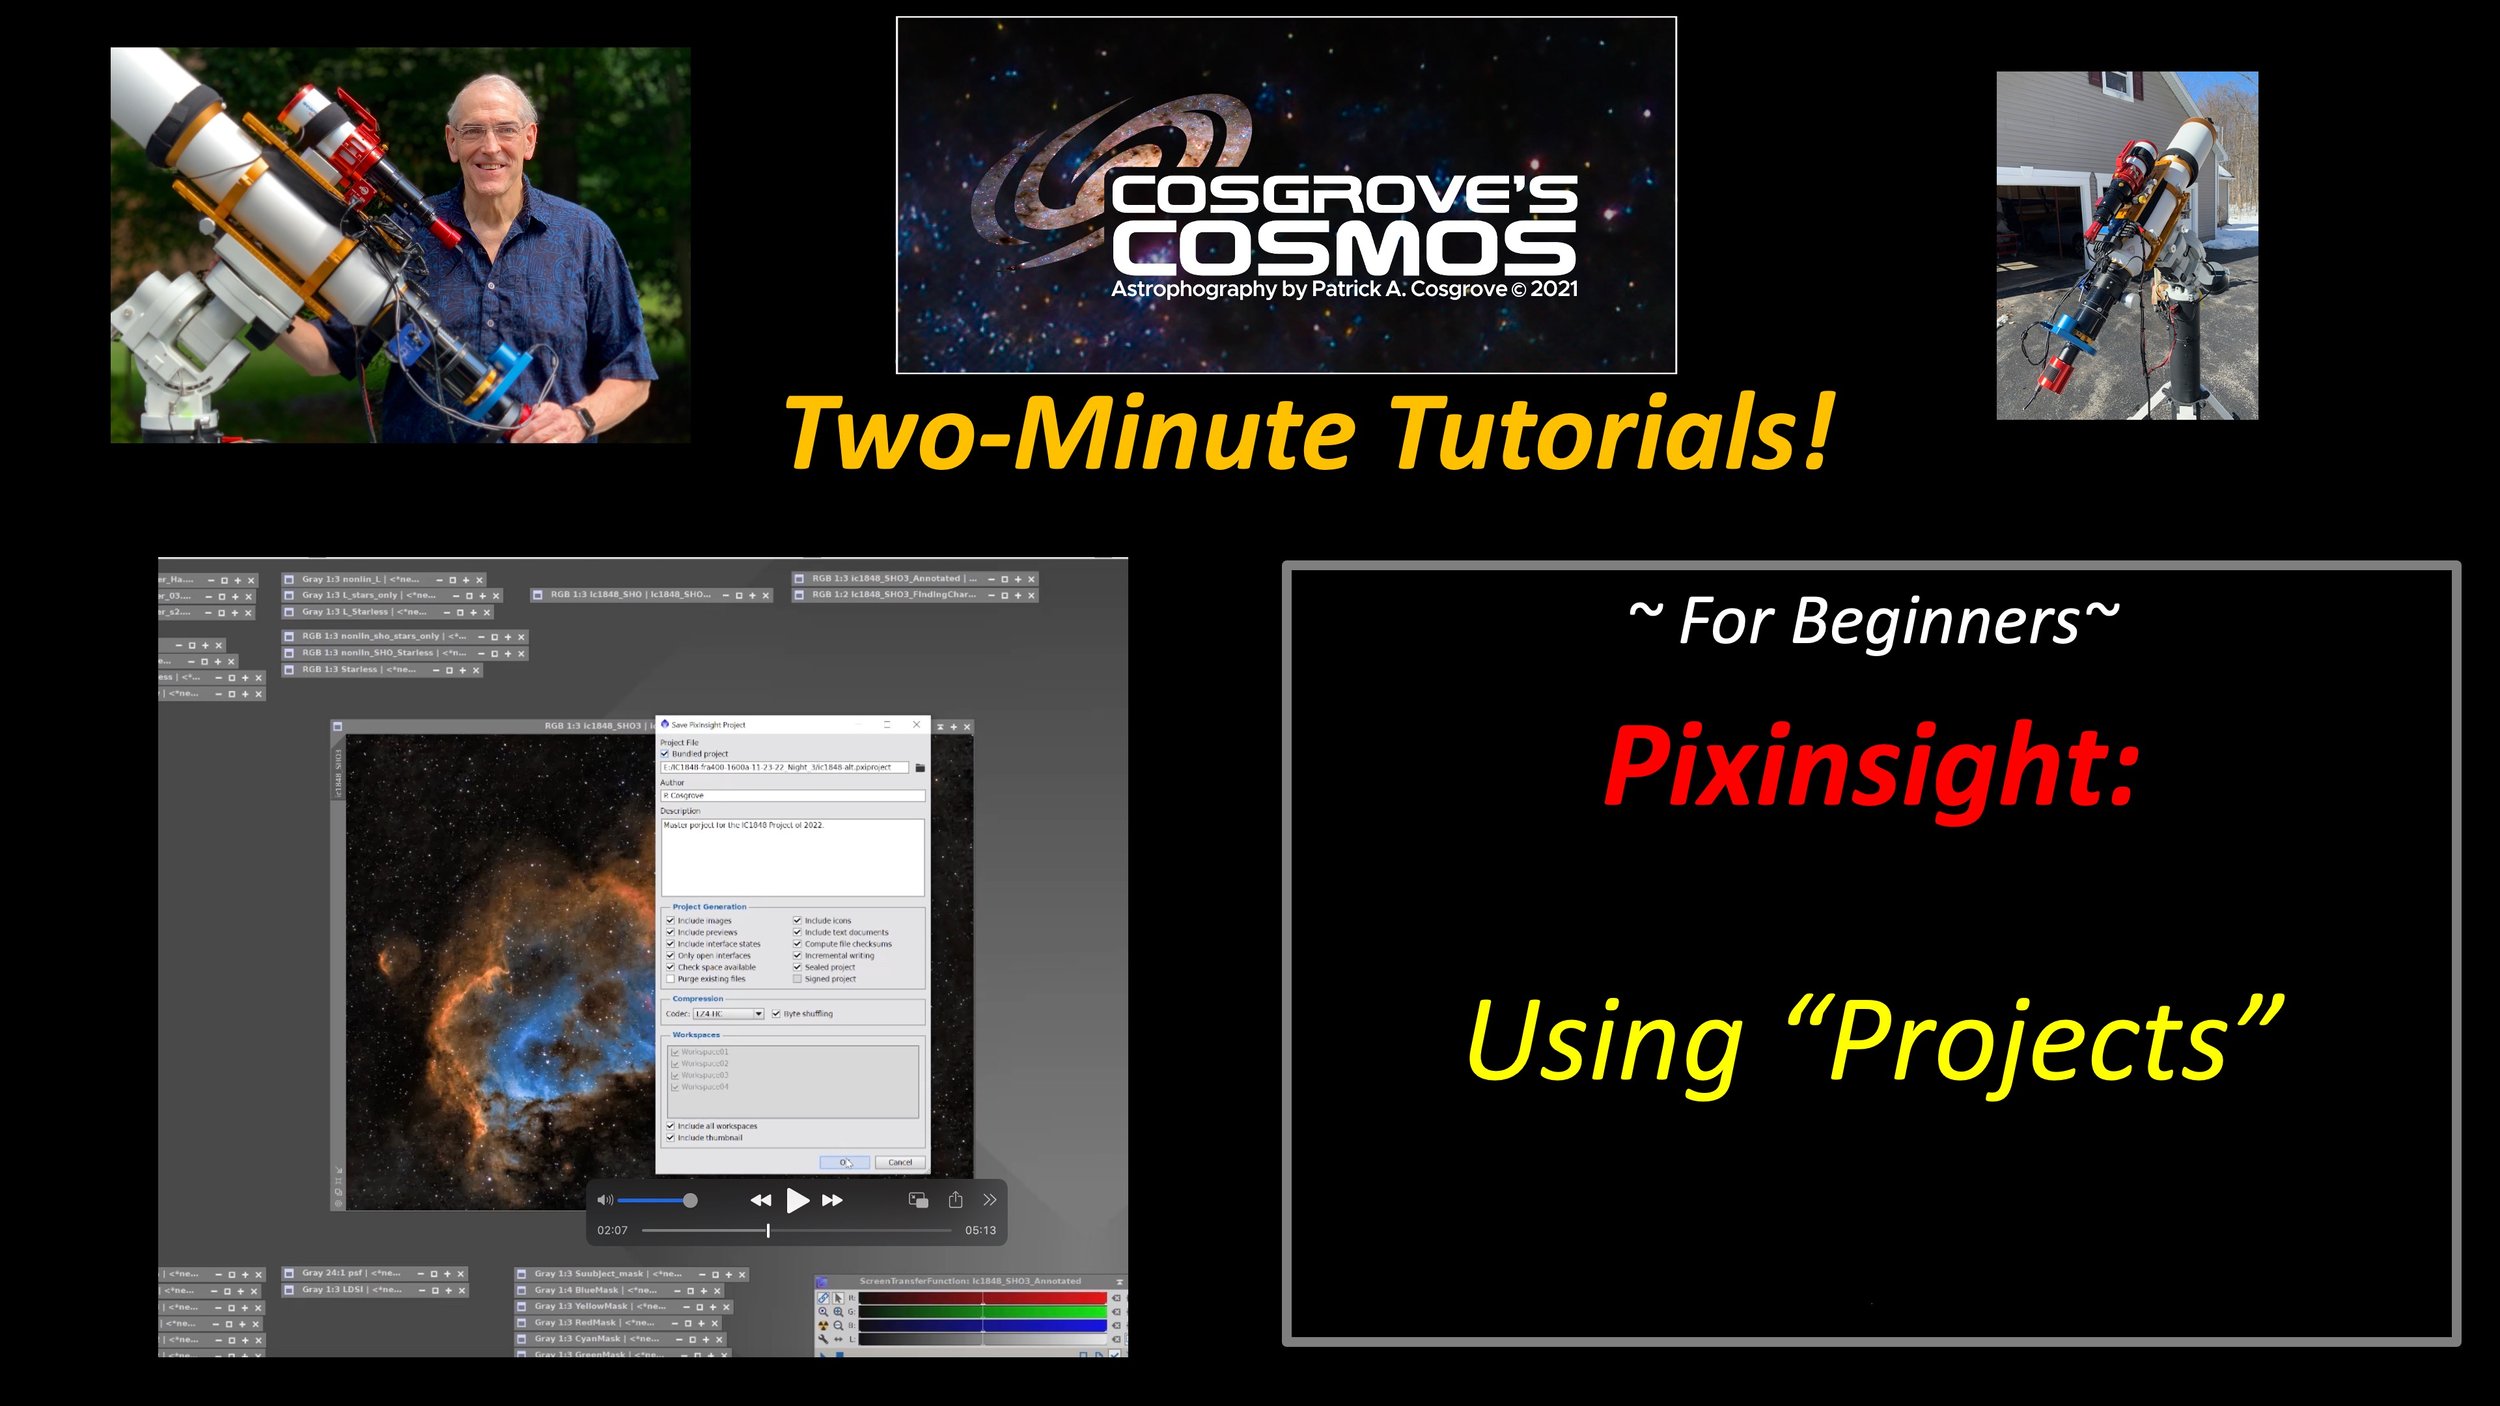
Using “Projects”
Save every aspect of your image processing effort as a Pixnsight “Project.” This is a great way to save your work as you go along and allows you to jump back into the project at a time down the road. This video shows how this works!

Creating A Synthetic Luminance Image
This video deals with creating a Synthetic Luminance Image using the ImageIntegration process.
This is useful when you want a Lum vs. Color workflow and don't already have a luminance channel - Narrowband imaging is an excellent example of this.
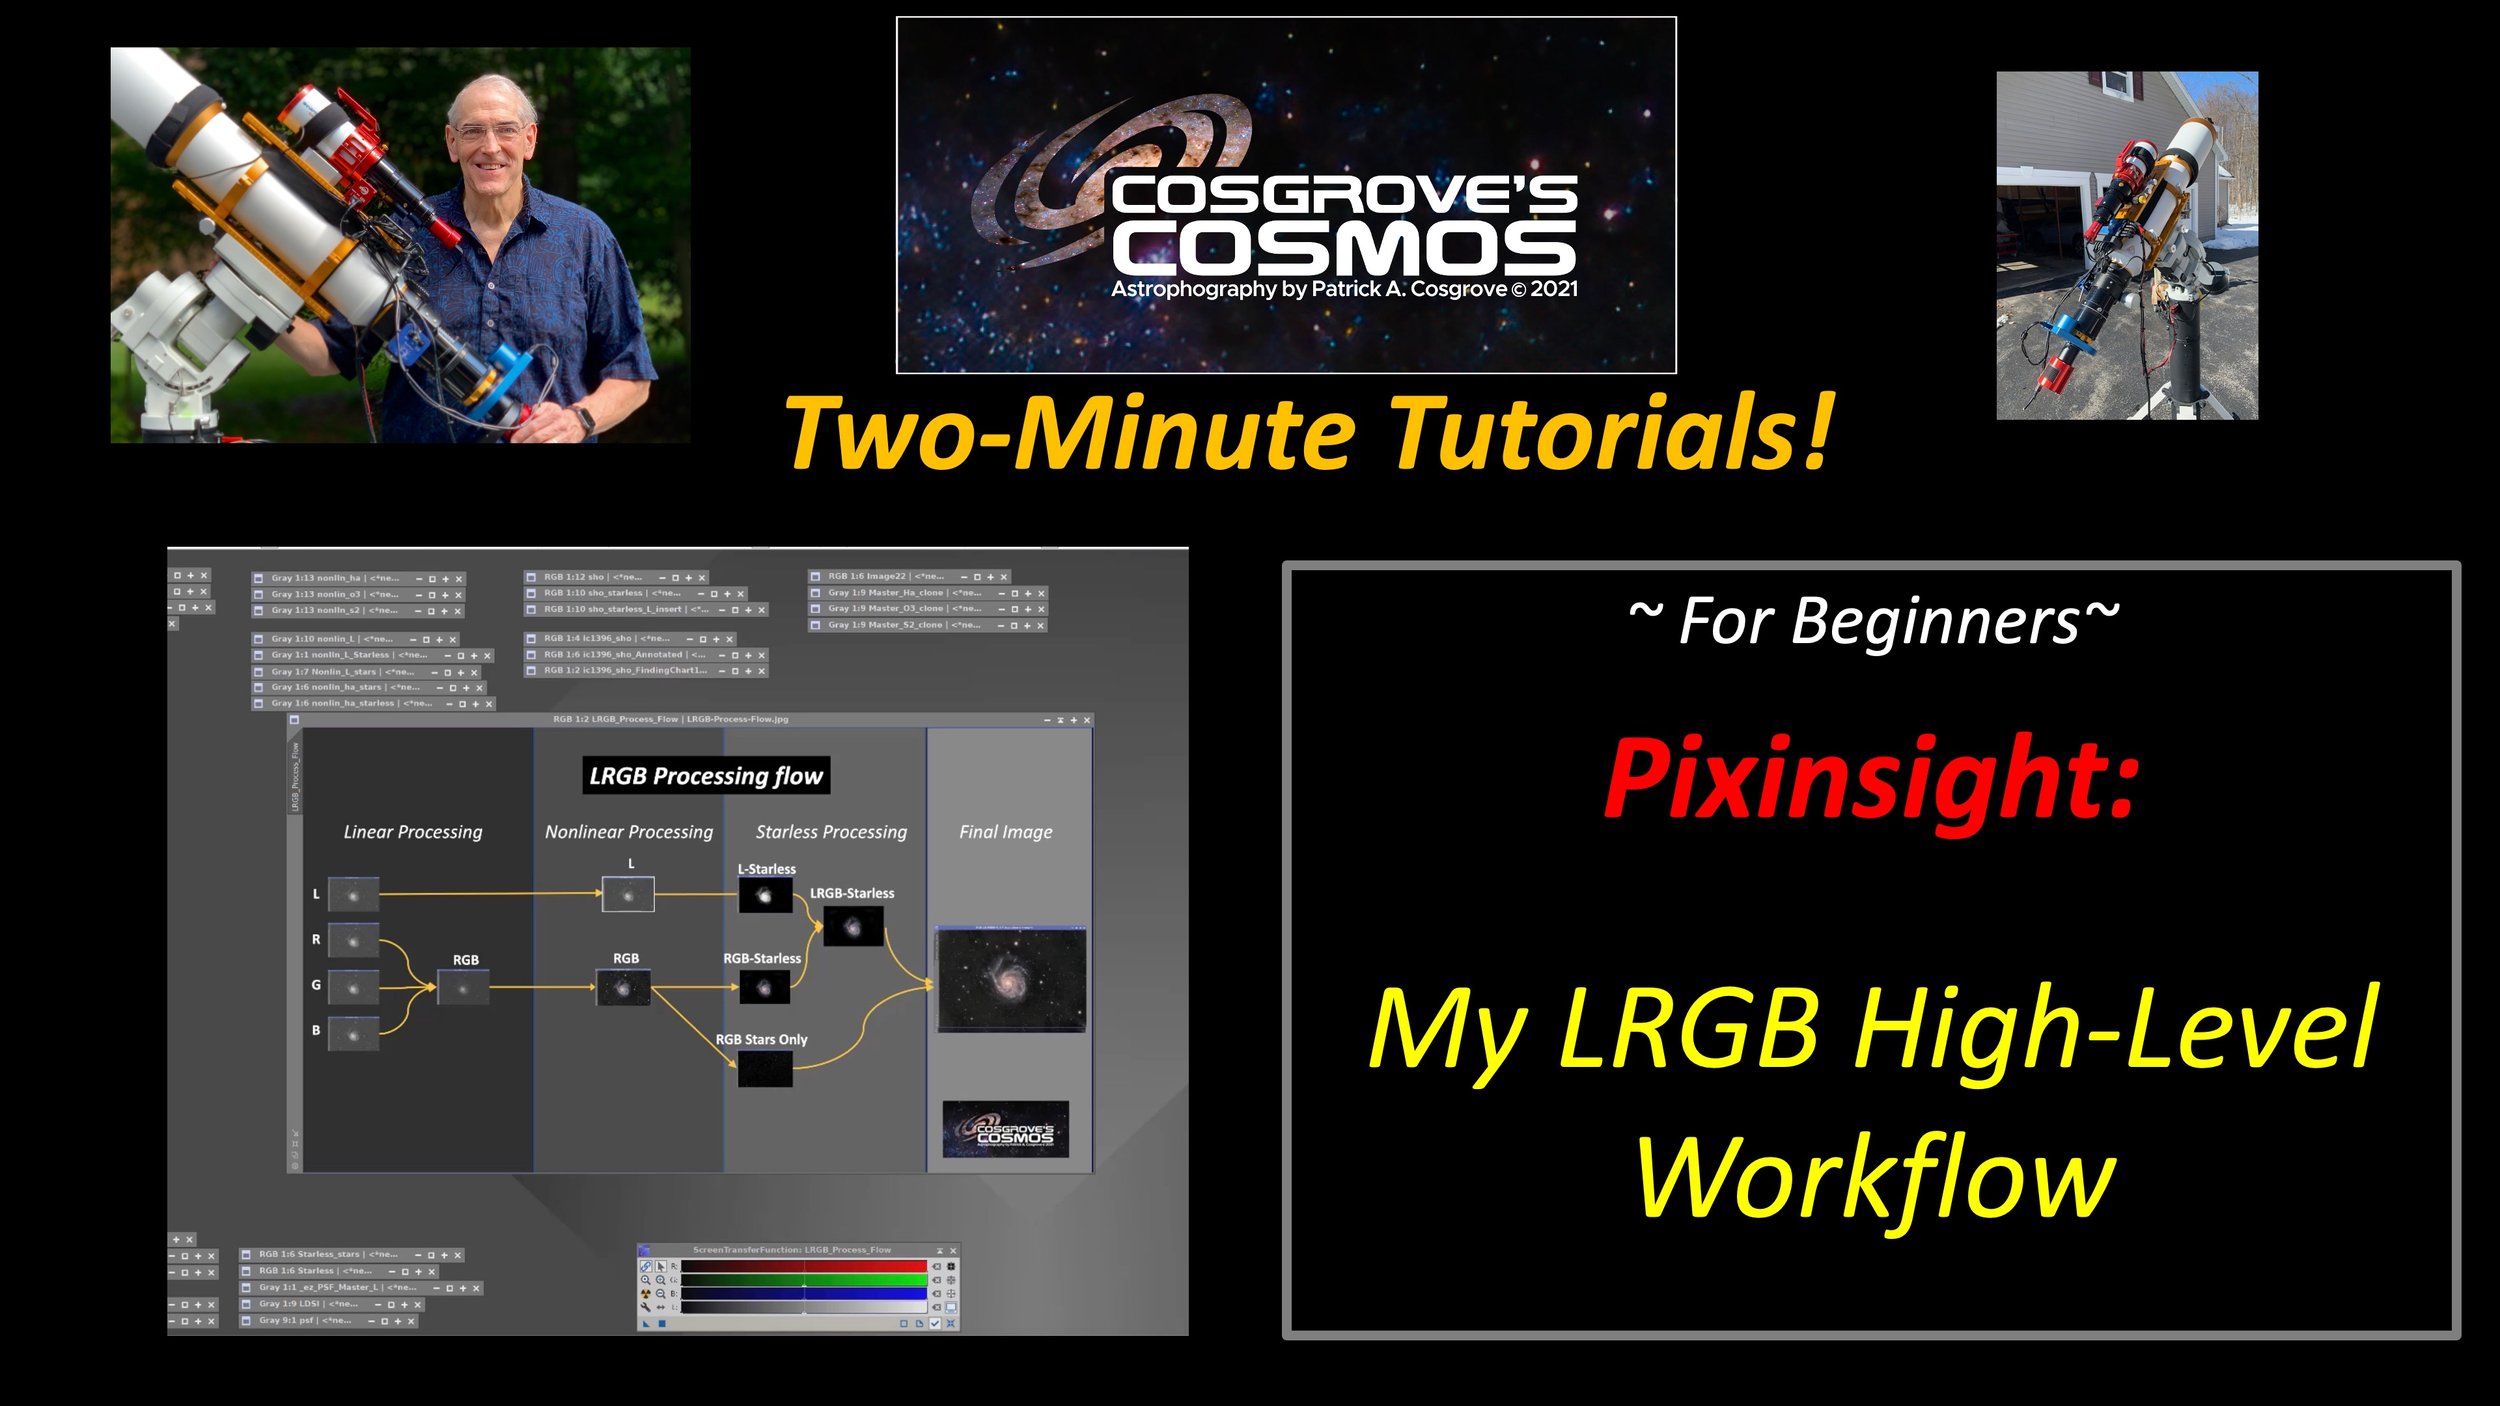
My High-Level LRGB Workflow
This 2-Minute Tutorial covers my preferred high-level LRGB workflow!
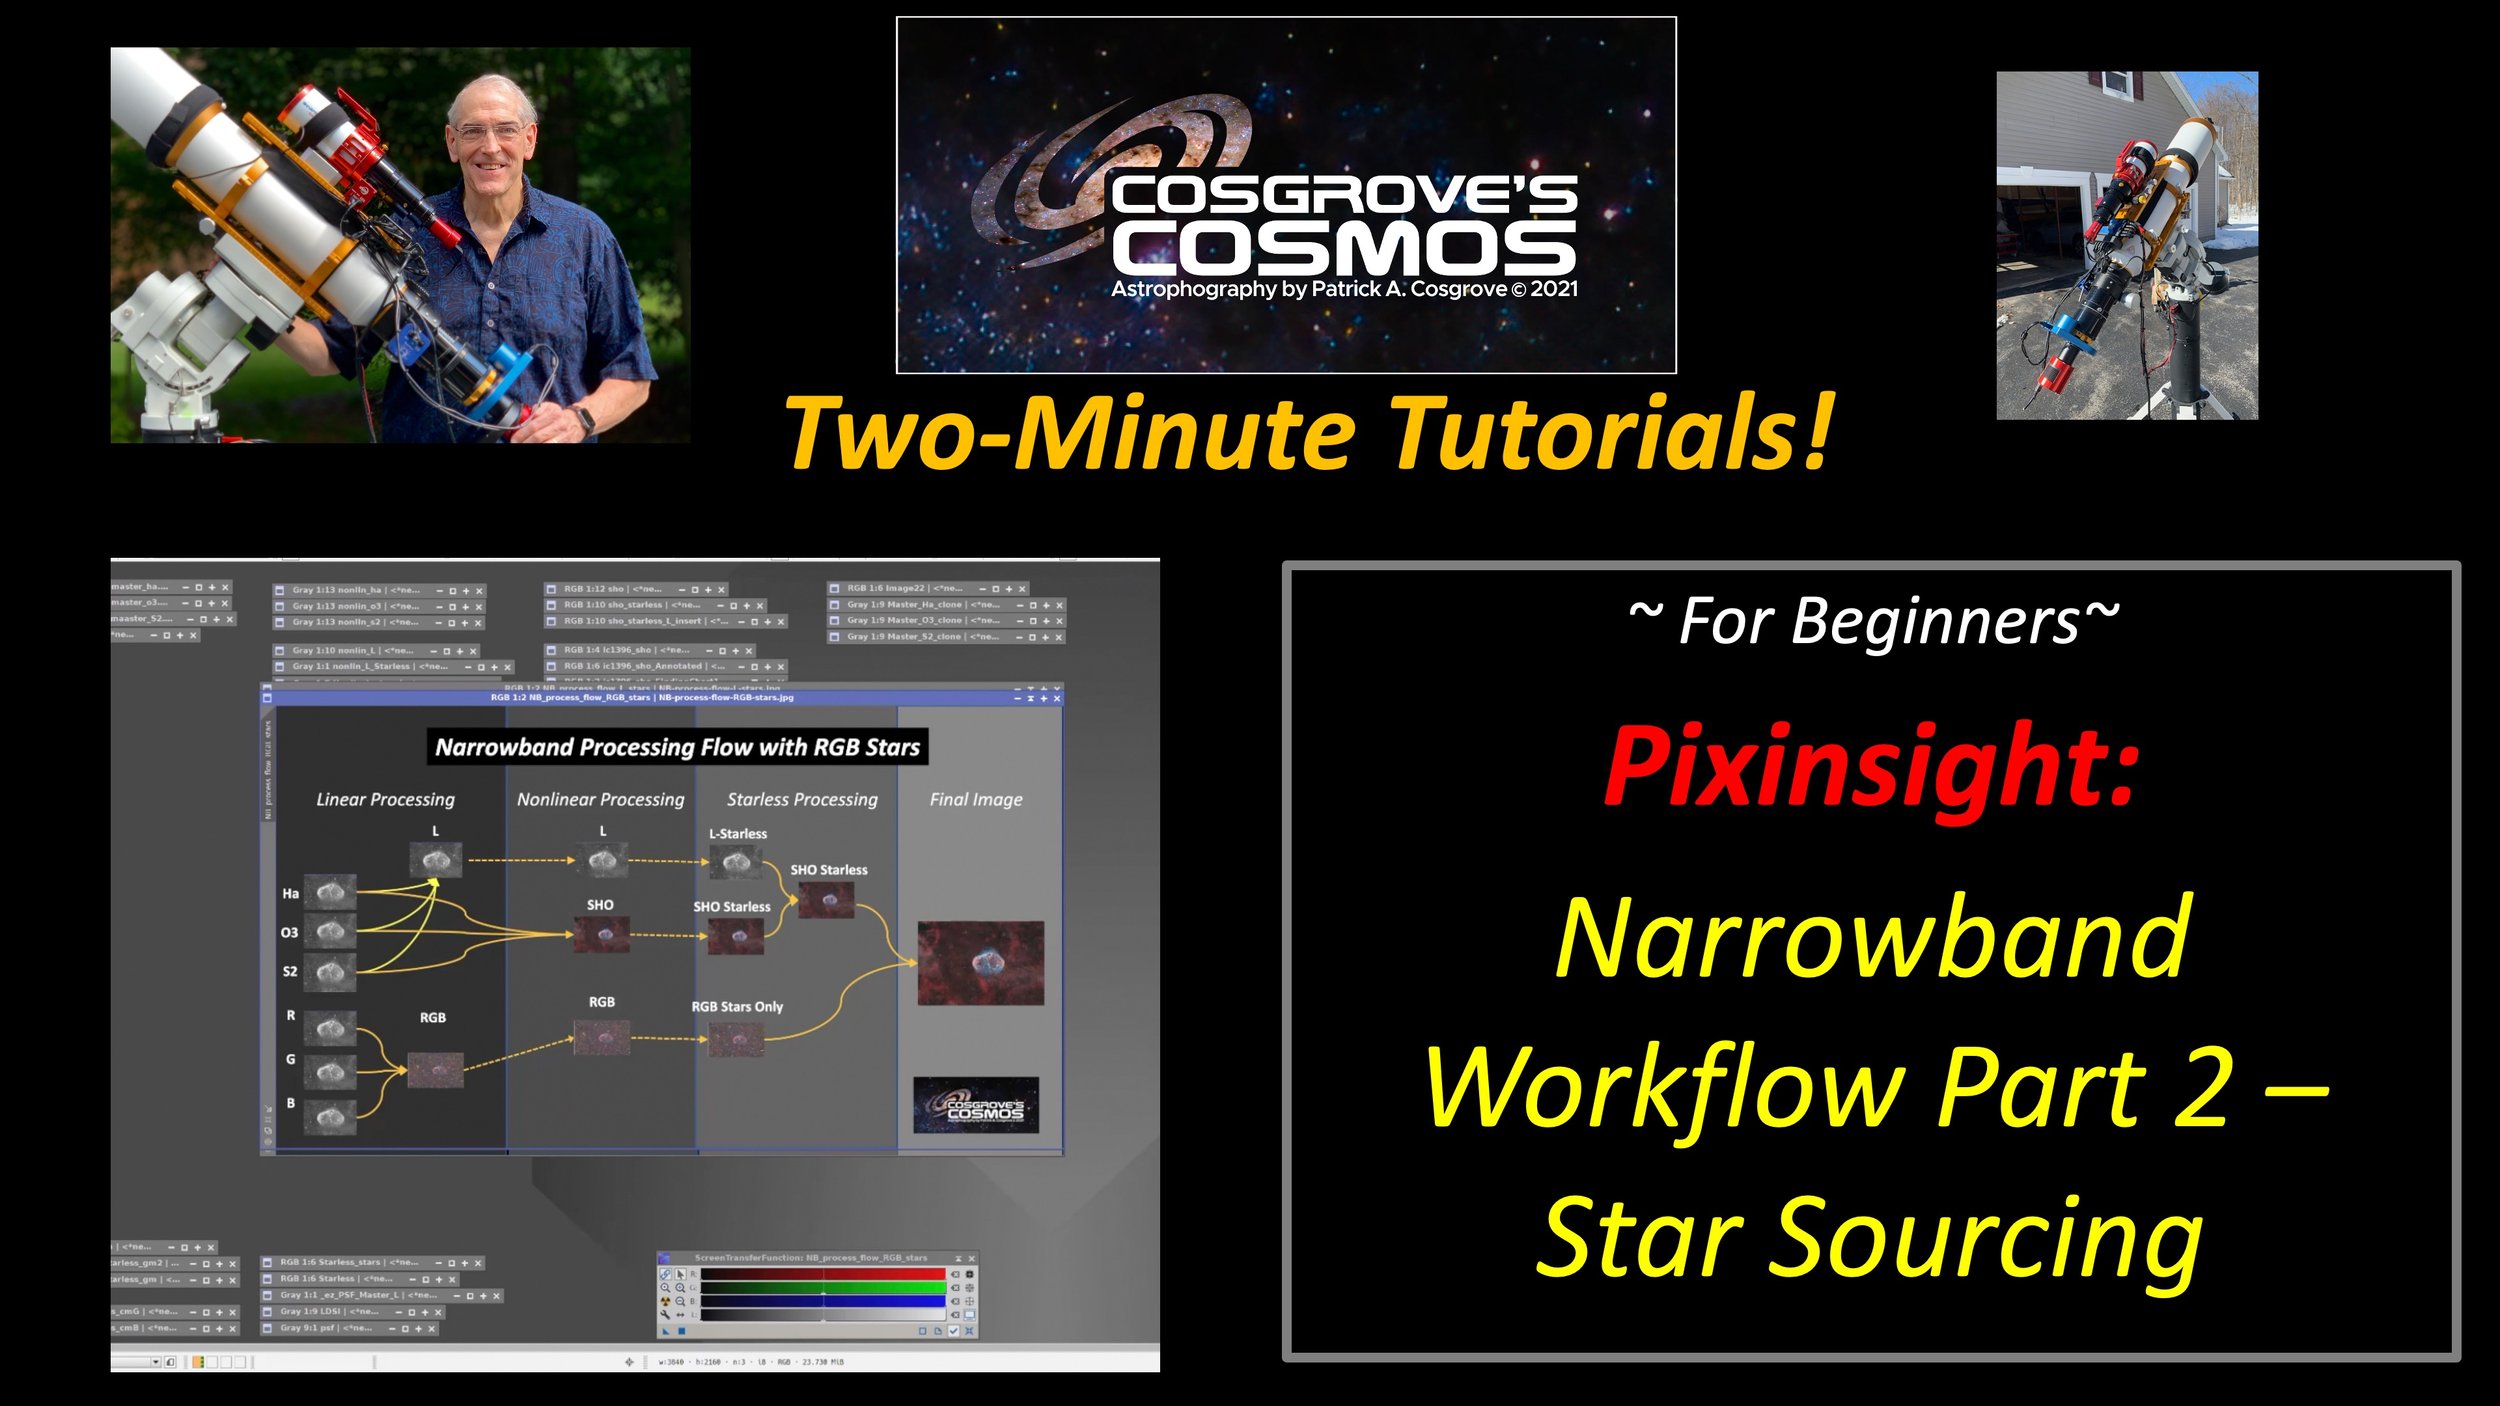
My Narrowband High-Level Workflows - Part 2: Sourcing Stars
This video is Part 2 of my previous video on Narrowband High-Level Workflow and focuses on various options for the source of the stars used to fold into your final image.

Using DynamicCrop with Mono Images
This video covers using the DynamicCrop tool to trim the edges of Mono Master images after Pre-Processing.
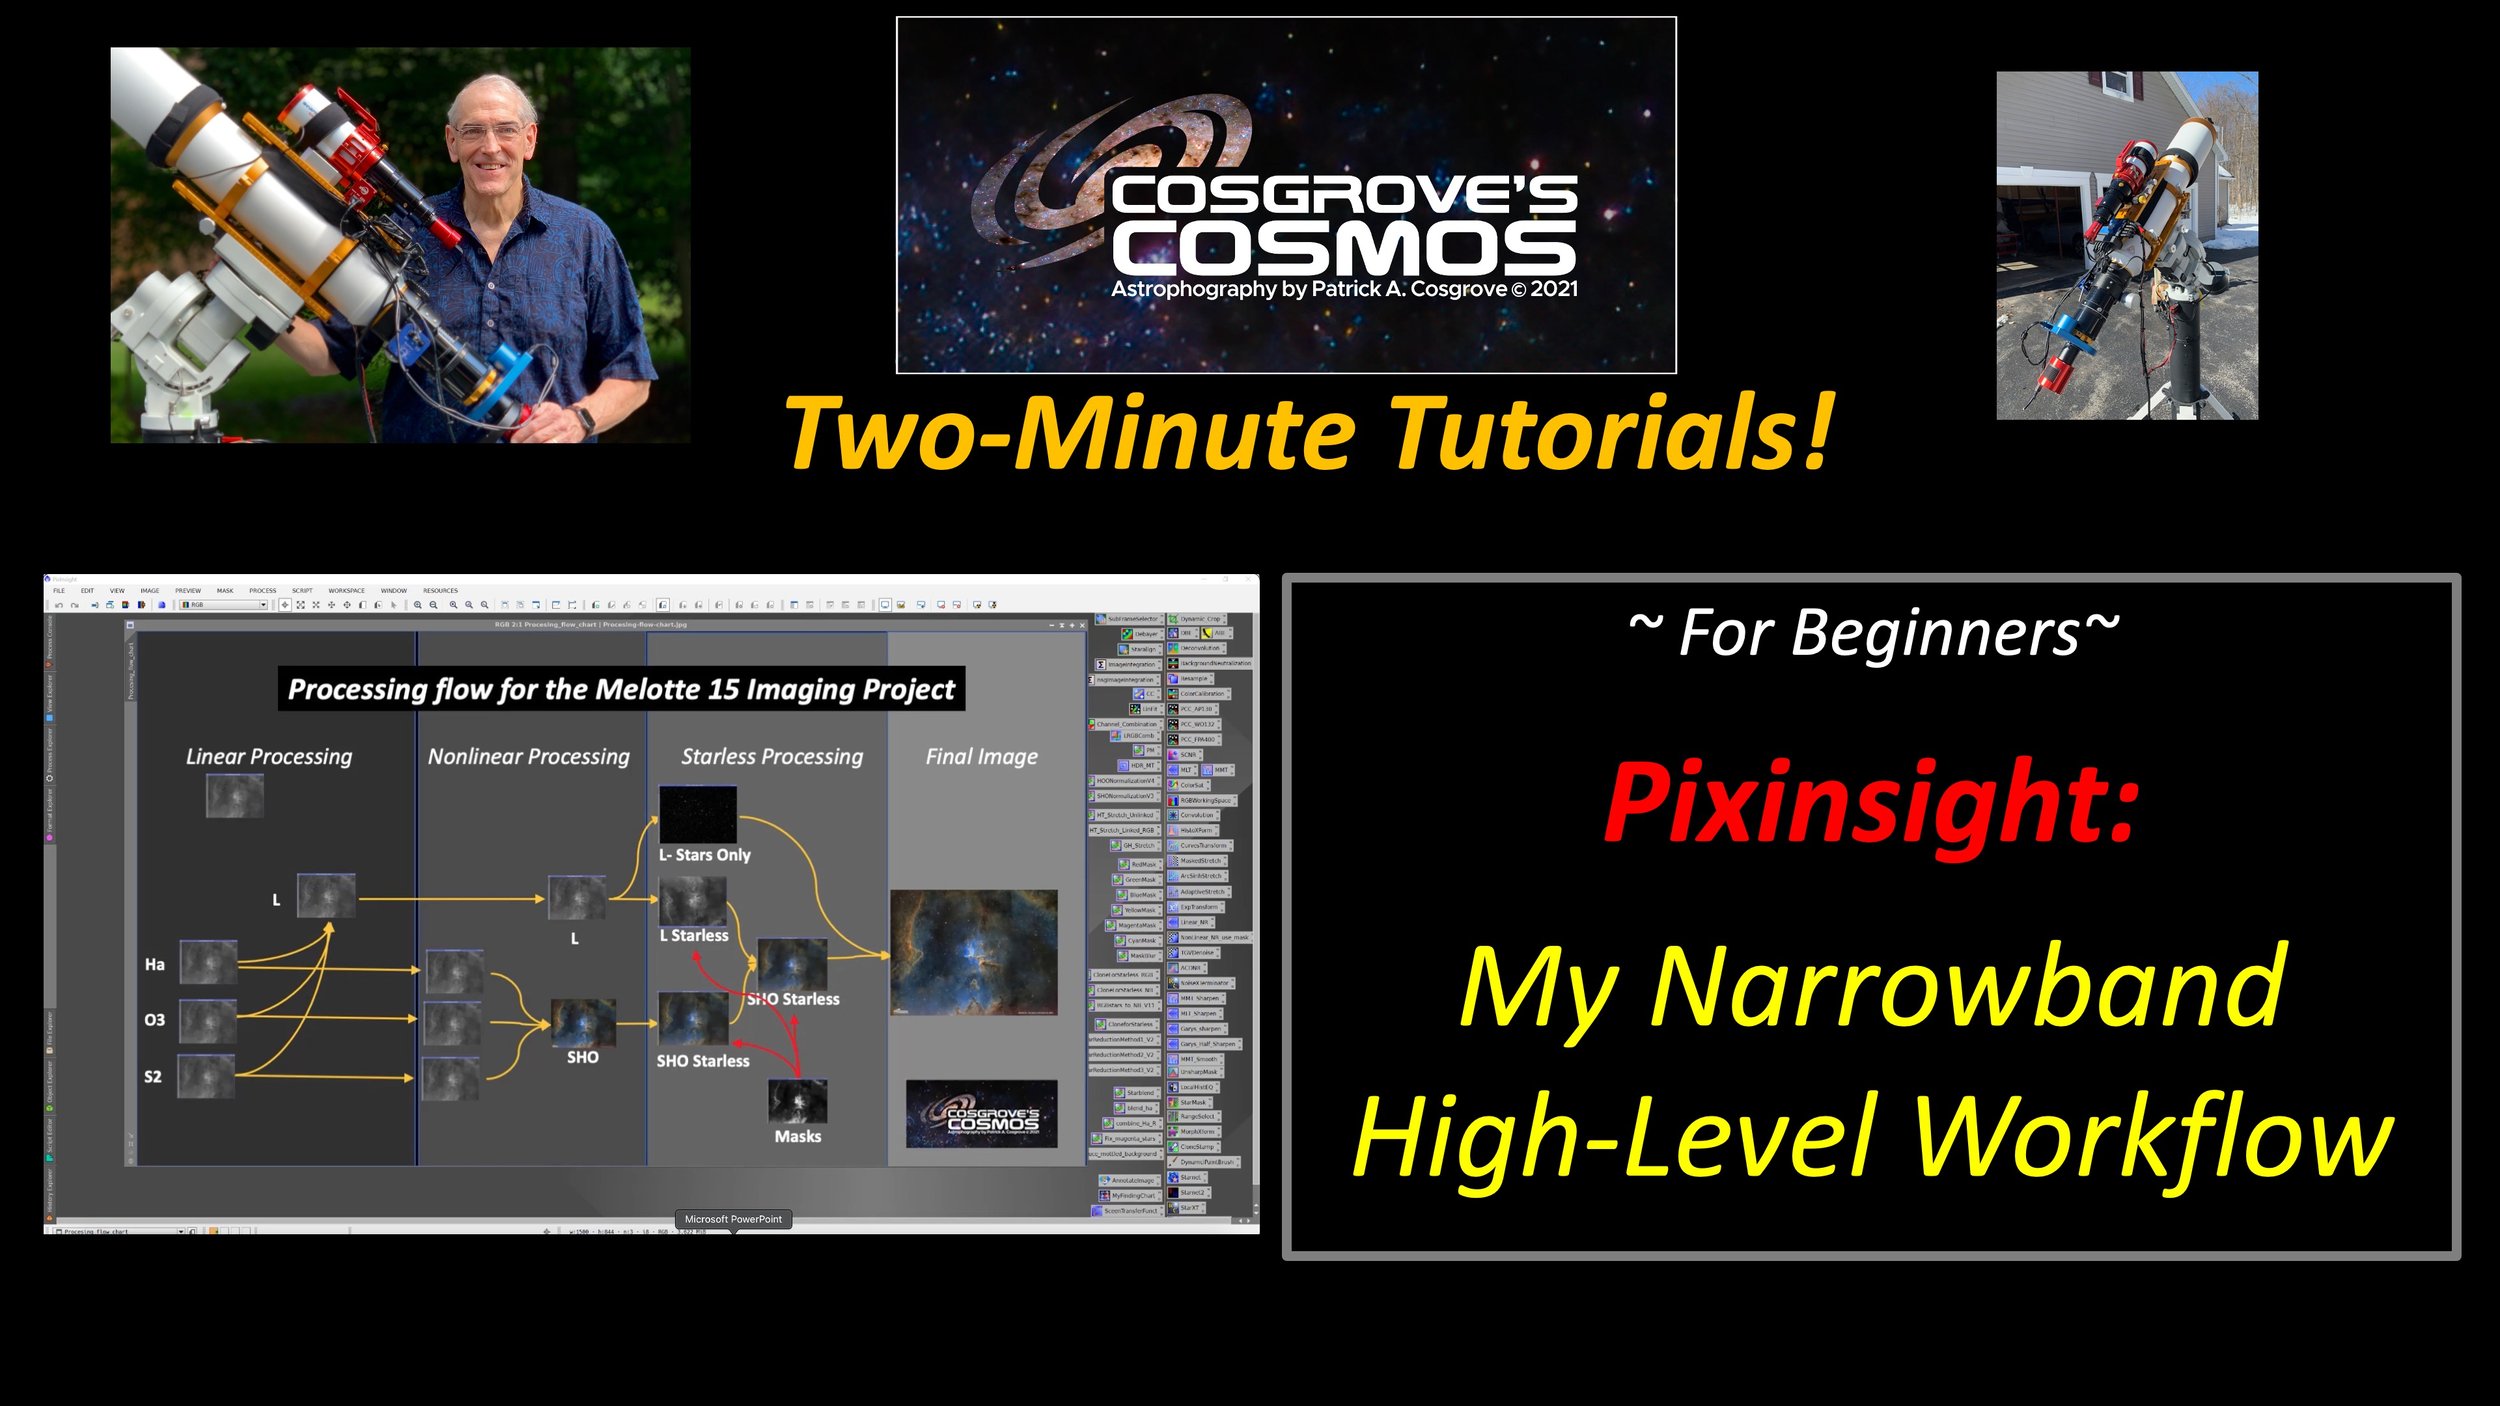
My High-Level Narrowband Workflow
This video deals with the high-level workflow for processing Narrowband SHO images.
I should note that this chart comes from a particular project where I extracted my stars from the Luminance channel rather than the SHO color image. I do that sometimes. It is equally valid to extract your stars from the color SHO image.
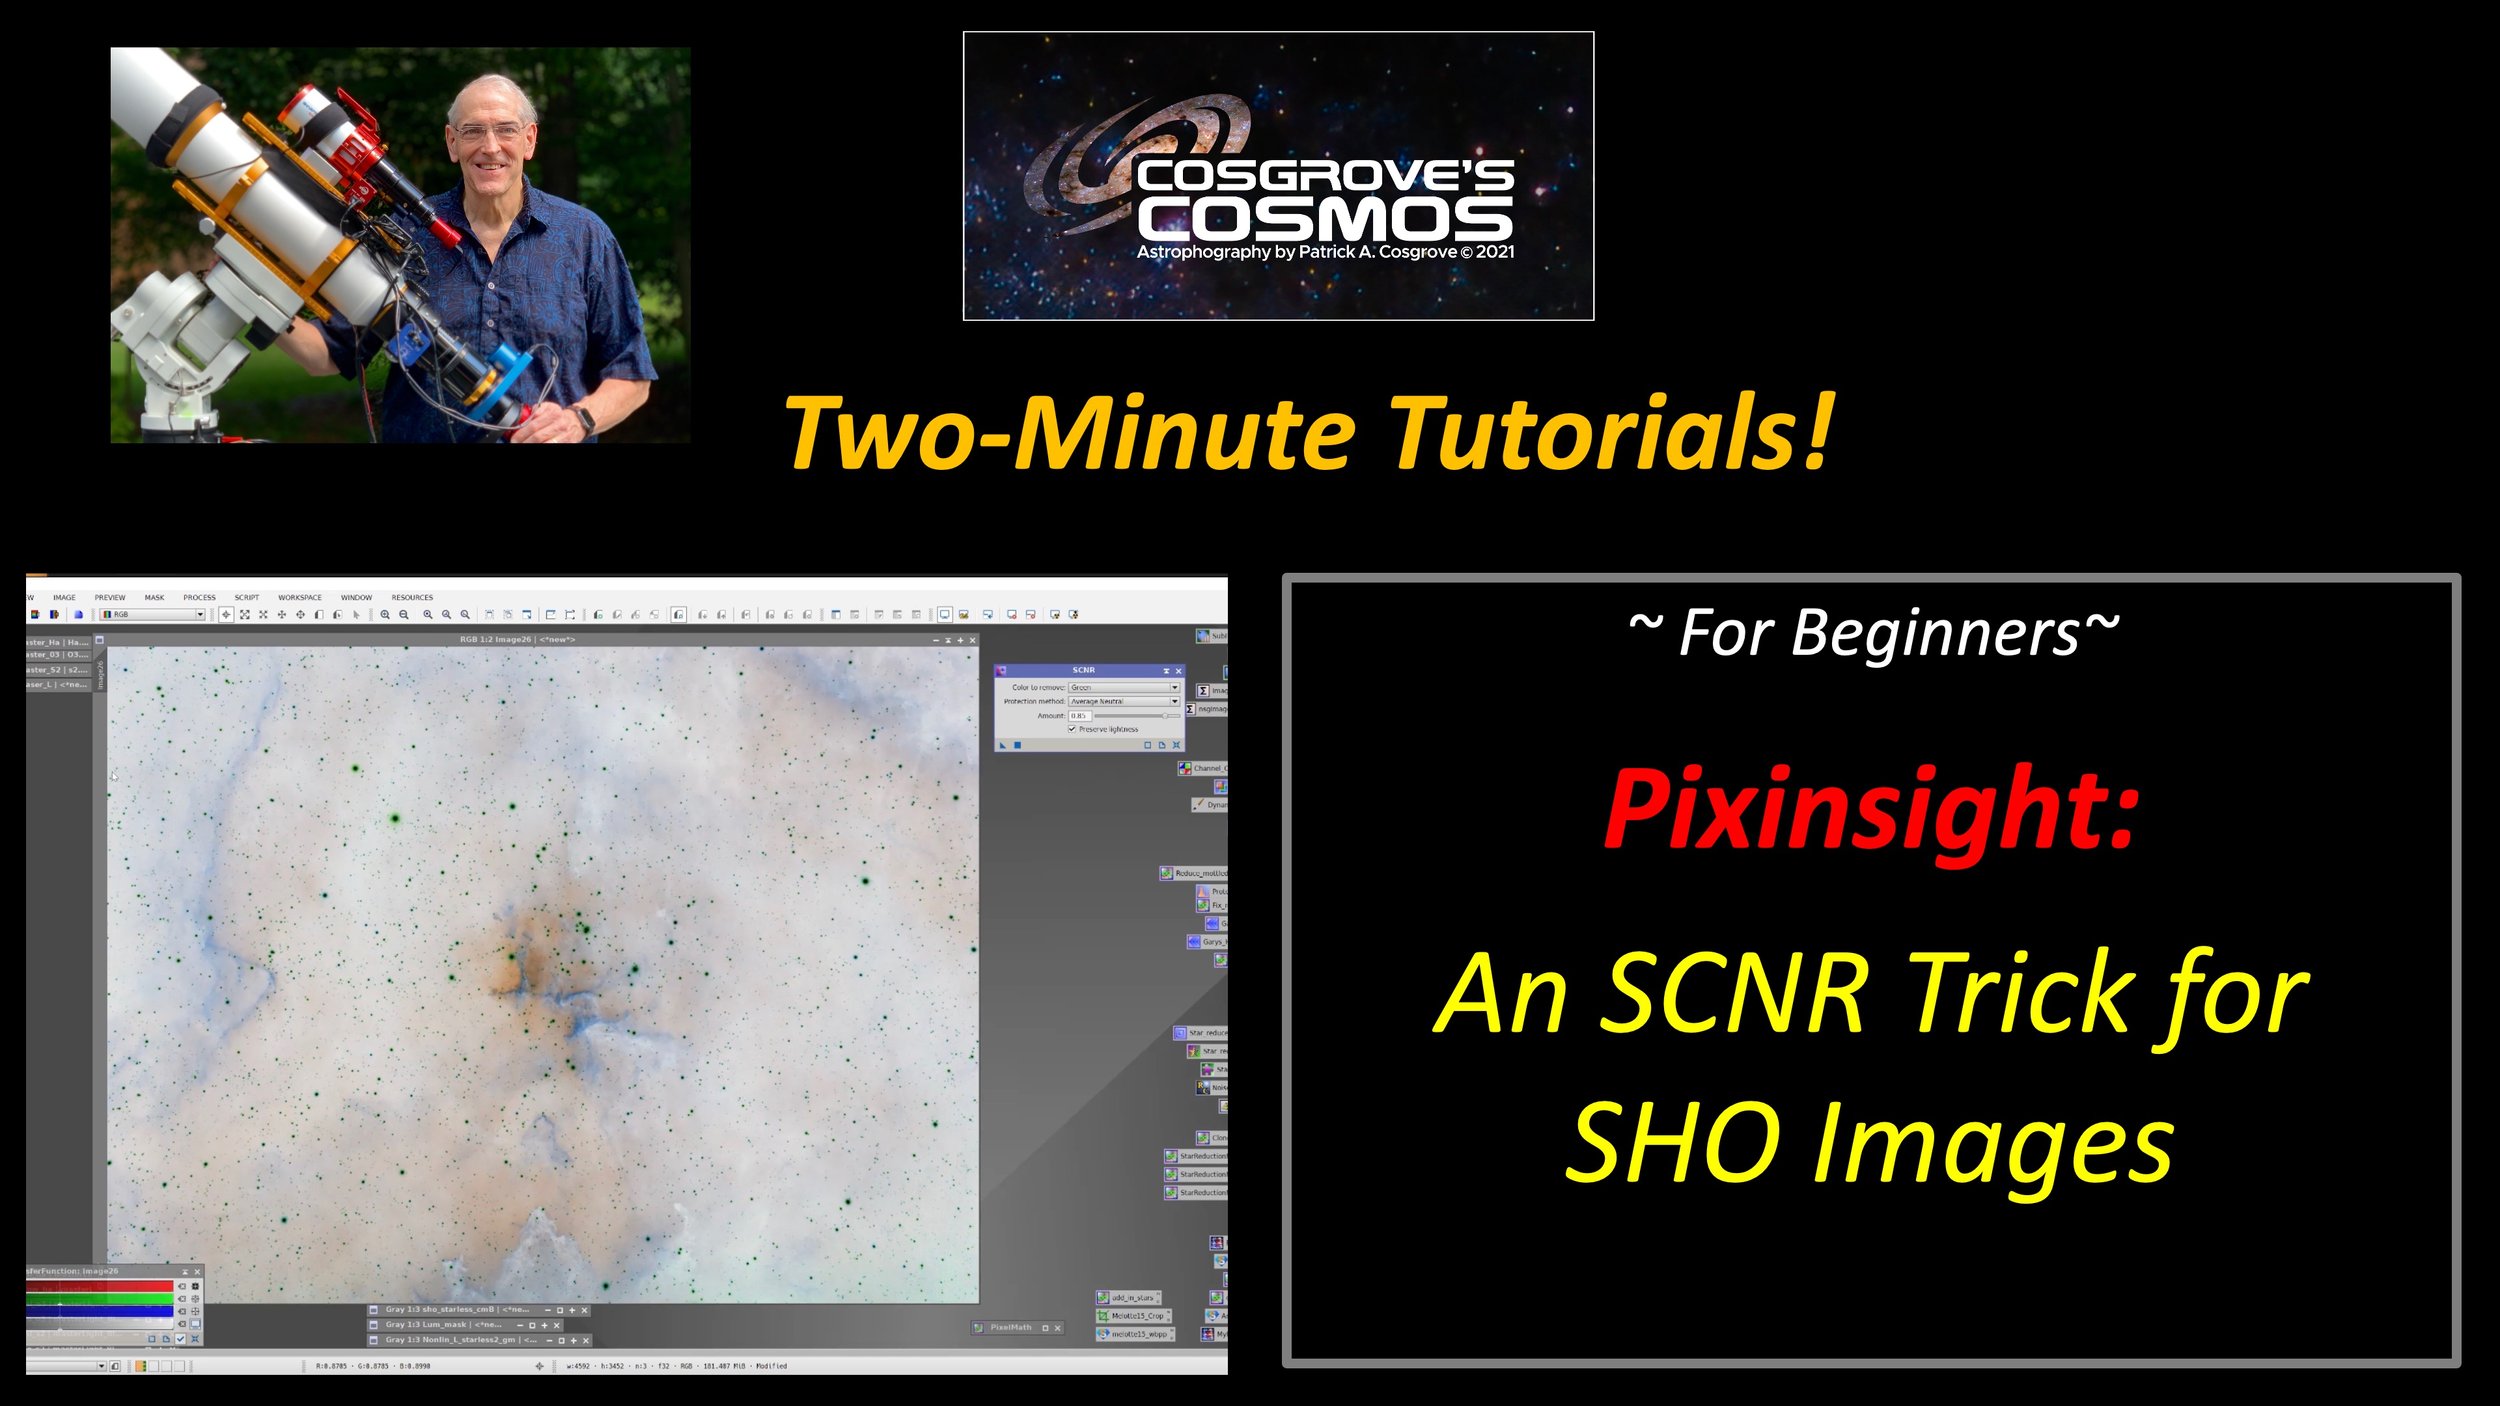
An SCNR Trick for SHO Images!
This video deals with the Color Correction of the initial SHO image created when combining the Ha, O3, and S2 images for the first time.
It presents a trick that allows SNCR to be used for removing both green and magenta balance issues common with these images.
Blinking Between Two Images
This video deals with Blinking between two images in Pixinsight - a convenient thing to do when comparing images in Pixinsight or when you want to evaluate the impact of a processing operation.
Adjusting a Star Mask
This video deals with Verifying and Adjusting a Star Mask.
Once you create a star mask, you may want to verify that the mask is giving the protection you want - but how do you do this?
How do you adjust if the stars in your mask seem too small or too large?
This video addresses both issues.
Modify a Mask While in Use!
This video deals with two concepts:
- modifying a mask that is currently in use, thus seeing the impact of that change in real-time review
- Using Convolution to add gradients to masks to soften edges and feather in changes.
Cleaning Up Your Masks!
This video deals with Cleaning up, Editing, or customizing your mask to make them more useful.
This often takes the form of creating the mask with one set of tools and then using another to remove, add, or modify elements of the mask.
In this video, I am using DynamicPainBrush, a $5 premium utility by RBA-Tools, that I think is well worth the $5!
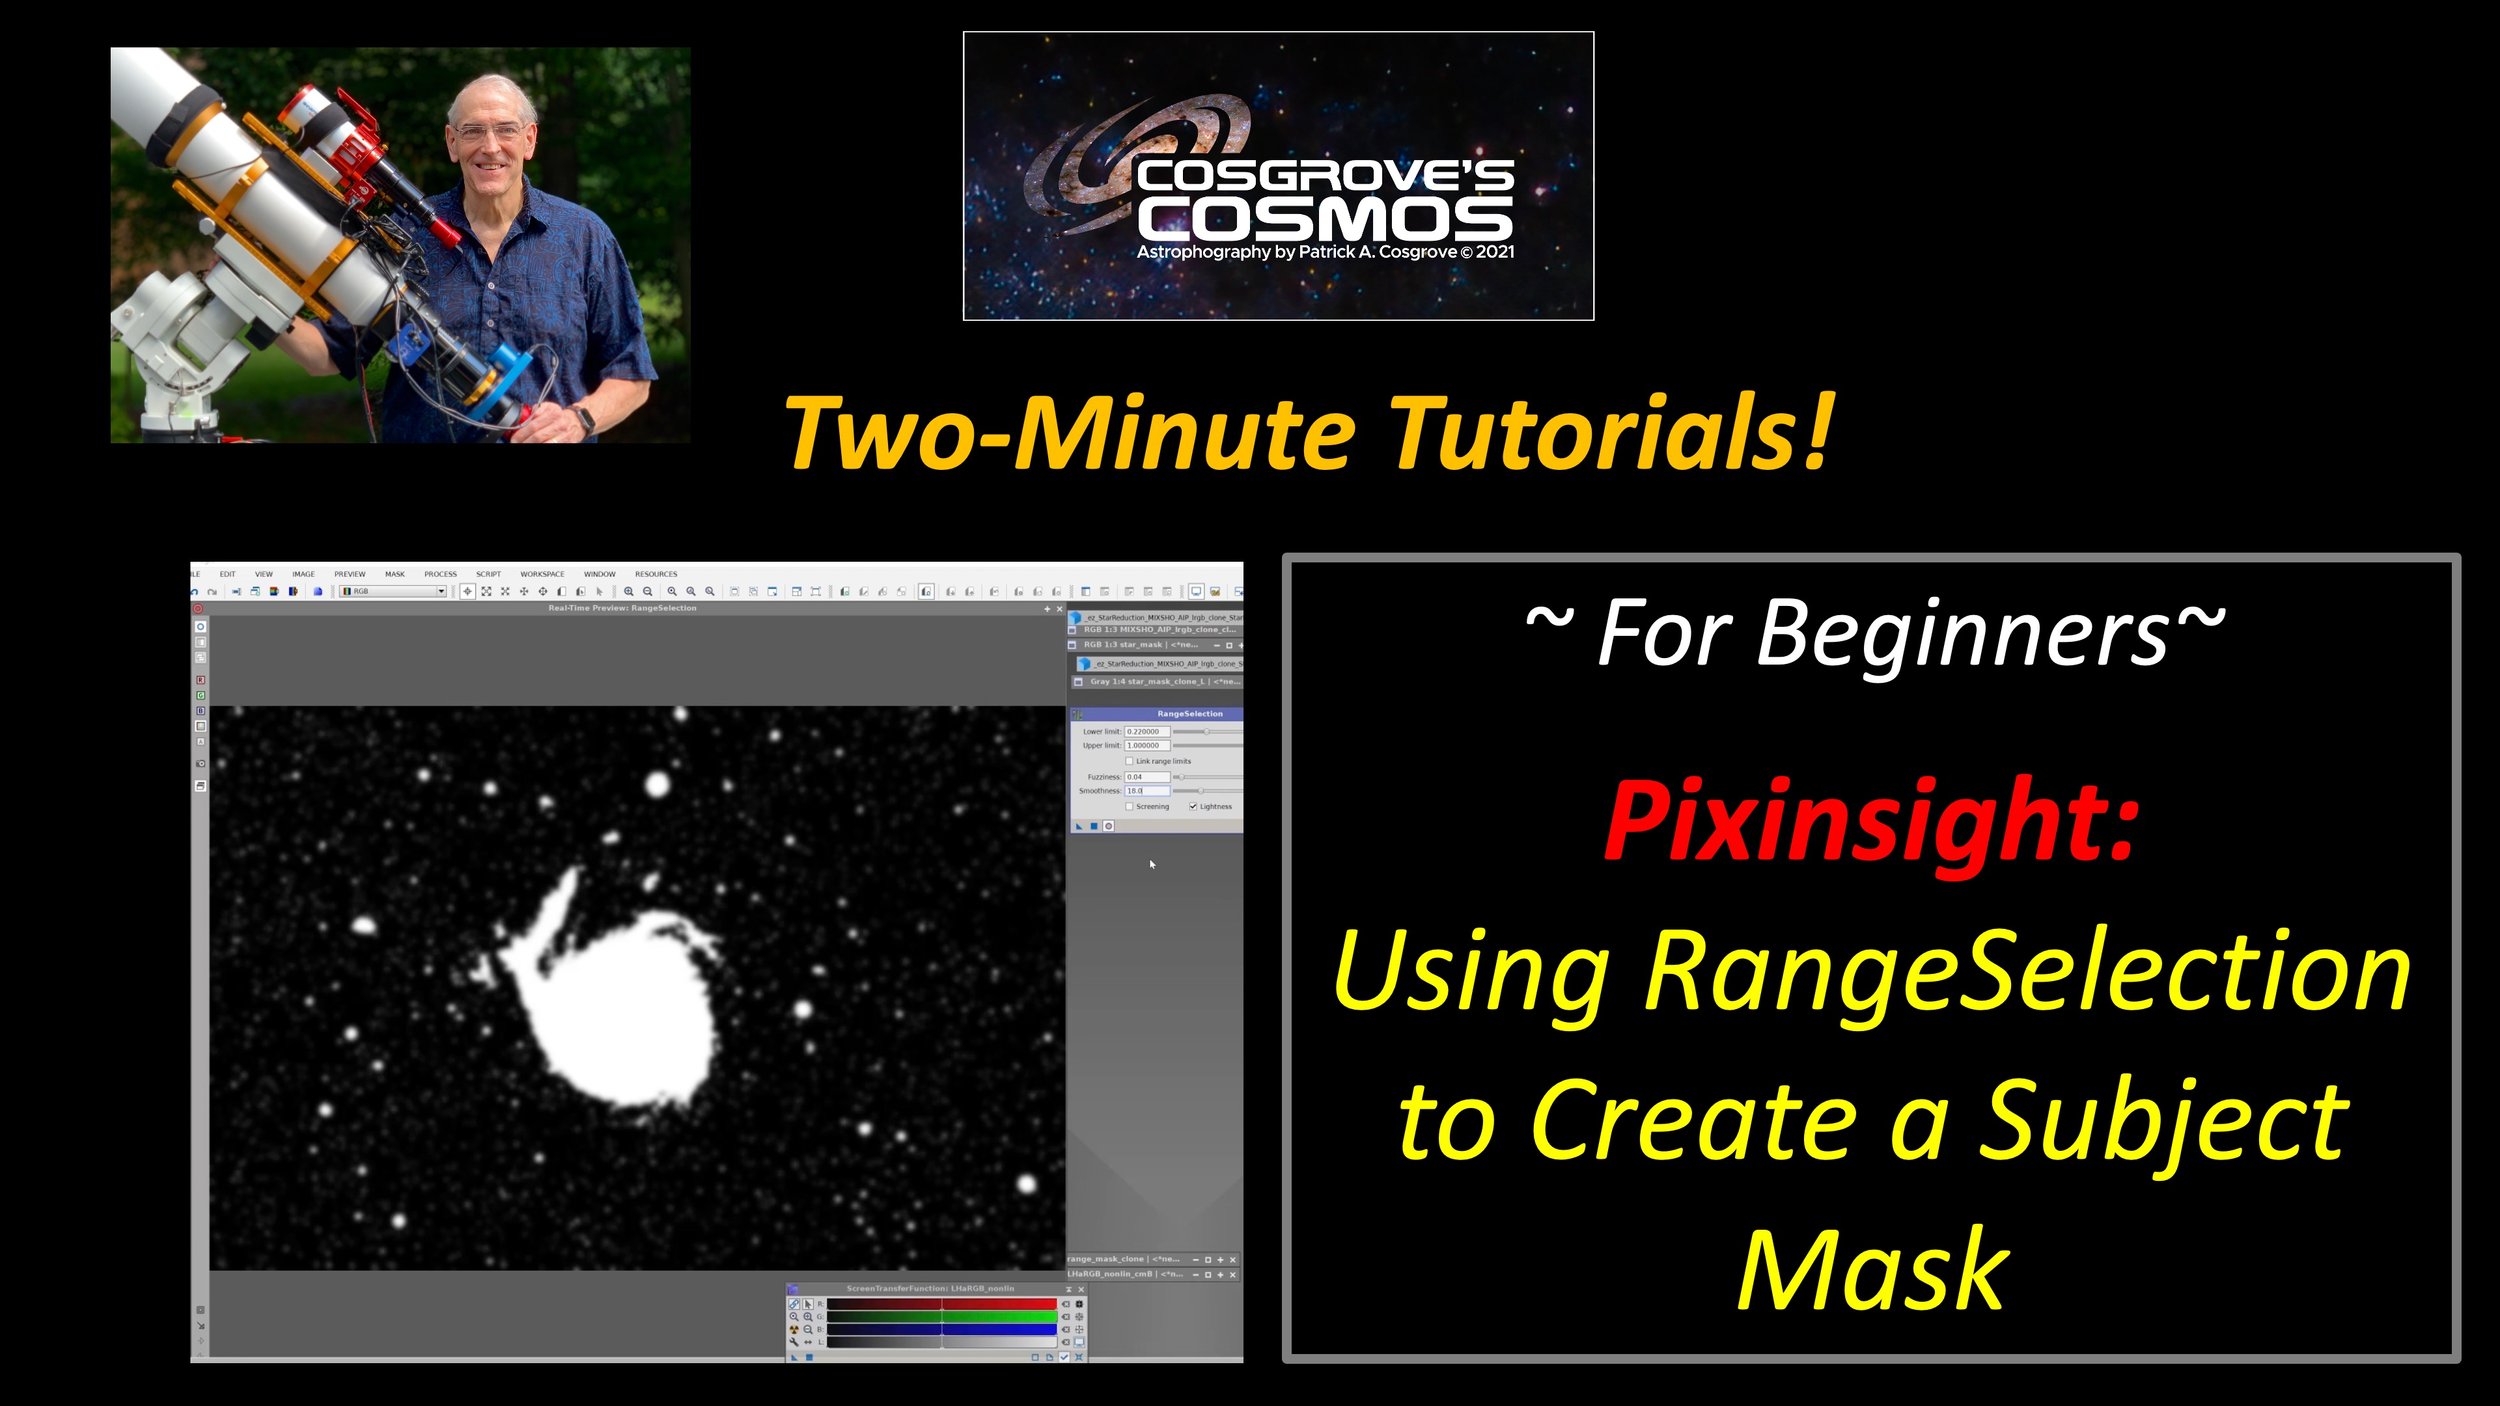
Using RangeSelection to Create a Subject Mask.
This video deals with using the RangeSelection Tool to create a Subject Mask.
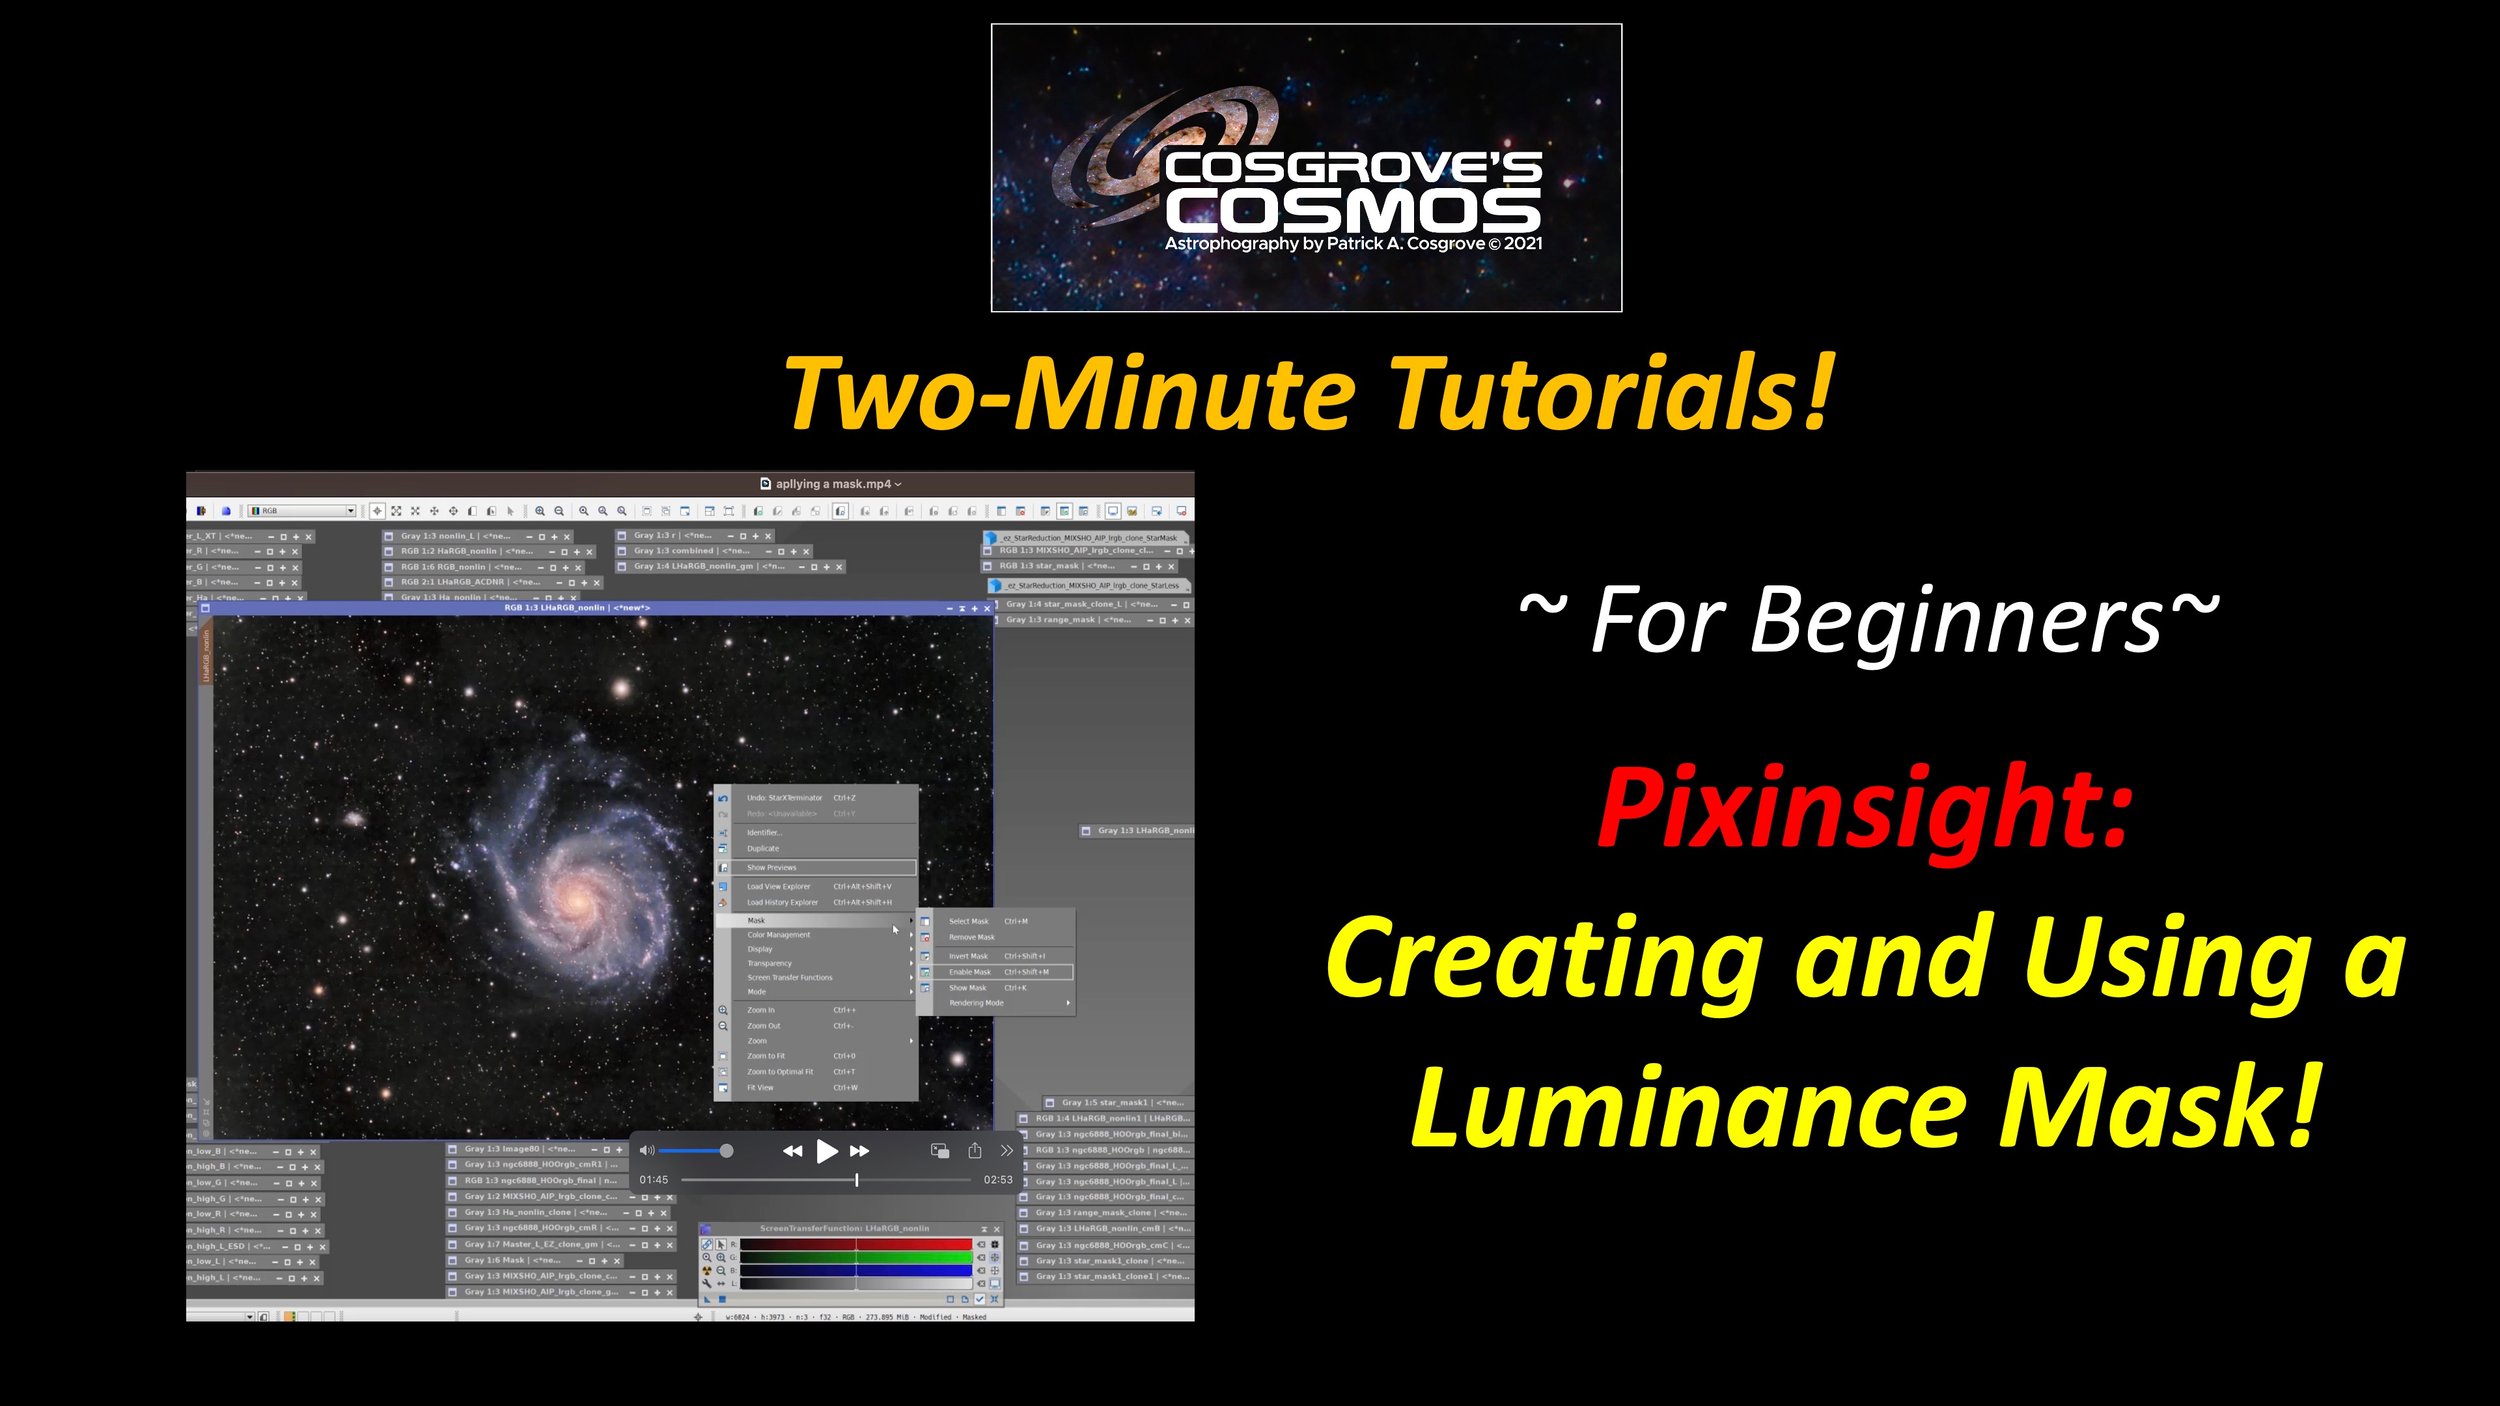
Creating and Using a Luminance Mask!
This video deals with creating and using a Luminance Mask.