Messier 16 - The Eagle Nebula / Pillars of Creation in SHO
Date: July 17, 2021
Cosgrove’s Cosmos Catalog ➤#0077
Published in Amateur Astrophotography Magazine!
April 9th, 2023 - In issue #111, p70-75. This image was published as part of a profile article on me!
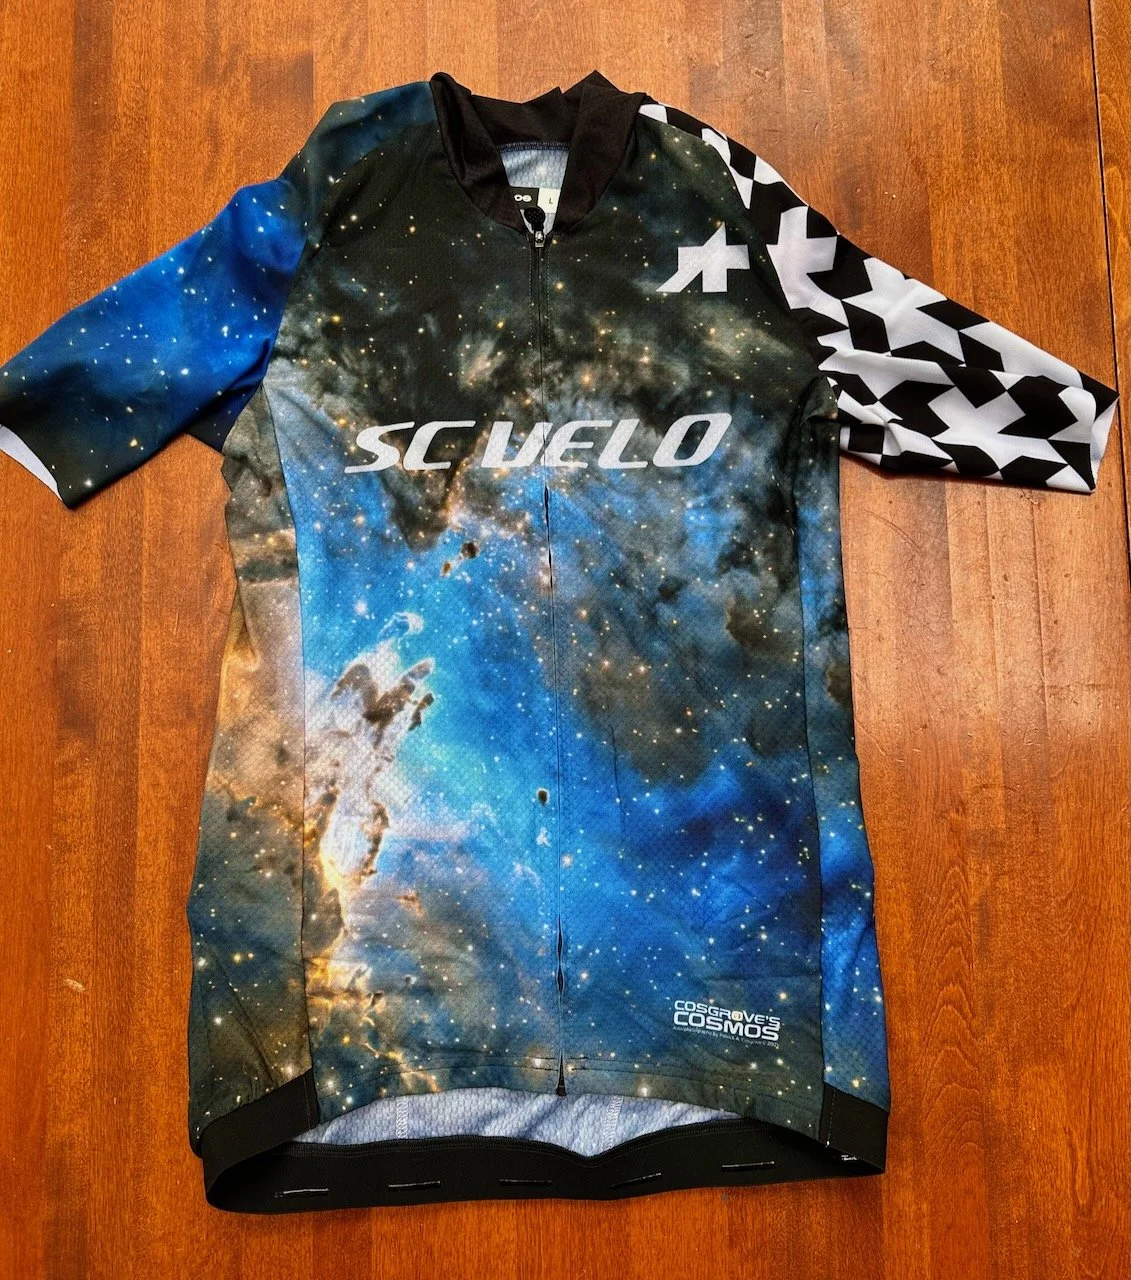
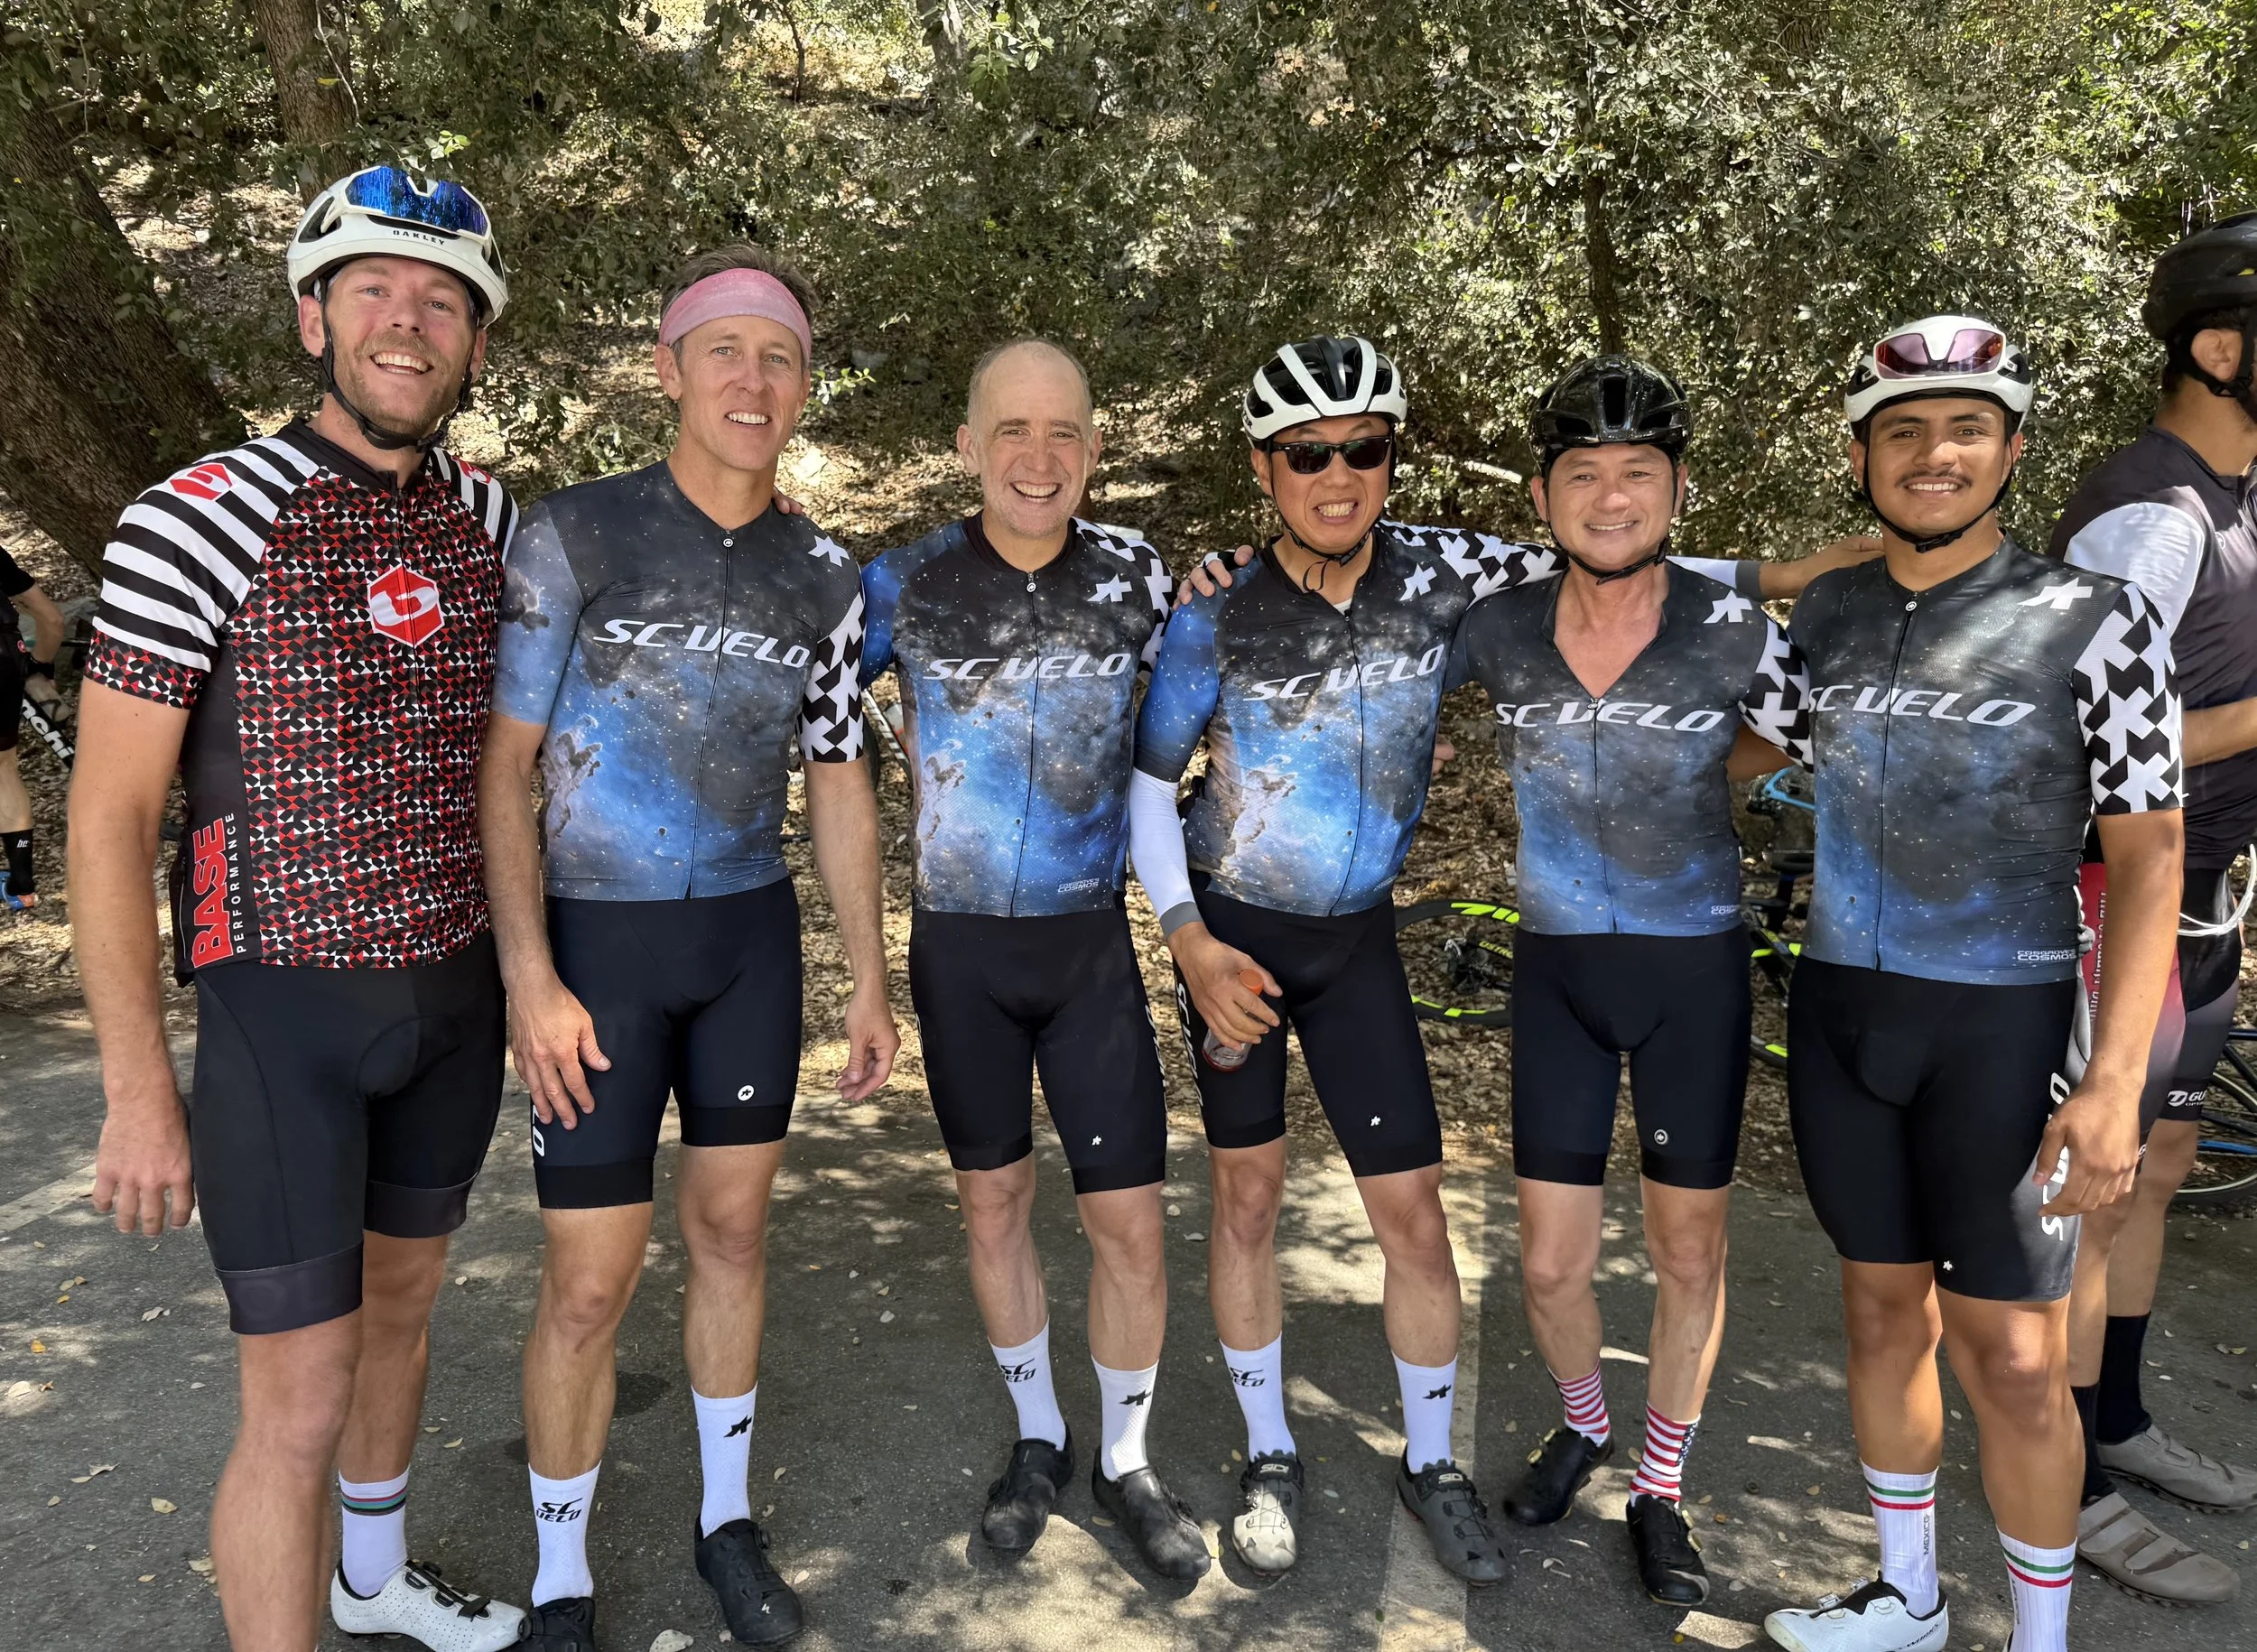
Chosen for A Custom Jersey for the Southern California Velo Cycling Club!
The resulting Jersey looks Amazing!
Club members looking sharp! (image used with Permission)
Table of Contents Show (Click on lines to navigate)
About the Target
Messier 16, also known as the NGC 6611, is known by the popular name of “The Eagle Nebula". It has also been called "The Star Queen Nebula" and "The Spire", but I don’t hear it called that much these days.
I would be remiss if I did not mention one of its most famous features, "The Pillars of Creation", which were immortalized by the Hubble Space Telescope.
M16 is a large diffuse emission nebula associated with a star cluster located about 5700 light-years away in the constellation of Serpens. This glowing area of dust and gas offers visual drama and glamour, which has made it a favorite astrophotography target.
Wikipedia tells us the following about the Pillars of Creation:
"Images produced by Jeff Hester and Paul Scowen using the Hubble Space Telescope in 1995 greatly improved scientific understanding of processes inside the nebula. One of these became famous as the "Pillars of Creation", depicting a large region of star formation. Its small dark pockets are believed to be protostars (Bok globules). The pillar structure resembles that of a much larger instance in the Soul Nebula of Cassiopeia, imaged with the Spitzer Space Telescope in 2005[ equally characterized as "Pillars of Star Creation". or "Pillars of Star Formation". These columns – which resemble stalagmites protruding from the floor of a cavern – are composed of interstellar hydrogen gas and dust, which act as incubators for new stars. Inside the columns and on their surface astronomers have found knots or globules of denser gas, called EGGs ("Evaporating Gaseous Globules"). Stars are being formed inside some of these.
X-ray images from the Chandra observatory compared with Hubble's "Pillars" image have shown that X-ray sources (from young stars) do not coincide with the pillars, but rather randomly dot the nebula. Any protostars in the pillars' EGGs are not yet hot enough to emit X-rays
Evidence from the Spitzer Telescope originally suggested that the pillars in M16 may be threatened by a "past supernova". Hot gas observed by Spitzer in 2007 suggested they were already – likely – being disturbed by a supernova that exploded 8,000 to 9,000 years ago. Due to the distance the main blast of light would have reached Earth for a brief time 1,000 to 2,000 years ago. A more slowly moving, theorized, shock wave would have taken a few thousand years to move through the nebula and would have blown away the delicate pillars. However, in 2014 the pillars were imaged a second time by Hubble, in both visible light and infrared light. The images being 20 years later provided a new, detailed account of the rate of evaporation occurring within the pillars. No supernova is evidenced within them, and it is estimated in some form they still exist – and will appear for at least 100,000 more years."
The Annotated Image
Annotated version of M16 - created with Pixinsight ImageSolve and AnnotateImage scripts.
The Location in the Sky
IAU/Sky & Telescope Constellation Map for Serpens - Messier 16 indicated with the yellow arrow.
About the Project
Messier 16 has always been one of my Favorite objects in the sky. I think it must have started with those famous Hubble Space Telescope images taken back in 1995.
So when I first started my Astrophotographic journey back in 2019, it was one of the first targets I wanted to shoot.
My very first image of it ended up being a pretty crude example - but I could see the "eagle", so I was pretty darn happy with it!
Last summer, I revisited M16. With a year of Astro imaging under my belt, I felt certain that I could do a dramatically better job than I did with the first. Confidence? No - I just knew that I had set the bar pretty darn low, to begin with.
I planned to capture images over two nights (a first for me at the time) and to process them with Pixinsight, which I was just learning at the time (I don’t think there is an astrophotographer alive that can say that they are not still learning Pixinsight!). I must say that my result was indeed a distinct improvement over my first attempt.
Ahhhh - Progress!
I was using a One-Shot-Color Camera at the time, so reproducing the signature Hubble Palette was just not an option for me - but I was still pretty happy with the image I ended up with. I haven't printed many of my Astro images, but I did manage to print that one!
But this year was the one where I was really going to nail it!
Two full years of Astro imaging and processing under my belt. I had built a computer with 12 cores, gobs of memory, and super-fast SSD drives that could tame Pixinsight with those compute-heavy processes.
I also had a telescope platform with a slightly higher focal length, and finally, I had a brand new ZWO ASI2600MM-Pro Mono camera setup - a next-generation camera - so for the very first time, I would be able to shoot with Narrowband and use the Hubble Palette!
Watch out, Hubble - I’m coming to knock you off your perch….
Uncooperative Skies
Then - we entered Rochester's Monsoon Season…… a relatively new feature of the Rochester weather experience.
I first set up for this shot back on the Fourth of July and took 2.5 hours of subs before having to shut down by my sky-hogging tree line (I have about a 3-hour window where I can shoot a target before the infernal trees eat it). With some luck, another 3 or 4 more nights should do it, and I would have - what I hoped would be an amazing image.
However, Rochester’s weather gods were not cooperative!
I set up my gear on two other nights that looked promising - only to be shut down by incoming clouds before M16 had even cleared my trees. Finally - on Wednesday, July 14th, ClearOutside suggested I had an opening.
Gary Opitz - who is a weather wiz - warned me that the smoke plume from the forest fires out west would likely be entering our area - and that would certainly impact my imaging. The Moon was also up, but not too bad yet. This was my last chance to shoot, so I had to go for it. The captures seemed to go well, but the sky transparency was very bad due to the smoke and high humidity - dew was forming on the scope tubes and running off in streams!
Processing Challenges
When I looked at the data the next day - I knew I would have some challenges.
First, I had way fewer frames than I had originally planned for. When I scanned what I had with Blink, I found about 25% of the frames had some evidence of very thin clouds passing overhead. These normally would cause me to cull these images before stacking. However, I had so few frames this time - I really did not want to lose any of them if I could avoid it.
The problem was that the impacted images had different gradients depending on when they were taken.
This would cause a higher variance for a given pixel when sampled across the subs. It would raise havoc with the rejection algorithms, causing the final pixel values to be off.
I had been hearing about a new script in Pixinsight called “NormalizeScaleGradients” that does something magical. After normal calibration and registration processing, you pick out a reference frame, and each sub is then normalized to the gradient seen in this frame. This effectively removes arbitrary differences due to thin clouds, stray lights, and such. Now that all of the subs look much more similar, the rejection algorithms can work more effectively, and the image integration will end up with more data to work with. This suggests that even pretty marginal frames can add some useful data to the final integrated results.
So I kept most of the marginal images in the mix; they had their gradients normalized, and they were integrated into the final master image, weighted by noise measures that modulated their contribution. Anything that lets you keep hard-fought subs in the mix is my friend!
Another problem I had was with star sizes. The star sizes varied a lot for the same star - they varied based on when the sub was taken. So I could expect some ugly stars. Narrowband images often produce funky stars, and I typically shoot RGB stars and replace the Narrowband stars with something that looks more natural. However, due to the limited access I had to the target, I was unable to capture any RGB frames to enable that.
So I ended up spending a lot of time with image processing. About two and a half days. Each step, I played with it, trying many variations until I found what I thought worked best for each step
I was very careful to maximize the information obtainable with deconvolution. I was also able to shrink some of the star sizes further using a deconvolution trick I learned from an Adam Block video. Basically, you take the point spread function model image created by PFSImage and trim the outer edges a bit before using it in deconvolution. This helped shrink the stars, but I still encountered mismatches between the filter channels, so I spent a lot of time using star masks to resolve the issues. And I did help things a bit - they were much better than when I started, but having said that, don't look too carefully at the stars in this image as they are a mess!
Previous Efforts
Link to the Second Effort Posting
Taken in the Summer of 2019
Taken in the Summer of 2020.
More Information
Wikipedia Entry: Messier 16
NASA: Hubble Space Telescope image of “The Pillars of Creation”
Capture Details
Lights Frames
Taken the nights of 7/4/21 & 7/14/21
18 x 300 seconds, bin 1x1 @ -15C, Gain 100.0, Astronmiks 6nm Ha Filter
14 x 300 seconds, bin 1x1 @ -15C, Gain 100.0, Astronmiks 6nm OIII Filter
15 x 300 seconds, bin 1x1 @ -15C, Gain 100.0, Astronmiks 6nm SII Filter
Total of 3.9 hours
Cal Frames
30 Darks at 300 seconds, bin 1x1, -15C, gain 100
25 Dark Flats at Flat exposure times, bin 1x1, -15C, gain 100
Flats done separately for each evening to account for camera rotator variances:
25 Ha Flats
25 OIII Flats
25 SII Flats
Capture Hardware
Scope: Astrophysics 130mm Starfire F/8.35 APO refractor
Guide Scope: Televue 76mm Doublet
Camera: ZWO AS2600mm-pro with ZWO 7x36 Filter wheel with ZWO LRGB filter set,
and Astronomiks 6nm Narrowband filter set
Guide Camera: ZWO ASI290Mini
Focus Motor: Pegasus Astro Focus Cube 2
Camera Rotator: Pegasus Astro Falcon
Mount: Ioptron CEM60
Polar Alignment: Polemaster camera
Software
Capture Software: PHD2 Guider, Sequence Generator Pro controller
Image Processing: Pixinsight, Photoshop - assisted by Coffee, extensive processing indecision and second-guessing, editor regret and much swearing…..


Adding the next generation ZWO ASI2600MM-Pro camera and ZWO EFW 7x36 II EFW to the platform…