
SH2-119 The Clamshell Nebula (3.5 Hours in SHO) - An Unintended Image
Date: September 20, 2024
Cosgrove’s Cosmos Catalog ➤#0133

SH2-119: Captured near full Moon while testing NINA - the data turned out better than expected! (click for a full res image via Astrobin.com!)
Table of Contents Show (Click on lines to navigate)
This Image has a Strange Tale Behind It
About a week ago, we had a stretch of great weather with no Moon. So, I set my small telescope up on the new gravel pad for the upcoming conservatory build and shot four nights of data!
I seemed to have a lot of technical difficulties during these sessions that I usually don’t run into.
When I saw the final data, I was agast to learn that it was unusable! A TOTAL Lost. I was devastated.
As a result of that, I decided to shift over and try NINA.
The Moon was out, and the weather was still clear. During the day, I learned more about NINA, and I ran nightly tests in the evenings.
I expected the subs collected during this testing to be a write-off because of the Moon, and since I had so few of them.
There was nothing useful there - or so I thought - but to my surprise, this image resulted from that poor data!
Check out the full story on this unlikely image below.
About the Target
SH2-119, commonly known as The Clam Nebula, is a bright and intriguing emission nebula that resides within the rich constellation of Cygnus.
This remarkable nebula is not merely a standalone object; it is an integral part of a much larger complex of star-forming regions that dominate the area, showcasing a striking combination of hydrogen-alpha emission alongside intricate and delicate structures that bear a striking resemblance to the open shells of clams. This unique morphology lends the nebula a distinctive and eye-catching appearance that draws the attention of astronomy enthusiasts.
The nebula is situated approximately 2200 light-years away from our planet and spans about 2.5 light-years across, thus providing a rich and intricate target for imaging.
The bright star is 68 Cygni, located smack in the middle of the donut hole in this image, is around magnitude 5, and is one of the stars responsible for ionizing the surrounding gas.
Scattered throughout this region are several brighter emission patches and dark nebulae with their own LBN and LDN designations.
Its vibrant and varied colors, coupled with the dynamic interplay of light, gas, and dark dust clouds make SH2-119 a truly fascinating subject of study.
The Annotated Image

This annotated image was created using the Imagesolver and AnnotateImage capabiliites found in Pixinsight.
The Location in the Sky
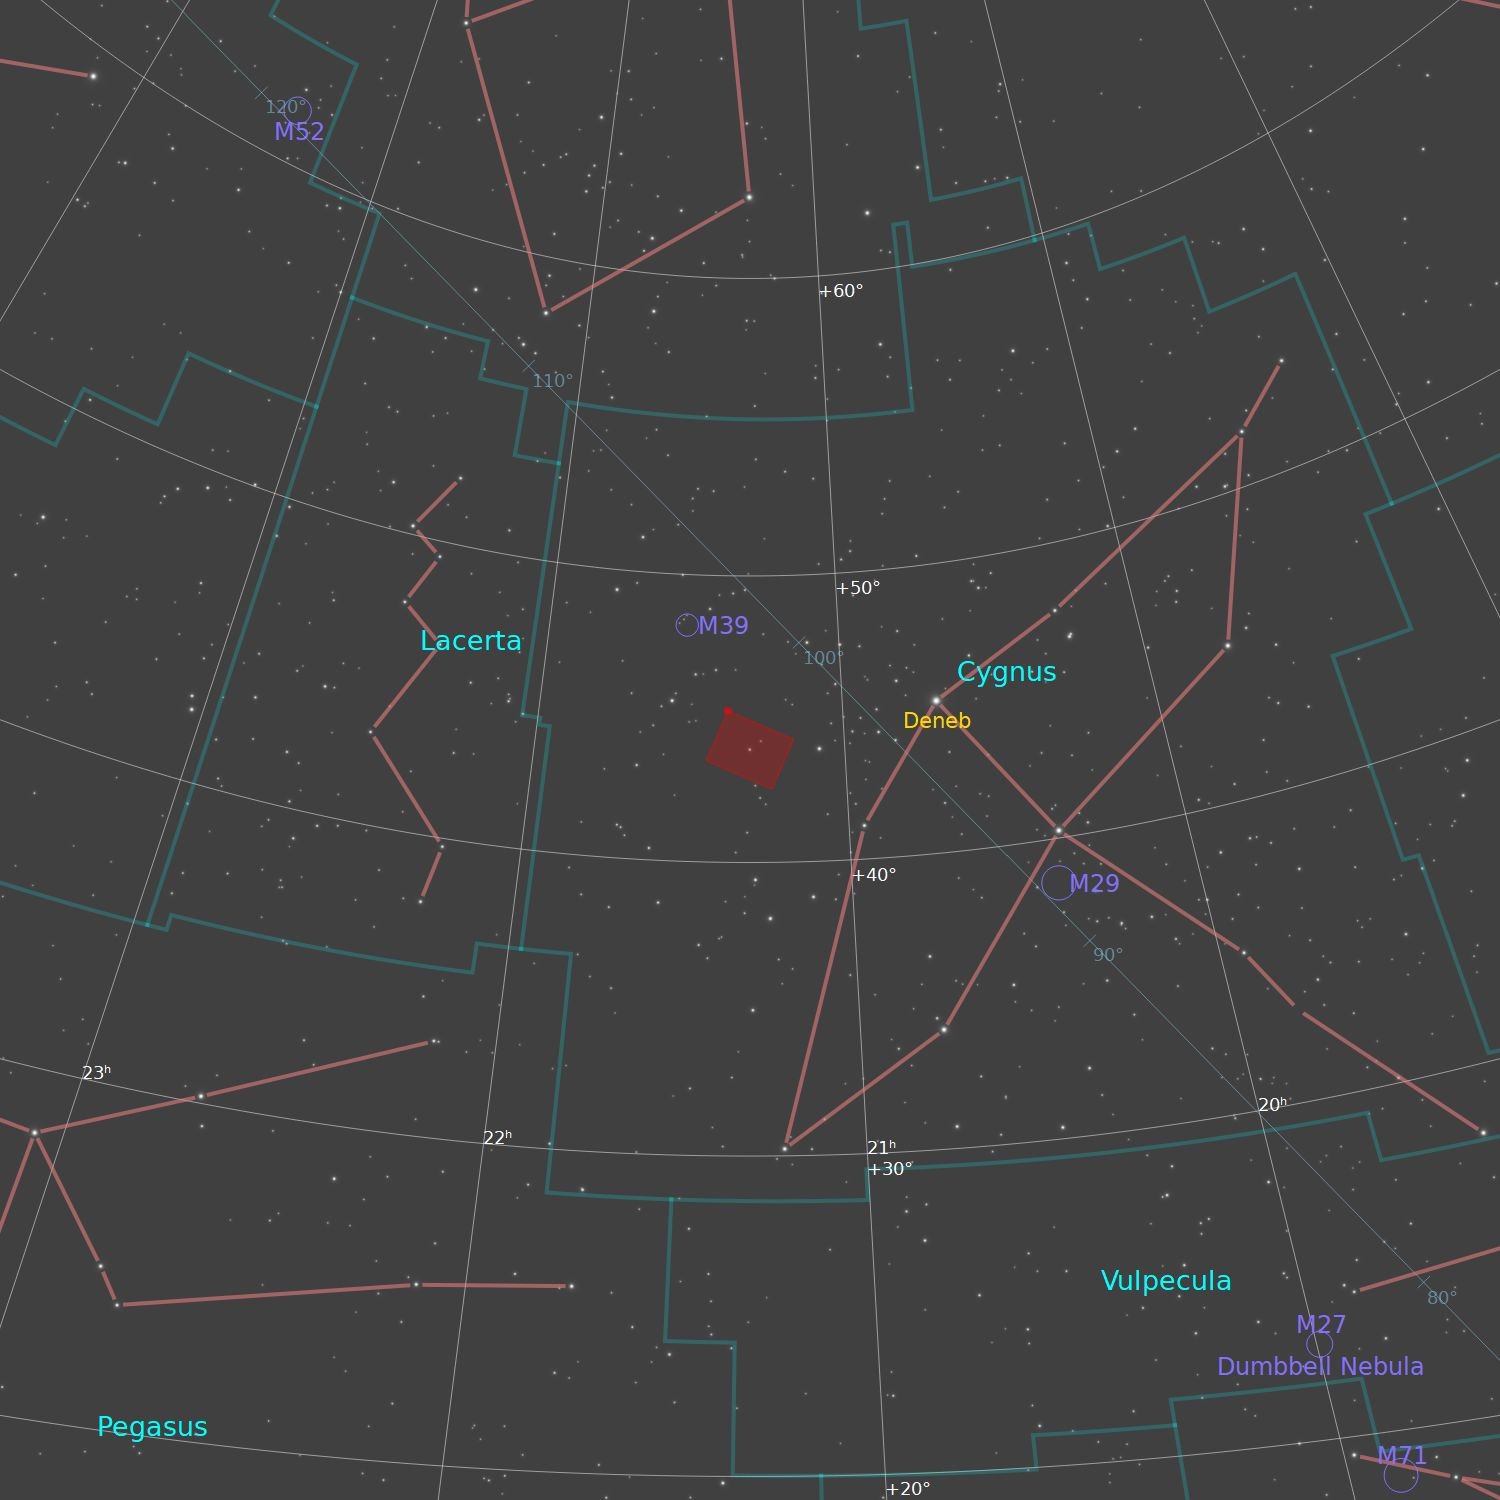
This annotated image created with Imagesolver and Annotate Image Scripts in Pixinsight.
About the Project
Picking the Target
Knowing we had a predicted stretch of good weather coming up, and given that my imaging this year has been close to zero, I was very excited to be collecting data again.
Until the observatory is built, I will only work with the small Askar FRA400 Scope platform since this is the only rig I have that I can easily carry up the hill. So, I was looking for a target of some angular size.
Lately, I have been picking targets by hunting through the Sharpless Catalog. This is an outstanding resource for finding target nebulae. Some of the targets in this catalog are well-known and have NGC or Messier designations. But many are not that well known, and that makes this list very interesting to me.
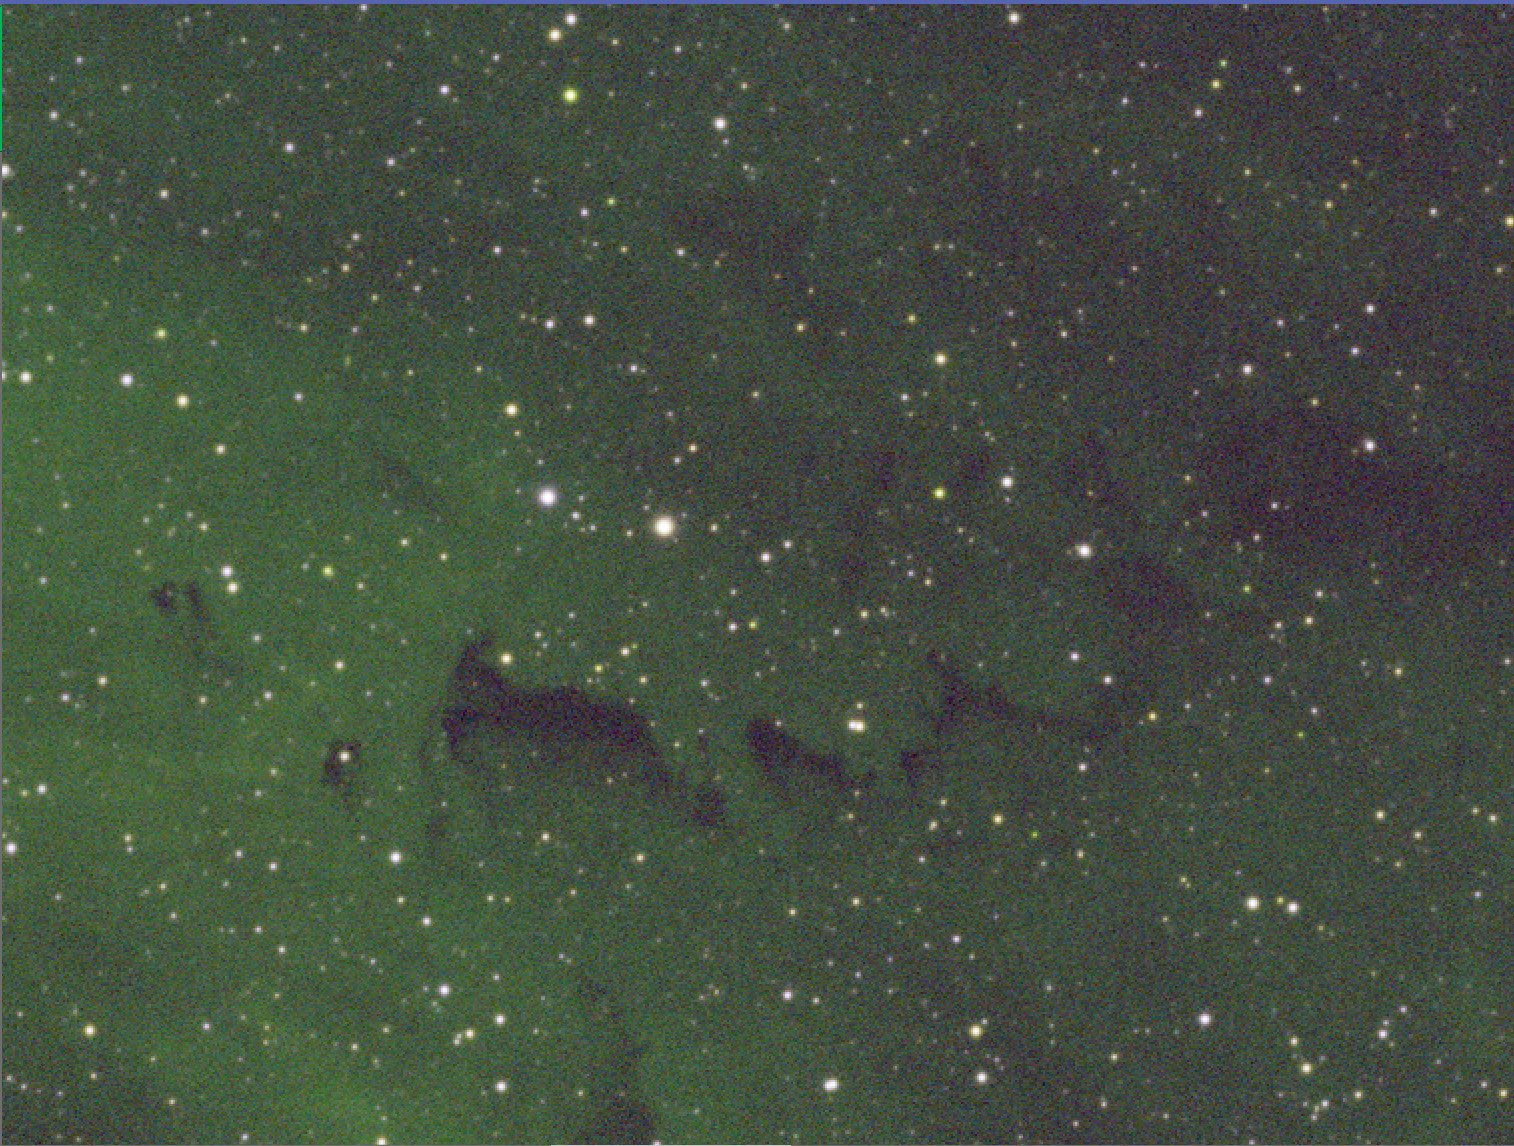
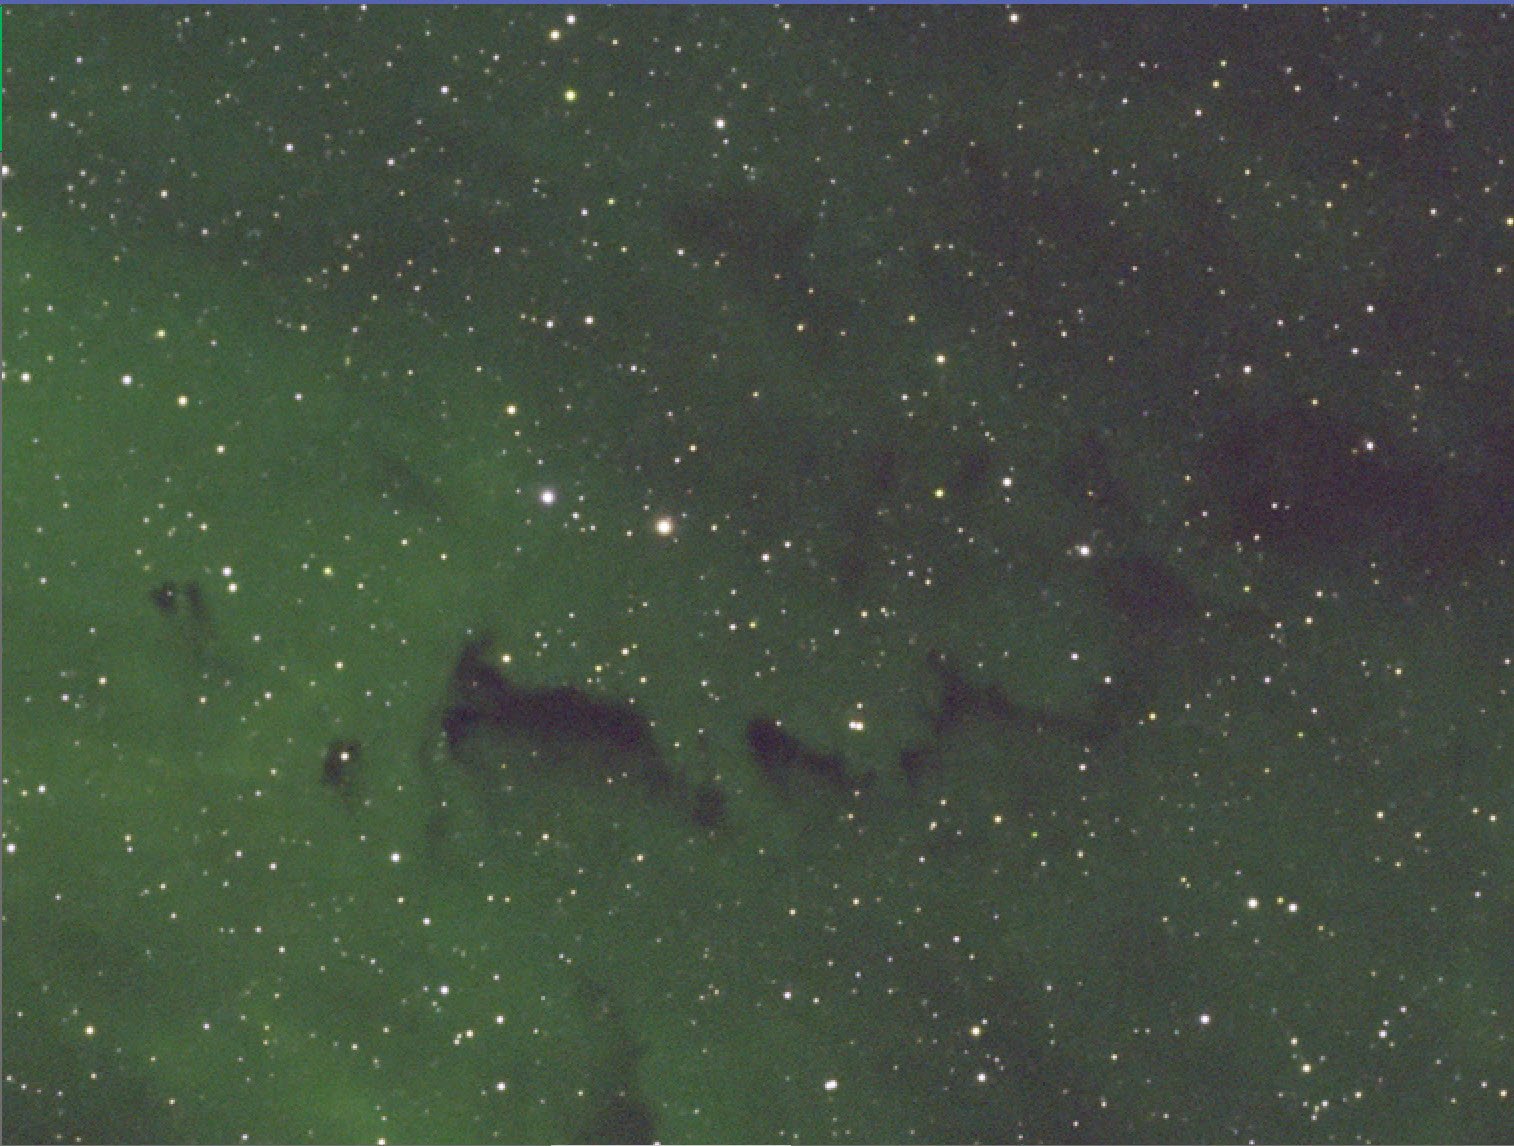
The catalog also contains a survey plate image for each object, which helps determine whether the nebula is “interesting” or not.
Cygnus is well positioned in the sky, so I searched for Sharpeless objects within its boundaries. This is such a rich space that I have already shot many targets, and there are still so many to go after.
I came across SH2-119 based on the plate image. It was clear that this target was complex and structured. While I heard of the Clamshell Nebula, I was not very familiar with it.
So I had my target! Time to get started!

The Sharpless Catalog entry for SH2-119
A Really Bad Start
Since the excavation has been done for my Observatory Project, I decided to use the flat gravel construction pad to place my telescope.
We had four fantastic nights of clear weather with no Moon from September 2th-5th, and I was determined to make the most of them! So, I set up my small telescope and got ready to roll!

The Askar FRA400 Platform waiting for darkness to fall!
Things started well, and then progress abruptly stopped after the initial series of Ha subs.
I walked up the hill to see what the problem was.
The system seemed to have lost its mind!
Autofocus was failing. Platesolving was failing. It could not talk to the Mount. I looked at the SGP profile I had been using for years and found some of the parameter fields zeroed out!
After two frustrating hours of jerking things around, I restarted the whole system and set it all up again, and things seemed OK. I thus finished off the first night.
The next day, I went through the system and updated all the drivers for all the devices. That night, I started things up again, and once again, things seemed to start off OK. And then it lost its mind again! I looked at my SGP profile, and once again, things were verified as correct at the beginning of the evening, but they were now zeroed out!
So, this time, I created a fresh profile on another drive and set it all up again. This seemed to make the system happy, and I ran all night. And two additional nights. Then the Moon became so full that I decided to stop collection.
I had been looking at the subs as they came in, but I had not really seen any obvious problems - other than this target seemed to have very weak O3 and S2 signals. But I had seen that before - very little signal on each sub, but it showed something there when stacked.
Next, I needed to collect my darks and flats.
So I set up in the garage to do my flats. SGP has a new Flats Wizard that I wanted to try out. However, it crashed every time I tried to run it.
OK, so I will use the old Flats Wizard. I ran the old one, and the camera did not download any images at all! The camera seemed to hang up.
Hmmm.
I did some testing and found that any exposure that was 2 seconds or longer was fine.
Less than 2 seconds? Say 1.9 seconds? No download! Is my camera broken?
Then I tried the ZWO ASIStudio app, and everything ran fine regardless of exposure time.
Hmmm.
I had a copy of NINA that I had never used, and I tried connecting the camera and doing some short test exposure with it. NINA had no issues with this either.
So, I used the ASIStudio to do flats and darks manually - determining the proper exposures manually. That was fun. (I could have done it with NINA as well, but I did not know enough about the software to pull it off at this point.)
So now it was time to move to Pixisight.
I ran everything through Blink and thought things were looking … odd. One set of Ha subs from the first night looked good, but the other subs had much lower signal levels. Hmmm.
Then I discovered that the O3 subs from the first night were off-center by… A LOT! And unusable. Hmmm.
I also saw NO signal in O3 and S2 subs. None whatsoever. Hmmm.
I looked at the metadata, and every sub collected on the first night had a gain of 139 (unity), as they should have. However, ALL of the other subs had a gain of ZERO. Ouch!
Between this problem, the centering problem, and the short-exposure/no-download, my goose was cooked.
After some forensic investigation, I began to understand what had happened.
It turns out centering failed on the first night, but the sequence did not shut down - so lots of subs were captured with different centers. Isn’t that special!
I discovered that when I updated the ZWO drivers for the AM5 mount, it also updated the camera driver, and this seems to have reset the gain in the camera to zero. Wonderful! I had SGP set up so that gain was defined as “Not Set.” With this setting, the gain used is what is in the camera when things begin. This was purposeful as I wanted to set the gain in the camera. I set it and never had to worry about it in the past. Then, the update appeared to reset it. And, of course, silly me did not check it.
The short exposure time download issue? Seemed to only happen in SGP.
I was NOT pleased.
Only the second image of the year, and I crashed and burned and lost 4 perfect moonless nights - a rarity for this year.
My Response
After stewing on this for a day, I finally began to take action.
Cabling: Some of these issues could be cabling related. So I checked over ALL of my cabling, and I ordered some higher quality cables that I will install in the future.
Camera: Maybe something funky was going on with my camera. Maybe the electronics, or maybe the built-in USB hub. But I had another camera of the same kind left over from when I upgraded my William Optics 132mm platform with a 2600 series camera. So, I swapped in this camera for the one I had been using.
Software. I have been having more and more issues with SGP, and given that this had a premium yearly subscription model, I decided it was time to learn NINA since everything seemed to be working in that environment. Maybe it was time for a change.
I have heard many good things about NINA but have never had any experience with it since I started with SGP, and I am comfortable using it.
At the time I started, both were free. Then SGP went to a yearly subscription model, and I paid enough to get three licenses for my three scopes. I did not mind paying for it that much. But since the Observatory Project would have 4 piers, I needed anther software licence seat or I needed to move to something like NINA.
Now that SGP seemed to be having issues (short exposure downloads, crashing with the new flats wizard, centering failing without stopping the sequence), I wanted to see what NINA was all about.
Learning NINA
As it would happen, two things would act together to help me quickly learn NINA.
First, my wife decided to spend a week with my youngest son, and so I was home alone - and free to focus on my mission.
Second, we continued to have great weather, but now the Moon was in the way. A perfect time to play around with NINA under the stars. I would never image with this kind of Moon out, so it was an excellent time to experiment, learn, and play.
So, I spent my days study about NINA and going through Patriot Astro’s EXCELLENT Tutorials on YouTube. And then, each night, I would try out what I learned.
The first night, I barely got anything working.

My first sequence running on NINA!
The second night, I could autofocus, platesolve, do meridian flips, and run a super simple sequence. I tried it on my SH2-119 target since that was at the top of my mind. With that big fat old Moon out, I KNEW the subs were a lost cause.
By the third night, I had a fairly sophisticated sequence in the advanced sequencer working well.
On the fourth night, I ran the routine to automatically create offsets for the focuser to avoid focus series when changing the filters. And everything worked! This alone upped my game:
Filter changes no longer require an entire auto-focus session, which can take a long time - especially for narrowband filters.
The only kind of of autofocus run I now needed to do was with the Lum filter- which makes it the fastest autofocus series there is as the required exposure are short
Stars size are monitors and if they trend towards growth by a specified amount, we just pause and the Lum filter autofocus. We do ot when we need it and no more
This eliminated a lot of wasted cycles. Yes, I could have done this as well in SGP, but it seemed trivial to set up in NINA.
My first Meridian Flip with NINA!
On the fifth day, I brought the telescope into the garage and tried out the Flats Wizard in NINA. OMG - the easiest set of flats and darkflats I had ever created.
As a result of this:
NINA worked perfectly for me.
The automation it could do seemed vastly superior to what I could do with SGP.
I was a NINA convert!
A Final Test of NINA
As a final test of the data created with NINA, I decided to load all of the subs and cal frames into WBPP and let it rip.
I knew the subs were garbage due to the Moon. I also knew that I only had about 3 hours of subs - way too little integration for a target like this - but at least I would make sure that the metadata was all right and everything computed just fine.
So, I loaded it, ran it, and then opened up the Master files.
The masters were not horrible!
A decent Ha signal, almost no O3 signal, and a soft S2 signal. But it was something I thought I could work with. So I decided to process it. And the process ended up with this final image!
Processing Overview
This was a pure narrowband image, so I used a workflow like shown in the chart below.

I quickly created an initial color SHO image. I then ran DBE on this color for gradient removal. This image was then treated with BlurXTerminator, followed by a light dose of NoiseXTerminator.
I then go Starless with StarXTerminator.
I then extracted the Ha image from this corrected stack. I will process this as a Lum mage for sharpness. The SHO image will be processed for color and low noise.
I then went nonlinear with the Lum, Starless, and Star images.
Nonlinear processing ensued, and then I folded the Ha image back into the SHO image and then added the stars!
Typically I use a ton of custom masks in my processing. But in this case, I achieved what I wanted to do using the ColorSaturation Tool and using Ha a s Lum image processed for sharpness, and I never felt the need for a mask. That is a first for me!
Look below for the complete step-by-step processing walkthrough! Note: This walkthrough is based on Pixinsight.
Final Results
I have to say the results shocked me a bit.
I have taken a pretty hard-core attitude about only collecting data when the Moon is out of the picture (so to speak!). But these results are not horrible by any means.
The image is a bit challenged by the low integration time - that is certain!
But given how big and bright the Moon was on these nights (I had a hard time seeing any stars at all), I was still able to get this image.
Rochest has lousy weather, and clear nights are a premium. I think I will be doing more narrowband imaging on nights with a Moon from now on!
Capture Details
Lights Frames
Taken the nights of September 12th, 13th , 14th, and 15th, 2024
18 x 300 seconds, bin 1x1 @ -15C, Gain 139.0, Astrodon 5nm Ha Filter - 1.25 inch
11 x 300 seconds, bin 1x1 @ -15C, Gain 139.0, Astrodon 5nm O3 Filter - 1.25 inch
12 x 300 seconds, bin 1x1 @ -15C, Gain 100.0, Astronomiks 6nm S2 Filter - 1.25 inch
Total of 3 hours and 25 minutes.
Cal Frames
25 Darks at 300 seconds, bin 1x1, -15C, gain 139
30 Dark Flats at Flat exposure times, bin 1x1, -15C, gain 100
One set of Flats done:
15 Ha Flats
15 O3 Flats
15 S2 Flats
Capture Hardware
Scope: Askar FRA400 72mm f/5. 6 Quintuplet Air-Spaced
Astrograph
Focus Motor: ZWO EAF 5V
Guide Scope: William Optics 50mm guide scope
Guide Scope Rings: William Optics 50mm slide-base Clamping Ring Set
Mount: ZWO AM5
Tripod: ZWO TC40 Carbon Fiber tripod w/160mm Extention
Camera: ZWO ASI1600MM-Pro
Camera Rotator: Pegasus Astro Falcon Camera Rotator
Filter Wheel: ZWO EFW 1.2 5x8
Filters: ZWO 1.25” LRGB Gen II, Astrodon 5nm Ha &OIII,
Astronomiks 6nm S2
Guide Camera: ZWO ASI290MM-Mini
Dew Strips: Dew-Not Heater strips for Main and Guide Scopes
Power Dist: Pegasus Astro Powerbox Advanced
USB Dist: Pegasus Astro Powerbox Advanced
Polar Alignment
Cam: PoleMaster
Software
Capture Software: PHD2 Guider, NINA
Image Processing: Pixinsight, Photoshop - assisted by Coffee, extensive processing indecision and second-guessing, editor regret and much swearing…..
Click below to visit the Telescope Platform Version used for this image.
Image Processing Walkthrough
(All Processing is done in Pixinsight - with some final touches done in Photoshop)
1. WBPP 2.7.3
Reset everything
Load all lights
Load all flats
Load all darks
Select - maximum quality
Reg reference - auto - the default
Select the output directory to wbpp folder
Enable CC for all light frames
Pedestal value - auto for all NB filters
Darks -set exposure tolerance to 0
Lights - set exposure tolerance to 0
Lights - all set except for linear defect
Integration - large-scale rejection layer 2x2
set for Autocrop
Set cosmetic corrections for all
No Drizzle

WBPP Calibration View

WBPP Post Calibration View

WBPP Pipeline View
2. Load Master Images
Load all master images and rename them.
Create an initial RGB Image using ChannelCombination

Master Ha, O3, and S2 images

The inital SHO color image.
3. DBE
Run DBE script. I have been using AutoDBE, but for this one, the manual DBE will allow greater ease in positioning sampling boxes. I used to run DBE on each master image and then combine them, but I saw few gradients here and decided that working with a color SHO image would be fine.
MasterSHO Sample Pattern (click to enlarge)
MasterSHO Before DBE (click to enlarge)

MasterSHO after DBE (click to enlarge)

MasterSHO Background
4. Run BlurXterminator
Process SHO image:
Run PSFImage to determine star sizes for the Master L image: X = 1.73 Y = 1.59
I will be using the smaller values - because I assume that we will have any aberrations causing eccentricity removed in the correct first aspect of the BXT run
Run Deconvolution
Run BXT for correction only
Experiment with different values
Run BXT - see panel snap for details
Run Noise Reduction
Run NXT with a value of 0.45 - just taking the “fizz off!”

The Output from PSFImage for the Master SHO image.

How the BXT tool was configured for the Master SHO image


The Master SHO Image before BXT, After BXT Correction only, After BXT Full Correction, and After NXT=0.55
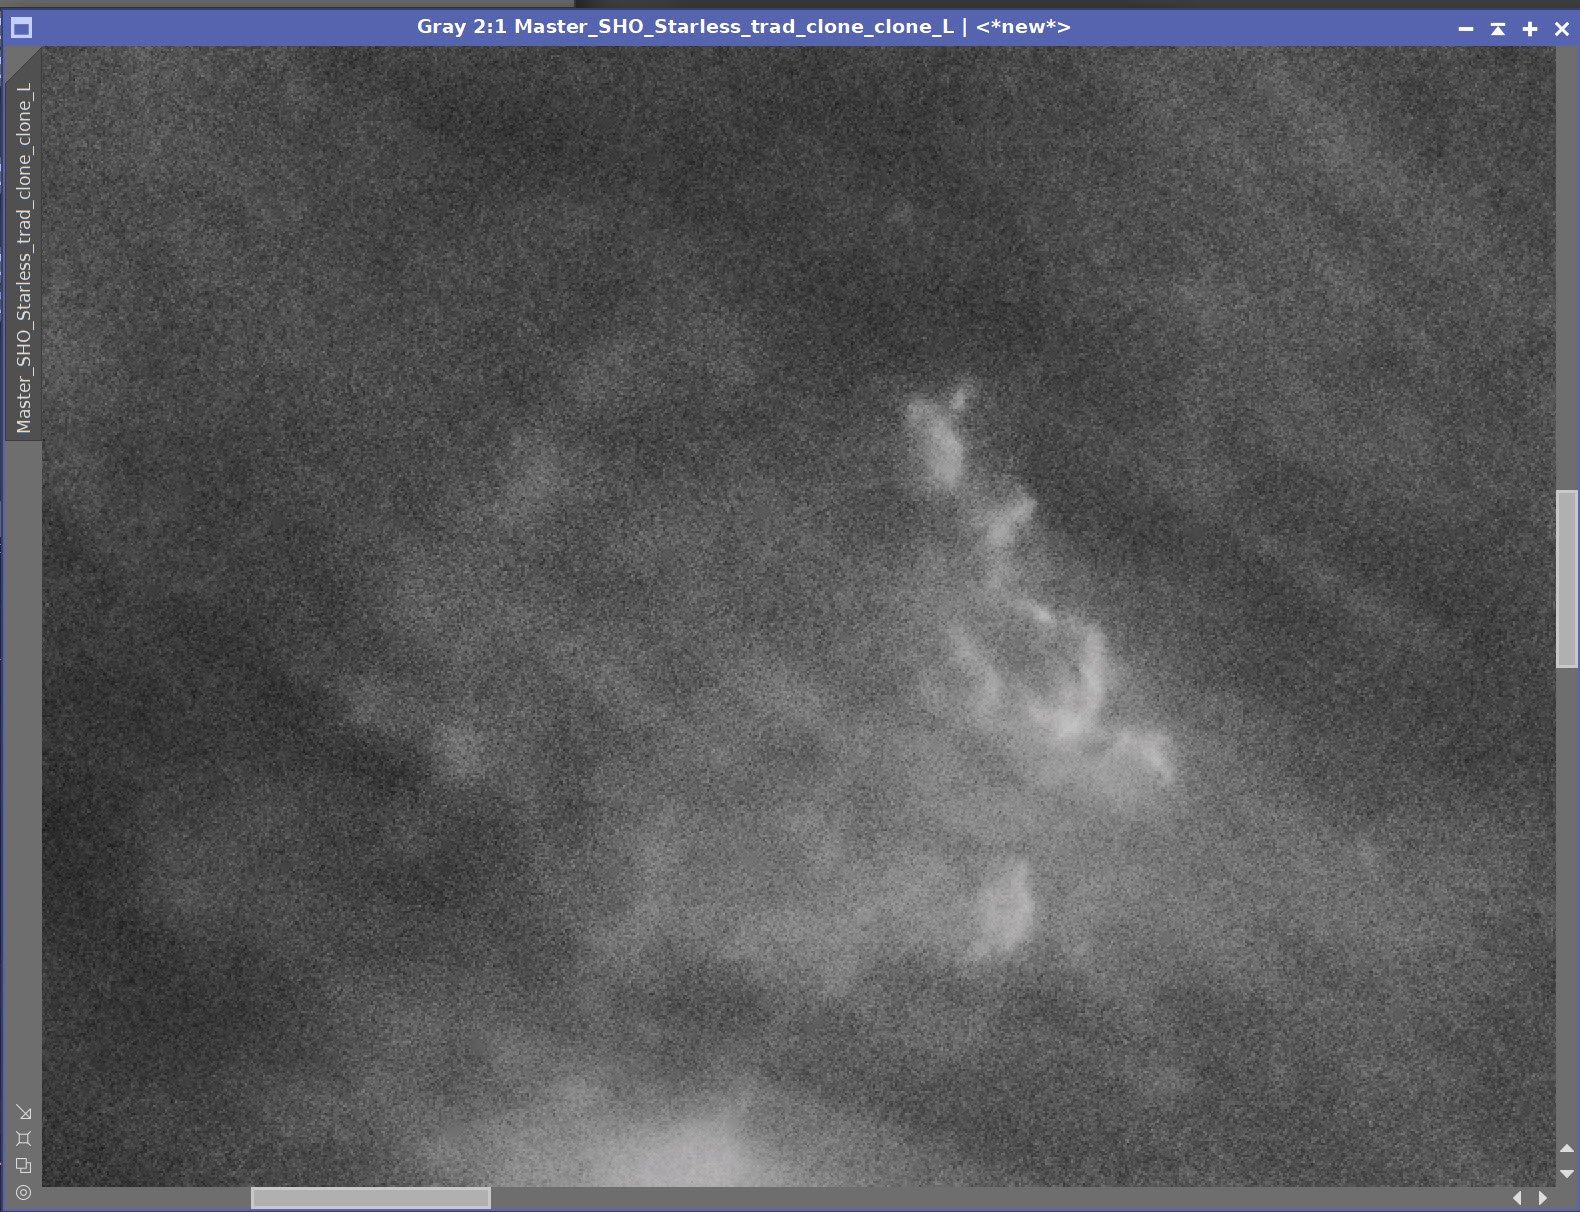
5. Create Starless/Stars-Only Images
Go starless and preserve the star image.
Use StarXterminator to remove stars using the unscreen method and saving stars.
Starting SHO Image
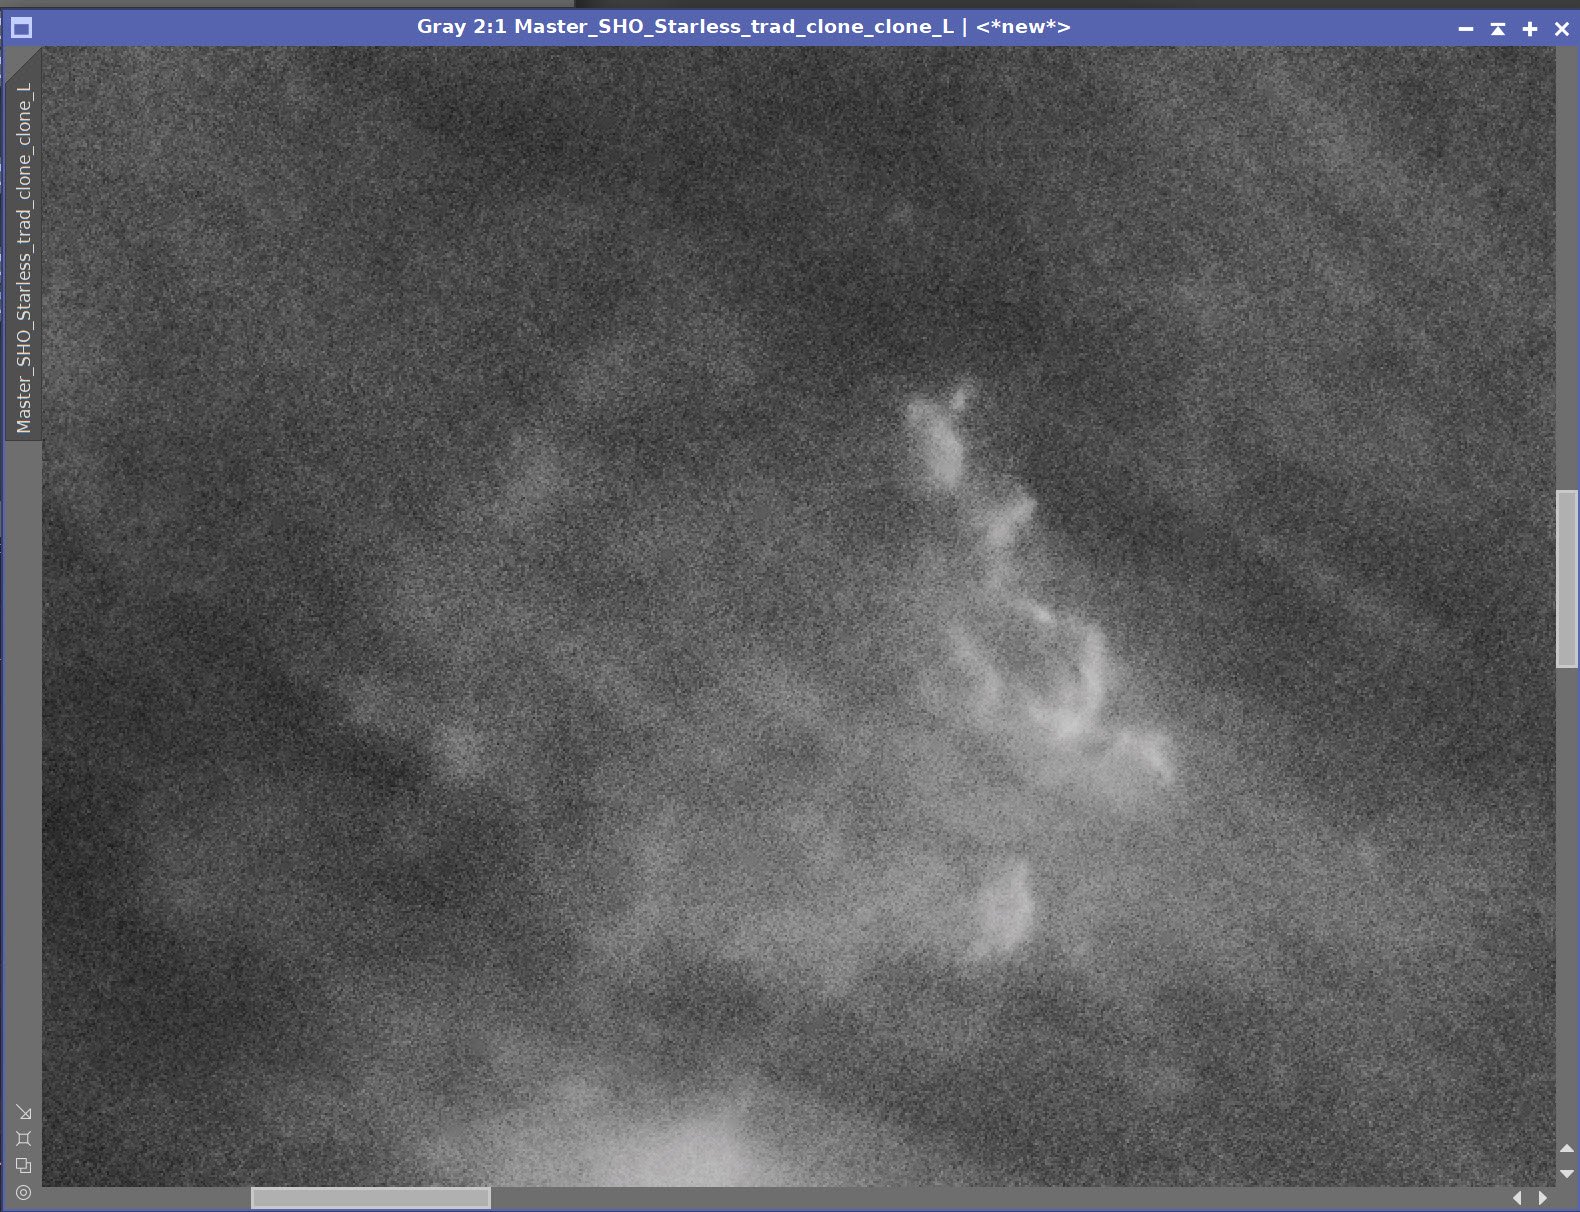
Master SHO Starless Image (click to enlarge)
Master SHO Stars Image (click to enlarge)
6. Extract Lum image
I want a Lum image to process for sharpness and detail. Now that the SHO image is all processed, I will peel off a copy of the Ha image since it has the most detail. Extracting the Ha image here will have the benefits of DBE, BXT, and NXT processing, which has already been done. This will be treated as the Lum image for this instance.

The extracted Ha image - which will be used as a Lum image for processing.
7. Move Images to the Nonlinear State
For SHO_Stars, use HT to adjust with STF disabled until I like the resulting star field.
For SHO and LUM, use the current STF->HT method to go nonlinear.
With starless imaging, I can be much more relaxed about my nonlinear conversion as I can more easily protect my stars from being blown out!
Initial Nonlinear Lum Starless Image (click to enlarge)
Initial Nonlinear SHO Starless image (click to enlarge)
Initial SHO Stars Image (click to enlarge)
8. Process the Stars Image
Apply SCNR for Green - this will make the star colors look more natural - don’t you hate green stars?
Apply CT to boost saturation.
Apply CT to boost the signal.
At this point the narrowband stars are actually looking pretty reasonable. No need to do anything more here.
After SCNR for Green (click to enlarge)
After Curves tool increase in color saturation (click to enlarge)
After CurveTool to boost signal. (click to enlarge)

The curve used for this.

Curve used for slight signal boost
9. Process the Luminance Image
Appy NXT with a value of 0.66
Apply CT
Apply LHE 1 (see screen snap for parameters used)
Apply LHE 2 (see screen snap for parameters used)
Apply MLT Sharpening (see screen snap for parameters used)
Apply NXT = 0.6
With this simple processing chain, I have achieved a very sharp and detailed version of the image. Goal accomplished!
Starting Point (click to enlarge)
LHE 1 Parameters used - this is for smaller scale enhancement
After LHE 1 applied (click to enlarge)
After MLT Sharpening. (click to enlarge)
After NXT = 0.6 applied (click to enlarge)
Apply tonescale boost with CT. (Click to enlarge)
LHE 3 Parameters use - this if for large featue enhancement

After LHE 2 Applied (click to enlarge)
The MLT Parameters used (click to enlarge)
This can be hard to see, especialy the effects of NXT and LHE - so lets take a zoomed in look:


After CT, After LHE 2, After LHE2, After MLT Sharpen, After NXT=0.7
10. Process the SHO Color Image
Apply NXT of 0.6 to reduce some of the noise a bit before we get started
The colors are there; we need to scale them a bit. To do this, I used the ColorSaturation tool (see screen snap of the panel used below) to enhance the gold and cool colors and to reduce the greens.
I followed this with a CT to adjust the tone scale and saturation levels.
The image still looks too green to me, so I applied SCNR for green.
And finally, another NXT run of 0.7 to get the noise under control. I can hit this pretty hard here, as the detail will come from the Lum image.
This processing was fairly simple, but now I have great color and very low noise. I am now ready to fold in the Lum image.
The starting SHO image (click to enlarge)
ColorSaturation Tool used to enhance colors (click to enlarge)
CT used to tweak things (click to enlarge)
SCNR applied to get out extra green balance (click to enlarge)
An initial run of NXT - 0.6 (click to enlarge)

Parameter used to boost colors.

The curve adjustments made
NXT = 0.7 (click to enlarge)
11. Combine the SHO and Lum images
Use the ImageBlend tool in color mode to combine the images. See the parameters used below.
The blend always seems to reduce color sat a bit, so we will boost it again and then treat the final noise position of the staless image.
Apply CT to boost colors a bit
Do a final NXT = 0.5 run

The image blend parameters used
After CT adjust for Sat (click to enlarge)

The Sat curve used.

Afer Final NXT = 0.5 to clean things up a bit - this is the final Starless image.
12. Combine Stars and Starless Images
Use the ScreenStars Script to combine the images
Starting L Starless image (click to enlarge)
Run HDRMT with levels = 6 and use the mask (click to enlarge)
The Combined Stars.
14. Export the Image to Photoshop for Polishing
At this point, I was pretty happy with the image. Given how noisy the master images were, I thought this was a good result. Now I usually move to Photoshop and do a little polishing and finishing.
Save the image as Tiff 16-bit unsigned and move to Photoshop
Make final global adjustments with Clarify, Curves, and the Color Mixer
Select some feature areas and use clarity to tweak - I focused efforts here on enhancing dark dust detail, the main object detail,
Add Watermarks
Export Clear, Watermarked, and Web-sized jpegs.

The Final Image!
Version 2.0 of my Askar FRA400 Platform consists of a switch in mounts! I have gone from an IOptron CEM26 mount to a new ZWO AM5 Harmonic Drive! This post documents and discusses this change in the platform.